

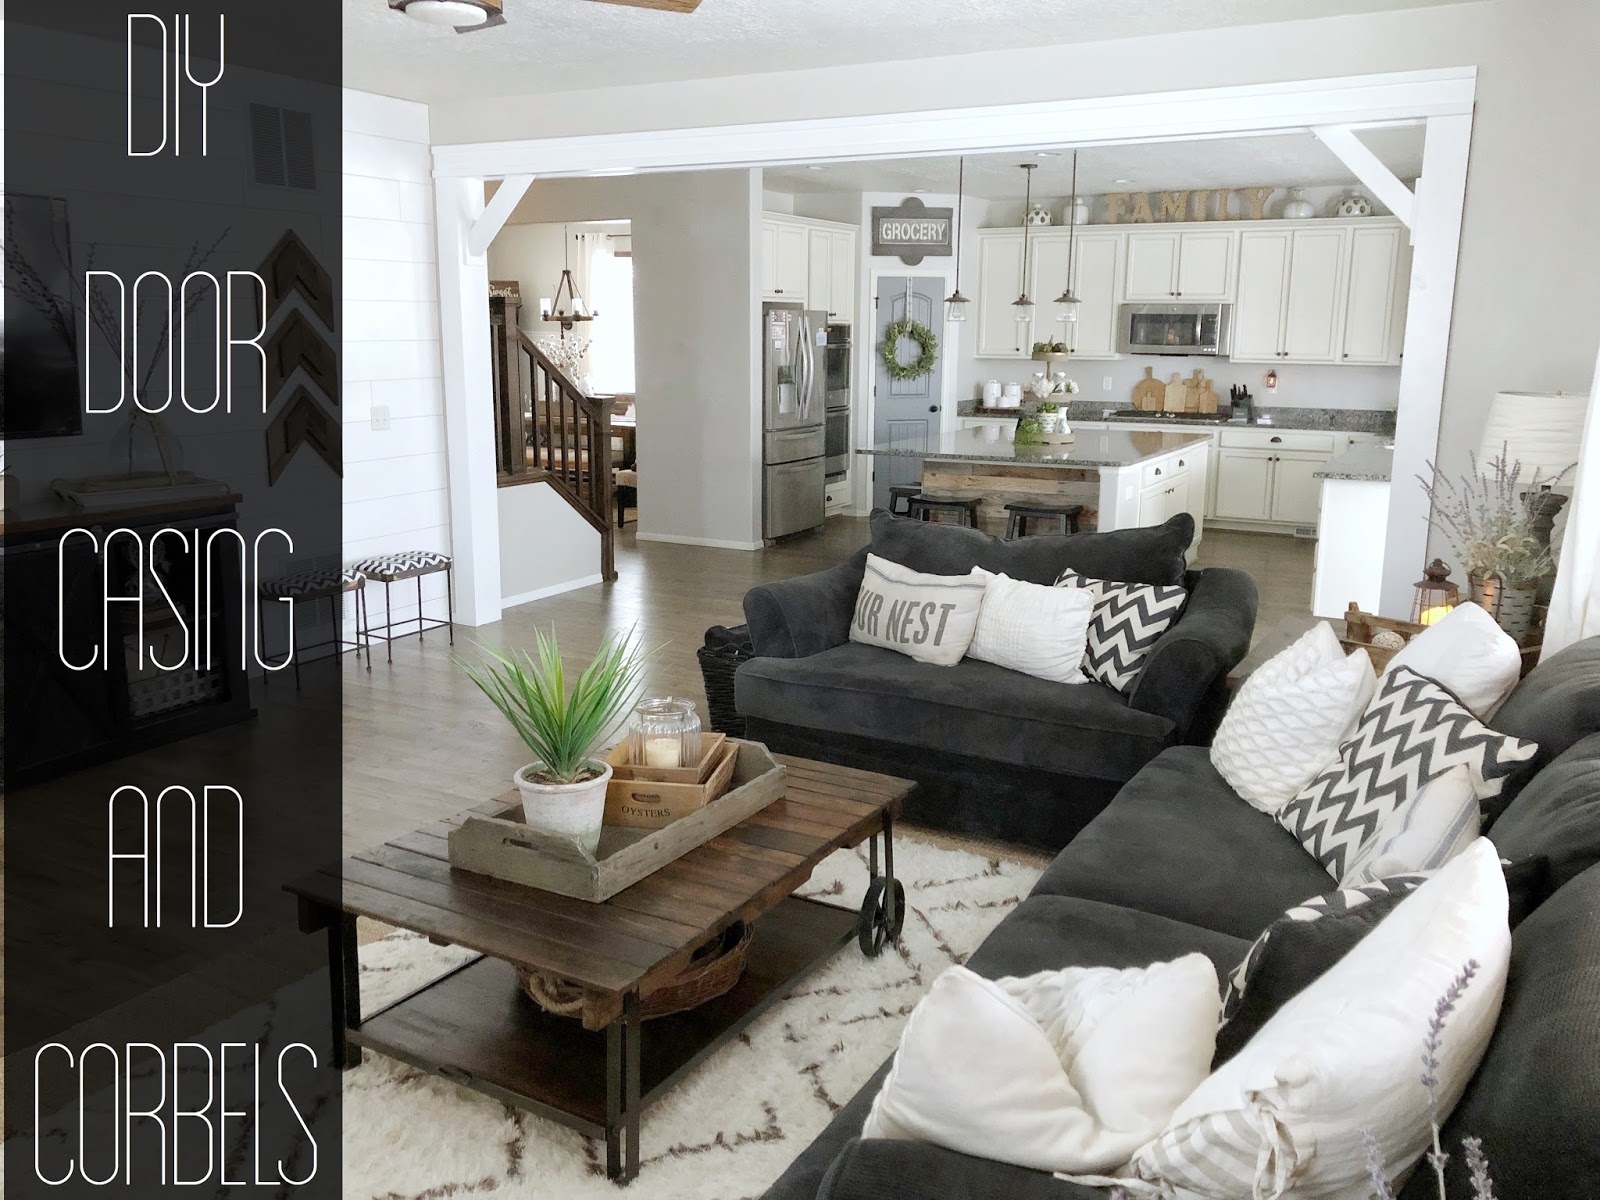
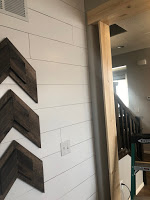
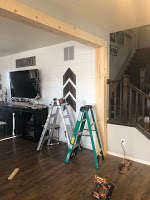
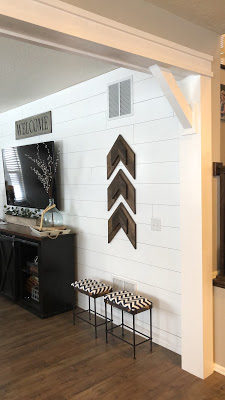
If you follow us on Instagram then I’m sure you saw our project this weekend that I shared through my stories. I’m absolutely in love with how it turned out – it looks like it was always supposed to be there. When we built our home we always felt like something was missing, something to make our home feel more like a custom home and less of a track house. We thought about putting beams in our living room and actually planned on do that, until I came up with this idea. So I explained to my husband the picture I had in my head and he ran with it, figuring out how to make it possible. I can design, but when it comes to construction, I’m at a loss……… so thank goodness for him! The project came together perfectly and I couldn’t be happier with the result and the way it has completely transformed the space! So as promised here is our tutorial for this project!!
(Since each home’s wall openings are different size, I cannot provide measurements, as you will have to do those based on your home and the entryway you want to do this in)
Supply List
- Miter Saw
- Table saw (optional)
- Brad Nail Gun and brad nails
- Tape Measure
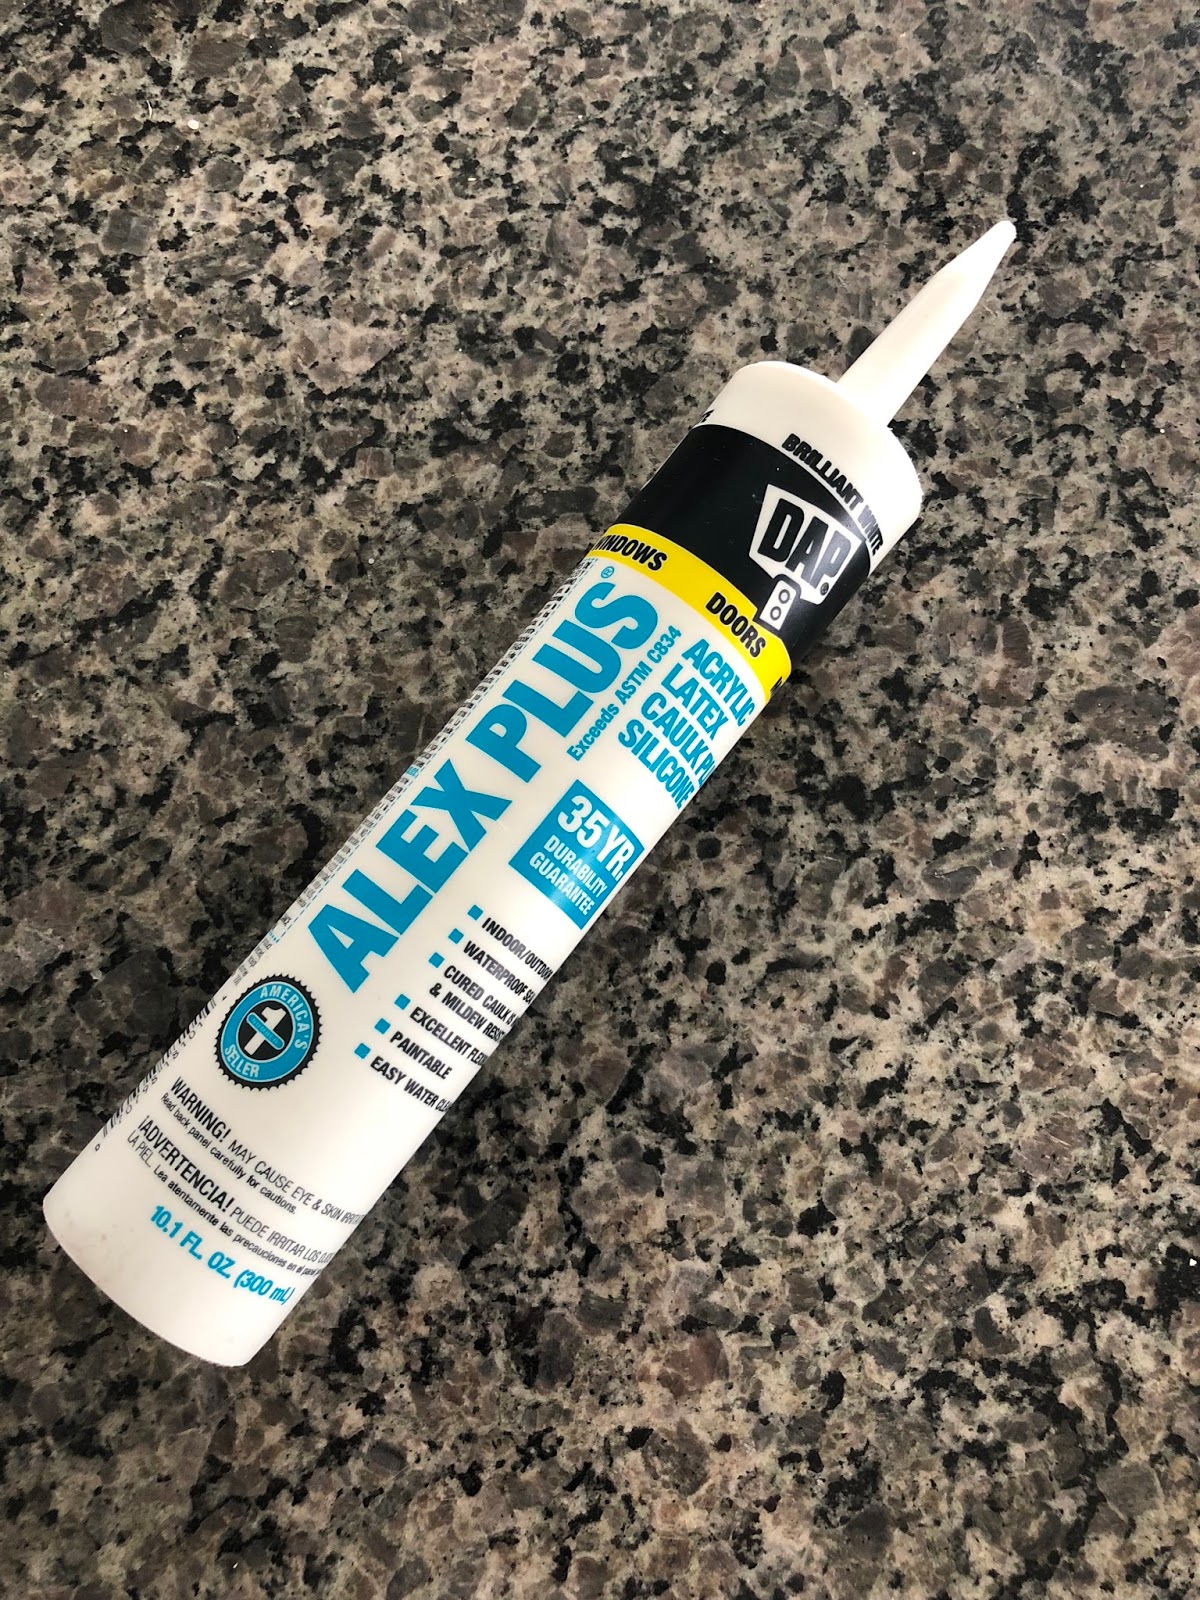
- Caulk Gun and caulk
- Multi Cutting Tool (to remove sections of base board)
- Pry Bar (Small)
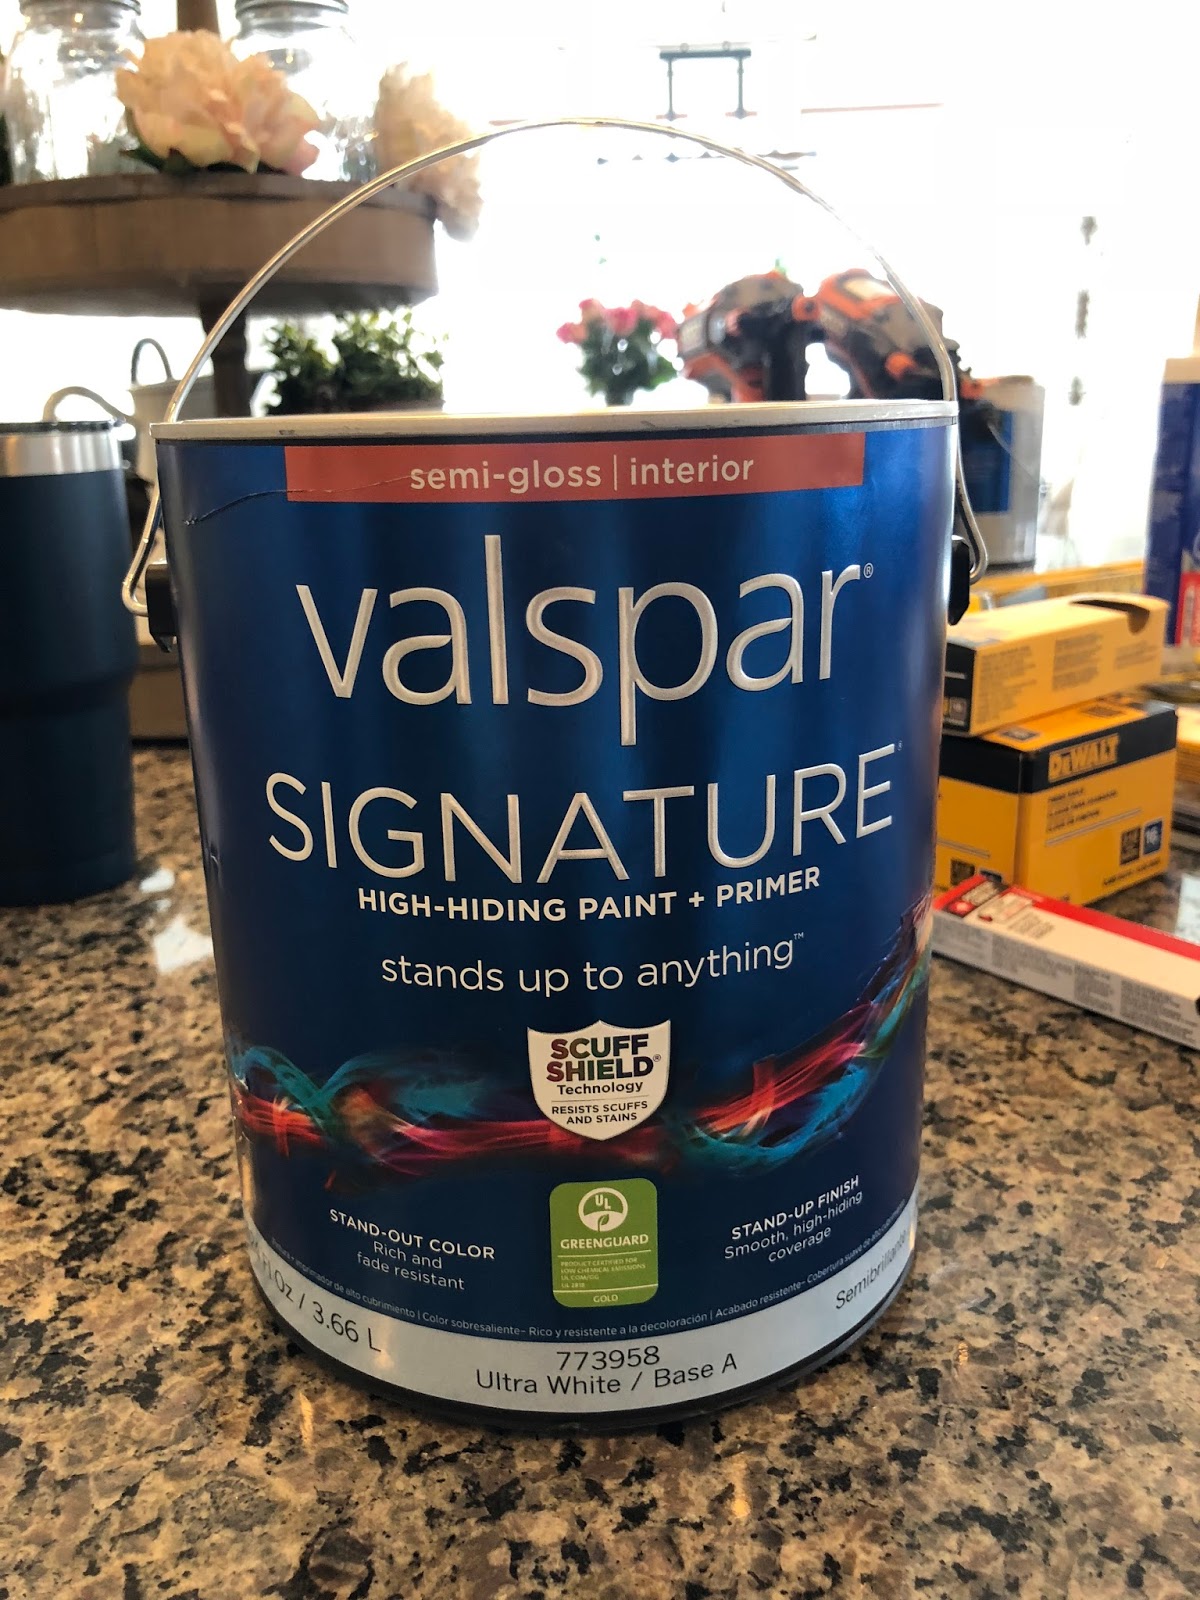
- Paint (we used a pure white paint by Valspar in a semi-gloss finish)
- Masking Tape
- Paint Brush, Short Paint Roller, Paint Tray
- Construction Adhesive
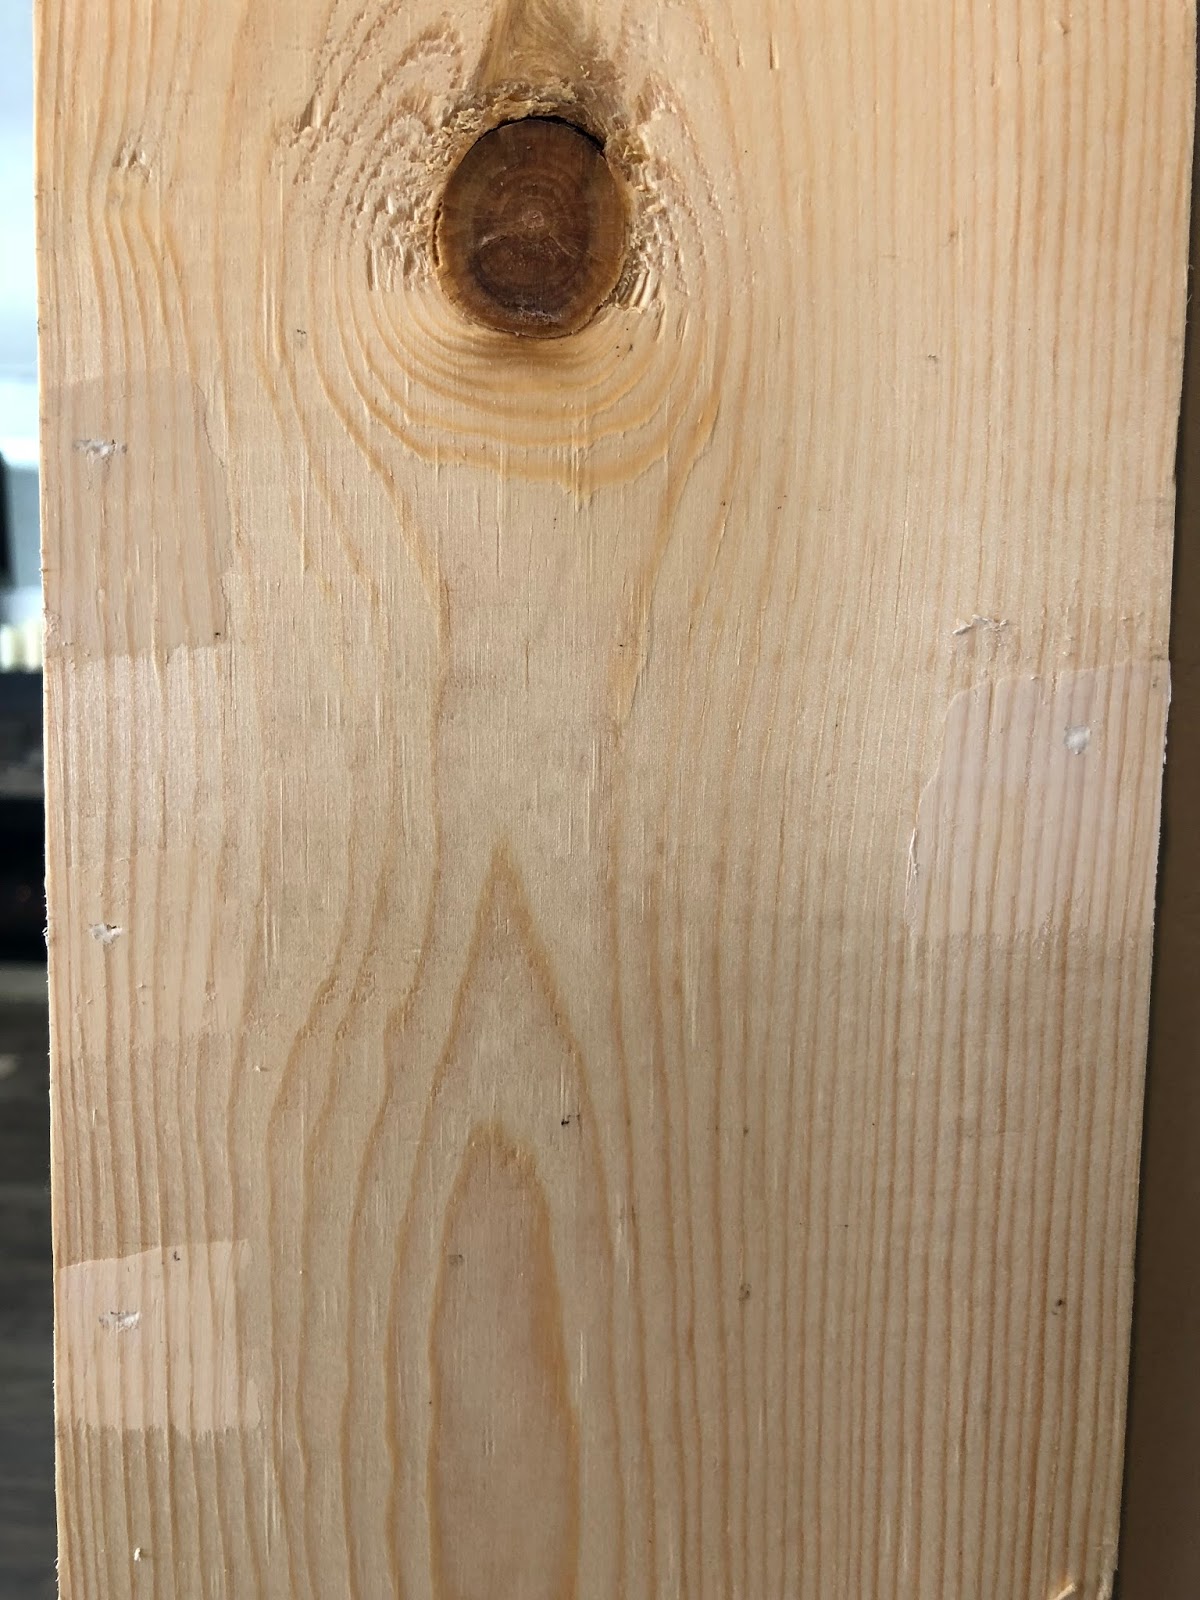
- 1″x 6″ Pine Boards (choose your length)
- 1″x 8″ Pine Boards (choose your length)
- 4″x 4″ Pine Board (this is to make the corbels so you just need 1)
- 1″x 2″ MDF Trim (this is for the trim on the top beam)
Step 1
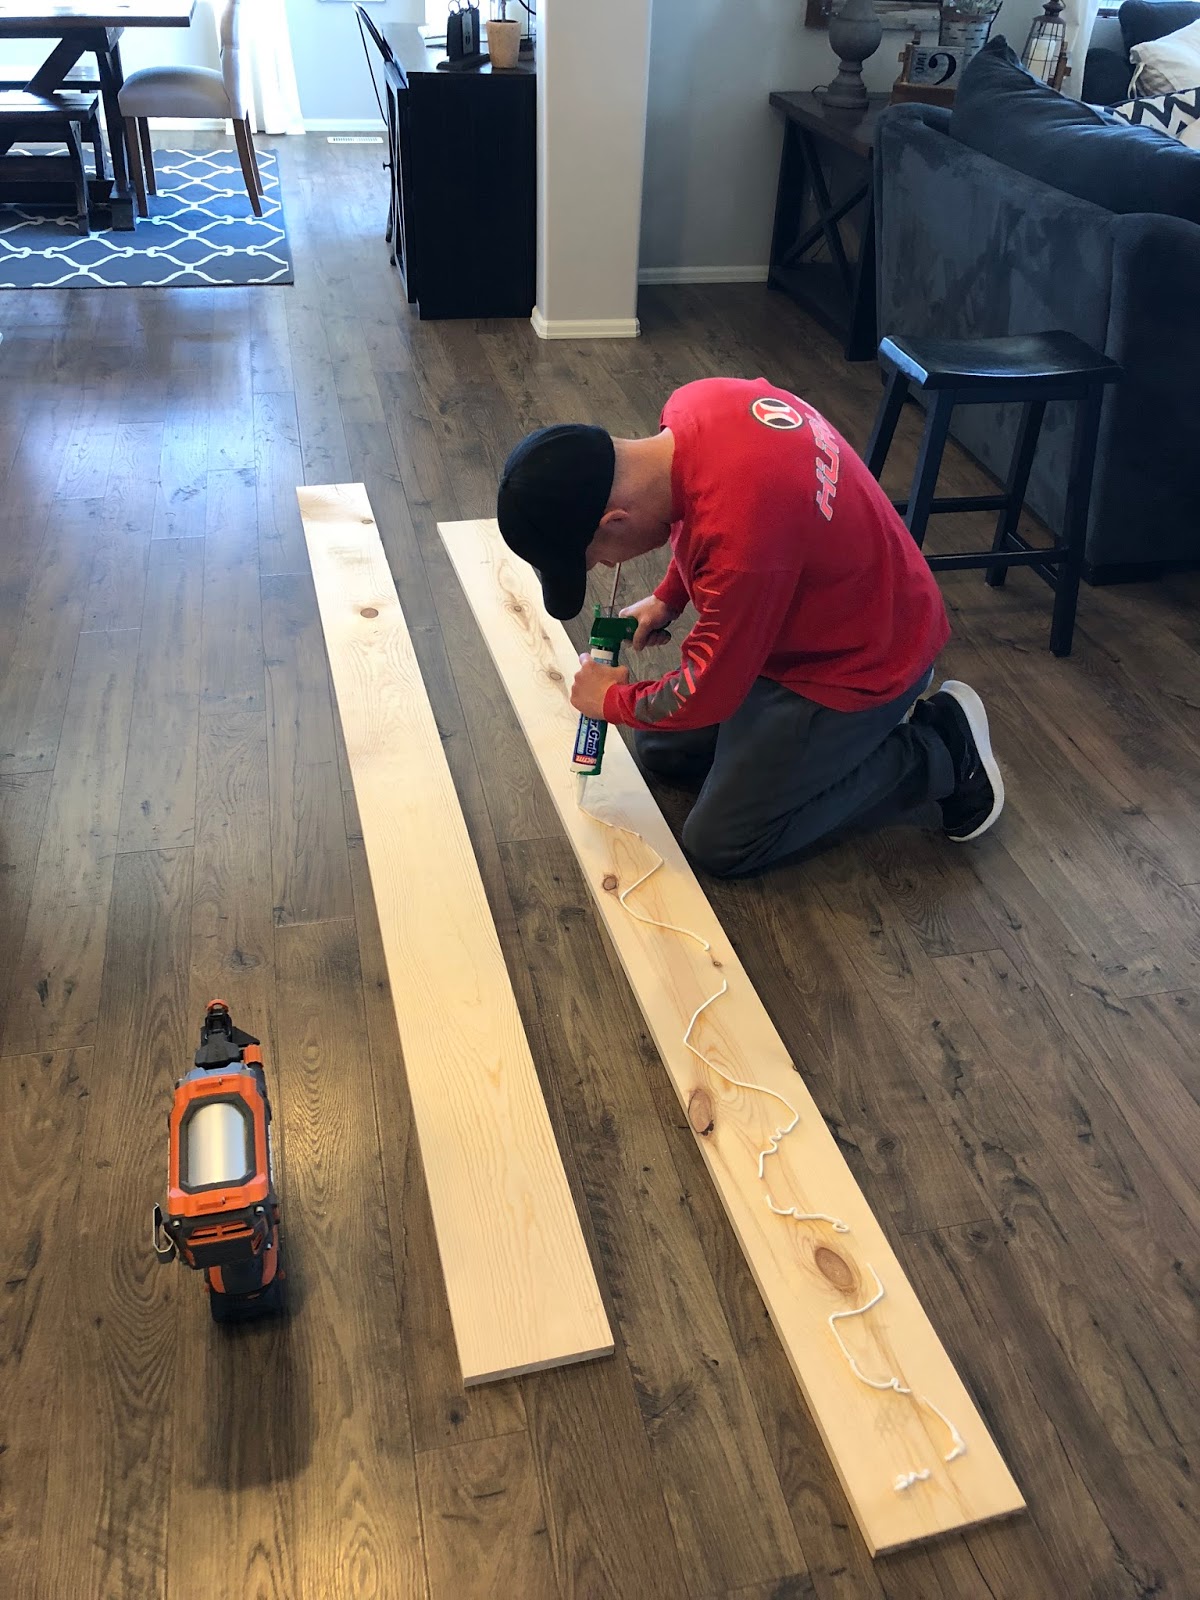
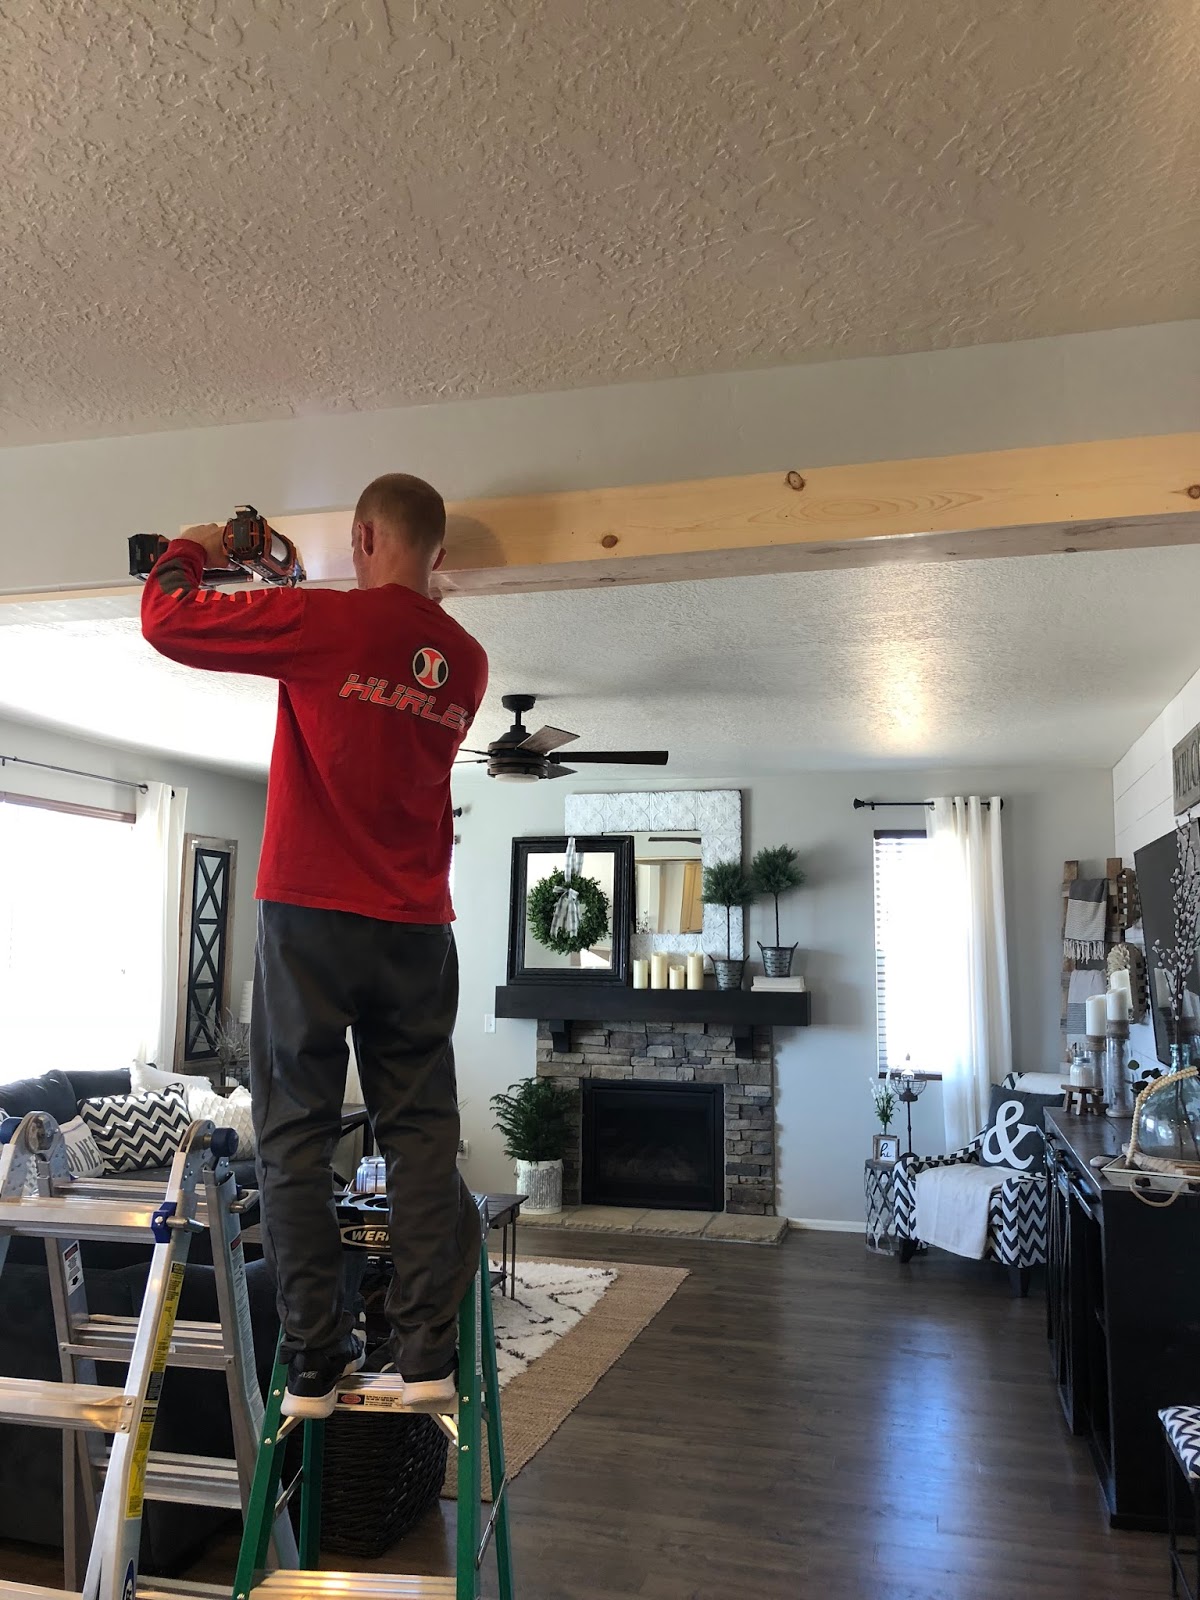
Before you start this project it’s important to get all your measurements so you know how much wood to buy. You will be making 3 hollow 3 sided beams, one on the top and one on each side. Our space was quite large (16′ wide) so we ended up needing eight 1″x 6″ boards at 8′ and five 1″x 8″ boards at 8′ for our beams, and twelve 1″x 2″ MDF trim pieces for the trim work.
Step 2
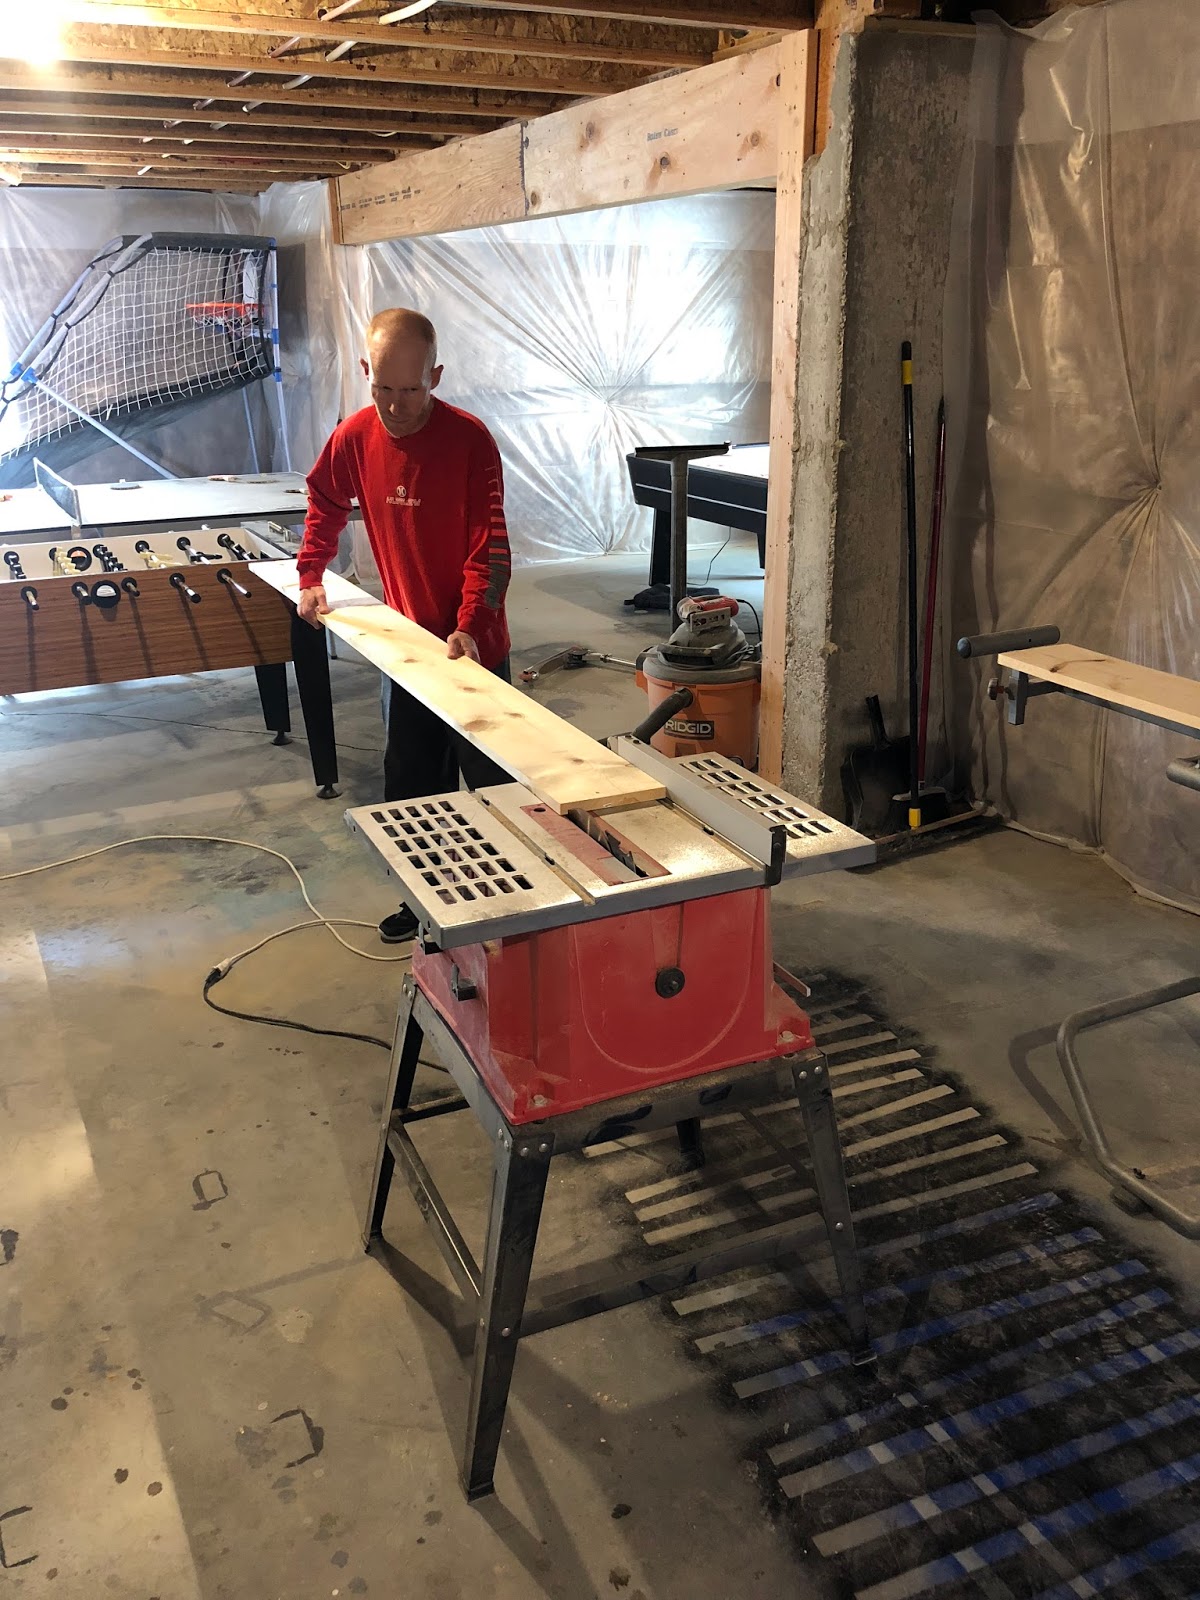
The first thing you are going to do is cut your boards to build your top beam. We decided to cut the width down a bit so we ripped our boards first and then cut them to the right length, (this step is optional and just personal preference)
Step 3
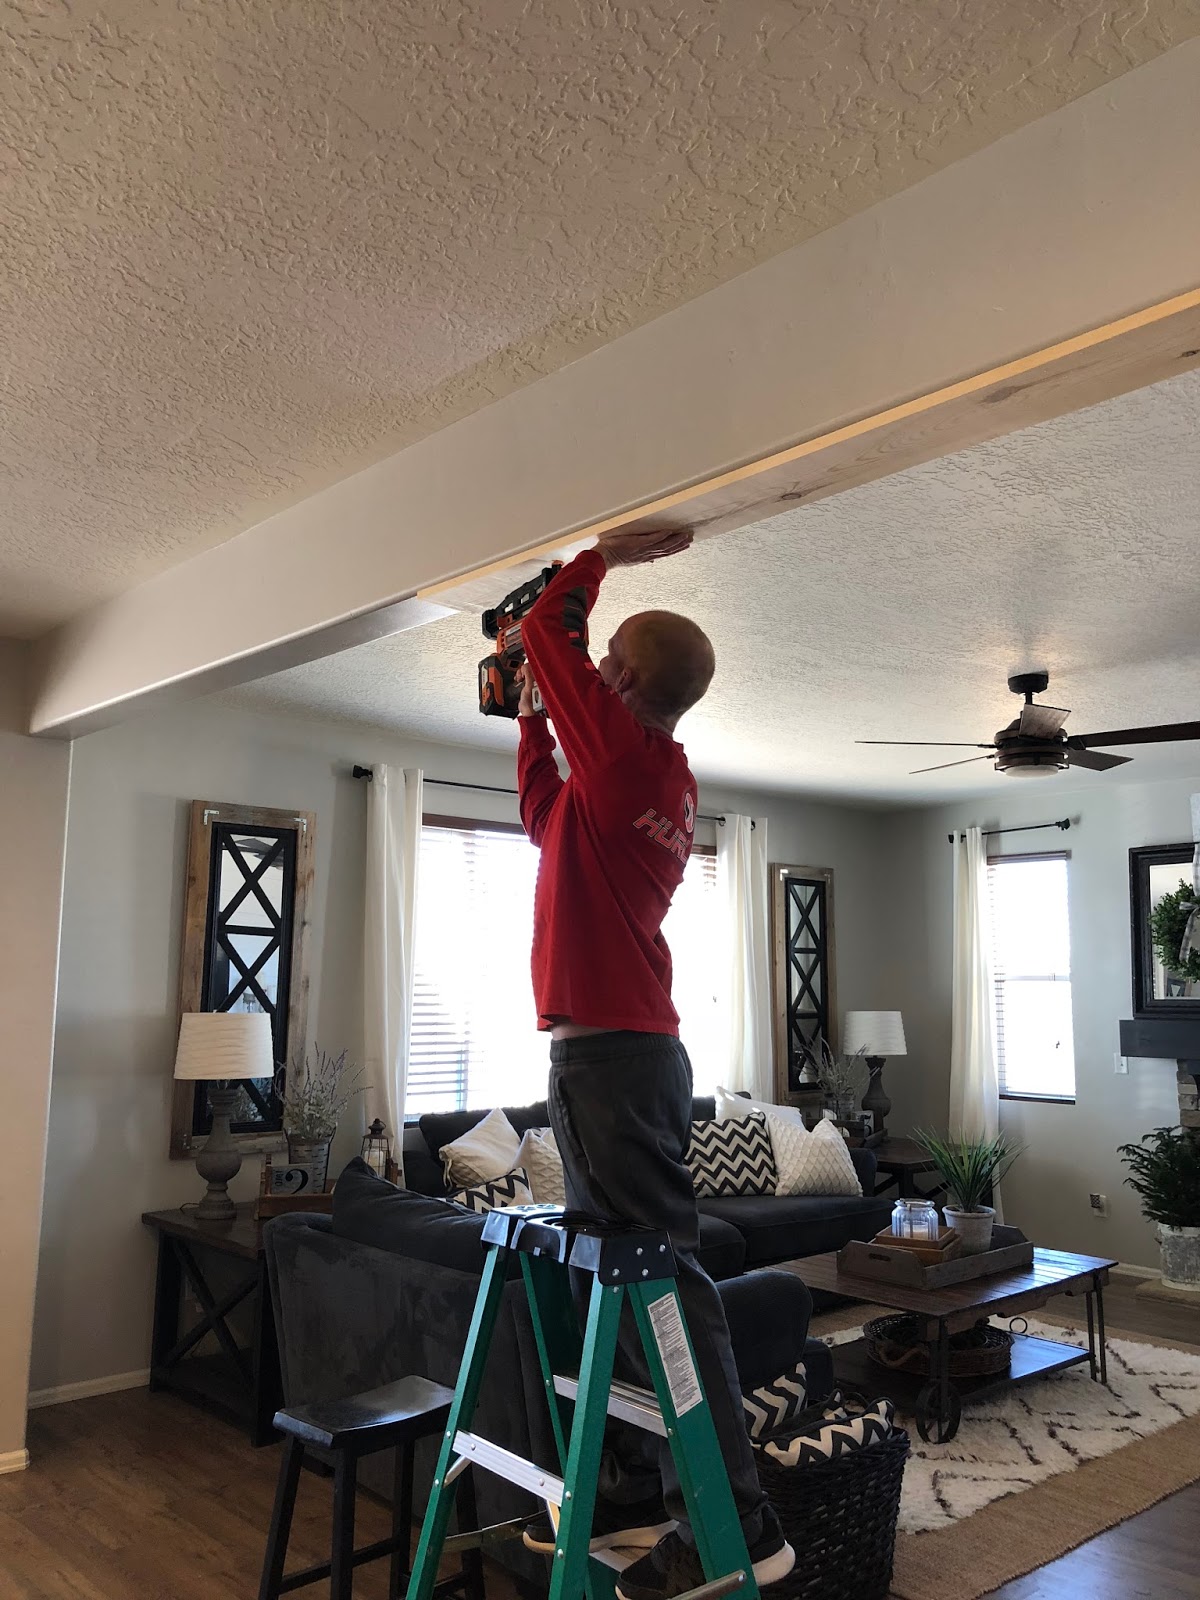
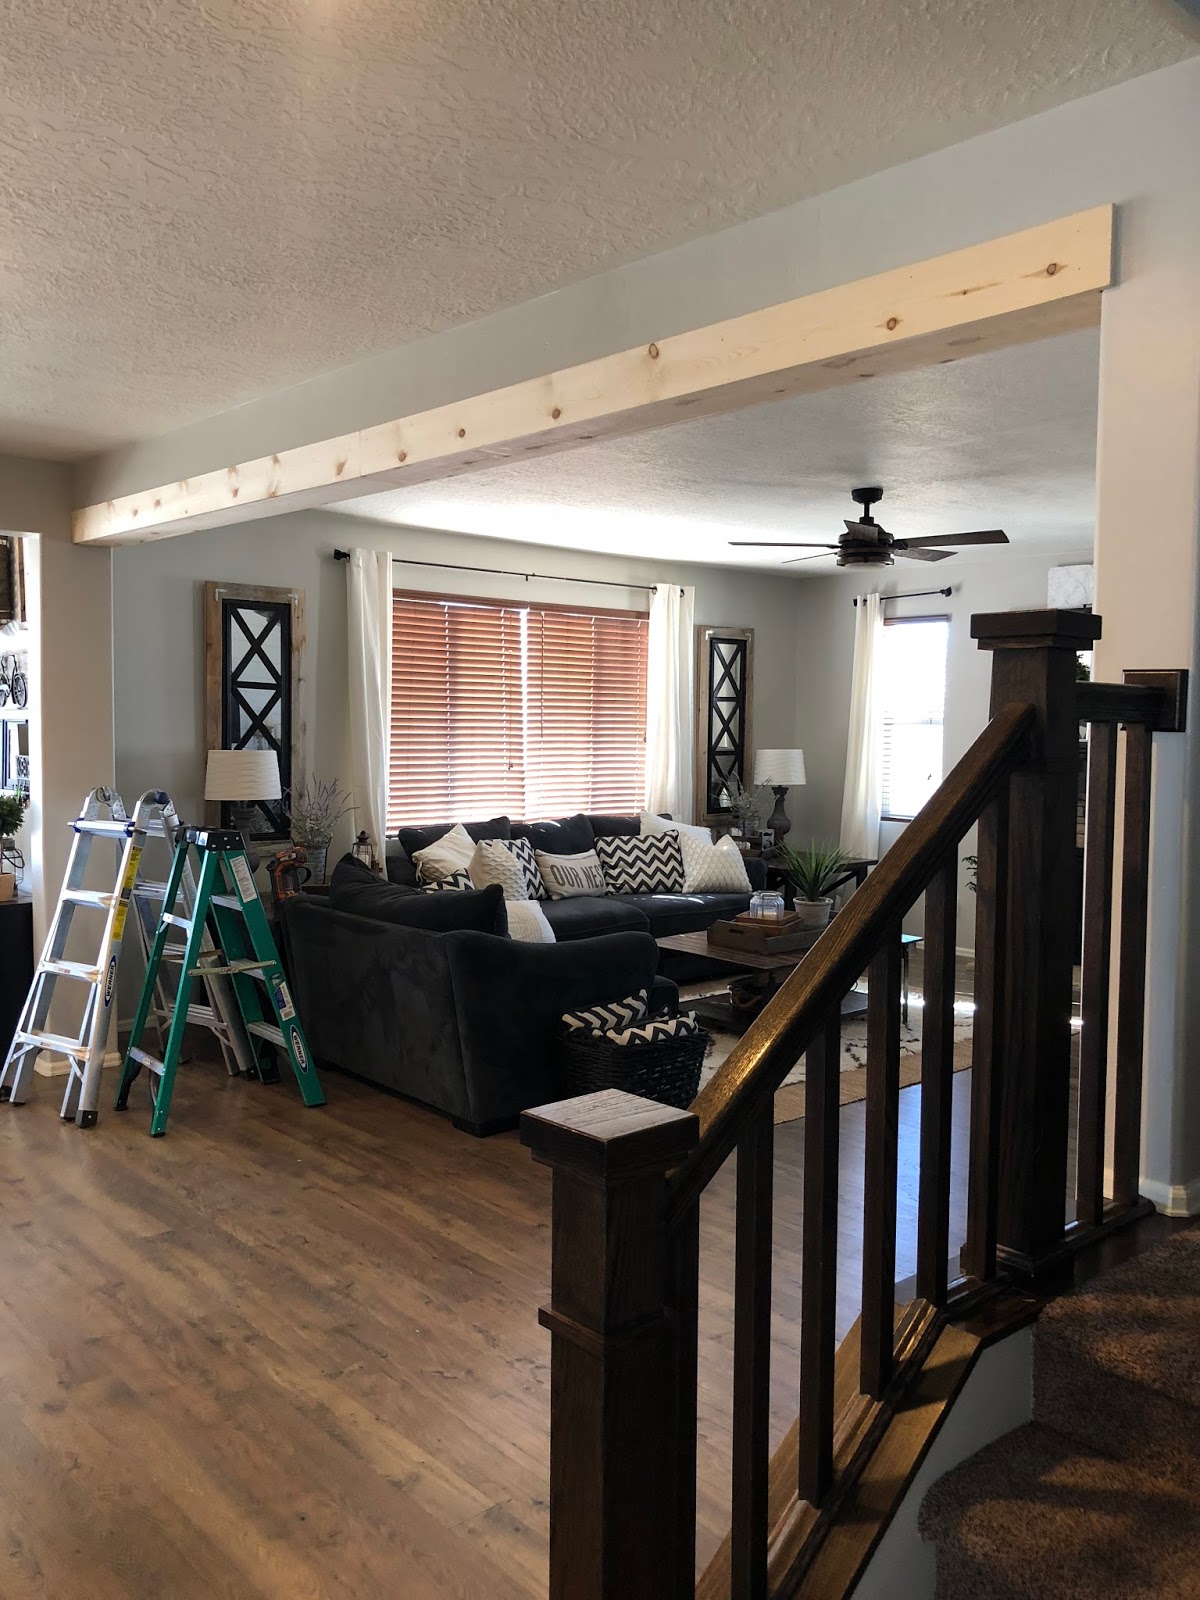
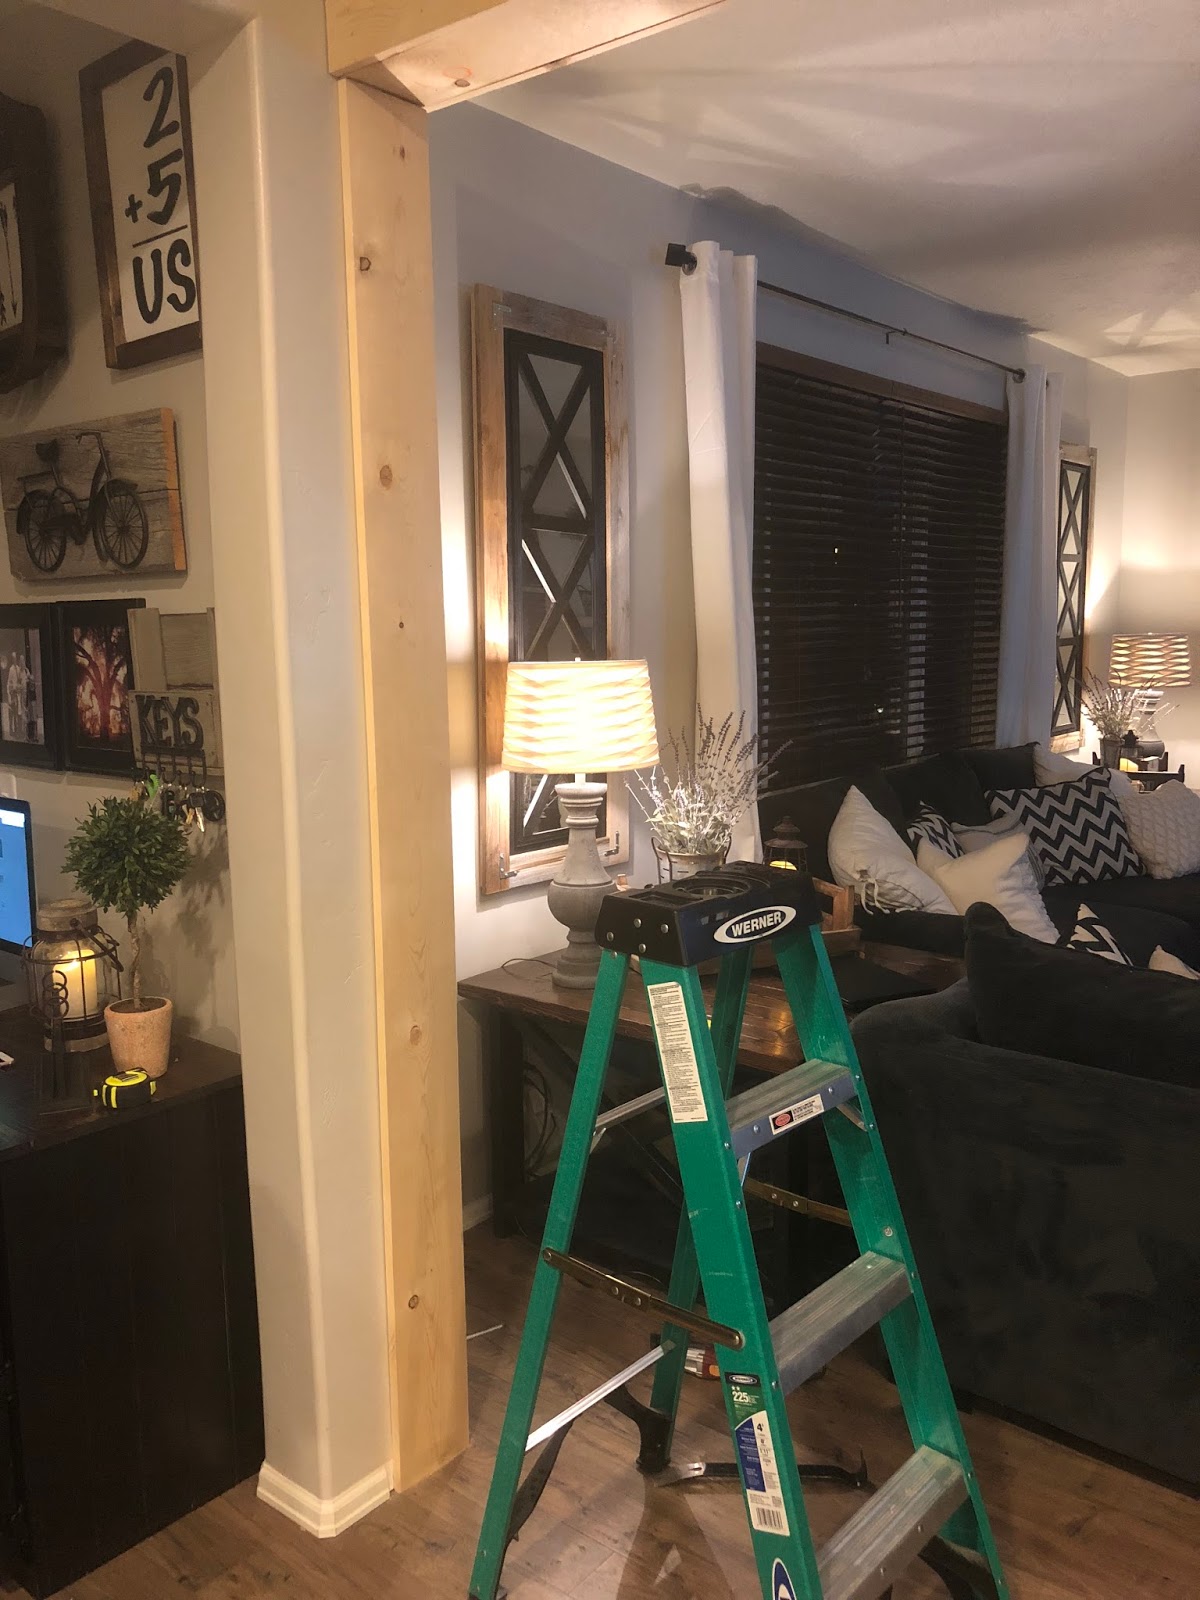
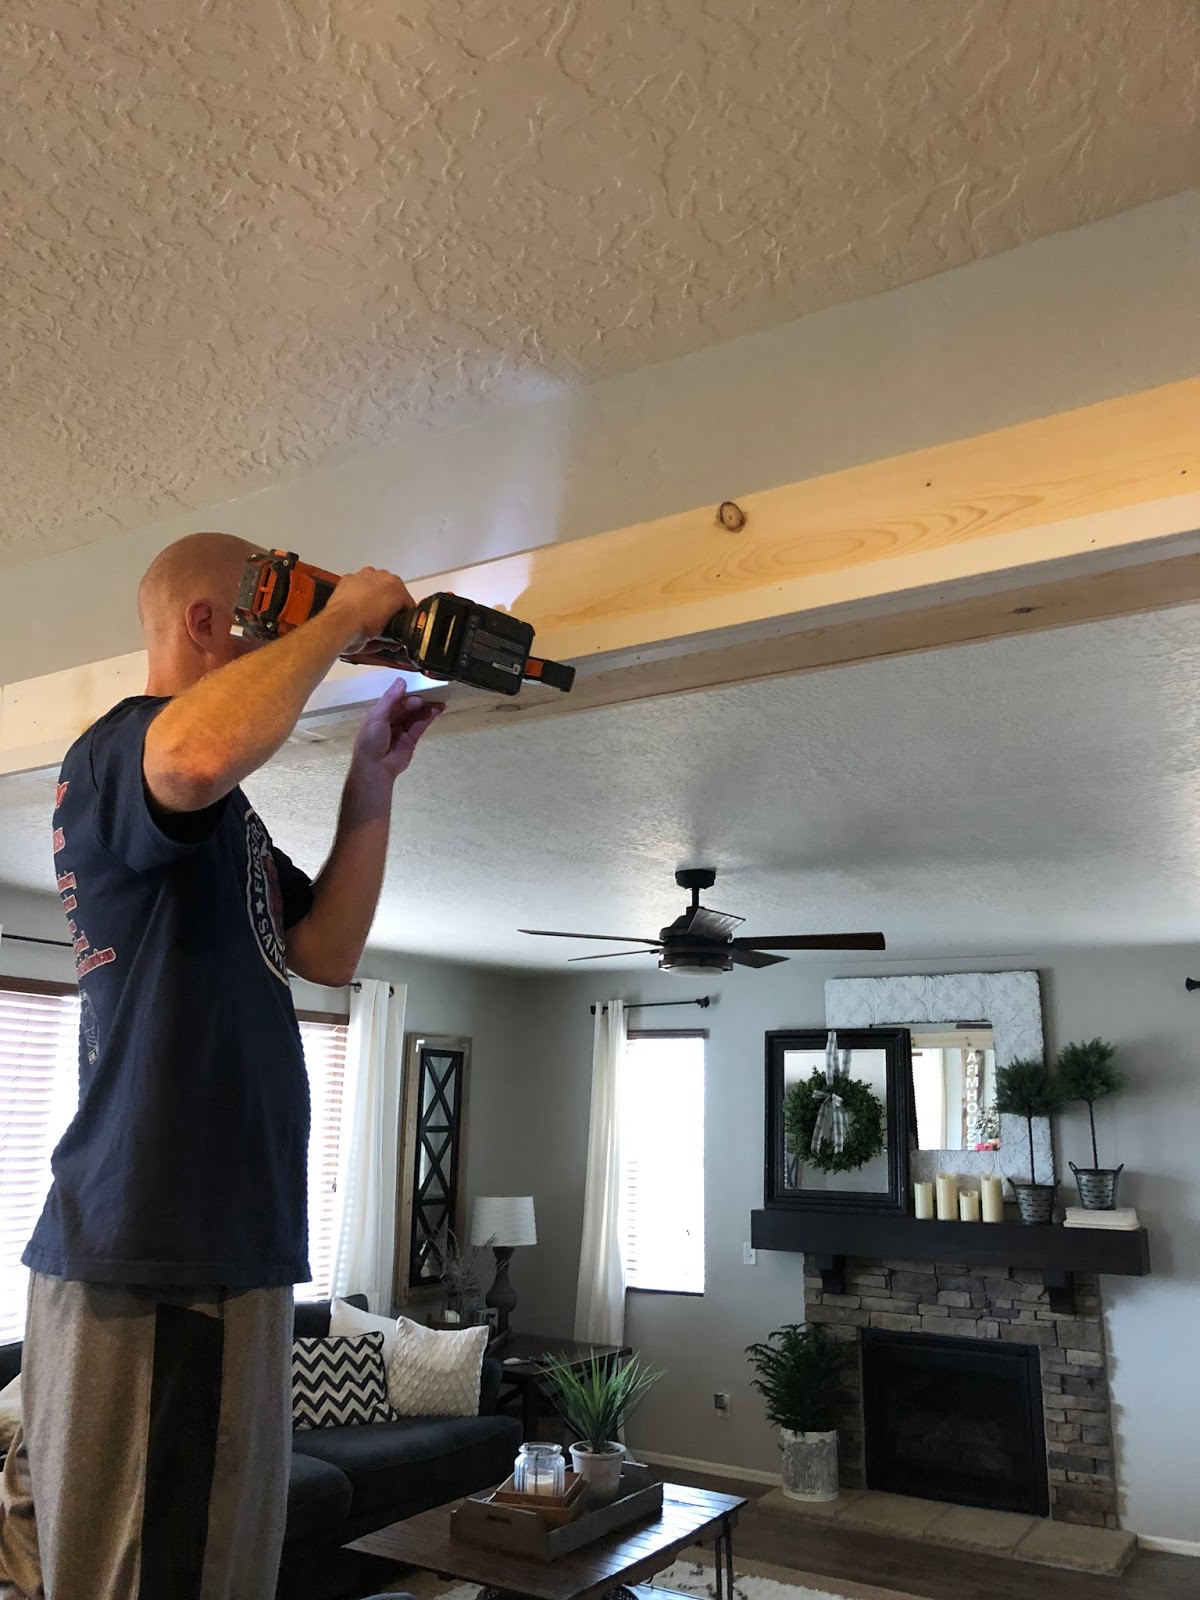
Now that your boards are cut you can build the top beam. To do this you are going to place a 1″x 8″ board on the underneath of the header then a 1″x 6″ board on each side, essentially wrapping that section on wall to look like a beam. You are going to want to put some construction adhesive on the back of each board then place it on the the wall and secure it with nails.
Step 4
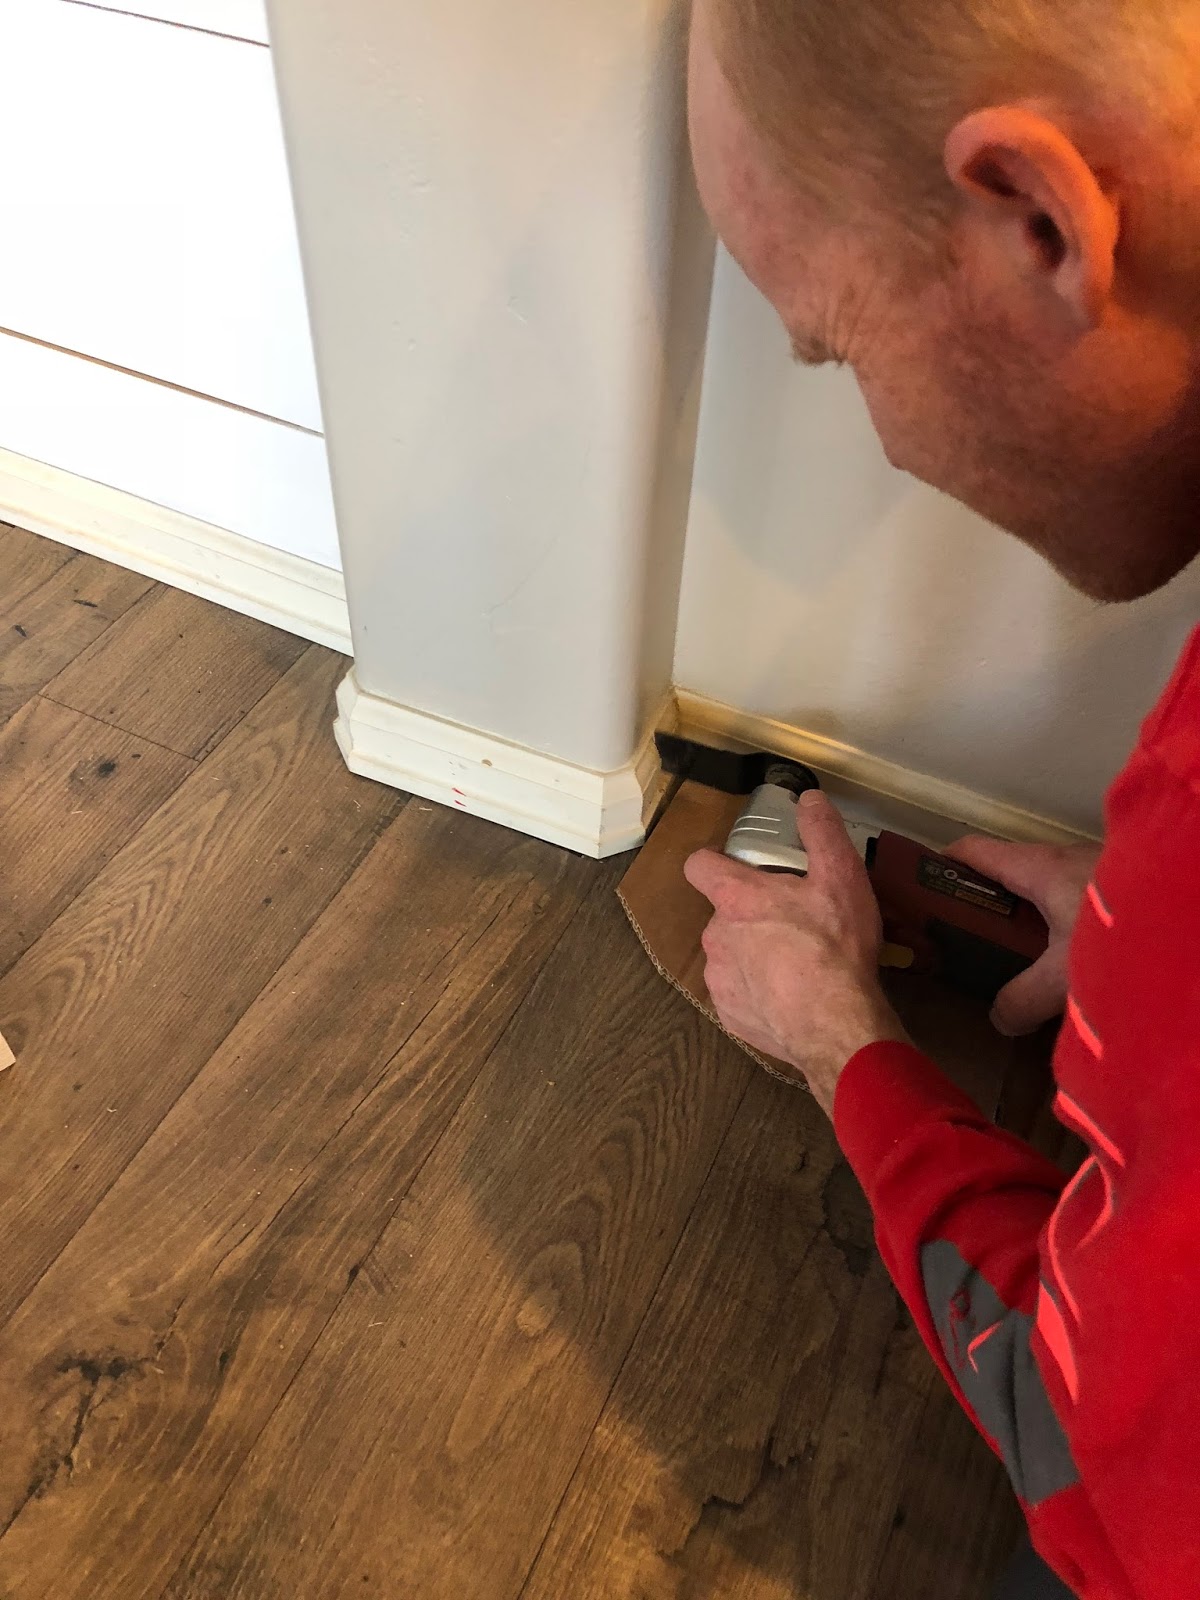
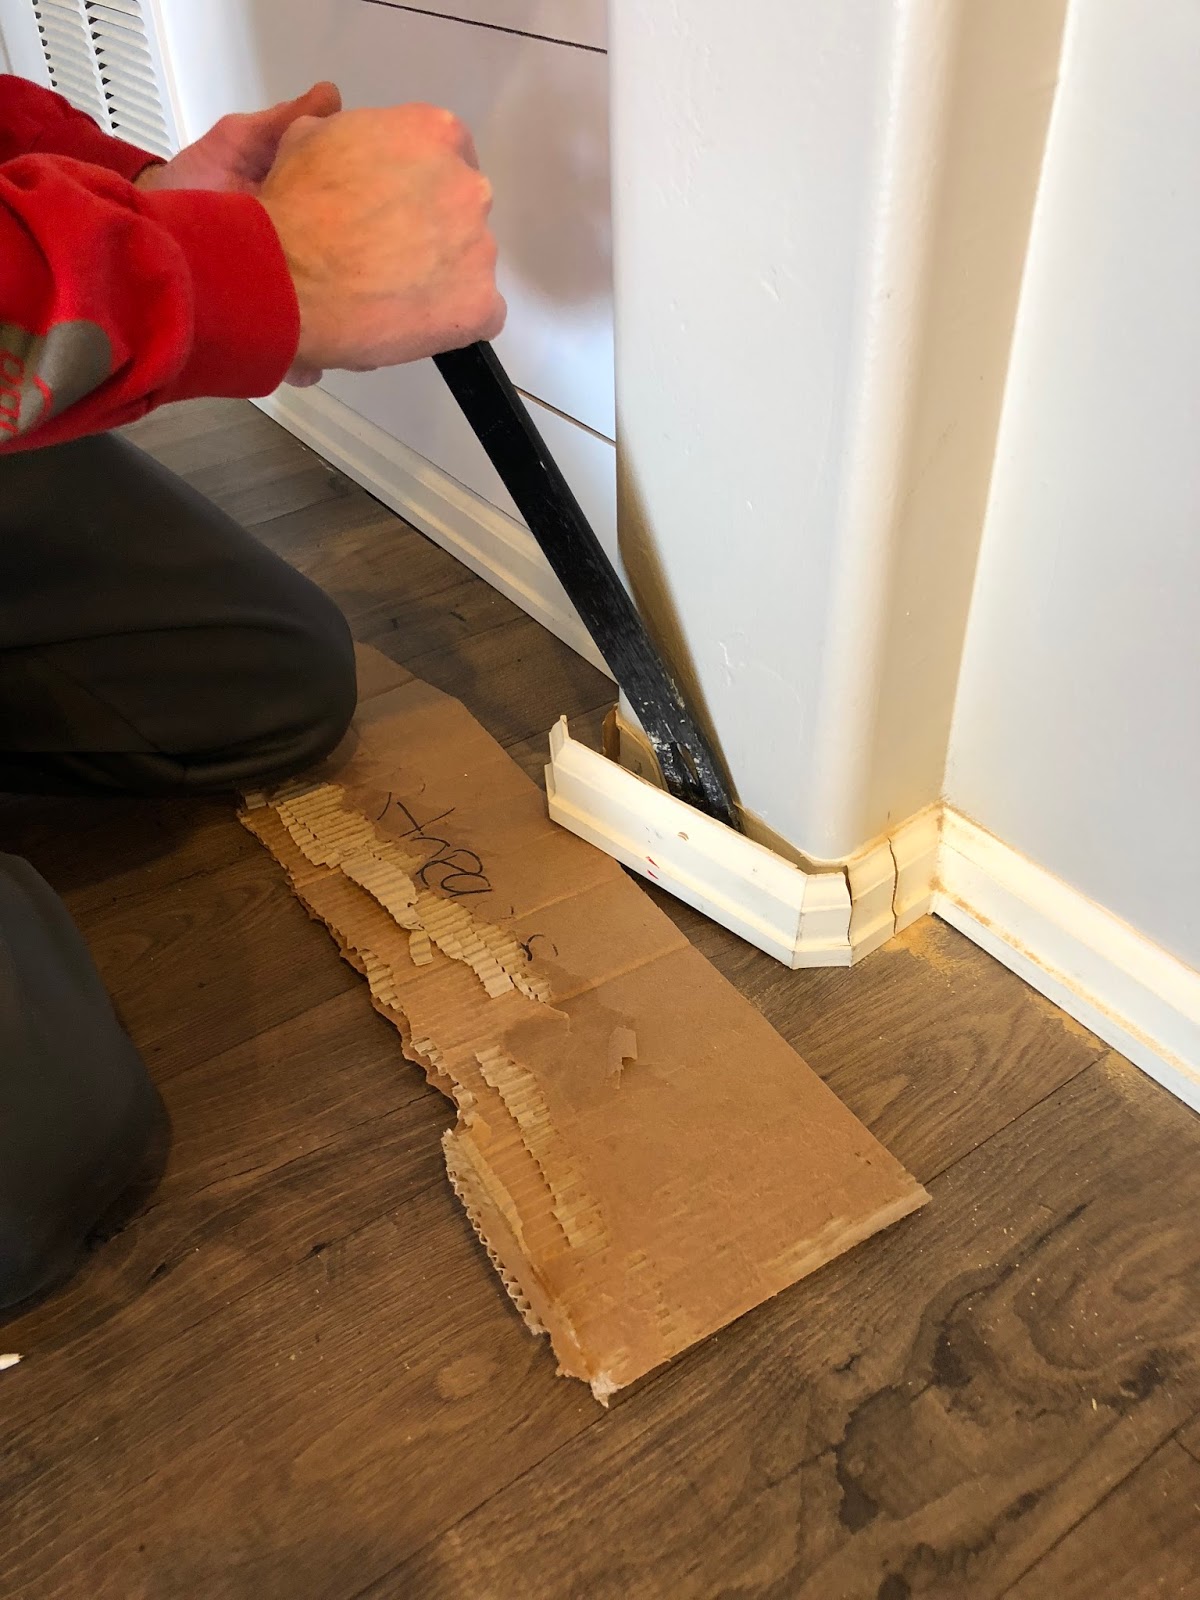
Before you can build your side beam you are going to want to cut out any base board you may have on your wall so that the beams can sit flat against the wall. This is where you are going to use your cutting tool to carefully cut the sides and then the pry bar to remove the piece of base board.
Step 5
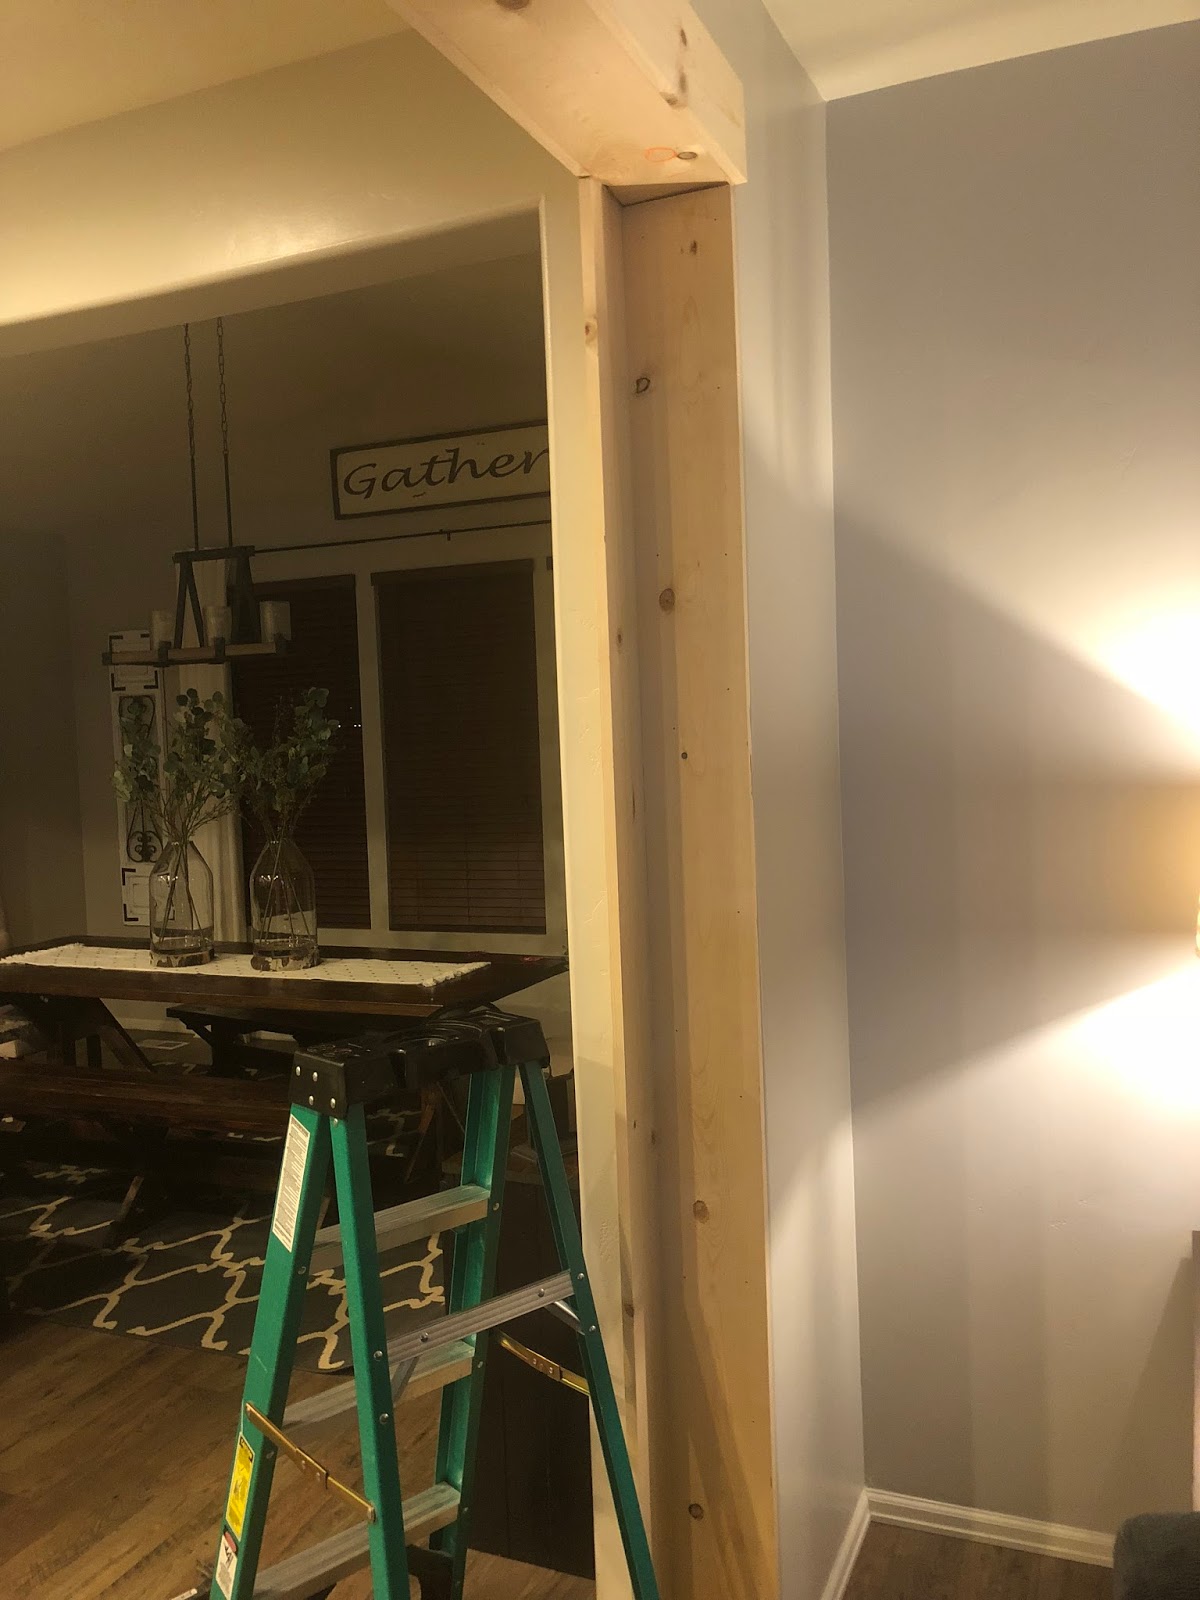
Next step is to build the beams on each side. For our space on one side we were able to attach the beam to the side of the wall, but on the other side we had to build a cleat to attach the wood to since the wall was flat. Depending on your walls you can attach you side beams either way. For our first side we built a hollow 3 sided beam that we attached to the wall.
Step 6
For the next side beam we attached it to the wall using a cleat. You are going to want to attach your cleat (board) to the flat wall first, then build your hollow beam around your cleat. Use wood glue where your boards touch each other, and construction adhesive where your boards touch the wall. Once your cleat is in place you will attach the other sides of the beam to the wall and secure with brad nails, making sure to fire the nails into the wood cleat.
Step 7
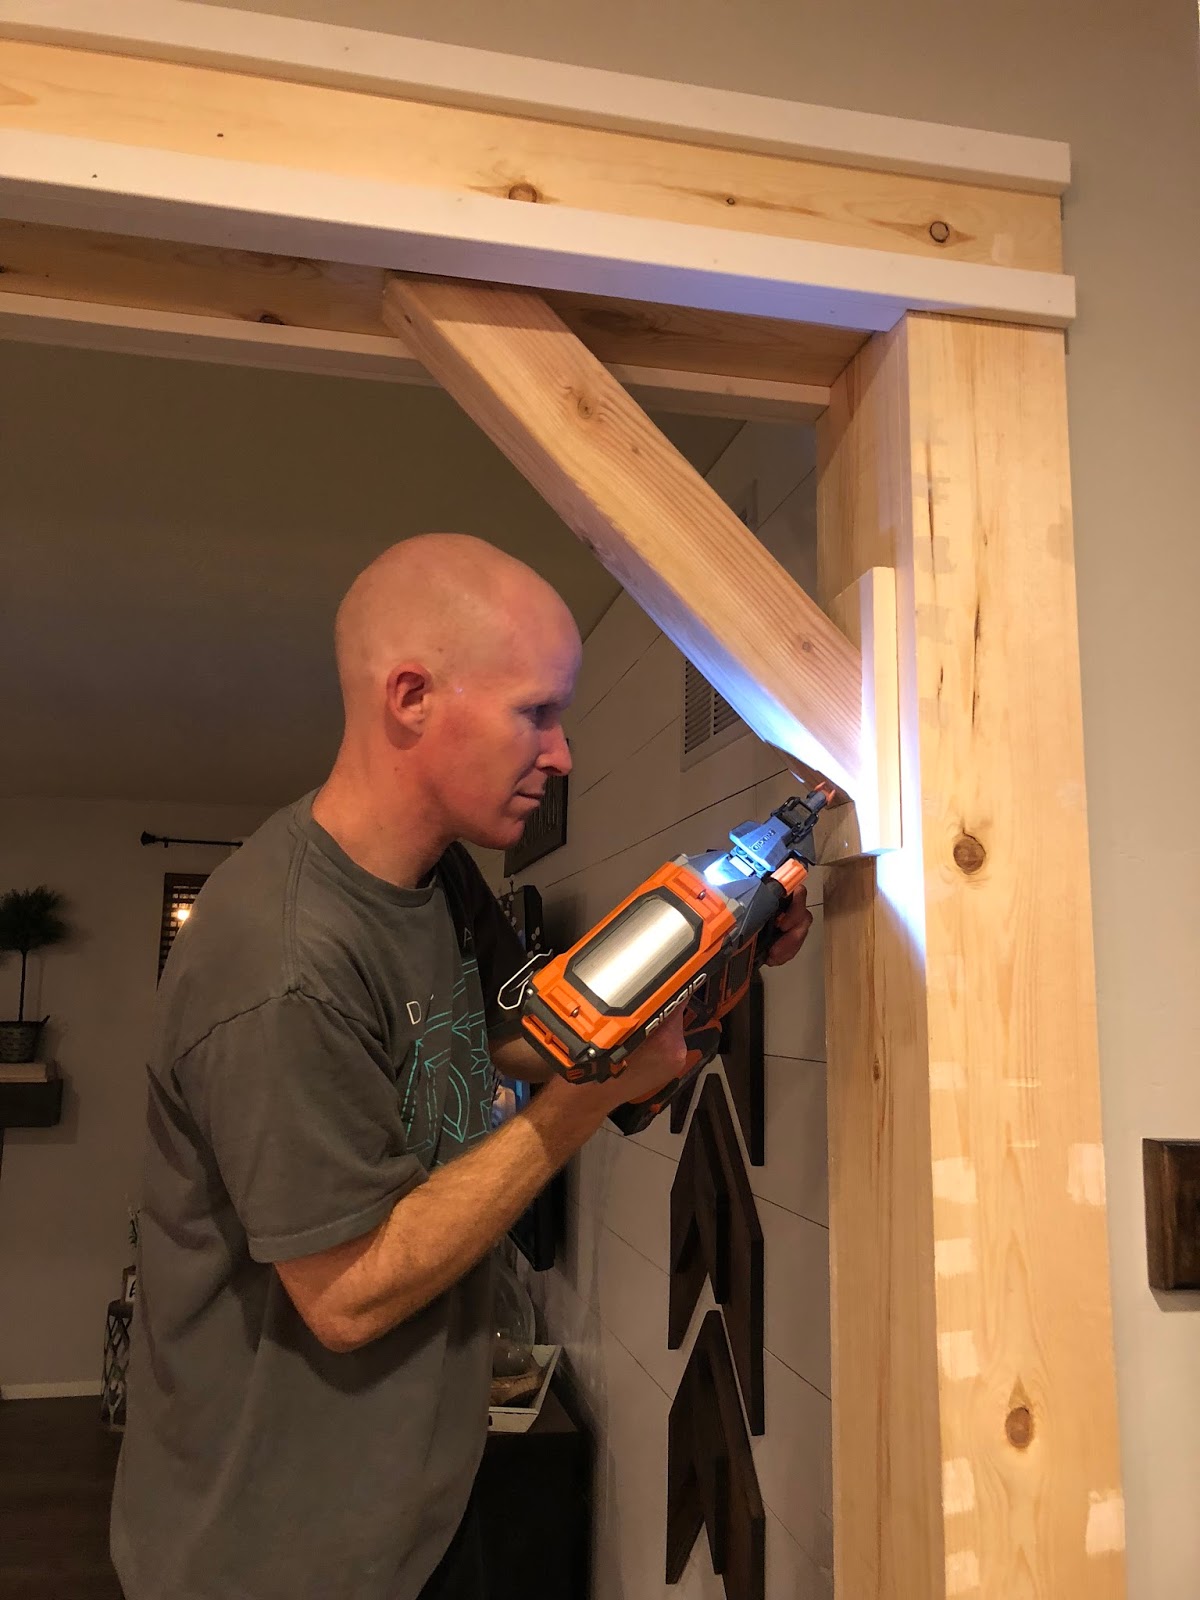
Now that the main structure is built it’s time to add the trim. Use the 1″x 2″ MDF boards to trim out the top beam. Start by attaching a piece to the bottom then another piece to the sides, making sure to overlap the side of the MDF you just attached to the bottom of the beam, essentially forming an L shape on the bottom of your top beam. Then attach a piece of the MDF to the top side of the beam and repeat for the other side of the beam. Secure with wood glue and nails.

Step 8
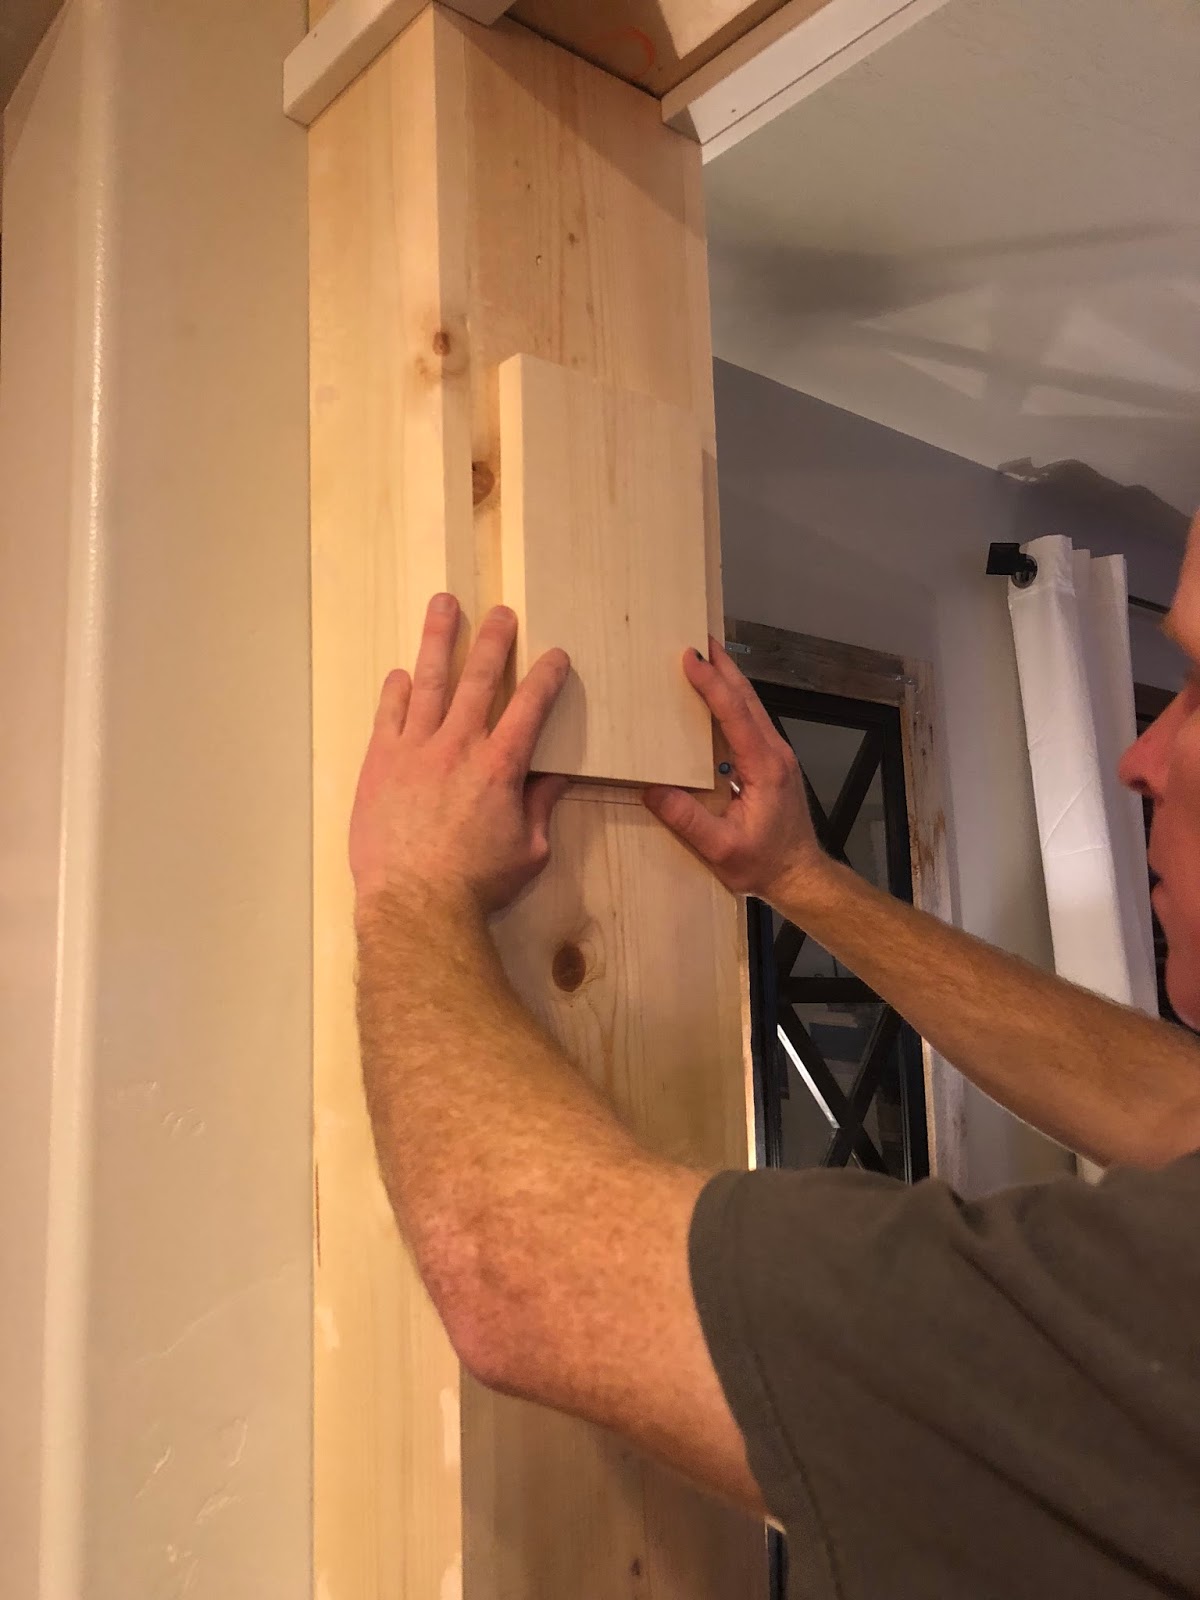
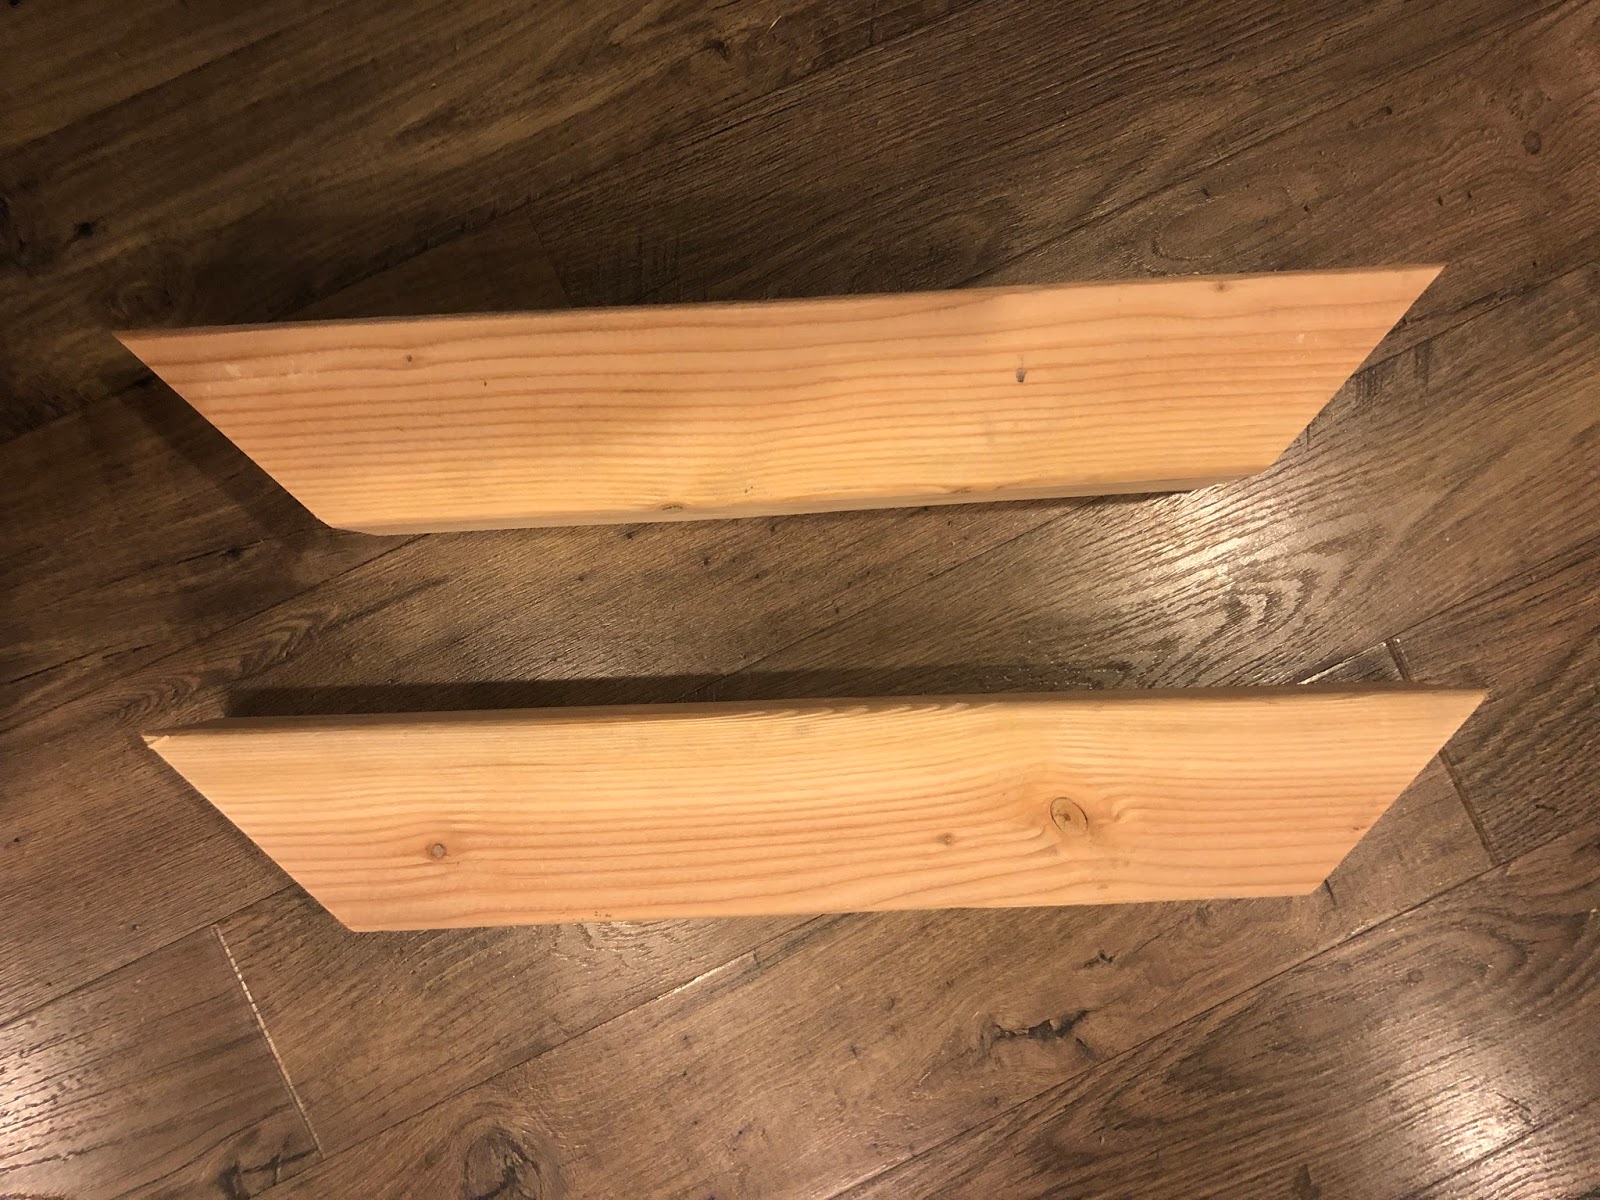
Now it’s time to build the corbels on the side of the beams. Cut your 4″x 4″ at a 45 degree angel to the size that fits your space. Take some of your scrap pieces of wood used to build the beams and cut a piece to attach to the bottom of your corbel. (This is just decorative and an optional step) Attach the base plate for the corbel to each side beam with wood glue and nails

Step 9
Now its time to attach the corbels, use wood glue and nails. Shoot your nails at the base and top of the angled cut of the 4″x 4″
Step 10
Now that the build part is finished it’s time to get it prepped for painting. You are going to need to fill all the nail holes and seams in the wood with caulk for a seamless looking finish. This dries pretty quickly (about 30 min) so once that is done and dry you can start painting.
Step 11
Now it’s time to paint!! We used a true white Valspar paint in a semi-gloss finish. You can paint this any color or use any brand paint you like, I just recommend getting it in a semi-gloss so that it can be easy cleaned and its not overly shiny.
This project took us 2 days to complete. It’s definitely not a beginners DIY project but if you have some building knowledge then it will come together nicely! I’m so excited with how well this project turned out and I hope you will give it a try in your home!!

-Grey Birch Designs-


