read more
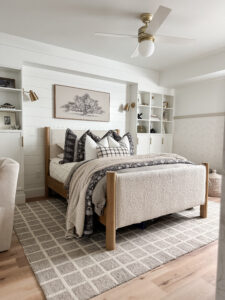
If you’ve ever had a room with a weird soffit that drives you crazy, you’re not alone! For the past year, I’ve been staring at one in my daughter’s bedroom, wondering how to make it blend into the space rather than sticking out like a sore thumb. Since removing it wasn’t an option due to the plumbing inside, we decided to get creative and work it into a custom built-in design using IKEA bookshelves, shiplap, and some good old-fashioned DIY magic.
The result? A functional and beautiful built-in unit that looks like it was always meant to be there. If you’re into DIY projects, IKEA hacks, or interior design, this is one transformation you don’t want to miss!
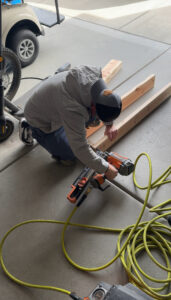
Step 1: Building the Base Frames for the Built-In Bookshelves
The first step in this IKEA hack was to create a solid base for the bookshelves. We built two base frames and secured them to the wall studs on either side of the bed. This not only ensured stability but also raised the bookshelves to a more custom built-in height.
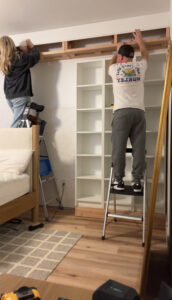
Once the bases were in place, we positioned three IKEA bookcases on each side and attached them to the wall using L-brackets for extra security. These bookshelves served as the foundation for our new built-in storage system.
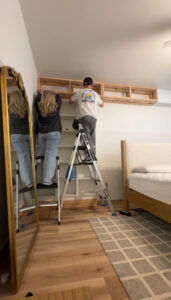
Step 2: Addressing the Awkward Soffit with a Custom Frame and Shiplap
Now, onto the real challenge: that awkward soffit. Since removing it wasn’t possible, we decided to make it look intentional rather than like an afterthought. We built a frame matching the depth of the bookshelves, attaching it to the soffit and extending it across the wall.
To give it a polished, cohesive look, we installed 8-inch wide shiplap boards across both the frame and the soffit, making it appear as one continuous built-in unit. To further enhance the seamless design, we continued the same shiplap down the back of the wall between each bookcase. This simple addition made a huge visual impact, instantly elevating the entire space.

Step 3: Adding Trim, Molding & Paint for a Custom Look
Once the shiplap was in place, we framed out the top of each bookcase using MDF boards to create a more finished, custom look. Then, we filled all the nail holes and seams, making everything smooth and ready for paint.
For the color, we chose Pure White by Sherwin-Williams in a satin finish. This kept the space light, bright, and modern, while also helping the built-in blend seamlessly with the rest of the room.
To complete the built-in, we added new baseboards, trim, and molding around the shiplap for that final polished touch.

Step 4: Installing Stylish & Functional Finishing Touches
Now for my favorite part—the finishing touches! We installed doors on the bottom half of the bookcases, providing hidden storage for toys, books, and other items.
For lighting, we opted for these stunning battery-operated sconces that are controlled with a remote—no hardwiring needed! This was a simple way to add ambiance without having to deal with electrical work.

The Big Reveal: A Built-In That Looks Like It Was Always Meant to Be!
Looking back at the before and after, I can’t get over how much of a difference this built-in made. That once-awkward soffit now blends seamlessly into the design, and the additional storage has been a game-changer for our daughter’s room.
This project solved two major problems:
1. Making the soffit look intentional instead of like an afterthought.
2. Creating much-needed extra storage in a stylish and functional way.
Why This IKEA Hack Works for Any Home
If you have an awkward soffit, a blank wall, or just need extra storage, this IKEA hack is a perfect solution. By combining affordable IKEA bookshelves, simple framing, and shiplap, you can create a custom built-in that looks high-end without the high-end price tag.
So, if you’re feeling inspired to tackle your own DIY home improvement project, this is your sign to go for it! Have you ever done an IKEA hack or a built-in project like this? Share your experience in the comments—I’d love to see what you’ve created!
Links for this room can be found HERE!
Ikea bookcases we used can be found HERE!
Watch this project unfold from start to finish below!
Happy DIY-ing!
read more
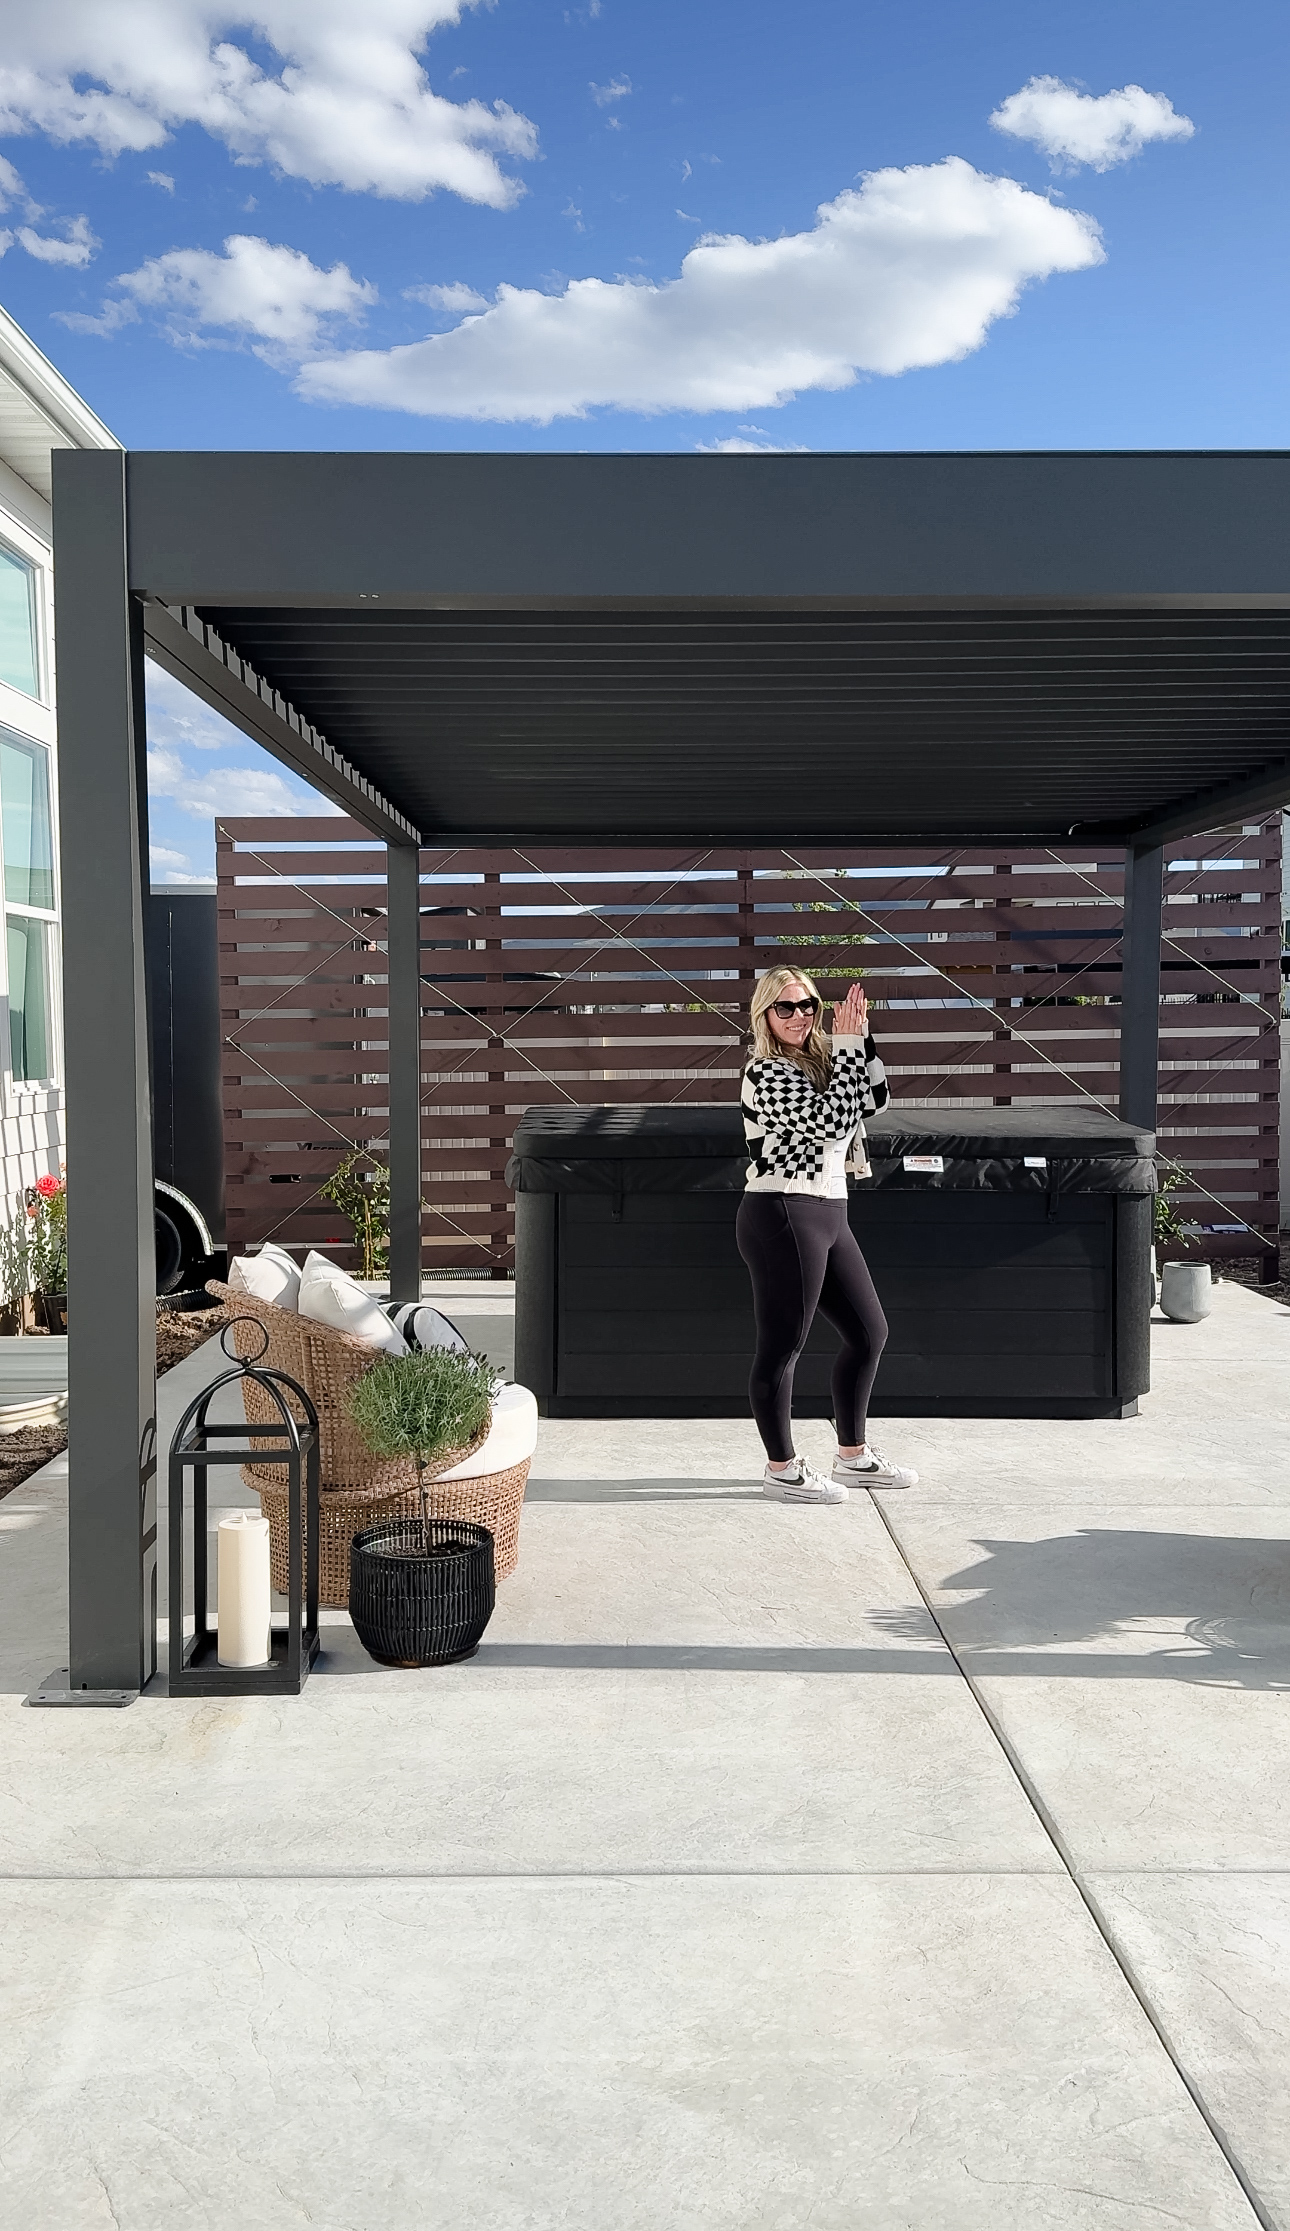
This year we have been putting a lot of focus on our backyard, taking it from an empty dirt lot to a place our whole family can enjoy! We knew we wanted a large concrete patio with different areas to hang out in. My kids’ only request was a spa and I was completely onboard with that so designing the spa area of our backyard was the first thing on the list!
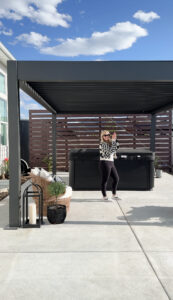
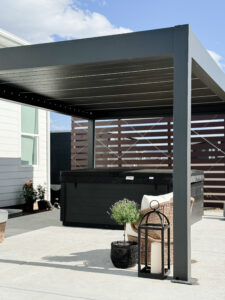
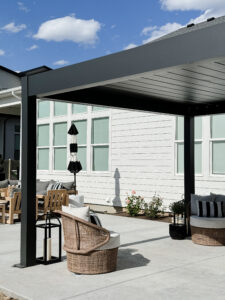
There were a few things that we needed to make the space beautiful, functional, and comfortable. First was a covering, I wanted us to be able to enjoy the spa no matter the weather, sun or snow, so we added this amazing pergola. We have the 13’x19′ Skydance in black. The top opens and closes with a remote, has LED lights, and a water tight roof! The assembly was easier than we thought it would be and the quality is unmatched by anything we have ever owned previously. This is a structure that will last the test of time.
Next we decided to build a slat wall behind the pergola. I chose this project for a few reasons. It creates separation from the RV pad on the side of our house, it adds privacy from future homes that will be build around us, and it’s a beautiful addition to our garden, especially once the wall is covered with Clematis on the trellis we installed! This project took us about 3 days and made a huge impact!
Supplies Needed:
Flowering vine like Jasmin or Clematis of your choice
Setting the posts:
First you will need to set your redwood posts in the ground. Before you can do that you want to treat the bottom portion of the post that touches the dirt with wood protectant. This will protect the wood from the dirt and water in the ground. We treated the bottom 30″ since that’s how far down into the ground we set our posts. Then dig your holes, 3 times as wide as the post, set the posts level in the holes, and fill with 2-3 bags of concrete per post. We set the first 2 posts on the end and then ran a string line in-between the two to easily line up the middle posts. We used quick set concrete and let it sit about half a day until we attached the slats to the post ensuring to insure they were dry.
Attaching the slats:
We used 1″x4″ pine boards and attached them to the posts with 2″ spacing. You can make the gap bigger or smaller as you like but keep in mind where you live. If you get high winds keep the gap 2″ or larger, otherwise this wall may turn into a sail and could cause quite a problem! We first tacked up the boards with a nail gun then re-inforced them with exterior screws to secure them in place. (TIP: Using a spacer is the easiest was to keep your gaps the same size.) Once they were attached we cut off the extra wood on the sides and top for a clean, even wall.
Staining the wall:
We used Behr all weather outdoor deck stain on the slat wall in the color Mahogany. You can get it in a sold or semi-trasparent stain. If you want to see the wood grain I suggest the semi-transparent. I wanted more of a painted look without the wood grain showing through so I went with the solid. It goes on easy with a brush and paint roller and was one coat coverage! This stain can last up to 25 years!
Adding a trellis:
This part is optional but in my option it takes the project next level! We bought a DIY Trellis kit and installed it on the face of the slat wall. It’s such a smart system and went together perfectly! You can customize the design and shape you want your vines to grow in and I’m excited to see my Clematis cover the trellis!
We have so much more planned for our backyard this season and this is just the beginning!
-Grey Birch Designs-
read more
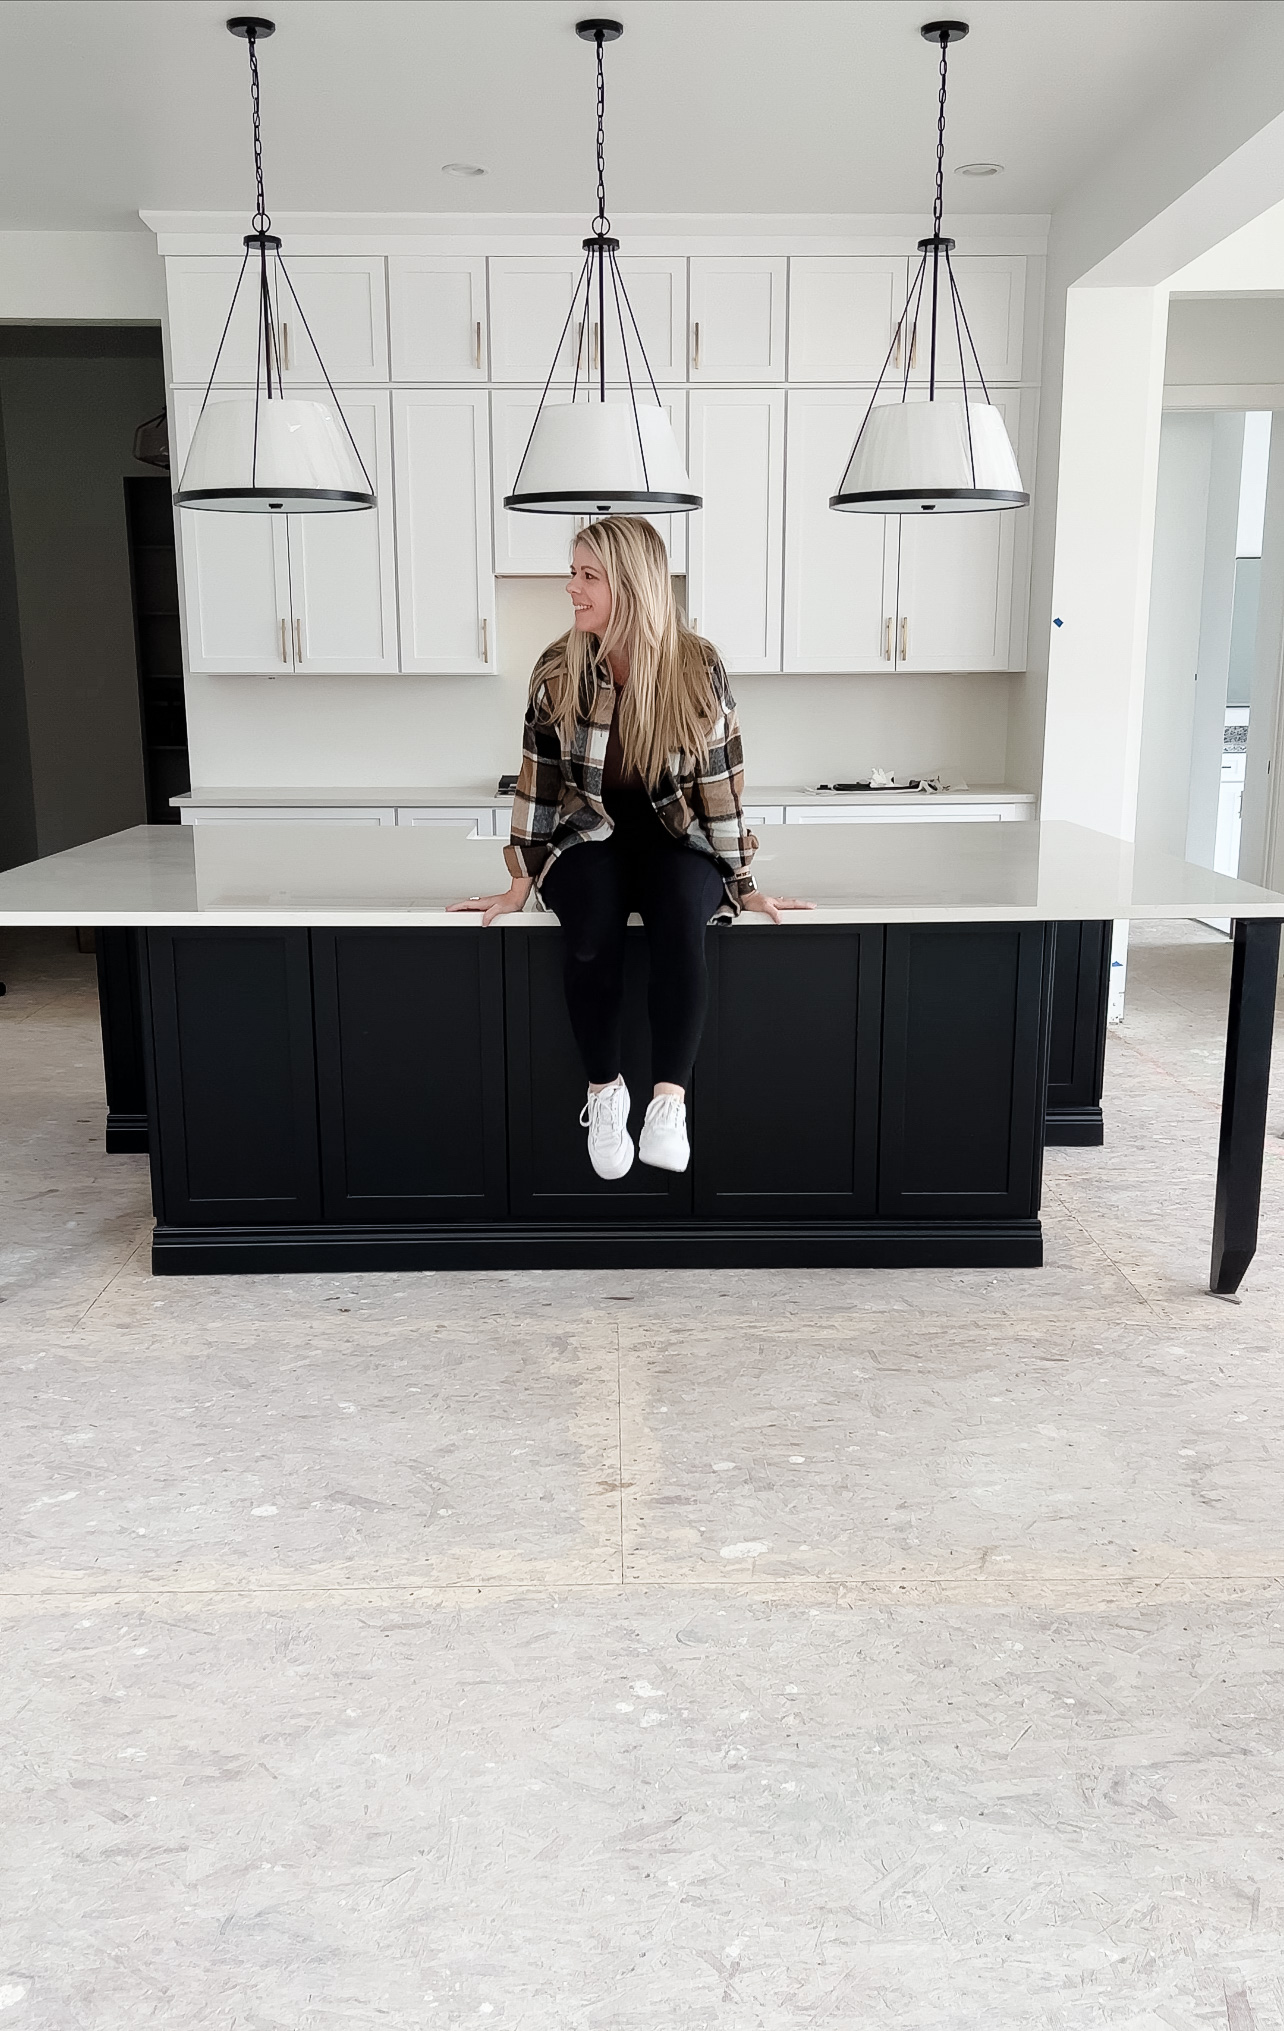
Building this home has been fun and stressful, but also so rewarding! There is so much that goes into the process and with this being our second build I feel like I have learned a thing or two that helped us this time around. One of the biggest things is knowing where to spend your money with your builder. Flooring is definitely an area where you can save a ton by doing it yourself after your home is completed. Even if you’re not a DIYer or the job feels intimidating it’s still worth it to skip this upgrade with the builder. Typically a project like this would be 3 or more times expensive through your builder then if you DIY it or hire a company to install it after your home is finished.
Planning for the project
I knew from the very beginning I wanted my whole home to have LVP (luxury vinyl plank) flooring, not just the main living areas but the bedrooms and closets. The biggest reasons being that LVP is stain and scratch resistant, 100% waterproof, and has the look of real wood! These are super important factors for our family. We have 5 kids and 3 dogs so we need something that is going to stand up to our day to day life. Also, the ability to get a completely clean surface is crucial in our home since me and 3 of my kids have dust allergies and asthma, making life with carpet pretty horrible!
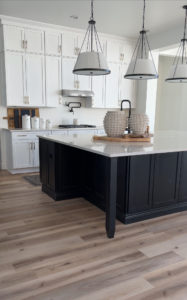
When picking out the LVP for our home I had a few things I was looking for. I wanted a wide plank and a flooring that didn’t “look” like vinyl, but rather looked like real wood. The color I fell in love with was Style Selection (formerly Pro Core Flooring) English Grove Oak. The flooring has good movement in the pattern, giving it a truly realistic light oak look. This is very important to think about when selecting your flooring, since too much movement can be overpowering and too busy for your home. Also, not enough movement can make your flooring fall flat and not enhance your space.
- Tip: order samples of flooring you’re thinking about, then order a box of the couple you narrow it down to so you can see the flooring on a bigger scale. This will help you visualize how it will look in your home much better than a small sample piece.
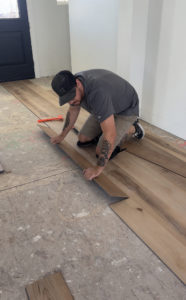
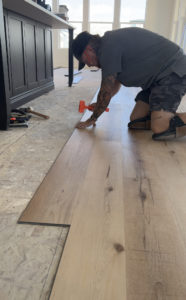
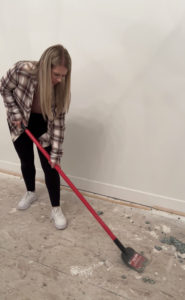
Installing the LVP flooring
The first step is to prep your sub floor. If the space previously had carpet it’s important to remove all staples, tack strips, and debris before laying your new flooring. This type of LVP has the underlayment attached to the back of each board, so you can eliminate the job of laying down underlayment under your planks. If you have ever installed a flooring that requires a separate underlayment you know what a big deal this is!! The Style Selection flooring is a drop and lock system, meaning you interlock the planks together and drop them down to lock them in place. You want to make sure you have a good seal without any gaps so your flooring doesn’t have problems down the line. You can use a rubber mallet to help lock the planks into place.
Caring for your flooring
LVP is definitely the easiest type of flooring to care for, which is one of the main reasons we chose it. With real wood flooring you have to be extremely careful with the types of cleaners you use on them. Too much water can make wood floor boards warp, and they scratch easily from furniture or pets . Laminate is slightly easier than really wood since it’s less likely to scratch or stain, but you still have to be careful with water. Laminate is still made of wood and too much water can make the boards swell and seperate. LVP on the other hand is the most durable. You don’t have to worry about water on the floor since it’s 100% waterproof and doesn’t contain any wood. Daily vacuuming won’t scratch or wear it out and there’s no risk of cleaners staining the planks. My favorite way to care for my LVP flooring is with a wet/dry vacuum or a spin mop with water and a little bit of dish soap!

Choosing to put LVP flooring in our home was the best choice for our family. I’m excited to enjoy this beautifully flooring in our new home for years to come with little to no maintenance required. That’s a win in my book!
-Grey Birch Designs-
read more
For as long as I can remember I have thought about how cool it would be to have a fireplace in my bedroom, but for whatever reason the thought of building one never crossed my mind. Even as a little girl my grandmother had a fireplace in her bedroom and I loved sitting in front of it after taking a bath!
I think the biggest hurdle for me was thinking it had to be a gas fireplace in order to look real and put out heat, but that’s not the case! Electric fireplaces have come a long way. They look real, have a beautiful sleek design, and are amazing at heating up a room! This meant I could easily DIY a fireplace in my bedroom, and I have to say this is at the top of my list of favorite DIY projects! I decided to go with Dimplex 25″ Multi-Fire XD™ Firebox w/ Acrylic Ember Media Bed
One of the reasons this firebox was at the top of my list is it’s plug and play. You literally just plug it into an outlet and you’re good to go! It also only pushes heat out in the front so you don’t need to worry about the wall behind getting hot!
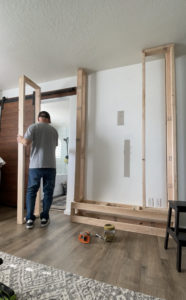
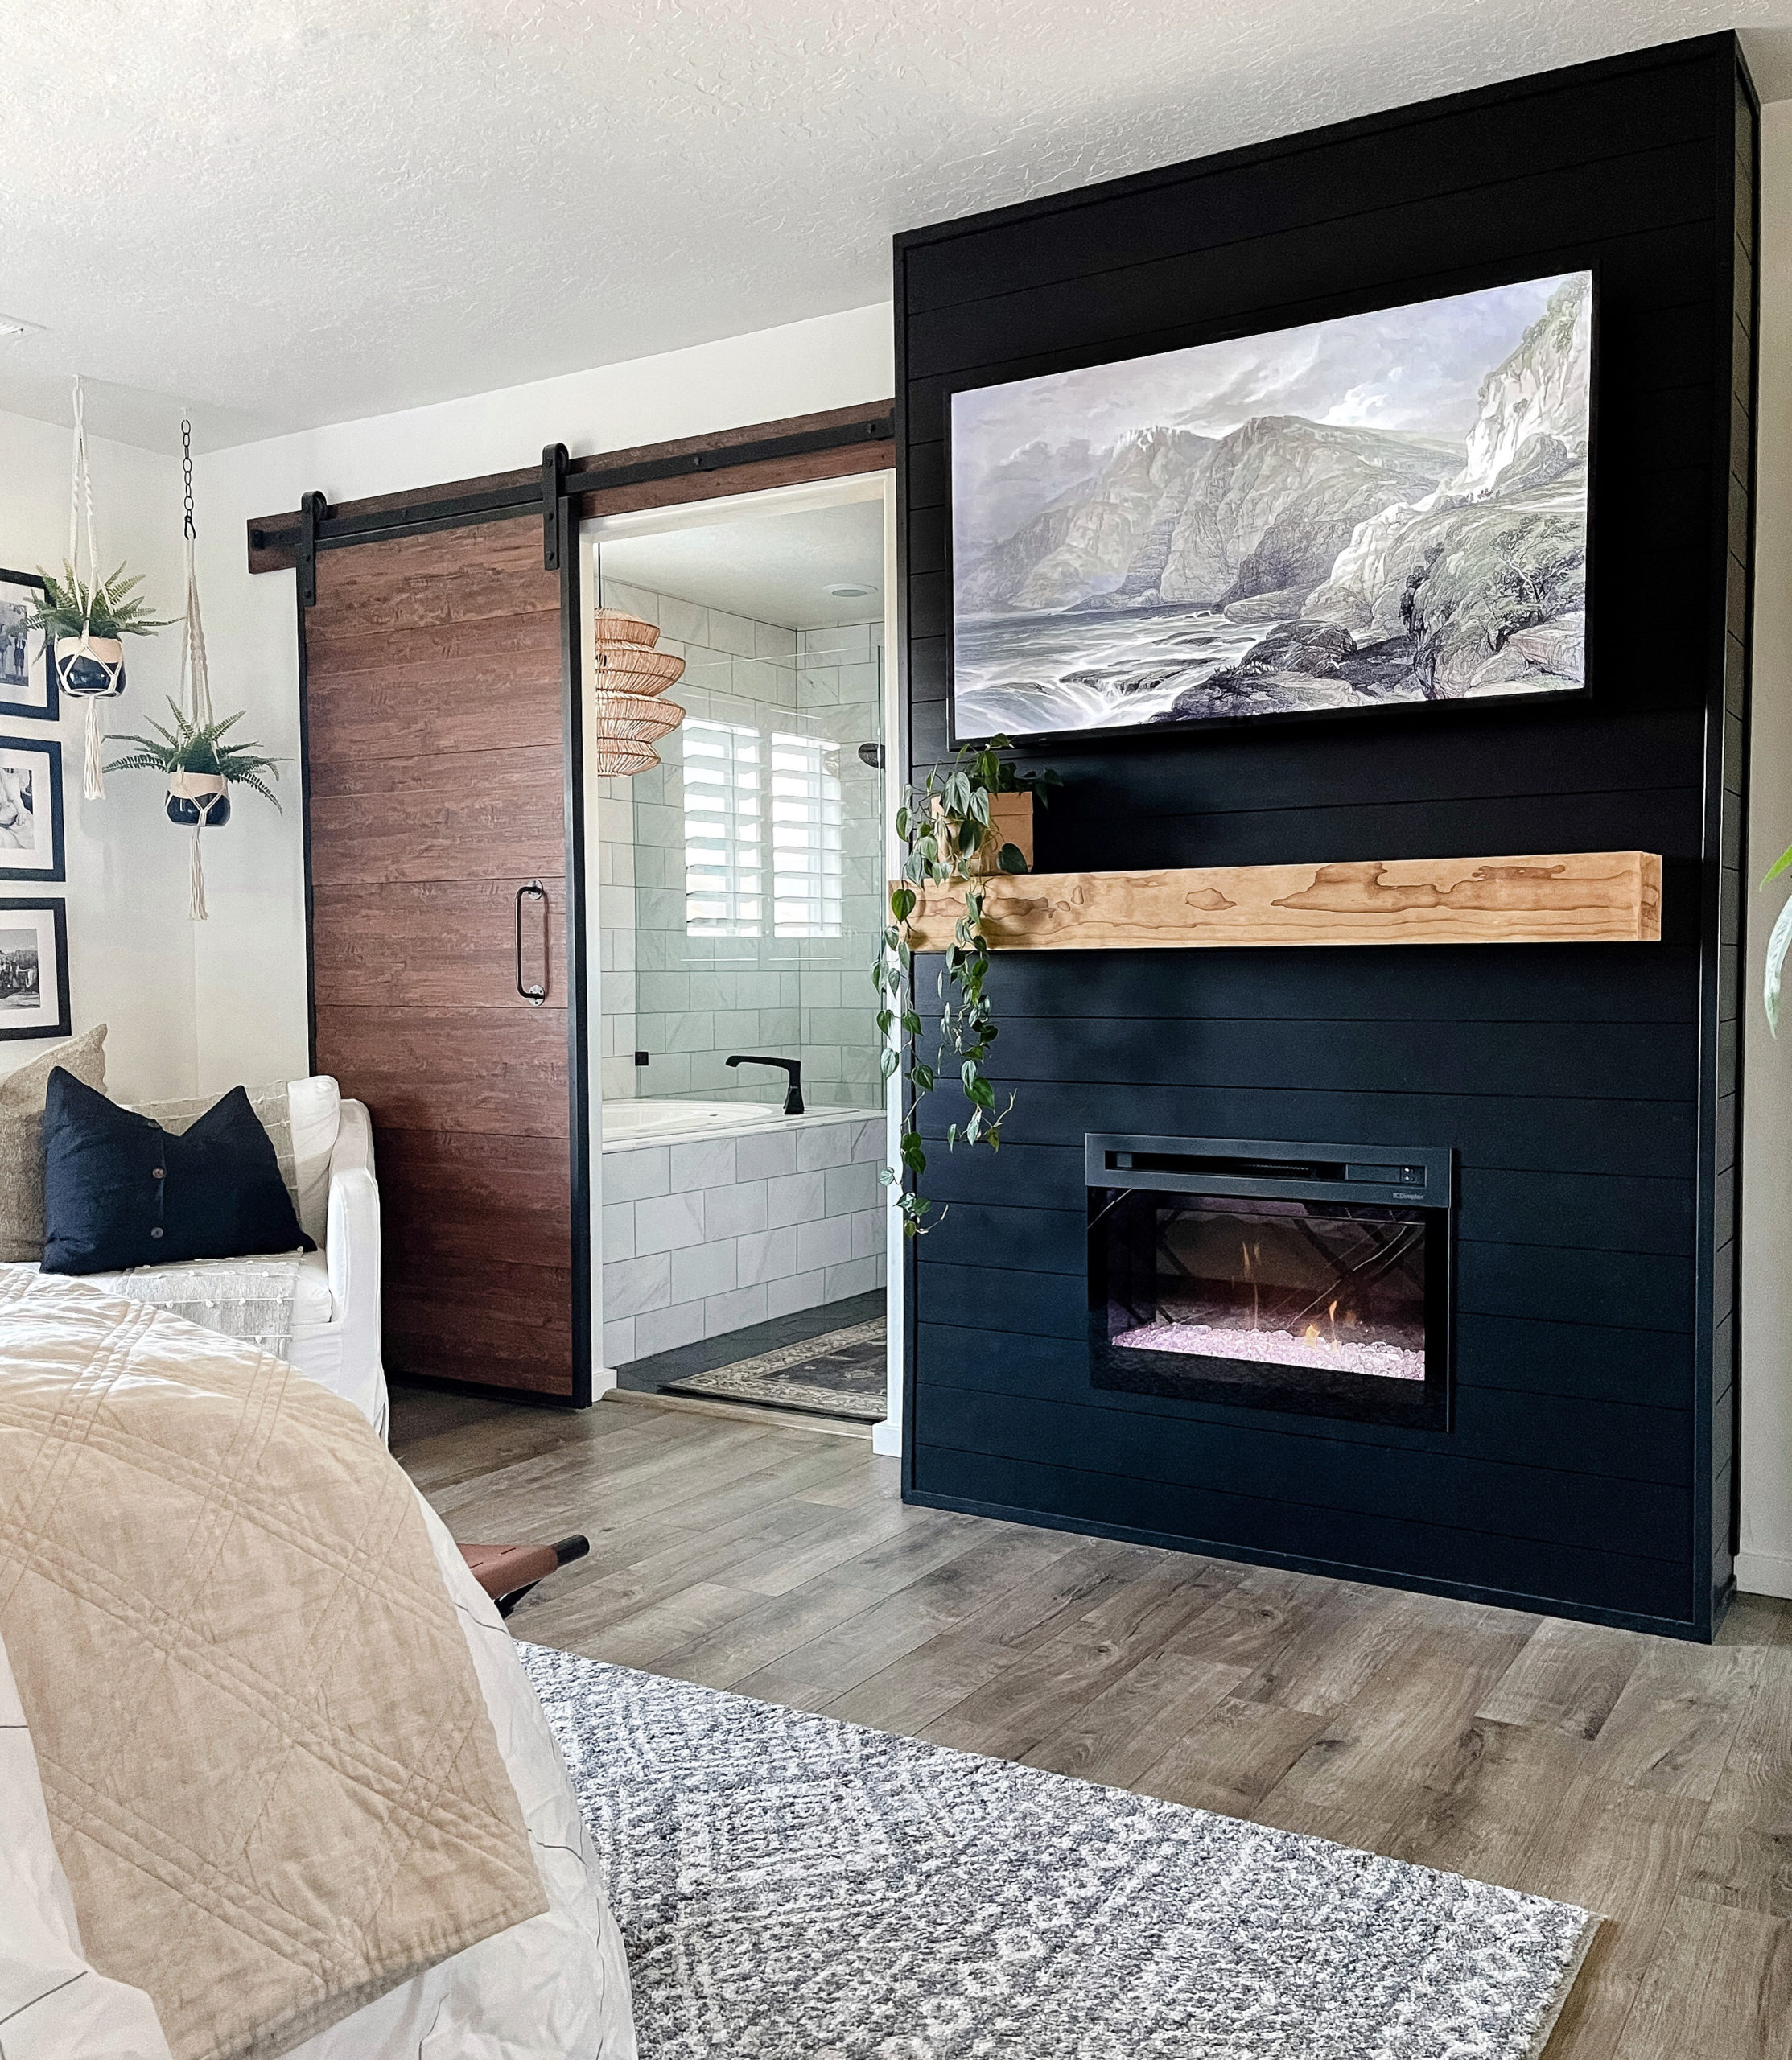
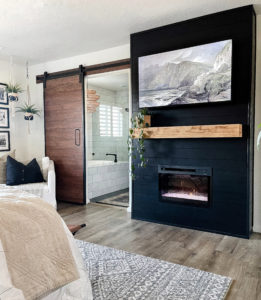
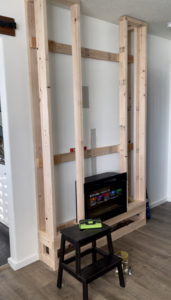
For this project I decided to build a floor to ceiling shiplapped fireplace for a big impact! The first step was to build the frame. My husband and I built a simple box frame out of 2×4’s and wood screws. We made sure to include a vertical 2×4 in the center to mount the TV to. We also added a small shelf inside the frame to hold the TV cable box.
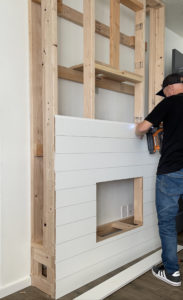
After the frame was finished it was time to cover everything with shiplap. In our experience the pre-made MDF shiplap boards are the easiest to use and have the cleanest look, so that’s what we used! We simply cut the shiplap boards to size and secured them to the frame with 2″ brad nails. We finished off the corners with some simple corner trim for a nice clean look.
When it came time to paint, I knew I wanted to go bold and have a color that really popped against my white walls. I picked my favorite Tricorn Black by Sherwin-Williams. It was the perfect choice and gave me the sleek modern look I was hoping for!
After building this fireplace and realizing how much I use it I wish I would have tacked this project sooner!
-Grey Birch Designs-

read more
My youngest son recently asked me to turn his room into a “Big Boy” room so he could be more like his two older brothers. I decided to make his room more sleek and modern in a few ways. First, I wanted to update his wood herringbone feature wall behind his bed. I originally installed the feature wall several years ago but the wood had a very rustic feel. To make the wall more sleek and modern I painted it a dark satin black. It was actually pretty fun and easy to do.
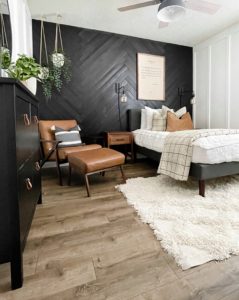
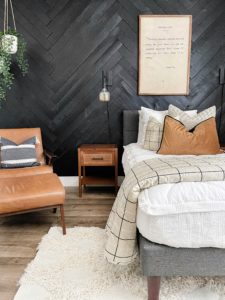
Next, I decided to upgrade some of his furniture and decor. He previously had a lot of hand me down furniture from his older brothers, so he was super excited when I told him he was going to help me pick out some new big boy stuff for his room. I’ve always been a big fan of the Better Homes & Gardens line at Walmart because it’s well designed but still very affordable. It makes a lot of sense to have budget friendly furniture and decor in a kid’s room so it can be easily changed out as he/she matures. I knew I wanted an upholstered bed to compliment his new sleek black wall. The Knox Upholstered Platform Bed has clean simple lines giving the bed a masculine look, but the upholstered headboard gives it a soft feel that’s perfect for a little boy. The bed is also a great size. It adds dimension and texture to the room without taking up a lot of space.
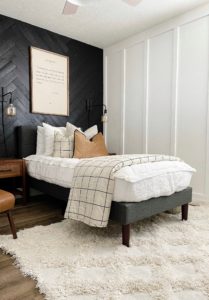
Then I switched my attention to his rug. I wanted a rug that was soft for him to play on but also strong enough to handle some 7 year old punishment! I also needed the rug to be a neutral color with a simple pattern so it didn’t compete with the other colors and textures in his room. I went with the Trellis Shag Area Rug which has a great soft raised pattern that works well with the bed.
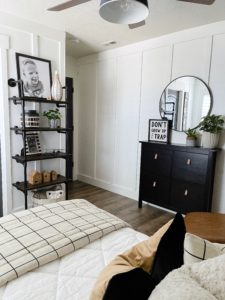
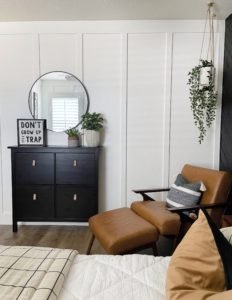
Another area of my son’s room that gets a lot of use is his reading nook. He has a thin cabinet for all of his books that fits tightly up against the wall. He also has a comfy leather chair to read in. I wanted to dress up this space so it stayed comfy and functional. While I was shopping I found this cute 28 inch Round Metal Wall Mirror to hang above his book cabinet. I added a few hanging plants to add in some life and greenery, as well as a cute little sign to fill out the space. This was a really fun and easy weekend update that we were able to complete as a family. We spent one day prepping and painting the feature wall, and another day putting together all the furniture and decor. Travis even did his best to help since he was so excited. Now he has a “Big Boy” room that his older brothers will be jealous of for years to come.
-Grey Birch Designs-
This post is sponsored by Better Homes & Gardens at Walmart

read more
Each year when the holidays roll around I always find that my seasonal decor style changes a bit, but I really don’t want to invest in all new decor year after year! Last year I wanted flocking on EVERYTHING, this year not so much. So when I opened up my holiday storage bins and found just about every faux greenery covered in flocking I knew I had to come up with an easy solution that wouldn’t break the bank!


I had these really nice pre-lit Holiday wreaths I love to hang over the windows in our sunroom, but I wanted to add more natural elements and greenery to balance out the flocking on the wreaths and give them a more natural organic look and less of a white Christmas farmhouse look this Holiday season!
I found some faux greenery stems and mini pinecones that worked well with the flocked wreaths to give me the look I was hoping for! All I needed were some zipties, wire cutters, and Krazy Glue for this project!
Step 1:
First I took my plain flocked wreath and pushed back all the branches so I could get to the metal frame of the wreath. Then I laid down these faux pine leaf stems with baby pinecones (they are larger of the two I picked out for this project) and attached it to the frame with a couple zipties.

I repeated this step on the opposite side on the wreath, overlapping the base of the greenery stems just slightly so they flanked the bottom of the wreath and traveled up towards the top.
Step 2:
Next I took my second style of faux stems (a thicker pine with small berries on it) and layered them on top of the ones I already attached to the wreath. I did the same thing using just a couple zipties to secure the branches to the frame of the wreath.

Since the faux greenery I used is traditionally used in things like vases and containers, they have long stems on the bottom that I didn’t need in my wreath. I took some wire cutters and simply cut off what I didn’t want!
Step 3:
Now that I had the greenery secured it was time to fluff the wreath. I wanted the flocked branches and the new stems to look like one so I bent and moved the branches as needed to blend them together in the wreath.

Step 4:
Next came the icing on the cake, that took the wreath from plain to Wow! I cut up pieces of faux frosted eucalyptus and placed then randomly in the wreath. To keep them in place I used the Krazy Glue. It works awesome because is has a quick grab time, about 20 seconds, and it bonds to anything!! I placed a small bead of Krazy Glue around the frosted eucalyptus and held it in place until it grabbed!

Step 5:
I loved how the faux greenery with the baby pinecones looked in my wreath but it needed more of the little pinecones, so I took more of Krazy Glue and added a handful of these little pinecones around the wreath to bring in a more organic look. I added a pea size amount to the bottom of the pinecones and attached them to random branches in the wreath!

This was a super easy project for the holidays that I tackled in an afternoon and it completely changed the look of my old plain wreath! Thanks the the versatility of Krazy Glue I was able to get the look I wanted for my holiday decor this year without having to go out and buy all new wreaths!
-Grey Birch Designs-

read more
This is a project that I didn’t think we would ever see finished. When the plans we had to build a new home fell through (thank you COVID) we decided to finish our basement! Throughout this huge project I’ve been asked the question “Are you happy you didn’t move?’ and I can honestly say it was the biggest blessing in disguise!! It was hard to see at the time, but now sitting here I feel so incredibly happy for where we are!!
For our basement we knew we wanted to build 2 bedrooms, a bathroom, a kitchenette, a living room, and a game room! It was a bit overwhelming to think about all the work but also super exciting. We knew it wasn’t going to happen over night, but I’m excited to say we are officially finished with phase one of our basement build!

read more
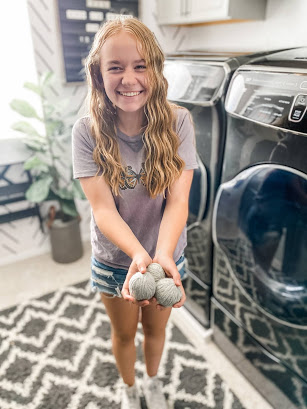
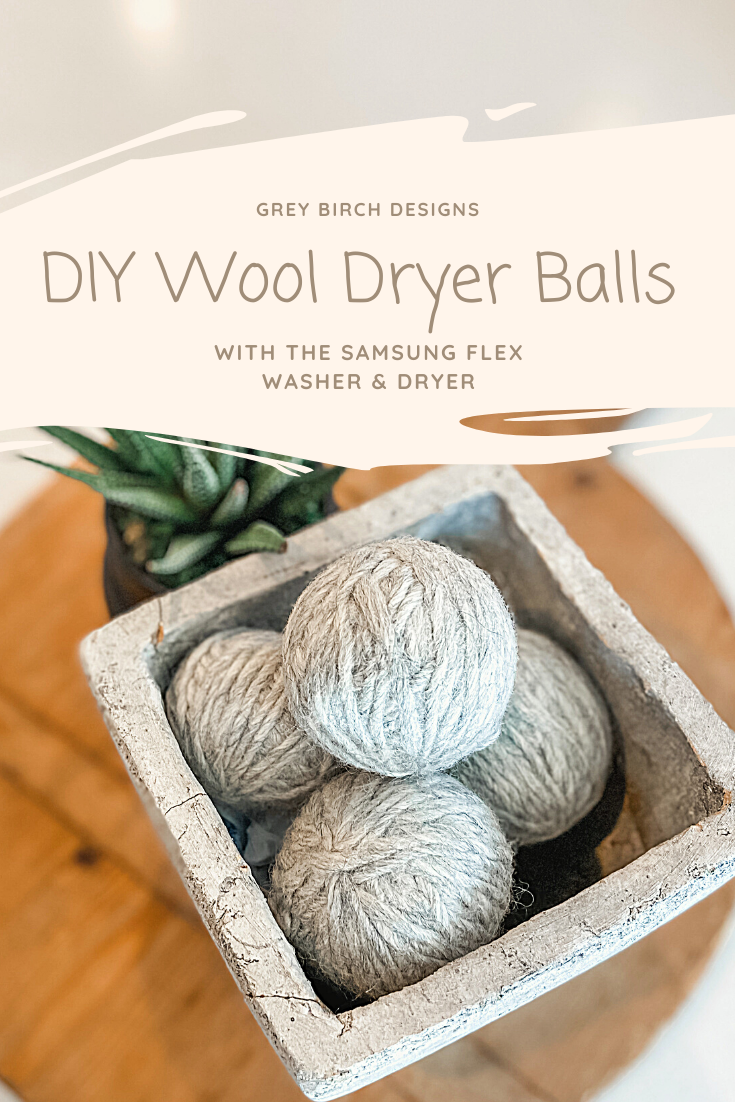
I have been super interested in the benefits of replacing our fabric softener with wool dryer balls. I love the idea of it being chemical free because a couple of my kids have very sensitive skin. I also love that you can add a few drops of essential oils to give your clothes a fresh smell!
I set out to make my own and give then a shot! They are super easy to make and there is a good chance you already have what you need around your home, making this a very affordable project!
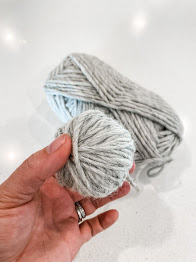

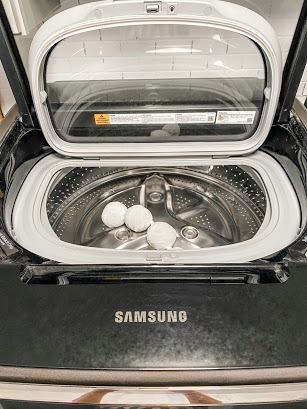
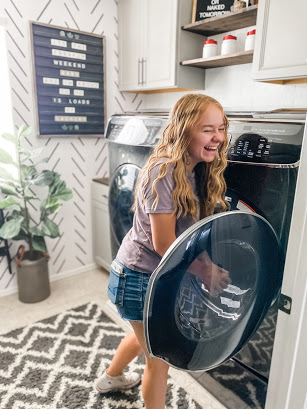
 Now it’s time to make it all come together! Wash them with hot water in your washing machine. I use my Samsung Flex Washer and Dryer. With the smaller washer on top I can do this project without running a full load of laundry or wasting water by running the washer with only the dryer ball project in it.