

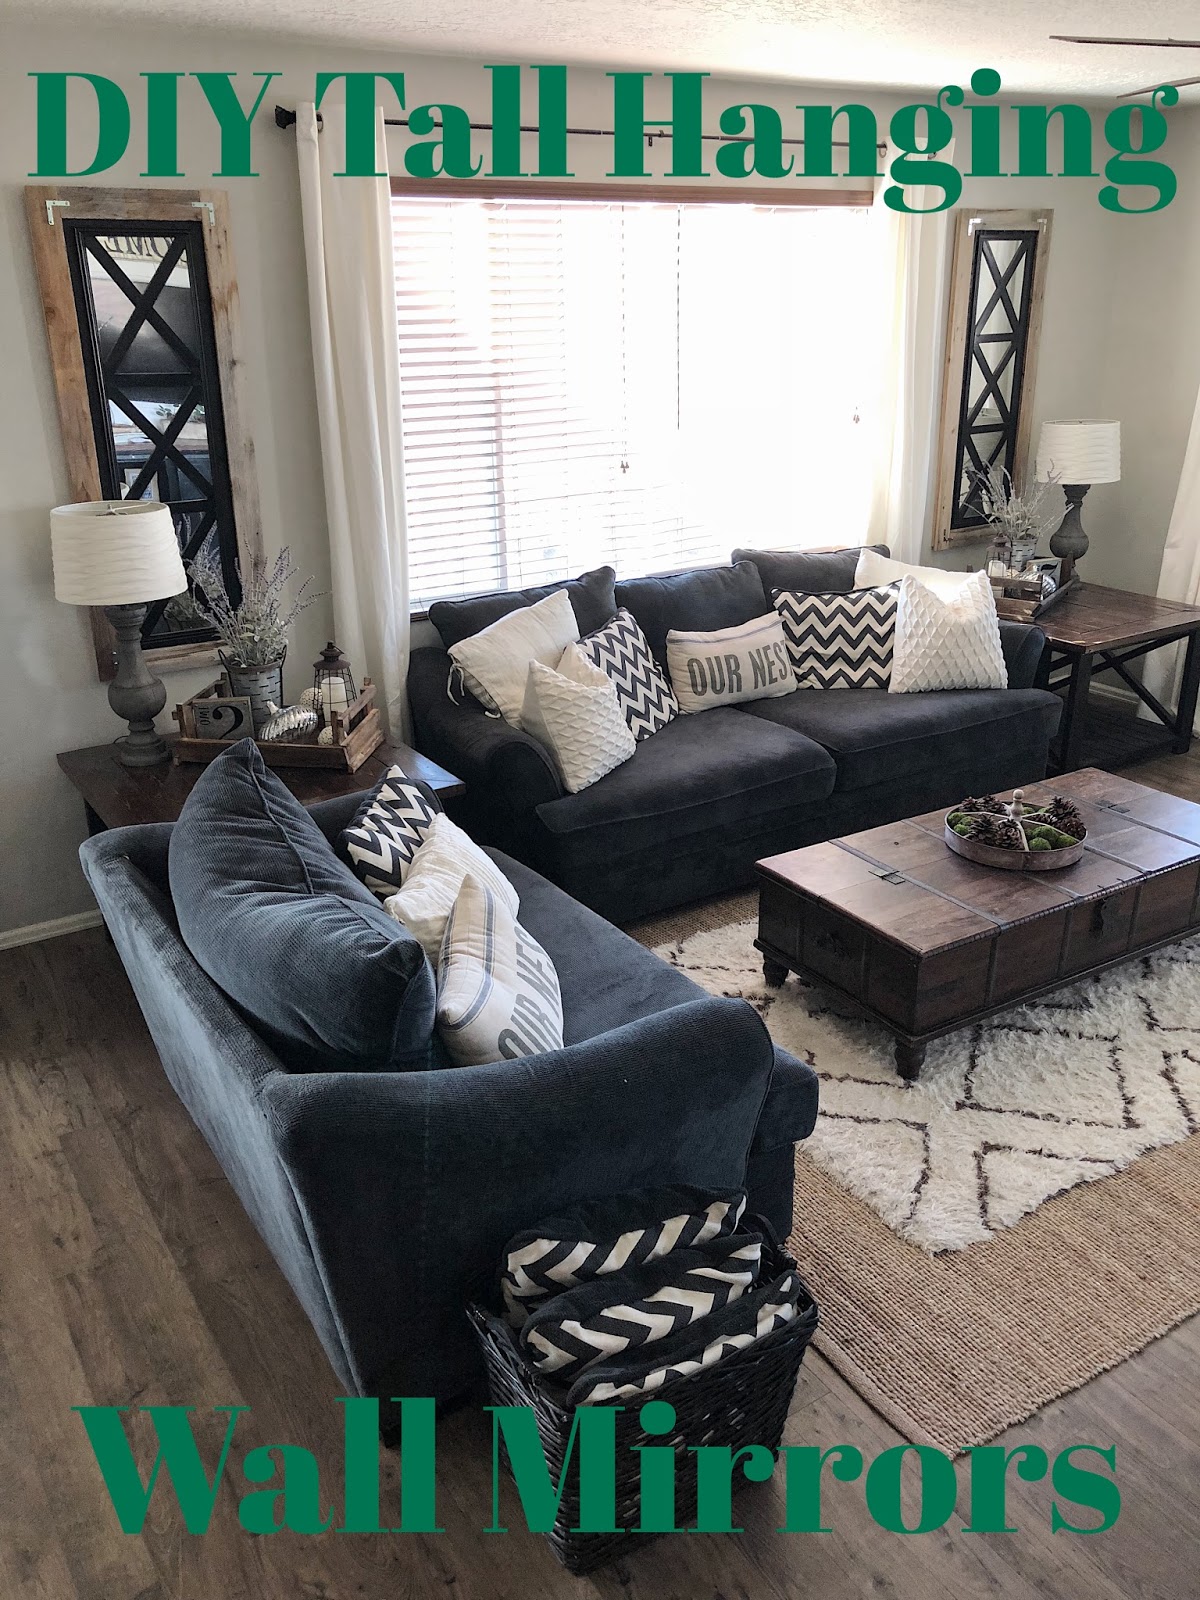
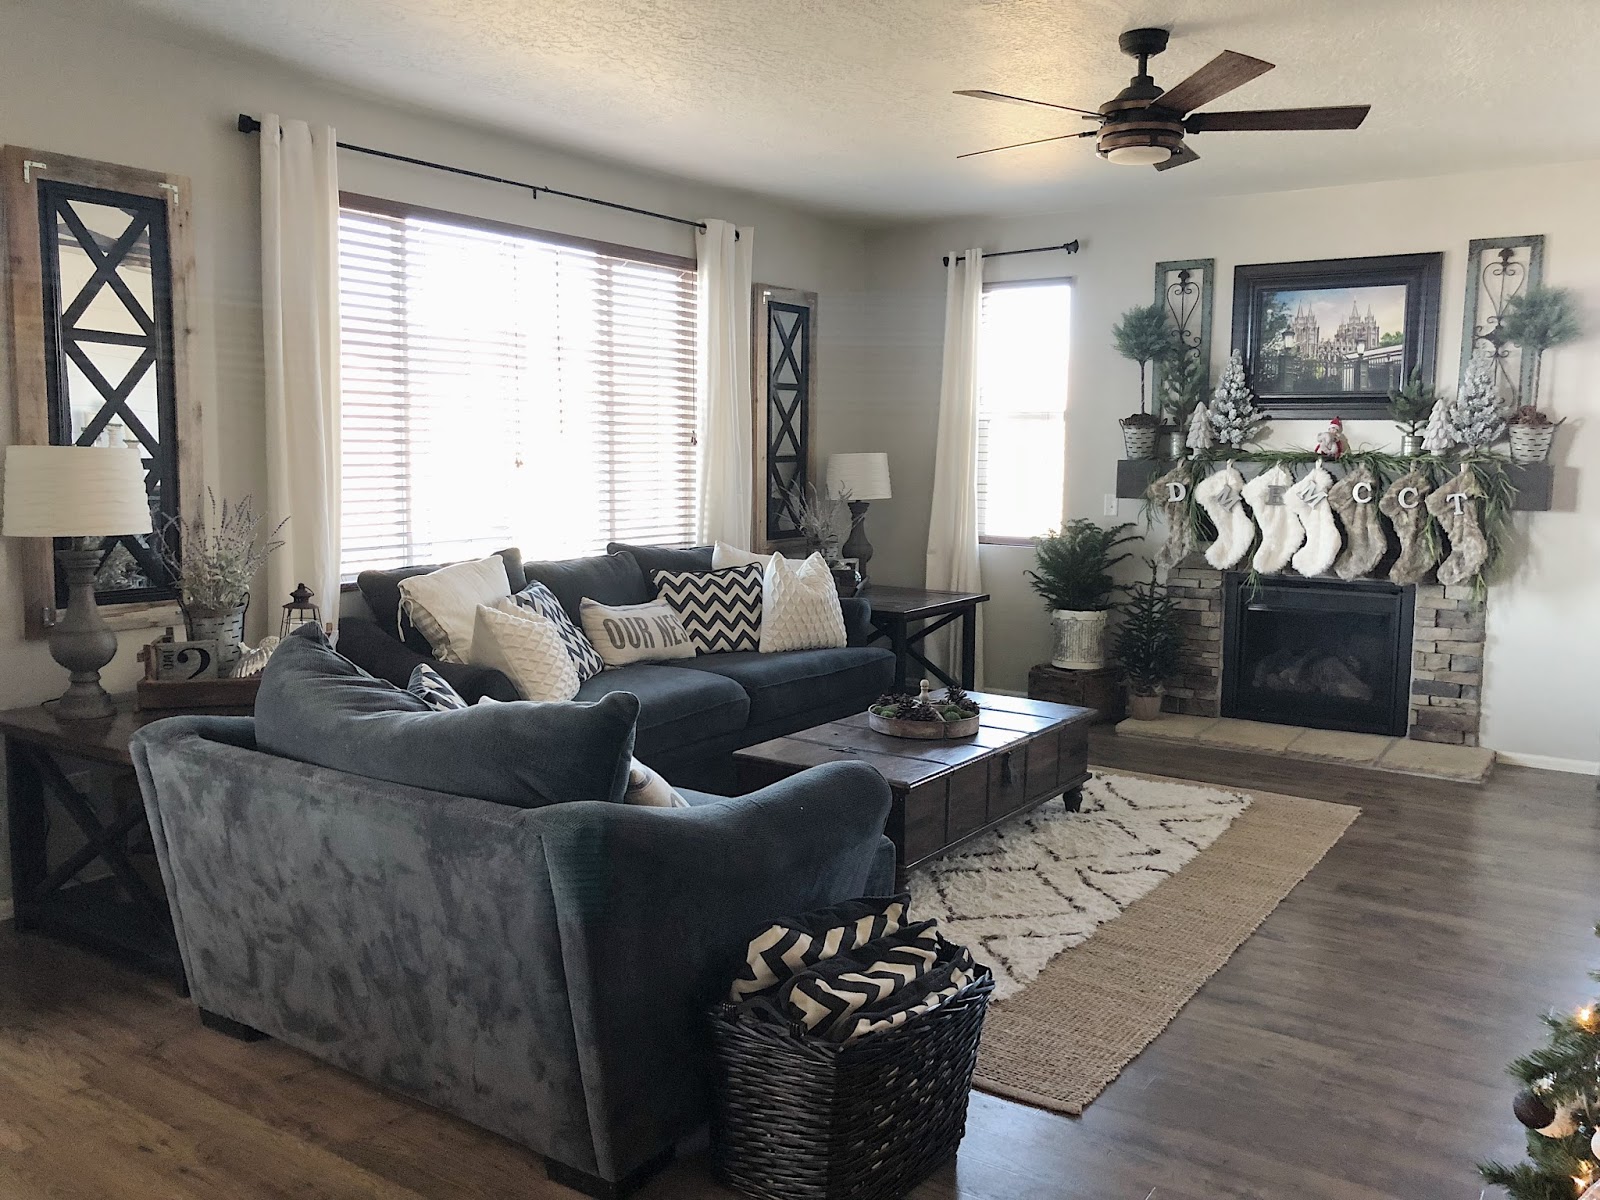
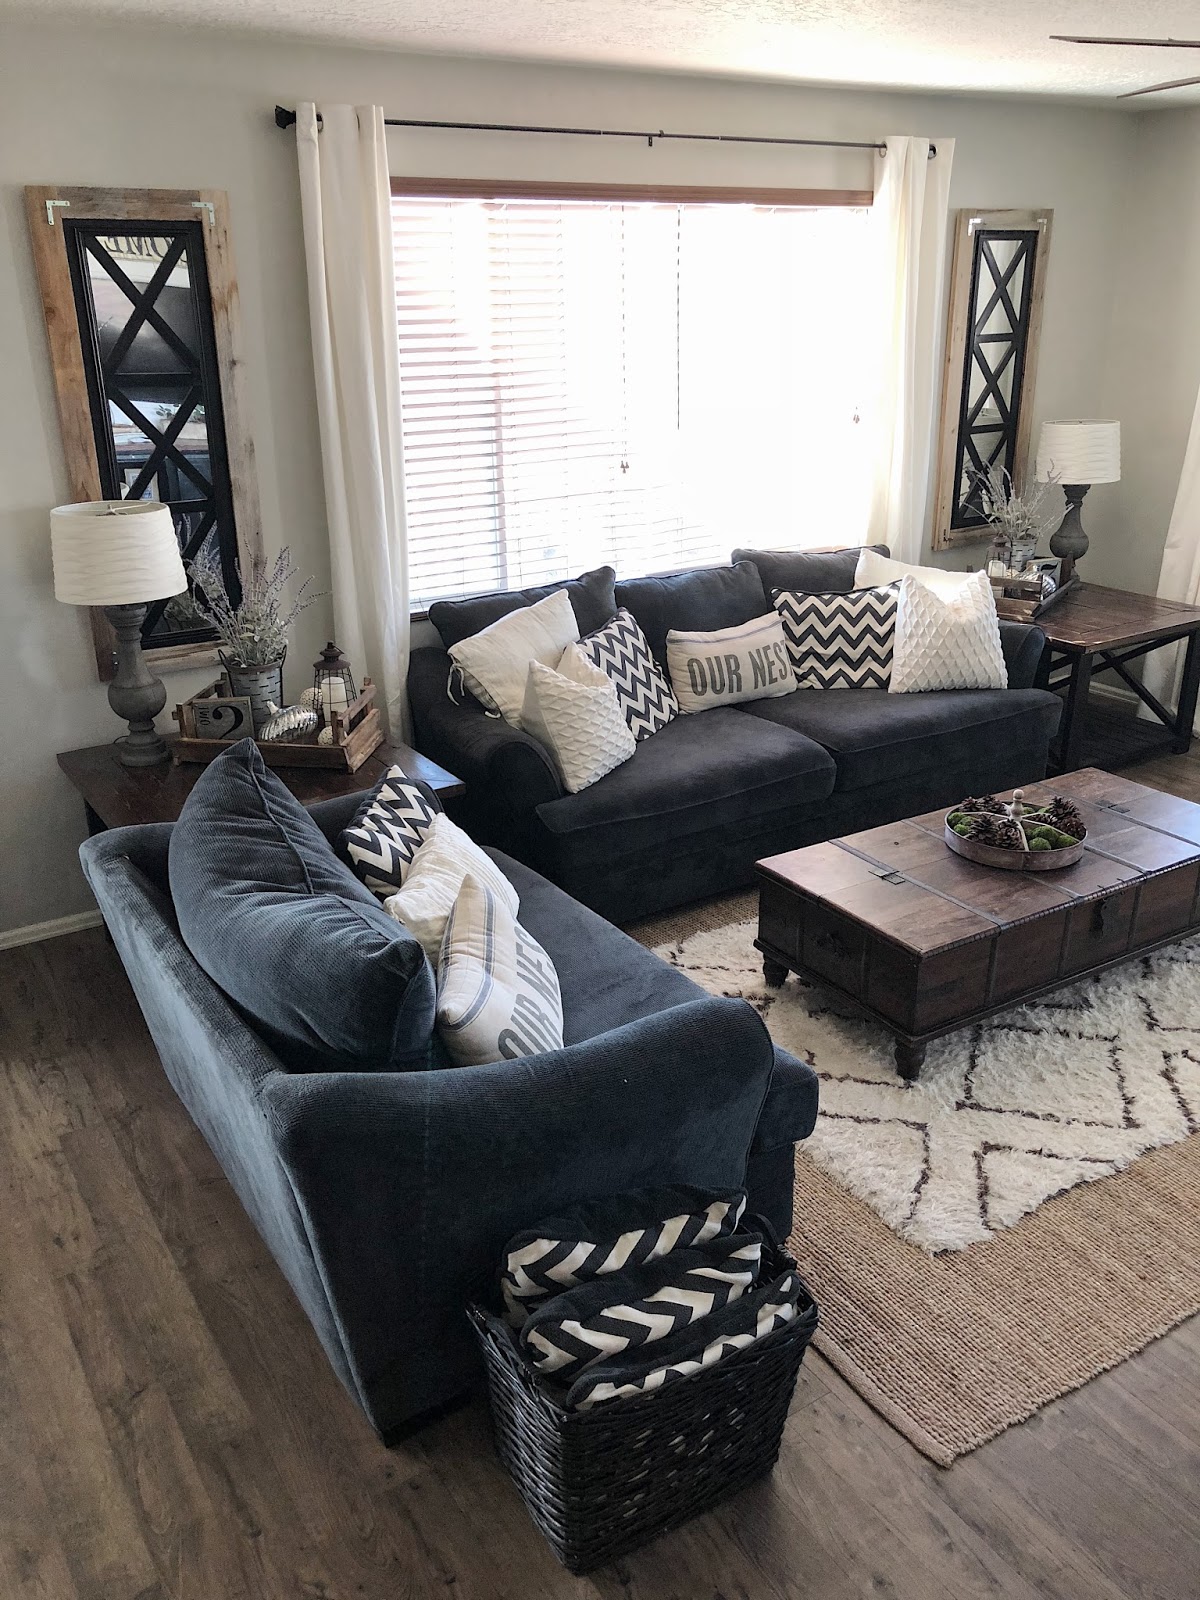
I am frequently asked about my living room mirrors and everyone is always surprised when I tell them they are actually a really easy DIY project I did. When we first moved into our new home I realized the living room needed a statement piece. I looked a lot of places to find tall designer inspired mirrors but just couldn’t bring myself to spend a lot of money, so I set out to try and make what I wanted for a fraction of the cost. I could’t be happier with how they turned out, here is a little overview of how I made these DIY wall mirrors.
Supply list:
You can find these at Target or Walmart for around $5!!
Cut to 57.5″ x 23″
(this can be customized a bit depending on the size mirror you get)
TIP: If you don’t have a large saw to cut the plywood Home Depot will cut it for FREE!
(I found mine off a local buy and sell page but Home Depot sells wood that looks similar, or you could buy any trim wood and stain it whatever color you like)
(they come in a few different sizes so you can pick the size you like best, I used the 2.5″ size)
– Wood trim (1.5″ wide and .25″ thick)
– Black paint
Tool List:
– Sander or sand paper
– Clamps
– Nail gun or hammer & nails
Once you get all your supplies together it’s an easy build from this point on!
STEP 1:
The first thing your going to want to do is paint your cut pieces of plywood and your trim pieces, and let them dry wile you make your other cuts.
STEP 2:
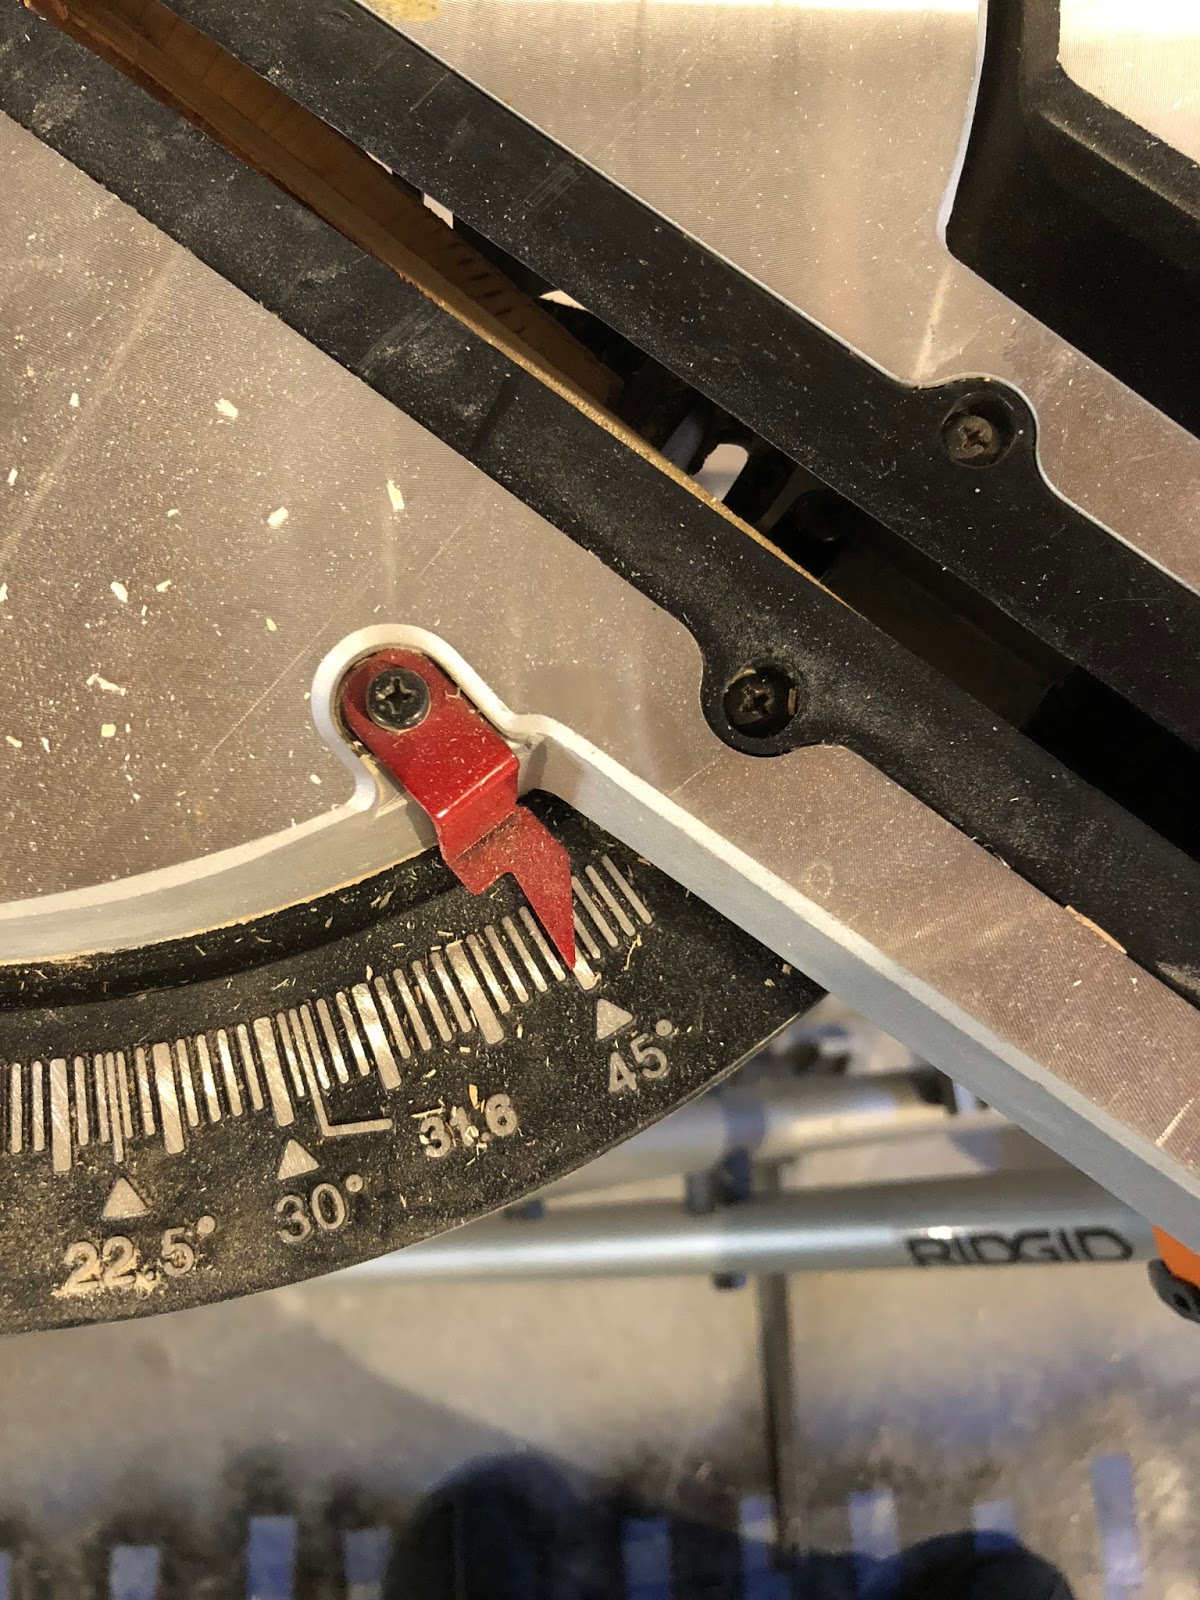
Now you are going to want to cut the barnwood to frame out your piece of plywood. Measure the top of your plywood, mark out the measurement on your barnwood, then take your miter saw set it at a 45 degree angle and cut. Repeat this step for the bottom and sides of the plywood.
STEP 3:
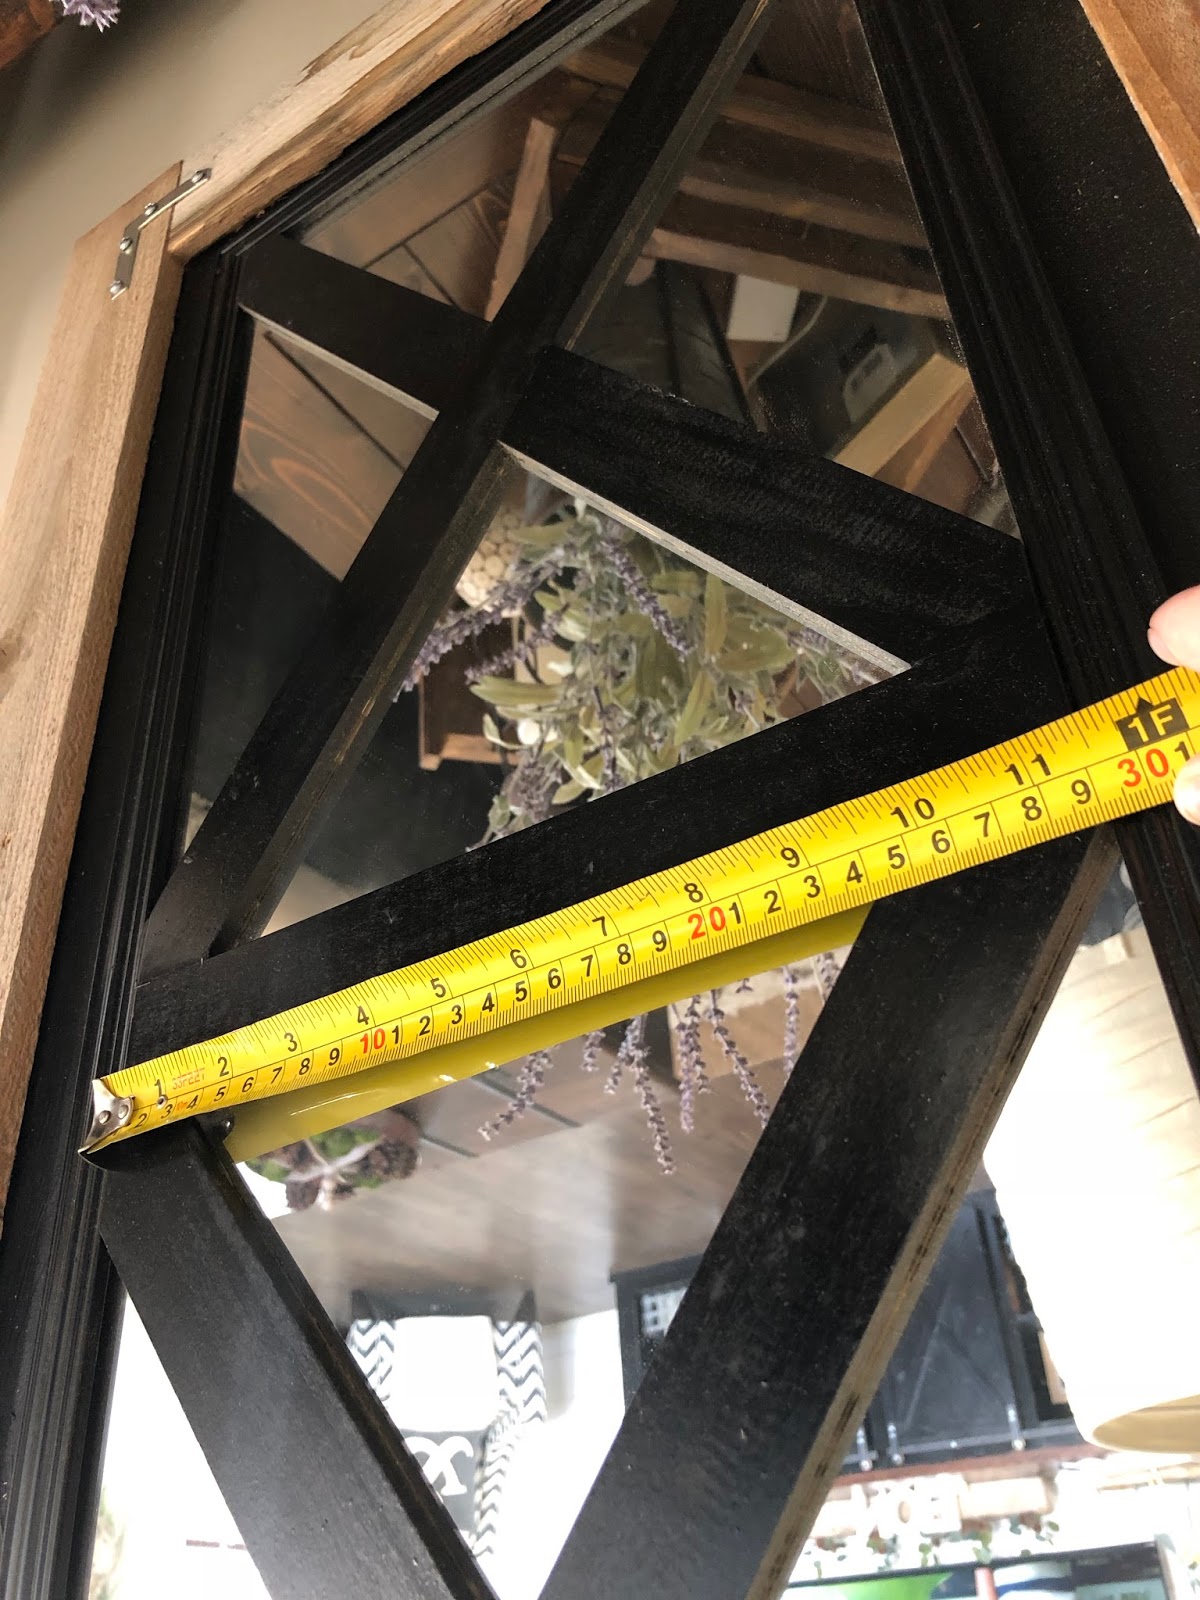
Next you are going to cut the trim pieces to make the X’s on the mirror. First you are going to divide the hight of the mirror into 3 equal sections. Then mesuere the with and cut 2 pieces to make the boxes.
STEP 4:
Now to make the X’s you will need to measure each box on a diangal (do each one seperately because the boxes can vary in size slightly) once you have the measurement you are going to make cuts to fit into the corners of the boxes. The best way to do this is to trace the angles on the wood and cut them on the saw. Repeat this step until you have all the wood trim cut to put your boxes and X’s together.
STEP 5:
Now it’s time to put everything together!! Lay out your wood trim pieces on the mirror. Once you get them how you want, take some clear silicone adhesive and glue each piece down to the mirror. Depending on how tight fitting your wood trim pieces meet up you may want to fill the small gaps with some wood filler.
STEP 6:
Now its time to attach your mirror to the plywood. Use the same adhesive on the back of the mirror and glue it down to the middle of the plywood.
STEP 7:
Time to attach your barnwood frame! Take each piece you have already cut and attach it with some wood glue. Then take your clamps and clamp the wood down wile you secure each piece with a few nails.

STEP 8:
After everything is done drying, if you used wood filler now is the time to sand it and touch up the paint. Then the final step is to add the hanging hardware. There are many ways you can do this. I like to drive 2 screws several inches apart into the back of the wood and connect them with picture hanging wire.

That’s it, your done, and now you have a beautiful custom mirror without the designer price tag!!
I hope you find this tutorial helpful and give it a try. I love seeing your projects so send me pics of your finished pieces!!
-Grey Birch Designs-


