


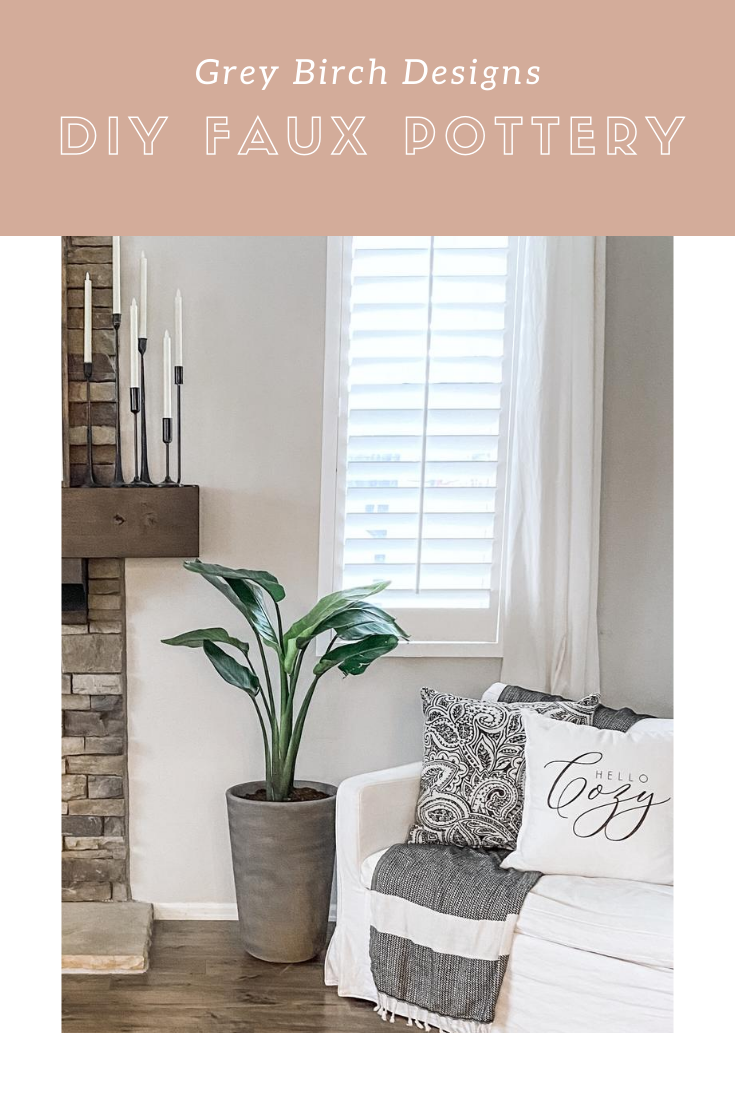
read more
If there has ever been a DIY project that I have been obsessed with it’s this one! I have lost count of how many ugly containers I have turned into modern vintage looking faux pottery, and I still want to do more! It’s such a fun project that you really can’t mess up and will always turn out beautiful!
Supply list
- Container you want to transform
- Texture Spray
- Matte Finish Spray Paint
- Dirt from your backyard
- Matte Sealer Spray

You can use this technique on practically anything. I have used ugly pottery, glass vases, plastic pots, even a set of lamps!! Click here to see how my lamps turned out. I’m completely in love with them!
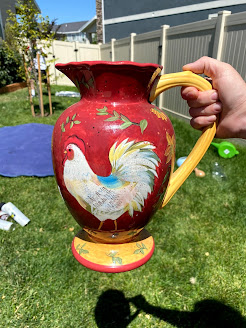
I love checking my local thrift store for cheap pieces to transform! Don’t be scared of the color or design of a thrift store piece, if it has good shape and is the size you like it will be perfect for this project!
Check out the first piece I did this faux pottery makeover on. Talk about a night and day difference!!
Let’s Make Some Faux Pottery!!
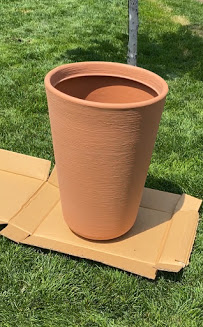
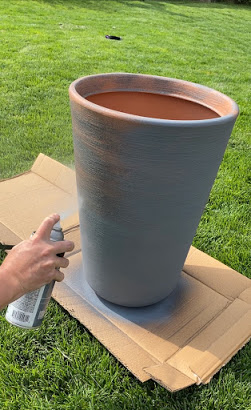
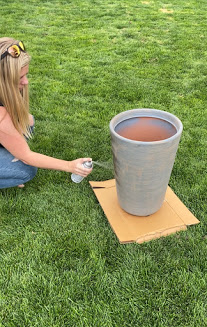
- The first step is to cover your piece with a texture spray, this one by Rust-Oleum is my favorite. There’s no wrong or right way to do this. You can see the texture overlaps when you spray it and that’s completely fine. This step gives your piece the truly authentic look of pottery so be generous with the texture spray!
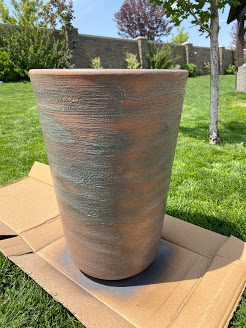
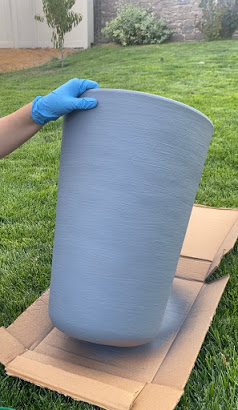
- Let the texture sit until it’s dry to the touch, about 10-15 minutes. Next, spray paint it any color you want. Make sure the paint is a Flat/Matte finish. If you use spray paint with any kind of a gloss finish it won’t give you the same look. For this project I used this medium grey color. I love it and it gives my planter a little bit of a concrete look!
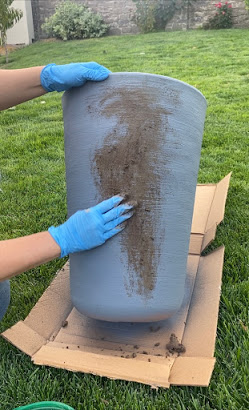
- Now comes the fun part. Grab some dirt from your backyard and add just a little bit of water. You don’t want to add too much water to the dirt, think somewhere in-between dry dirt and mud! Now rub it all over your project and let it completely dry!
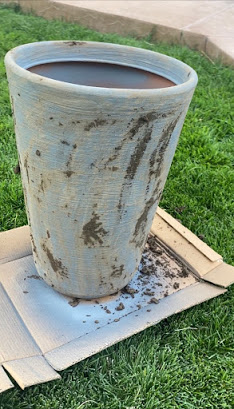
- After the dirt is dry take a clean cloth and rub some of it off. You can take off a little or a lot, it’s up to you! If you have trouble removing the dirt, it may be because your dirt was too wet. Get your cloth damp and carefully rub the dirt off that way. If your cloth is too wet and you completely remove all the dirt you will need to repeat the last step to get some of that dirt back on your project.
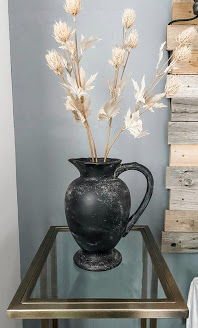
- The last step is spraying the project with a matte sealer. This is optional but I do find that it preserves your project better, and because the finish is also matte it won’t change the look or feel of your project!!

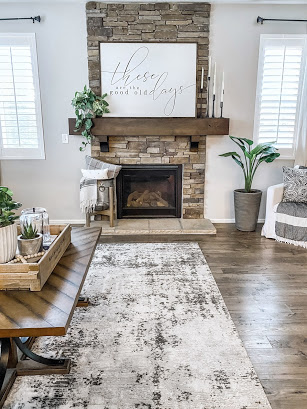
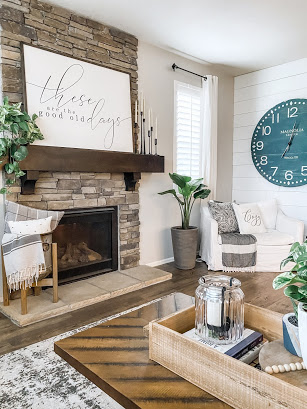
This style of decor is so popular right now and you can find it all over from Pottery Barn to Arhaus but by DIYing it you can have the same look for a fraction of the price!
-Grey Birch Designs-
read more
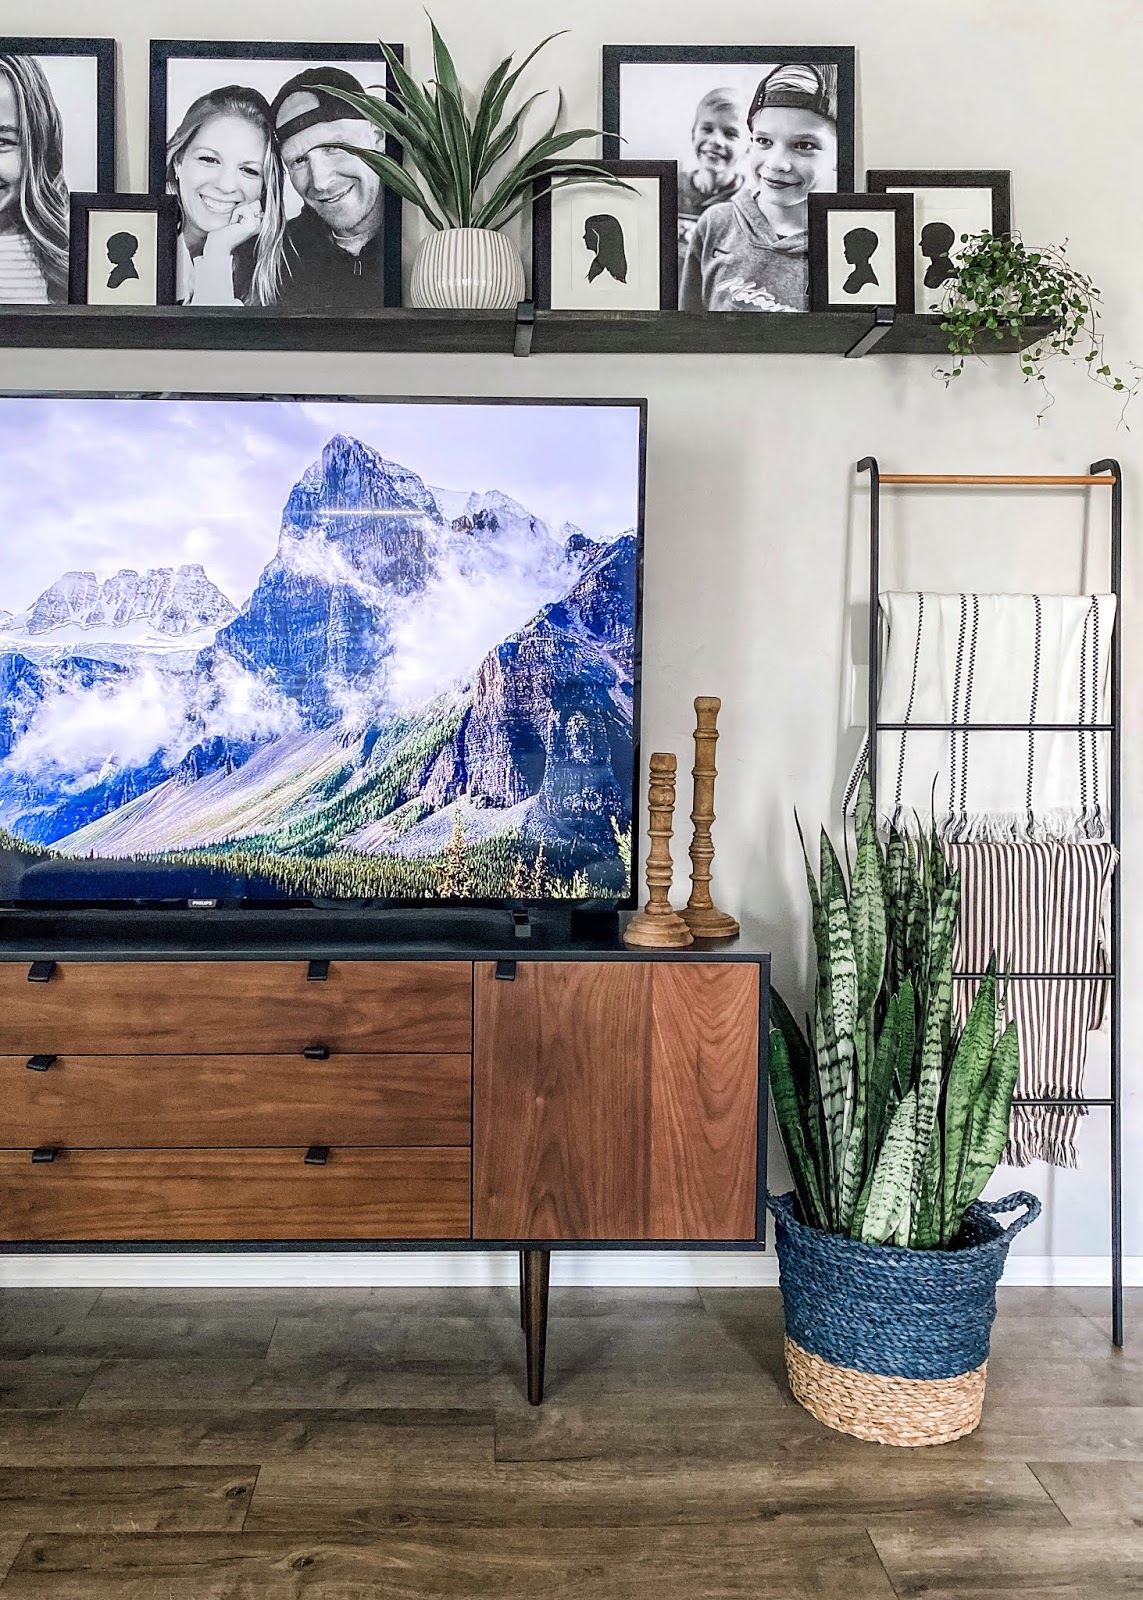
I recently gave our loft/playroom a refresh that fits our growing kids and their needs. I loved how the room came together but the TV wall bothered me. When we replaced our old TV with this larger TV the photo wall didn’t look right anymore. I needed to come up with a different design.
I had a vision in my head and for a certain type of picture shelf but I couldn’t find it anywhere – so that meant I had to DIY it! The TV wall is long and I wanted one large shelf, not two put together.
For this project I used:
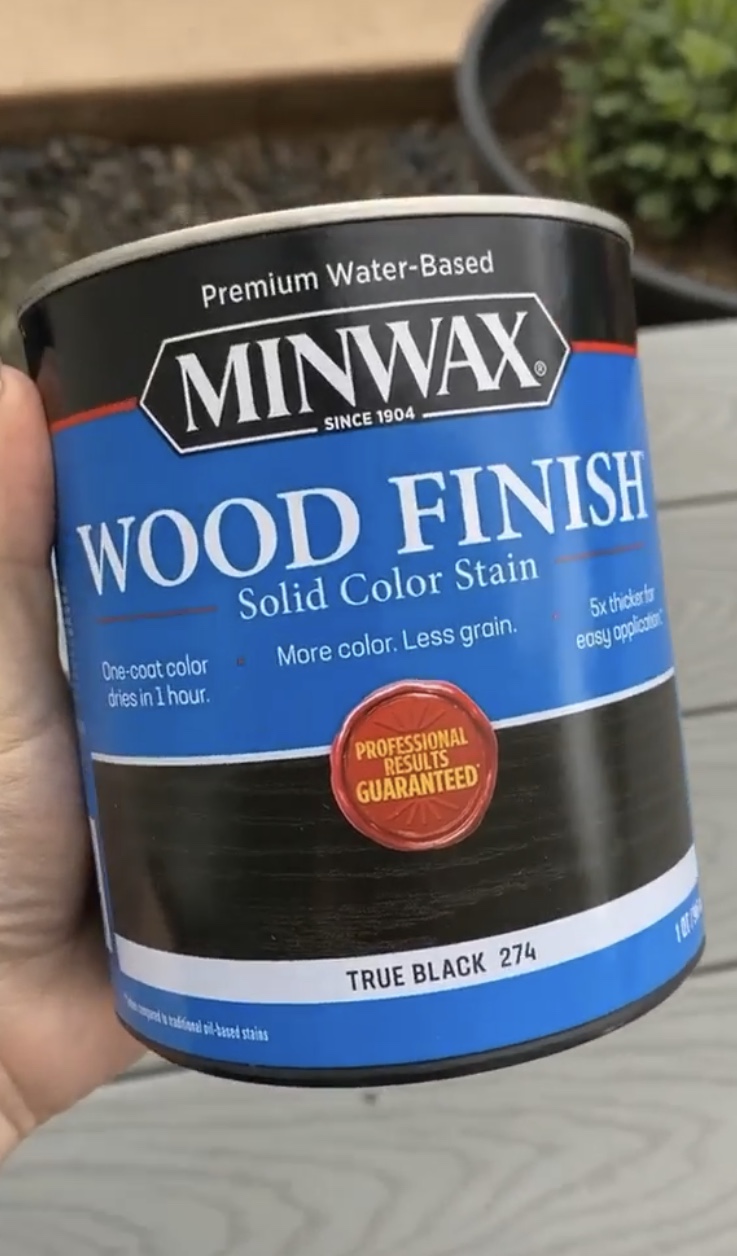
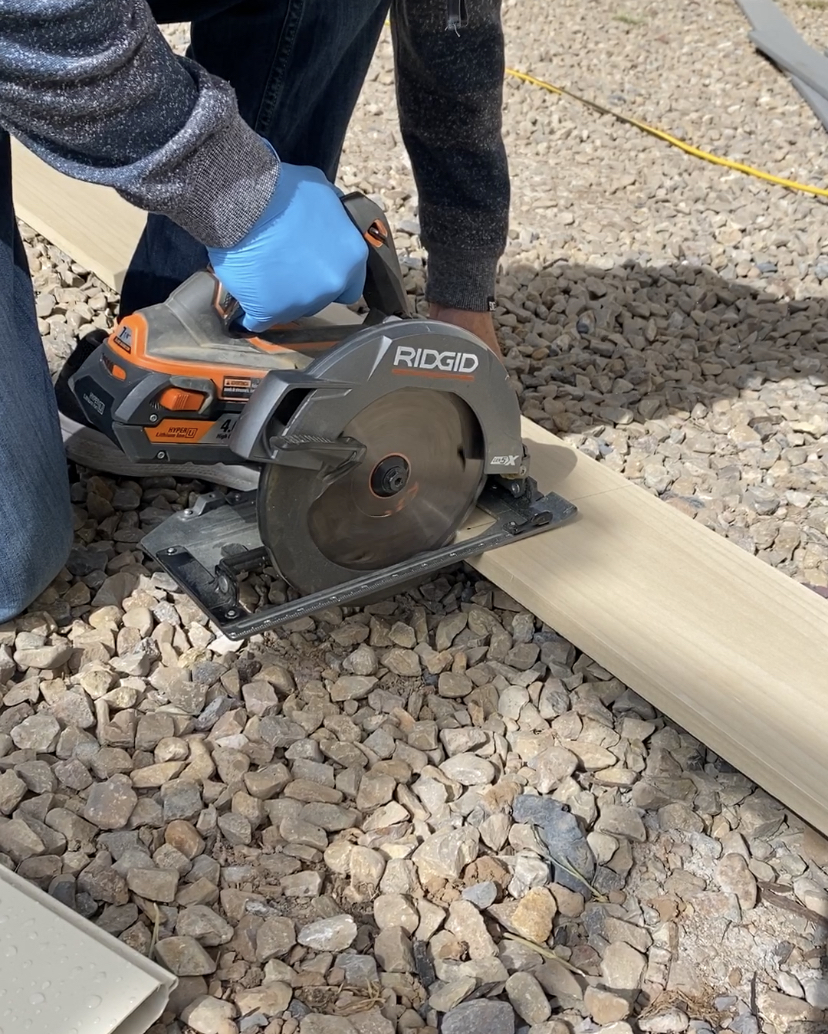
Since the wall is 12′ we cut the board down to 10′, which fills the wall but leaves a little bit of space on the sides. We used a circular saw to make the straight cut and then stained the wood with black wood stain and cloth rags
I found the best was to apply the stain evenly was to work in smaller areas and wipe off the stain quickly after applying it. If you have an extra set of hands it’s quick and easy to have one person apply the stain while the other follows right behind wiping it off!
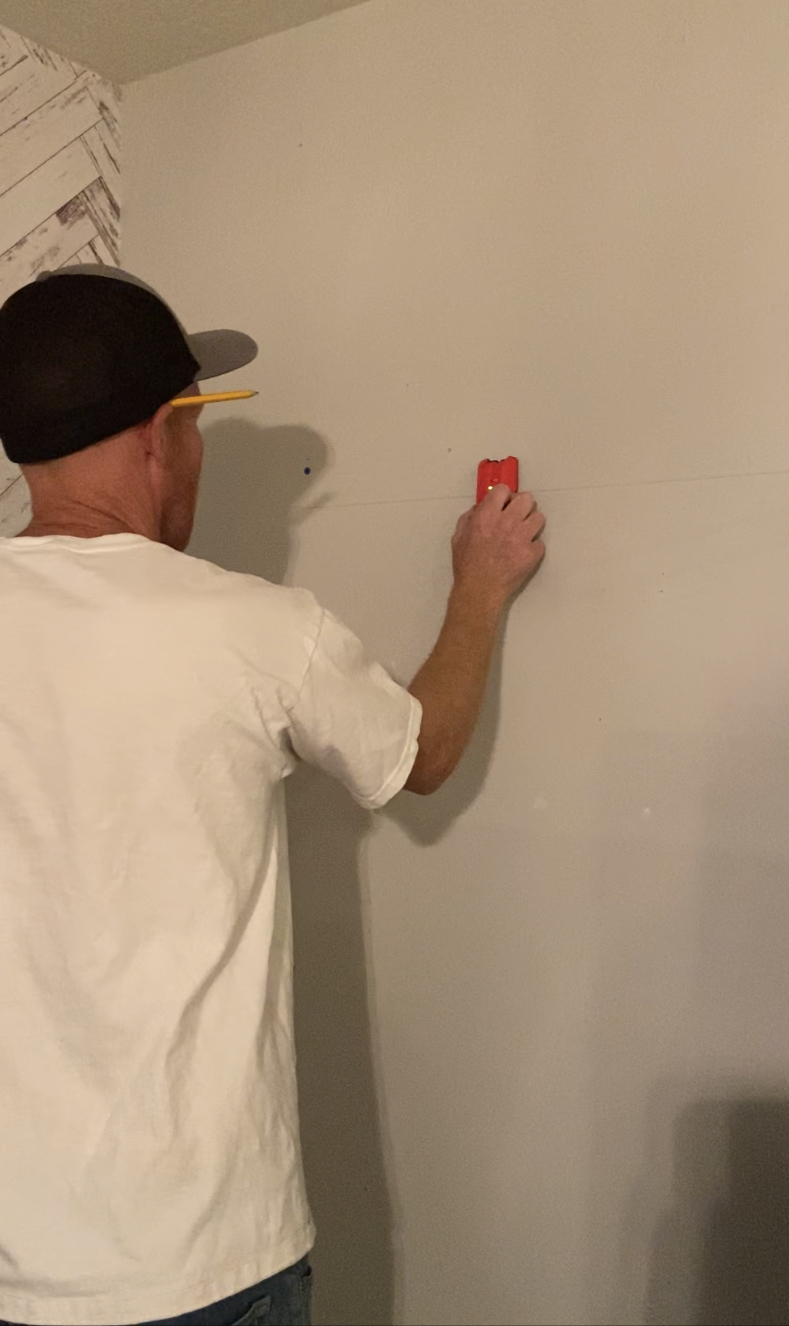
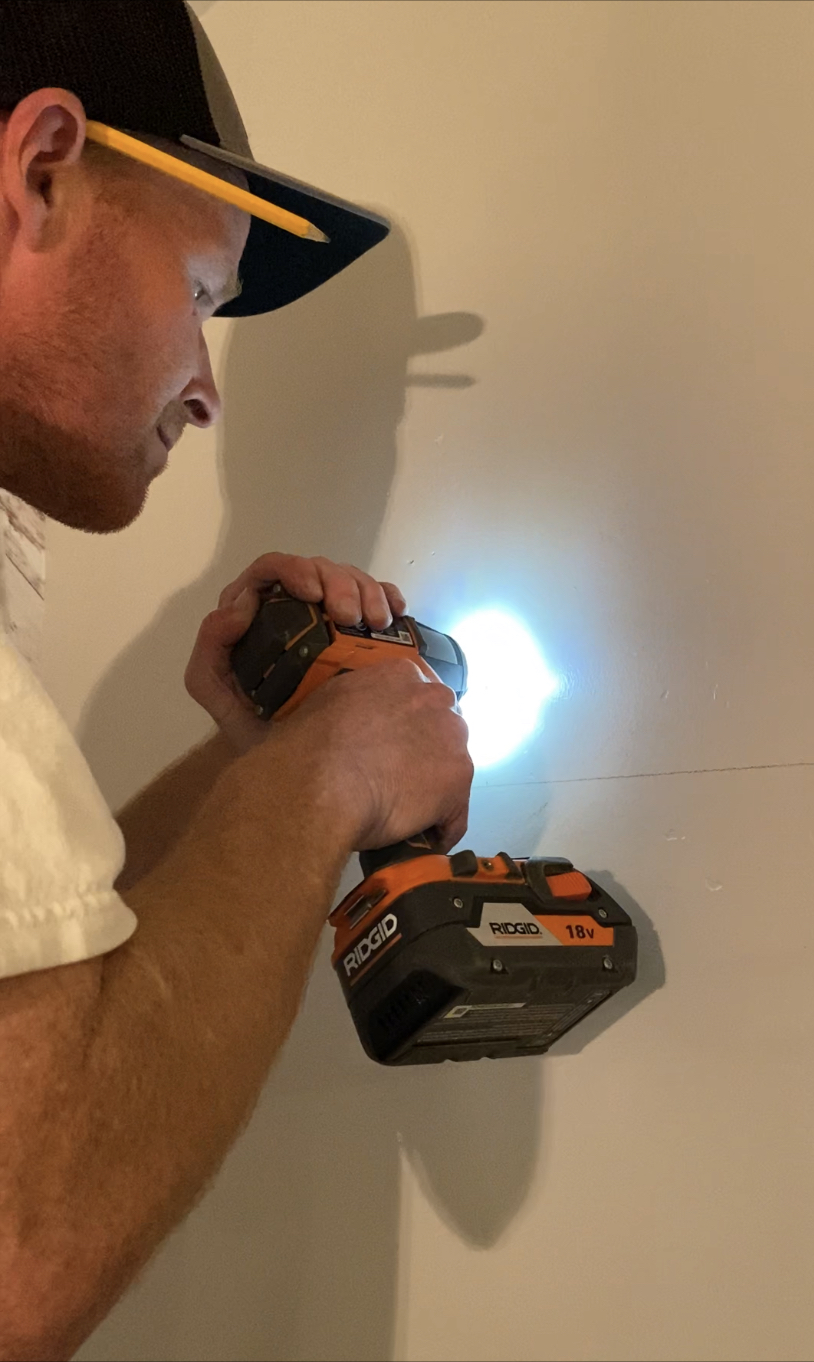
I let the stain dry for a few hours before I put it up on the wall. To install the shelf we held the board up on the wall where we wanted it and used a level to make sure it was straight. Then we drew a level line on the wall across the top of the wood. This makes it easier to attach the brackets to the wall without having to also hold up the wood shelf.
Next we found and marked the studs. For this long shelf we used 4 of the metal brackets. We pre-drilled the holes and then attached the brackets to the wall with 2
inch screws. Once that was done we simply slid the wood into the brackets and then it was time to decorate!
inch screws. Once that was done we simply slid the wood into the brackets and then it was time to decorate!
I used a mix of large black and white family photos, hand cut silhouettes of our whole family, and some new house plants I picked up from Trader Joe’s.
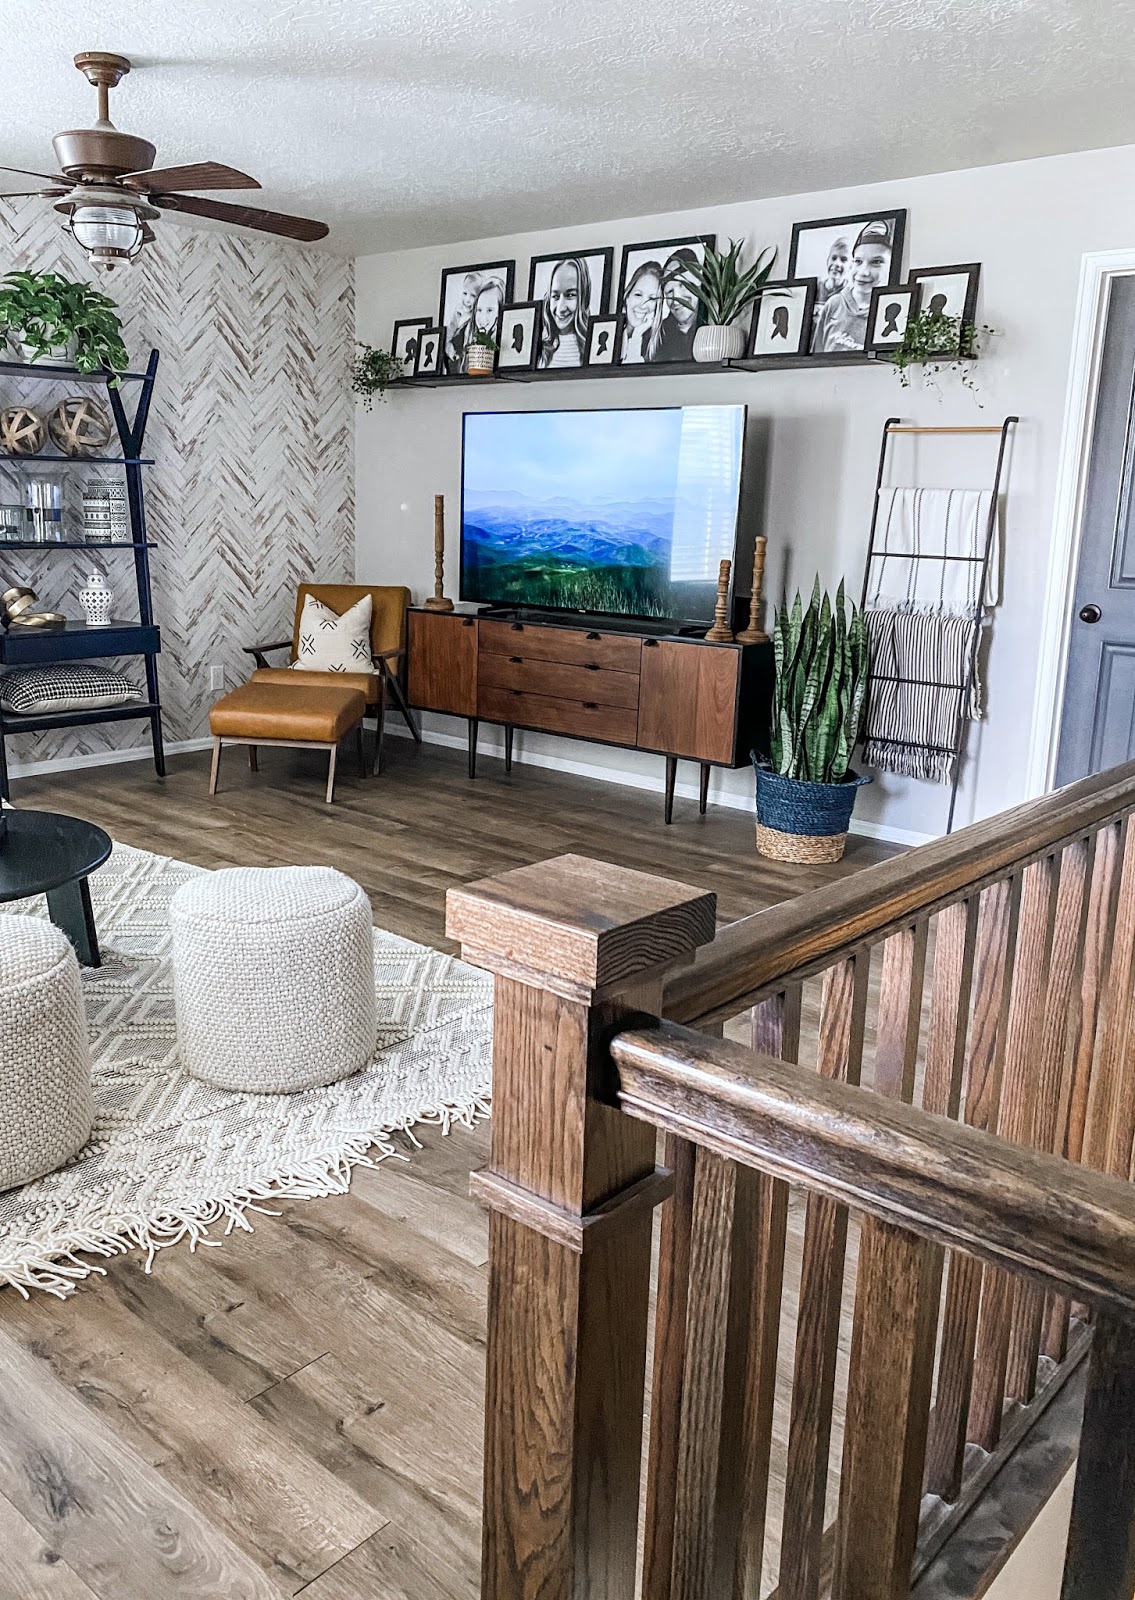
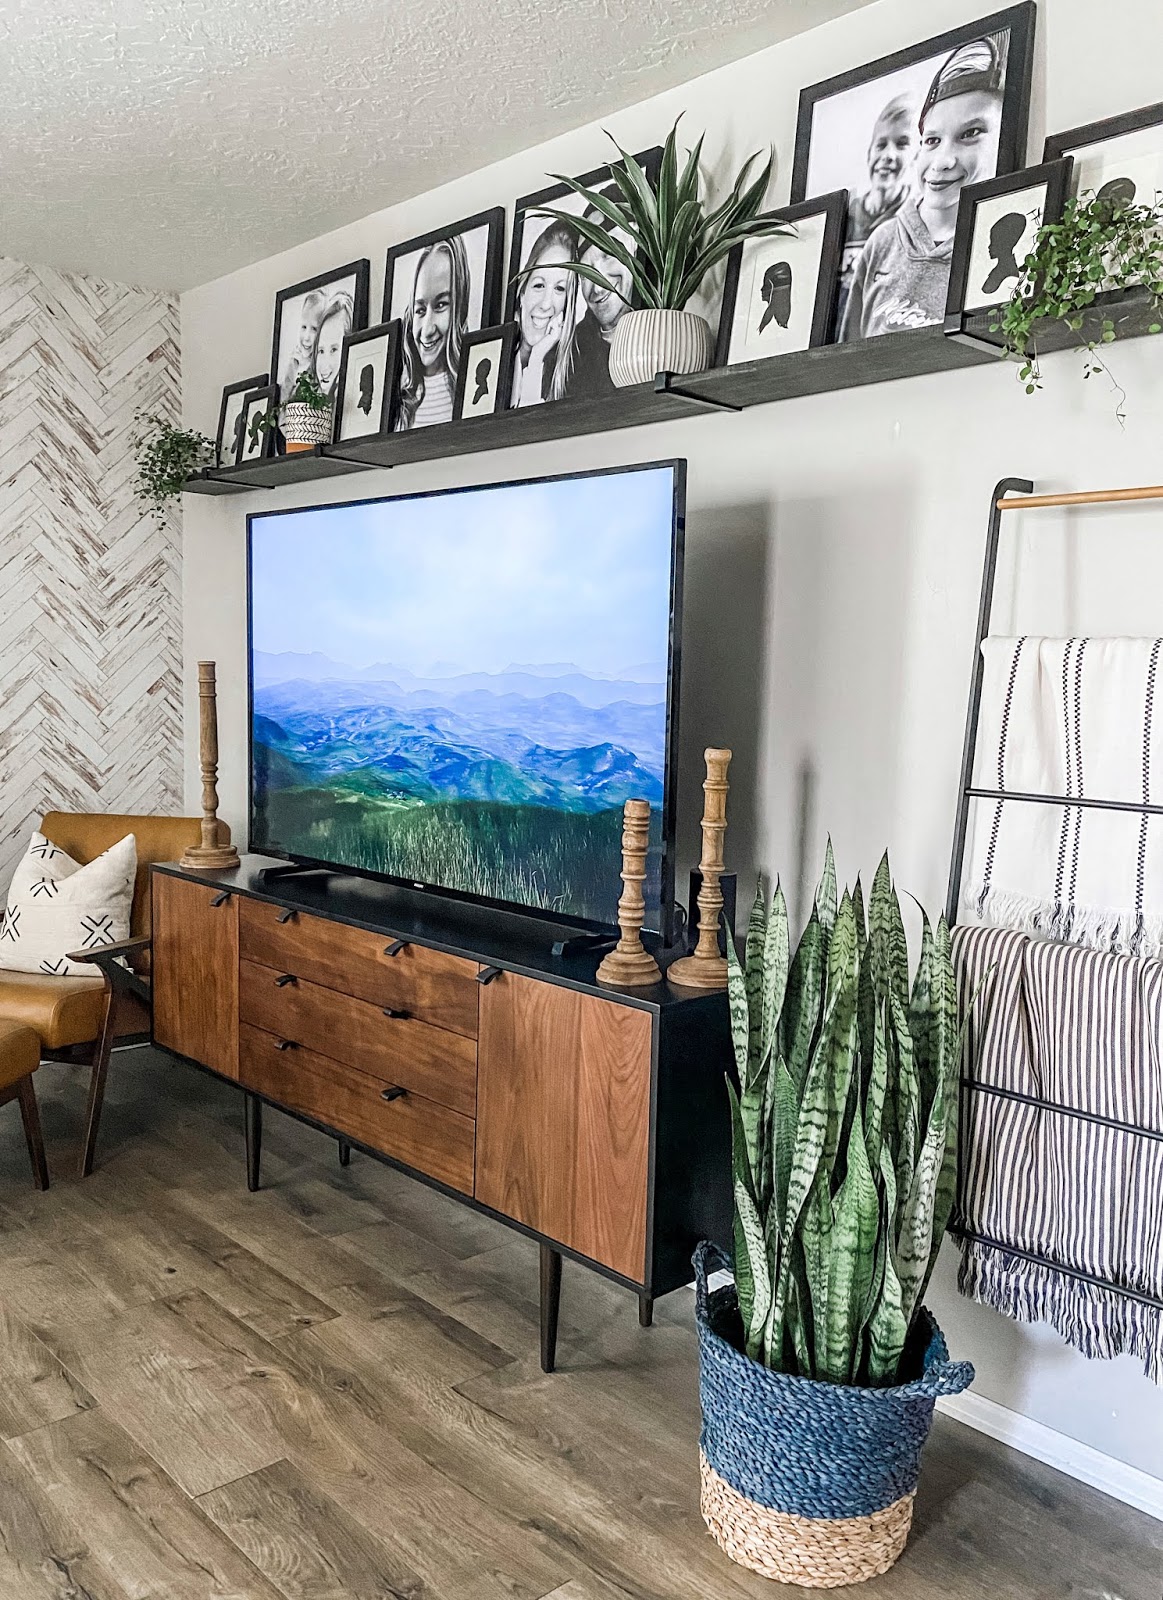
I’m incredibly happy with how this simple project turned out. Finally I love every aspect of our new and improved loft/kids hangout room! To see this project in action check out this video of us putting the whole project together!
-Grey Birch Designs-

read more
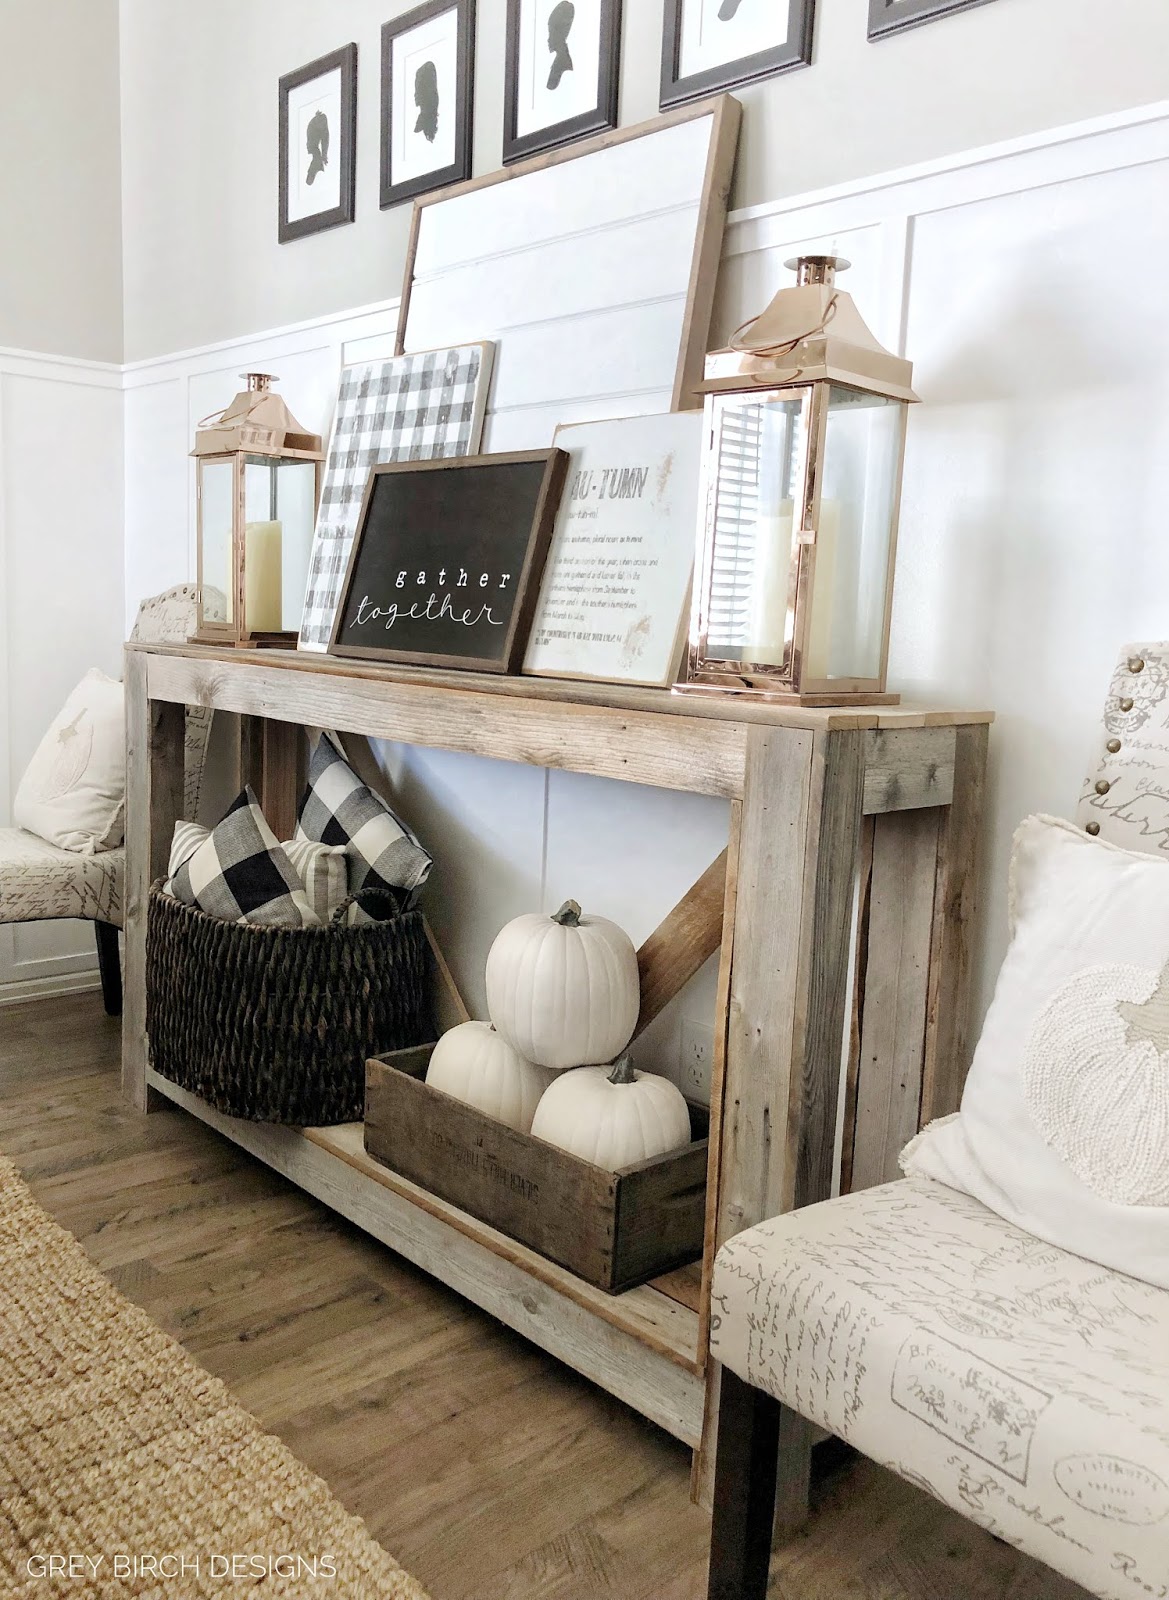
I really love the look of layered signs! It’s such a fun look to create a statement piece in your home. The key part to making this work is to establish your statement piece, and today I have a fun DIY project that can be used as your anchor piece. This board combines some of my favorite things: wood signs and SHIPLAP!!! This shiplap board is the perfect anchor piece in a sign grouping because it adds texture without taking away from the whole design. It can also be used in many other ways, such as in combination with a wreath, etc. The possibilities are endless.
Supply list
- Plywood or MDF board cut to your desired size
- Tongue and groove or standard shiplap boards
- White paint
- 1″ x 2″ boards (for the trim)
- Any stain color you like (for the trim)
- Miter saw
- Wood glue
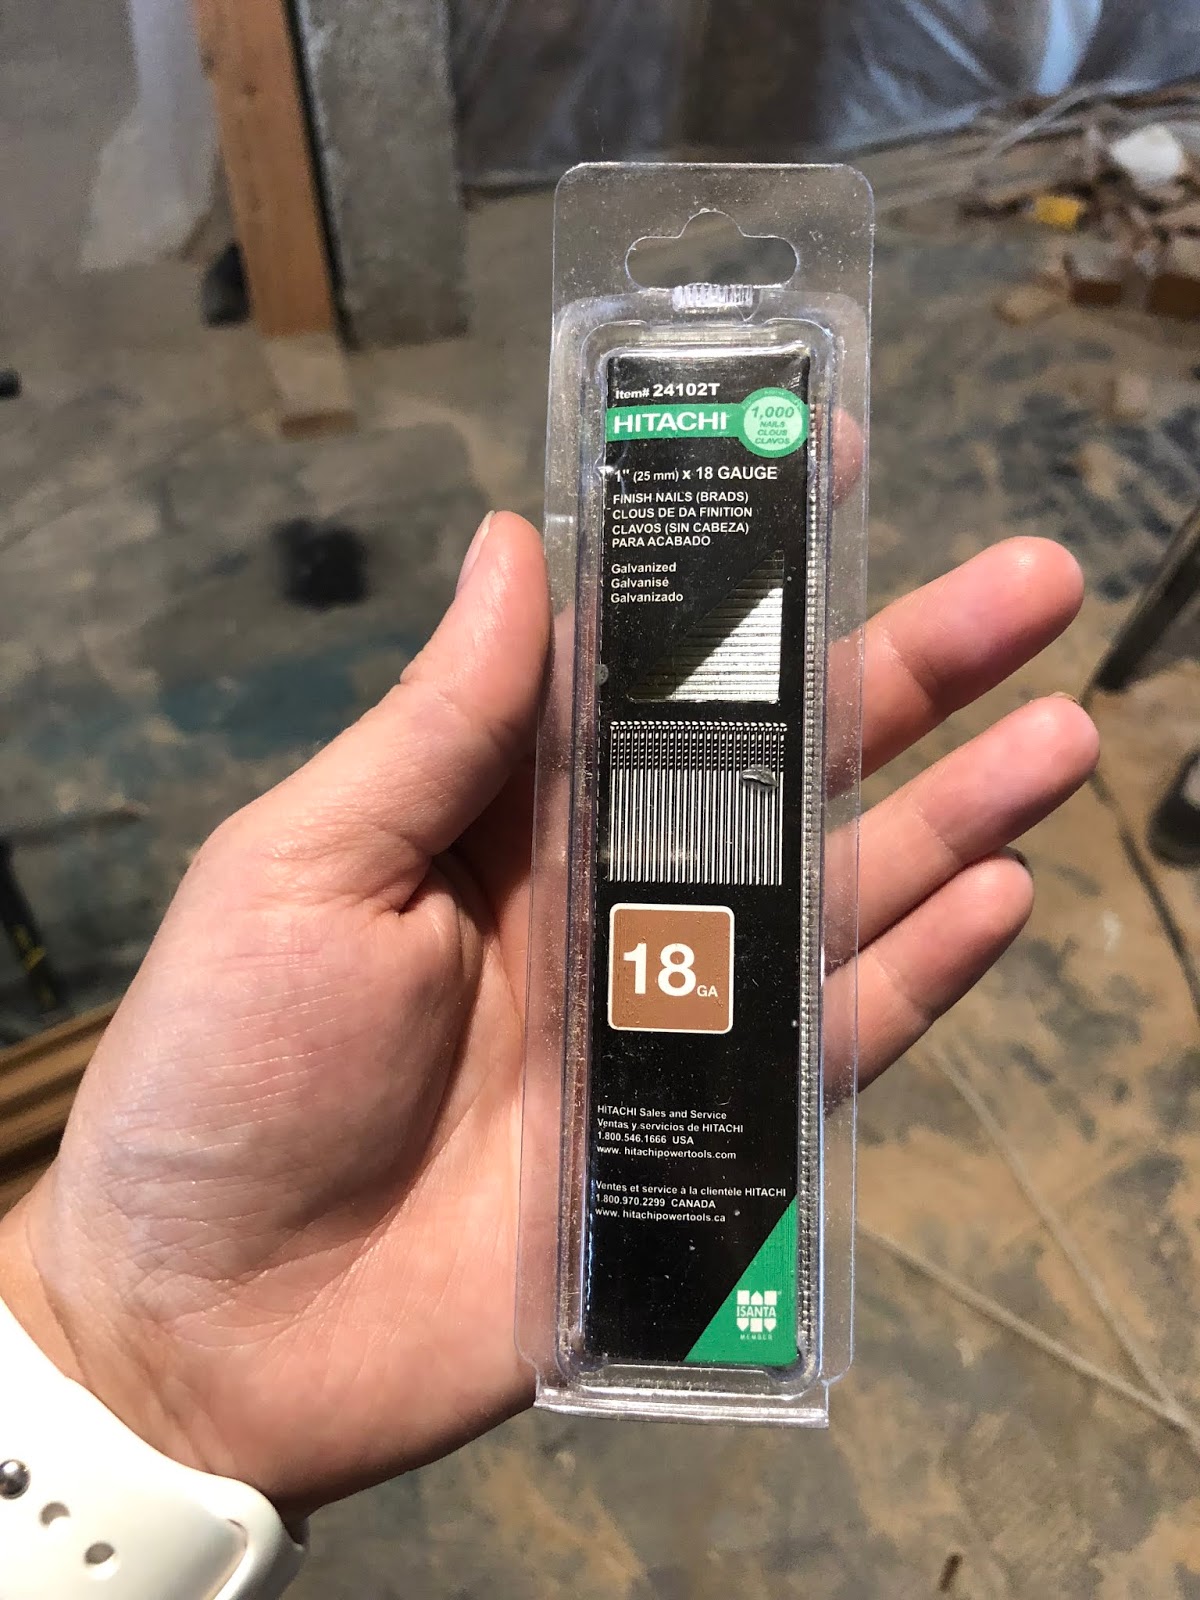
- Brad nails and nail gun
Step 1
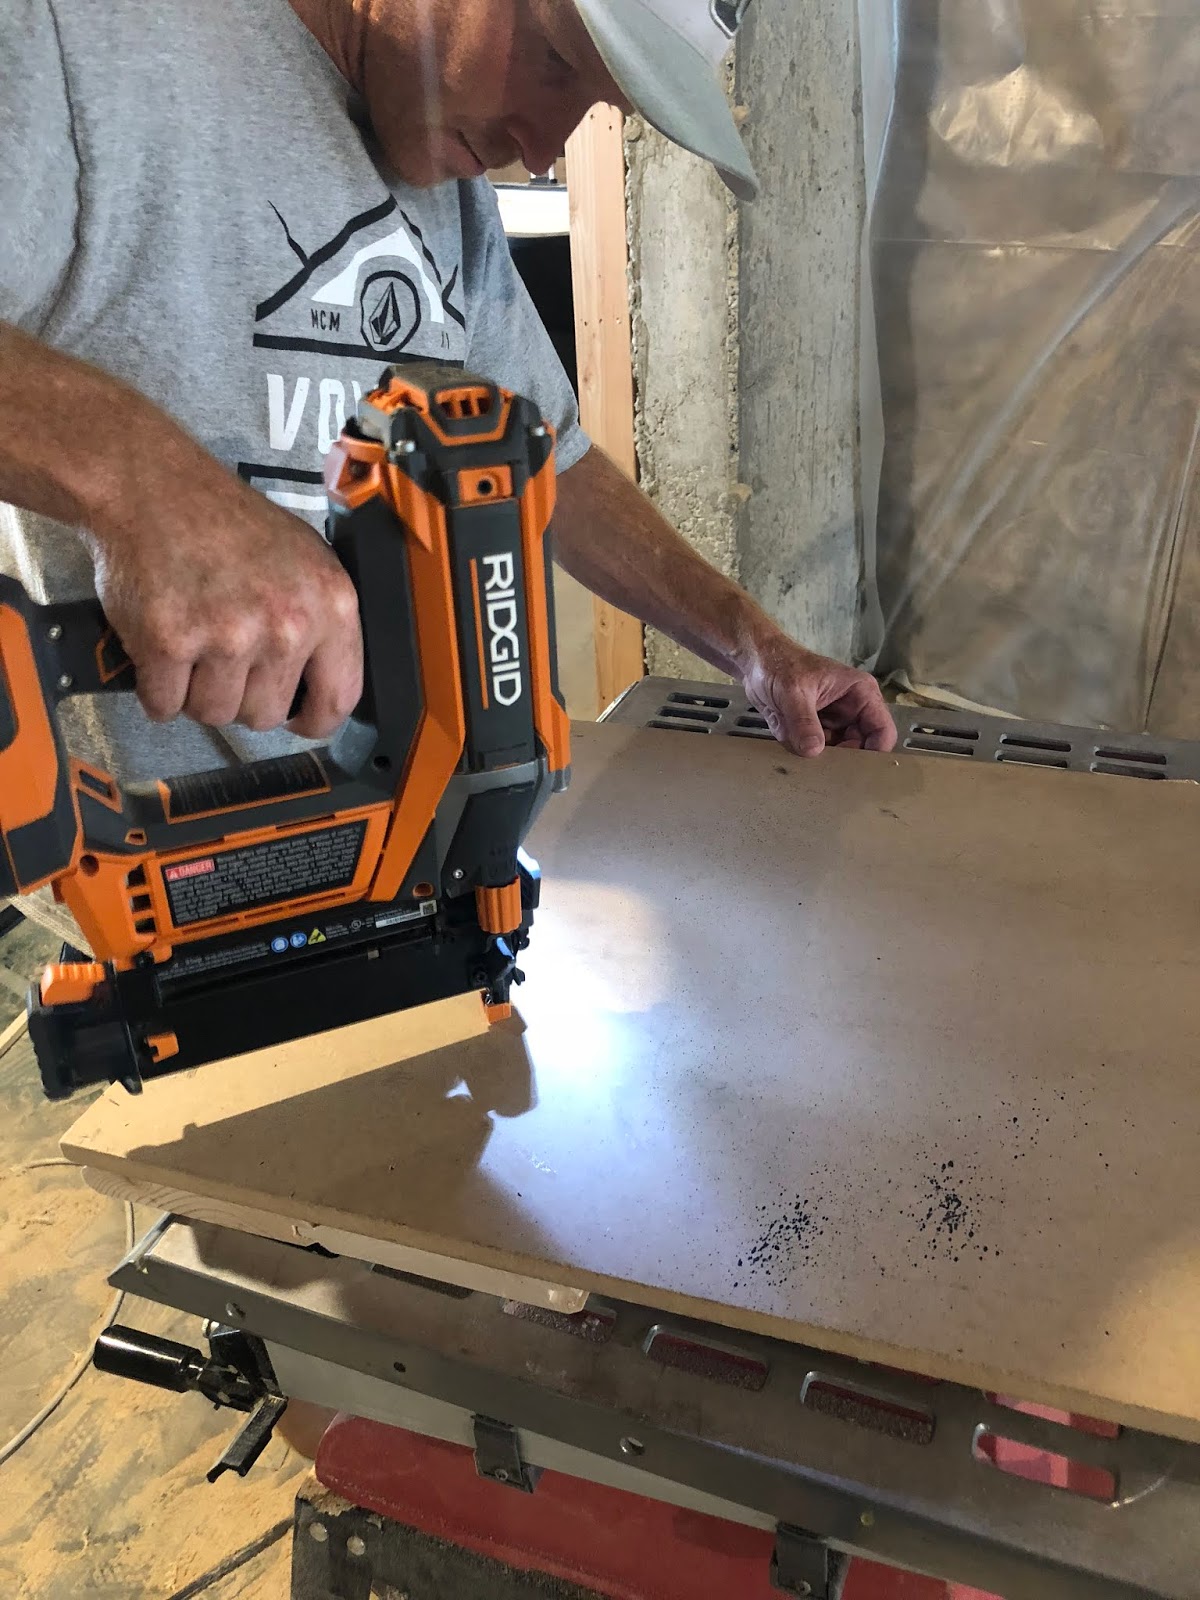
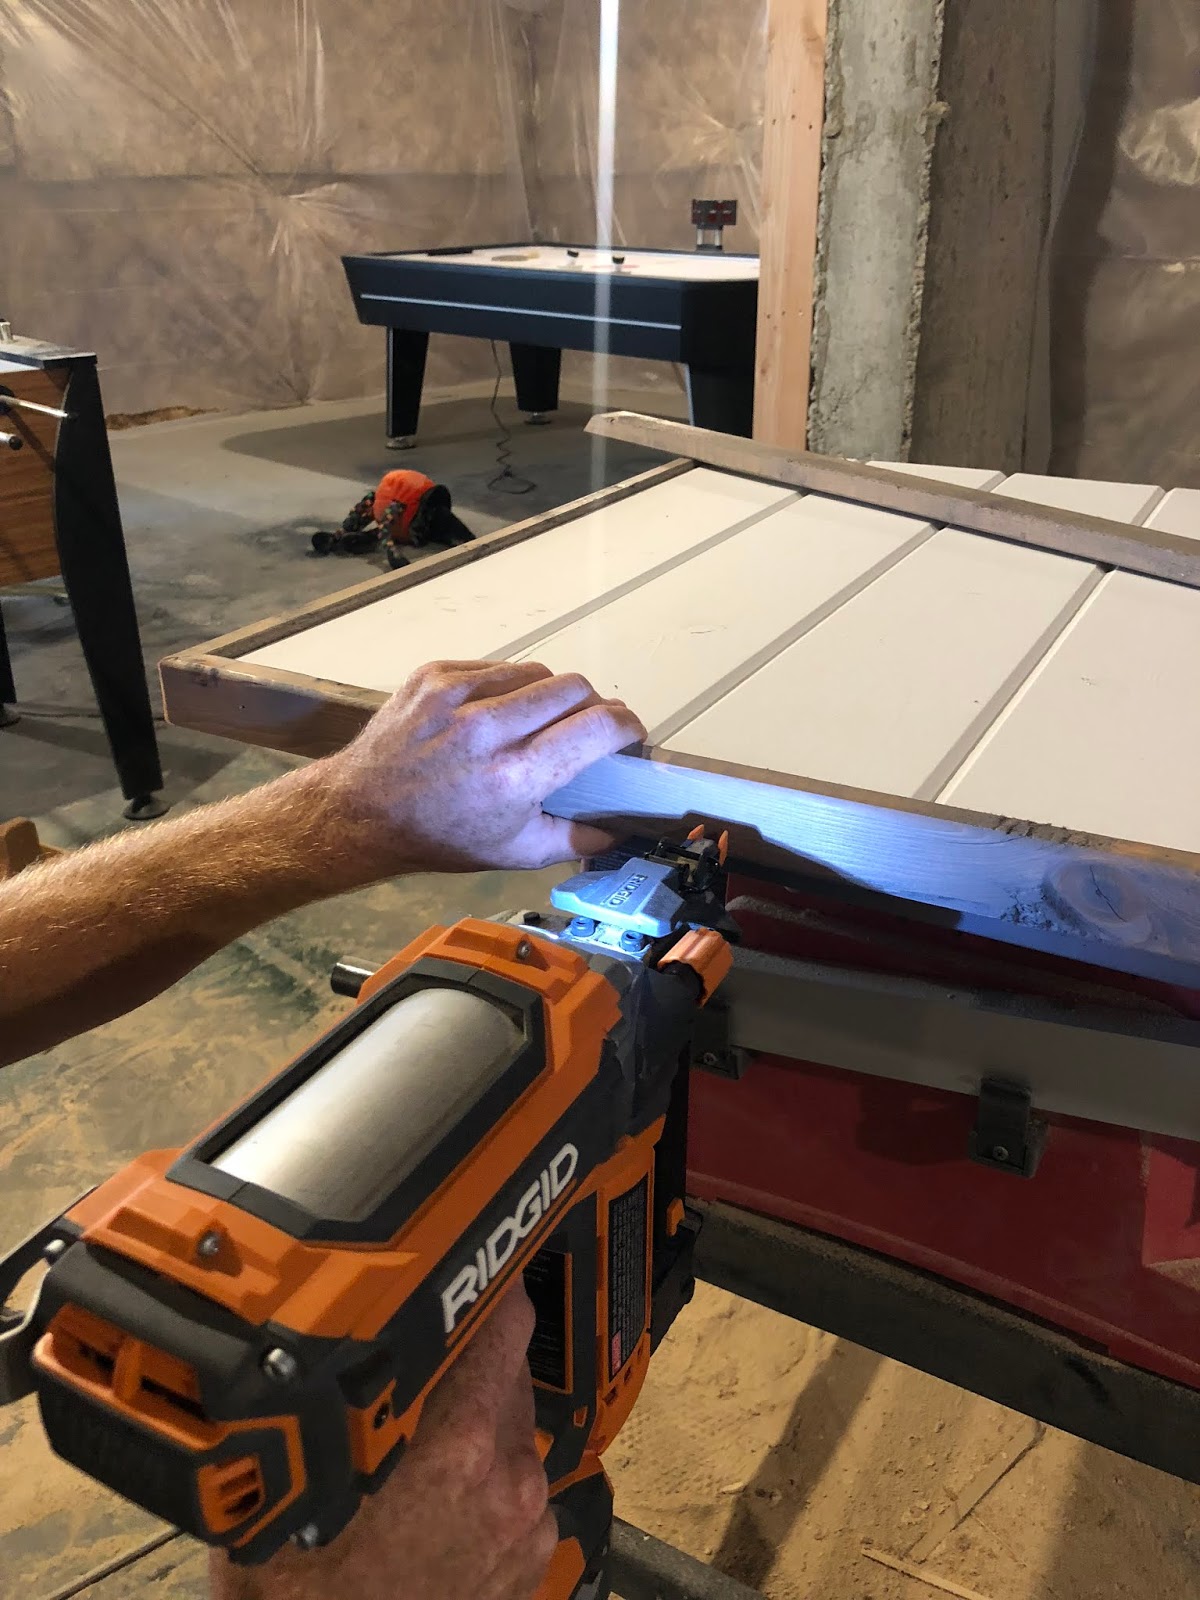
The first thing you want to do is cut your MDF or plywood to the size you want your sign to be. Home Depot can make the cuts for you for free or you can use a table saw if you have one. Then measure the width of your board and cut pieces of shiplap at that length to stack one on top of another. You will need to determine how many of pieces of shiplap to cut based on the height of your sign. Now its time to assemble everything together! Fasten the shiplap pieces to the board using glue and brad nails. For a cleaner look, shoot the nails in from front to back. This requires assembling everything upside down like you see in the pictures below.
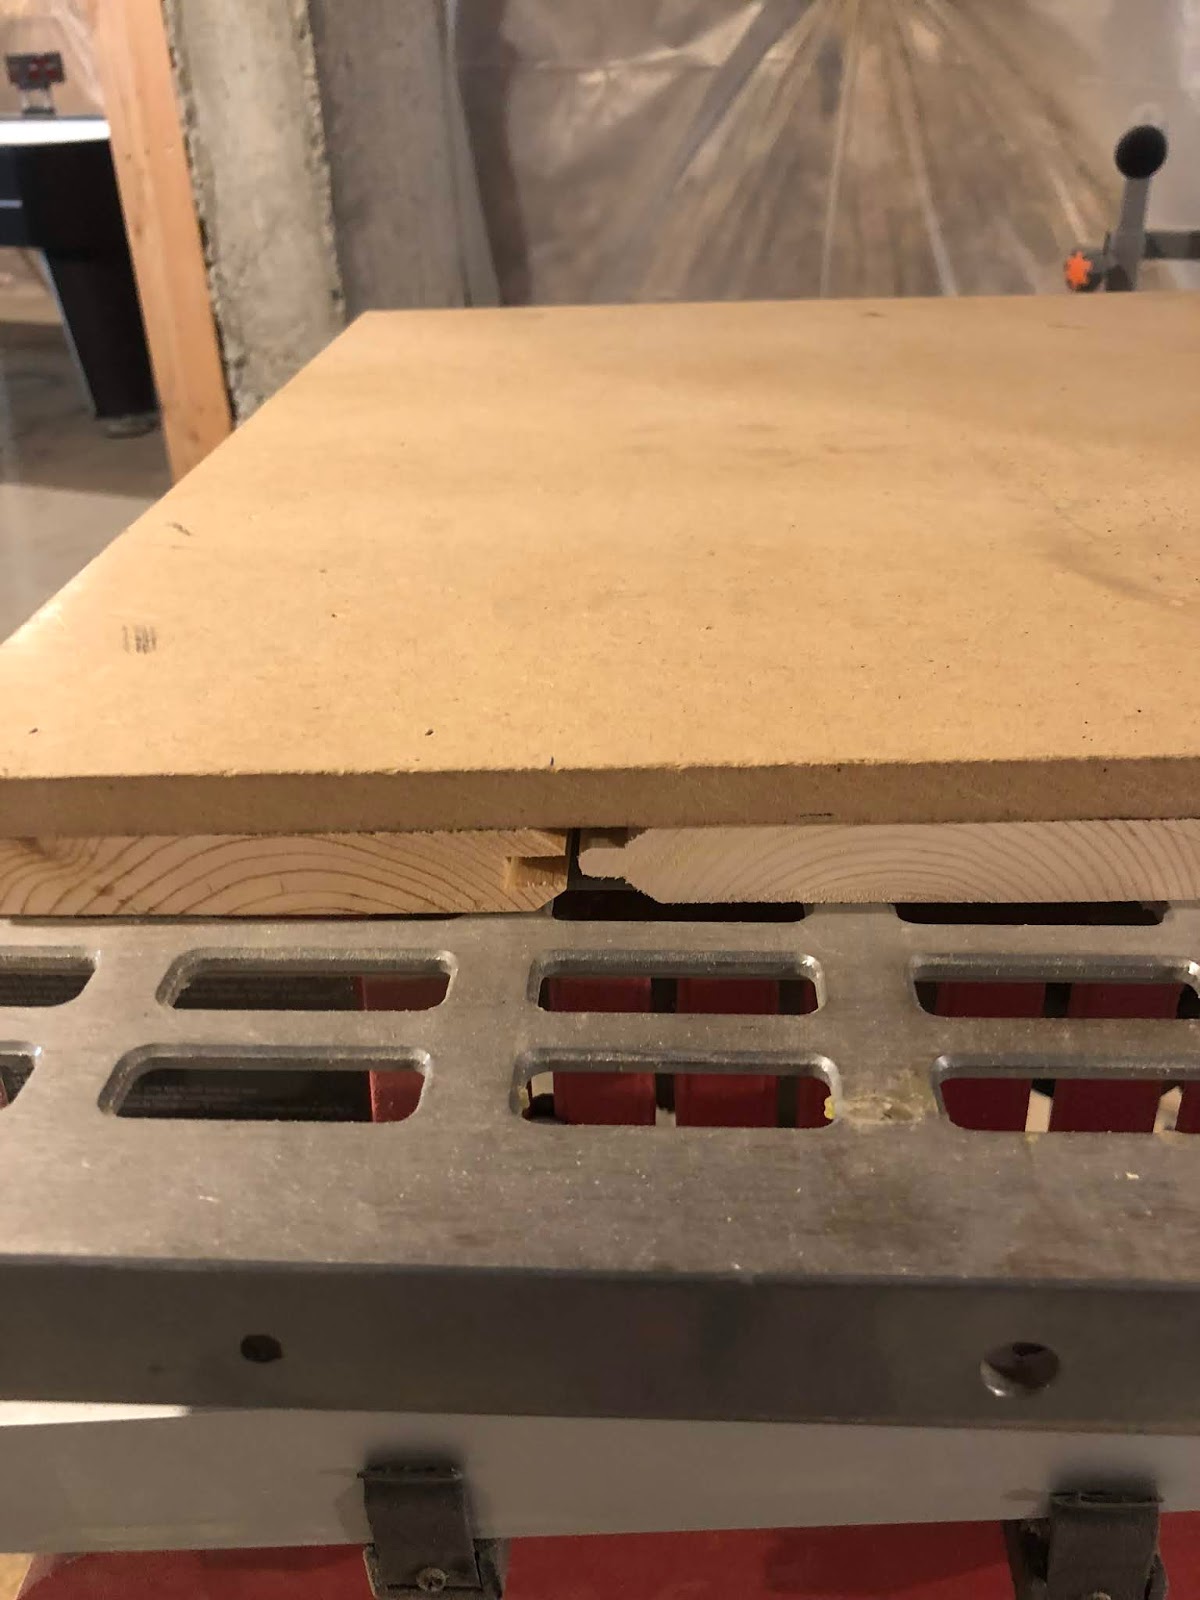
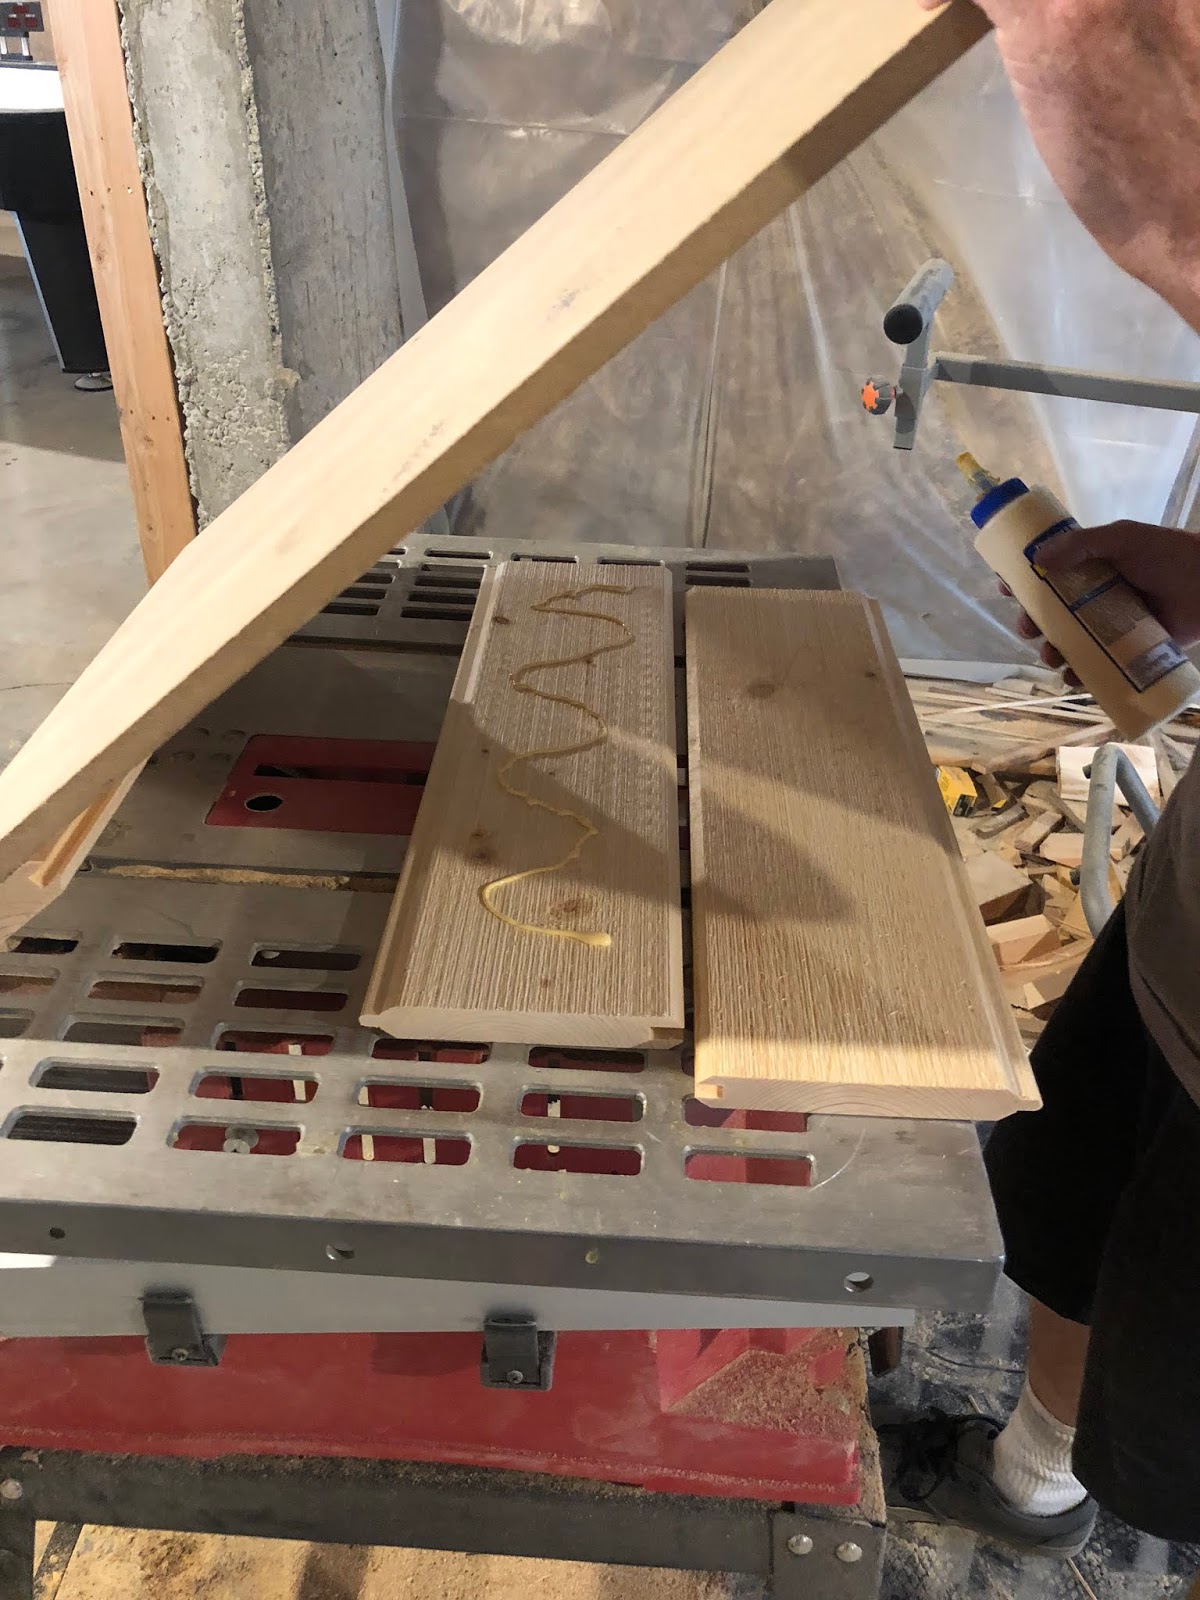
We used 1 inch 18 gauge brad nails. First we nailed the sides and then added a few more nails along the middle in a zig zag pattern.
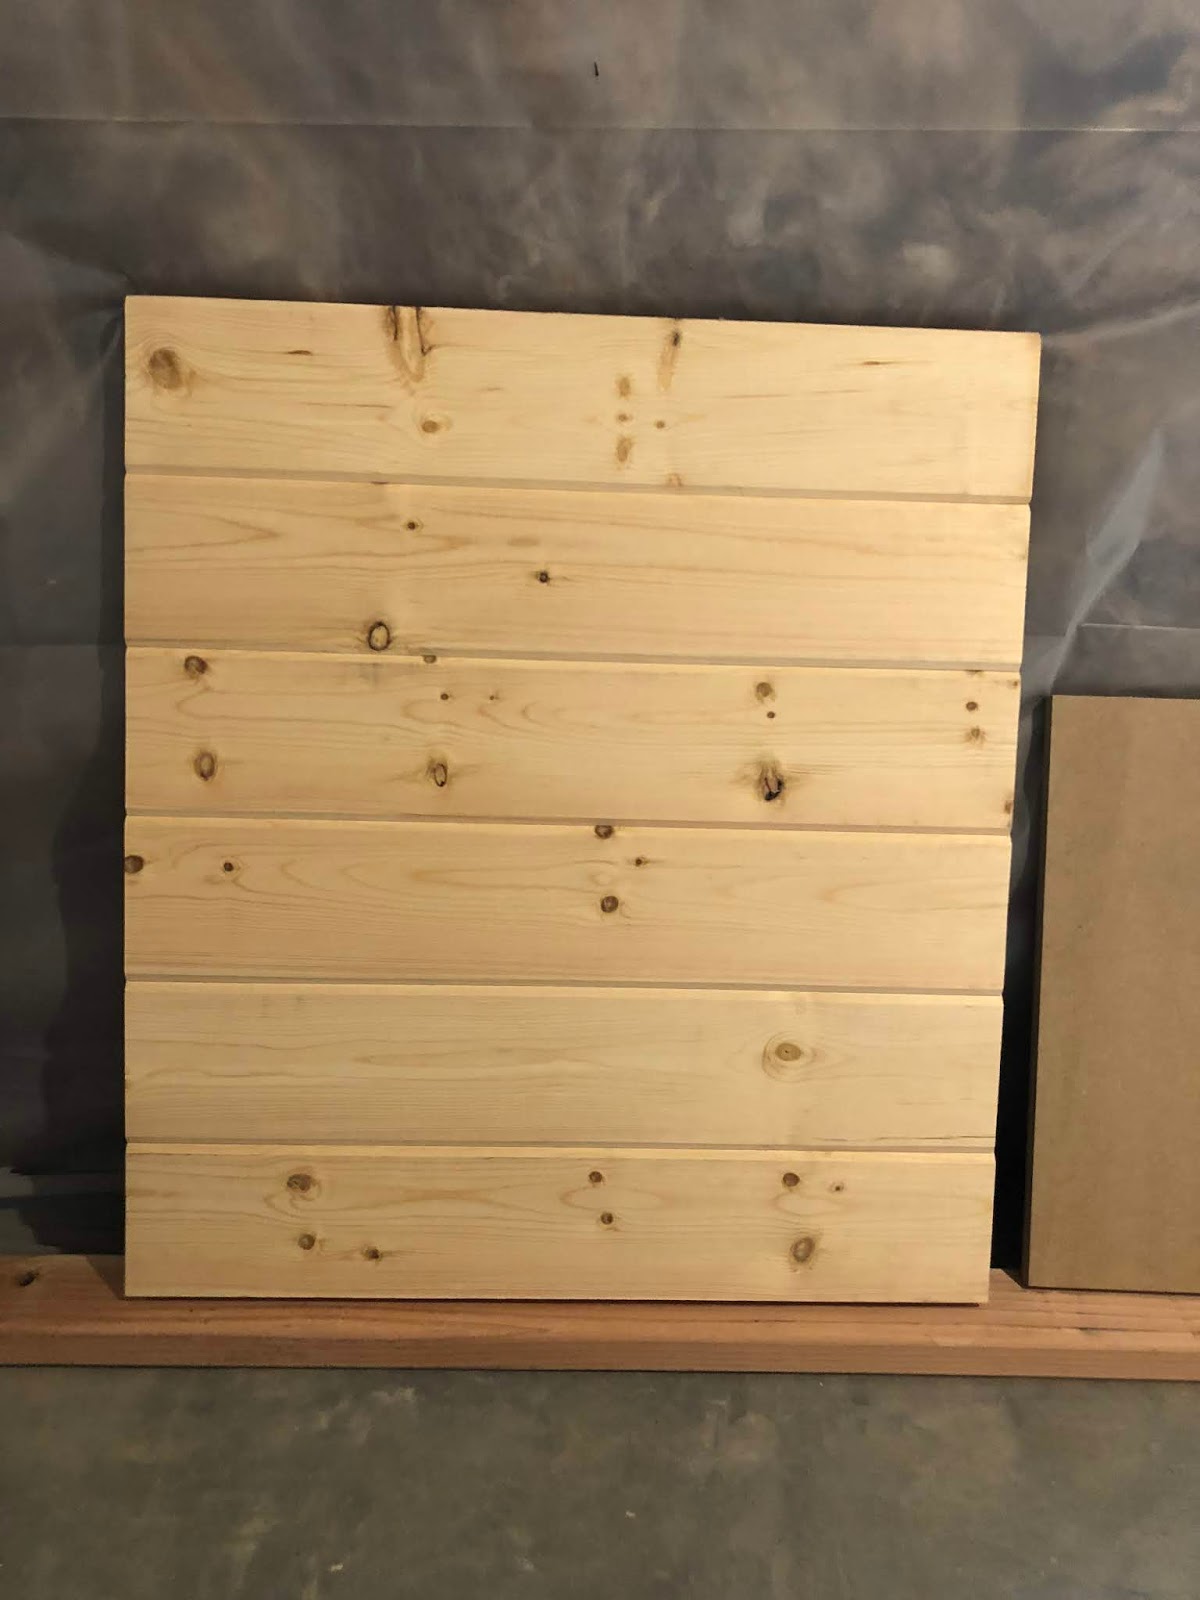
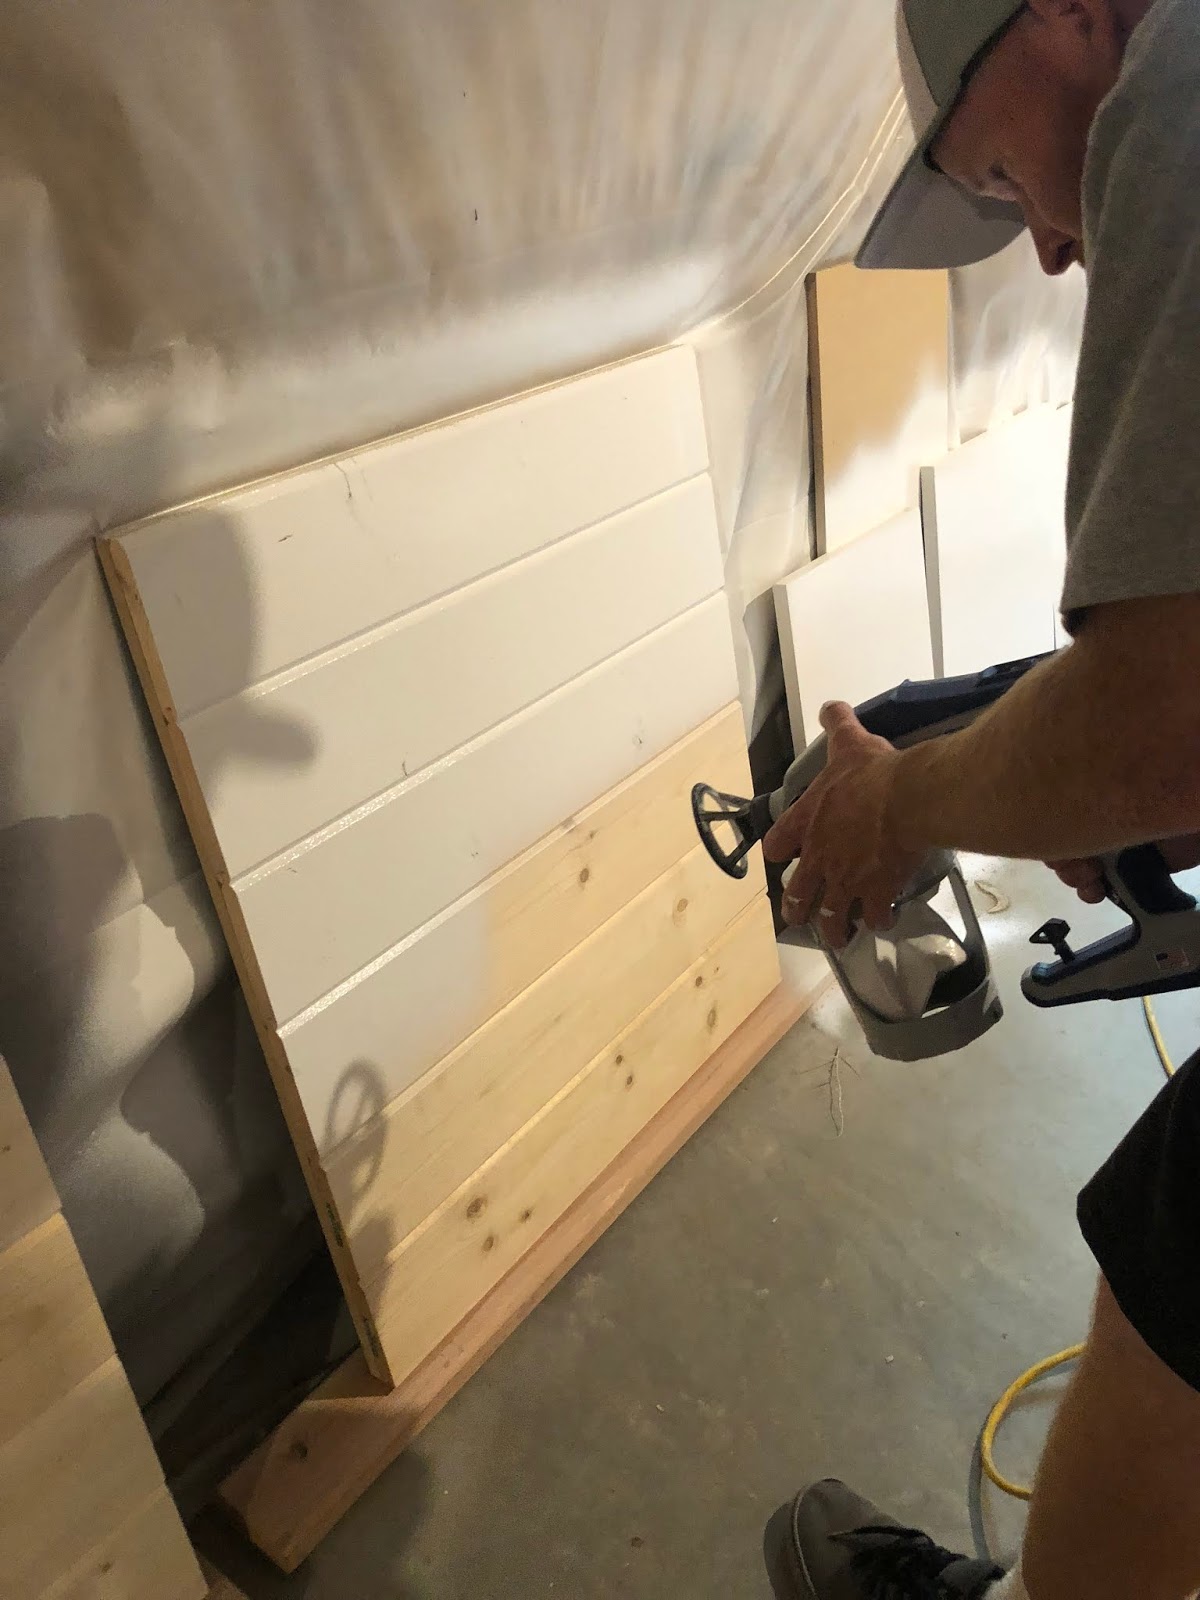
Step 2
Now it’s time to paint. Don’t worry about painting the sides because they will be covered with your trim pieces. We used a paint sprayer but you can easily do this with a roller or paint brush. While that is drying you can cut and stain your trim
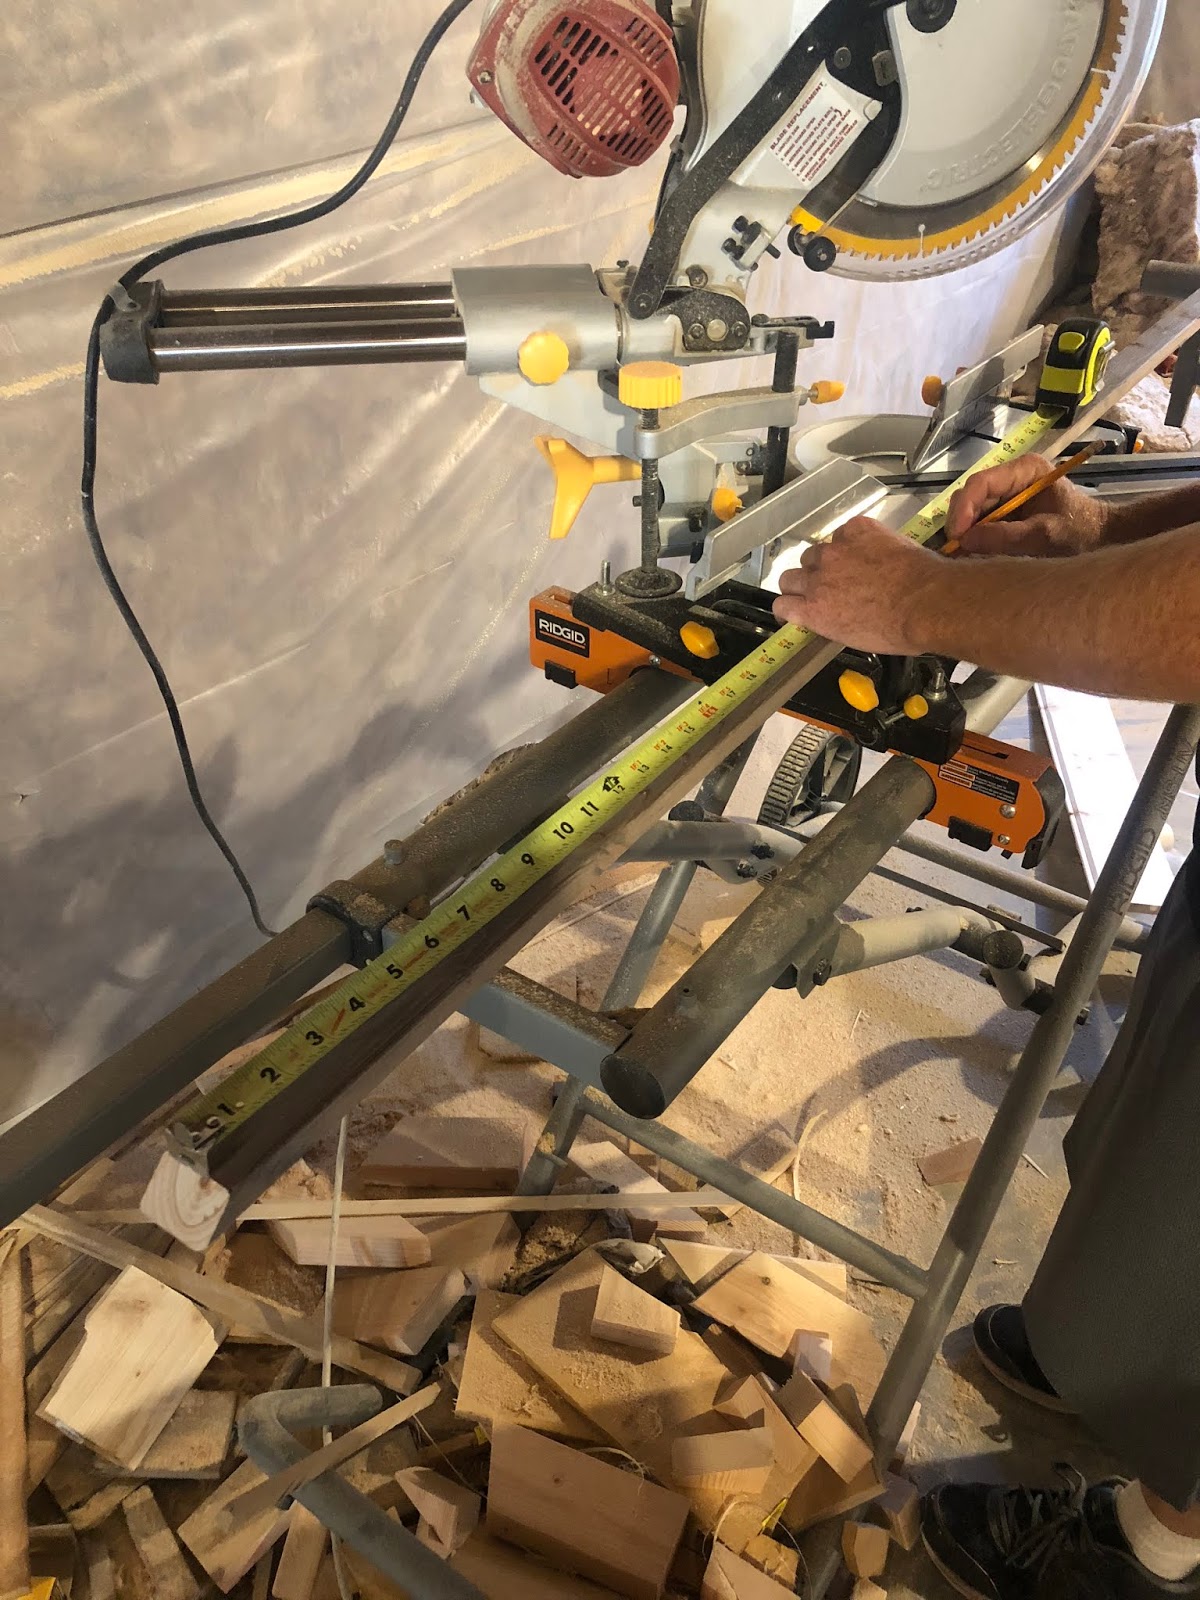
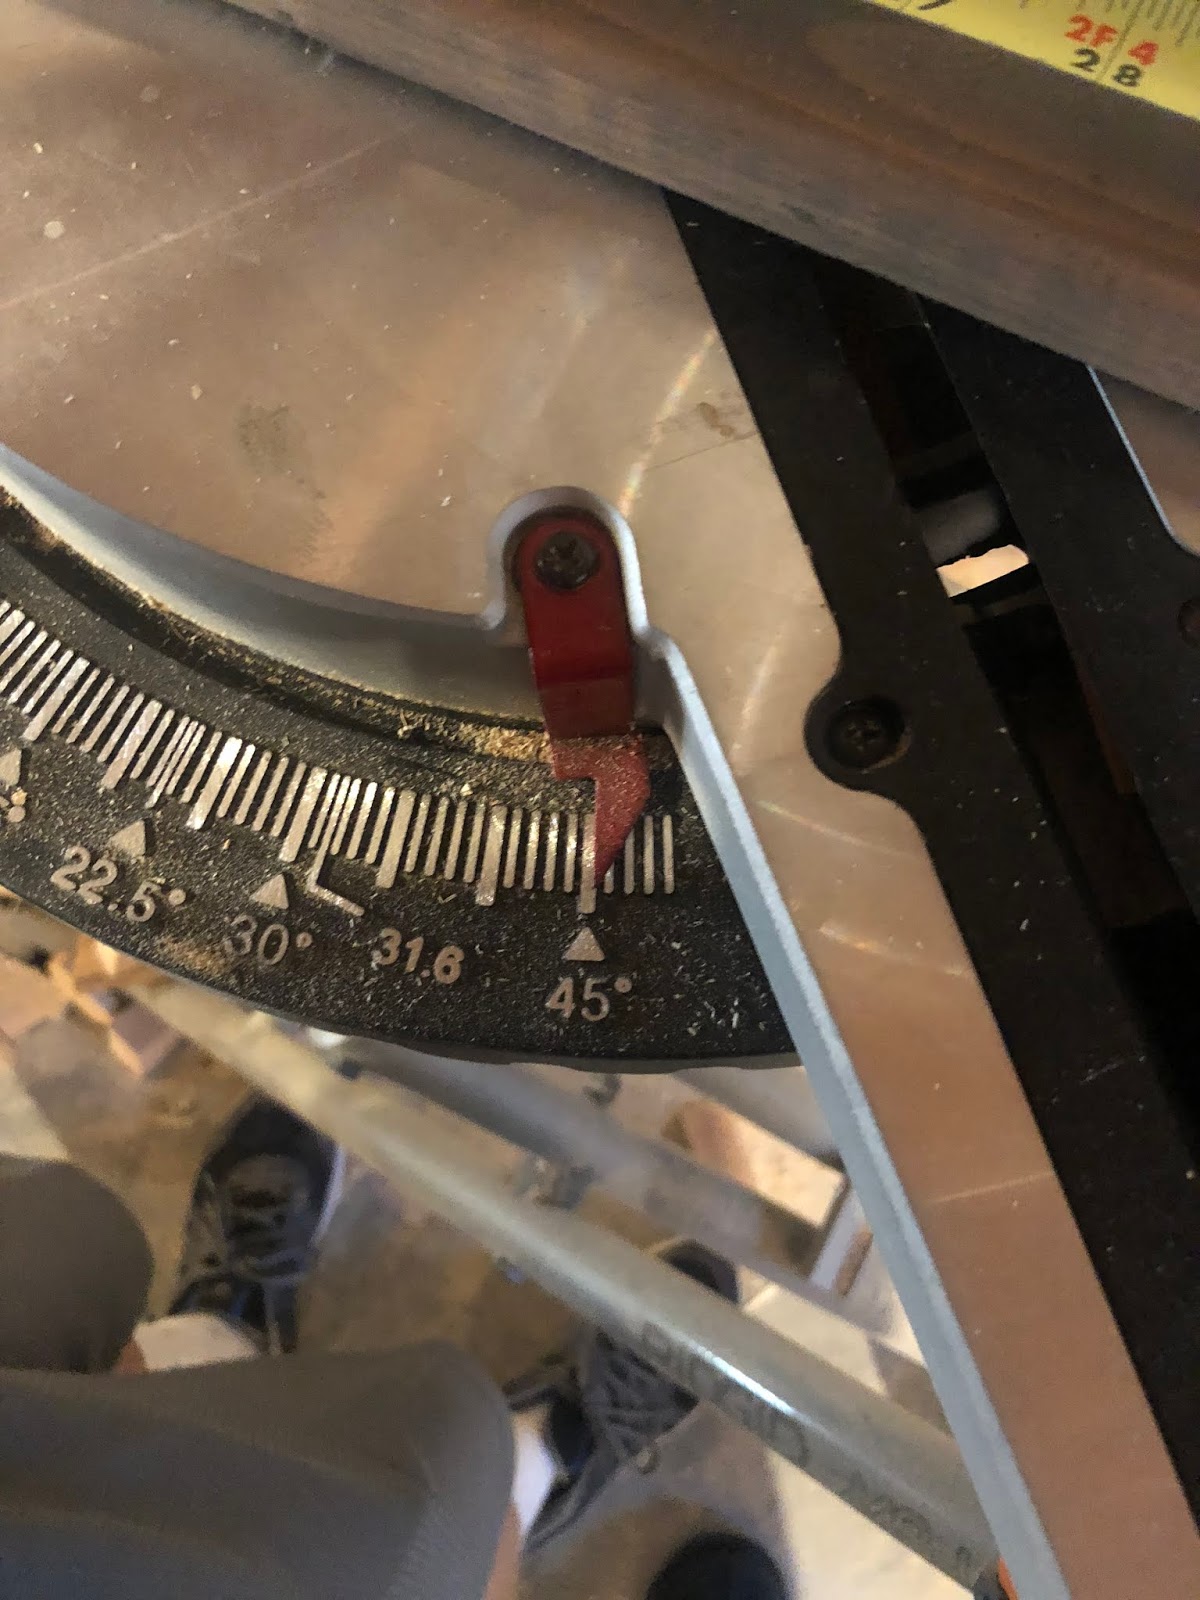
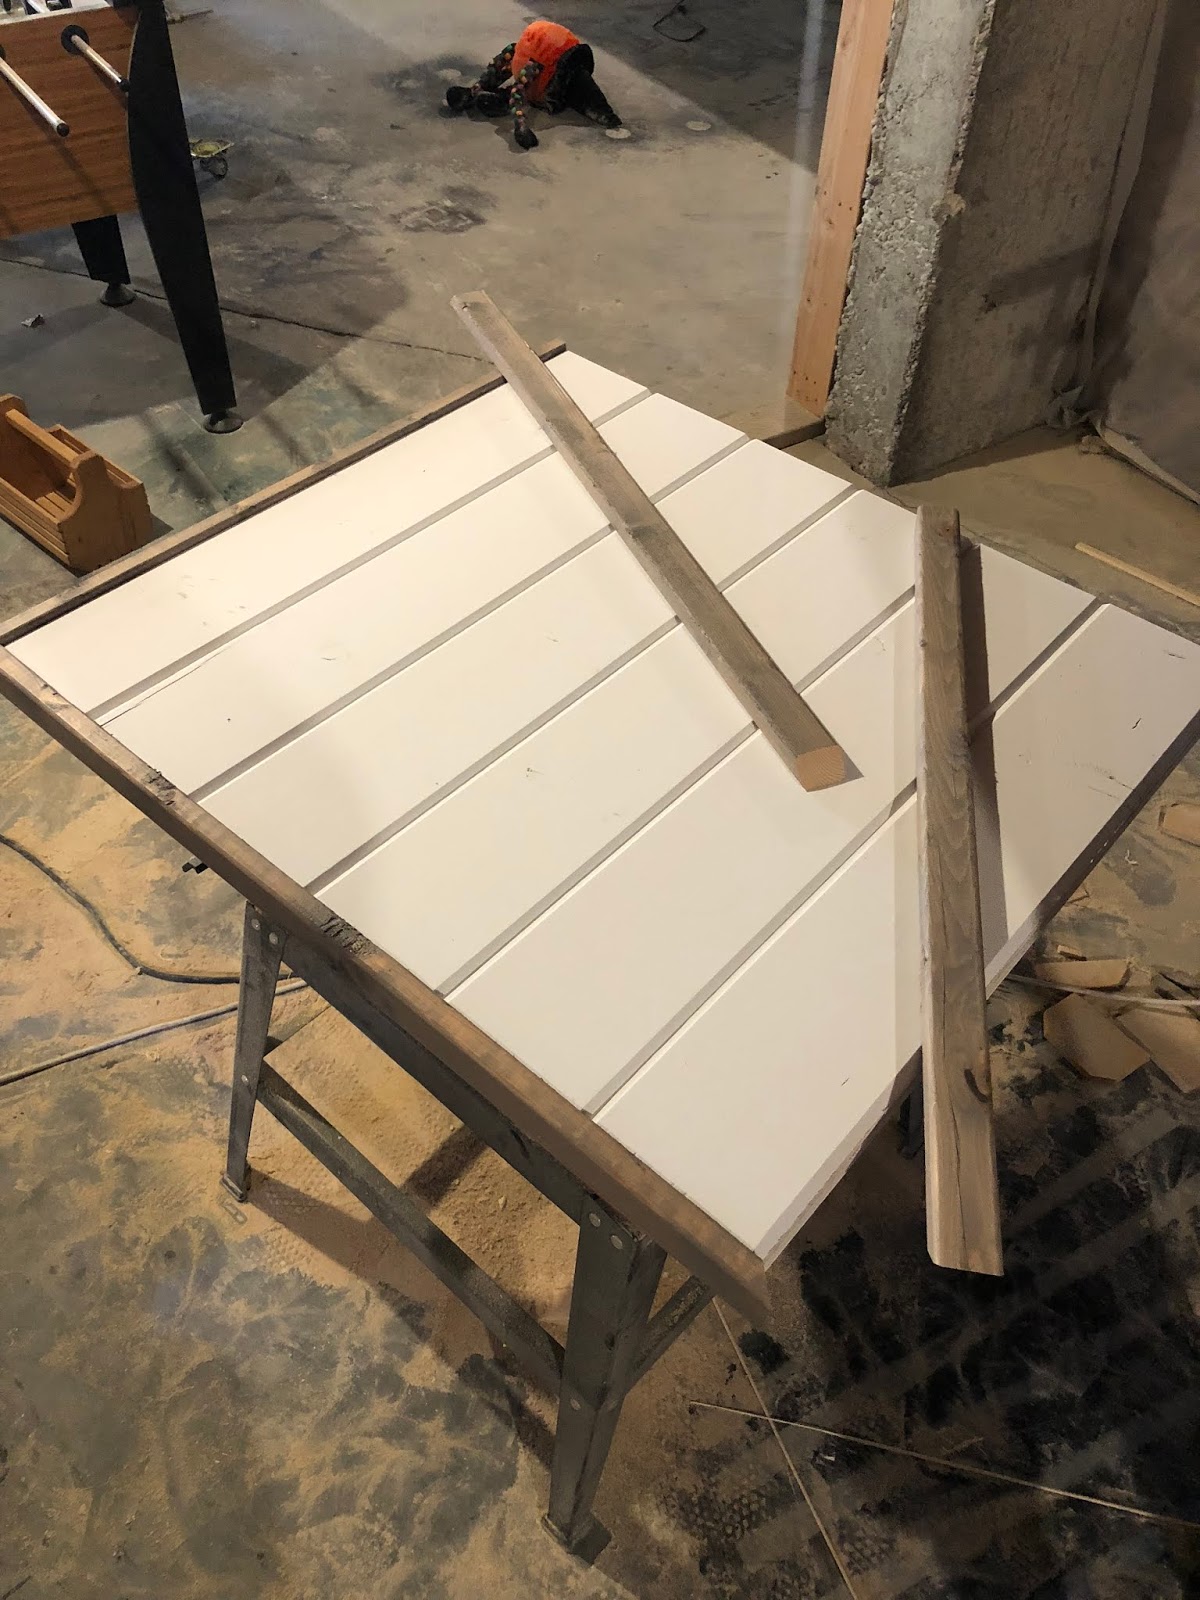
Step 3
Measure out the lengths of trim needed and cut them to size at a 45 degree angle. The trim will attach to the outside of the sign so that the sides are covered. It can be tricky to get the measurements right so I like to cut each piece a little too long and then slowly cut them down to size.
Step 4
Attach the trim with a thin bead of wood glue and brad nails. Take your time with this step and it will pay off in the end.

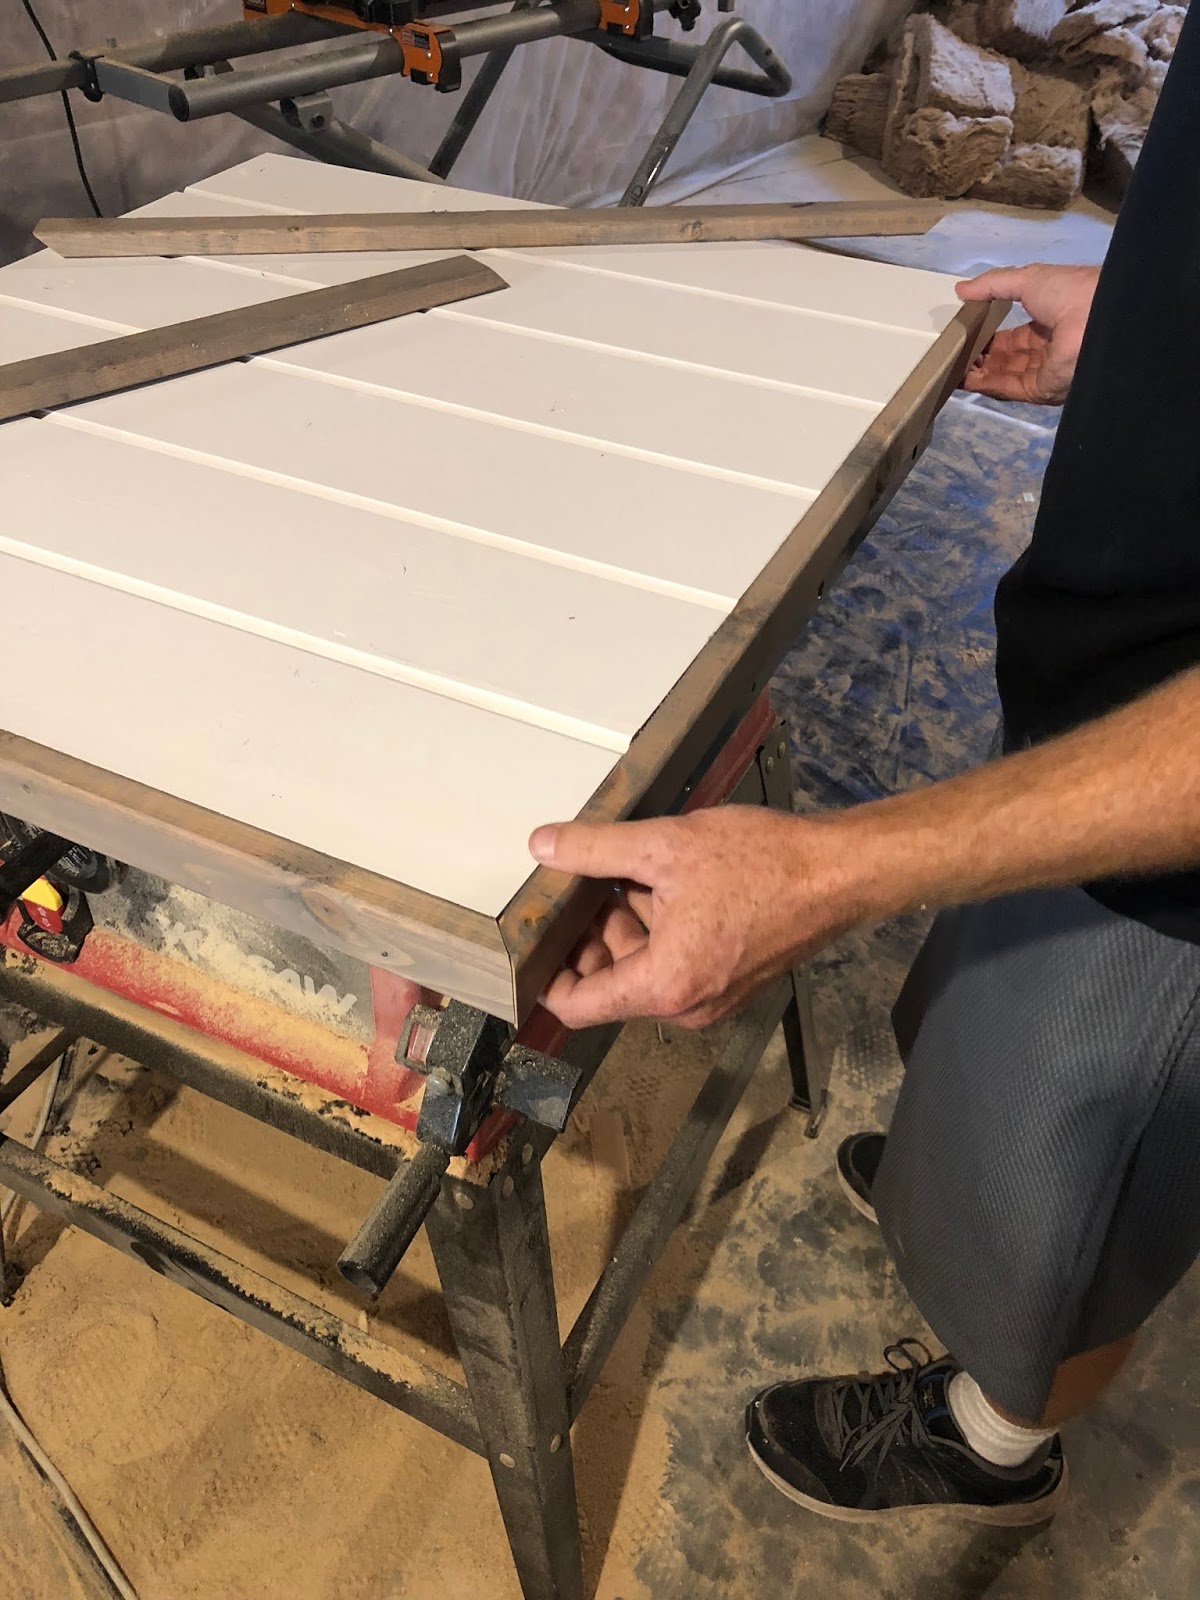
That’s it! A fun, easy sign to use in countless places in your home! I hope you enjoyed this fun shiplap DIY project!!
-Grey Birch Designs-
read more
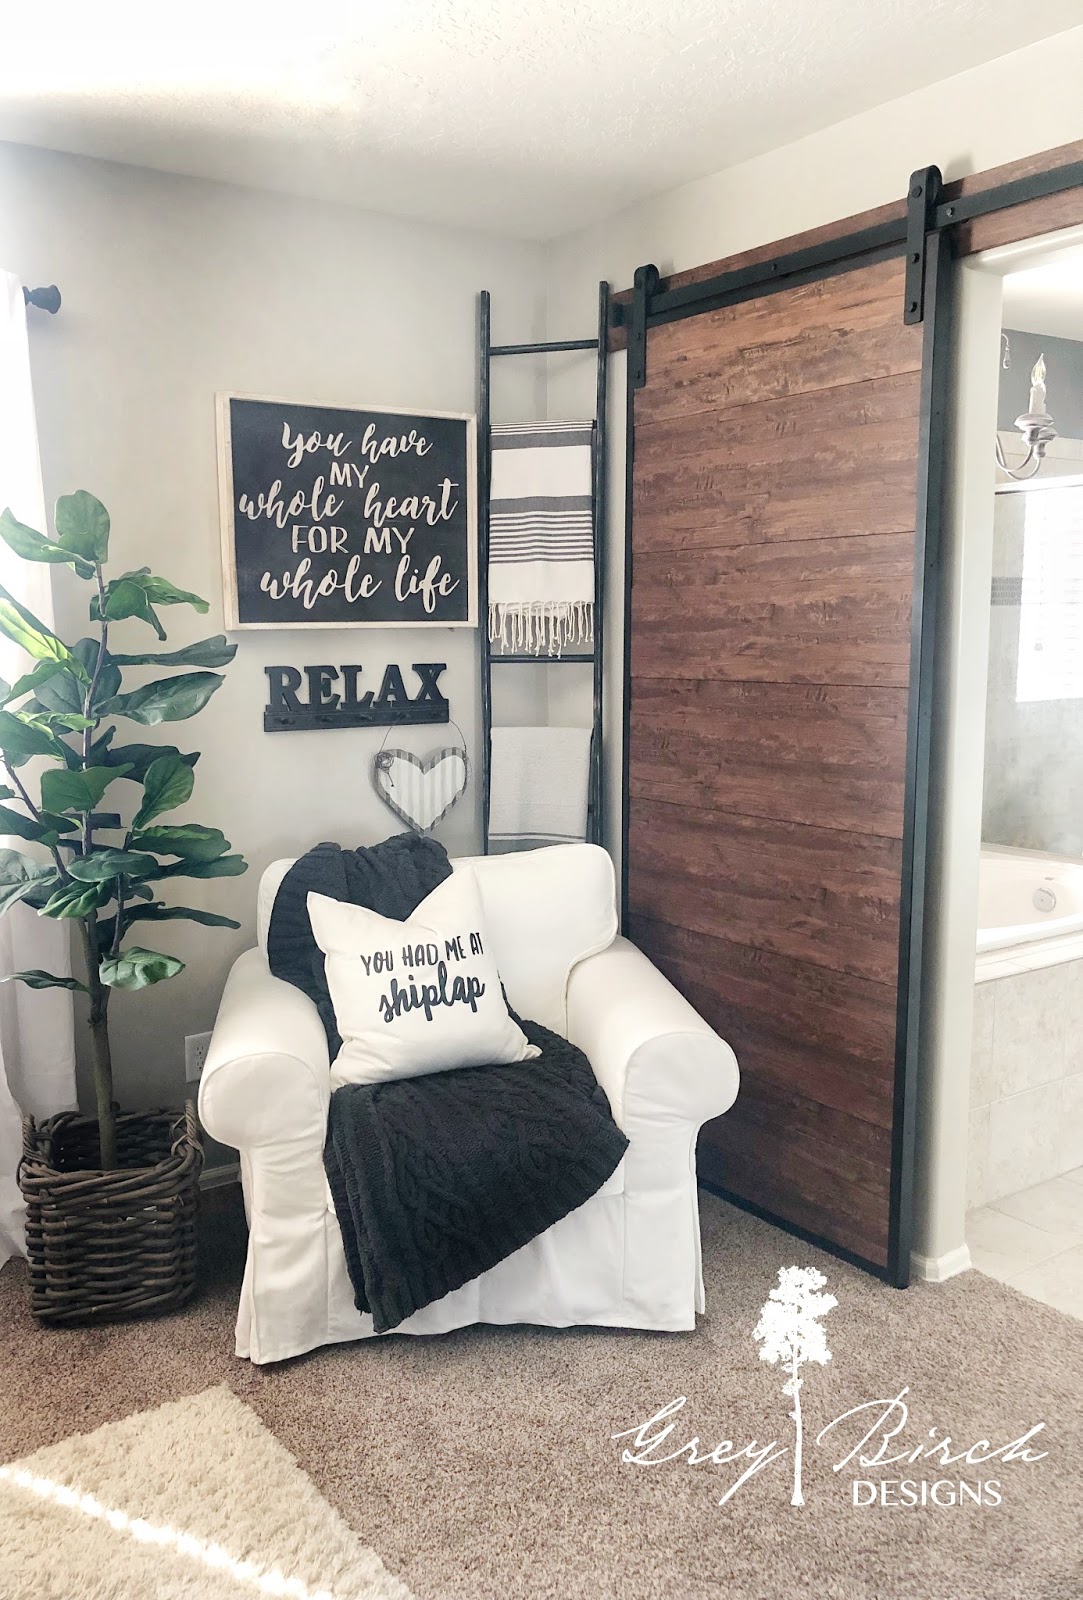
There are so many different ways you can make a blanket ladder, and I have made a few different styles myself, but I think this is the most straight forward and easy way I have found!
Supplies list
- Miter Saw
- Finish Nail gun
- Nails
- Wood dowels (you will need 2 or 3 depending on how many slats you want)
- 1″x 2″ pine board (these are for the sides so you will need 2 of these)
- Wood Glue
Step 1
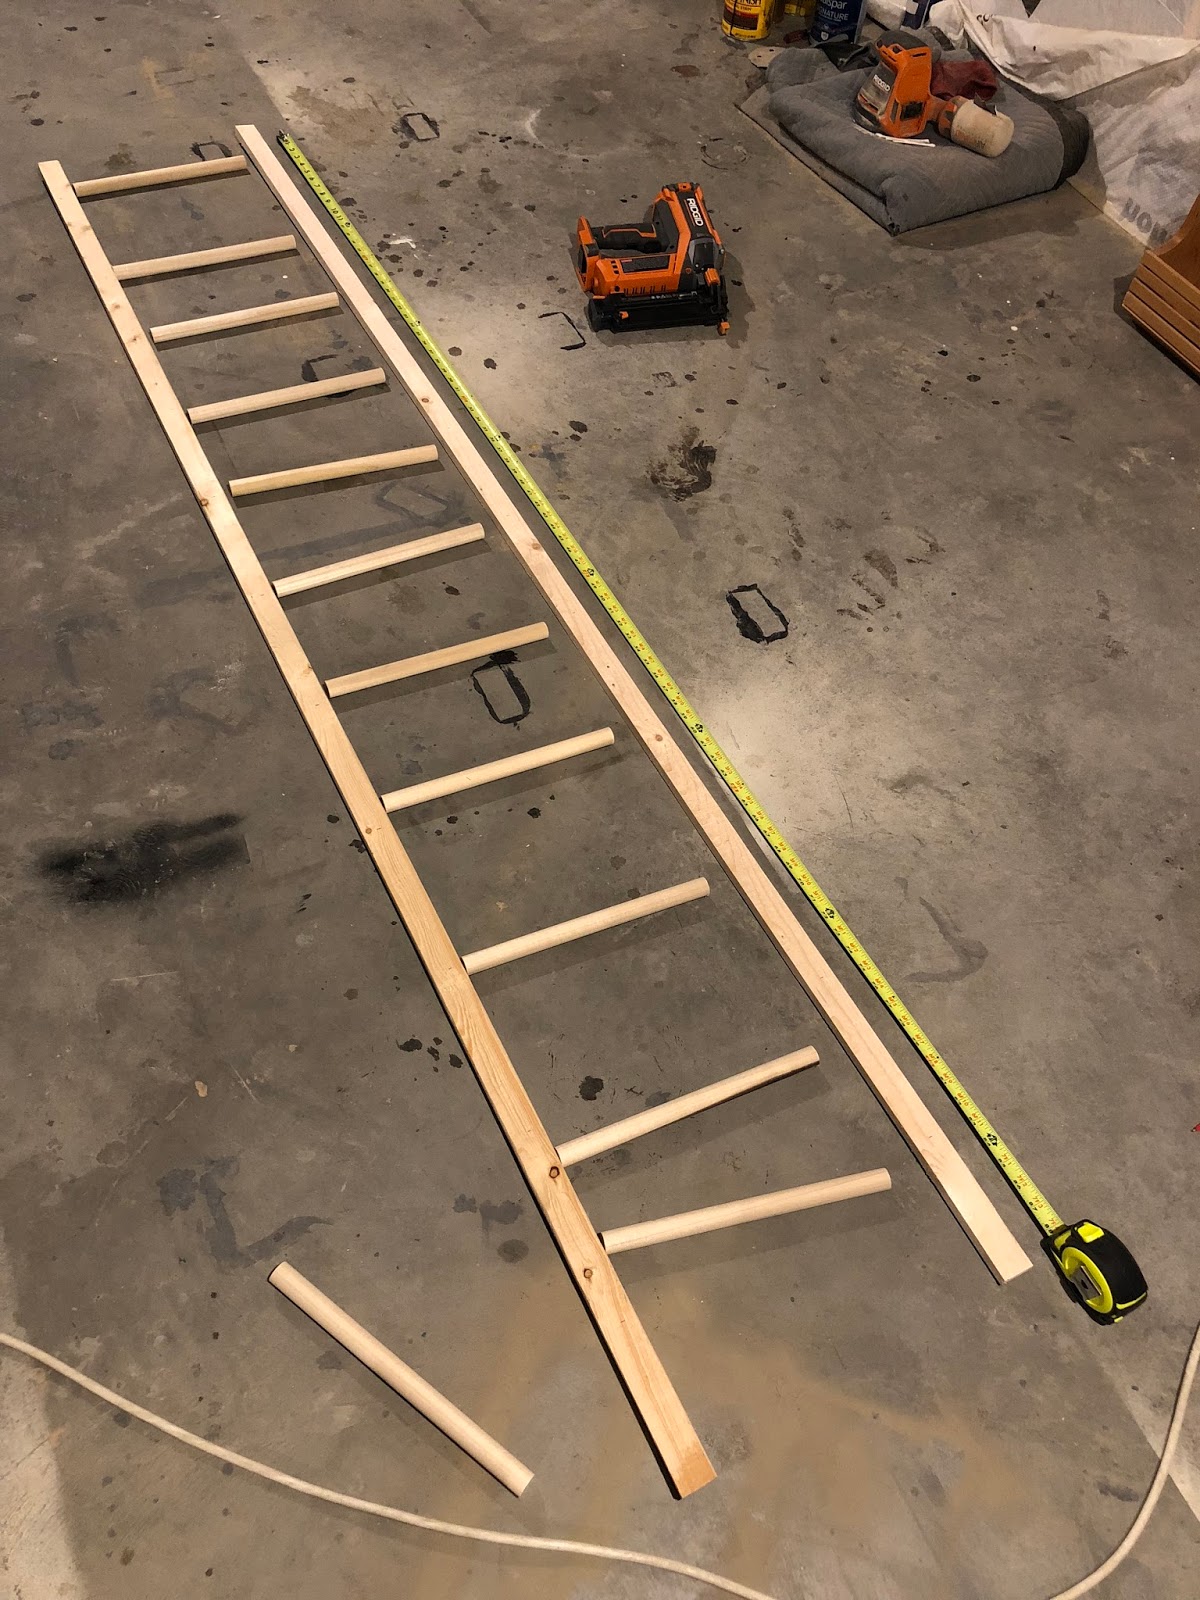
First thing you are going to want to decide is how tall you want your ladder and about how many slats you want to have. I made mine 90″ tall and cut my dowels to 11 3/4″ I wanted a thinner look with more slates so that’s why I picked those measurements. Once everything is cut lay out your pieces and decide how far apart you want the spacing to be, mine are 7″ apart. Then mark the side pieces so you know where to attach each dowel.
Step 2
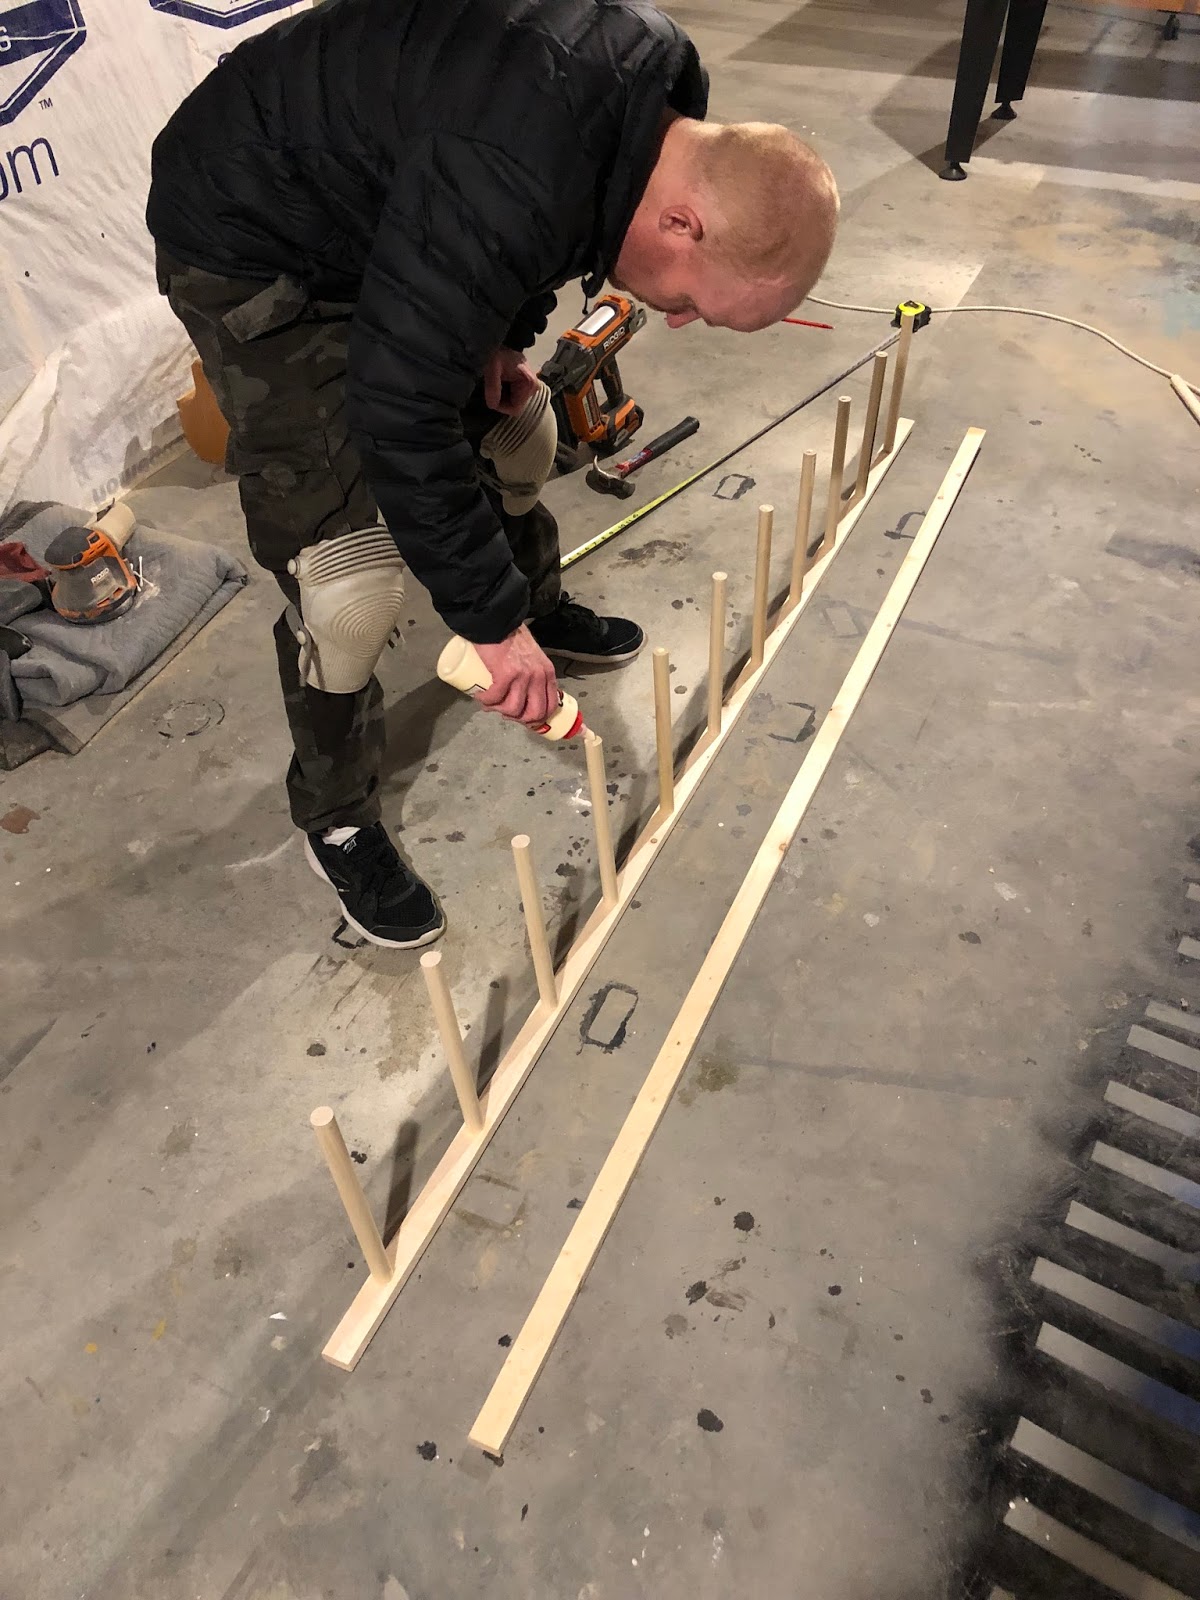
Now to assemble it you will want to put a dab on wood glue on one end of the dowel, line it up with the mark you made on the side piece and carefully fire a nail into the wood. Attach each dowel to the piece of wood you are using for the sides of the ladder then repeating the steps until all your dowels are attached to one side. Once that’s done you can turn it on its side and attach the other piece of wood with the same steps!
Step 3
Sometimes you ladder can be slightly bent after its assembled and that is completely normal due to the face that the wood isn’t perfectly straight most of the time. To fix this problem lay your assembled ladder on a flat surface and put some heavy objects on the top and the bottom and leave them there until your ladder is dry, I let mine sit overnight. Once the glue is dry its will stay in it’s new straight position. Now you can paint or stain it whatever color you like!
Hope you enjoyed this super easy and quick DIY Ladder!
-Grey Birch Designs-