

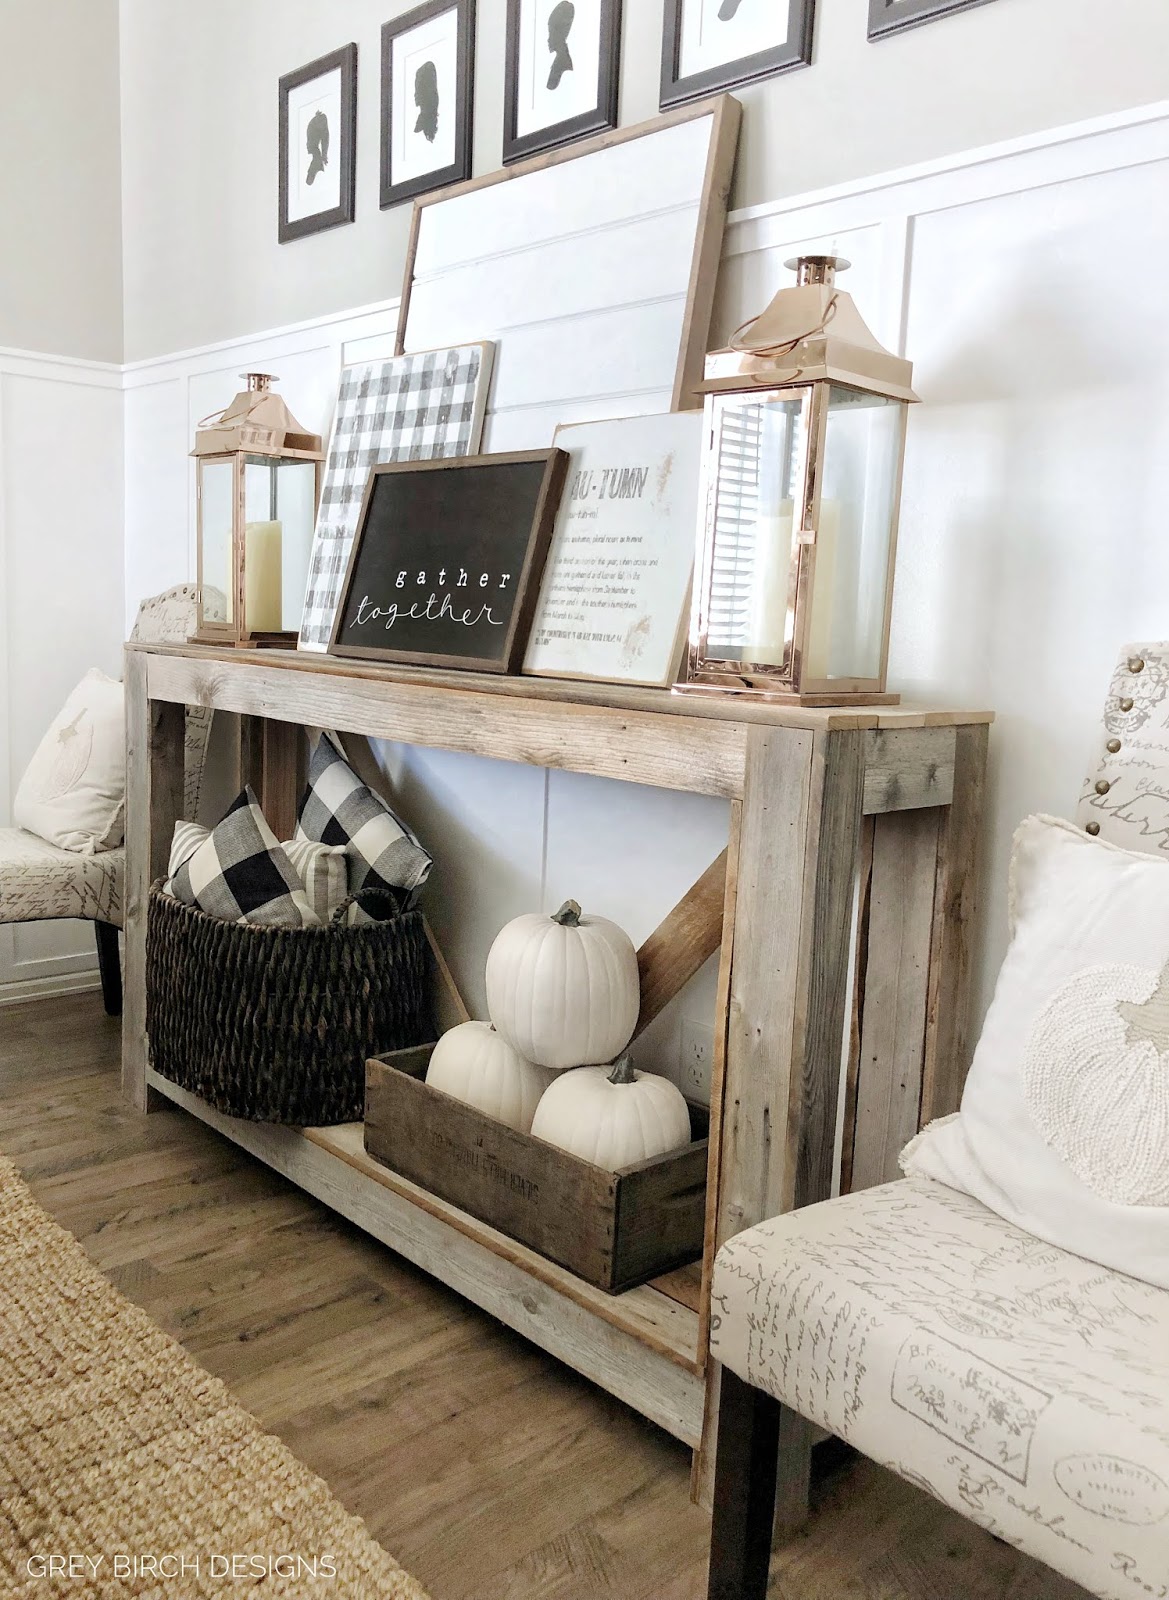
I really love the look of layered signs! It’s such a fun look to create a statement piece in your home. The key part to making this work is to establish your statement piece, and today I have a fun DIY project that can be used as your anchor piece. This board combines some of my favorite things: wood signs and SHIPLAP!!! This shiplap board is the perfect anchor piece in a sign grouping because it adds texture without taking away from the whole design. It can also be used in many other ways, such as in combination with a wreath, etc. The possibilities are endless.

Supply list
- Plywood or MDF board cut to your desired size
- Tongue and groove or standard shiplap boards
- White paint
- 1″ x 2″ boards (for the trim)
- Any stain color you like (for the trim)
- Miter saw
- Wood glue
- Brad nails and nail gun
Step 1
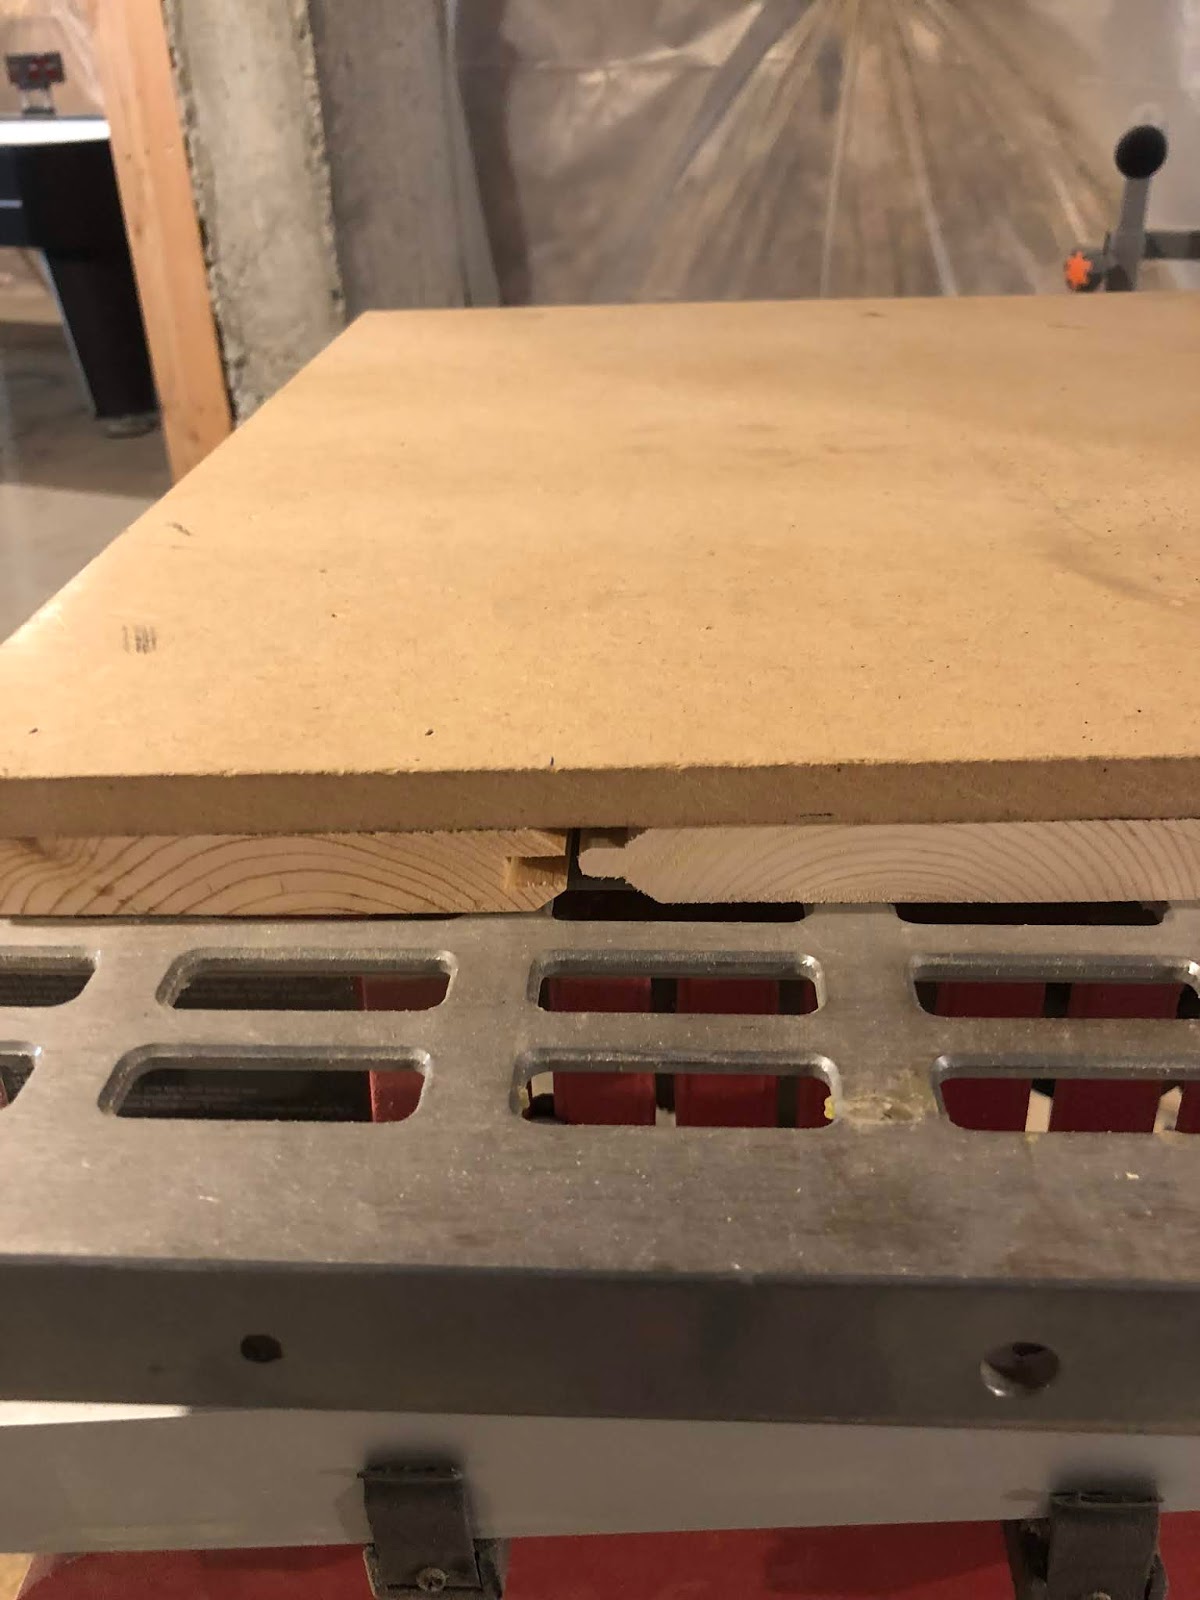
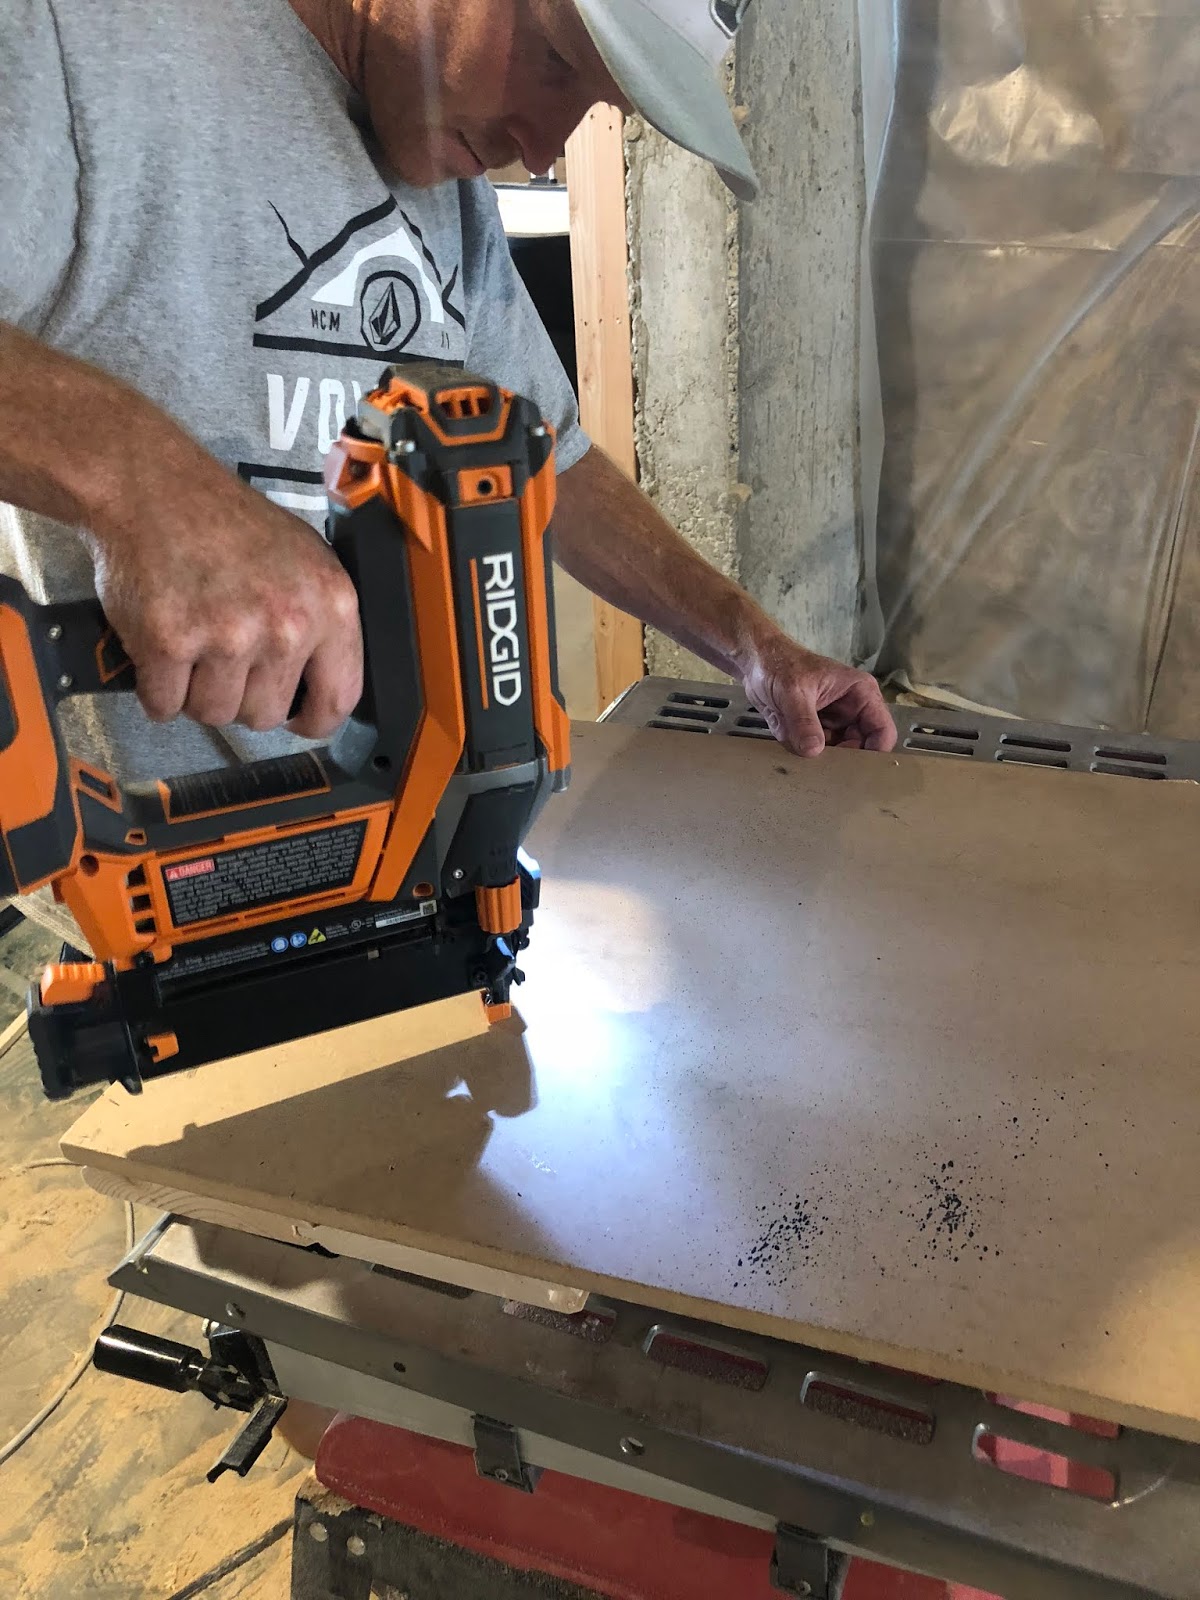
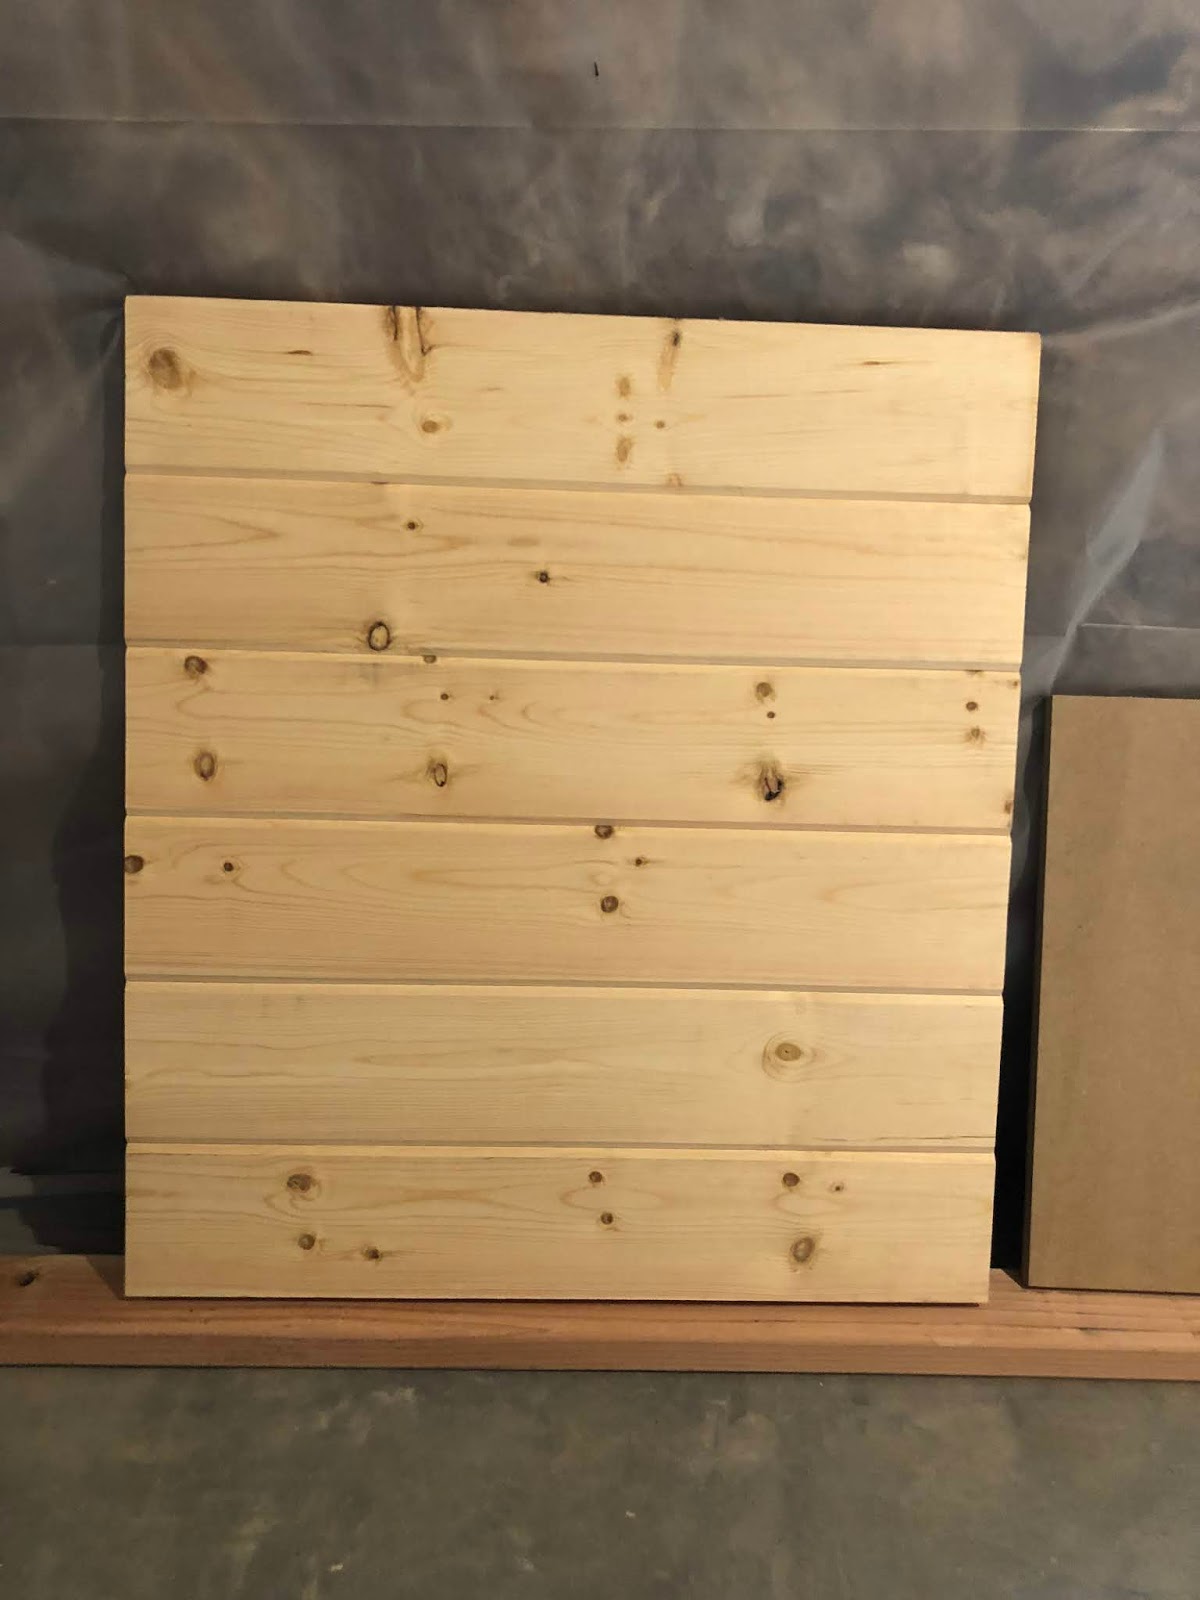
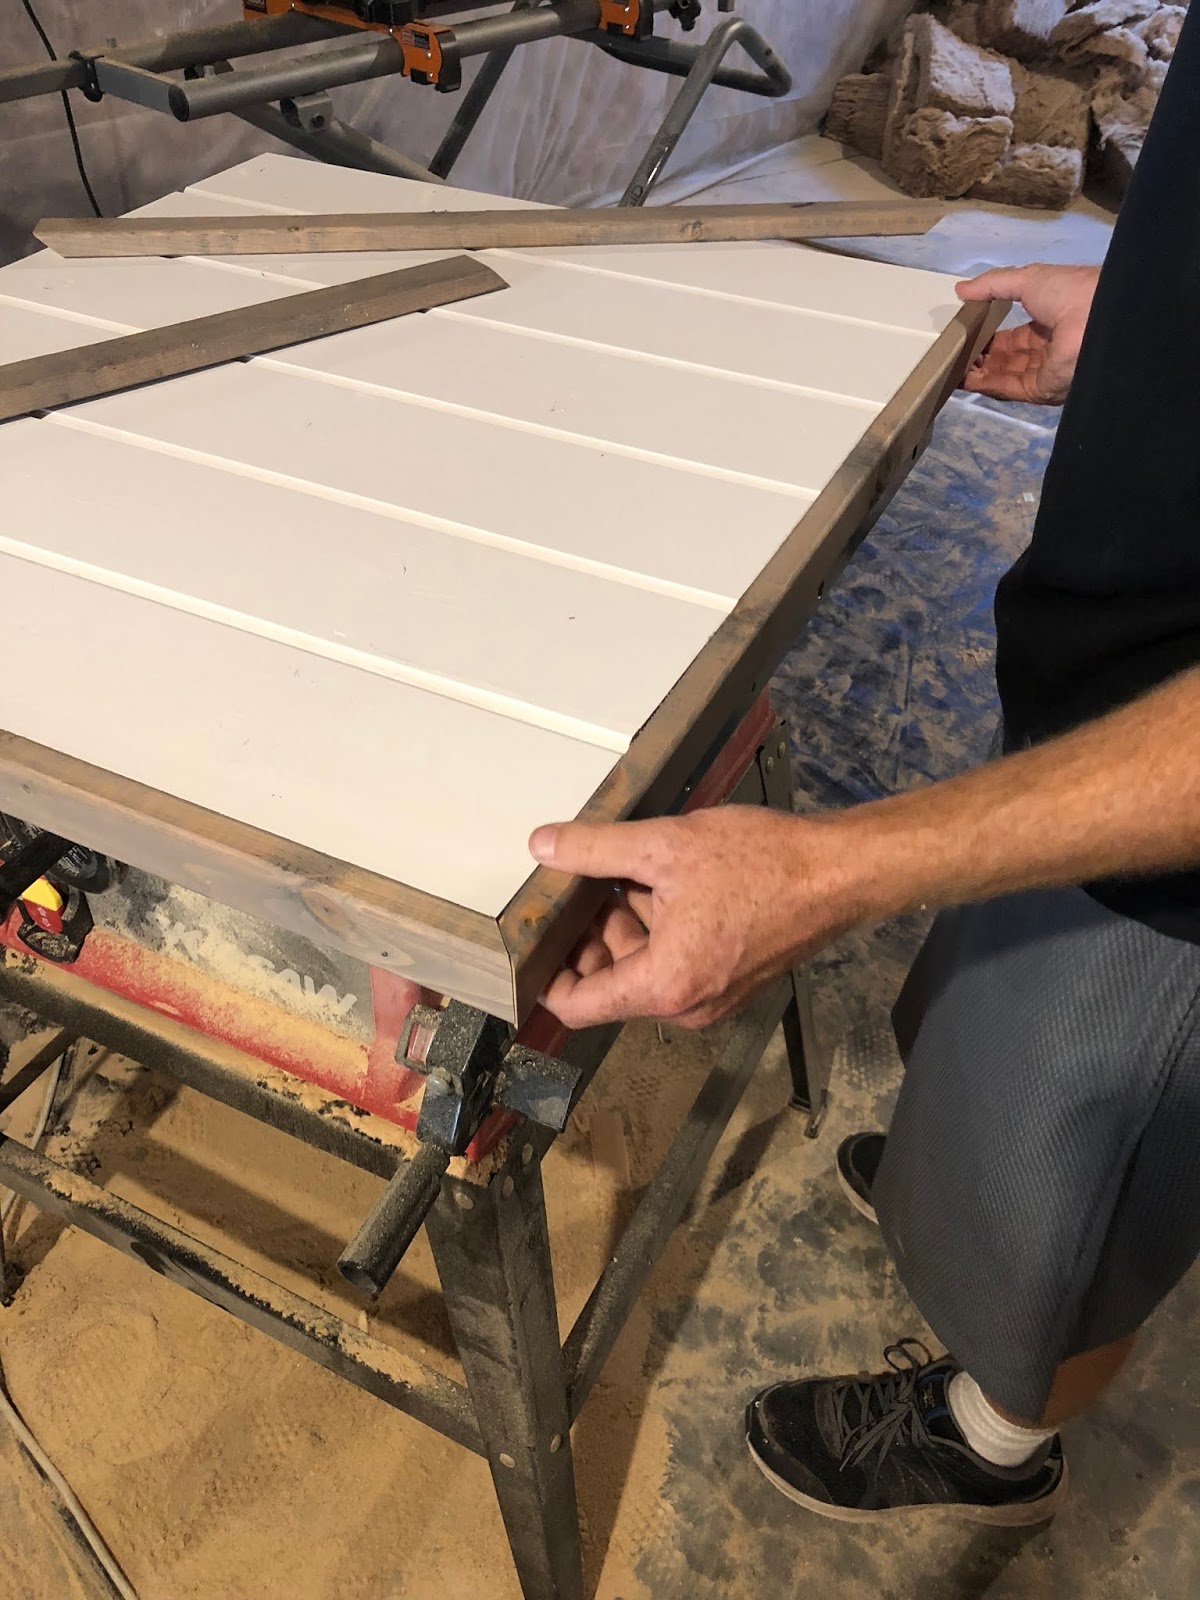
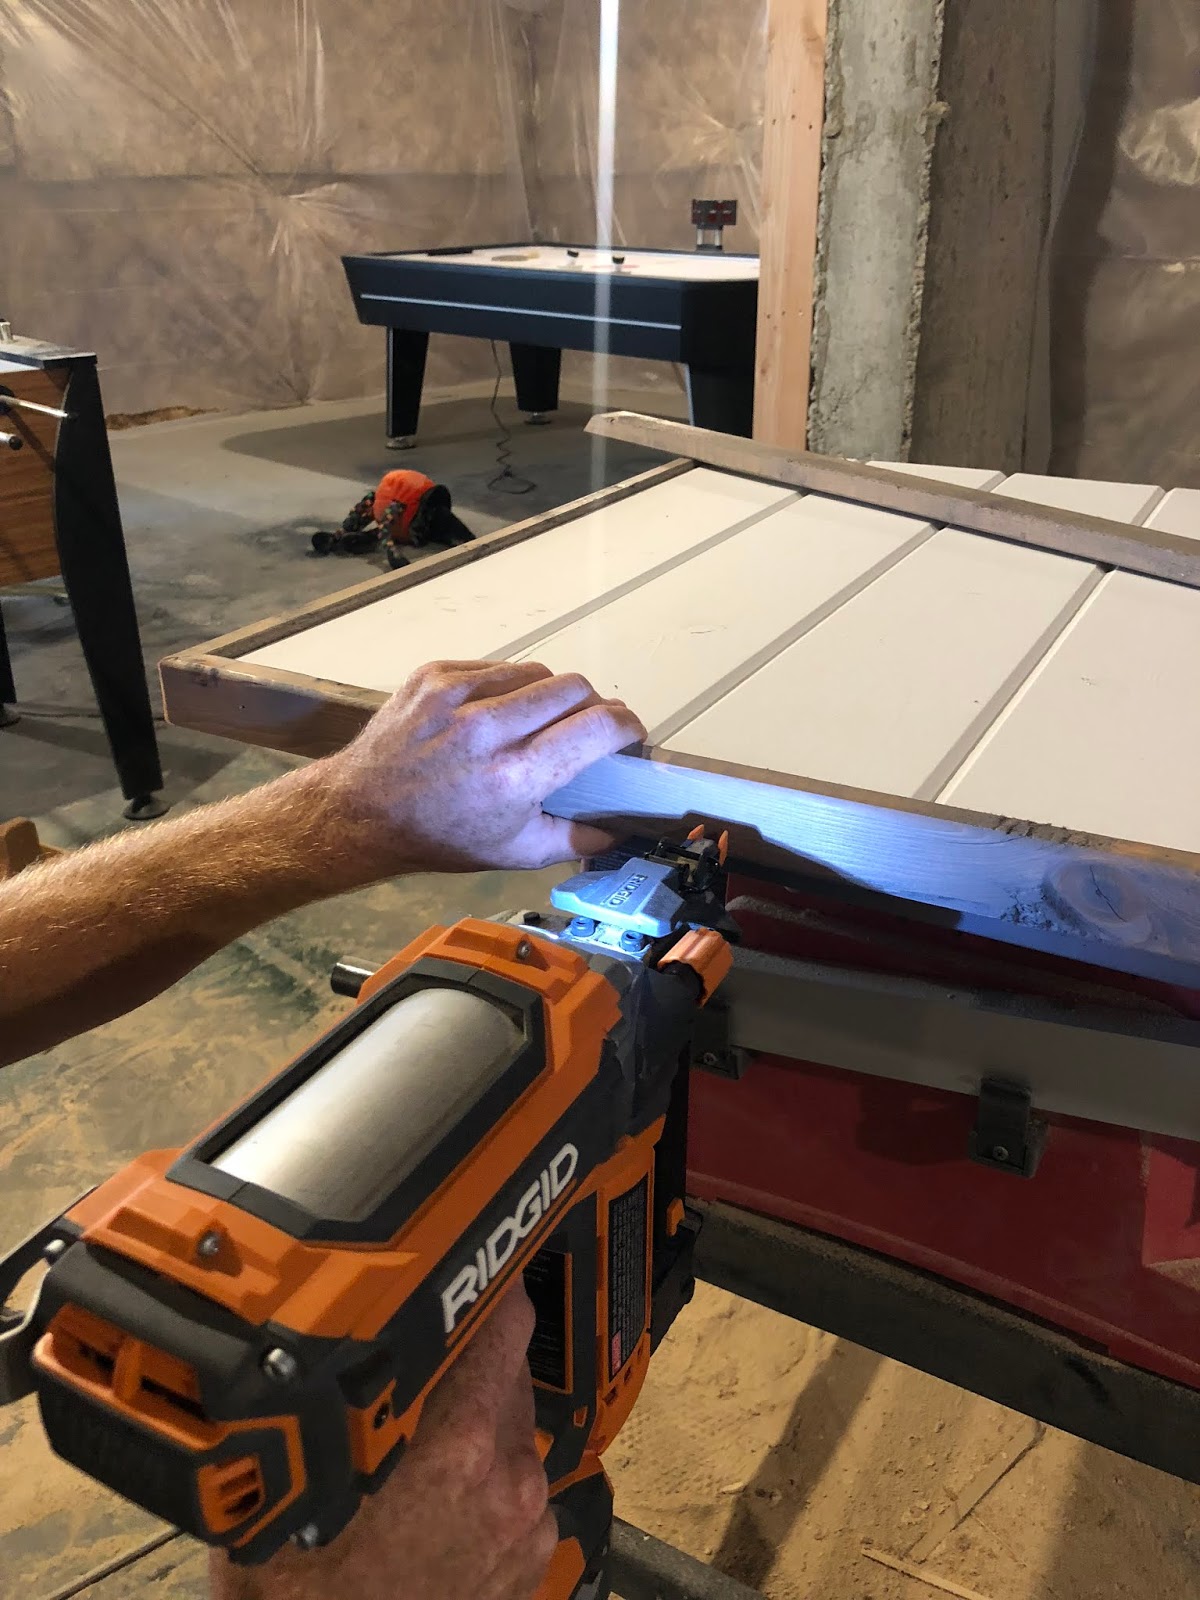
The first thing you want to do is cut your MDF or plywood to the size you want your sign to be. Home Depot can make the cuts for you for free or you can use a table saw if you have one. Then measure the width of your board and cut pieces of shiplap at that length to stack one on top of another. You will need to determine how many of pieces of shiplap to cut based on the height of your sign. Now its time to assemble everything together! Fasten the shiplap pieces to the board using glue and brad nails. For a cleaner look, shoot the nails in from front to back. This requires assembling everything upside down like you see in the pictures below.
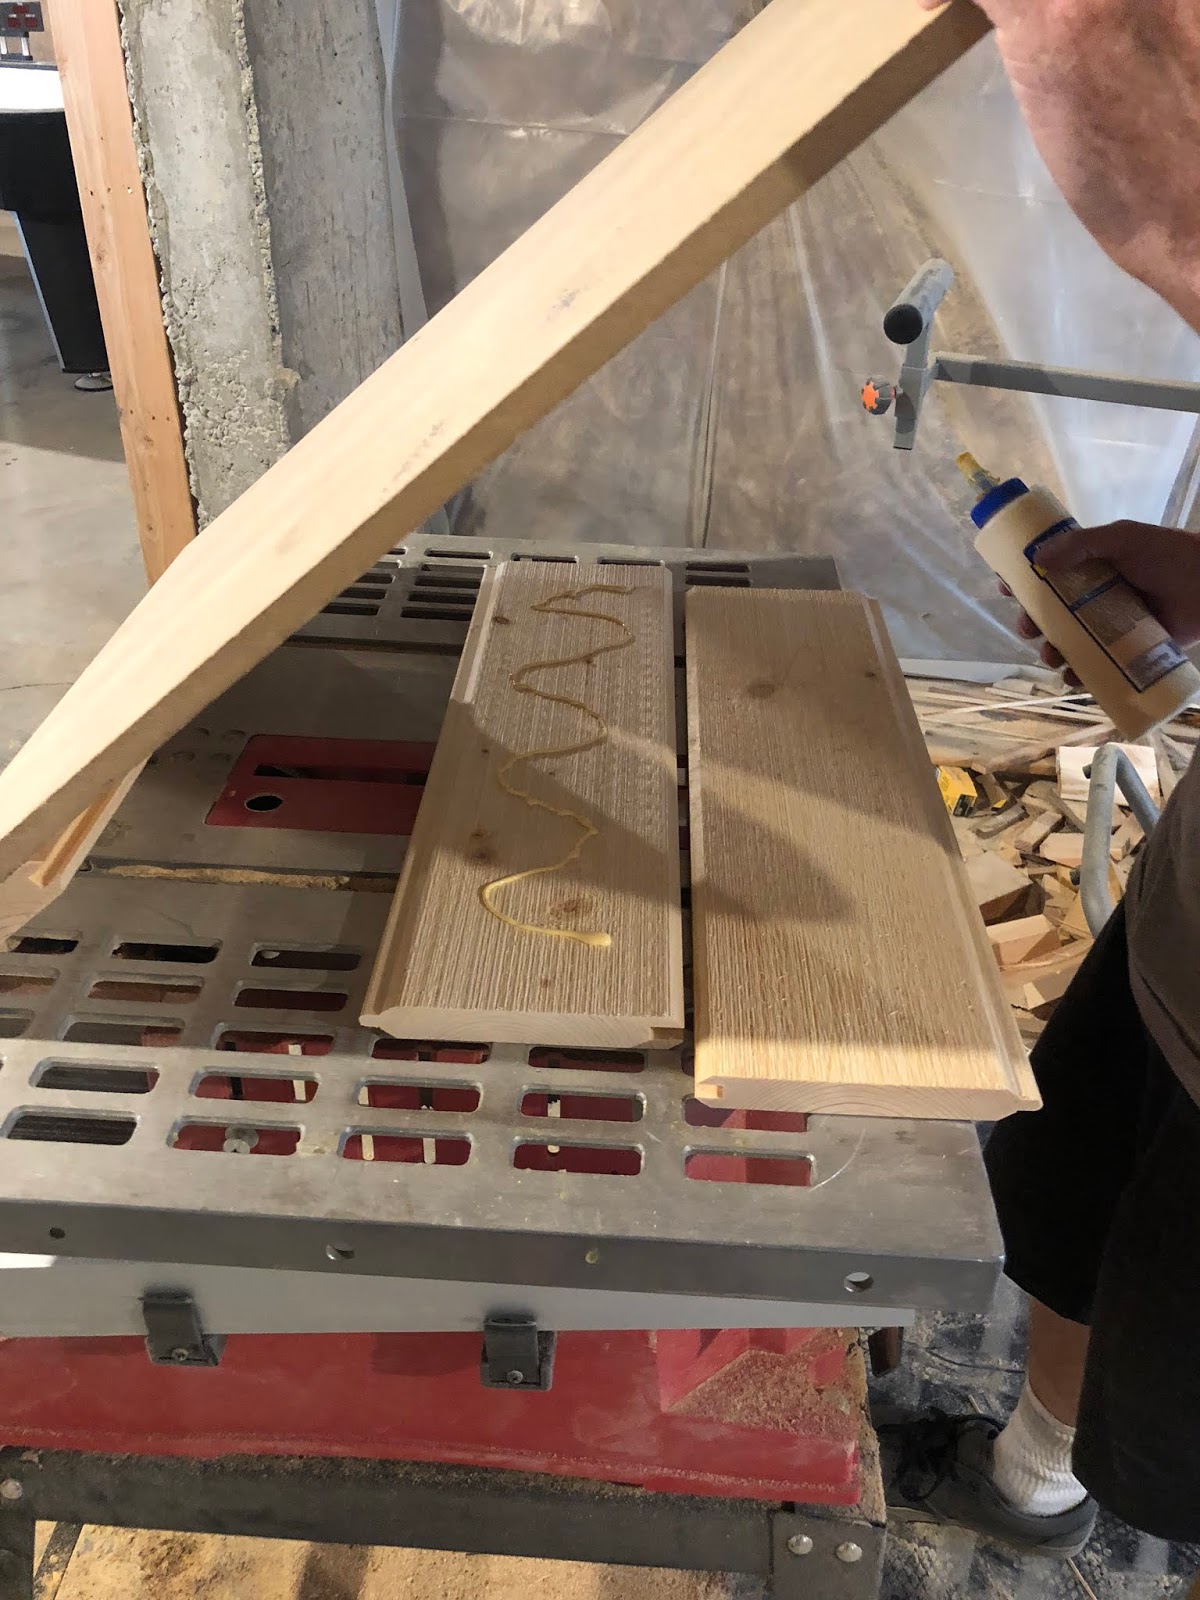
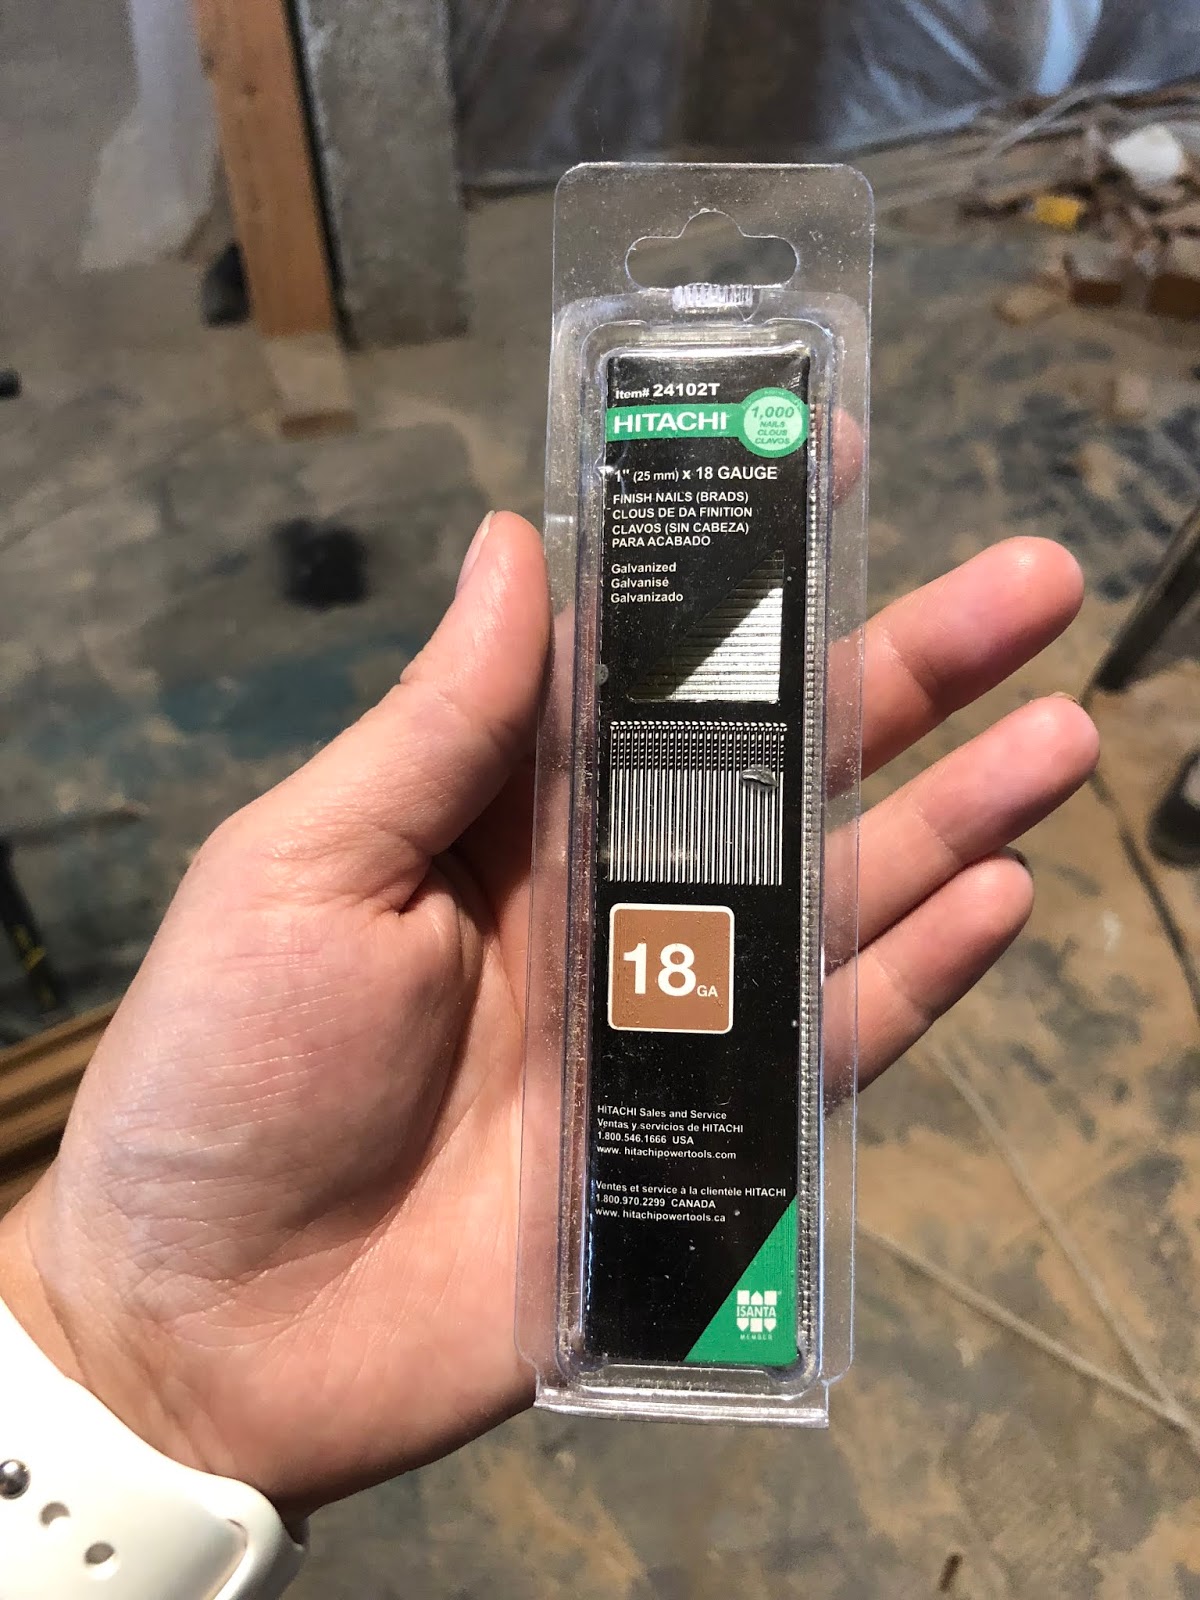
We used 1 inch 18 gauge brad nails. First we nailed the sides and then added a few more nails along the middle in a zig zag pattern.
Step 2
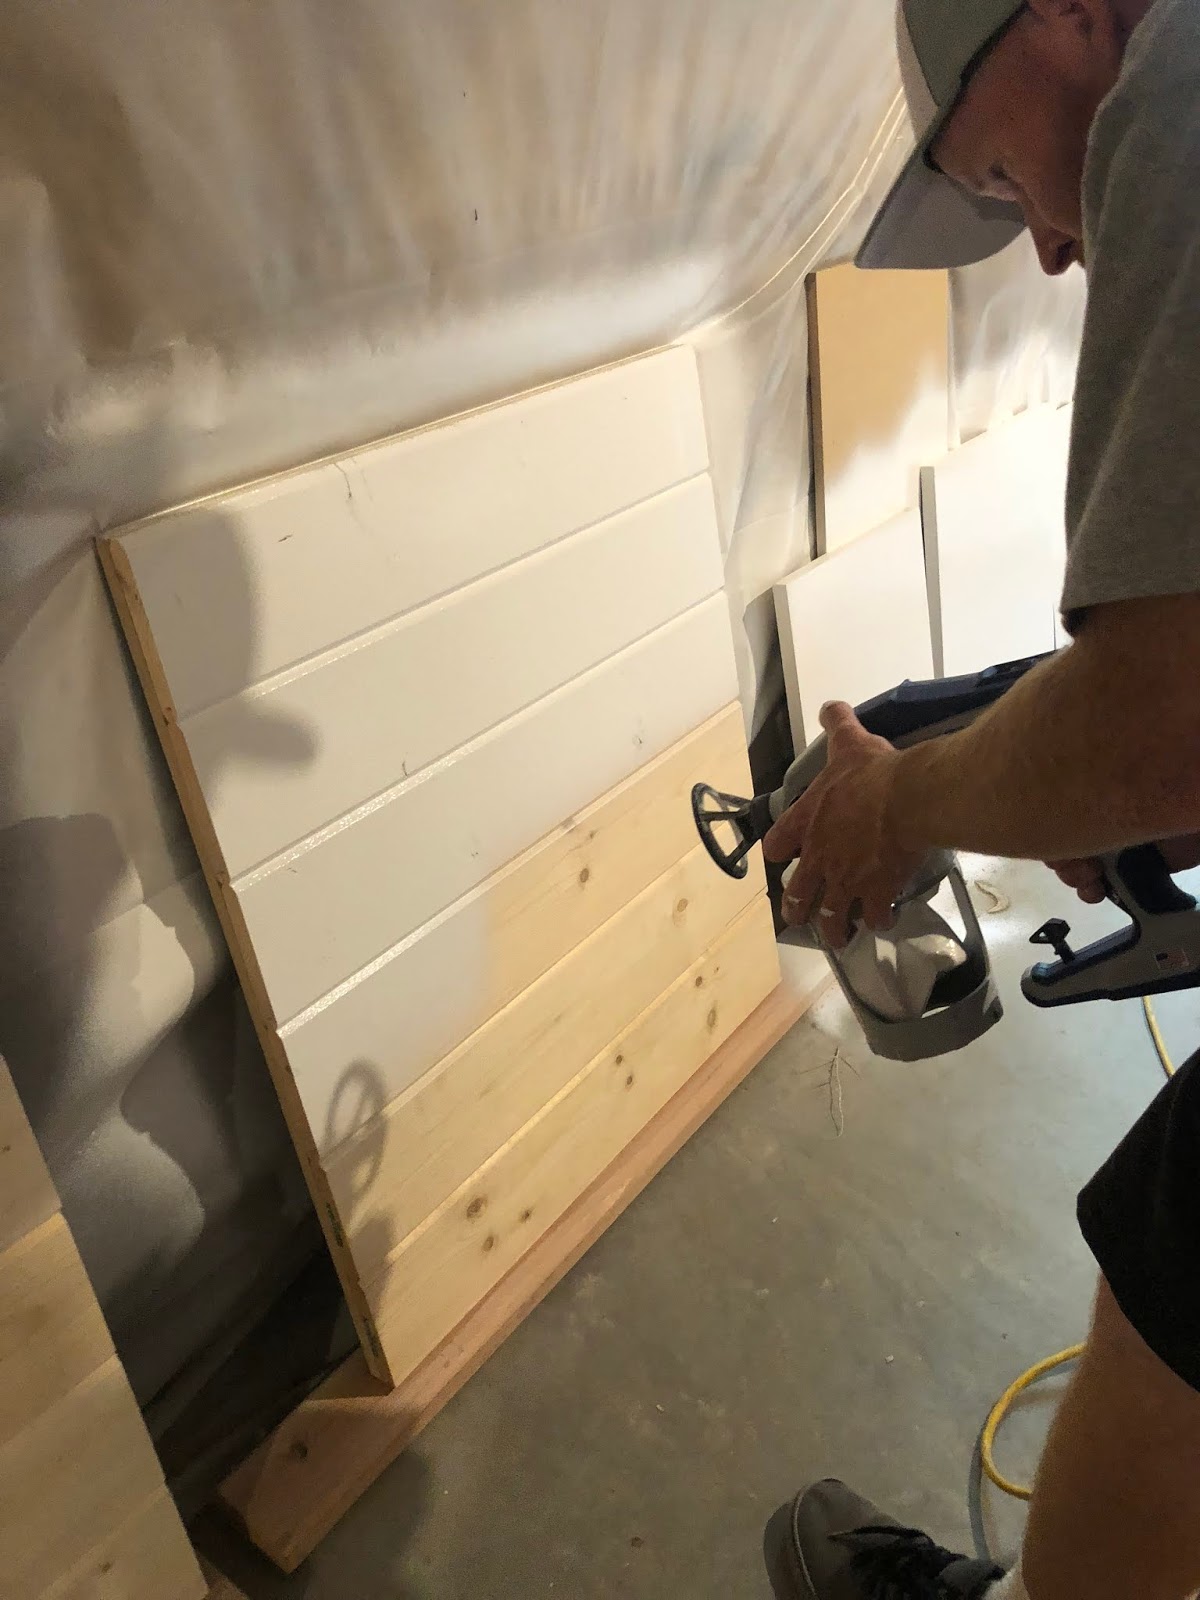
Now it’s time to paint. Don’t worry about painting the sides because they will be covered with your trim pieces. We used a paint sprayer but you can easily do this with a roller or paint brush. While that is drying you can cut and stain your trim
Step 3
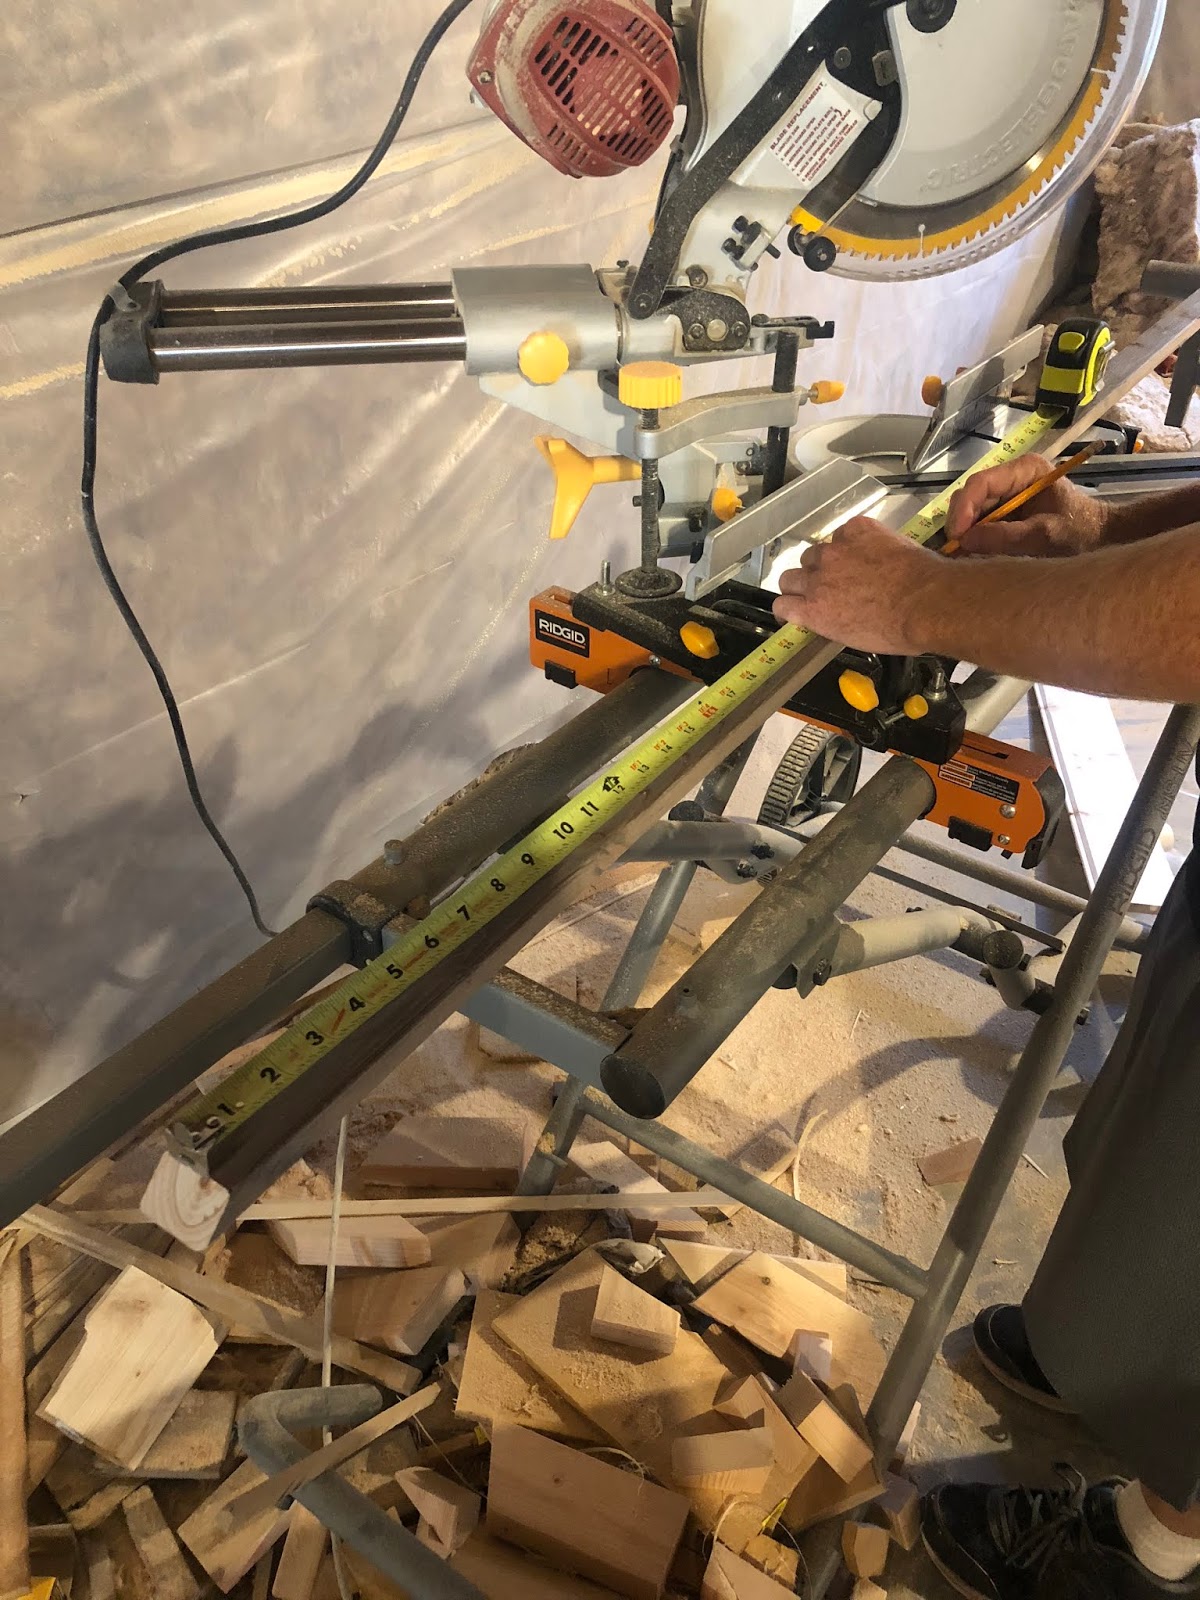
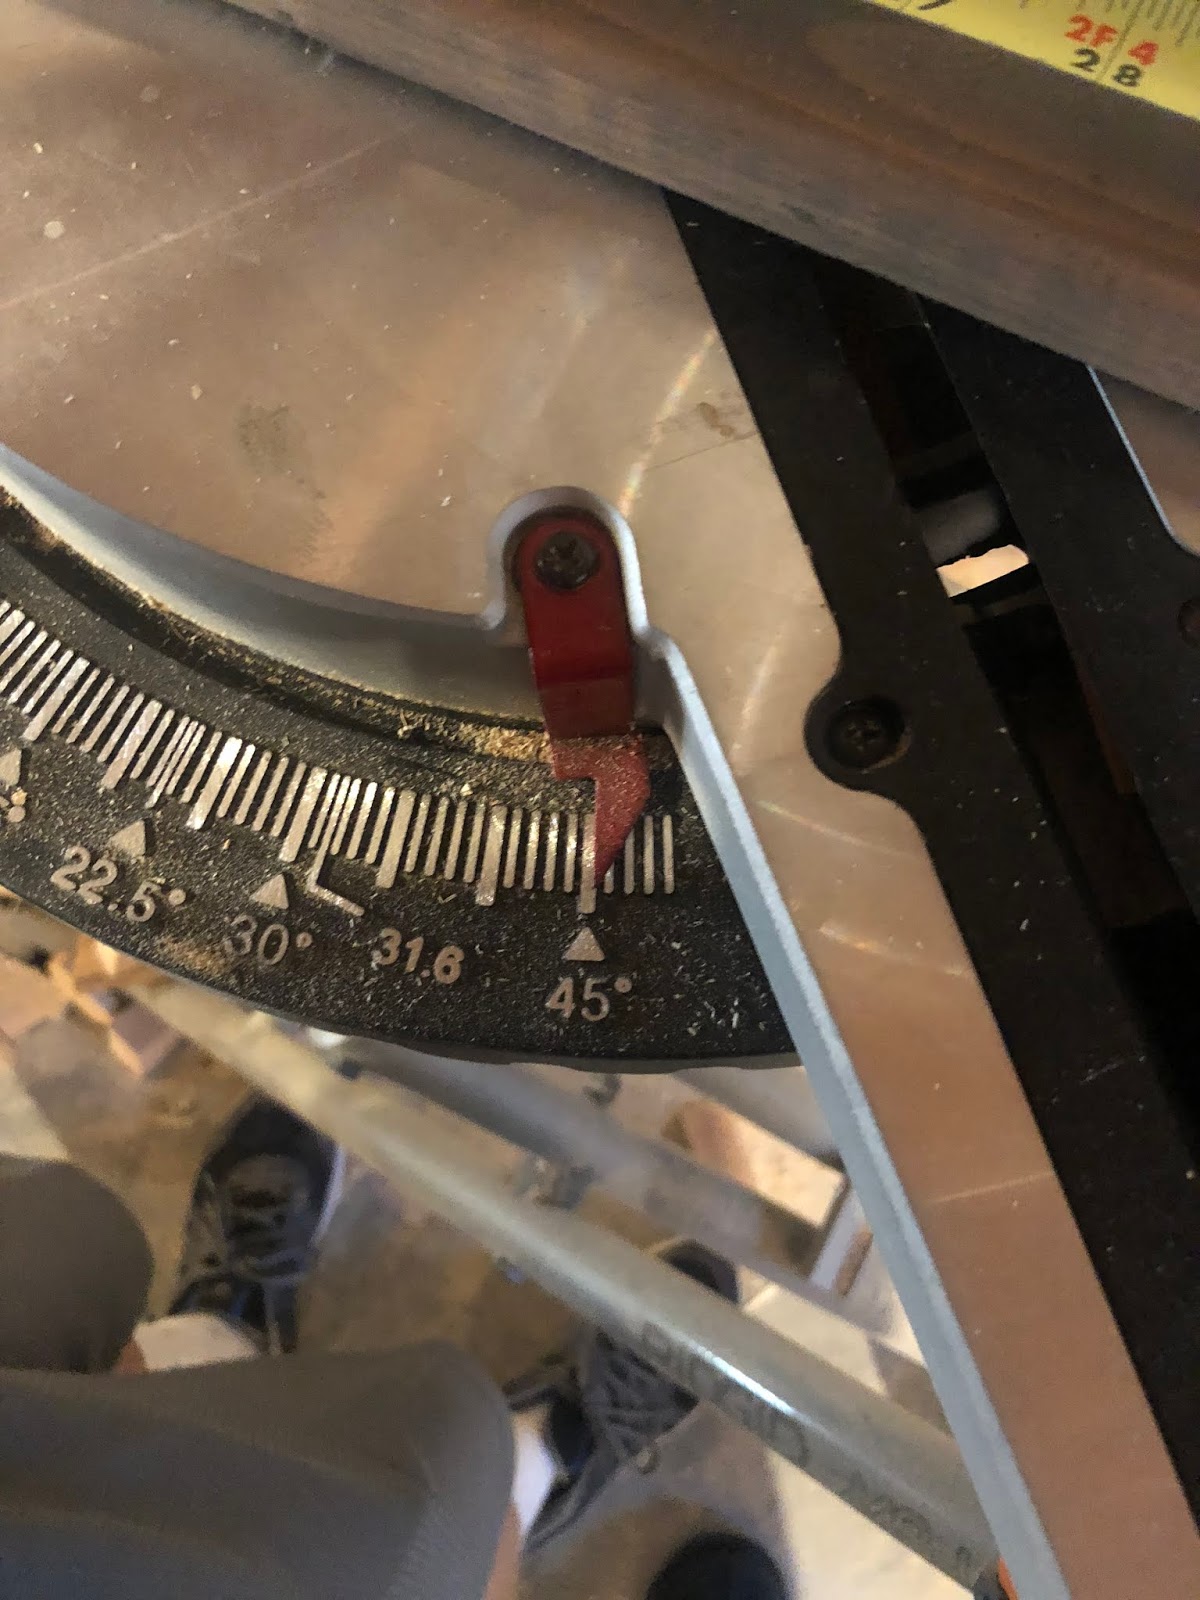
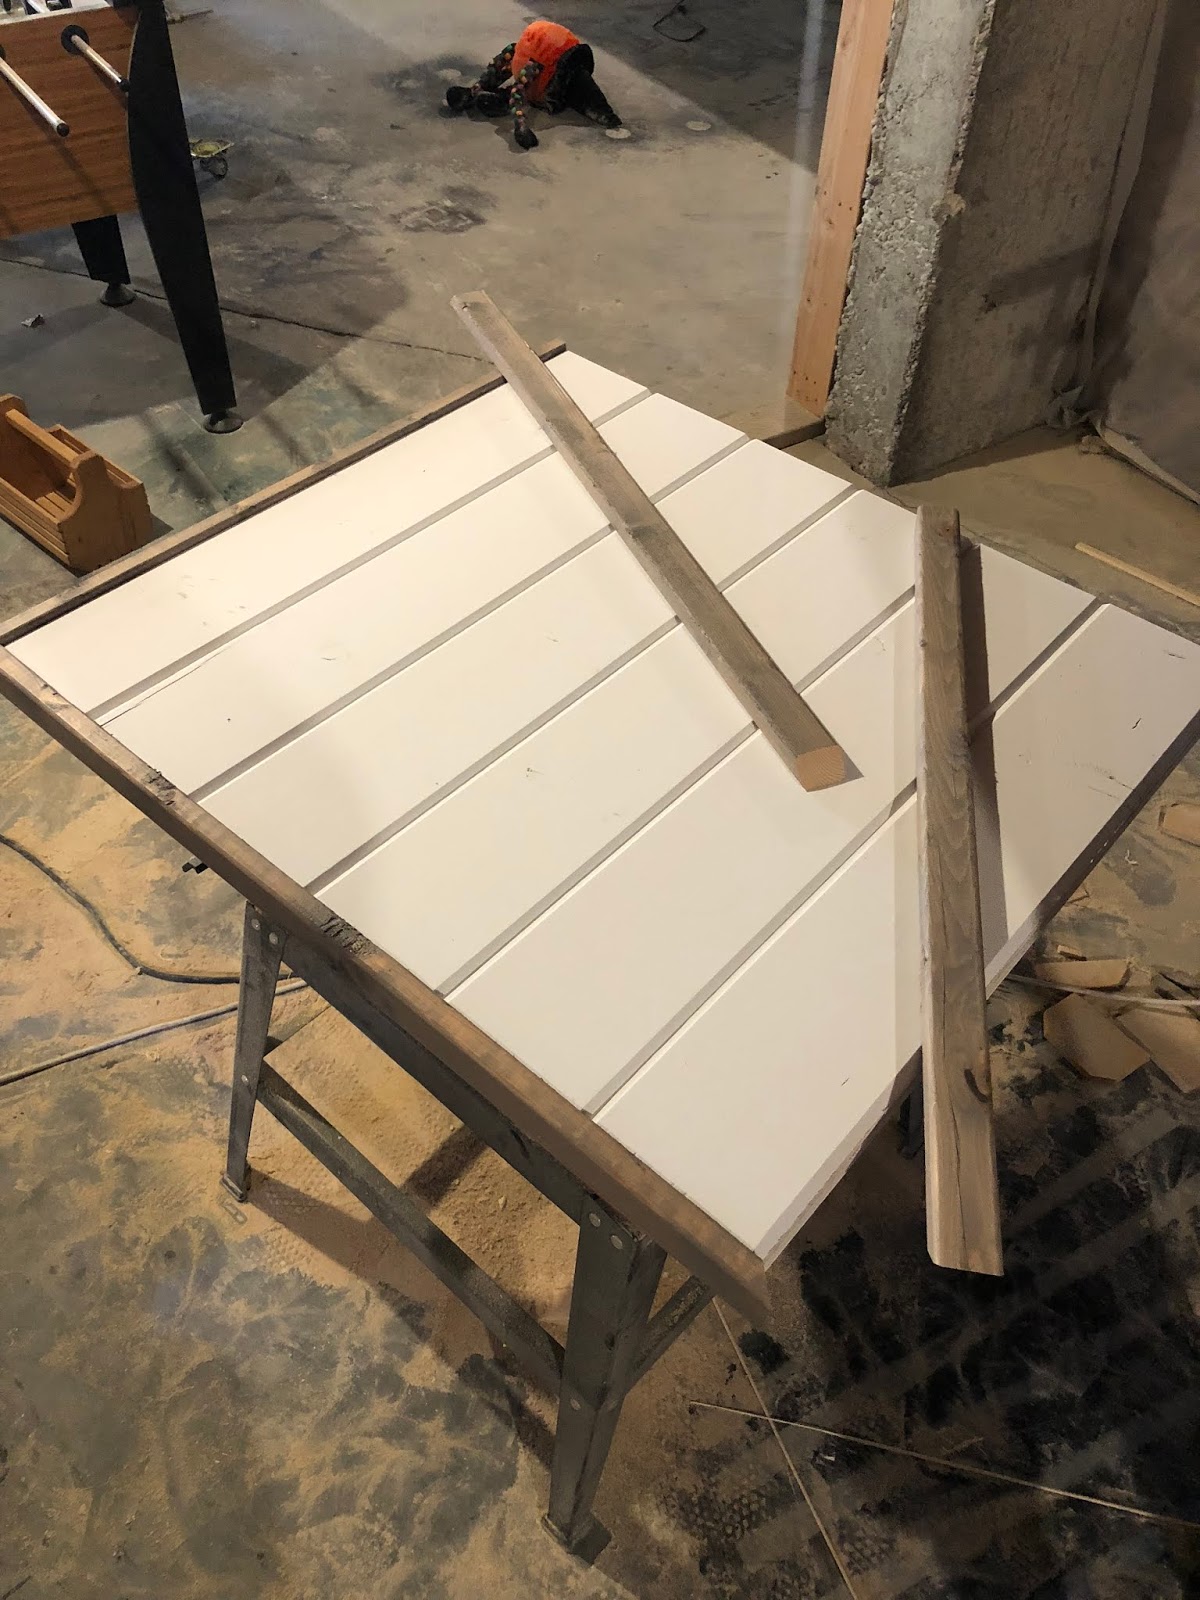
Measure out the lengths of trim needed and cut them to size at a 45 degree angle. The trim will attach to the outside of the sign so that the sides are covered. It can be tricky to get the measurements right so I like to cut each piece a little too long and then slowly cut them down to size.
Step 4
Attach the trim with a thin bead of wood glue and brad nails. Take your time with this step and it will pay off in the end.

That’s it! A fun, easy sign to use in countless places in your home! I hope you enjoyed this fun shiplap DIY project!!
-Grey Birch Designs-


