

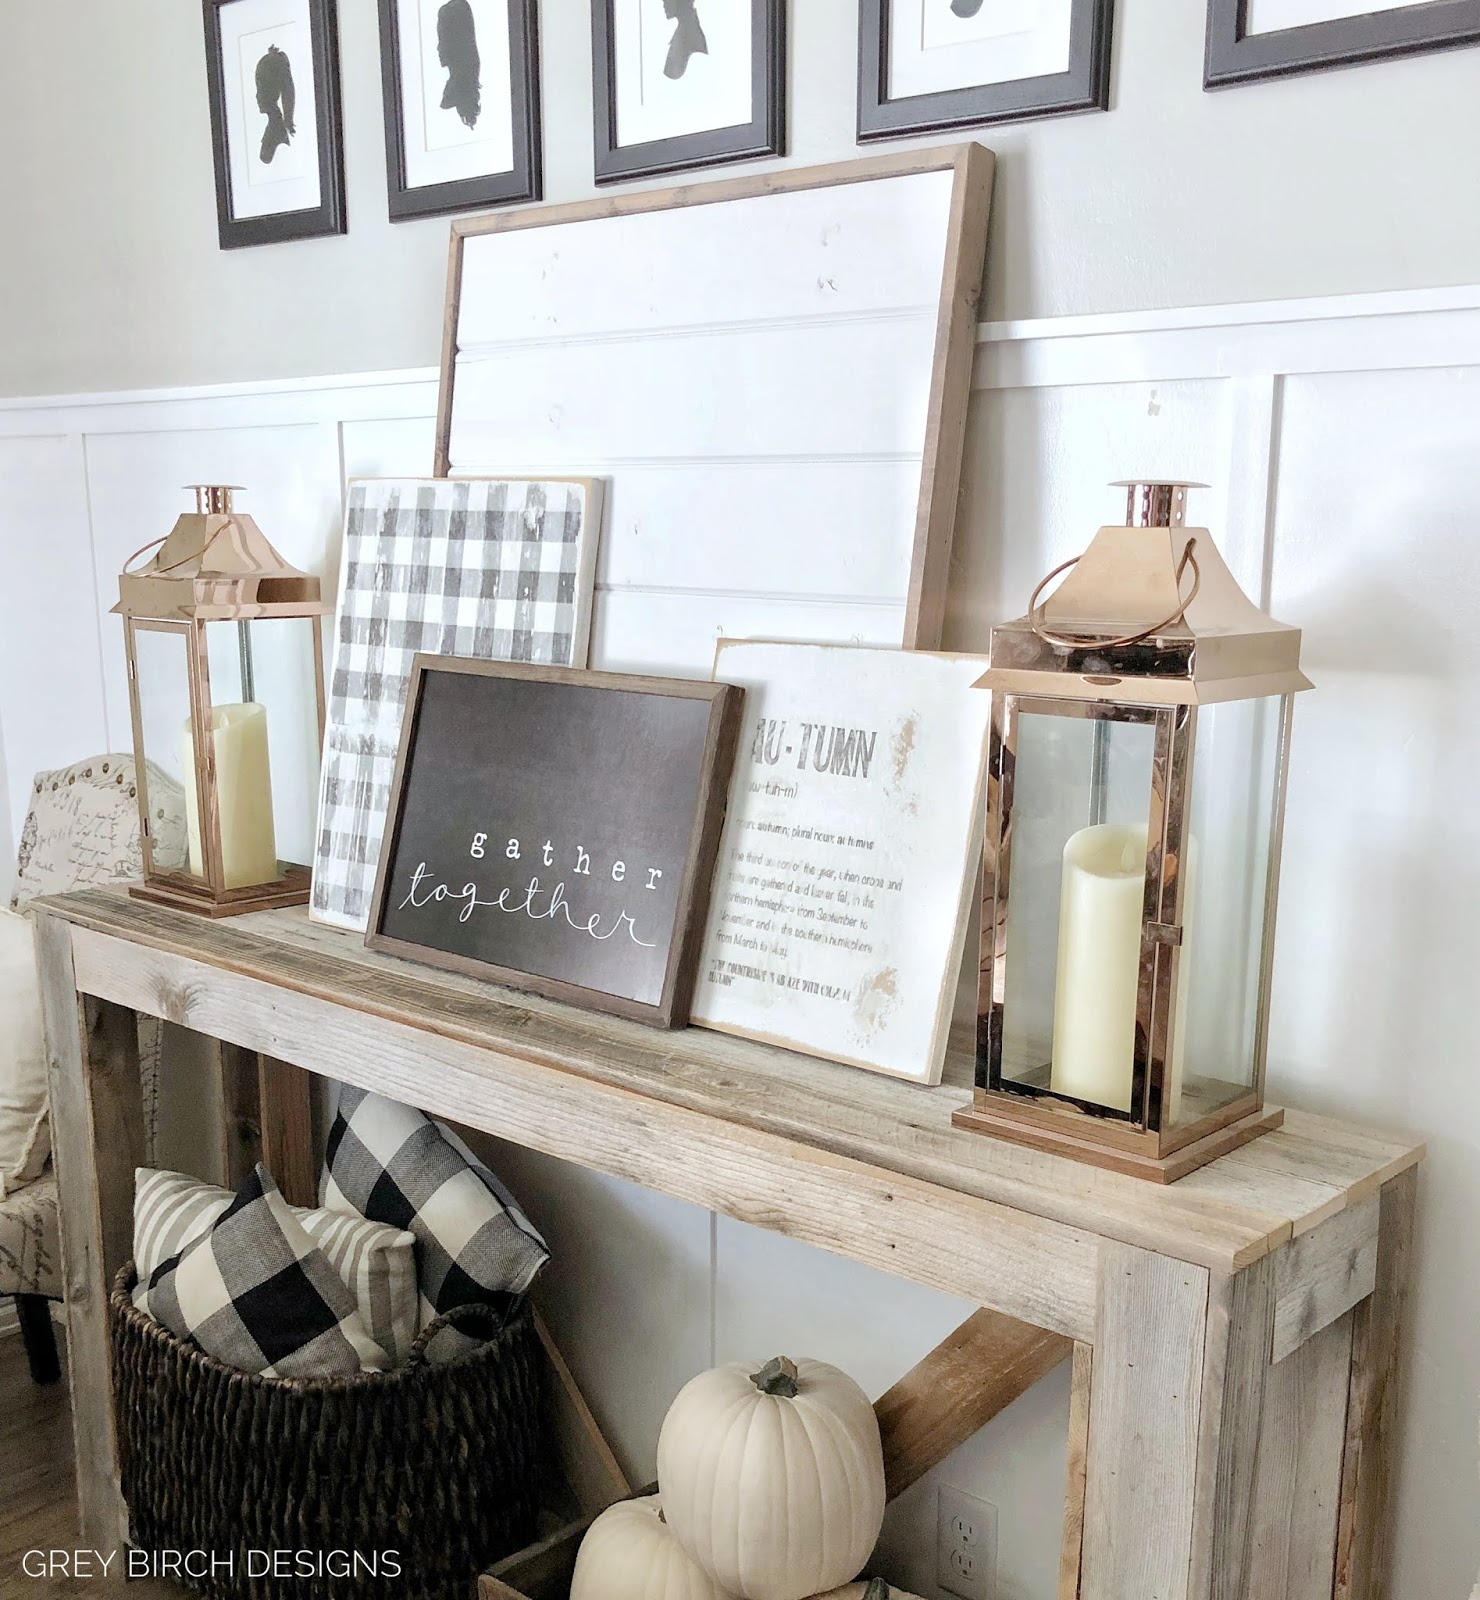
Fall is here and I don’t know about you but I’m so excited!! I love everything about fall, the cool crisp weather, sweaters and cute boots, and ofcourse anything pumpkin!! This has had me thinking about my plans for fall decor and one of my favorite things to add into my decor is cute seasonal signs. One of my favorite was is to layer different signs that compliment each other with out being to busy or overpowering one sign over the other. I find the best ways too do this is to use different patterns or textures that flow well with your main sign. Another thing thats important is to establish your anchor piece. This is usually the largest sign in the grouping but not nessusarly the boldest, it can be very plan with a simple pattern or texture, something that draws the eye in but is also not the focal point. Finally when doing a grouping of signs how do you know how many to do??? Well a good rule of thumb is to use odd numbers, things are always more visually appealing when in groups of 3 or 5, and making your own signs are the perfect way to get that hormones look of your grouping. That being said not everyone is artistic or able to make signs. which is why I’m so excited about this easy and budget friendly DIY sign project that I have put together for you today, what could be better right?!?
Supply list
- Wood cut to your desired size
- White paint (must be flat sheen paint)
- Printer
- Online printable Autumn Printable
- Sander or sanding block
- Mod Podge
- Foam brush
Step 1
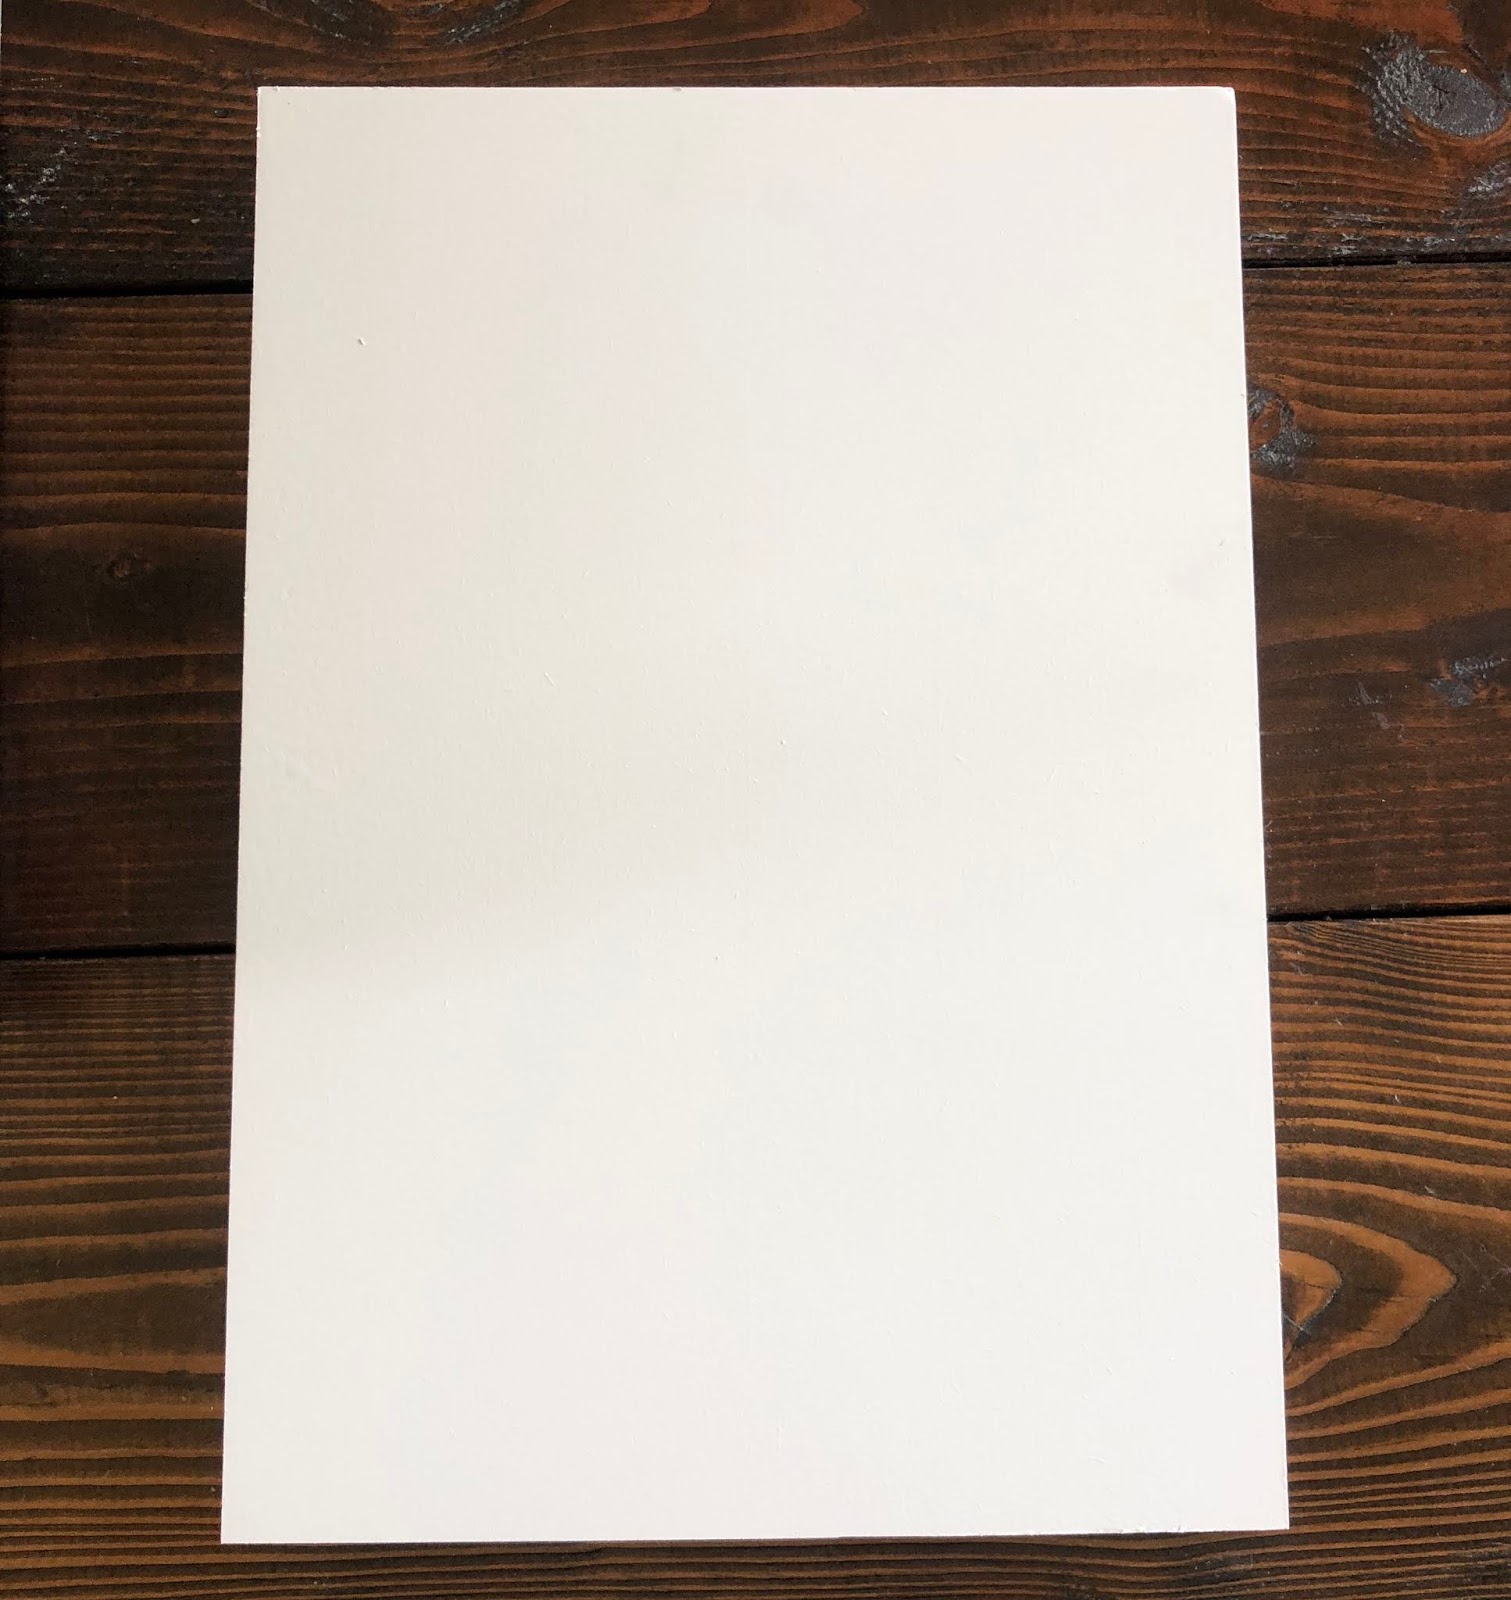
The first thing you will want to do is cut your wood board to the size you want. I used 1/2″ thick MDF board and cut it to 15″x13″. Home Depot will make the cuts for free or you can use a table saw if you have one. Keep in mind that your printable will be on a sheet of paper that is 8.5″x11″. Next, paint it with flat white paint and let it dry for a few hours. While it’s drying you can print out your printable.
Step 2
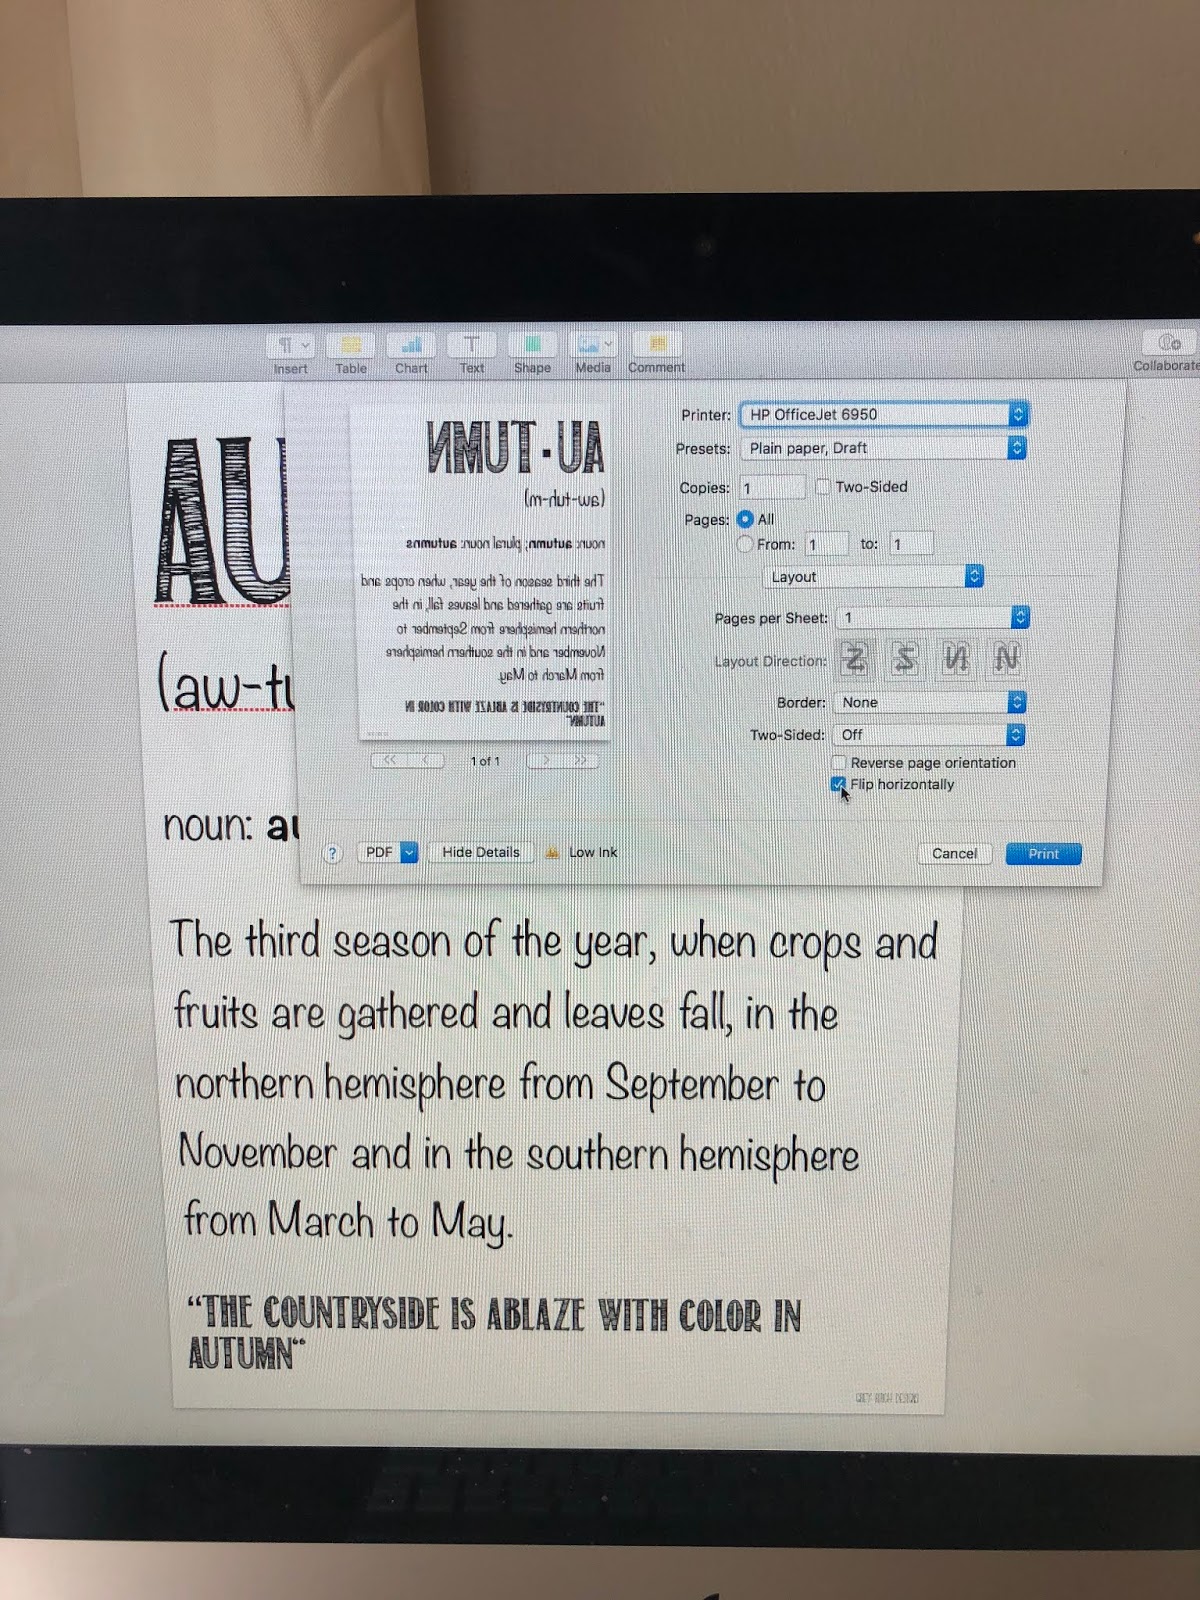
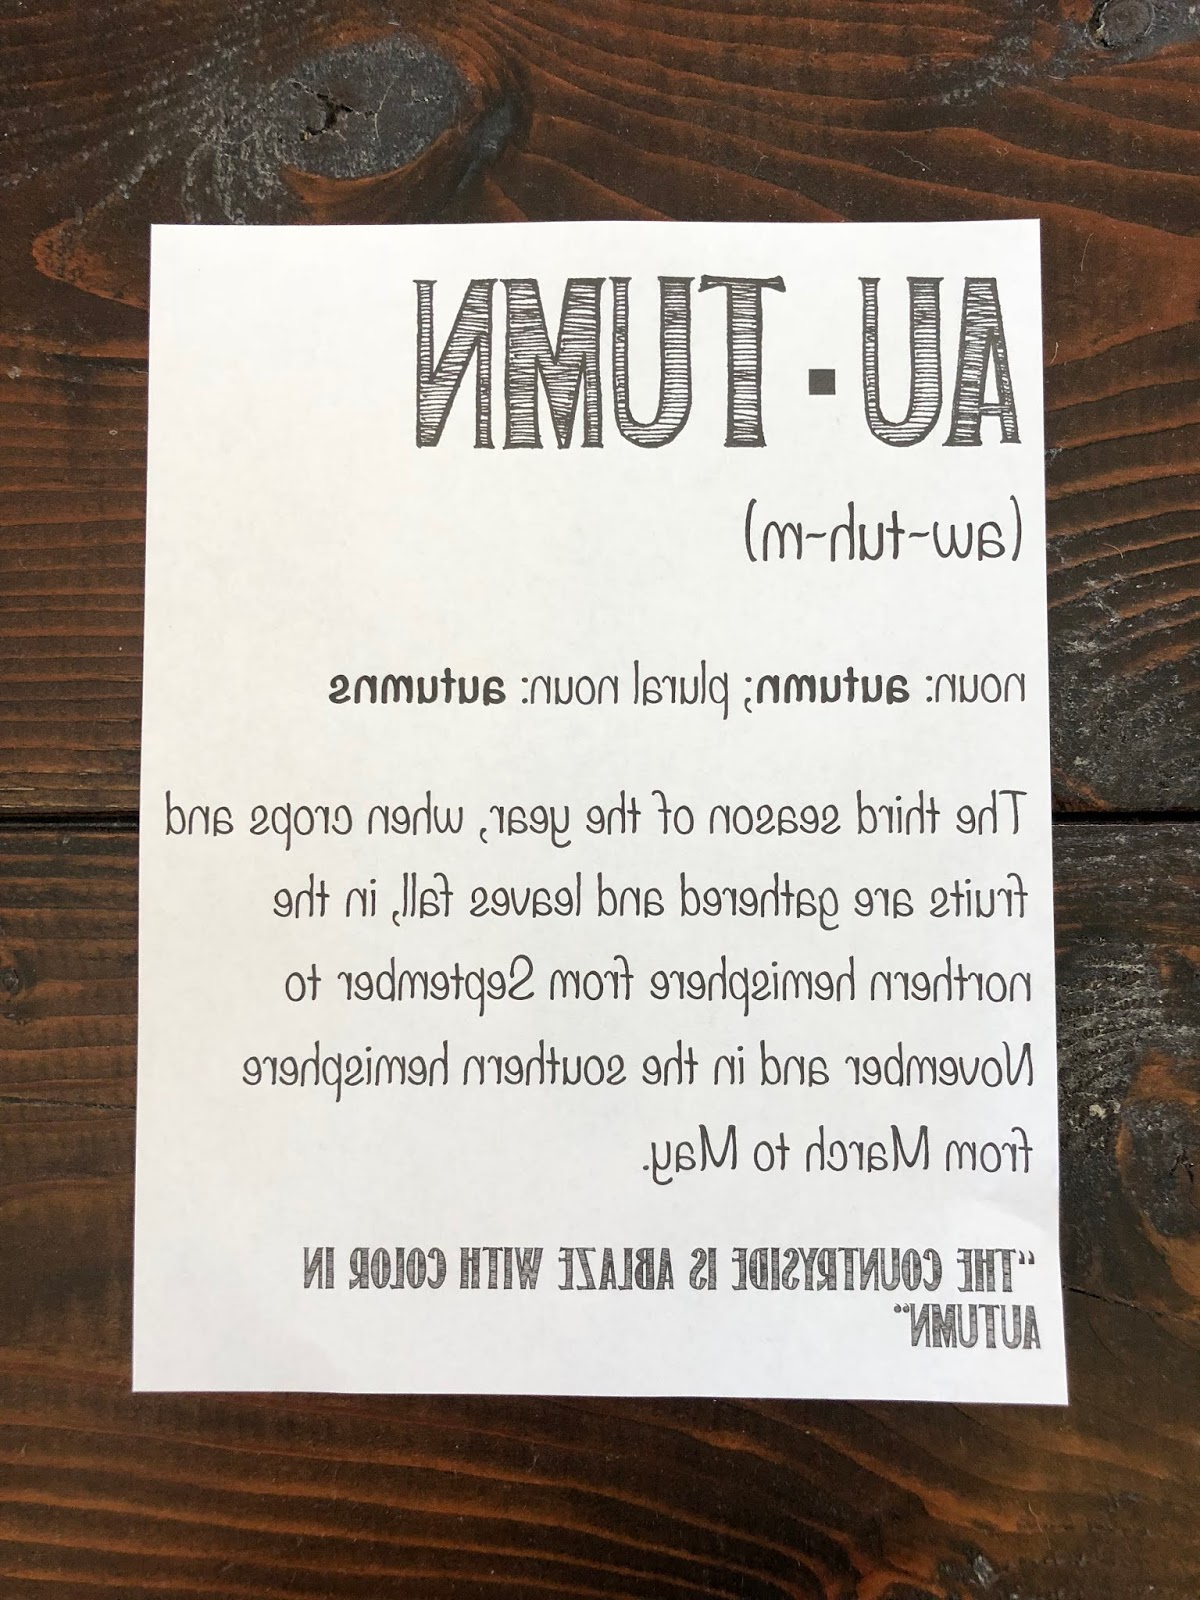
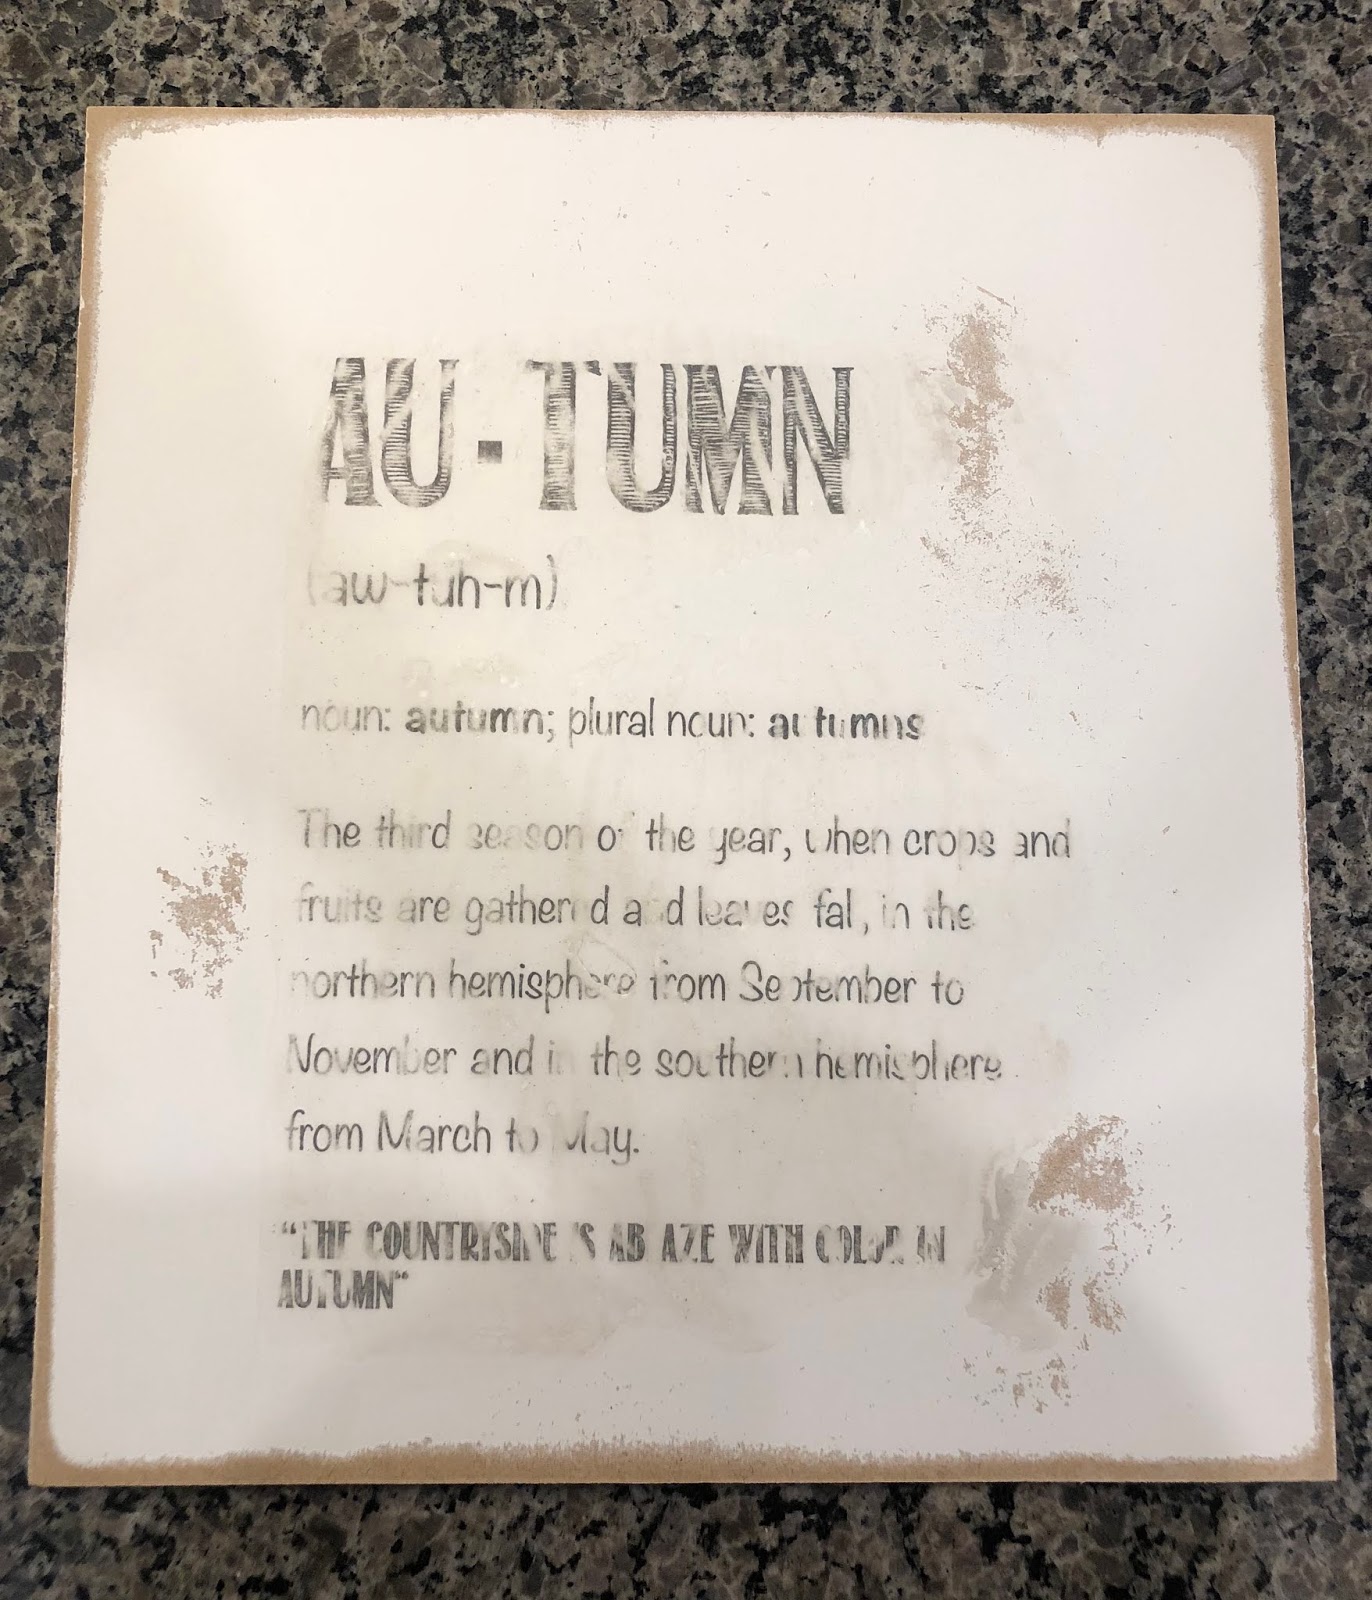
You can use my free printable here Autumn Printable or any other one you like. You will need to print a mirrored image of your printable. It should be easily done in the printing settings. You are doing this so that when you lay your image down on your board (printed side down) it will appear the correct way!
Step 3
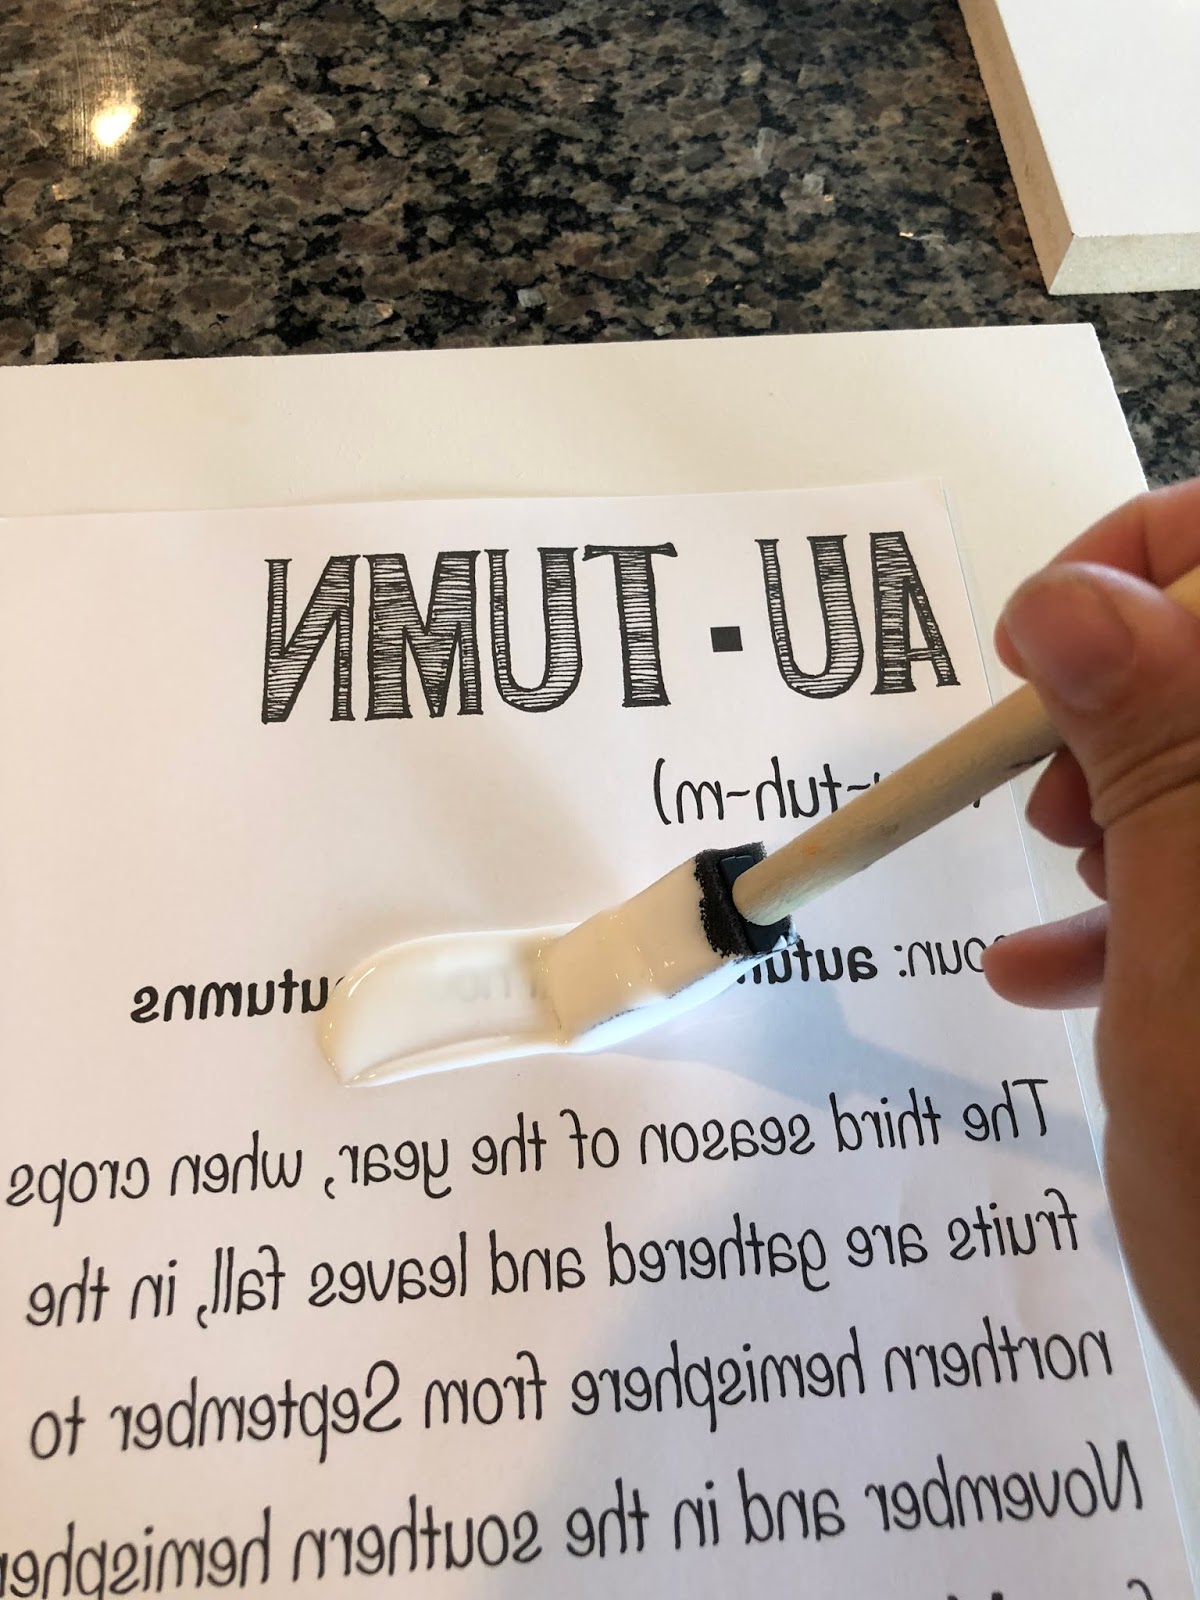
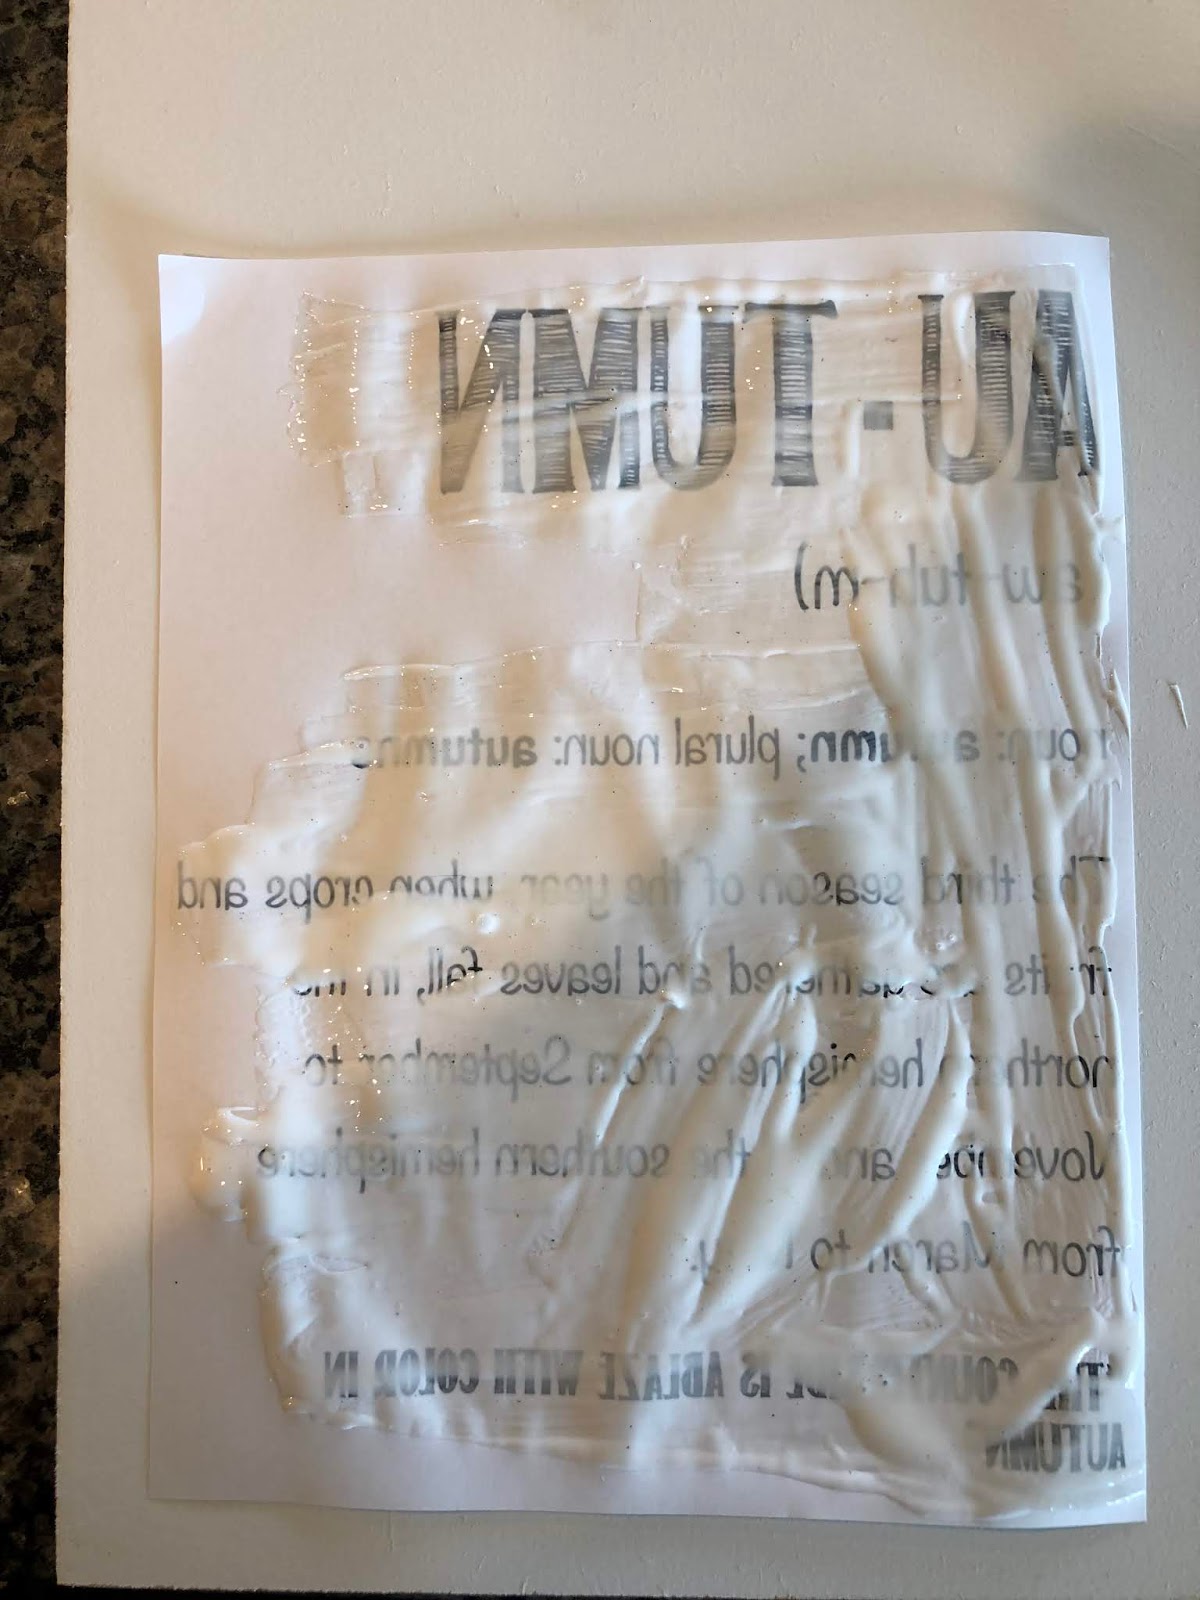
Once your paint is dry, you can attach your printable to your board. You will need a foam brush and some Mod Podge. Take your foam brush and put a generous layer of Mod Podge on the printed side of your printable. Then lay it down on your painted board (printed side down) and smooth out the bubbles and creases the best you can. There will still be some wrinkles in the paper, but don’t worry. Let that dry for a few hours – you need the Mod Podge to be completely dry.
Step 4
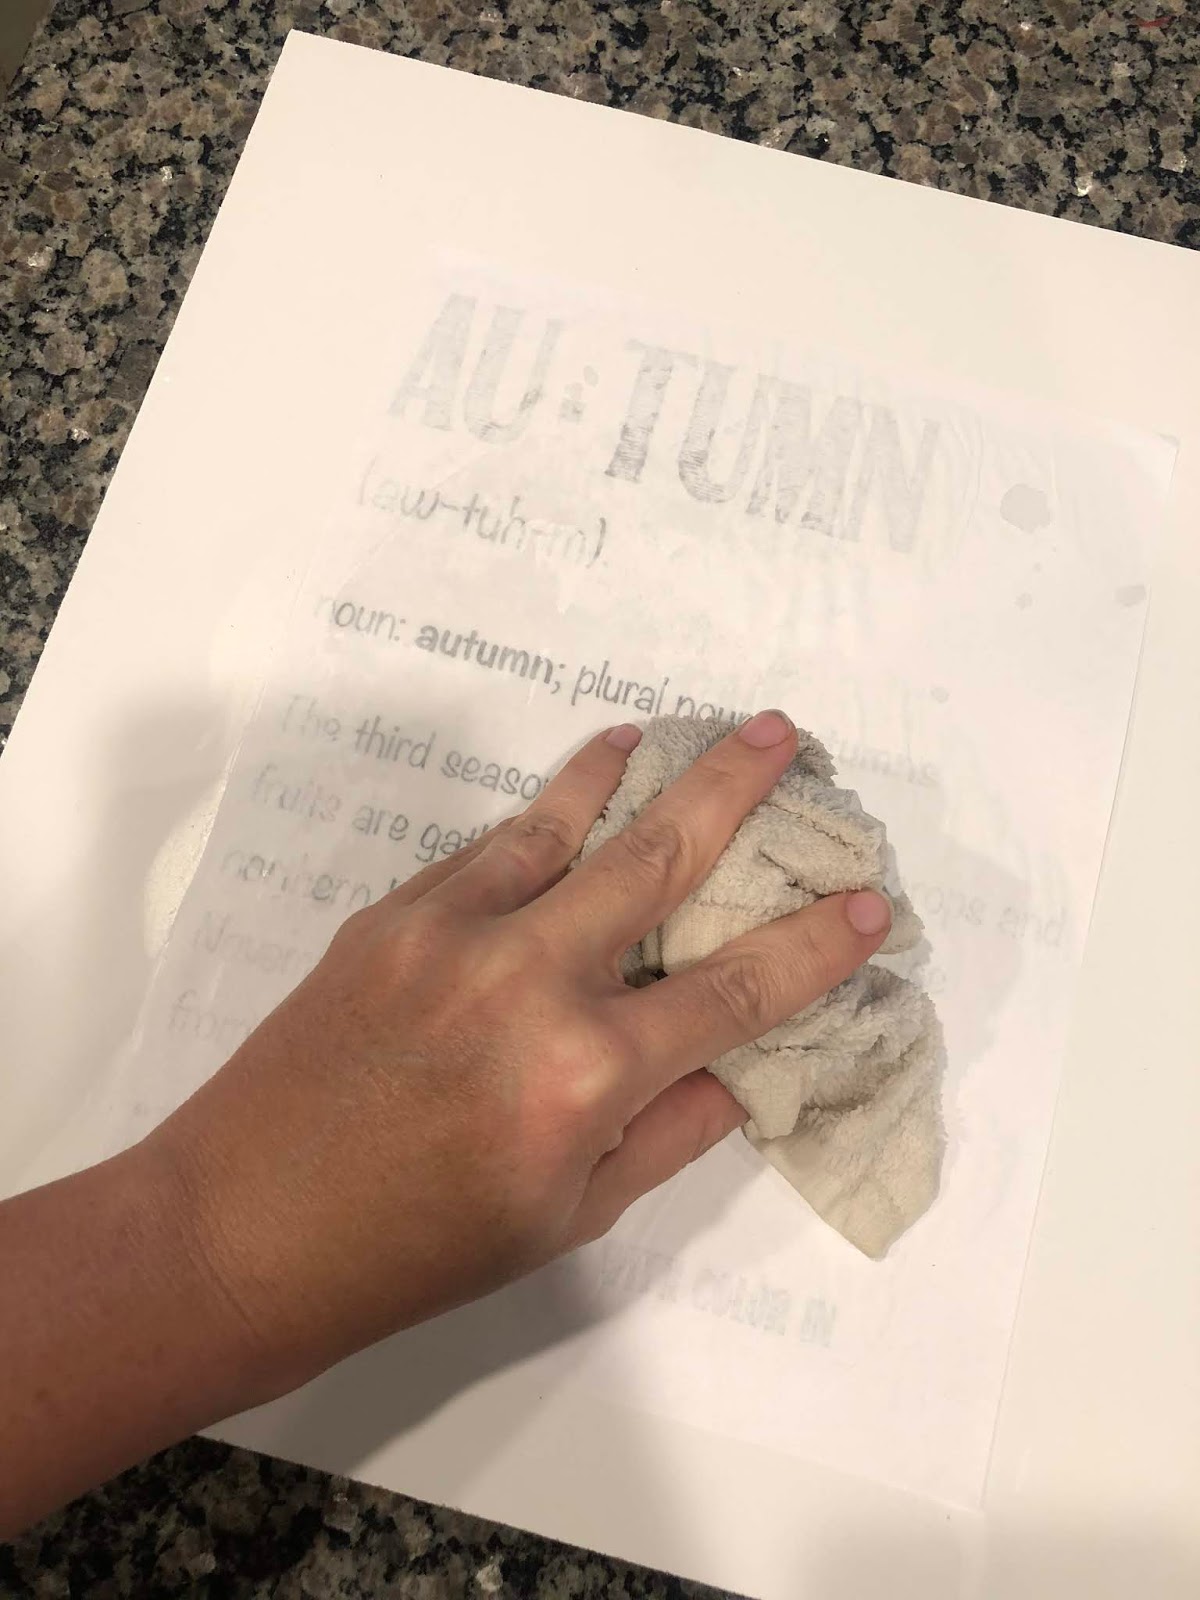
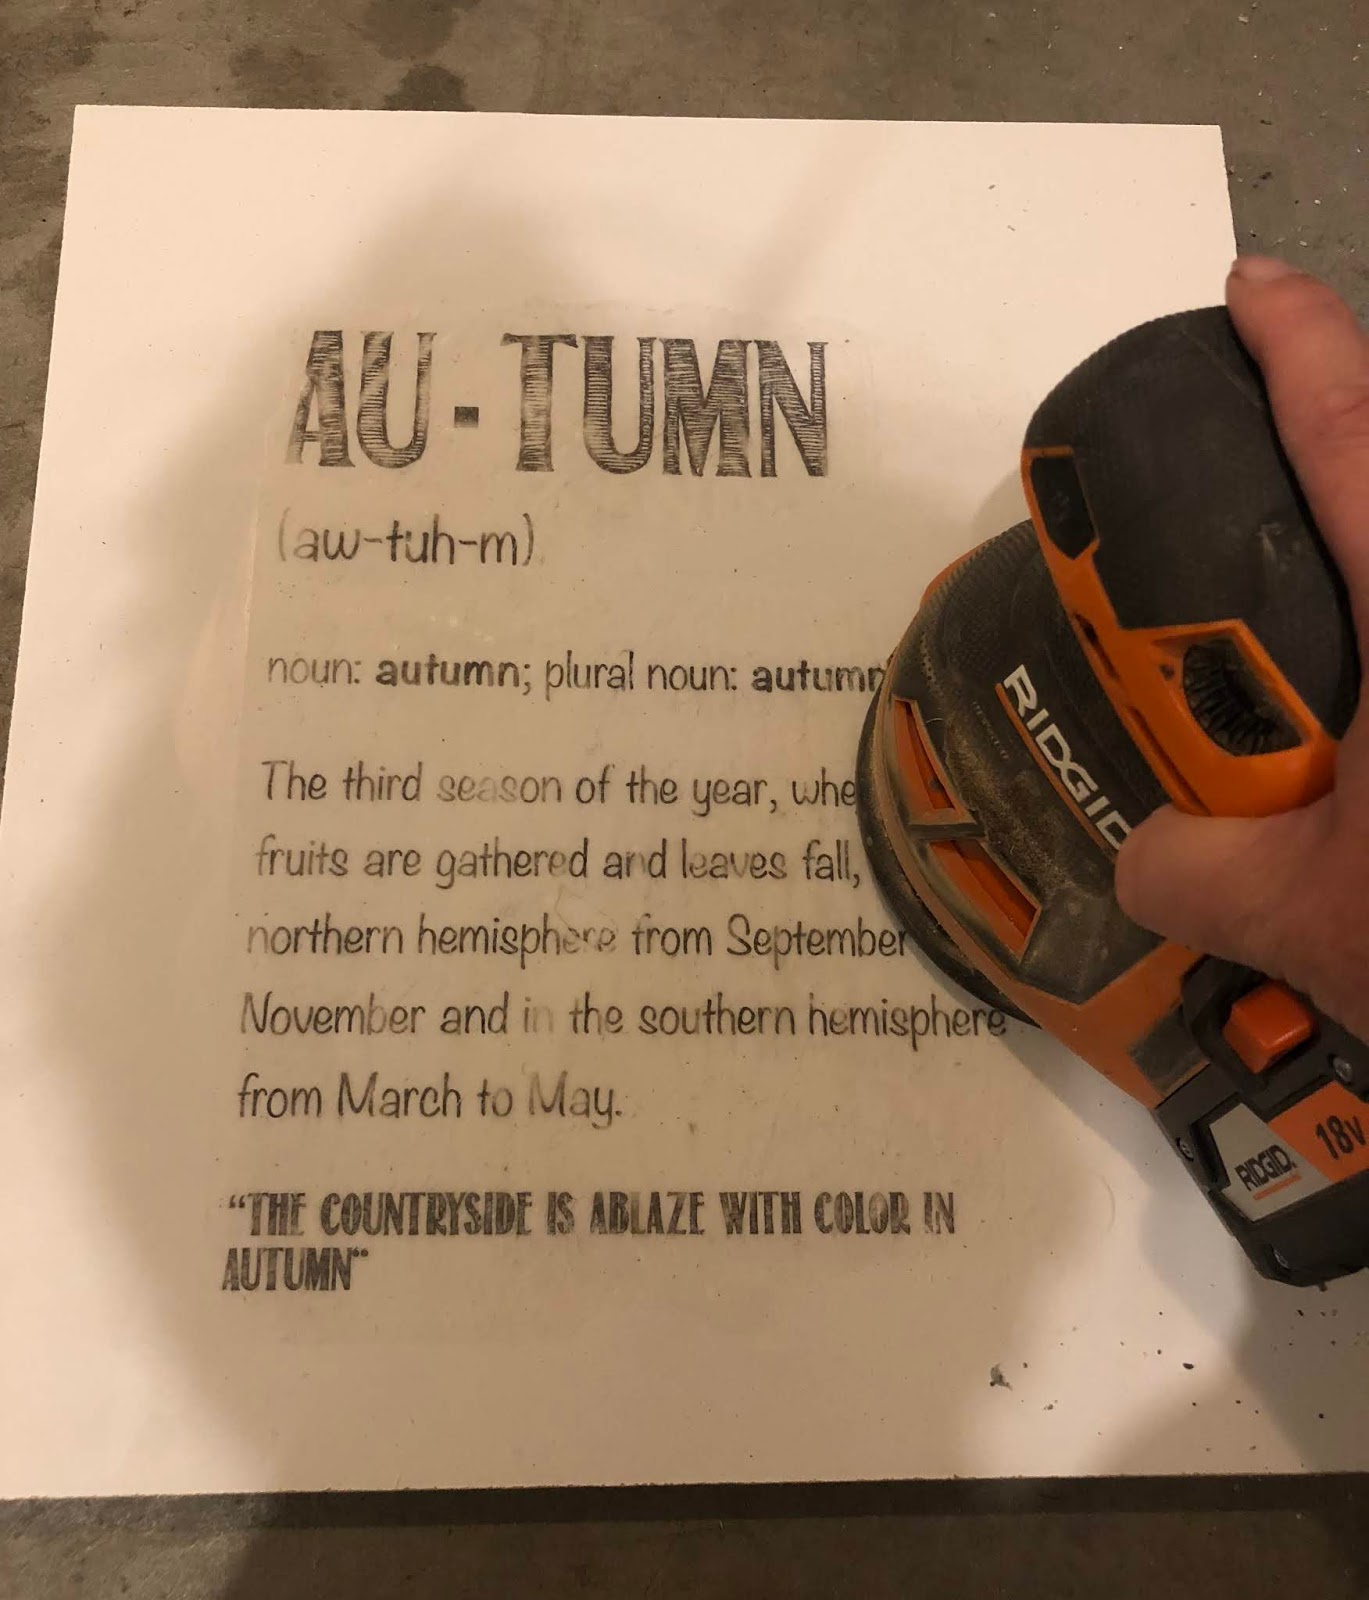
Once that is nice and dry, take a wet wash cloth and gently rub off the paper. The key is getting it wet enough that it starts to rub off, but the printed portion that was covered with Mod Podge stays put! Once you have most of the paper backing off it’s time to get out your sander or sanding block and rough it up! When I distress a sign I like to hit the areas where it would naturally wear. Start with the corners and move on to the face, giving it a good sanding, as well as a few random spots on the front. It’s ok if some parts of the words get sanded off – that just gives it a more distressed look. Once you’re happy with the sanding, just clean it off and you’re done! Now you have a cute seasonal sign for your home that cost next to nothing to make!
I hope you enjoyed this tutorial, and if you’re local to Utah, check out my segment on KSL Studio 5 with Brooke Walker today at 11am August 30th, 2018 where I will be demonstrating this DIY craft on their lifestyle television show!!
-Grey Birch Designs-


Love IT!! I am so glad I saw this on Studio 5! I have been trying to figure out how to do this. Thank you, Thank You! Now to see if I can figure out how to flip my image using Word.
Oh I'm so glad you were watching today too! I hope you enjoy this project!
So neat! I saw this on the show too! I’ve also have been wanting to learn how to make wood frames too. Thanks!
I'm so glad! you will love this project its so fun and easy!