DIY Projects

Seasonal Decor

Recipes

Search by Category:

here you can search the blog posts by category. If you are looking for something specific, you can use the search bar.

Microwaveable Mug Cake Recipe – With Sharp

Recipes

read more

It is no secret that our family spends a lot of time in the kitchen, cooking, eating, and laughing together. That is why it is important for me to have high-quality appliances in my home that I can depend on year-round.  Over the last eight months, we have enjoyed spending extra time teaching our kids some of our favorite family recipes since we have been spending so much more time at home!


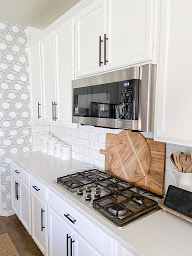
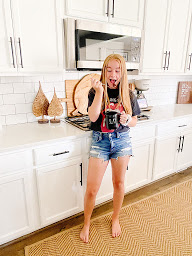
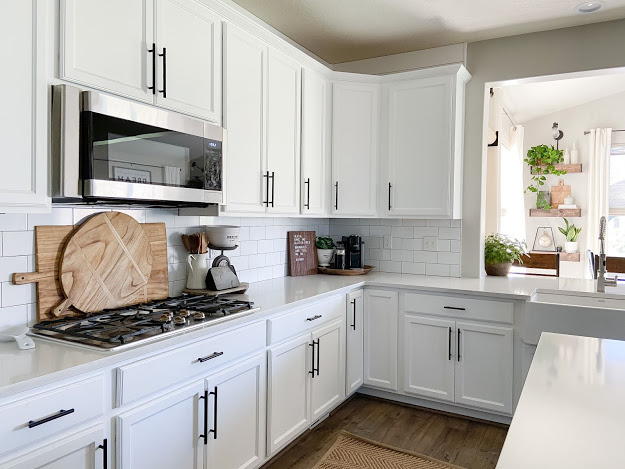
We recently upgraded our microwave oven to the Sharp 1.8 Cubic Feet Stainless Steel 1100W Over-the-Range Microwave Oven and could not be more excited to share all of the details with you all. I have to say, the edge-to-edge stainless steel, black glass, and discreet branding (yes, the logo is on the inside of the oven)  make this oven pair beautifully with our other stainless steel kitchen appliances. 


Our Sharp above range microwave oven saves on counter space without compromising functionality in our kitchen. This full-feature over-the-range microwave oven from Sharp offers convenient Sensor Cook Technology and Auto Defrost, making cooking and reheating my favorite foods, snacks, and beverages easier. 


During the day, our kids love to use our Sharp microwave oven to make a quick meal and hit the Express Cook +30 button to warm their food up; it truly makes cooking more simple during the day. The kids are super impatient,  so it’s an excellent one-button feature. Given that our family uses the kitchen appliances in our home MUCH more now than we have in the past, the Simply Better Clean enamel coating inside the oven is a life-saver because it is stain resistant wipes clean with a damp cloth.


This Sharp over-the-range microwave oven also includes a super cool setting to soften ice cream for dessert time! If you don’t have a sweet tooth, worry not. The Melt/Soften feature is also specifically tuned to quickly melt cheese, chocolate, or soften butter, making impulse baking a breeze.


My daughter’s most recent baking obsession to make when she is craving something sweet (which is all the time) in our Sharp Microwave Oven are mug cakes! By far, their favorite is the Chocolate Banana. It’s super easy to make:


Chocolate Banana Mug Cake
 
Ingredients:
One medium banana
2 TBSP cacao powder
2 TBSP almond milk
1 egg
2 TBSP maple syrup
1/2 TSP baking powder
1/4 cup chocolate chips
1/4 cup oat flour
1/4 cup flour


Directions:
Mash the banana inside a bowl. Mix the wet ingredients together. Stir in the dry ingredients. Fold in the chocolate chips. Grease 2 microwave safe mugs with cooking spray. Pour the mixture into the 2 mugs. Individually microwave the mugs for 60-90 seconds – this is where the Express Cook +30 button comes in handy. Add a scoop of vanilla ice cream or whip cream and enjoy!


Overall, we’ve been very happy with our new Sharp over-the-range microwave oven and recommend incorporating a Sharp microwave into your kitchen design. The microwave oven is very well made, making it super practical for everyday family life, and it looks so sleek and premium in our newly remodeled kitchen!


-Grey Birch Designs-


Living Room Update

Design Tips

read more

This is a sponsored post written by me on behalf of Hunter Fan Company. All opinions are 100% mine.

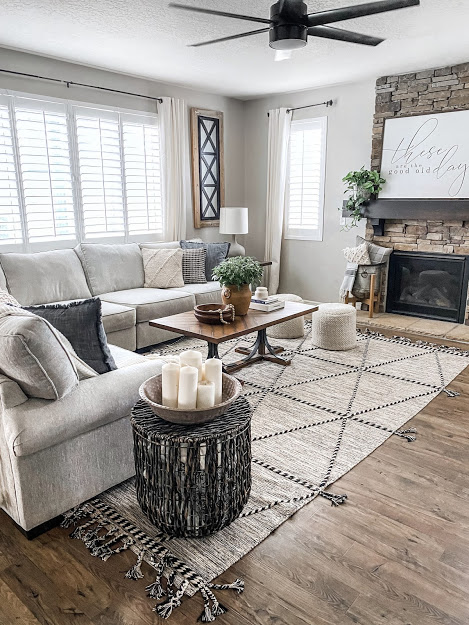
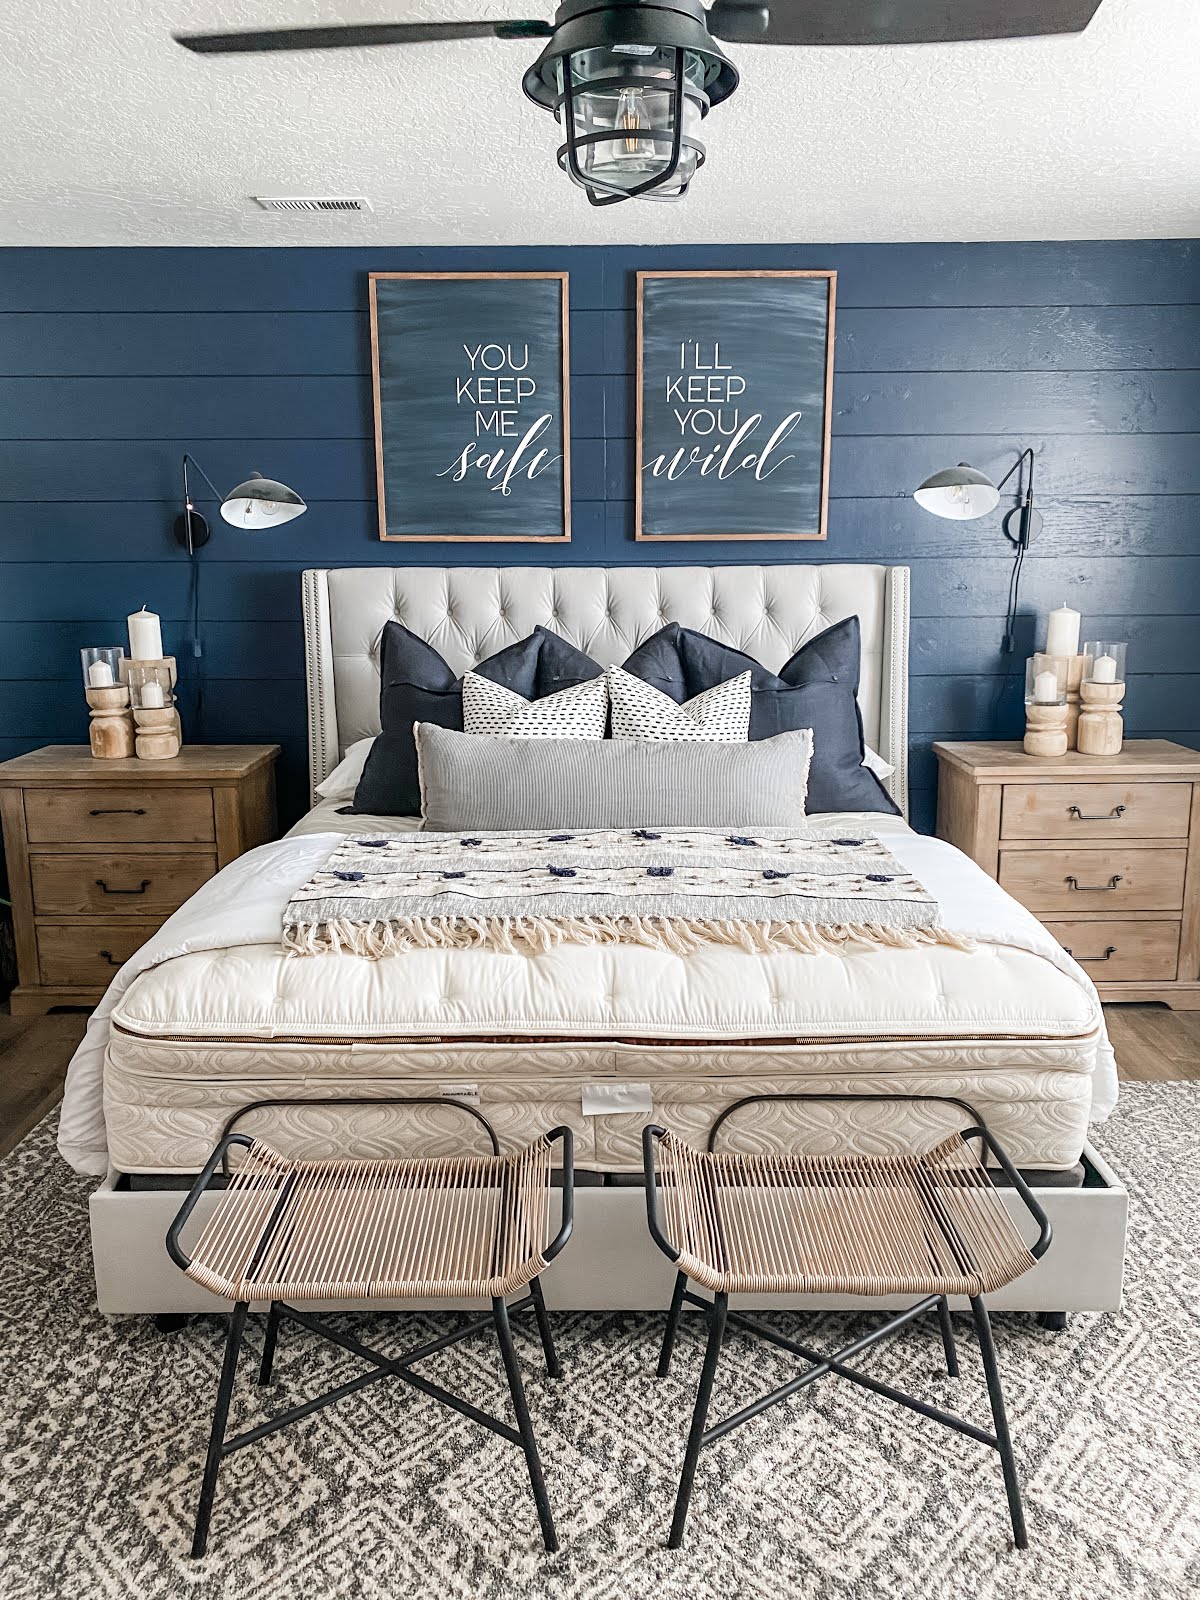
I recently gave my living room a little update. I have been really loving the more eclectic, lived-in look than the matchy matchy look. I wanted my living room to have a warm, inviting feel with a mix of old vintage and new modern designs.

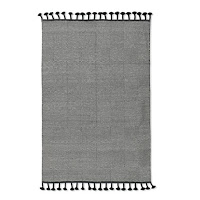
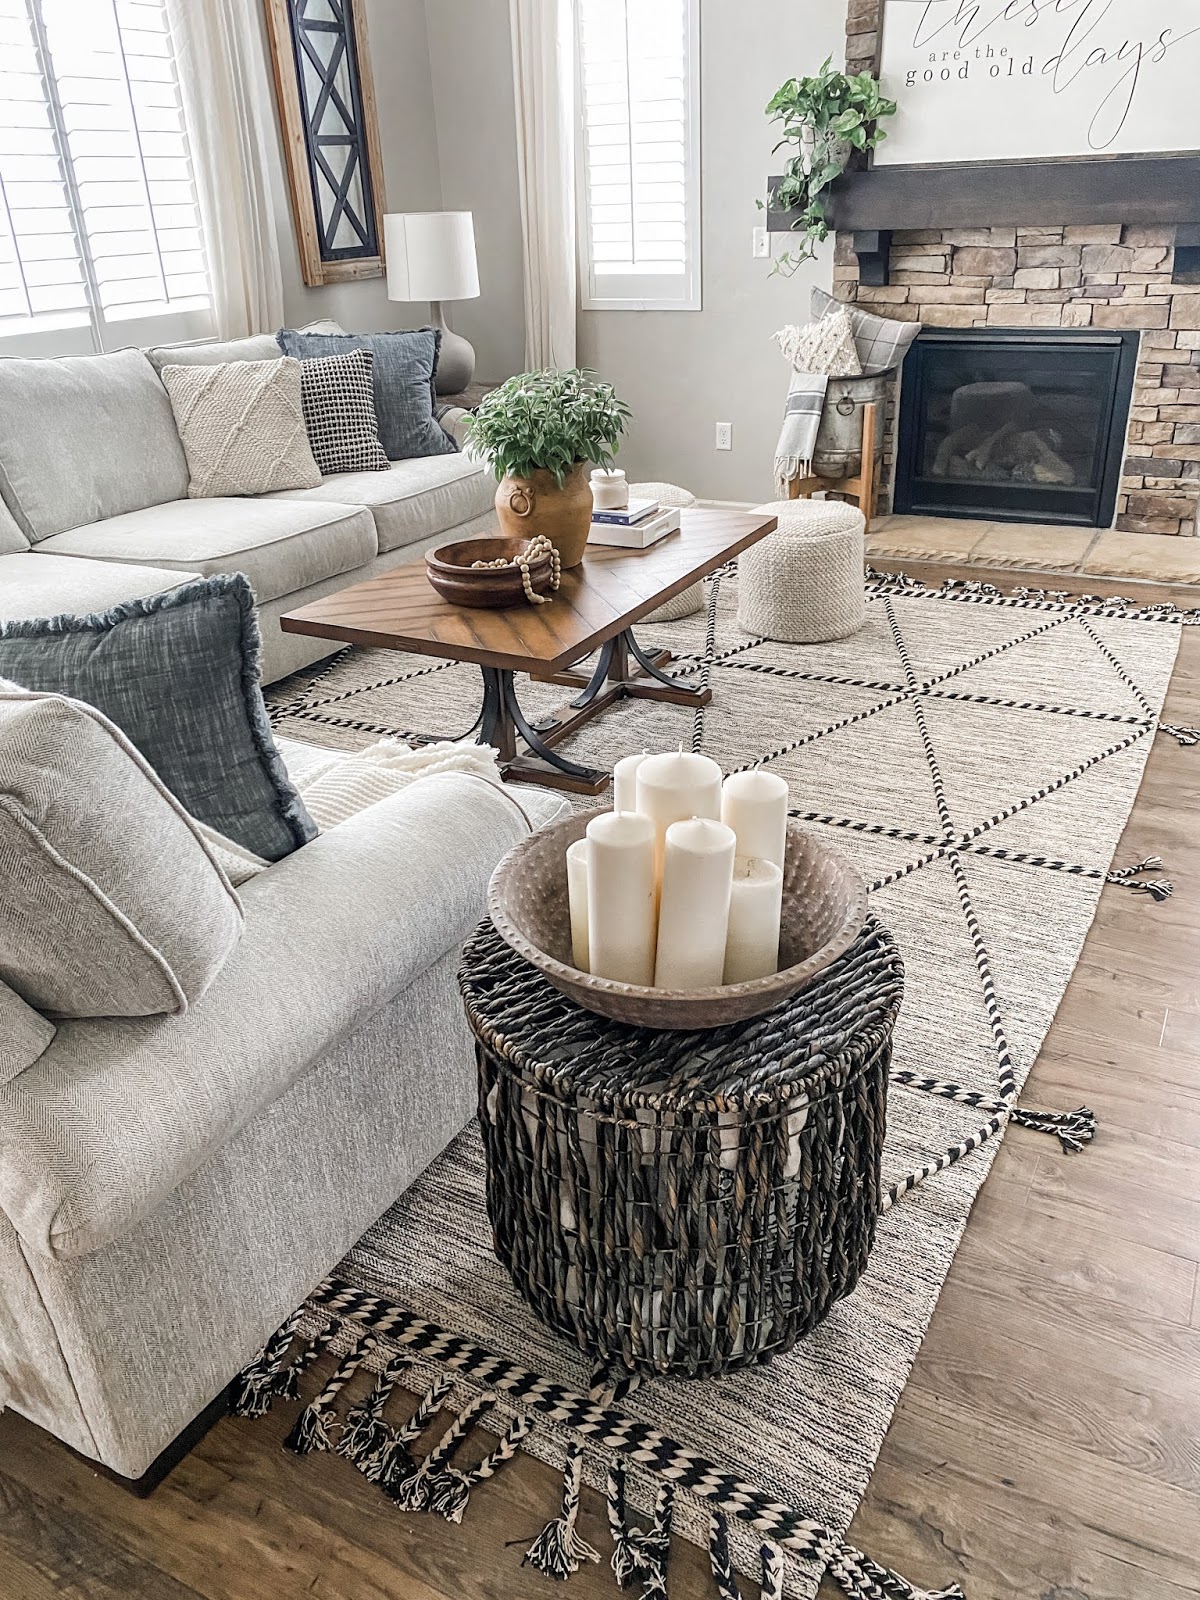
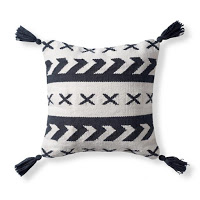
I started with my sectional pillows. Instead of picking 2 or 3 of the same throw pillows and repeating them throughout the sofa, I picked 7 different pillows that all complemented each other but were still different. This really makes the room feel like things have been collected over time and not staged. Next I changed my rug to a larger size. Our living room is pretty big and our previous 8×10 rug didn’t adequately fill out the space. I went with this new rug because of all its amazing texture. I’m a sucker for good high texture pieces!


The biggest change was upgrading our ceiling fan to this matte black Solaria from Hunter Fan Company It’s the best fan we have ever had. We had previously had a 52″ fan in here and it really didn’t move the air around very well so it was time for it to go!

Aside from this fan being a larger size, 60″ in fact it has the brands exclusive SureSpeed technology, which means it’s a high-velocity fan with airflow optimized for high-speed cooling … and let me tell you that’s exactly what it does! The fan has specially designed blades and the motor is smaller, which makes it push air more efficiently 20% more airflow than other fans! It also has an LED light, which is nice because we have been switching all our lights to LED – they are long lasting and energy efficient. But my favorite thing about this fan is thepre-paired and ready to use wall control! It eliminates the need for a remote and that’s a total game changer. There is nothing more frustrating than losing your fan remote and not be able to control it … believe me I know from first hand experience.

I have only seen this wall control feature on Hunter fans and I think it’s the smartest design I have ever seen! All you do it install in on your switch plate and it’s ready to use. You can turn it on and off through the wall control, as well as change the direction the fan spins and the speed, all from one place! Yay for never misplacing your ceiling fan remote again!!

The last thing I did to round out this room update was add in some vintage and faux vintage looking pottery, warm wood tones, house plants, and some candles! It wasn’t a big change but boy does this space feel more homie and functional, with an eclectic vibe that I’m completely in love with!!

-Grey Birch Designs-

Kid friendly features on our Samsung Family Hub Refrigerator plus the perfect summer sauce that goes on everything!

Collaborations

read more

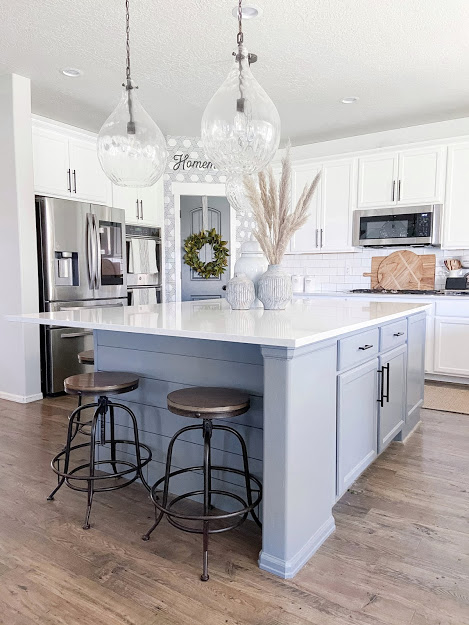
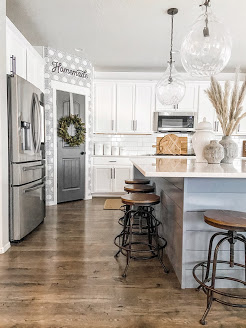
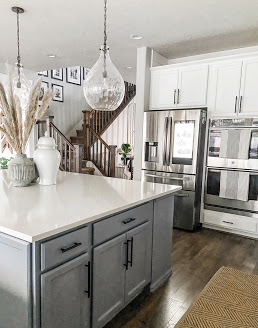
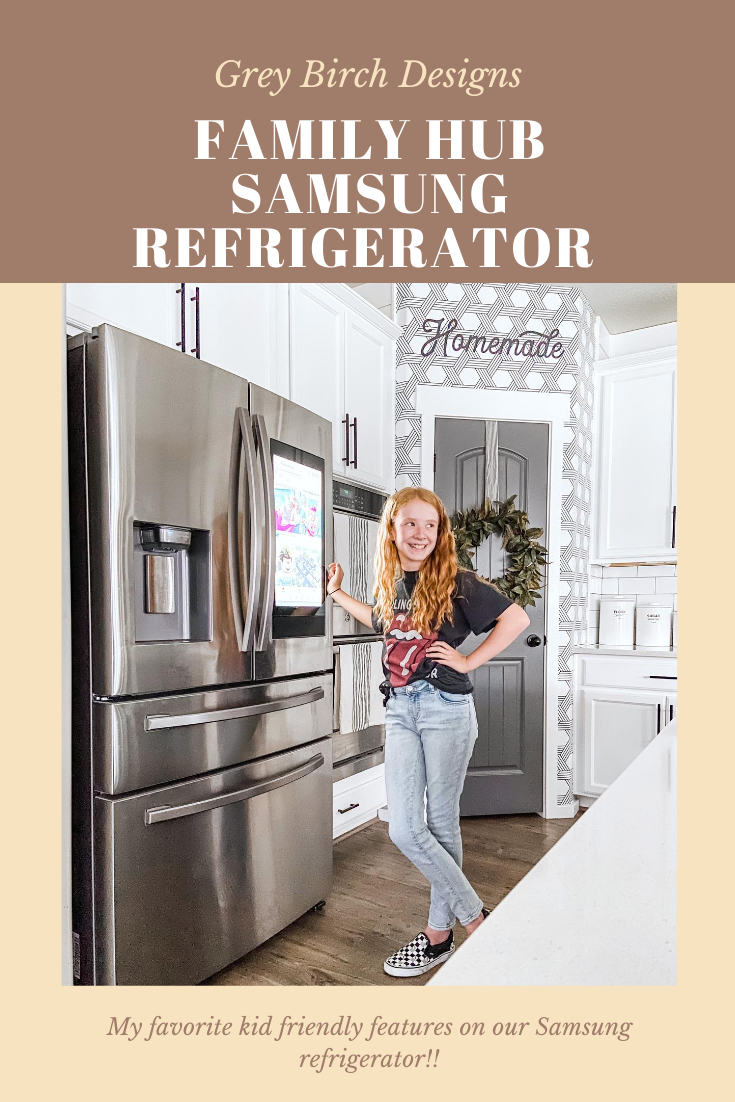
 Our kitchen is truly the heart of our home. We spend so much time in here eating meals, doing homework, and most importantly cooking. I put a lot of effort into the design of my kitchen because I love cooking, especially with my husband.  It’s usually my time to unwind, but cooking can quickly turn from fun to stressful when you have hungry, bored kids at your feet wanting to know when dinner is ready. Enter in my lifesaver Samsung family hub refrigerator!!

I never imagined how useful this refrigerator would be! It serves as a source of entertainment for my little ones with the coloring note pad app, music, and YouTube built in to the family hub. It makes cooking dinner less stressful and more entertaining! I can’t tell you how many times I have found my kiddos giggling as they pull up a photo of mom or day and draw on mustaches and funny hats! I regularly set up the coloring note pad for my youngest son before I start cooking. Then I know he is happy, entertained, and close to me if he needs anything which makes meal prep and cooking relaxing and enjoyable!!


Although I love to cook I’m definitely not a gourmet chef!  I make a super simple sauce to put over chicken or fish that you would think took me all day to make! My favorite simple sause for the summer is this Herb Lemon Cream sauce. It’s delicious on any protein and so ease to make!


Ingredients:

  • Fresh Dill
  • 4 TBSP Sour Cream
  • 2 TBSP Chicken Stock Concentrate
  • 2 tsp. Dijon Mustard
  • Juice from 1/2 lemon
  • 1/4 Cup Hot Water

Directions:

Add Dill, Sour Cream, Chicken Stock Concentrate, Dijon Mustard, Lemon and hot water to a med size sauce pan. Heat thoroughly till all the ingredients come together stirring frequently with a wisk.  Let simmer for 5 minuets, serve warm over your favorite protein or vegetables!

 
-Grey Birch Designs-


Why we switched our whole family over to organic mattresses from Naturpedic

Collaborations

read more

Earlier this year we made the decision to switch our whole family over to organic mattresses from Naturepedic. This has proven to be one of the best decisions we have made when it comes to our sleep. I had previously learned about all the harmful chemicals used in manufacturing traditional mattresses and this is what sparked the change. A traditional mattress has many toxic chemicals that are used in the manufacturing stage and these chemicals can build up in your body night after night as you sleep in your bed. These same chemicals have been linked to some very scary diseases and that alone was enough for me to send our old mattress flying out the window!
With these 100% organic mattresses I can sleep well knowing that our whole family is protected and can sleep healthy! The founder is a certified environmental engineer and this business was brought about due to a lack of organic mattresses on the market. He went to purchase a crib mattress for his first grandchild and couldn’t find one that was chemical free, so he made his own and that’s how Naturerpedic was born!

We picked the Serenade mattress in cushion-firm for our oldest child. The Serenade features a hybrid design, combining organic latex for pressure-point relief and encased coil support that gently contours your body. Our daughter absolutely loves it!!


We picked out the Chorus mattress for our younger daughter and our twin boys. It’s packed with real fibers that wick away moisture and a soft microcoil comfort layer that breathes and dissipates heat efficiently for a cool and comfortable sleep. This is ideal for our boys who tend to be hot sleepers, and our daughter says it’s the most comfortable bed she has ever had!


Our mattress is the Halcyon Arcadia and it’s the most luxurious mattress I have every slept on. I’m not joking when I say I look forward to slipping into bed each night! Something that is so amazing about this mattress is you can customize the softness or firmness. It’s multi-layered zippered construction provides flexibility as your needs change over time plus the ability to adjust the comfort of the bed to each sleeper’s preferences. That’s a game changer right there! If you like a softer bed and your spouse prefers something more firm, you can each have what fits you in the same mattress!!

I have also been told by our youngest that it’s a great bed to jump and do belly flops on because it’s so soft…….haha!!! Good thing he’s a cutie!


Finally, for our youngest we picked out the Verse mattress. This is the ideal mattress for kids! It is solid, supportive, and comfortable. The slightly firmer feel is key to helping support kids’ developing bones as they sleep and my little guy couldn’t be happier! He used to be the first one to wake up in our house and many times didn’t sleep well through the night. Now I find myself having to wake him up in the mornings!! 


These mattresses have truly been a blessing to our family, and having the peace of mind knowing that we are all sleeping healthy is priceless! 

The most important things to look for in an organic mattress, along with a company’s certifications and awards, are these key things, all of which I found with Naturepedic:
• Certified organic cotton
• Certified organic wool
• Certified organic latex
• Steel innerspring
• Organic cotton encase coils
I know everyone can agree that the health of your loved ones is always at the top of your list. Before I knew about all the awful scary things that go into making a traditional mattress I had no idea the potential risk to my family’s health each night was. Now I can throw that worry out the window along with our old mattresses and sleep care free and healthy!


-Grey Birch Designs-

The Design Inspiration Behind my Sunroom

Design Tips

read more

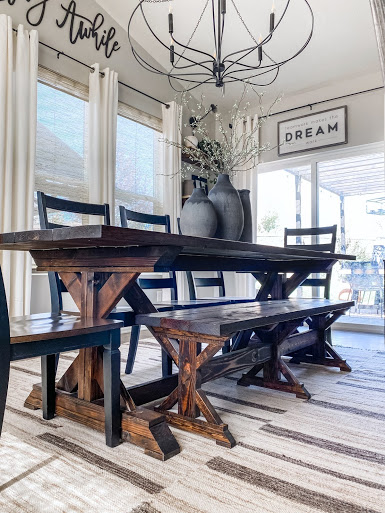
 Over the past few months I have felt my style evolving, not necessarily changing but just becoming more refined. It’s funny to look back on how my style has changed over the years and grown up right along with me! One thing I have always loved is a vintage twist in my decor. I love to mix styles, specifically modern with a twist of vintage vibe, and that’s exactly what I did in my sunroom!

Rich wood tones, vintage inspired pottery, live house plants, and beautiful textured rugs and textiles all come together to create this space our family uses everyday.

The real star of this room is my new handmade vintage inspired Rune rug from Revival Rugs. I have been a long time fan of their beautiful rugs and I’m so excited to add one into my home! I love the natural colors,  the beautiful design, and of course I’m a sucker for any rug with fringe!! This rug is inspired by nomadic tribes. They were limited by the size loom they would make their rugs on, so they would commonly join long narrow panels together to make a larger, wider rug. How cool is that! I love knowing the story and history behind vintage pieces, as well as the design inspiration of vintage reproductions. It truly gives more life to a piece of decor for me.


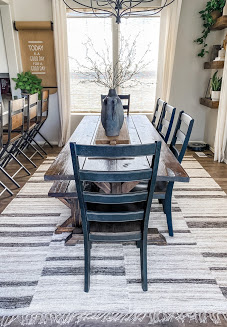
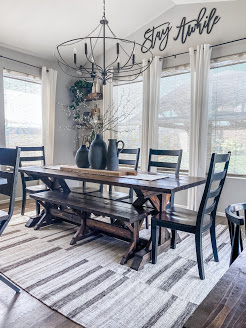
This room is the perfect space for my new rug because this is where I have so many of my vintage inspired faux found pottery I have made. Have you tried this project yet?! I’m seriously obsessed with making these! They are the perfect compliment to each other and bring the whole look and feel of the space together, with a little bit of a story! This room has such a warm welcoming feel to it now and it’s a place we love to gather together as a family and enjoy a meal!

Revival rugs not only has vintage inspired handmade rugs, but also a collection of true one of a kind vintage rugs that you can’t find anywhere else! Check them out here and use my code: GREYBIRCH10 to save yourself 10% off a truly beautiful and unique rug for your home that will last the test of time!

-Grey Birch Designs-

DIY Wool Dryer Balls

DIY Projects

read more

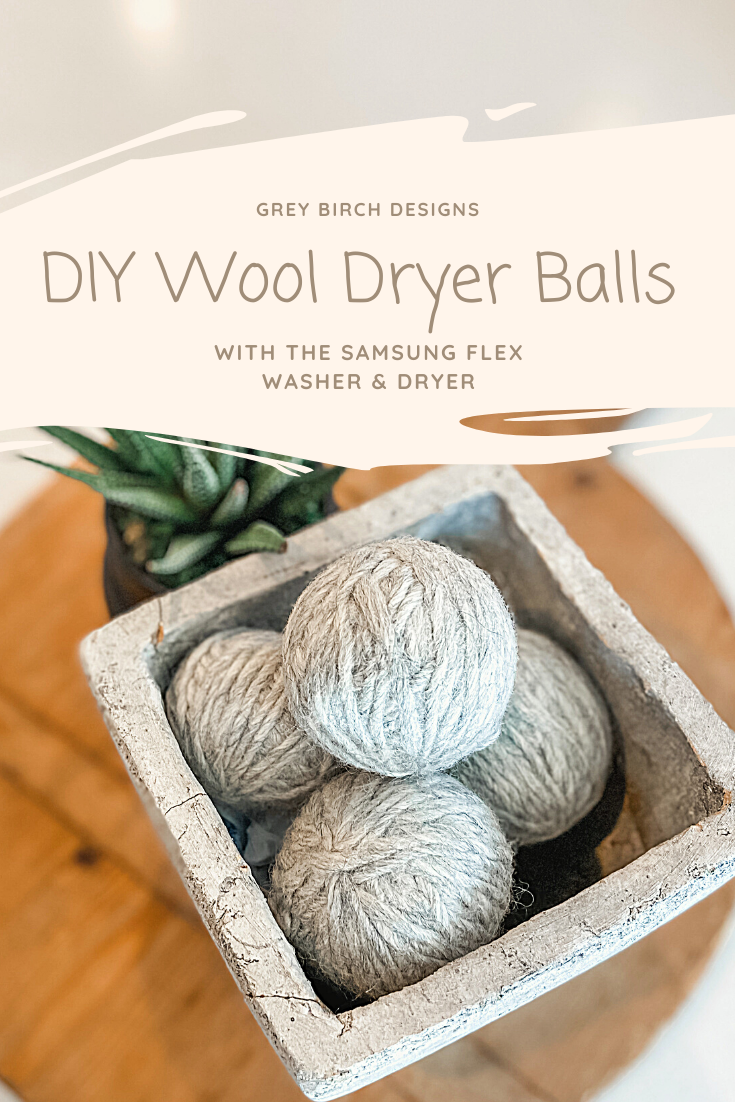
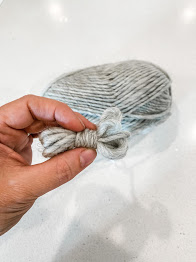
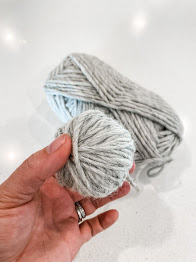
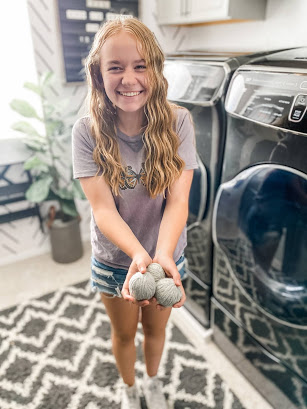
I have been super interested in the benefits of replacing our fabric softener with wool dryer balls. I love the idea of it being chemical free because a couple of my kids have very sensitive skin. I also love that you can add a few drops of essential oils to give your clothes a fresh smell!

I set out to make my own and give then a shot! They are super easy to make and there is a good chance you already have what you need around your home, making this a very affordable project!

To make these you will need any color yarn as long as it’s 100% wool. This is a very important part of this project! I found it a little hard to find 100% wool yarn from my local craft store so I ended up ordering this yarn and it worked great! You will also need some nylon pantyhose and I found these one to be quite cheap!
There are only a few steps to the project and it’s super simple! First you want to start the base of your ball. Take three fingers and wrap the yarn around them a few times, I did around 5-6. Then remove the yarn from your fingers and wrap the yarn around the middle of the loop you just made 7-8 times. Next, wrap the yarn around the base you just created until you get the size dryer ball you like! Remember to slightly turn your ball while you are wrapping so that it will stay a round shape.
          
Then cut the yarn and tie off the end. Now you are going to put your wool balls in the nylon pantyhose and tie a knot. Repeat this step until all your wool balls are inside the pantyhose.
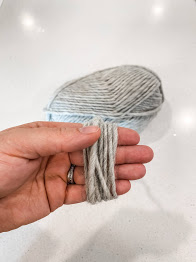
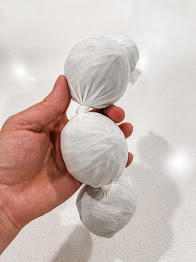
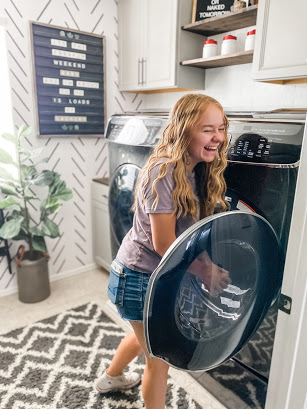
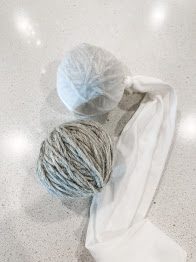
     Now it’s time to make it all come together! Wash them with hot water in your washing machine. I use my Samsung Flex Washer and Dryer. With the smaller washer on top I can do this project without running a full load of laundry or wasting water by running the washer with only the dryer ball project in it.
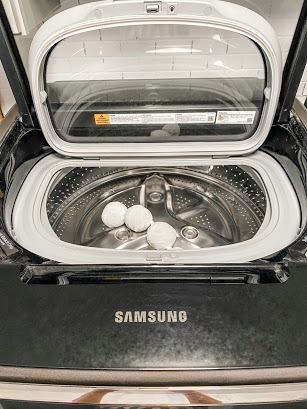
It’s super easy to use and has the same settings as the main washer! I set the top washing machine to do a quick wash with hot water and that’s it! I never realized how much I would use this feature until we replaced or old front load washer and dryer with these new Samsun FlexWash and FlexDry

Once the cycle is finished in the washer throw it in the dryer on high. Then remove them from the pantyhose and you’re done!! I made this project with my daughter and we had a lot of fun. It was also a great opportunity to teach my daughter how to do laundry and all the awesome things our Samsung appliances can do – the top feature being the duel washer and dryer. Fingers crossed this little laundry lesson will make her want to do her own laundry from now on!
     

-Grey Birch Designs-

Creating a Backyard Dining Space

DIY Projects

read more

One of the biggest projects we tackled this summer was creating an outdoor dining area on our back deck. We built this deck about 3 years ago out of redwood and it just didn’t hold up well against the elements. We knew it needed some repairs, but we decided to make it bigger and better than it previously was.

My goal was to create a cozy outdoor dinning area that fit in with the flow of our backyard design. I had a vision for a sleek looking deck with a simple, modern style pergola on top.

First we removed all the old warped and scratched redwood deck boards. We replaced them with Trex, a composite deck material that is able to stand the test of time and weather. This was the best choice for the deck because it’s requires no maintenance. We went with the pebble grey color and I absolutely love it!
             
After we finished the decking it was time to design the pergola! I knew we would have to make a custom size pergola because the deck is an odd size to fit the back section of our house. 
I came across the Toja Grid system and it was the perfect solution to the design I had in my head. Toja Grid makes heavy duty metal brackets that fit wood posts to create a modern looking pergola. The brackets can be purchased in many different kits. For our project we used the 4×4 double pergola with 2×4 roof rafters. This kit made the daunting task of building a pergola from scratch a lot more achievable!
It’s a super easy system and basically fits together like a puzzle. We used 4×4’s for the posts and 2×4’s for the slats on top. We cut our vertical 4×4 posts to fit just under the eves of our house, giving it a true custom look. Each piece of wood fits nicely into a bracket and then they all attach together with the provided screws.
                     
It took us a few hours to get the Toja Grid put together and boy was it worth it!! From the moment we stood it up and attached to the deck I was in love. It completely transformed the whole deck and gave it the cozy feel I was hoping for. 
Finally, we moved on to the finish work. We used a semi-transparent black stain that doubles as a wood water sealer. We then added some beautiful outdoor furniture, outdoor decor, plants, and some string lights across the top.
            
This was a big project but the the result was better than I could have ever imagined. We will enjoying this space for years to come!

  
If your backyard is screaming for a Toja Grid like mine was I have a great limited time discount offer to pass along to you all. Use code: GREYBIRCH to save 10% off your entire purchase from July 7th- July 21st!!
Before
After

-Grey Birch Designs-


Porch Remodel

Collaborations

read more

Your front porch is such an important part of your home but it is often overlooked. It’s the first impression people get when they come to your home and it sets the tone for what to expect inside. When I recently designed my porch I wanted it to represent my interior style but also give off a warm and welcoming feeling when people approach our front door. I chose furniture from Grandin Road because I wanted something comfortable and stylish. They have some of the most beautiful, on trend furniture and decor around! 
For years and years I had a small wood bench on my porch that wasn’t very comfortable. I knew I wanted to change that and when I saw these big oversized chairs (Vaca Chair) I knew they would be perfect! They are super comfortable and I find myself hanging out on the porch just so I can relax in these gorgeous chairs! I paired them with some adorable black and white pillows and a cute black metal side table. Since my porch isn’t that big I picked an end table instead of a coffee table to keep the space open.

For the entire four years I have lived in my home I have struggled with keeping real plants alive on the porch. The morning sun is intense and then shady the rest of the day, making it difficult for plants and flowers to flourish. Thankfully Grandin Road has the perfect solution: their outdoor faux greenery!! I added these faux hydranjia pot fillers to these amazing wood look tall planters for the exact look I was unable to achieve with real plants. These pot filler florals are my favorite. They look so realistic without all the maintenance and expense of replacing real plants!!
 
To finish up the cozy porch I added an outdoor rug to compliment the pillows and chairs, along with a wreath on my door and a couple oversized candle holders. I’m so happy with how my porch came together and love the cozy feel of this space.

-Grey Birch Designs-

Get on the List!

sign up to the newsletter to get the latest updates