

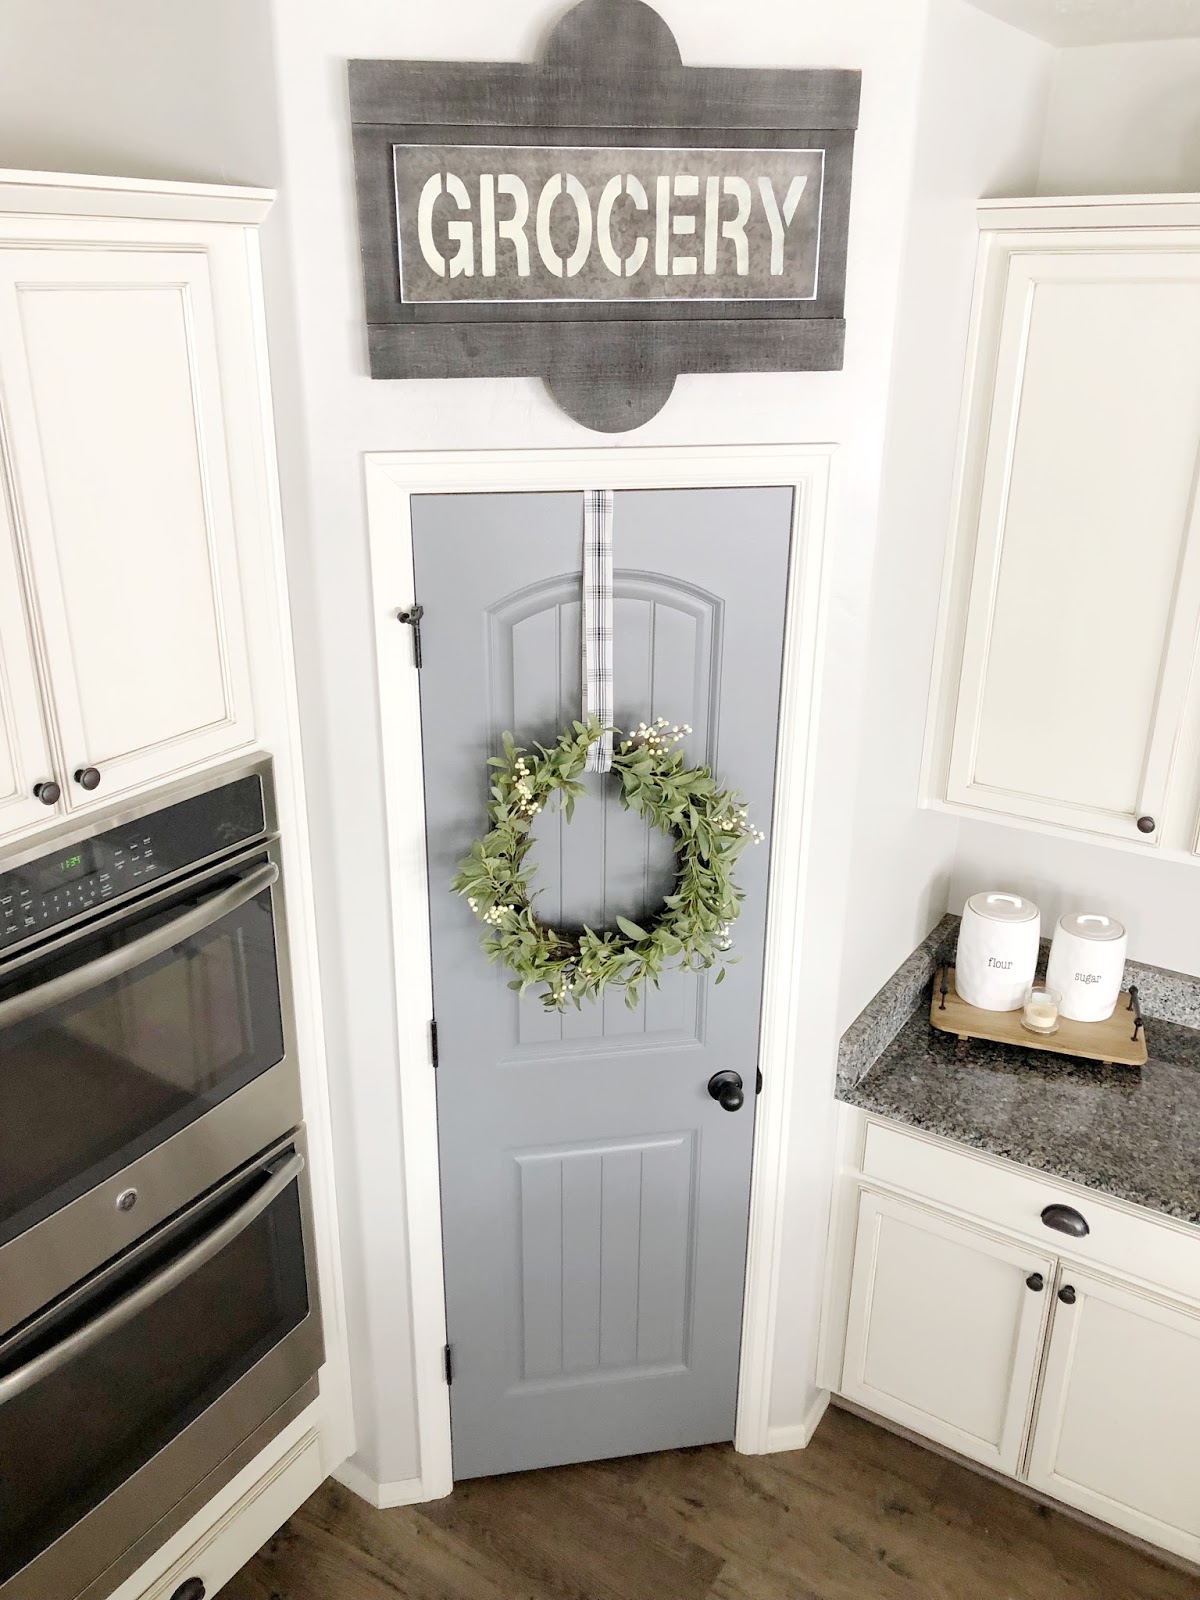
How to Paint a Door
I have heard many concerns about painting doors, but I have a few tips to help you get that perfect streak-free finish!
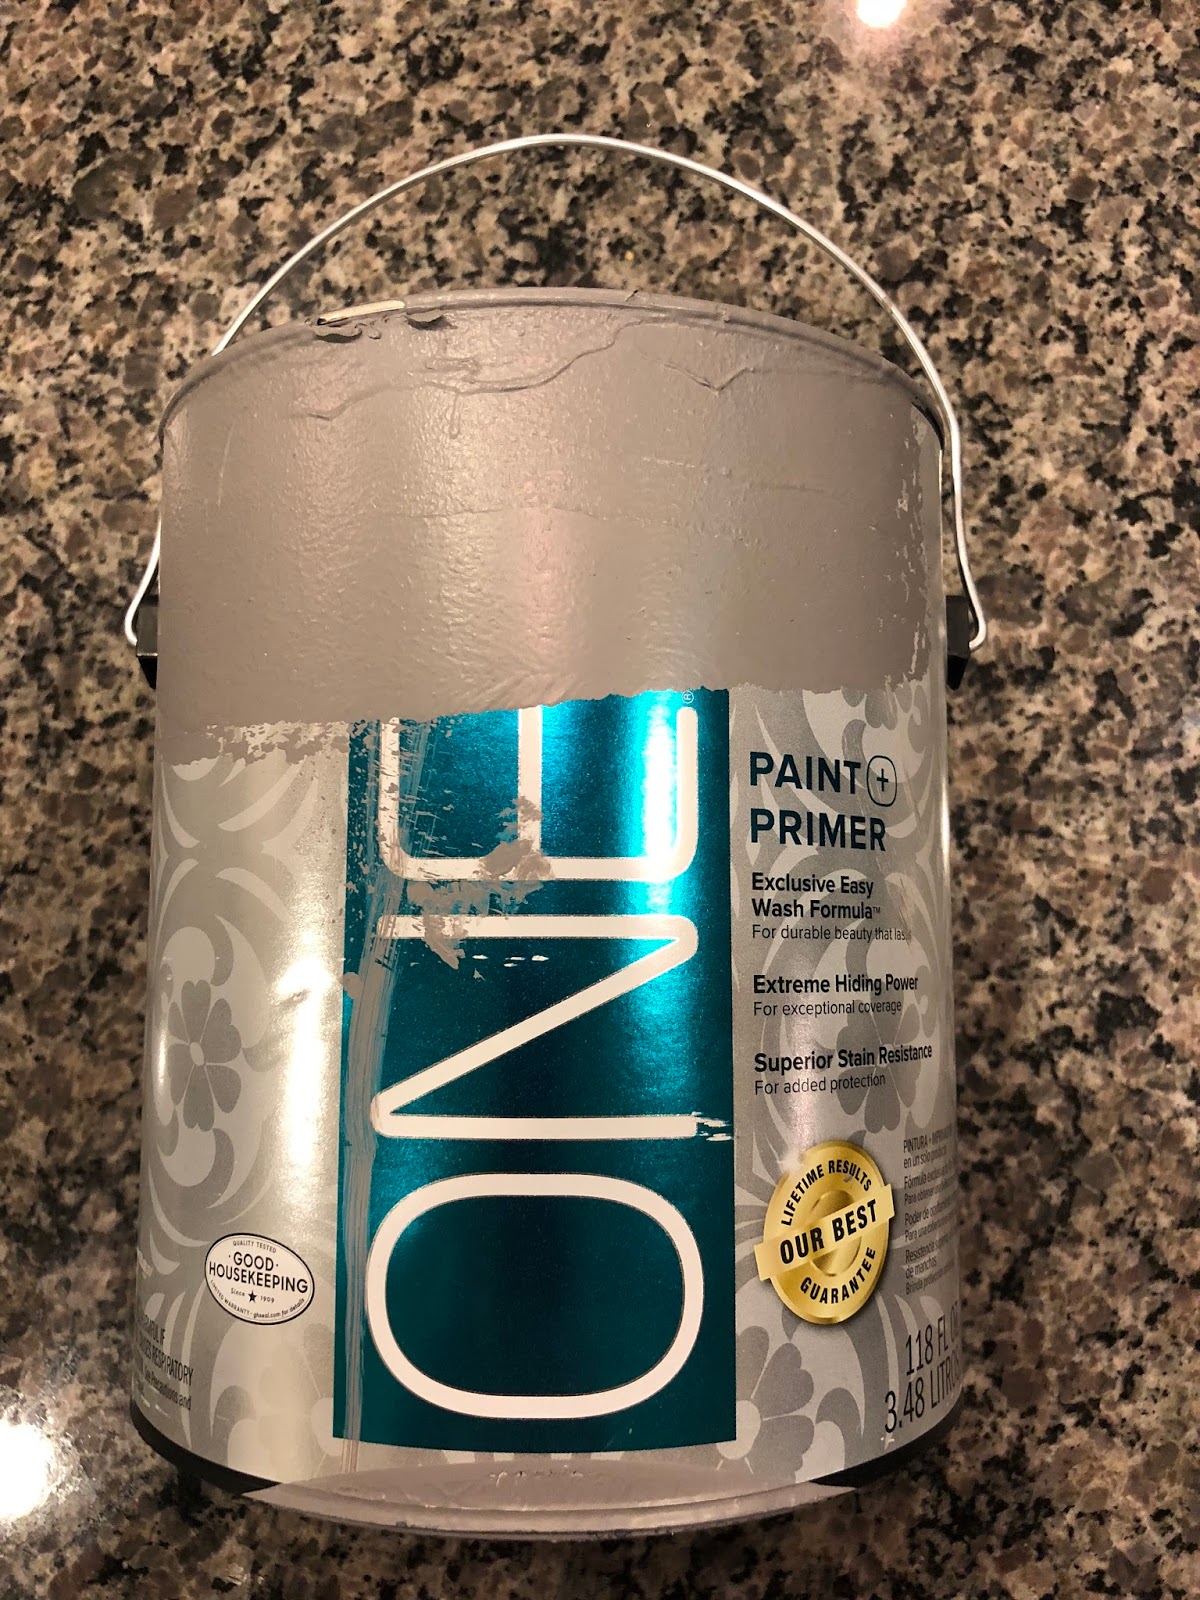
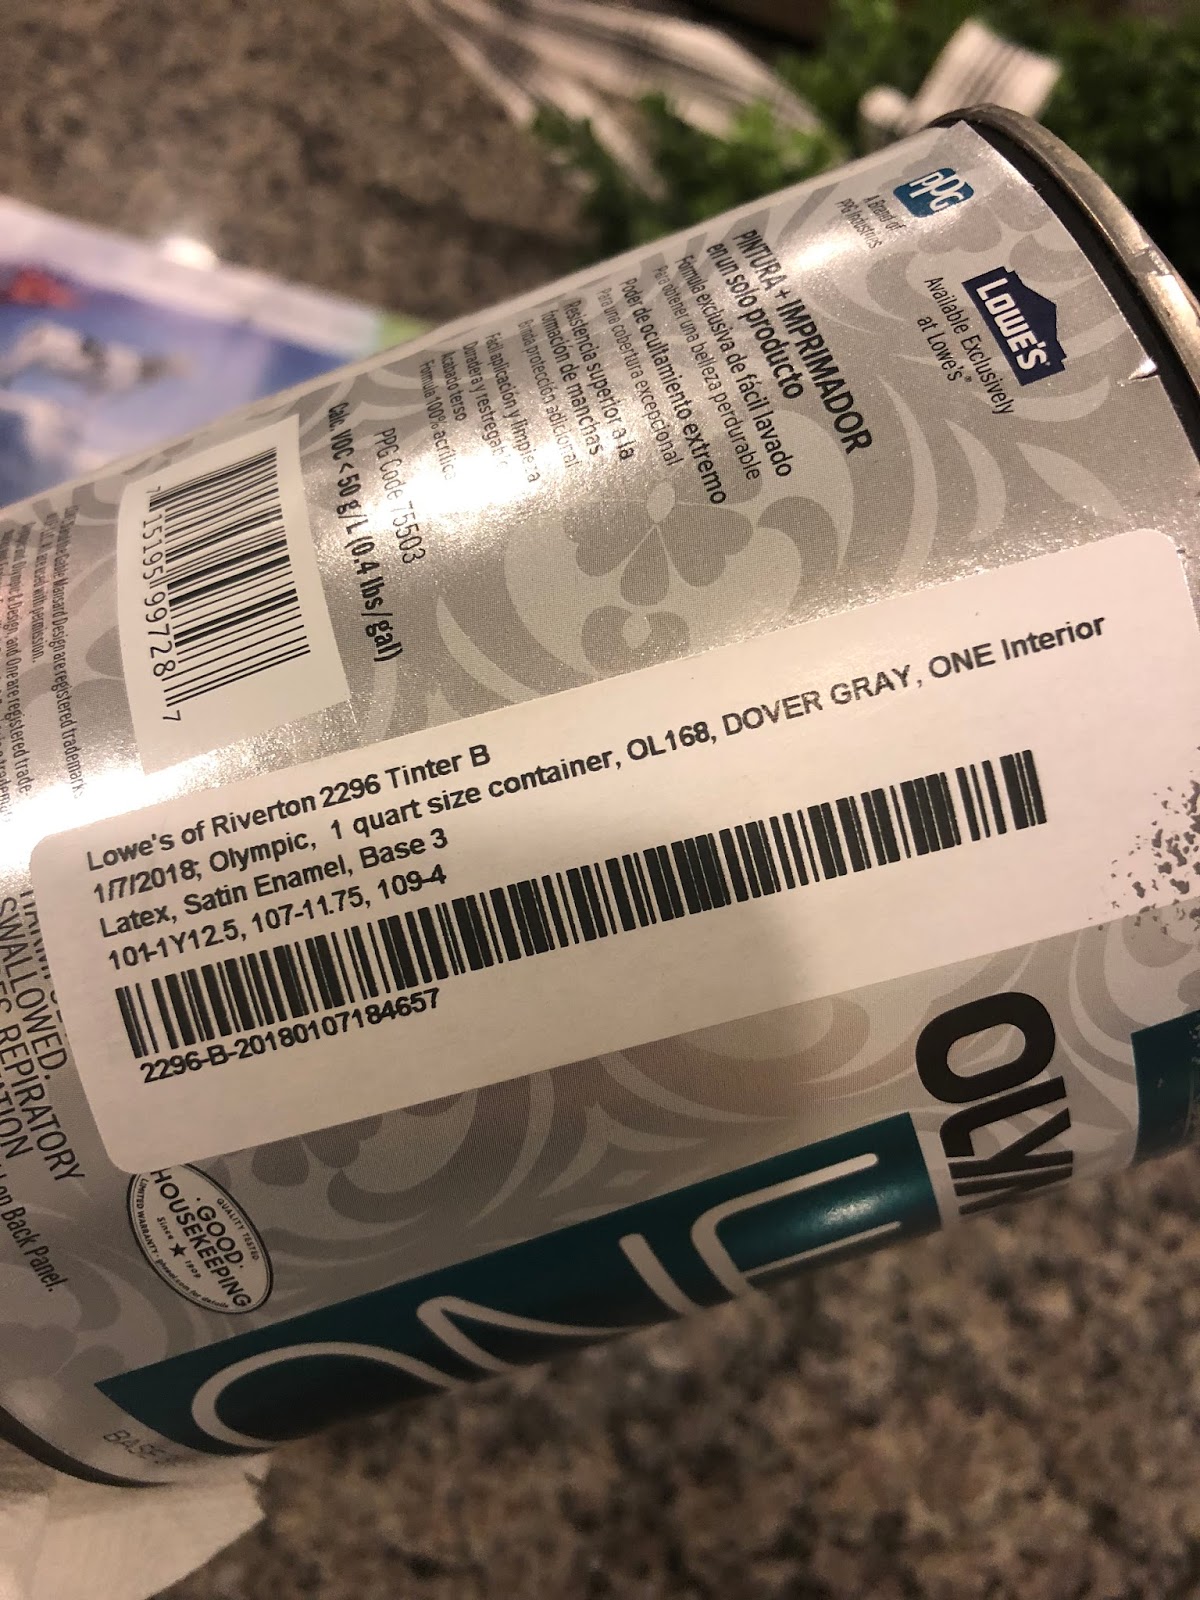
1. Lets talk paint
The most important part of any painting job is to make sure you have the right paint and supplies. I always suggest a paint+primer. This will give you the best coverage, and because the primer is already mixed in with the paint it also saves you a step, and who doesn’t love that!! Since doors are excellent dirty finger magnets, you want to make sure you can easily clean them. I use a satin finish on all my walls and doors. I find it’s much easier to clean than a flat finish but not as flashy as a semi gloss or gloss.
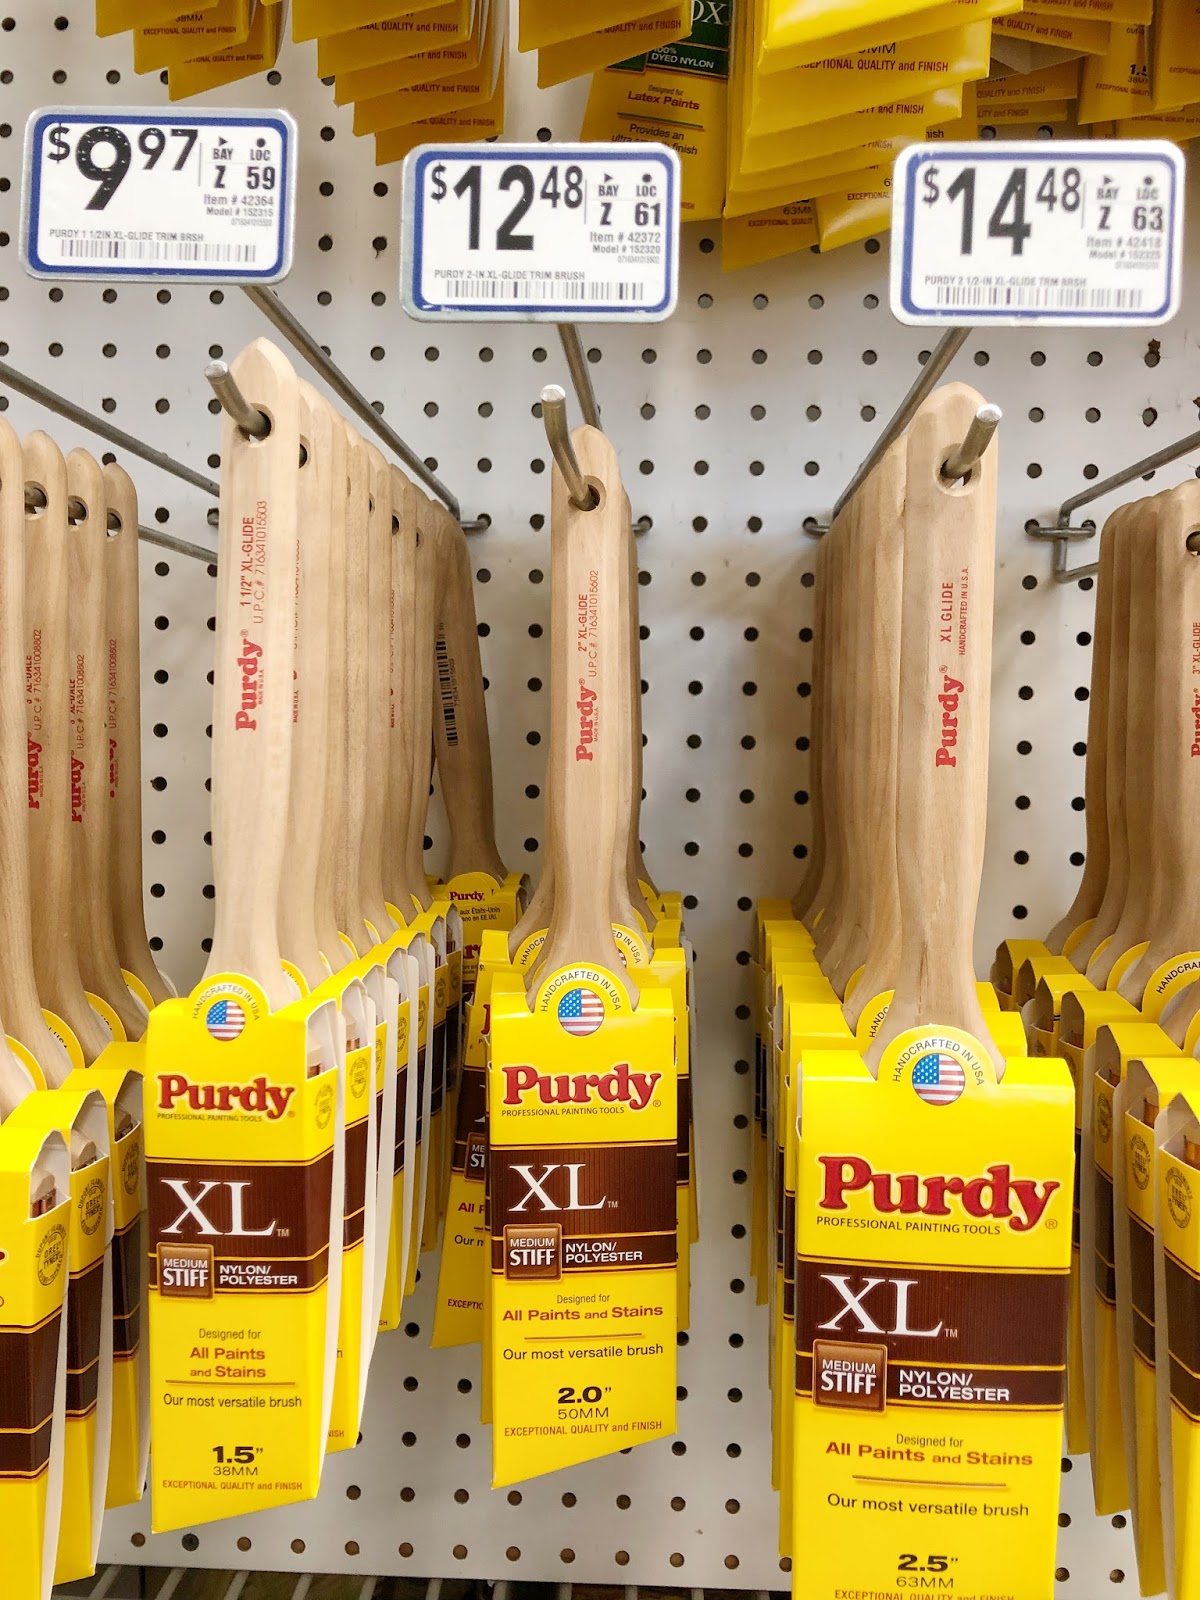
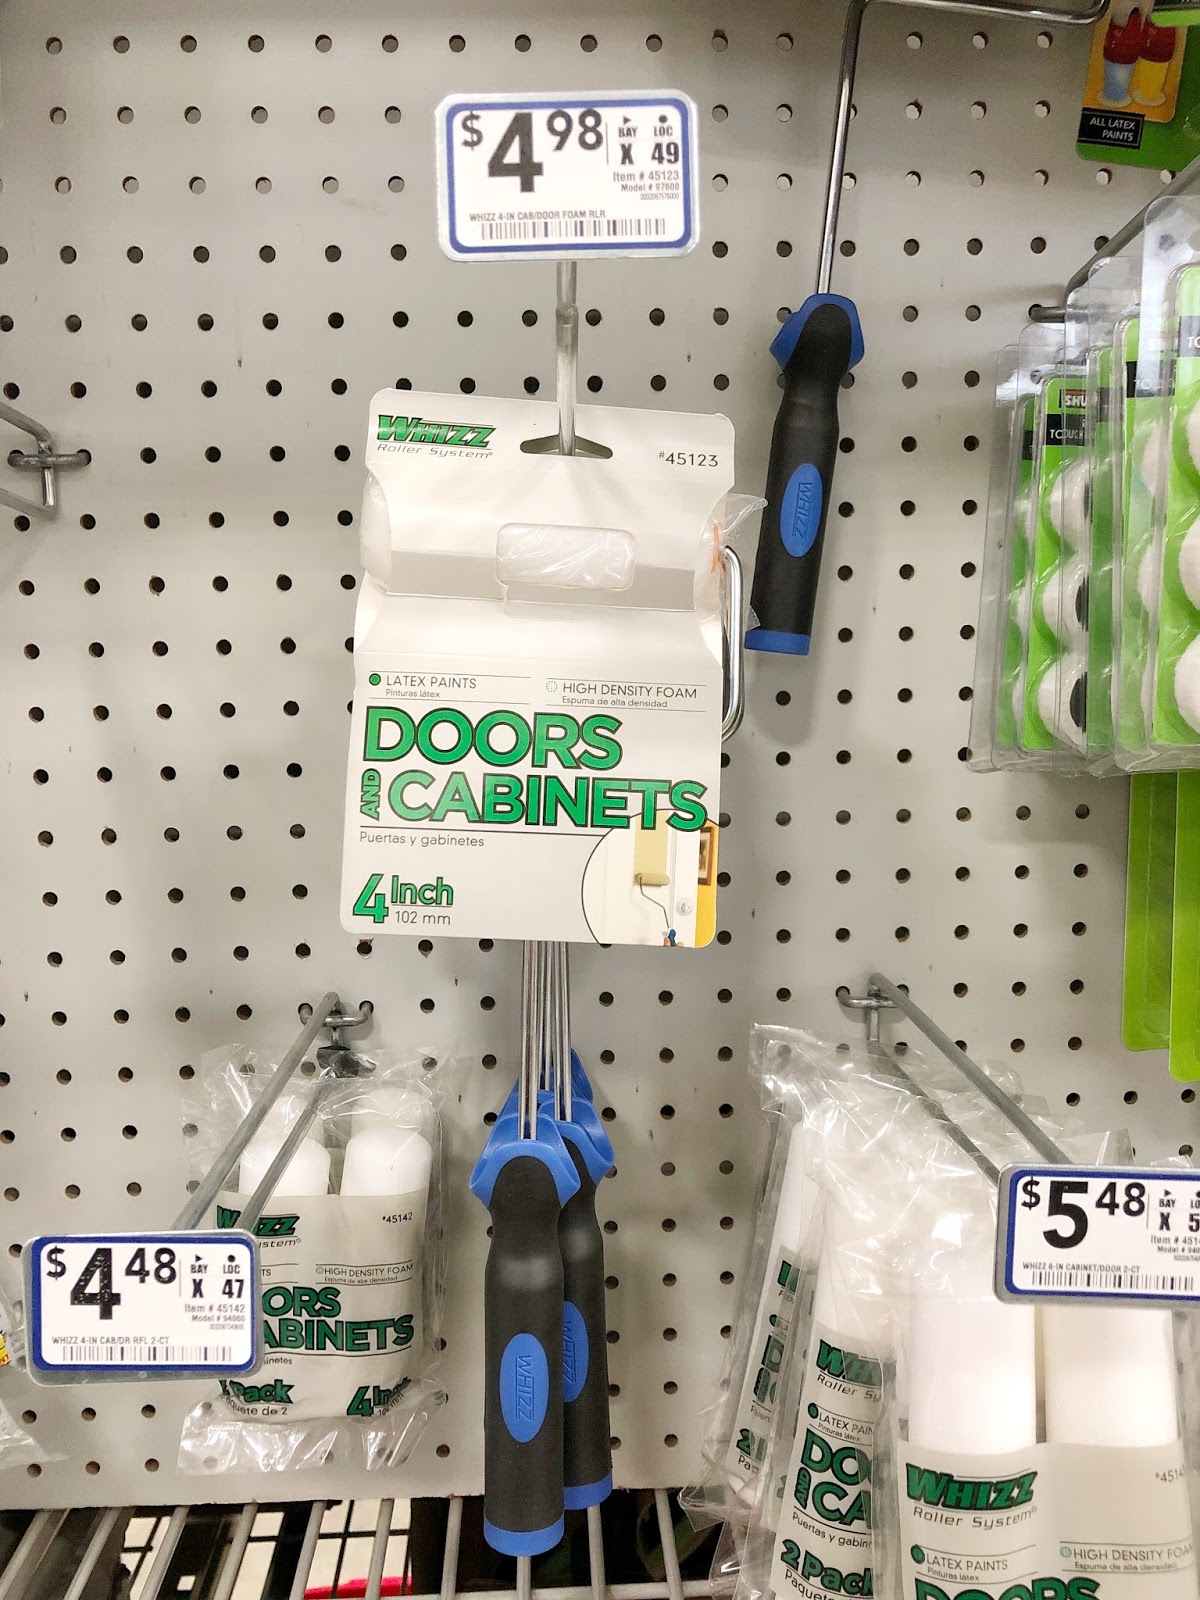
2. Supplies
For this job you will need a paint brush and a small paint roller. These items are my products of choice when I paint doors for a couple reasons. The angled brush really helps you get into those detailed areas of the door that your roller just can’t reach, and since it’s cut at an angle it gives you better control then a flat cut brush. The rollers should be low pile or foam, and small since the area you’re working with is not a large space.
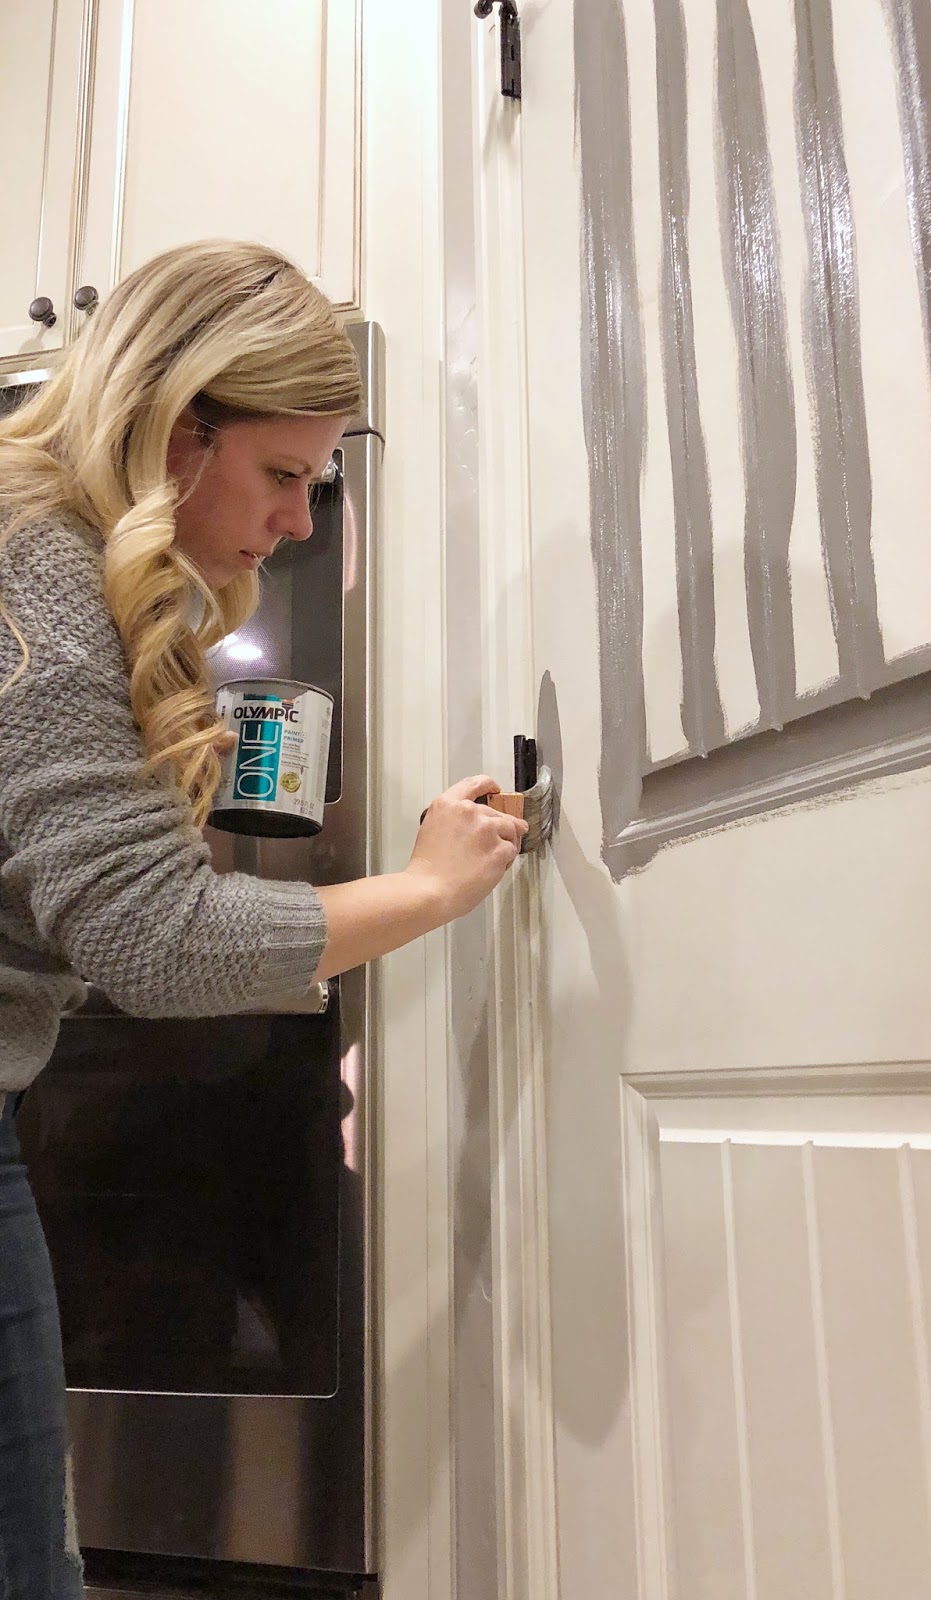
3. The Process
Before you start painting you should remove the door handles. Most handles have two screws on the inside of the door that are easily removed. I do not recommend removing the hinges as you can easily strip the wood out of the screw holes in the door. Start with your brush and trim all the tight edges where your roller won’t fit. You will generally need to do two coats on all these areas because the coverage with a brush is not as good as a roller. You also want to do this step first to avoid any brush strokes in your paint after it’s dry. I usually wait about 20-30 minutes between coats.
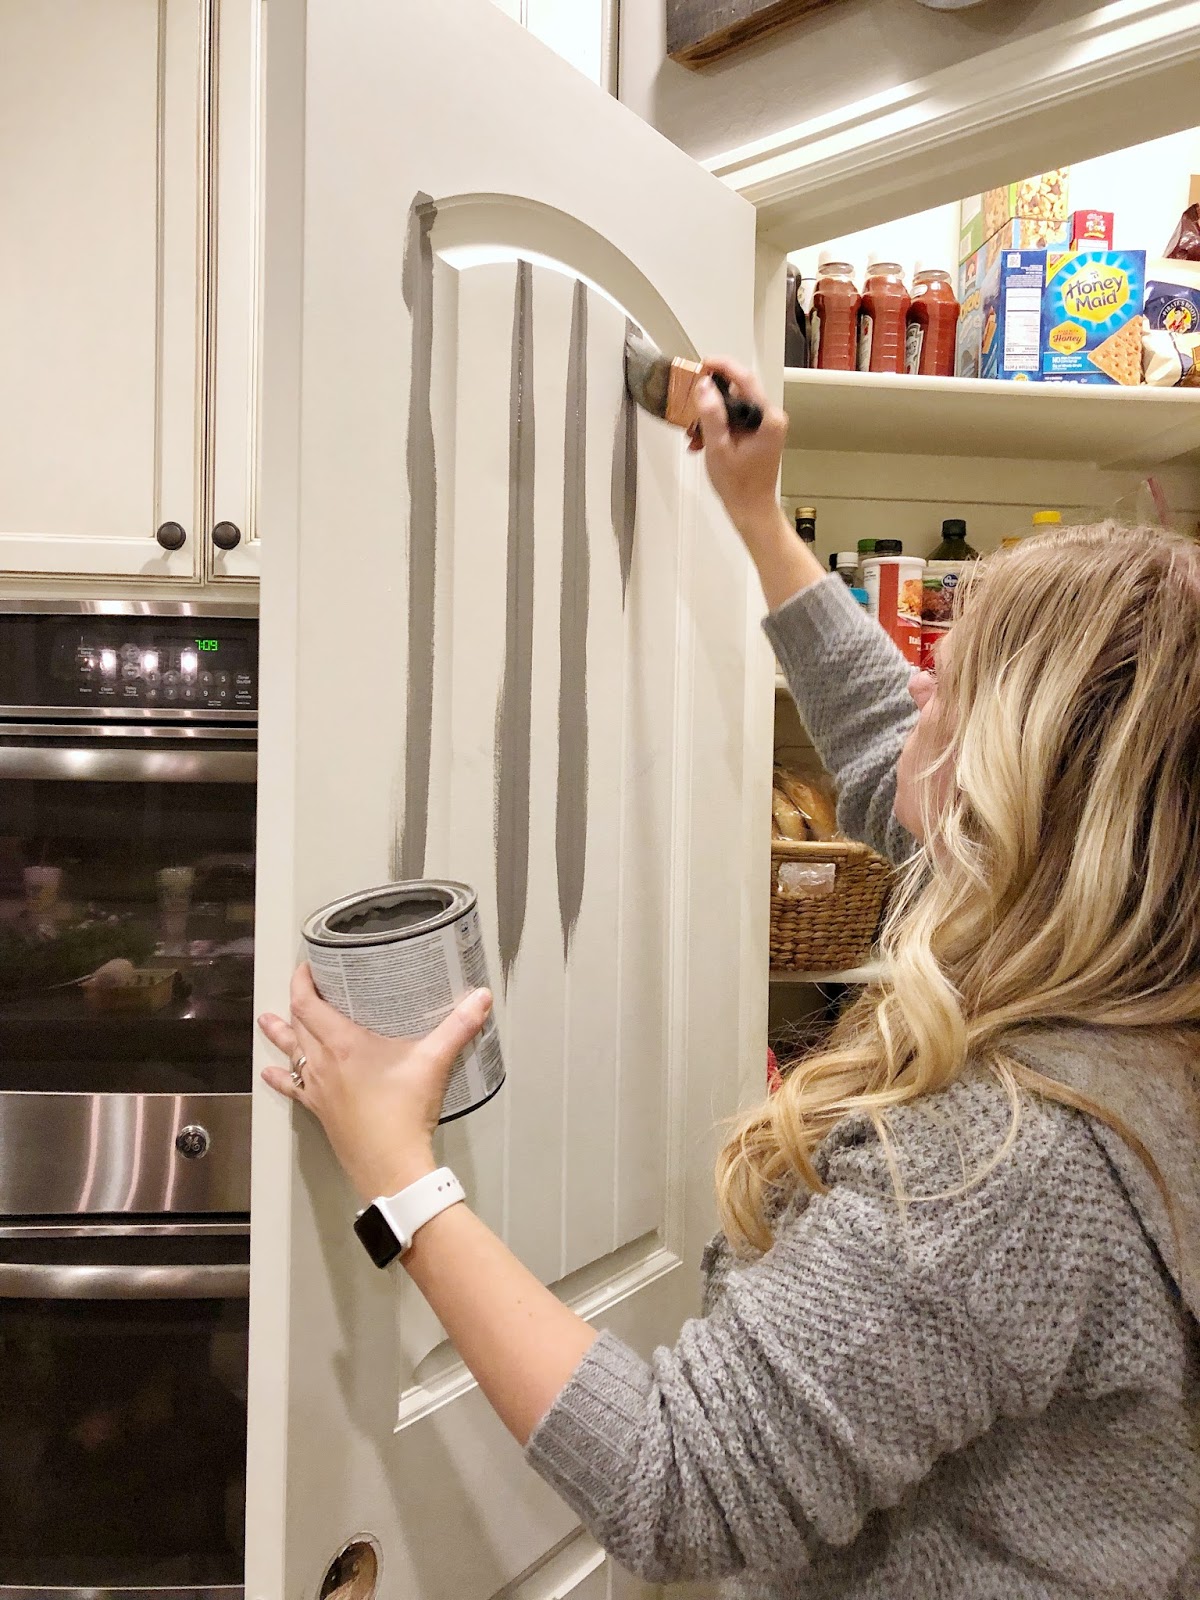
Once you are done with this step it’s time to get out that roller and finish up your door! Put a generous amount of paint on your roller and cover your door with thick even strokes. Work the roller in one direction (usually up and down), and watch out for obvious overlap or drip marks. After you’re finished, give your door the once over and check for thin areas. While your paint is wet it may look patchy, but this will disappear when it dries.

Once your door has dried overnight you can put your hardware back on and enjoy your beautiful painted door! Happy painting!!
-Grey Birch Designs-


Nice