

How to make your builder grade bathroom mirror look like a custom upgrade!
One of my favorite upgrades I have done in all the homes we have lived in is change the bathroom mirrors. It’s such a easy project and the difference it makes is huge!
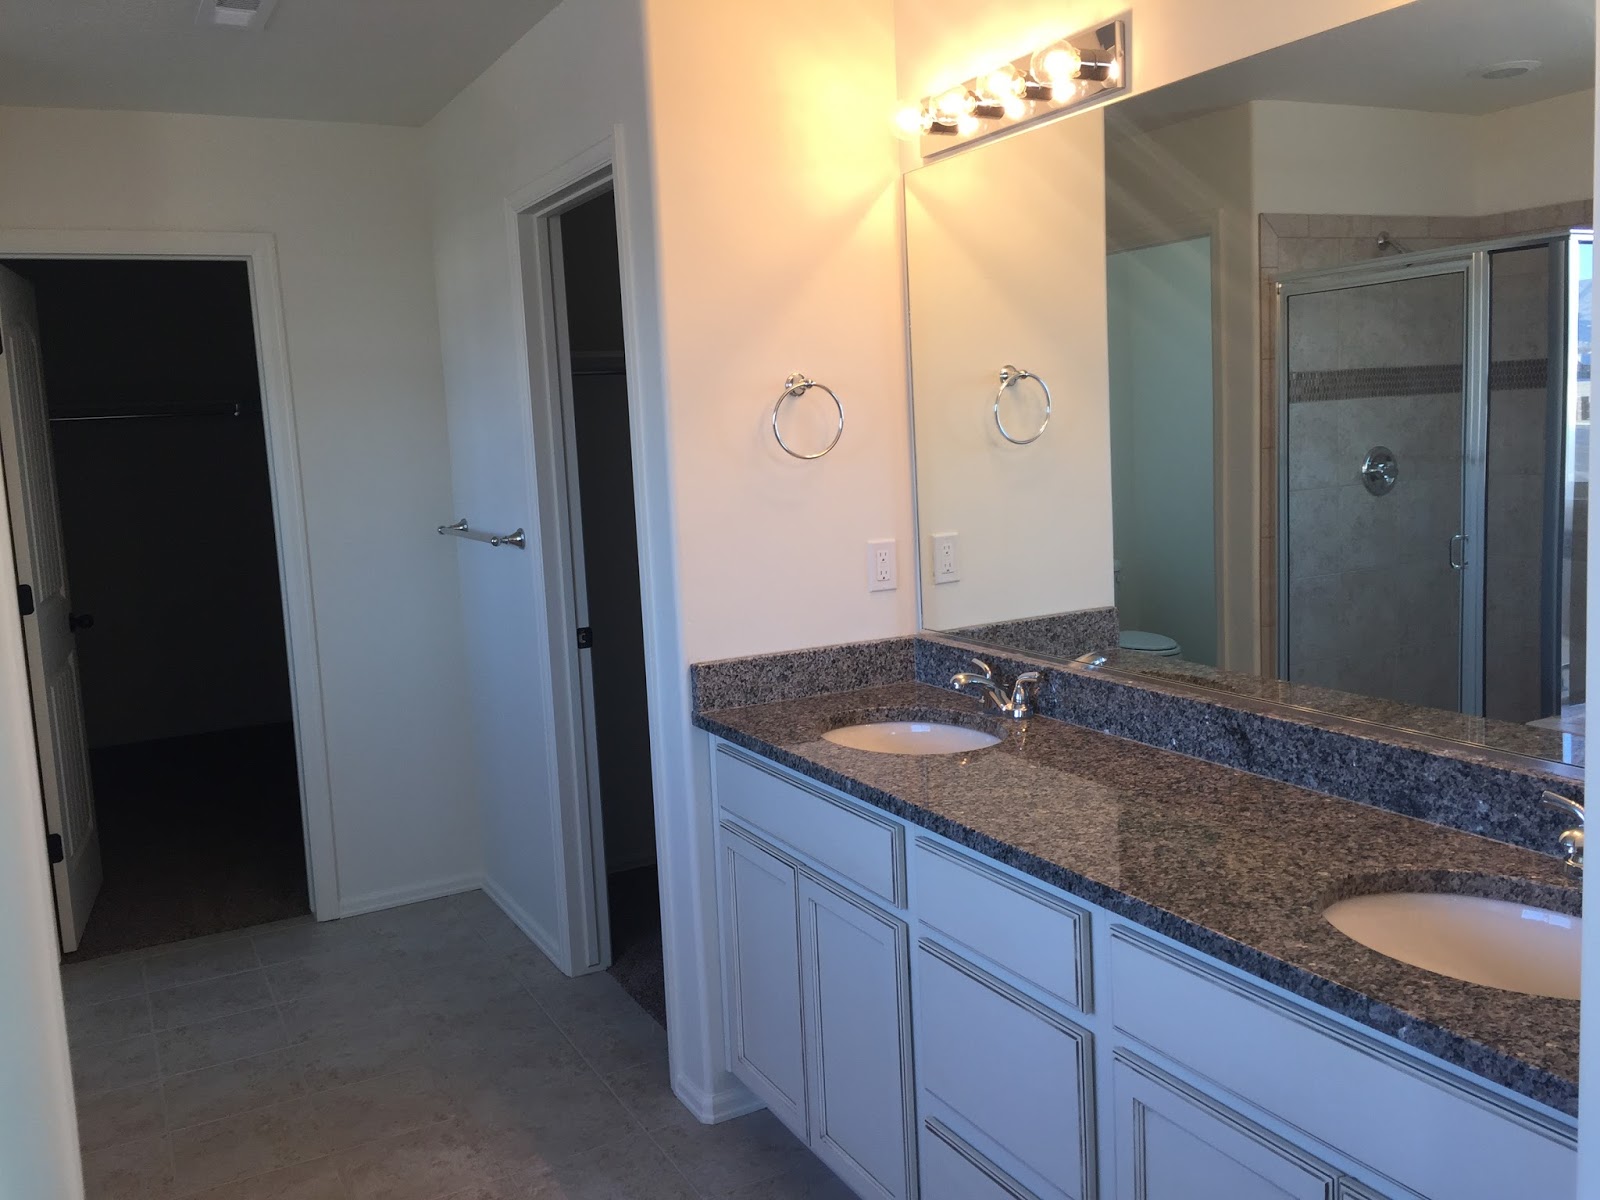
In the past I have ripped down the builder grade mirror and just bought a nice mirror and hung that in it’s place. That works fine but it has be a pain getting the large mirror off the wall without shattering it into a million pieces……. So I have come up with a different solution and have been doing this for years!
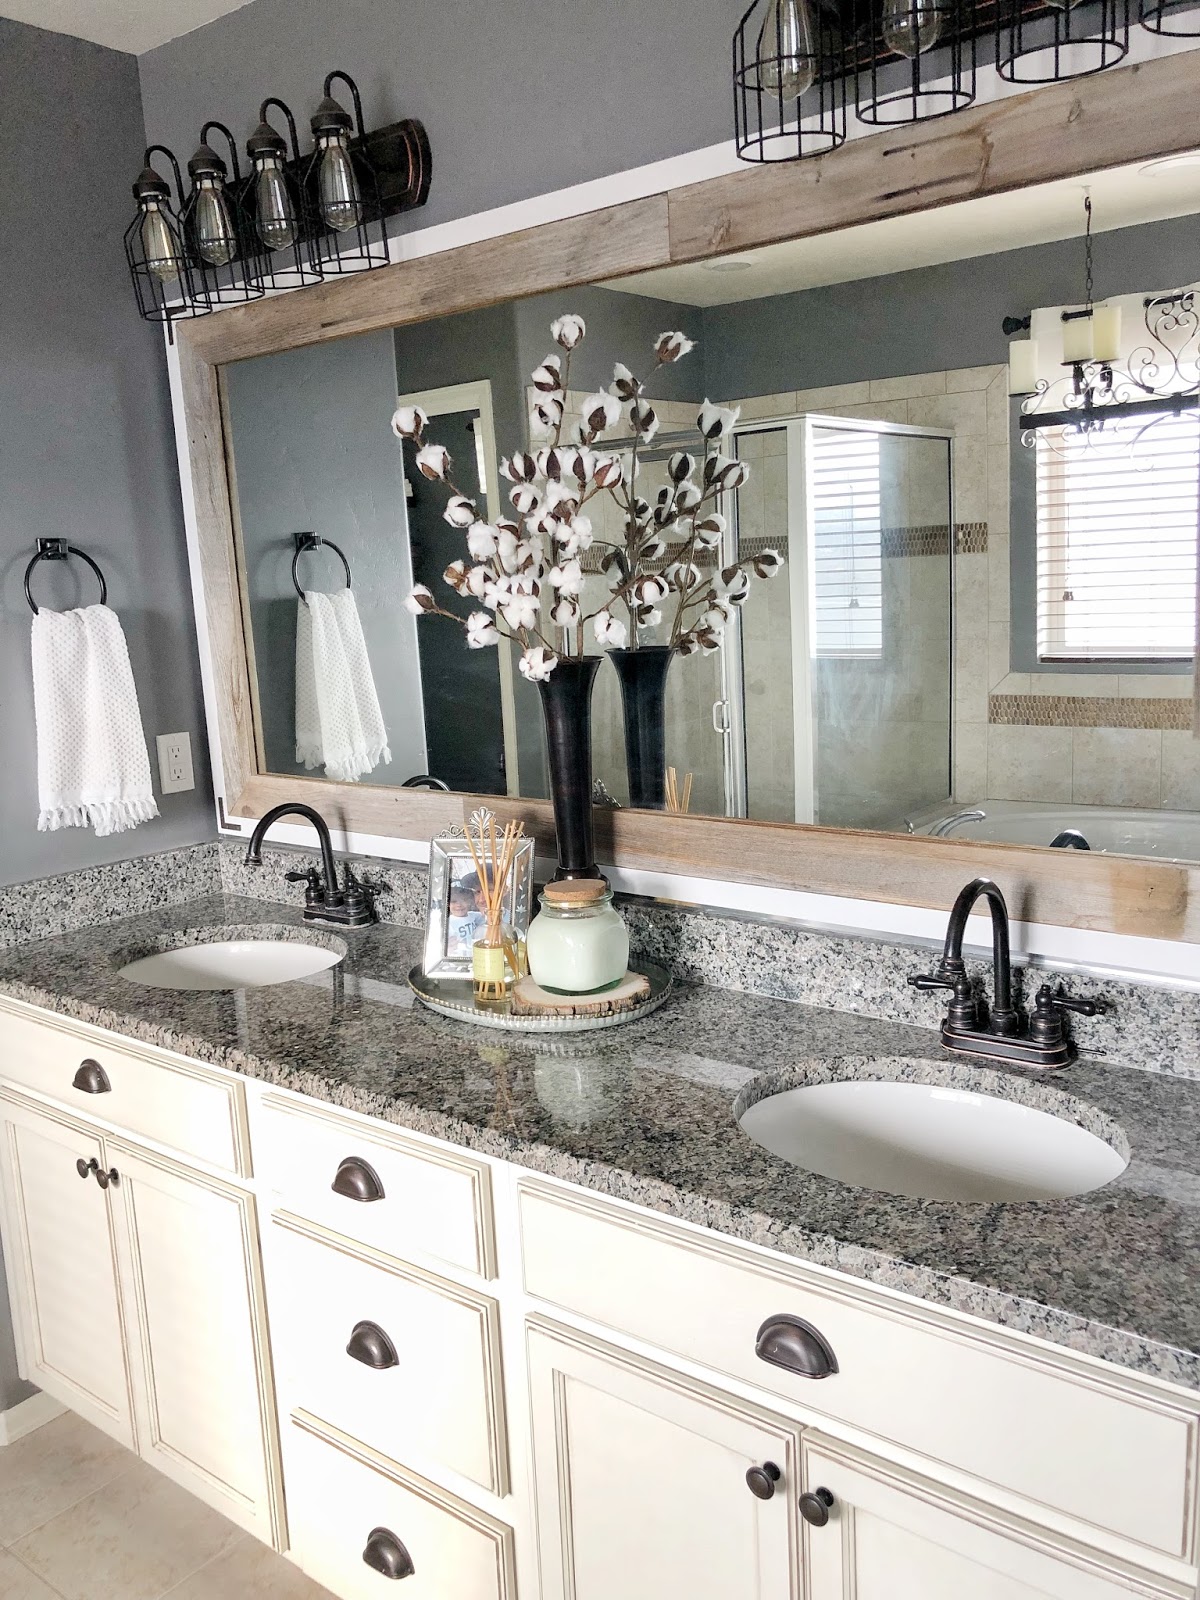
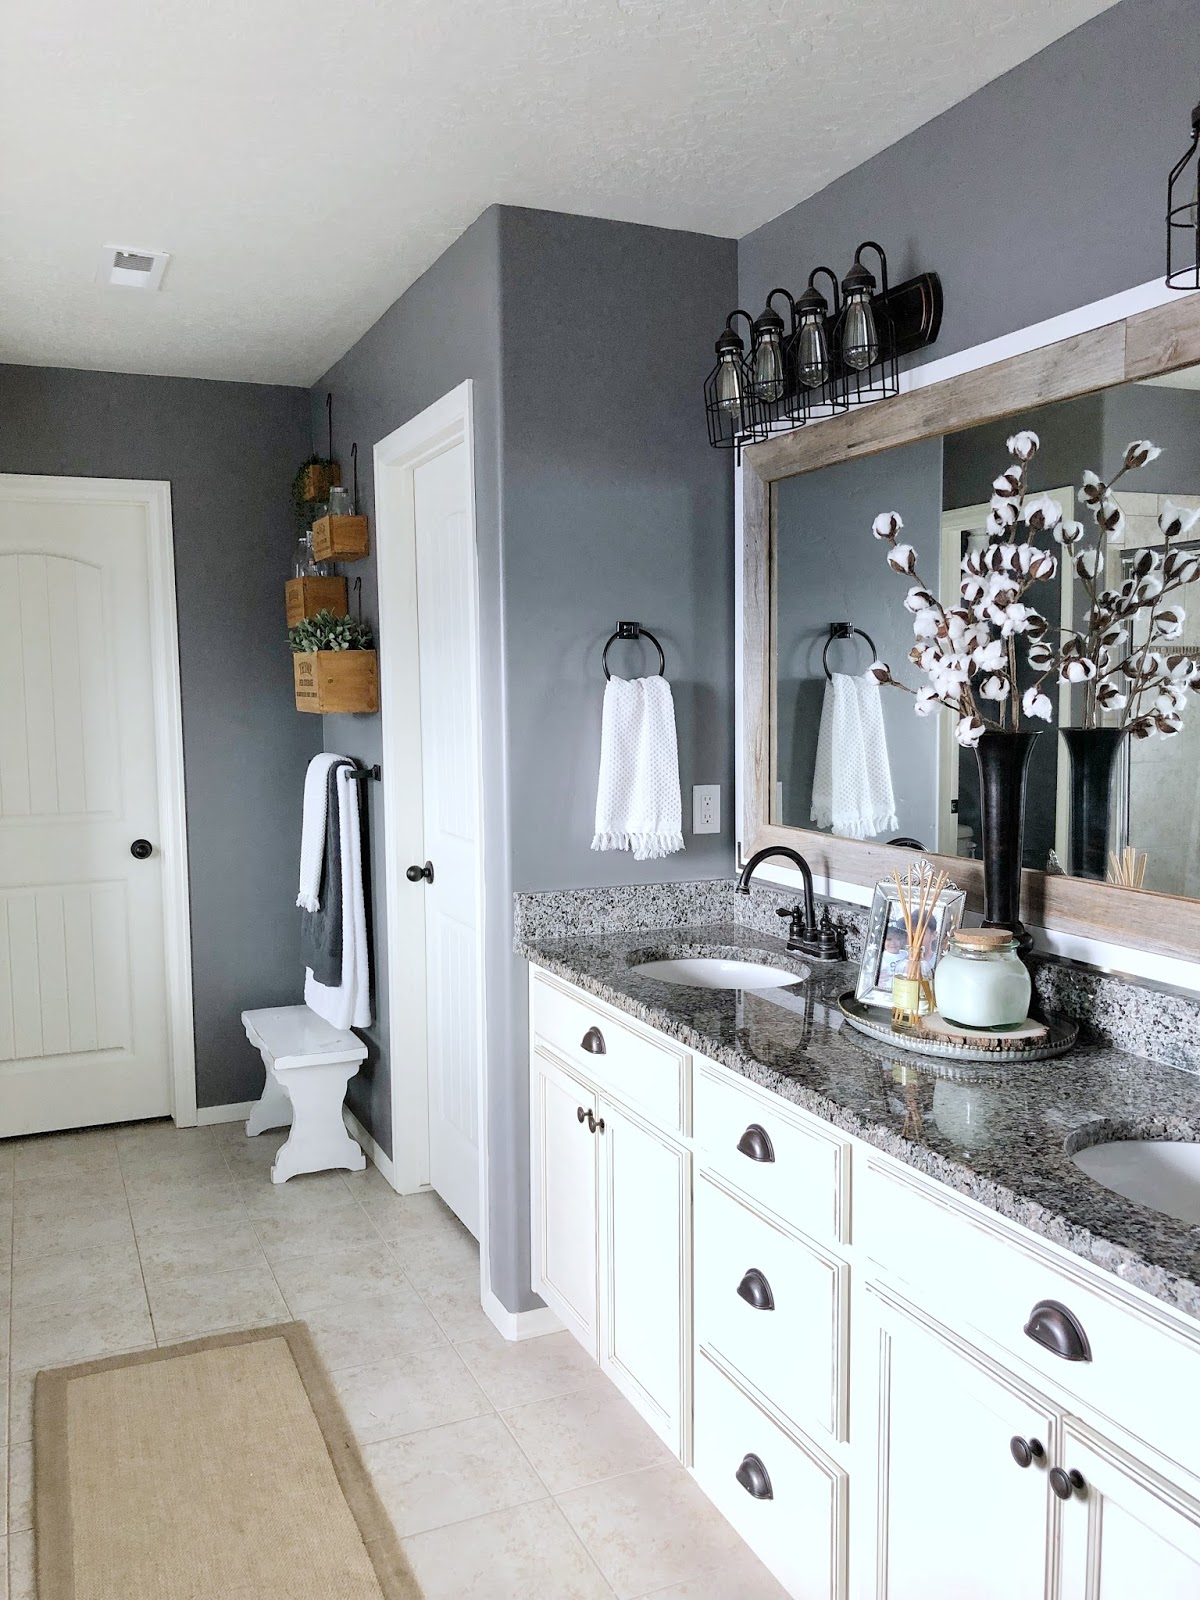
I frame it!! So easy, right?? I decided to do the ones in our new house with reclaimed wood and some white trim. I then added a metal bracket on the corners just to give it a little more interest. This project is so quick, maybe an hour start to finish, and what a difference it makes in your bathroom!
Here is a little before and after
To do this project you will need the following:
-Wood of your choosing
–Corner Brackets (optional)
–Impact Driver or Screwdriver (if using the corner brackets)
I get asked about the lights over our mirror all the time so if you are interested in those as well I will link then here!
The light bar I found at Lowe’s (I could’t find the same one online to link it, but its just the light bar. It doesn’t come with light covers or light bulbs)
Step 1:
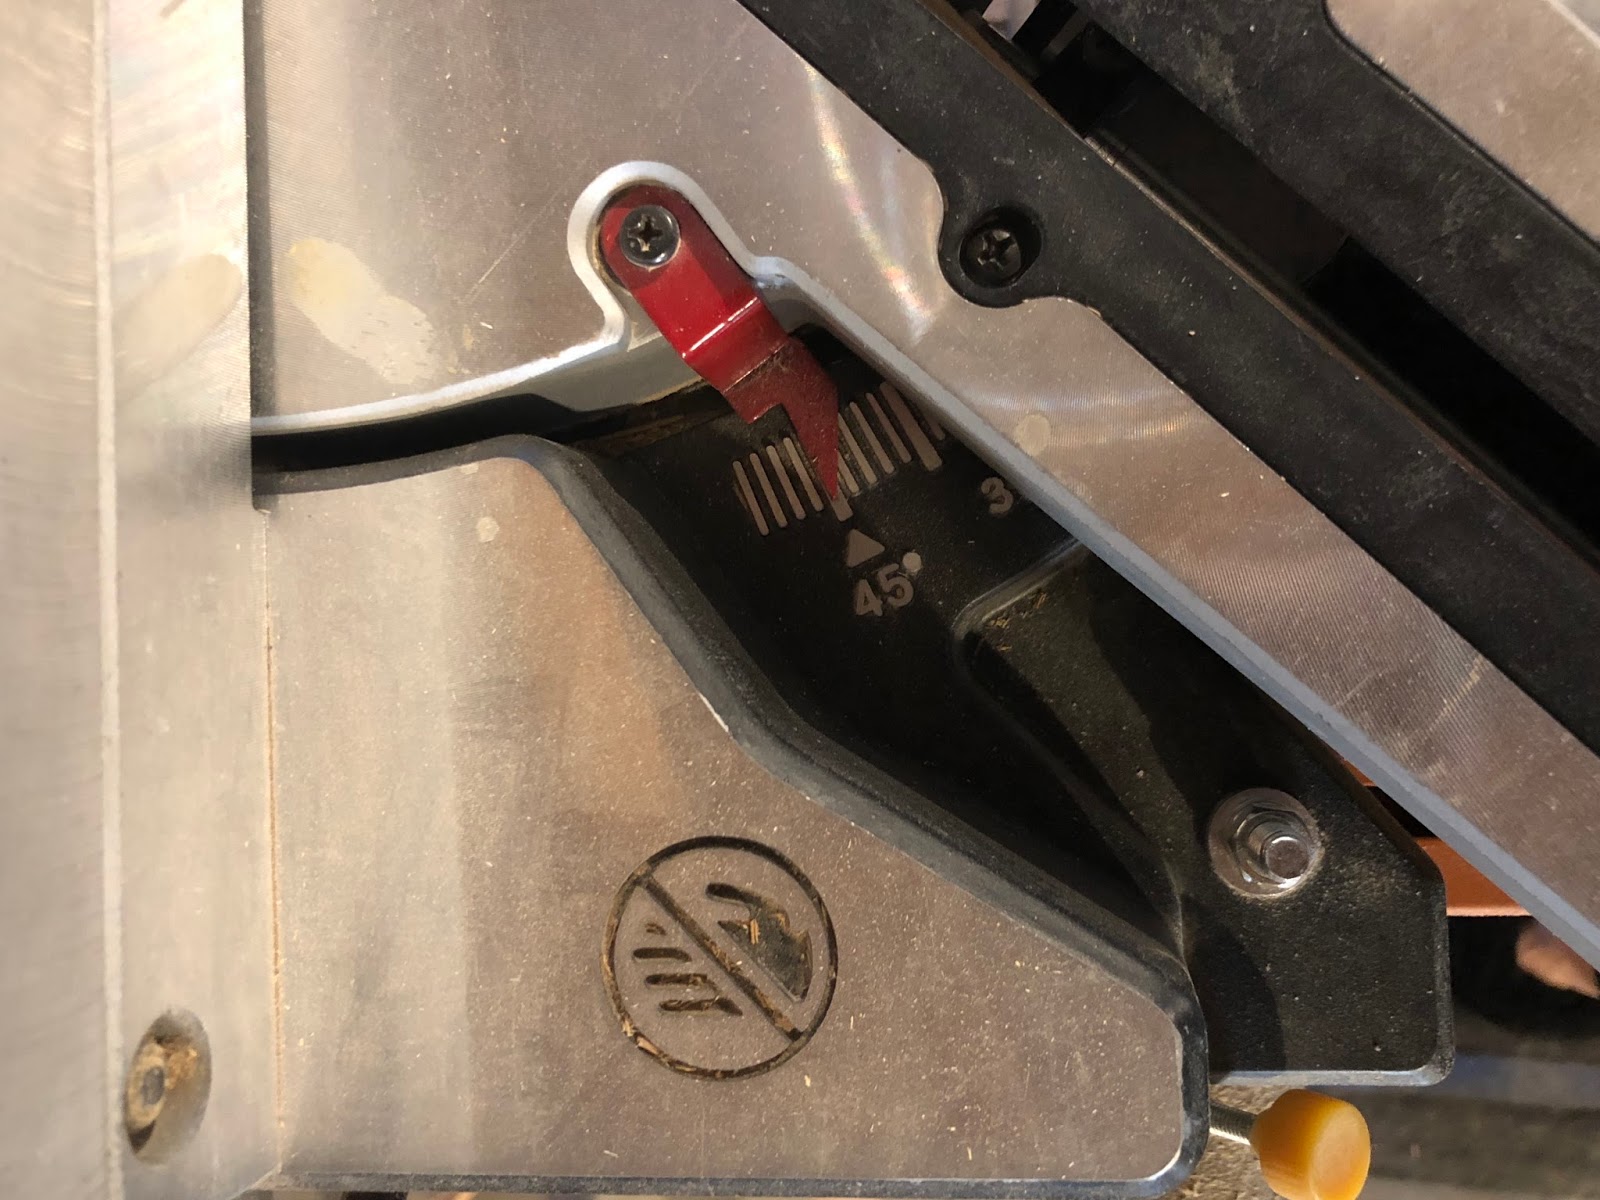
Mesure the the length and height of your mirror so you know how long to cut the boards. Once you have those measurements then cut your wood at a 45 degree angle on your miter saw so that the corners each meet up at a 45 degree angle. This takes a little bit of time and patience. If you don’t have much experience cutting wood I recommend cutting the boards longer than needed and slowly cutting them down until they fit.
Step 2:
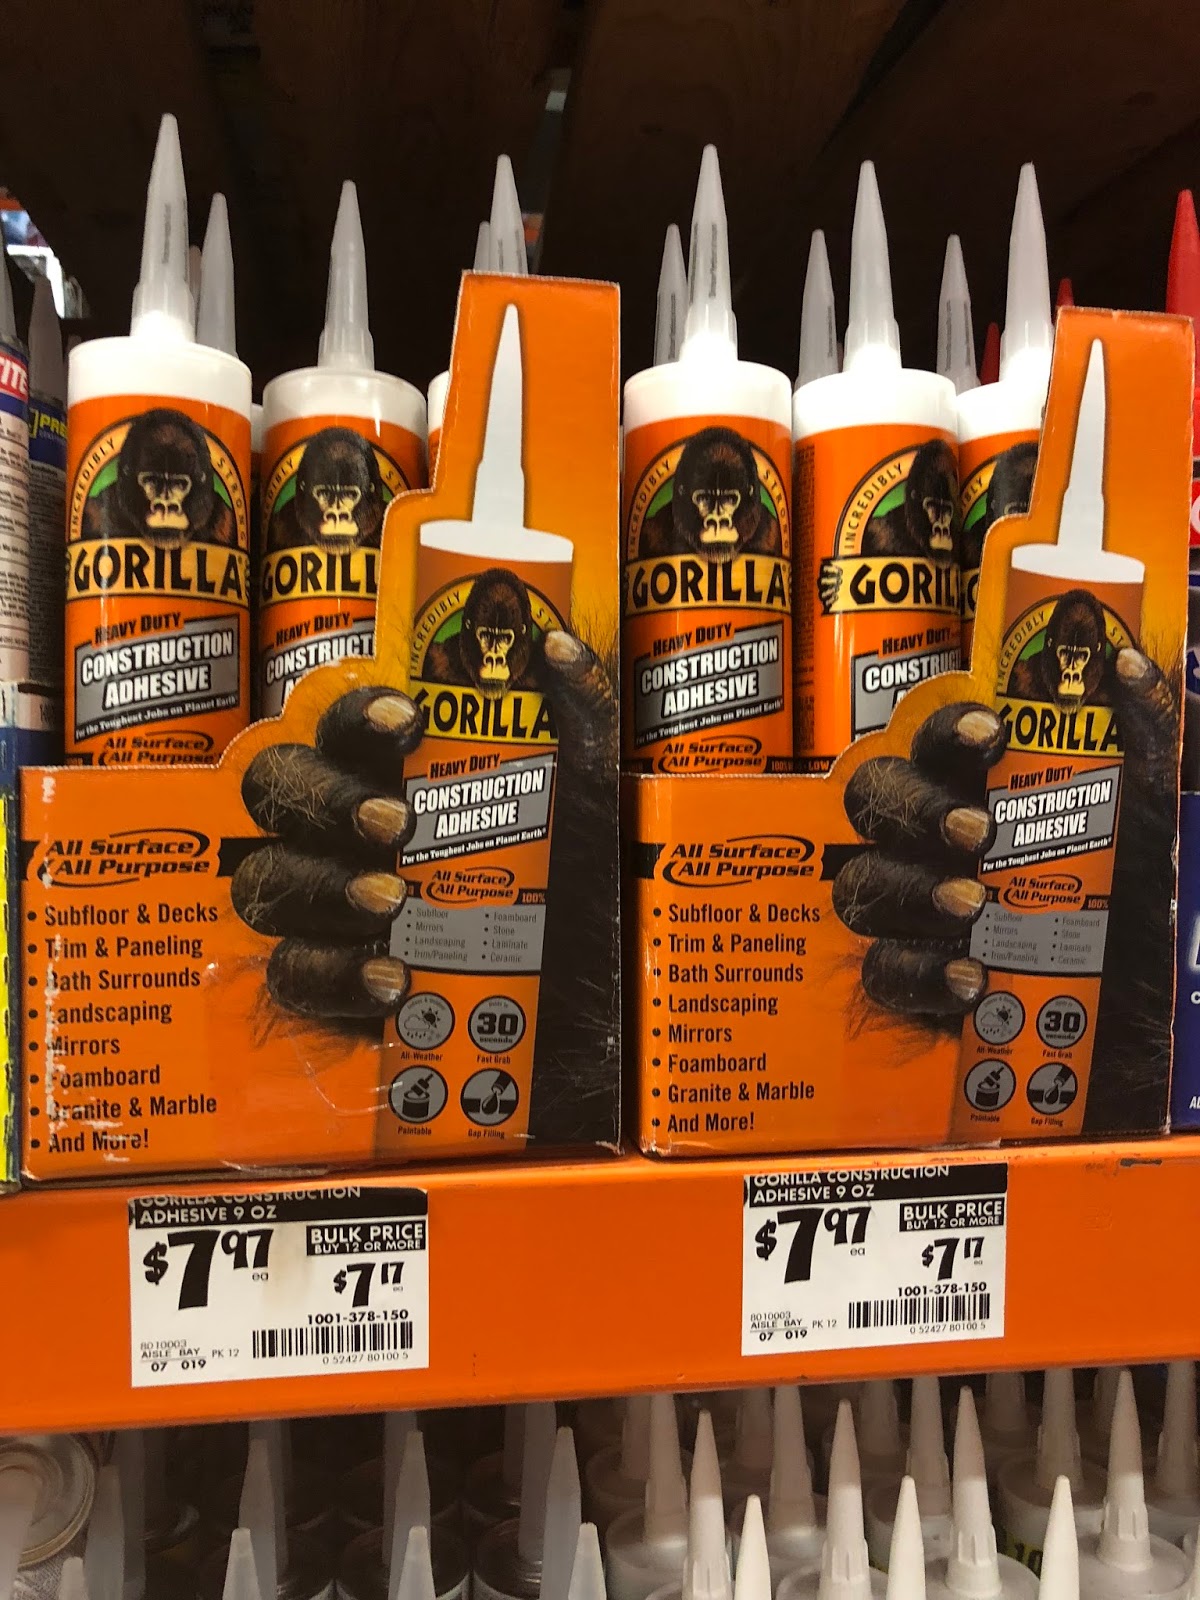
Now that you have cut all your wood its time to put it up on your mirror. Start on the top and put a good amount of the clear adhesive on the back of the wood and stick it directly to the mirror. Then place a few clamps to hold it in place. Work your way around your mirror repeating this step until your mirror is completely framed. I use the Gorilla brand adhesive because it has a fast grab time. I have used others before and the wood has fallen off even after 24 hours with clamps holding it. This one grabs fast and holds strong!
Step 3:
If your not doing the metal braces on the corners your done!! If you are nows the time to put them on. Make sure the screws you use are shorter than the thickness of the wood. You don’t want to drive the screw through the back of the wood because you could crack the mirror. Once you have the right size screws just center them in the corners and use a drill or screwdriver to attach them to the wood, and thats it, simple right!

Hope you enjoyed this quick little tutorial, now go have fun and frame out those ugly builder grade mirrors and make them look amazing!!
-Grey Birch Designs-


Yah!! I love this!! I am going to try it!!
Oh good that makes me so happy to hear!
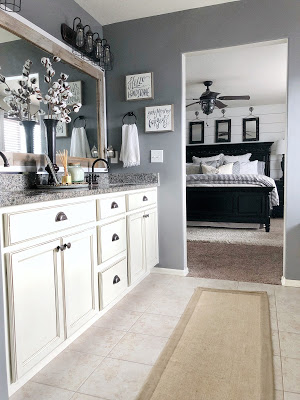
I love the look of the entire bathroom. Did you paint the cabinets? And if Yes, what color and brand of paint did you use? Also, what materials is the countertop?
No we didn't paint them they came this was from the manufacturer where we picked out all are cabinets. on the top we have granite.
im trying to figure out how you clamped them hanging up??
There is a gap between the wall and the mirror, just enough to get a clamp in!
Can you tell me the wall color? I love it!! And the mirror!!
Thank you!! It's called Dover Grey and its by Olympic
Do you have a close-up of what the corner brackets look like on the mirror? Thanks! Love this idea!
no sorry I don't but they are just silver metal L brackets!
What color stain did you use for your wood? Thanks!
It's not stained, its reclaimed wood so thats just its natural color!
What is on the other side, across from the vanity? This is pretty close to the shape of my bathroom and we are debating on a tub or no tub.
Where didyou get the light fixtures .. I love them
Here’s the link for the light cages I used!
https://rstyle.me/+aGydk61BrFybtCwdIR4sXQ
What is the white band around your wood? I love the way that looks.
It’s strips of PVC board!