


read more
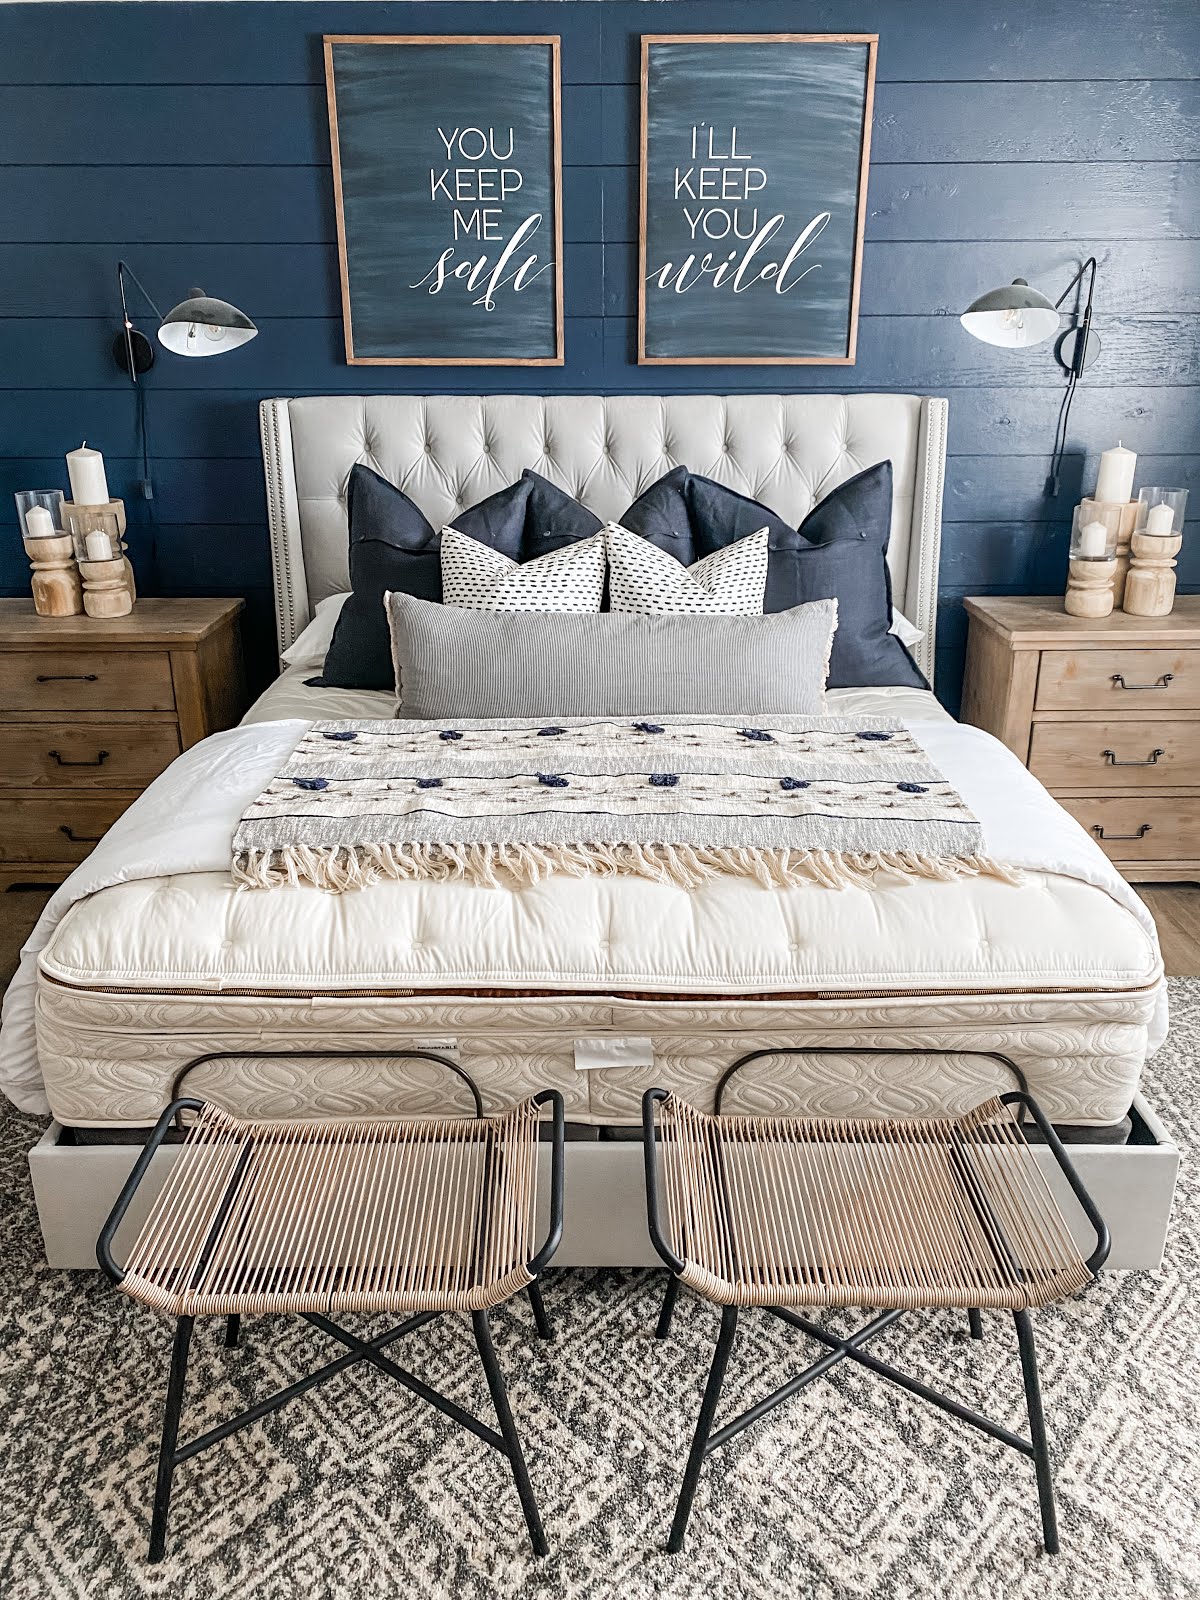
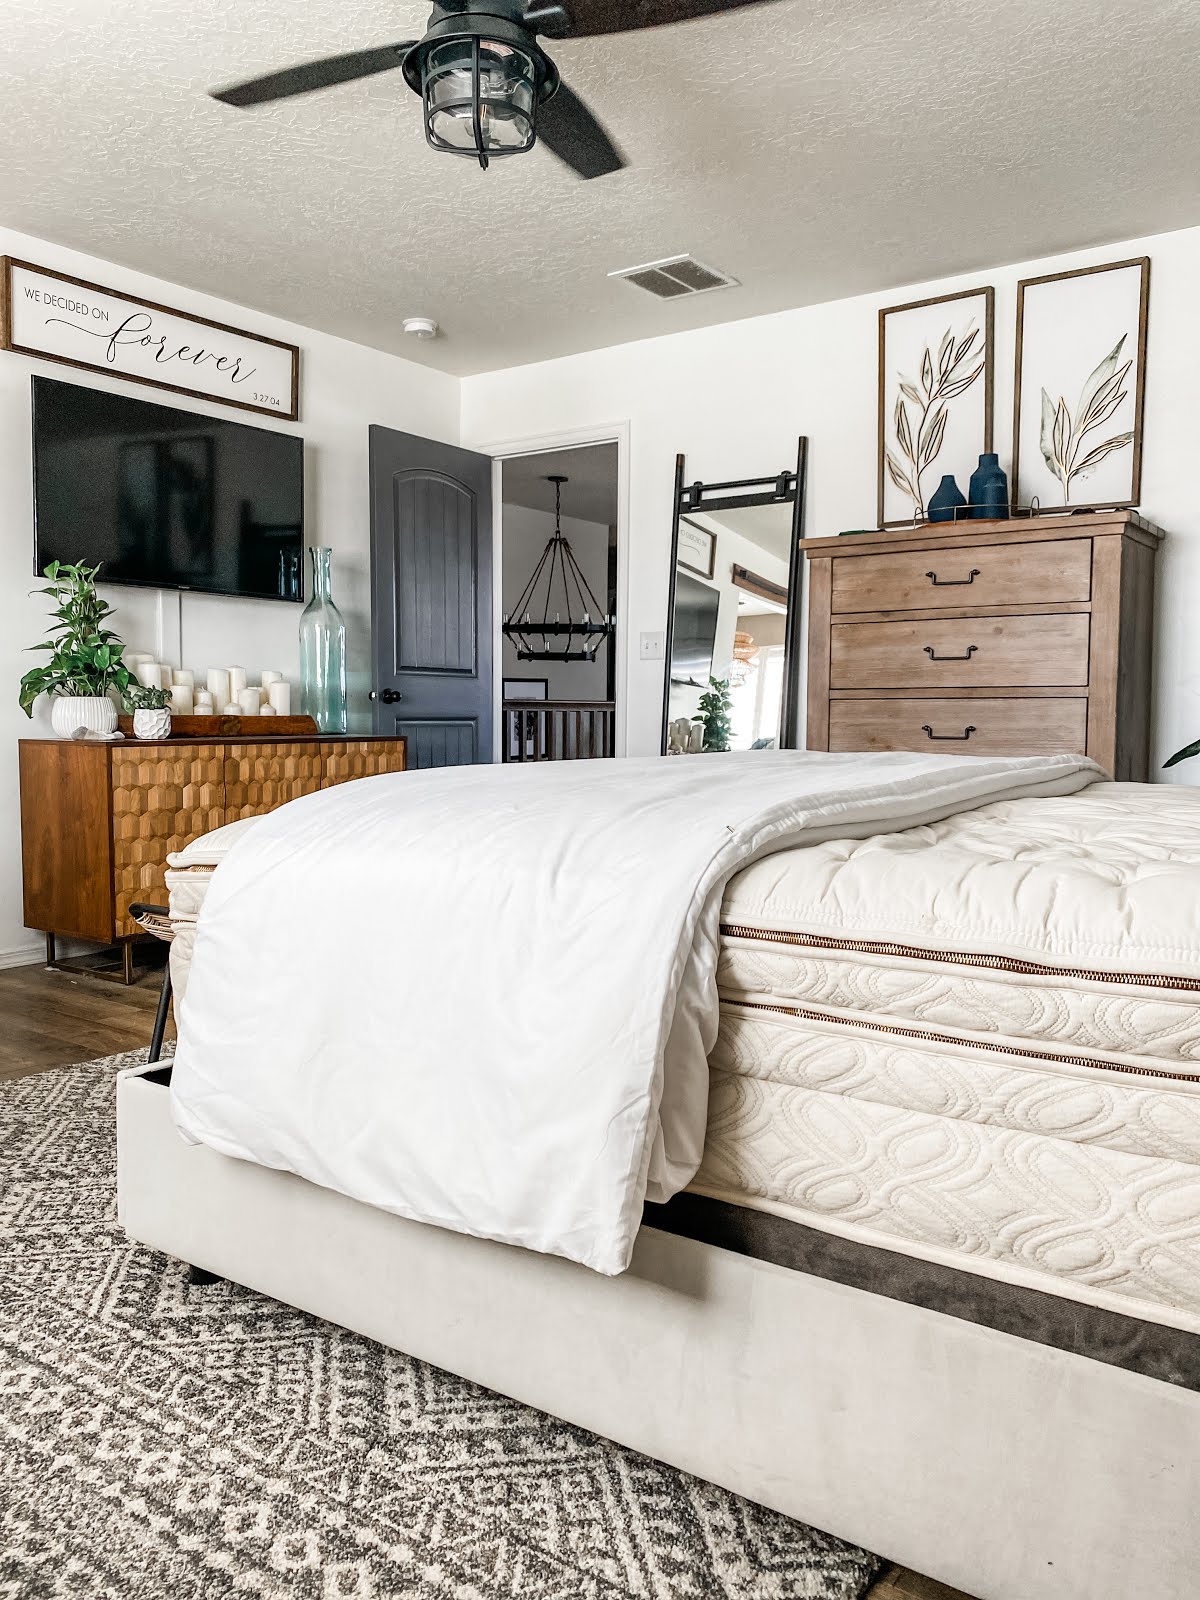
Earlier this year we made the decision to switch our whole family over to organic mattresses from Naturepedic. This has proven to be one of the best decisions we have made when it comes to our sleep. I had previously learned about all the harmful chemicals used in manufacturing traditional mattresses and this is what sparked the change. A traditional mattress has many toxic chemicals that are used in the manufacturing stage and these chemicals can build up in your body night after night as you sleep in your bed. These same chemicals have been linked to some very scary diseases and that alone was enough for me to send our old mattress flying out the window!
With these 100% organic mattresses I can sleep well knowing that our whole family is protected and can sleep healthy! The founder is a certified environmental engineer and this business was brought about due to a lack of organic mattresses on the market. He went to purchase a crib mattress for his first grandchild and couldn’t find one that was chemical free, so he made his own and that’s how Naturerpedic was born!
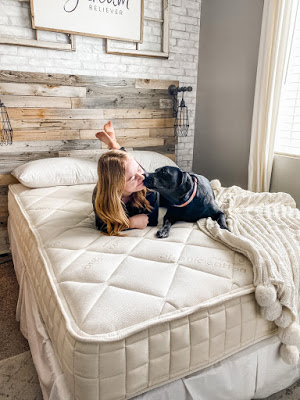
We picked the Serenade mattress in cushion-firm for our oldest child. The Serenade features a hybrid design, combining organic latex for pressure-point relief and encased coil support that gently contours your body. Our daughter absolutely loves it!!
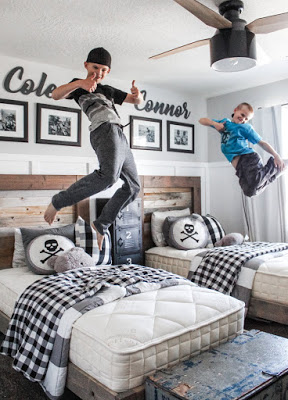
We picked out the Chorus mattress for our younger daughter and our twin boys. It’s packed with real fibers that wick away moisture and a soft microcoil comfort layer that breathes and dissipates heat efficiently for a cool and comfortable sleep. This is ideal for our boys who tend to be hot sleepers, and our daughter says it’s the most comfortable bed she has ever had!
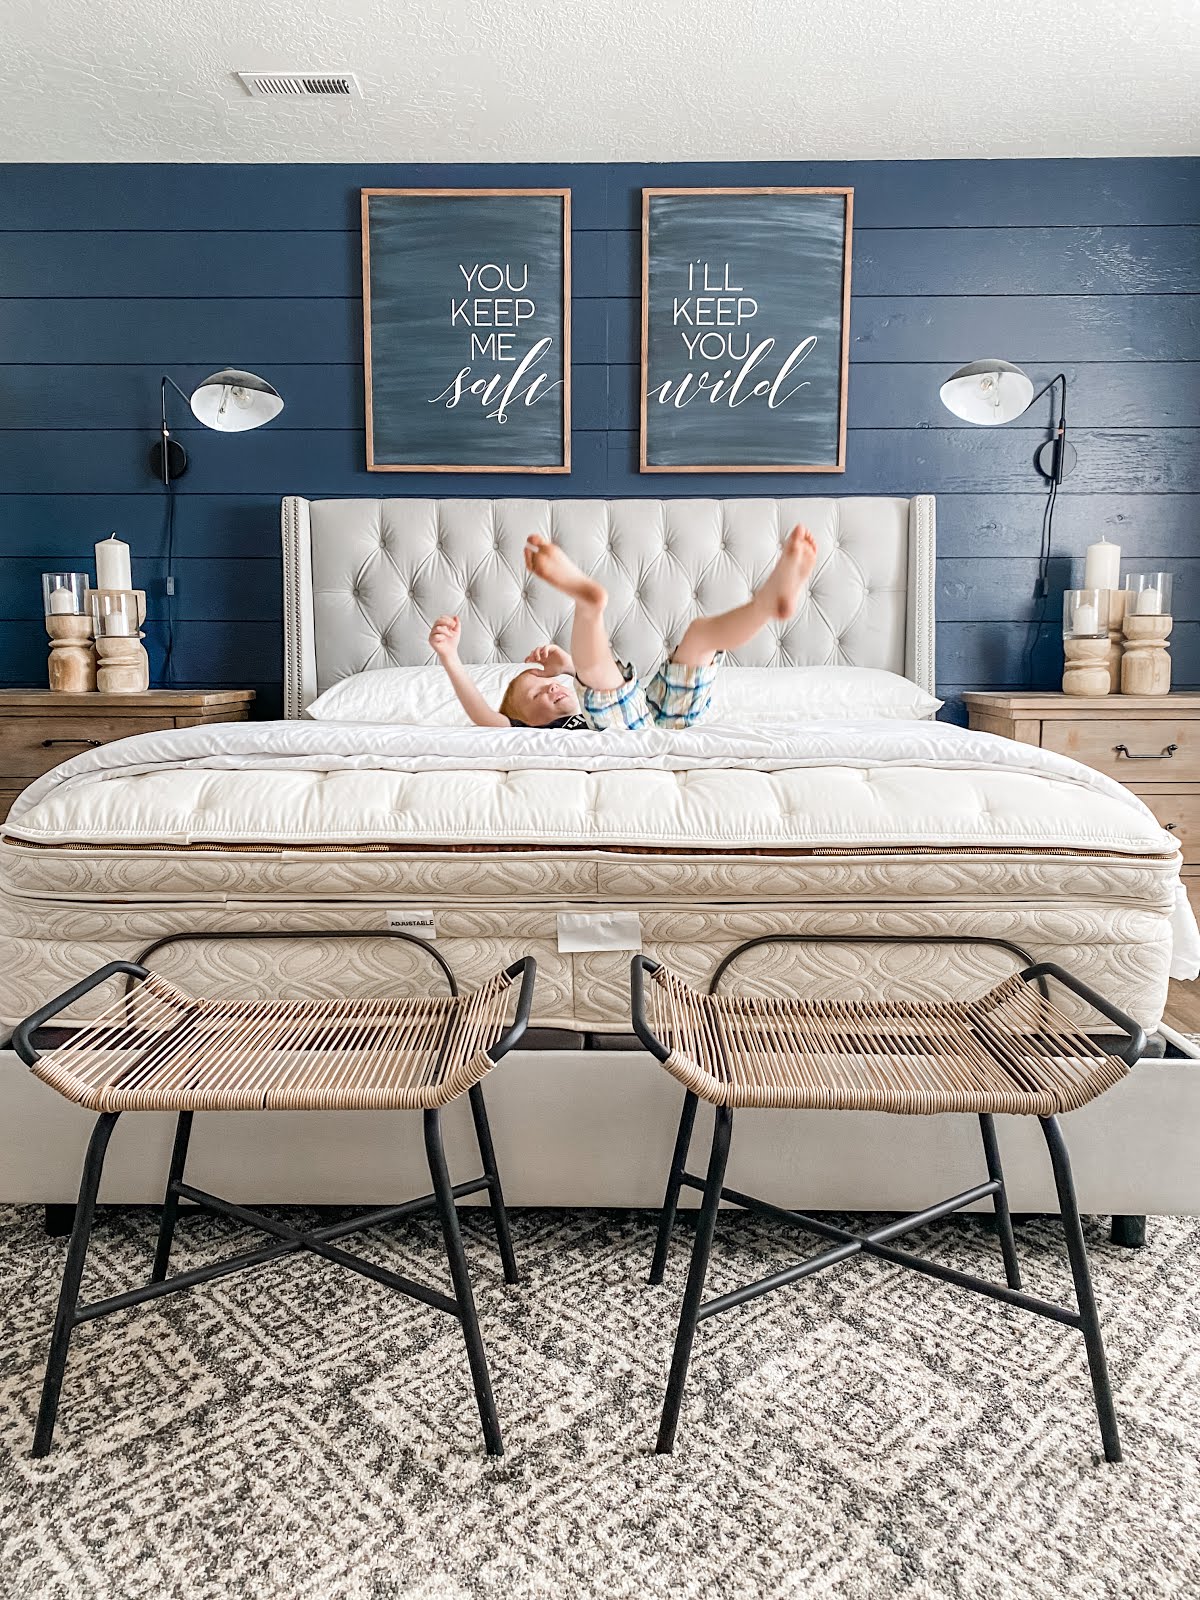
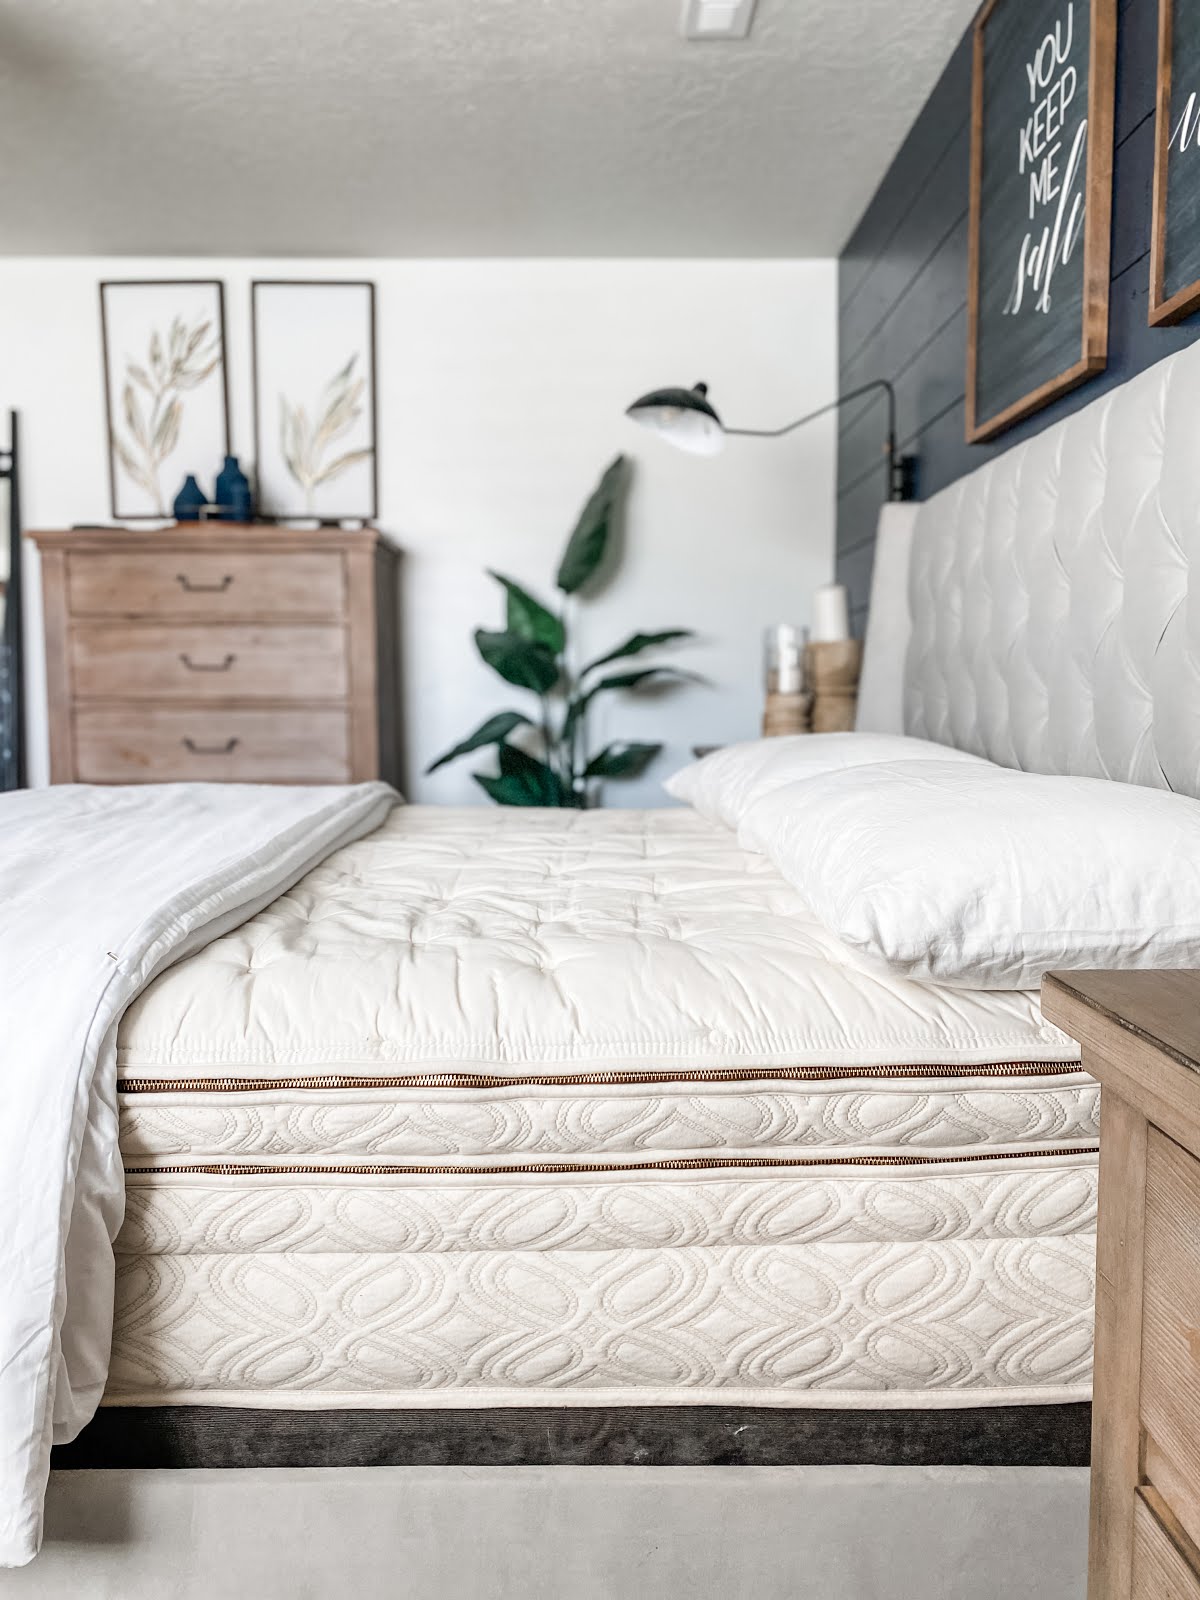
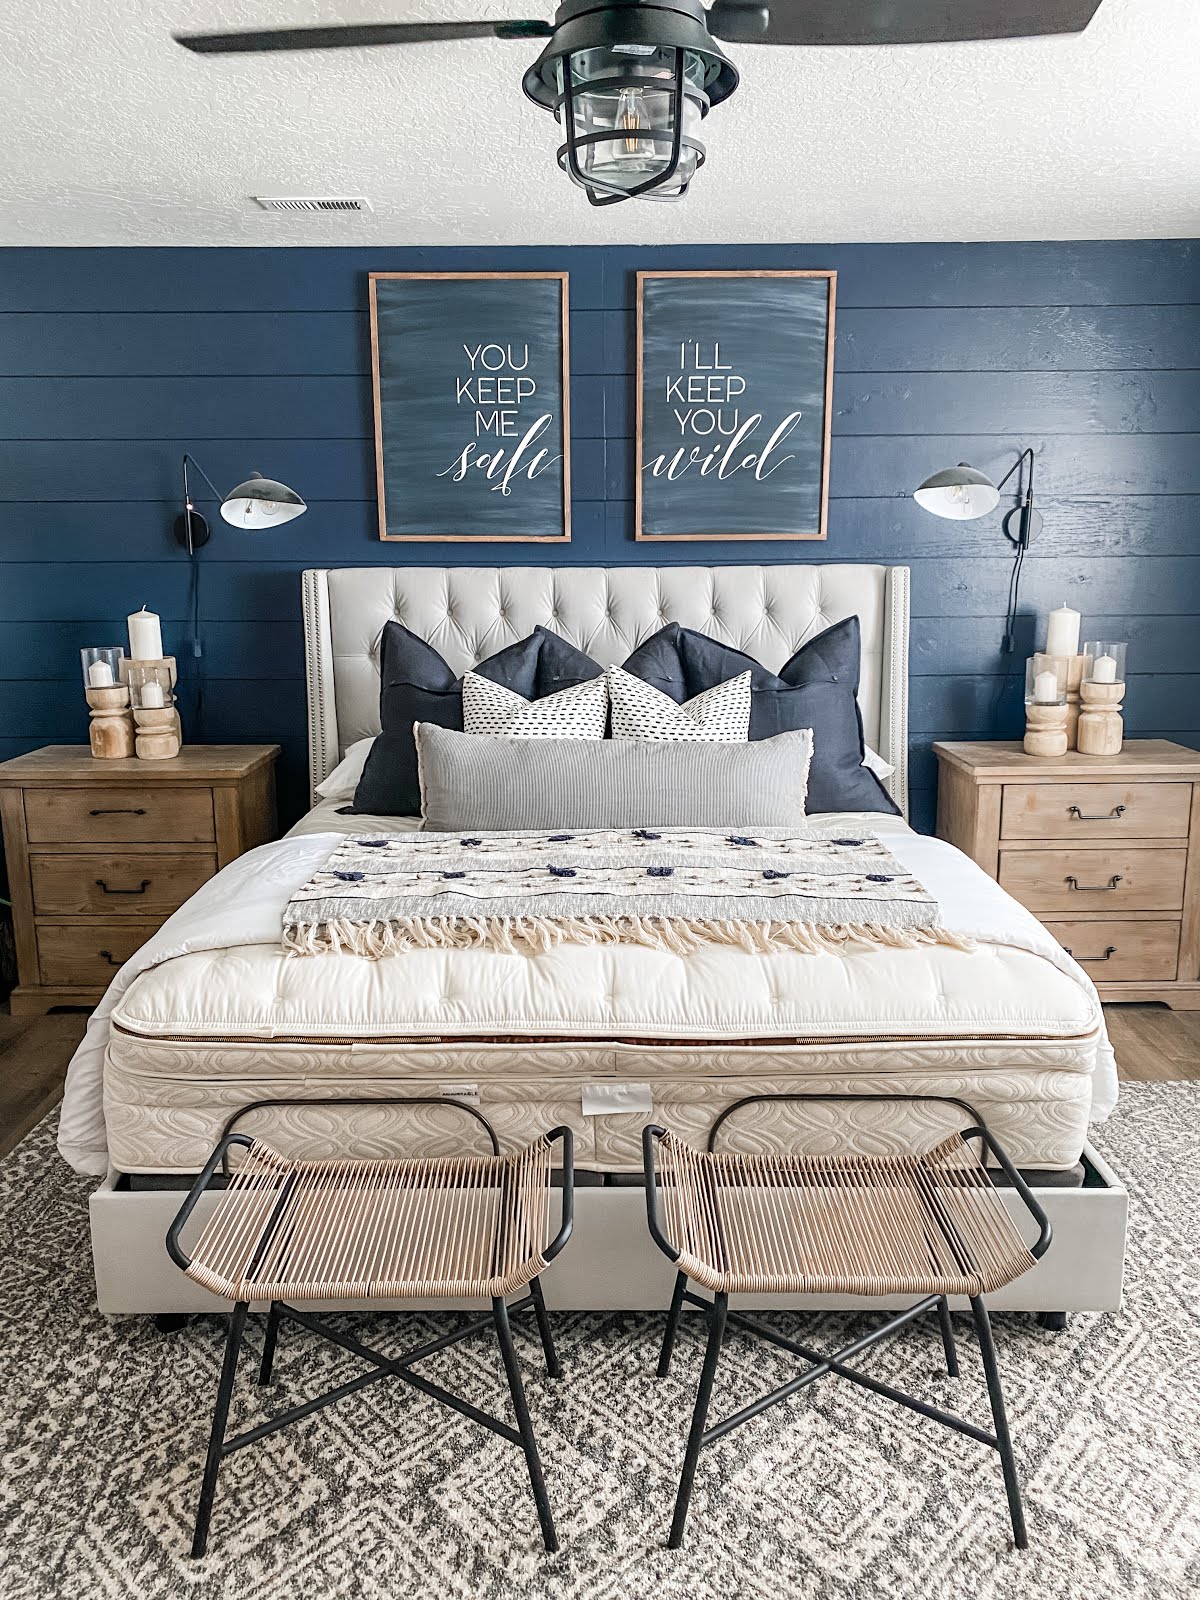
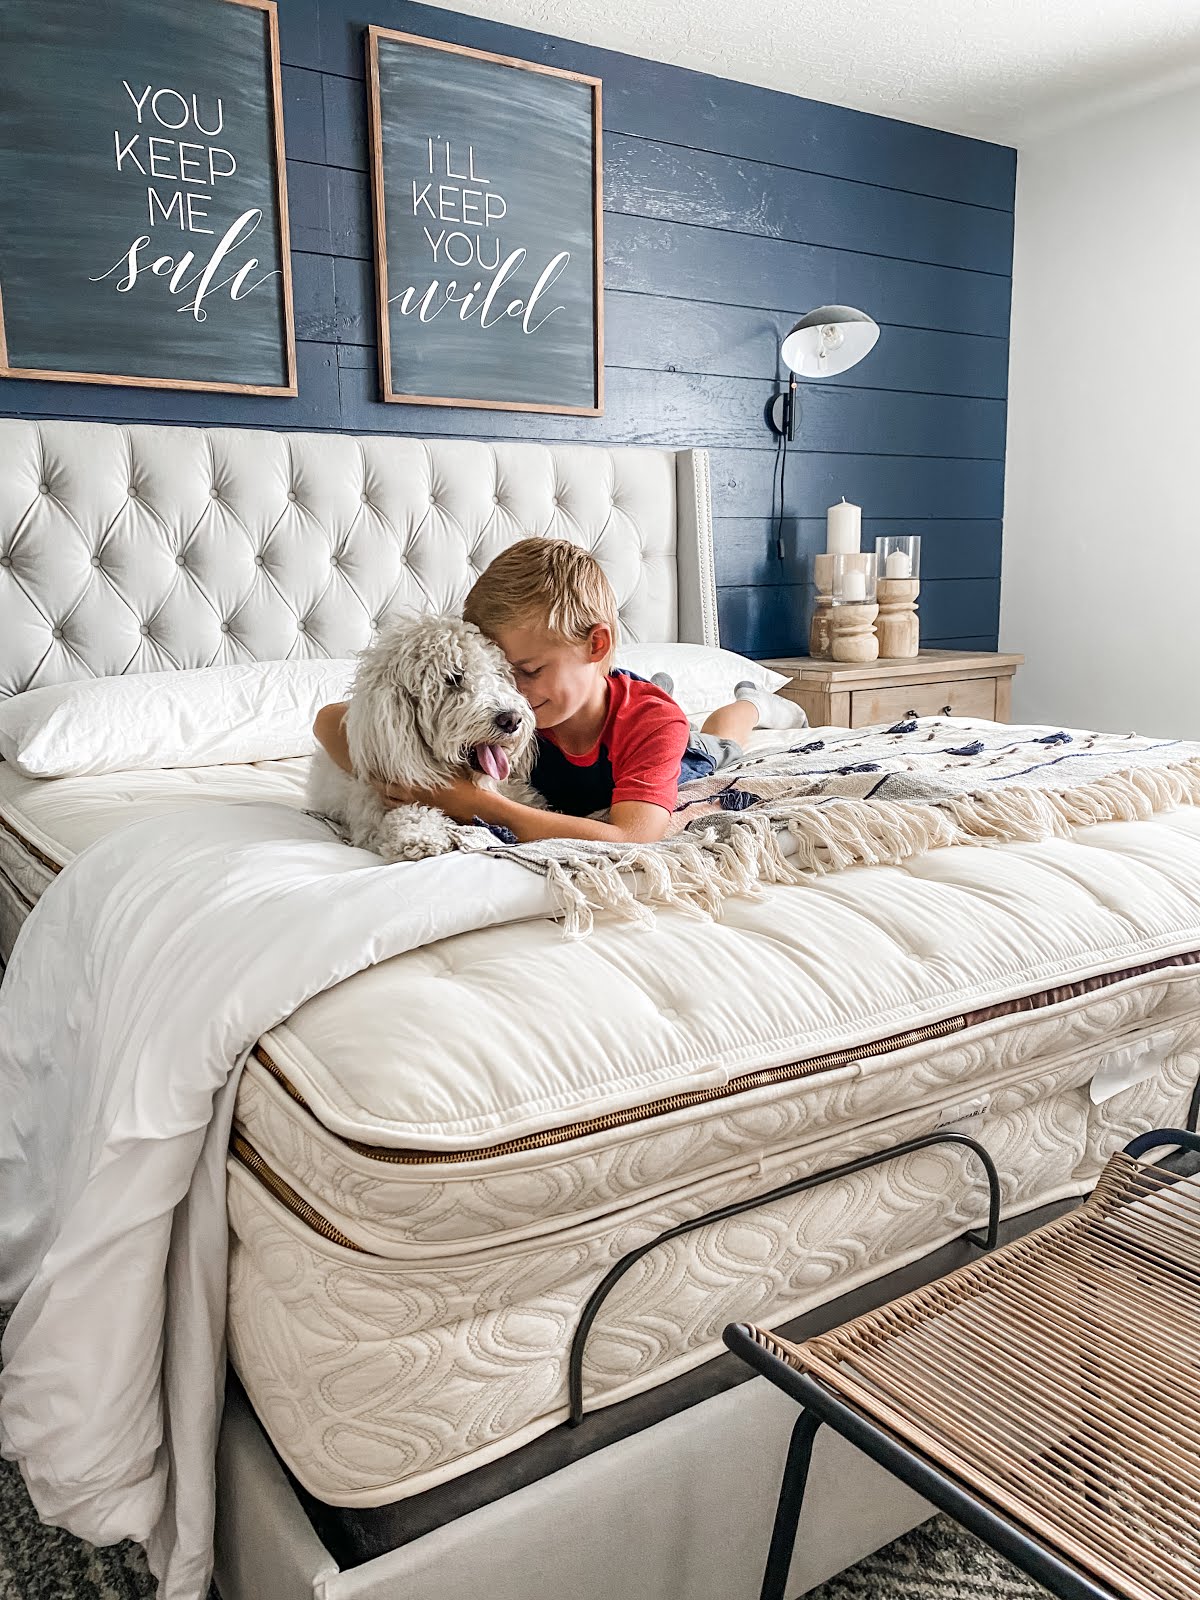
Our mattress is the Halcyon Arcadia and it’s the most luxurious mattress I have every slept on. I’m not joking when I say I look forward to slipping into bed each night! Something that is so amazing about this mattress is you can customize the softness or firmness. It’s multi-layered zippered construction provides flexibility as your needs change over time plus the ability to adjust the comfort of the bed to each sleeper’s preferences. That’s a game changer right there! If you like a softer bed and your spouse prefers something more firm, you can each have what fits you in the same mattress!!
I have also been told by our youngest that it’s a great bed to jump and do belly flops on because it’s so soft…….haha!!! Good thing he’s a cutie!
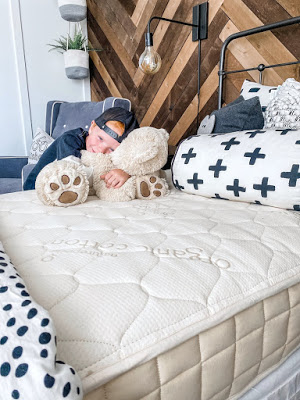
Finally, for our youngest we picked out the Verse mattress. This is the ideal mattress for kids! It is solid, supportive, and comfortable. The slightly firmer feel is key to helping support kids’ developing bones as they sleep and my little guy couldn’t be happier! He used to be the first one to wake up in our house and many times didn’t sleep well through the night. Now I find myself having to wake him up in the mornings!!
These mattresses have truly been a blessing to our family, and having the peace of mind knowing that we are all sleeping healthy is priceless!

The most important things to look for in an organic mattress, along with a company’s certifications and awards, are these key things, all of which I found with Naturepedic:
• Certified organic cotton
• Certified organic wool
• Certified organic latex
• Steel innerspring
• Organic cotton encase coils
I know everyone can agree that the health of your loved ones is always at the top of your list. Before I knew about all the awful scary things that go into making a traditional mattress I had no idea the potential risk to my family’s health each night was. Now I can throw that worry out the window along with our old mattresses and sleep care free and healthy!
-Grey Birch Designs-
read more
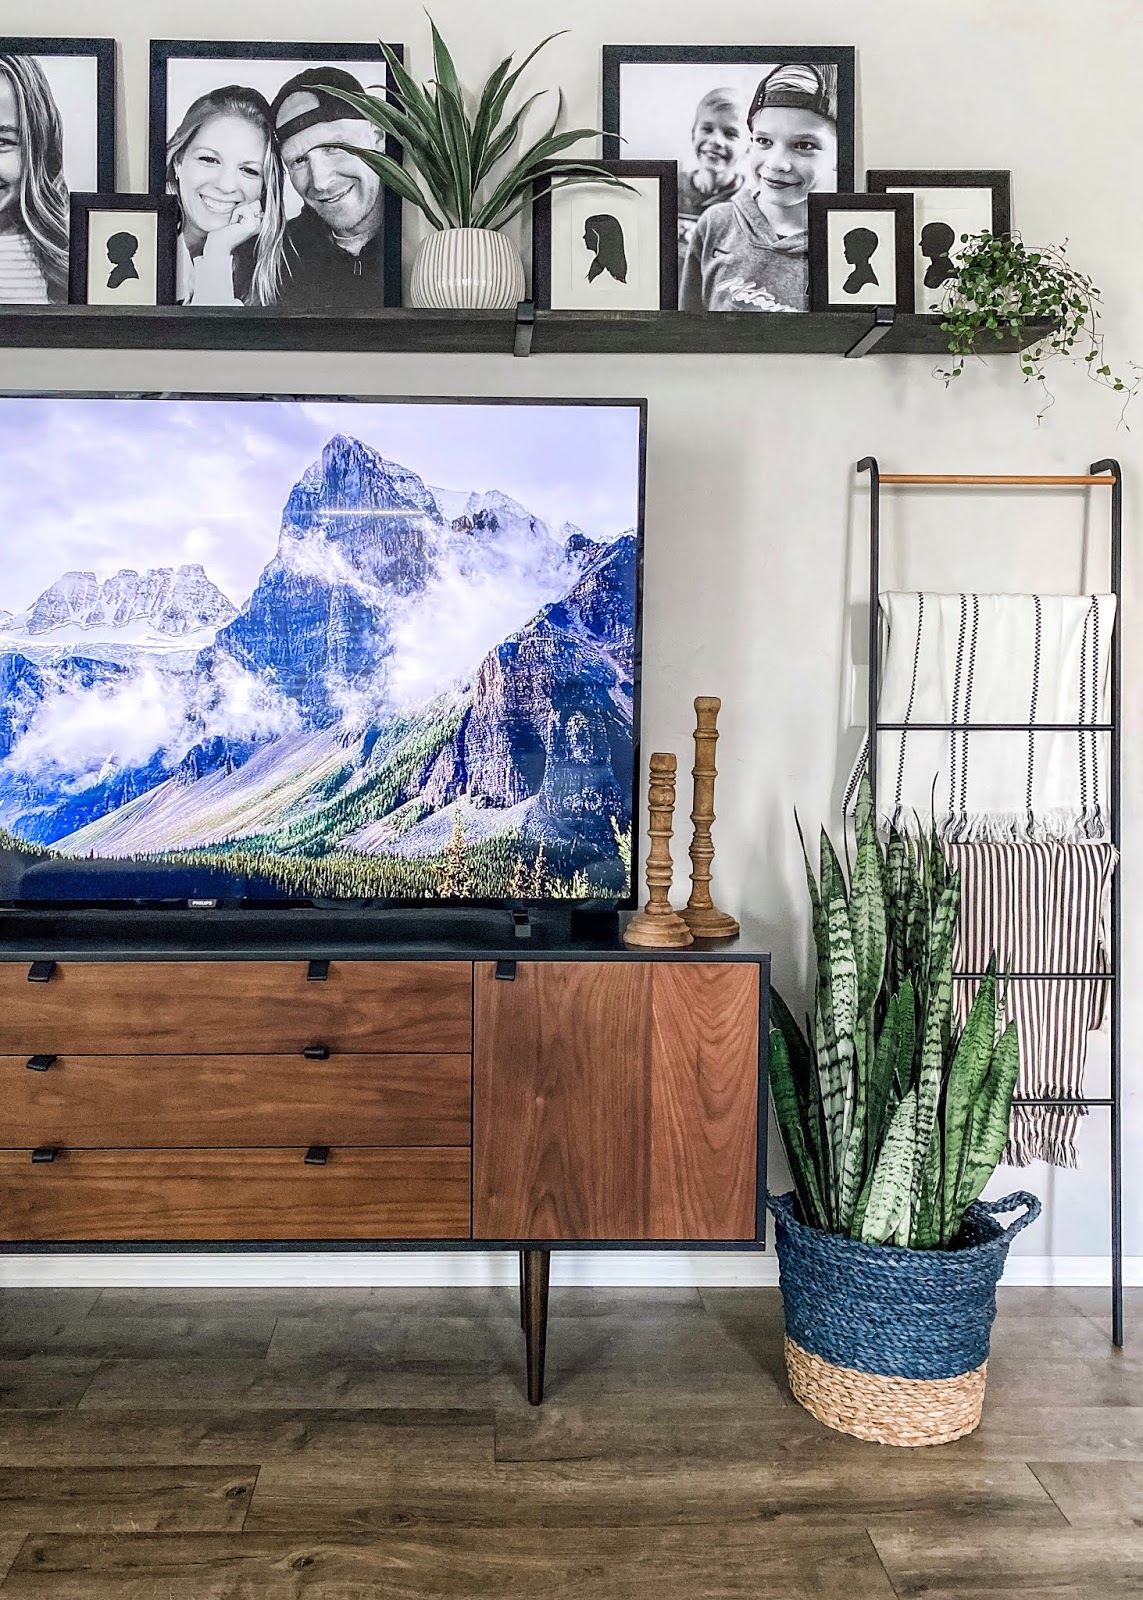
I recently gave our loft/playroom a refresh that fits our growing kids and their needs. I loved how the room came together but the TV wall bothered me. When we replaced our old TV with this larger TV the photo wall didn’t look right anymore. I needed to come up with a different design.
I had a vision in my head and for a certain type of picture shelf but I couldn’t find it anywhere – so that meant I had to DIY it! The TV wall is long and I wanted one large shelf, not two put together.
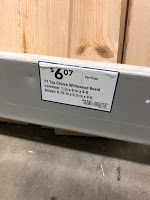
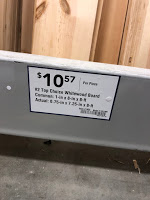
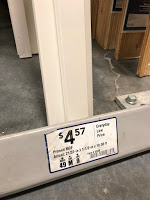
For this project I used:
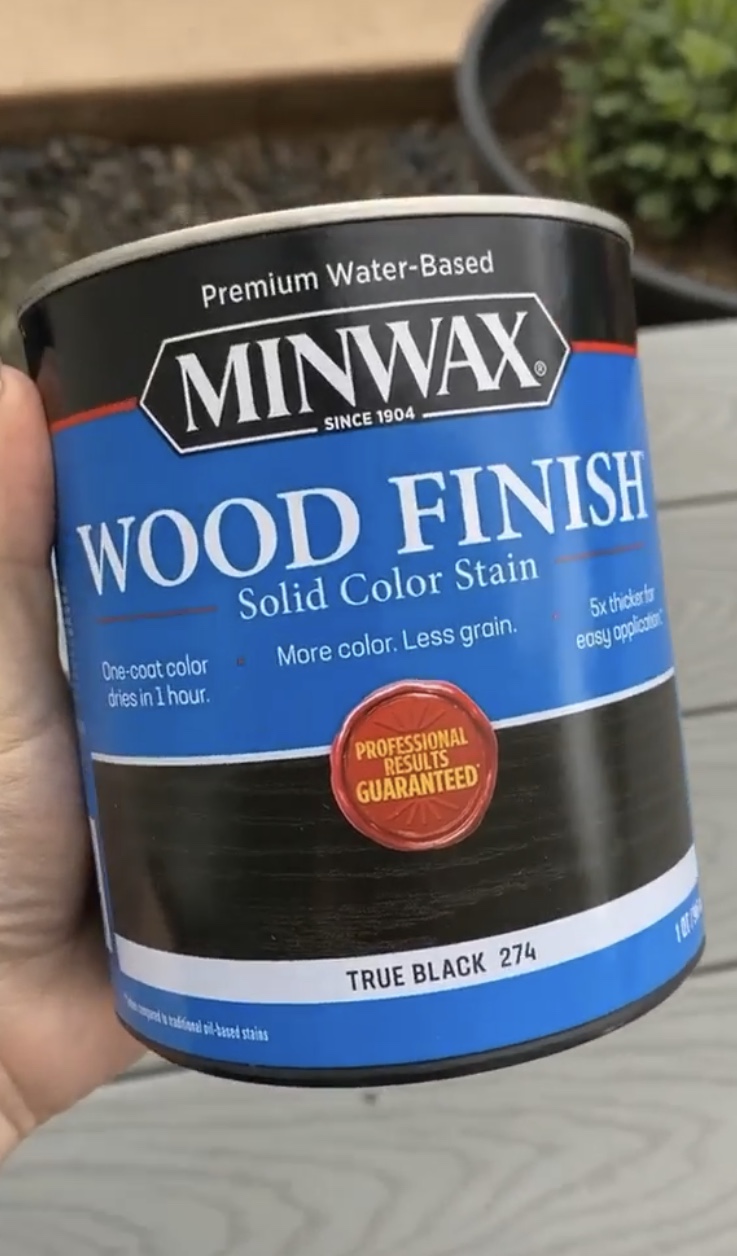
Since the wall is 12′ we cut the board down to 10′, which fills the wall but leaves a little bit of space on the sides. We used a circular saw to make the straight cut and then stained the wood with black wood stain and cloth rags
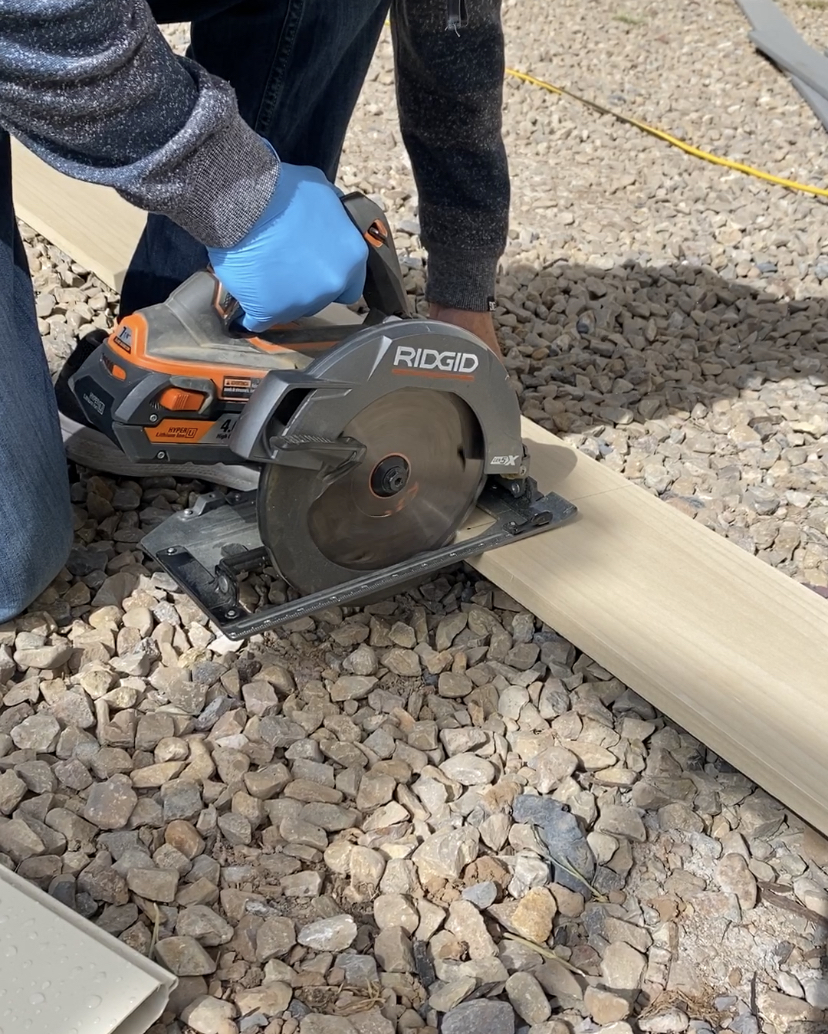
I found the best was to apply the stain evenly was to work in smaller areas and wipe off the stain quickly after applying it. If you have an extra set of hands it’s quick and easy to have one person apply the stain while the other follows right behind wiping it off!
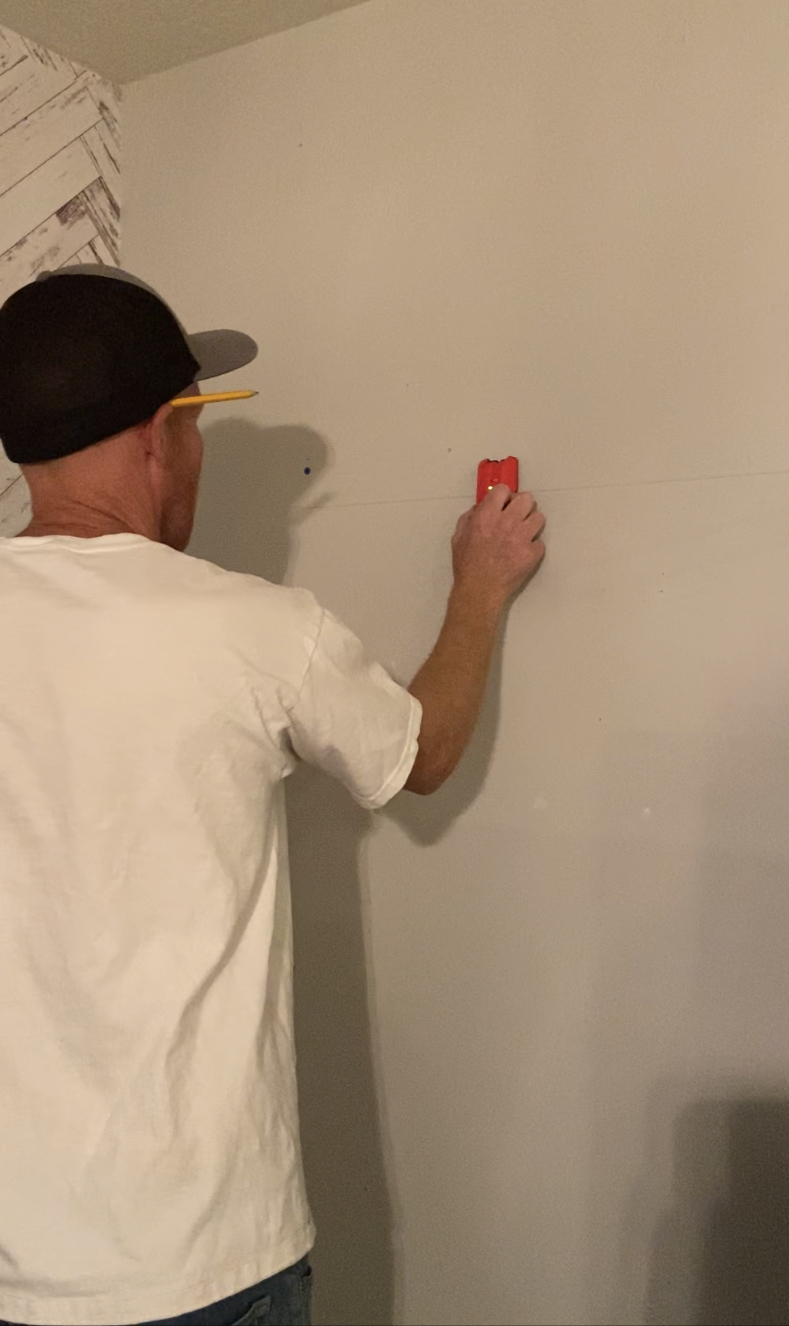
I let the stain dry for a few hours before I put it up on the wall. To install the shelf we held the board up on the wall where we wanted it and used a level to make sure it was straight. Then we drew a level line on the wall across the top of the wood. This makes it easier to attach the brackets to the wall without having to also hold up the wood shelf.
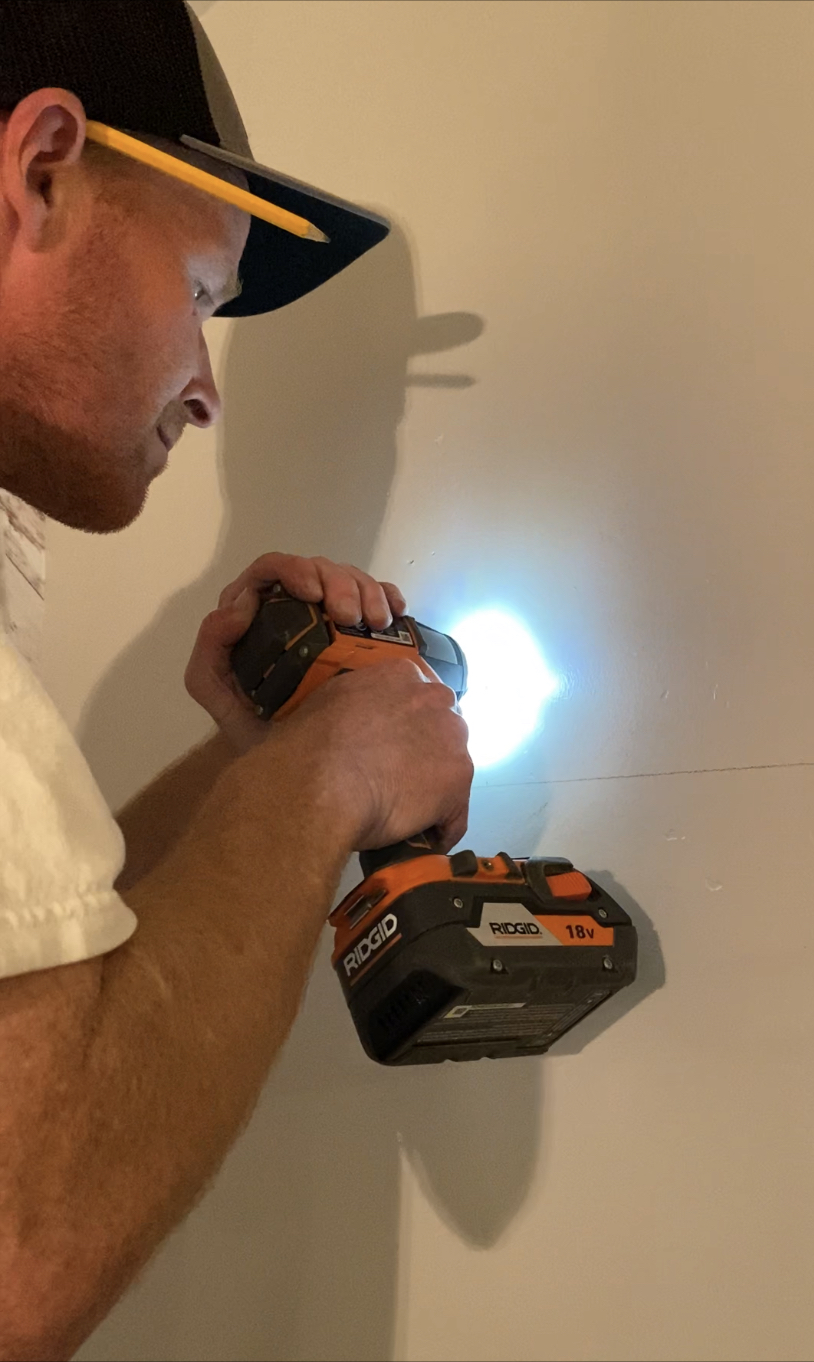
Next we found and marked the studs. For this long shelf we used 4 of the metal brackets. We pre-drilled the holes and then attached the brackets to the wall with 2
inch screws. Once that was done we simply slid the wood into the brackets and then it was time to decorate!
inch screws. Once that was done we simply slid the wood into the brackets and then it was time to decorate!
I used a mix of large black and white family photos, hand cut silhouettes of our whole family, and some new house plants I picked up from Trader Joe’s.
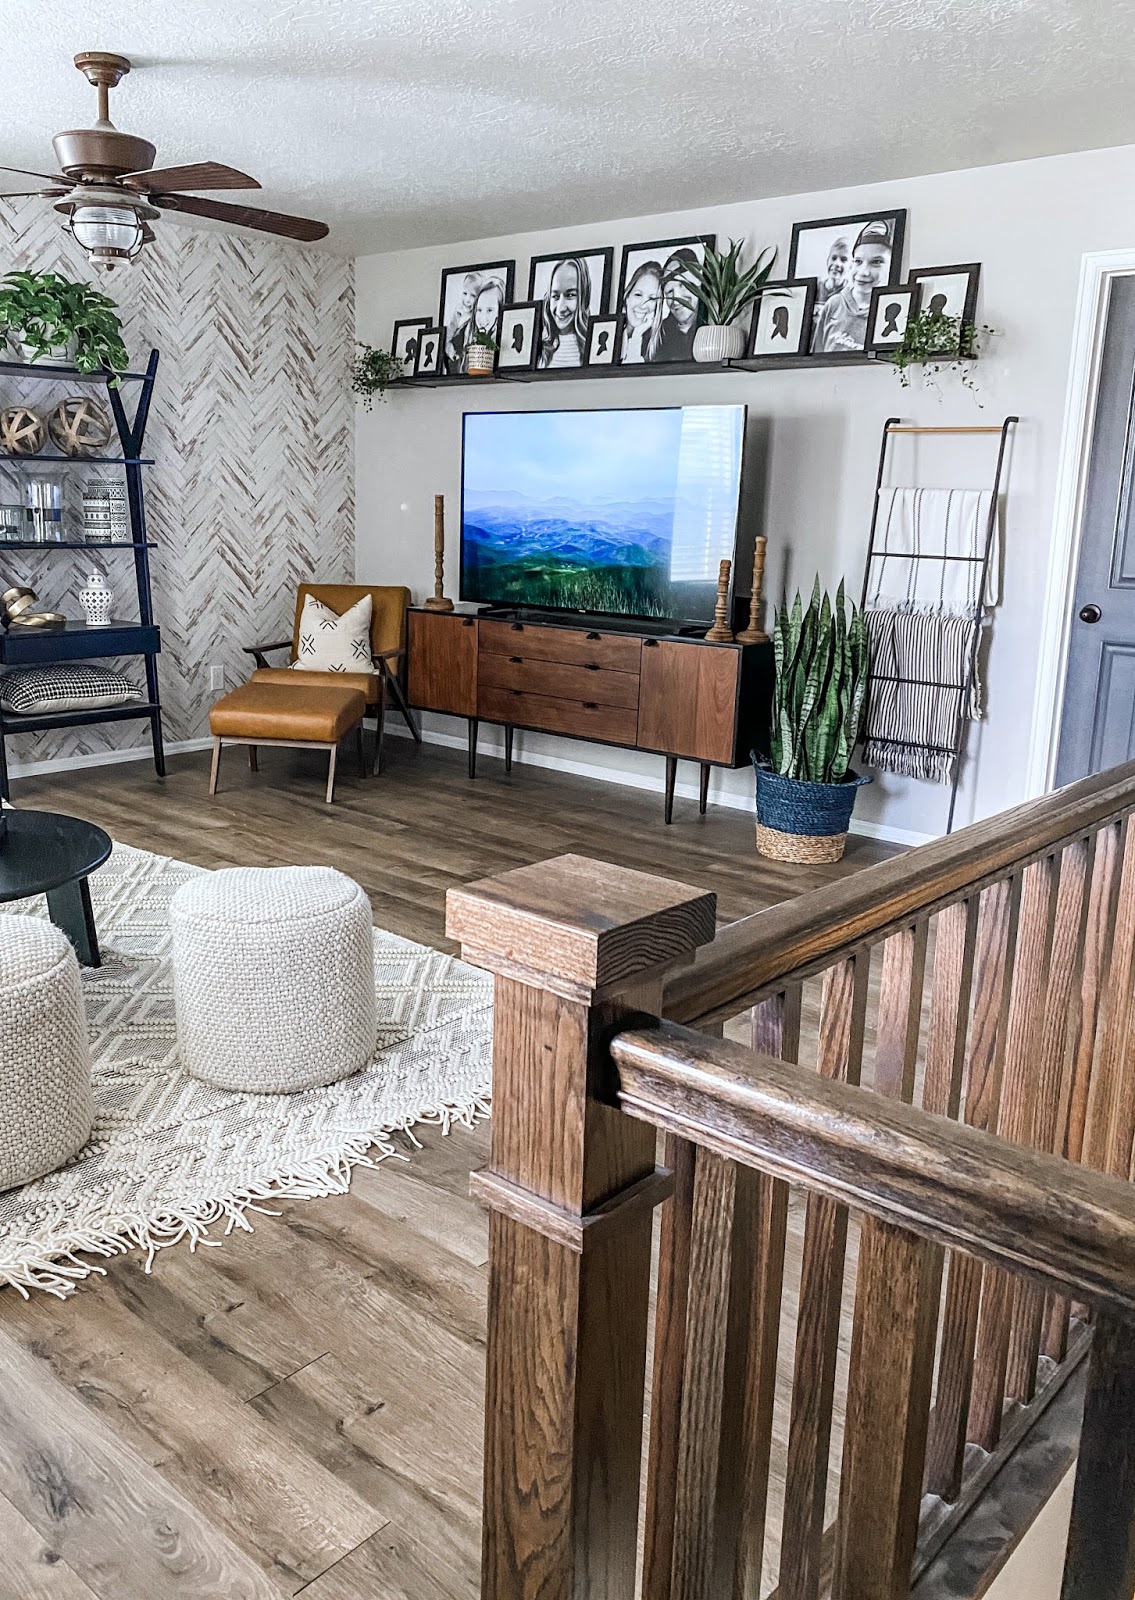
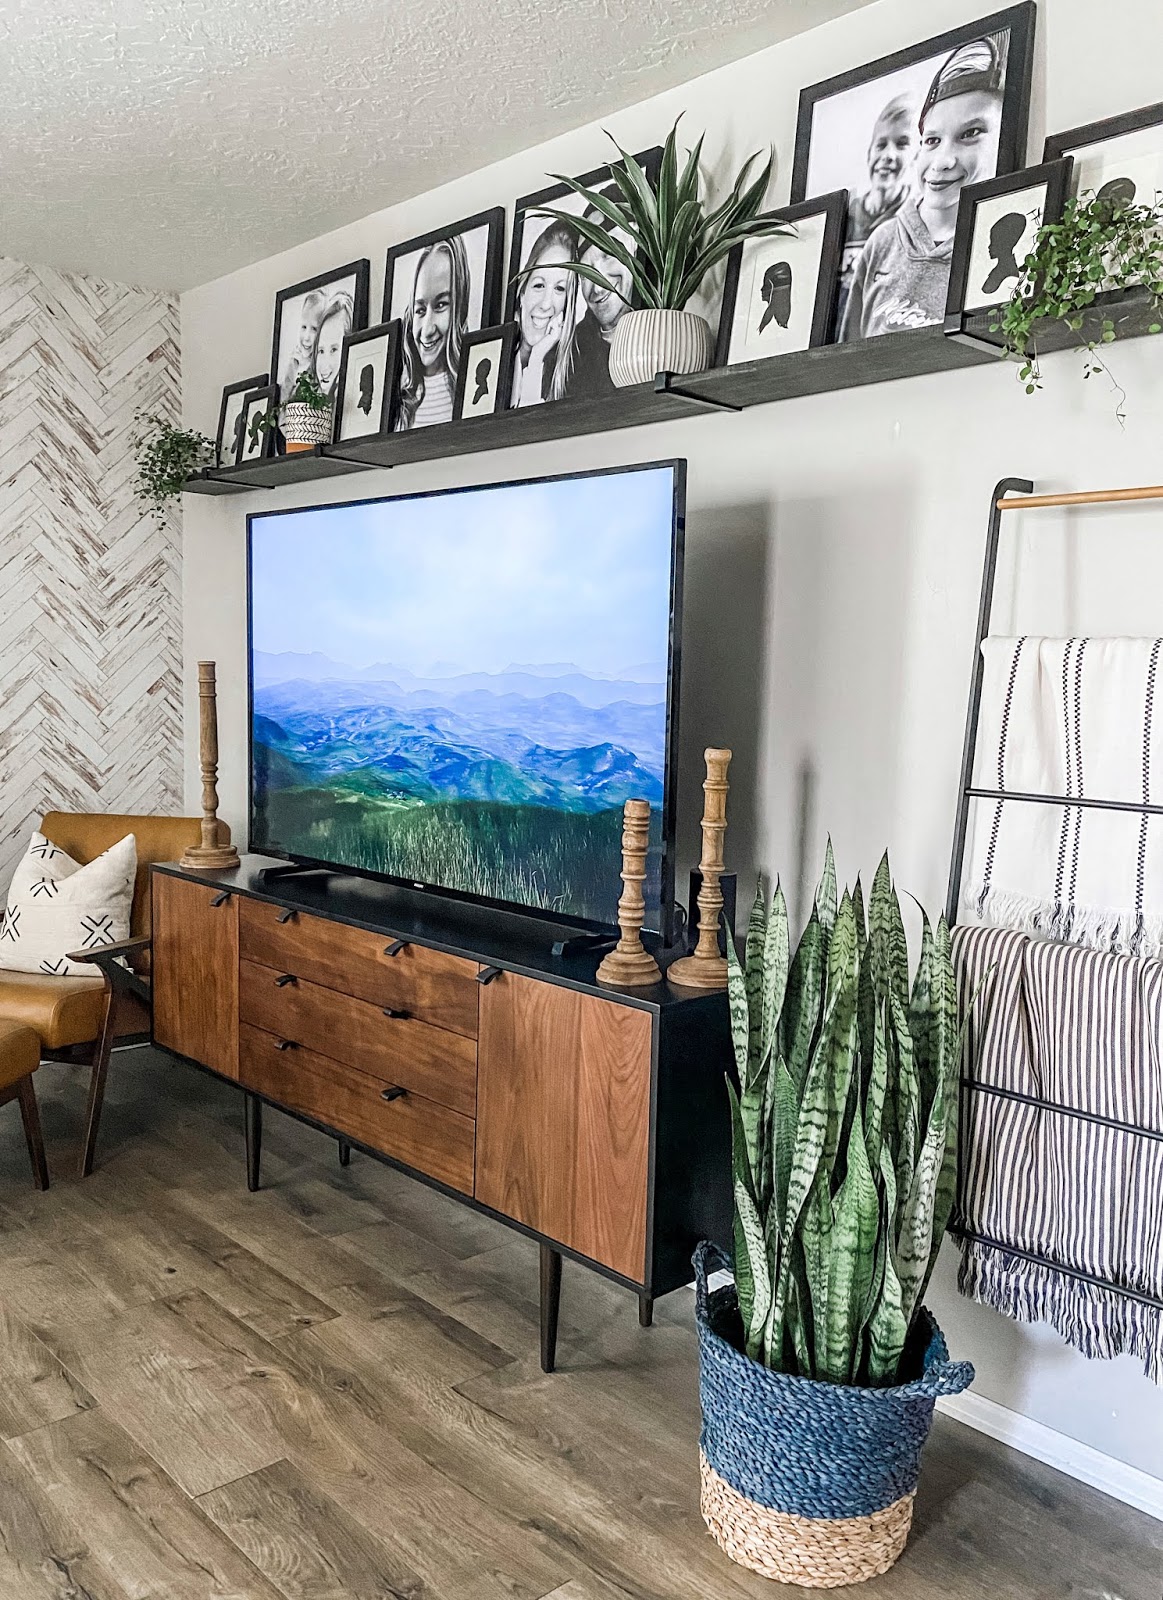
I’m incredibly happy with how this simple project turned out. Finally I love every aspect of our new and improved loft/kids hangout room! To see this project in action check out this video of us putting the whole project together!
-Grey Birch Designs-
read more
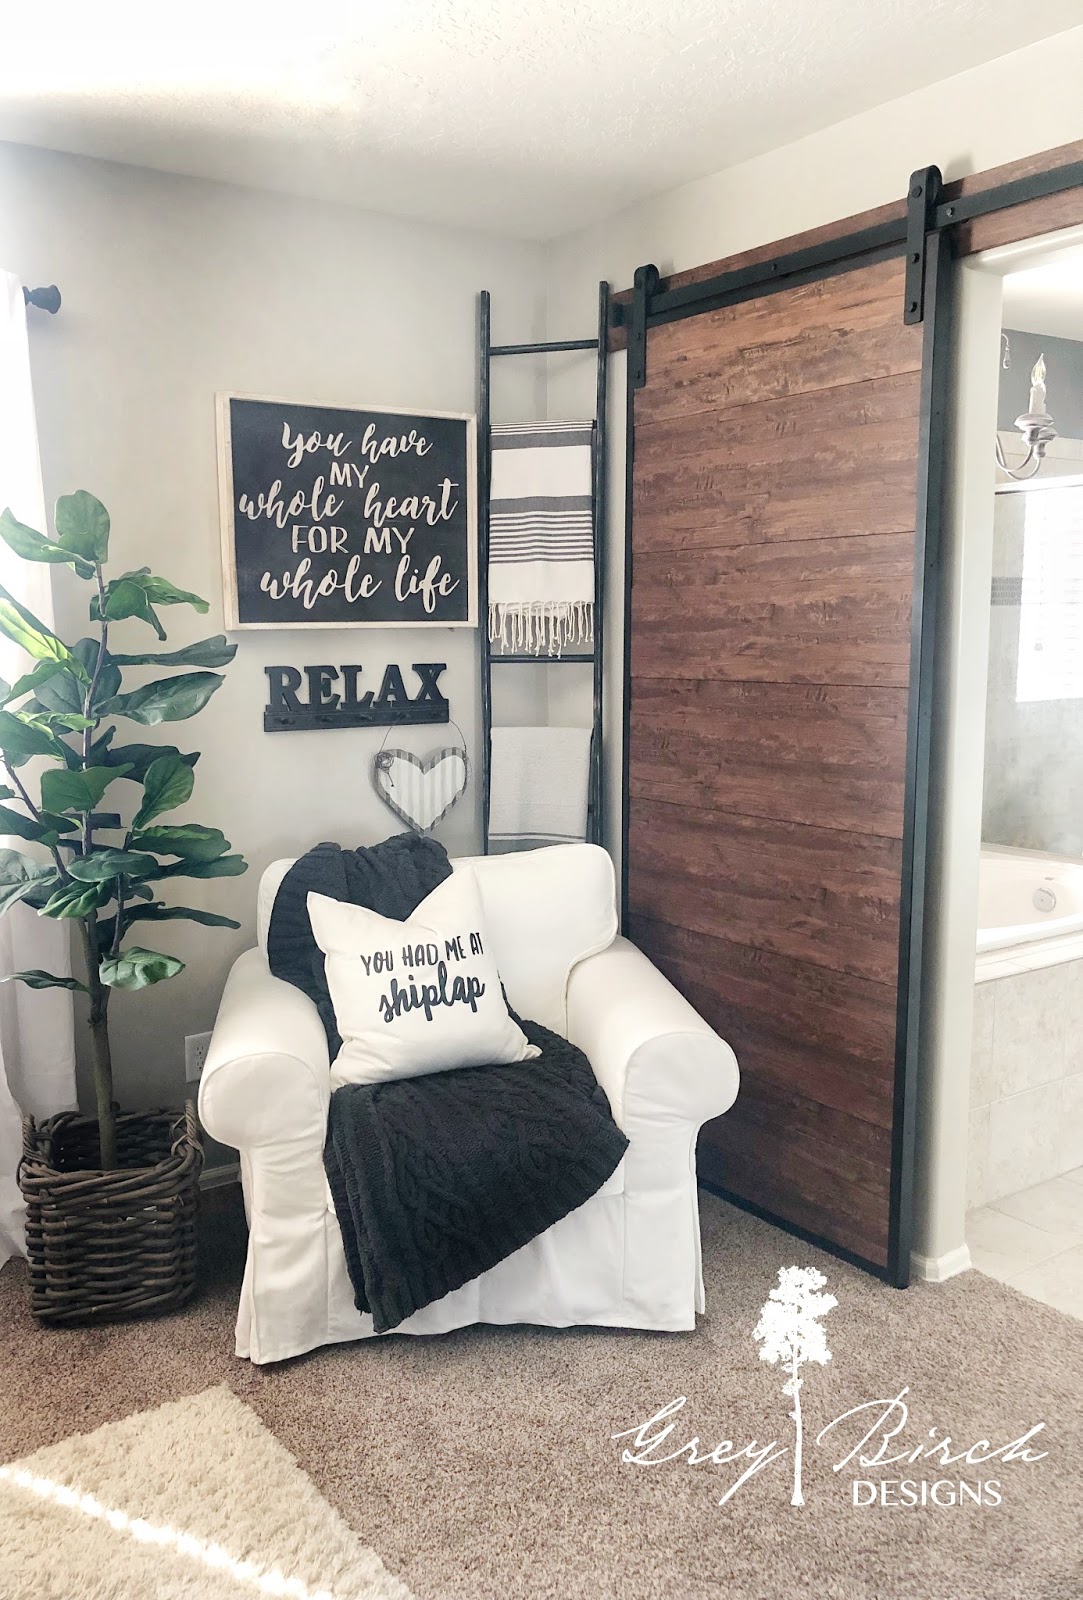
There are so many different ways you can make a blanket ladder, and I have made a few different styles myself, but I think this is the most straight forward and easy way I have found!
Supplies list
- Miter Saw
- Finish Nail gun
- Nails
- Wood dowels (you will need 2 or 3 depending on how many slats you want)
- 1″x 2″ pine board (these are for the sides so you will need 2 of these)
- Wood Glue
Step 1
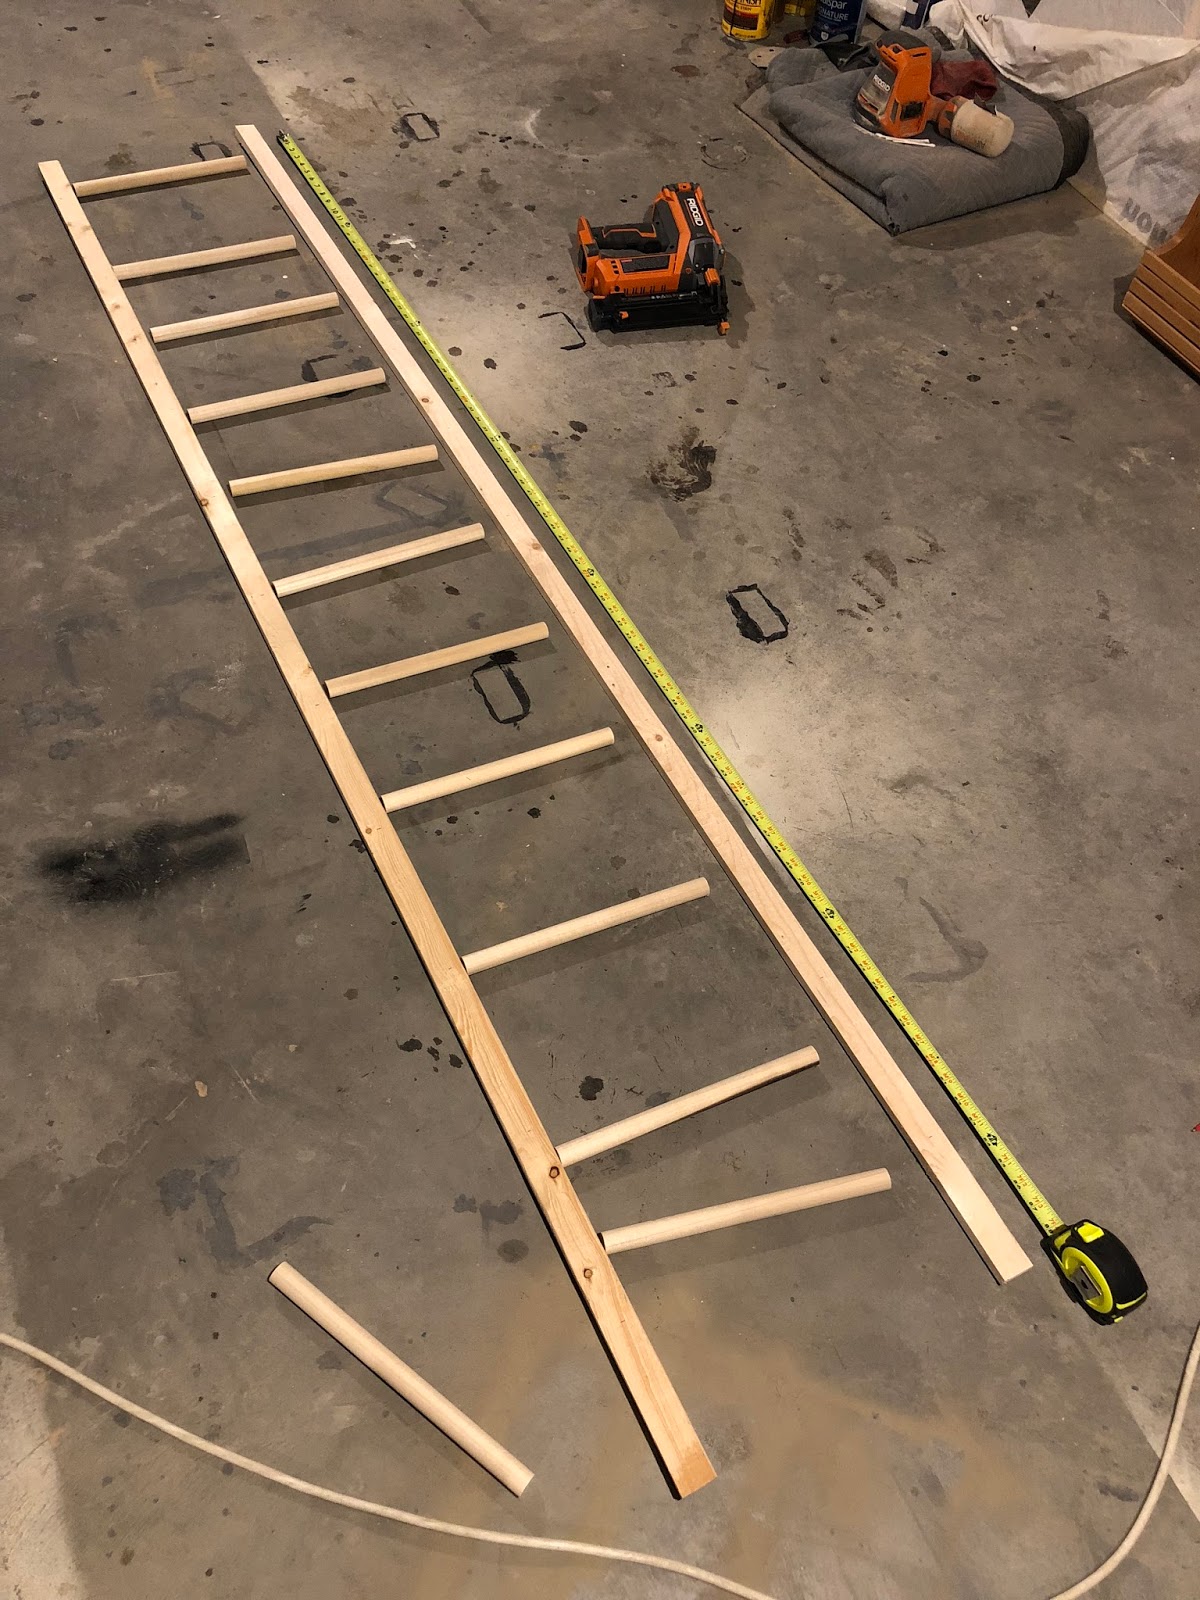
First thing you are going to want to decide is how tall you want your ladder and about how many slats you want to have. I made mine 90″ tall and cut my dowels to 11 3/4″ I wanted a thinner look with more slates so that’s why I picked those measurements. Once everything is cut lay out your pieces and decide how far apart you want the spacing to be, mine are 7″ apart. Then mark the side pieces so you know where to attach each dowel.
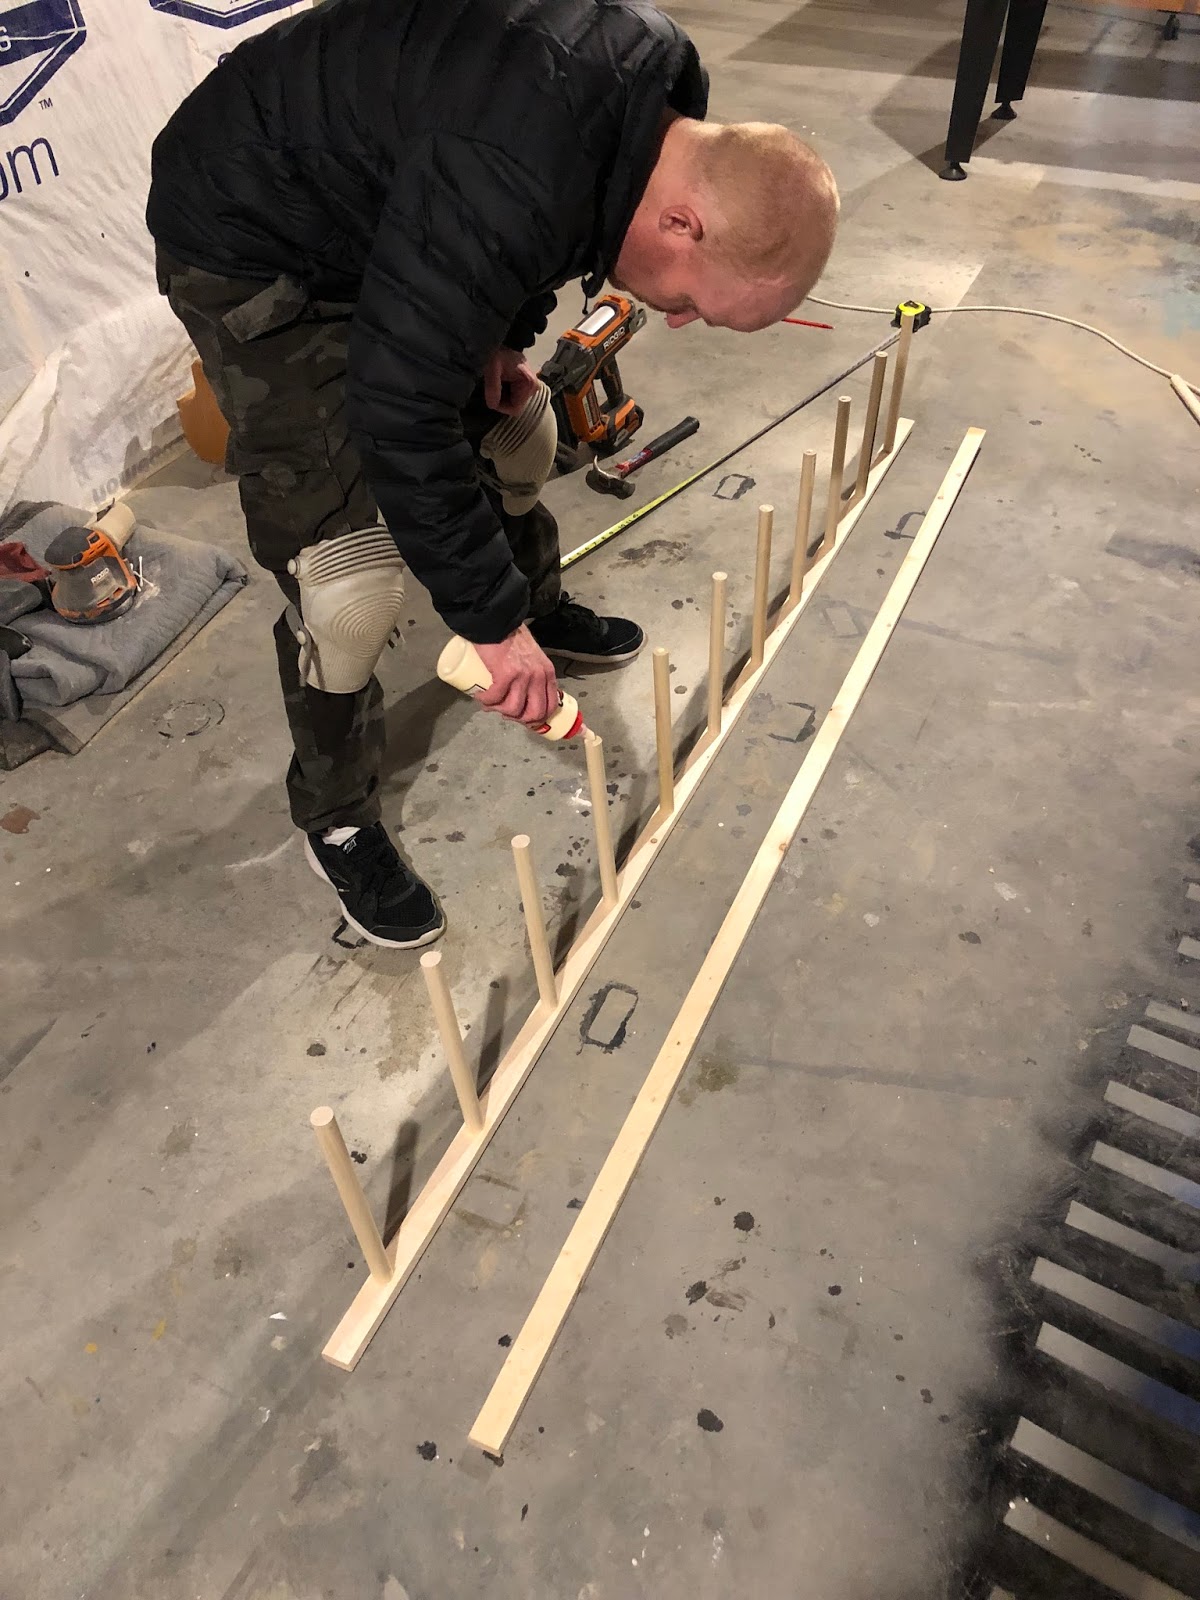
Step 2
Now to assemble it you will want to put a dab on wood glue on one end of the dowel, line it up with the mark you made on the side piece and carefully fire a nail into the wood. Attach each dowel to the piece of wood you are using for the sides of the ladder then repeating the steps until all your dowels are attached to one side. Once that’s done you can turn it on its side and attach the other piece of wood with the same steps!
Step 3
Sometimes you ladder can be slightly bent after its assembled and that is completely normal due to the face that the wood isn’t perfectly straight most of the time. To fix this problem lay your assembled ladder on a flat surface and put some heavy objects on the top and the bottom and leave them there until your ladder is dry, I let mine sit overnight. Once the glue is dry its will stay in it’s new straight position. Now you can paint or stain it whatever color you like!
Hope you enjoyed this super easy and quick DIY Ladder!
-Grey Birch Designs-
read more
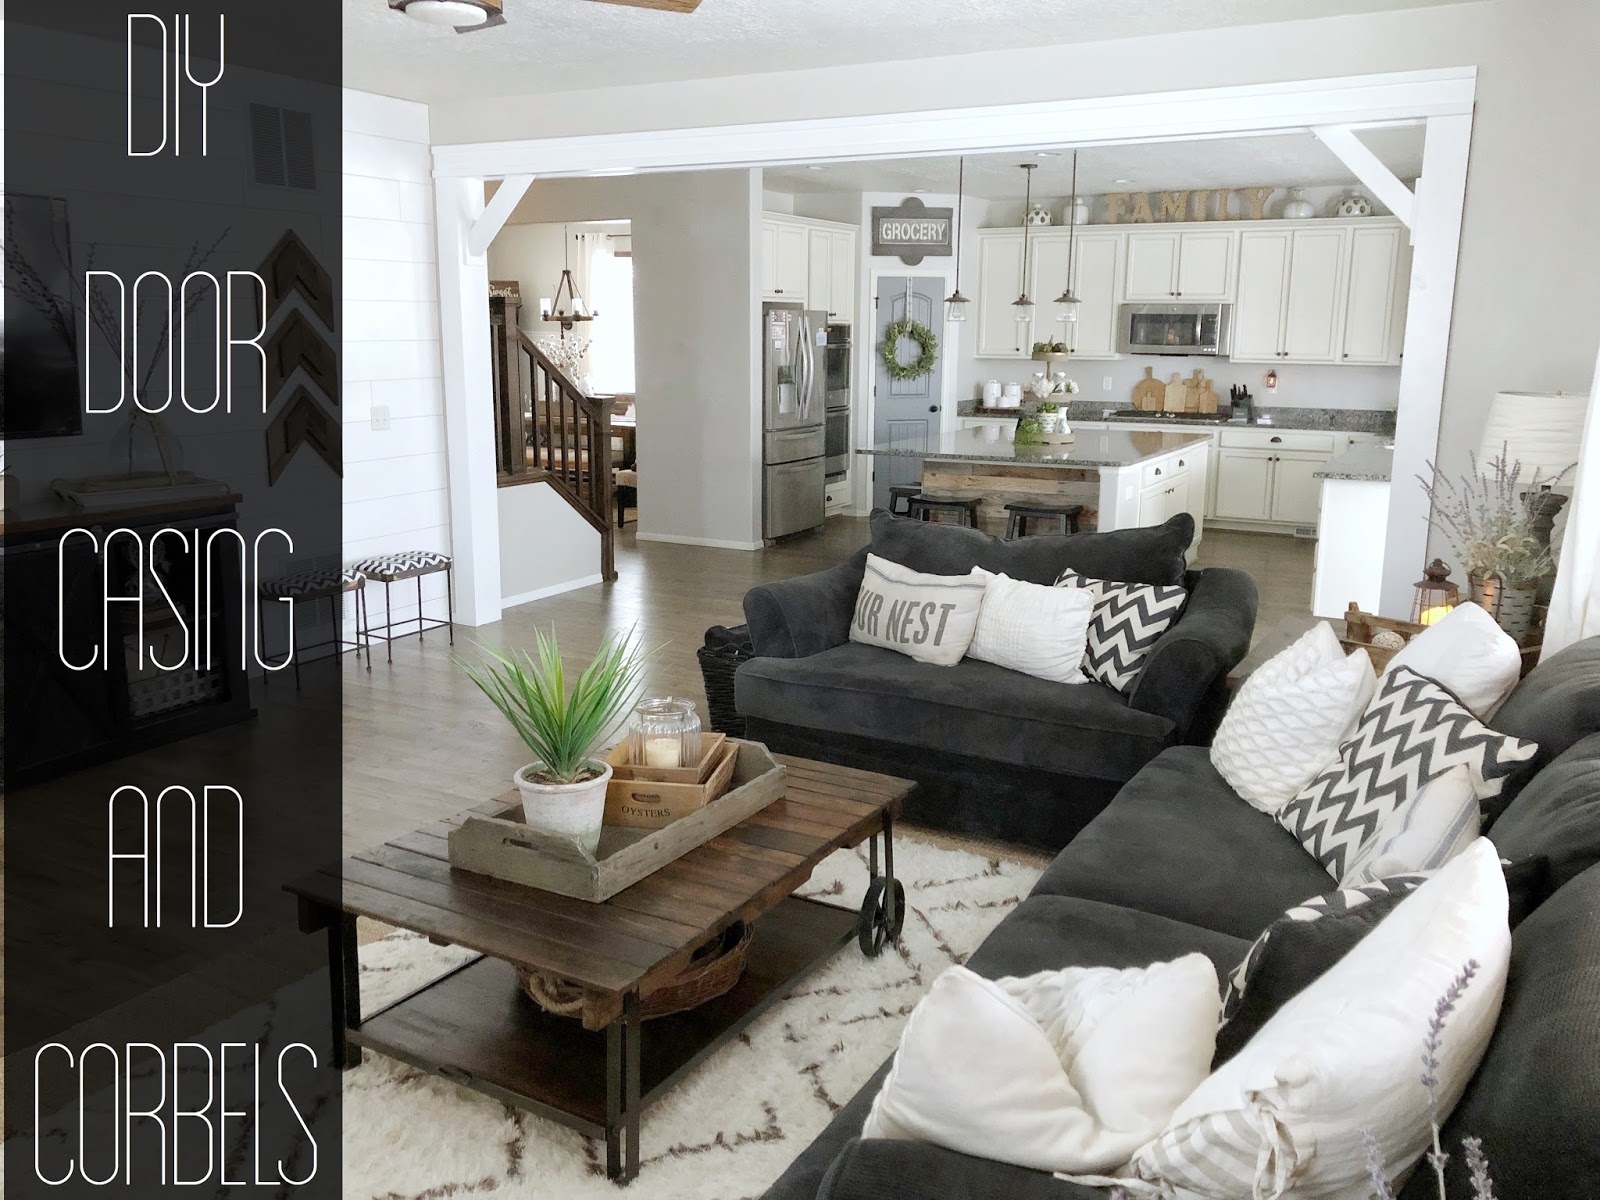
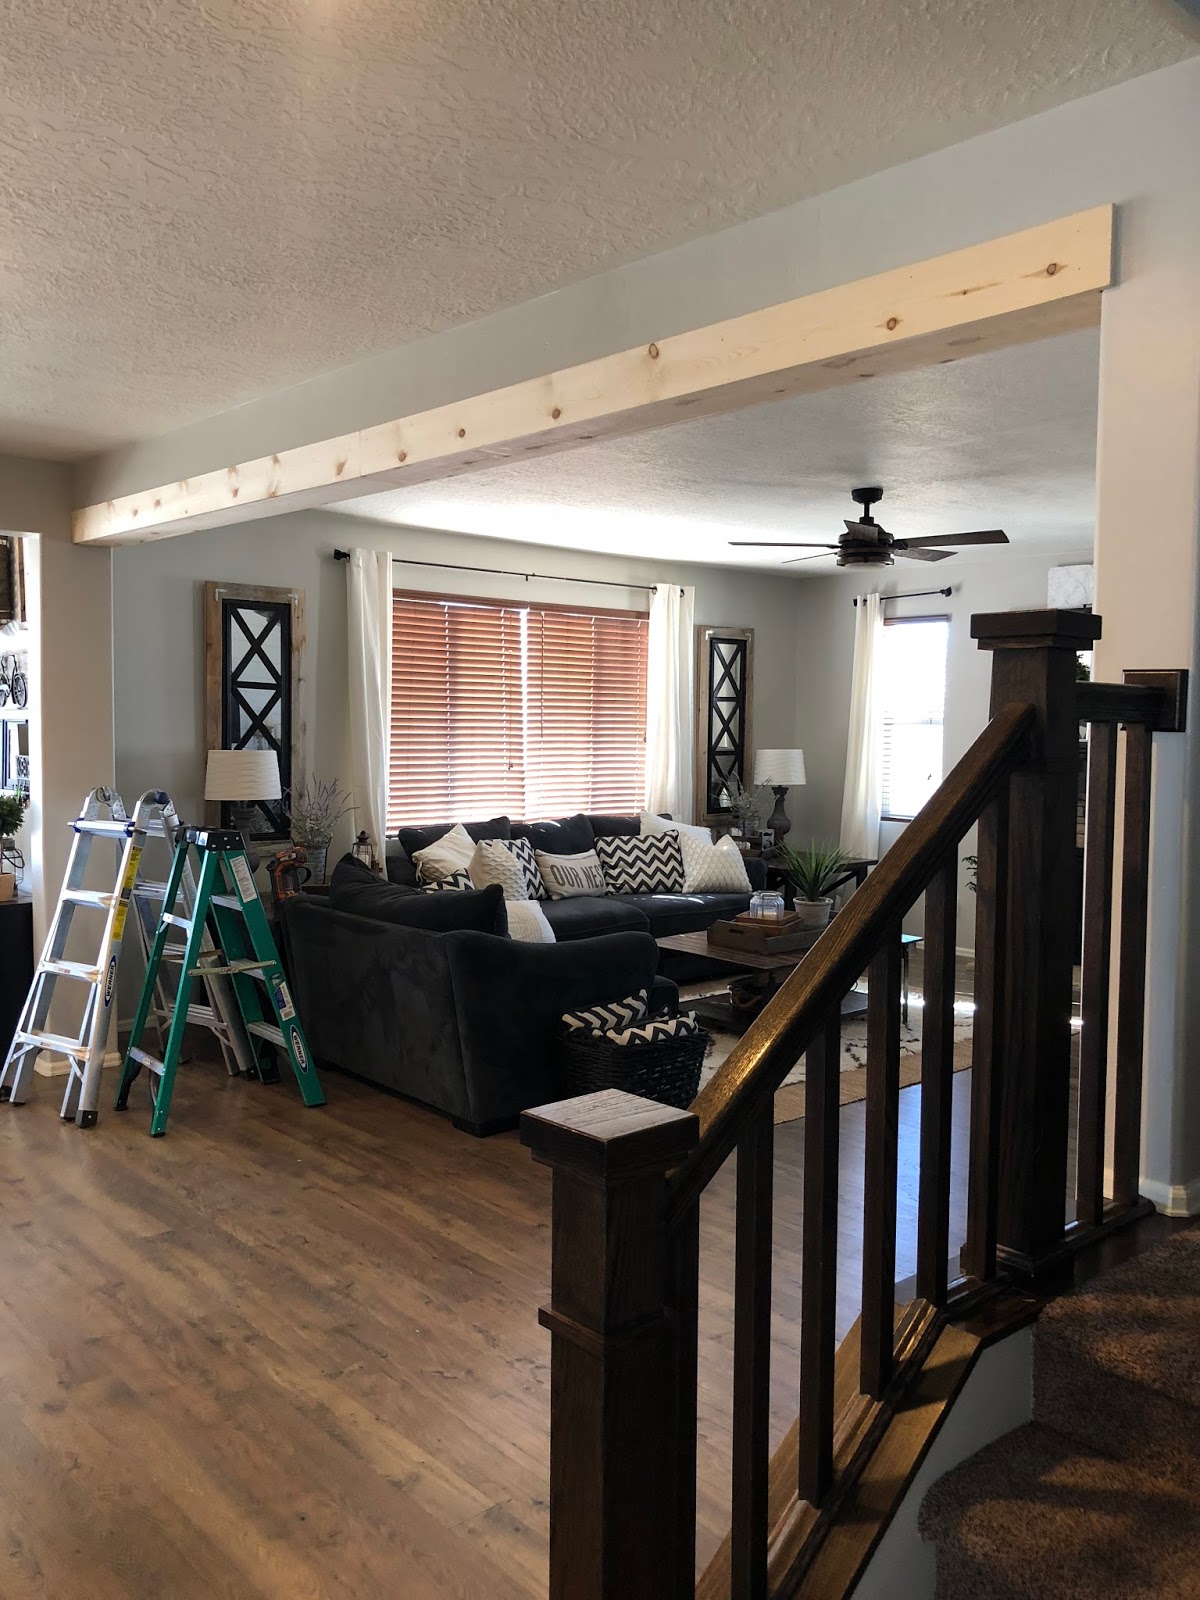
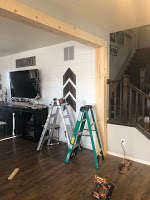
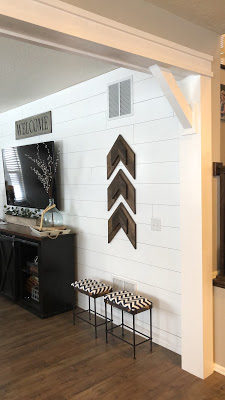
If you follow us on Instagram then I’m sure you saw our project this weekend that I shared through my stories. I’m absolutely in love with how it turned out – it looks like it was always supposed to be there. When we built our home we always felt like something was missing, something to make our home feel more like a custom home and less of a track house. We thought about putting beams in our living room and actually planned on do that, until I came up with this idea. So I explained to my husband the picture I had in my head and he ran with it, figuring out how to make it possible. I can design, but when it comes to construction, I’m at a loss……… so thank goodness for him! The project came together perfectly and I couldn’t be happier with the result and the way it has completely transformed the space! So as promised here is our tutorial for this project!!
(Since each home’s wall openings are different size, I cannot provide measurements, as you will have to do those based on your home and the entryway you want to do this in)
Supply List
- Miter Saw
- Table saw (optional)
- Brad Nail Gun and brad nails
- Tape Measure
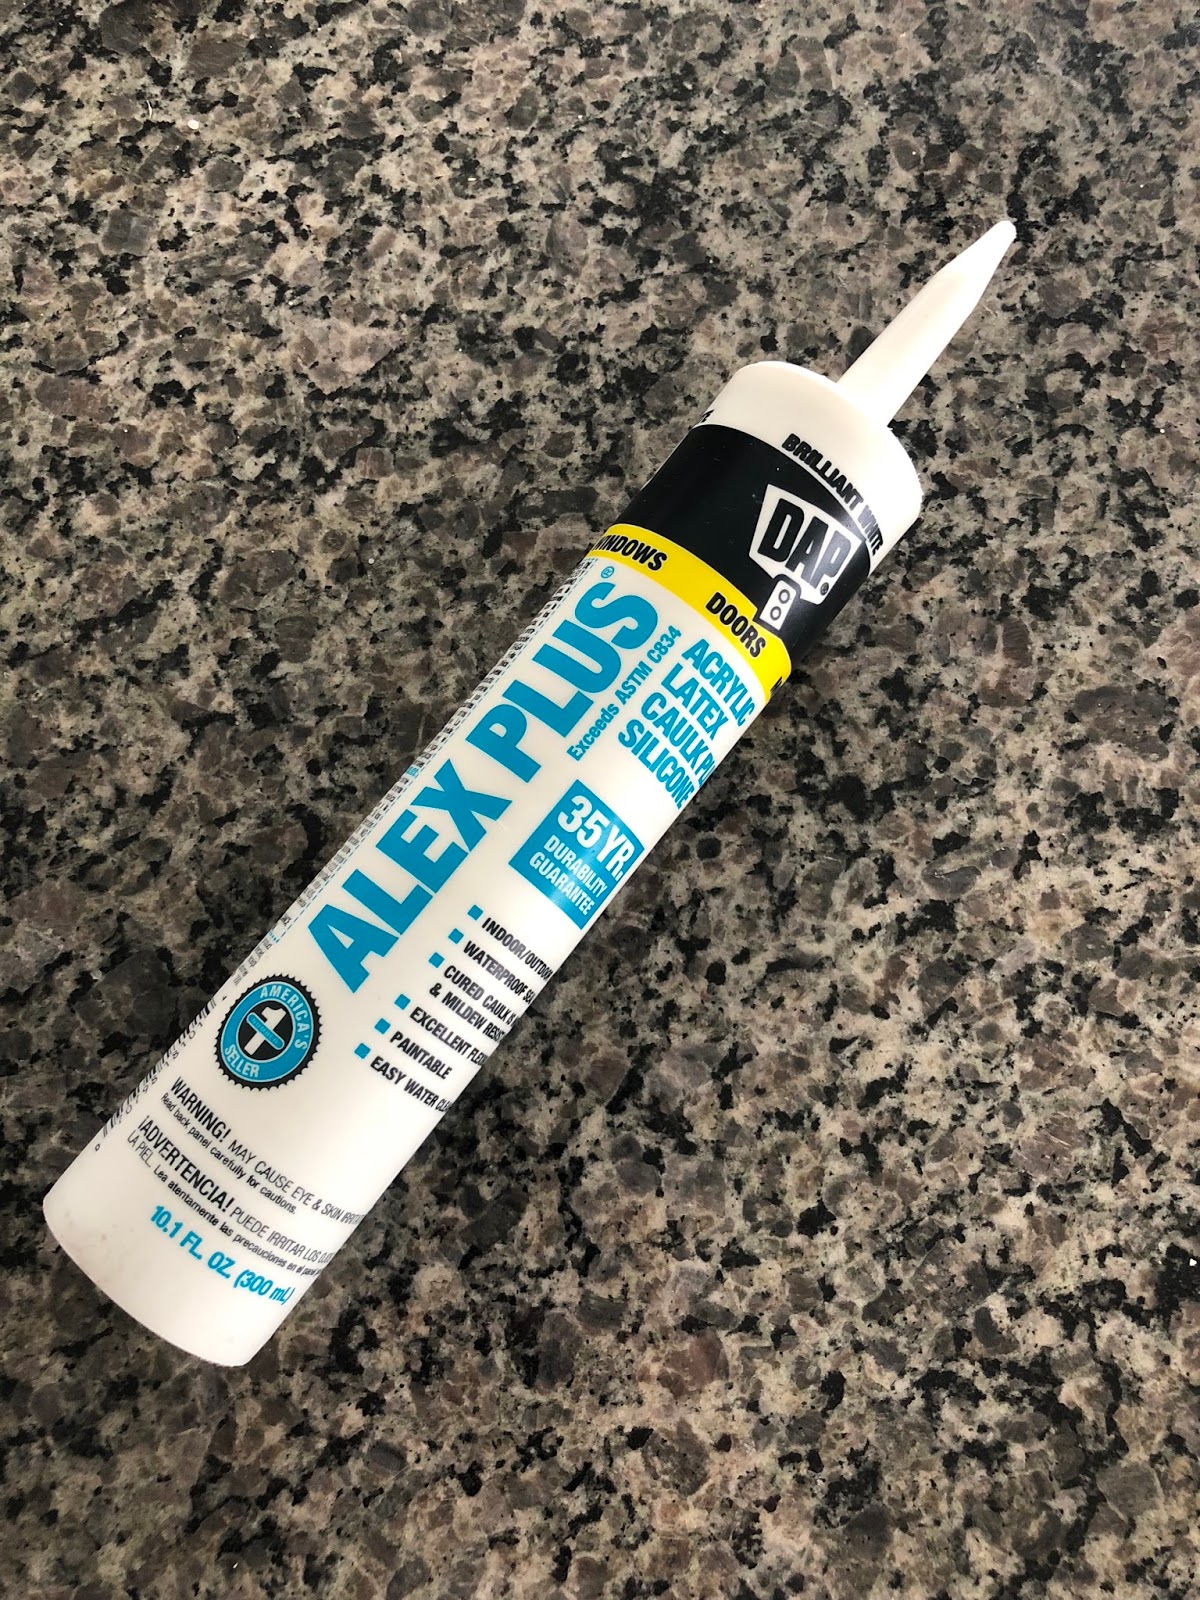
- Caulk Gun and caulk
- Multi Cutting Tool (to remove sections of base board)
- Pry Bar (Small)
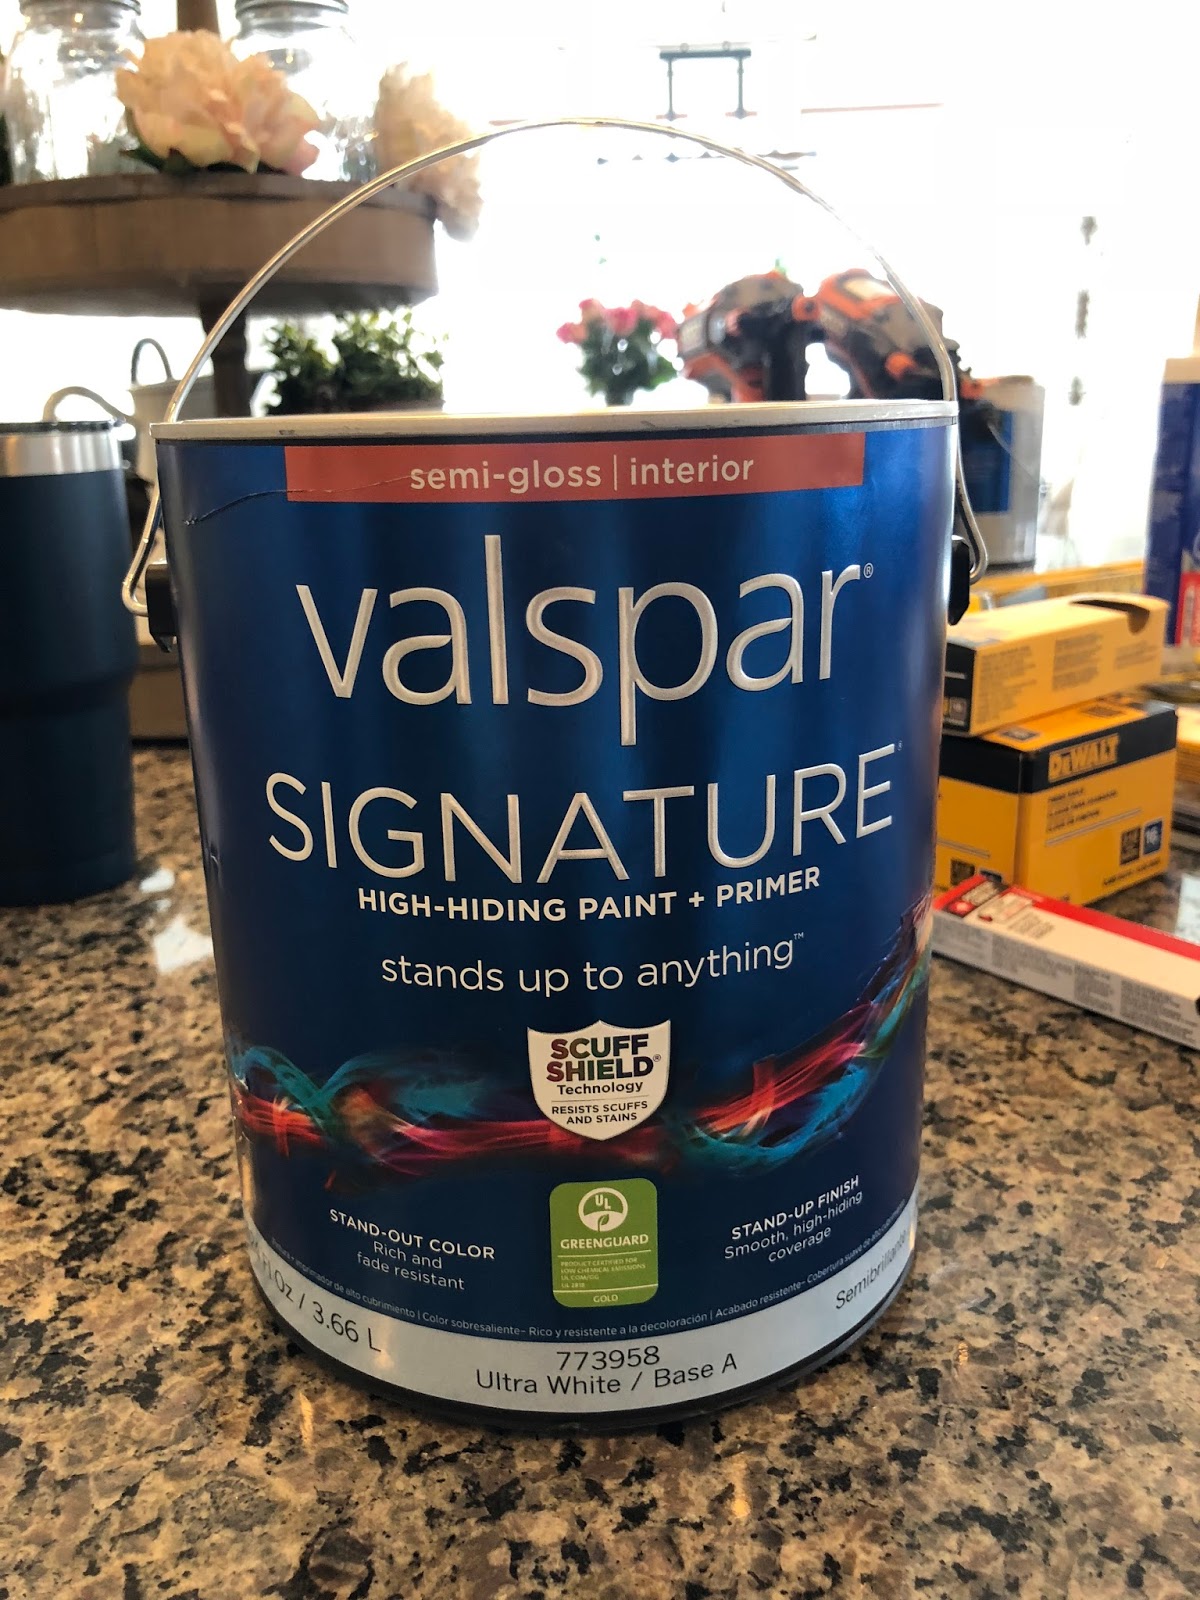
- Paint (we used a pure white paint by Valspar in a semi-gloss finish)
- Masking Tape
- Paint Brush, Short Paint Roller, Paint Tray
- Construction Adhesive
- 1″x 6″ Pine Boards (choose your length)
- 1″x 8″ Pine Boards (choose your length)
- 4″x 4″ Pine Board (this is to make the corbels so you just need 1)
- 1″x 2″ MDF Trim (this is for the trim on the top beam)
Step 1
Before you start this project it’s important to get all your measurements so you know how much wood to buy. You will be making 3 hollow 3 sided beams, one on the top and one on each side. Our space was quite large (16′ wide) so we ended up needing eight 1″x 6″ boards at 8′ and five 1″x 8″ boards at 8′ for our beams, and twelve 1″x 2″ MDF trim pieces for the trim work.
Step 2
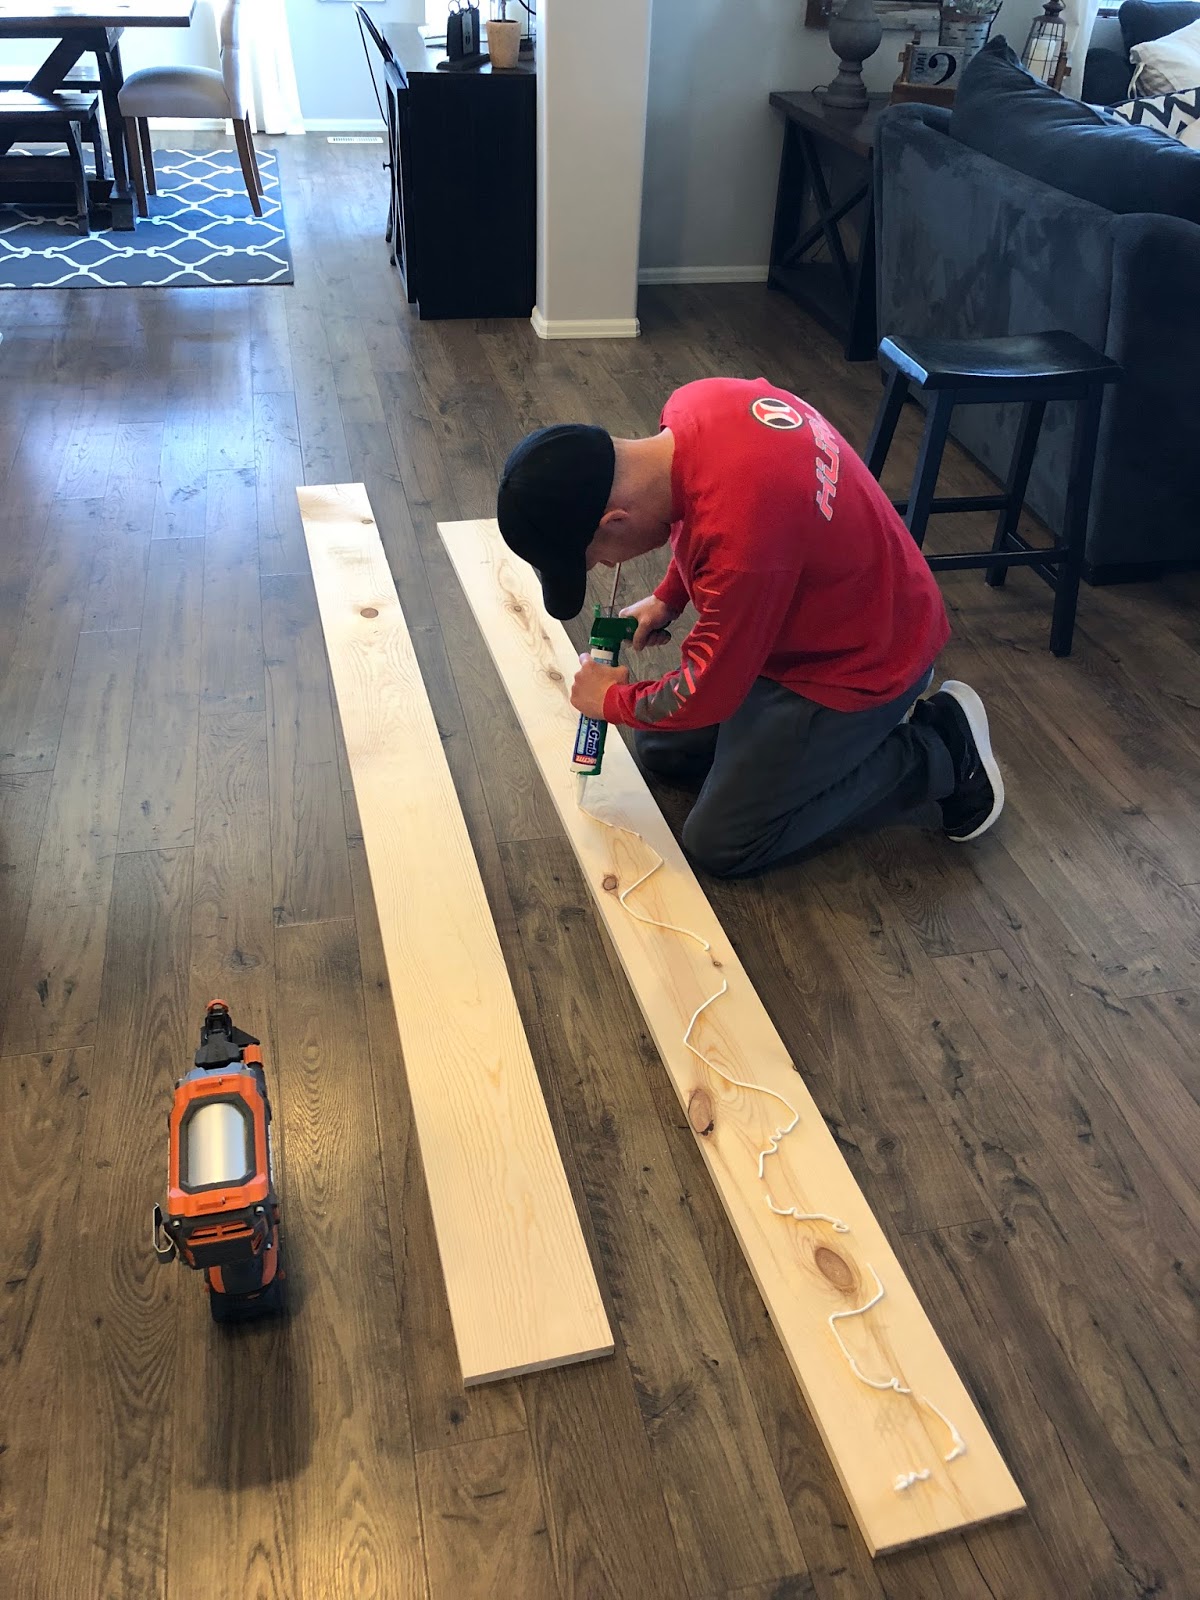
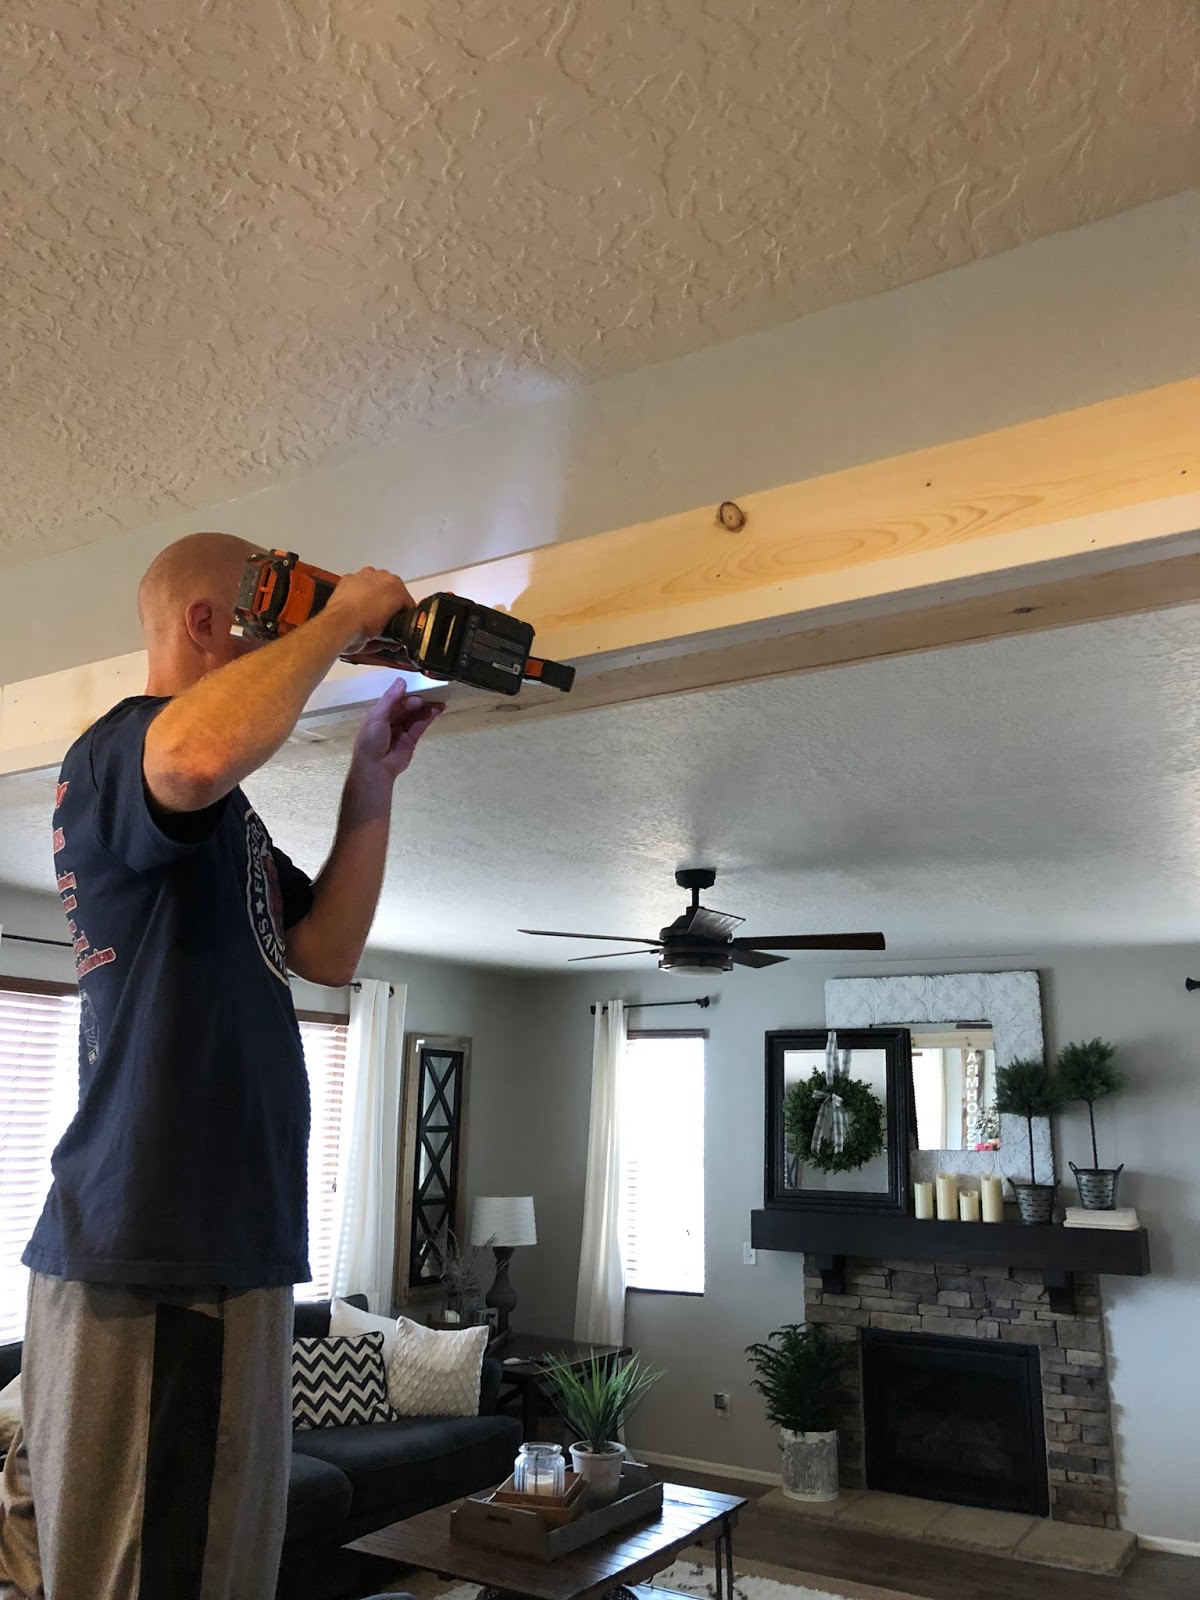
The first thing you are going to do is cut your boards to build your top beam. We decided to cut the width down a bit so we ripped our boards first and then cut them to the right length, (this step is optional and just personal preference)
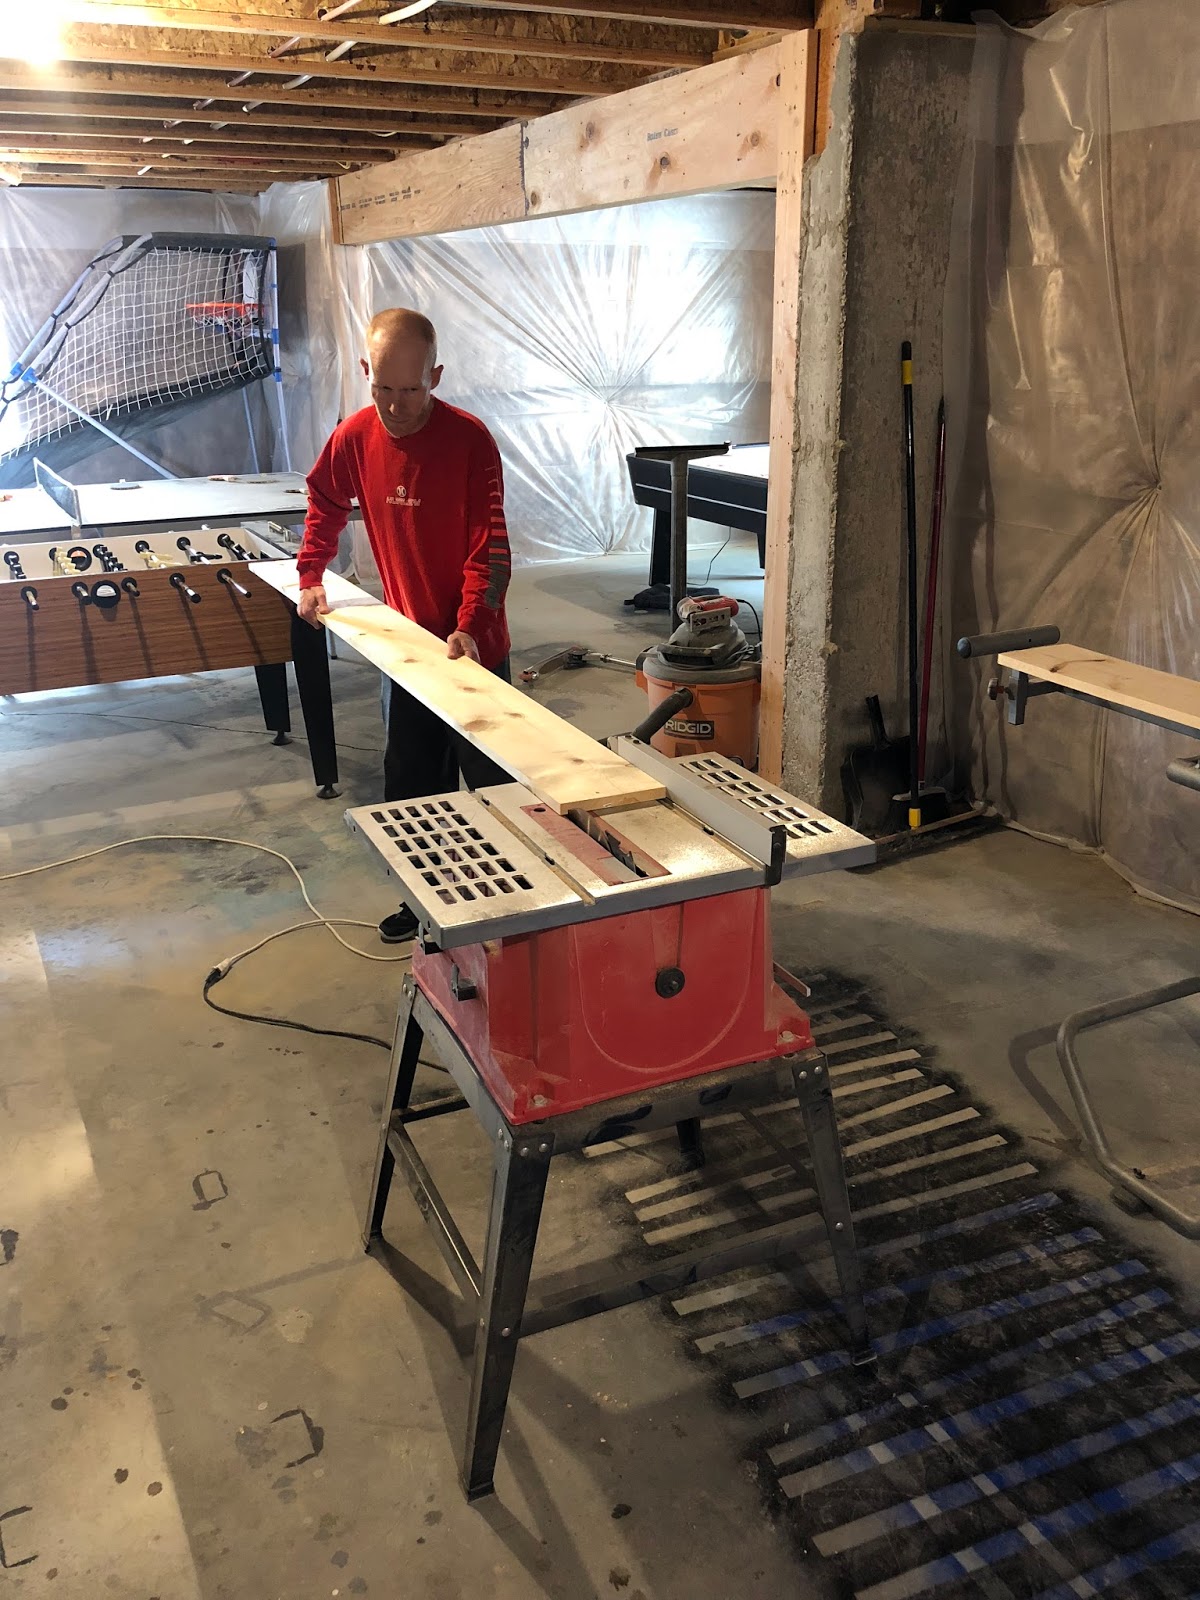
Step 3
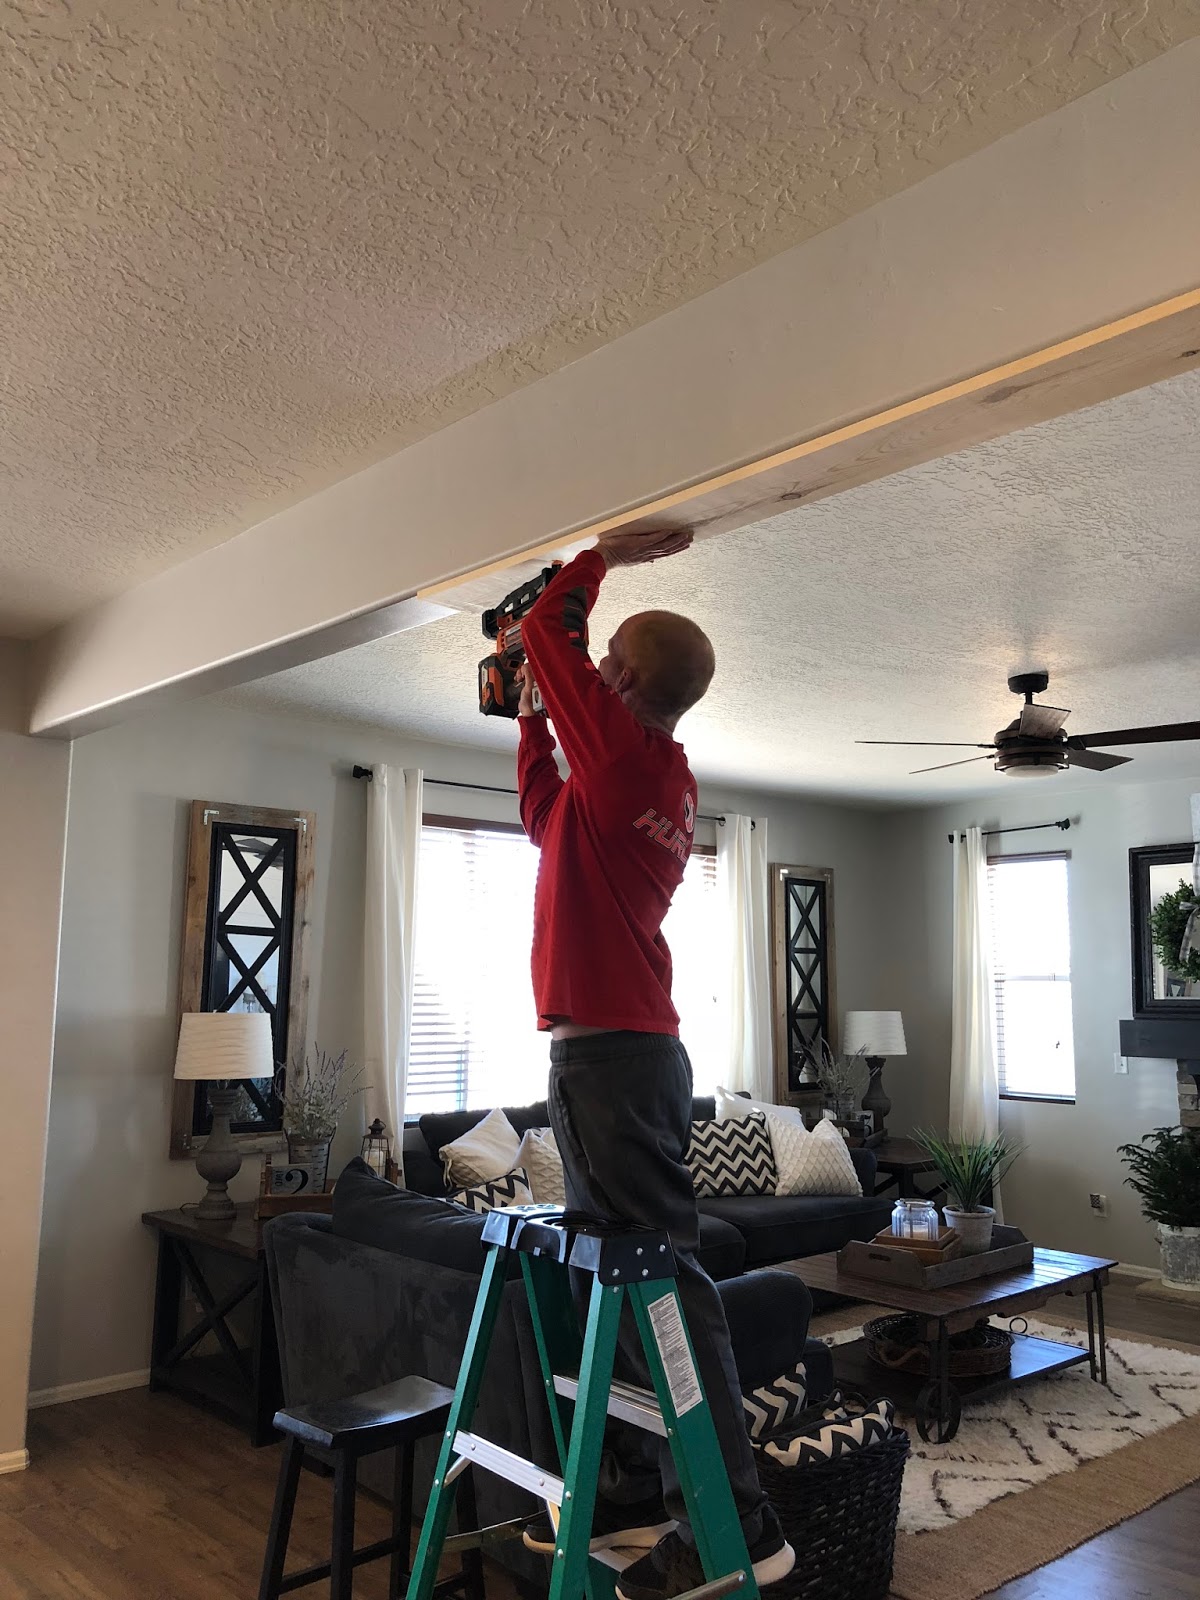
Now that your boards are cut you can build the top beam. To do this you are going to place a 1″x 8″ board on the underneath of the header then a 1″x 6″ board on each side, essentially wrapping that section on wall to look like a beam. You are going to want to put some construction adhesive on the back of each board then place it on the the wall and secure it with nails.
Step 4
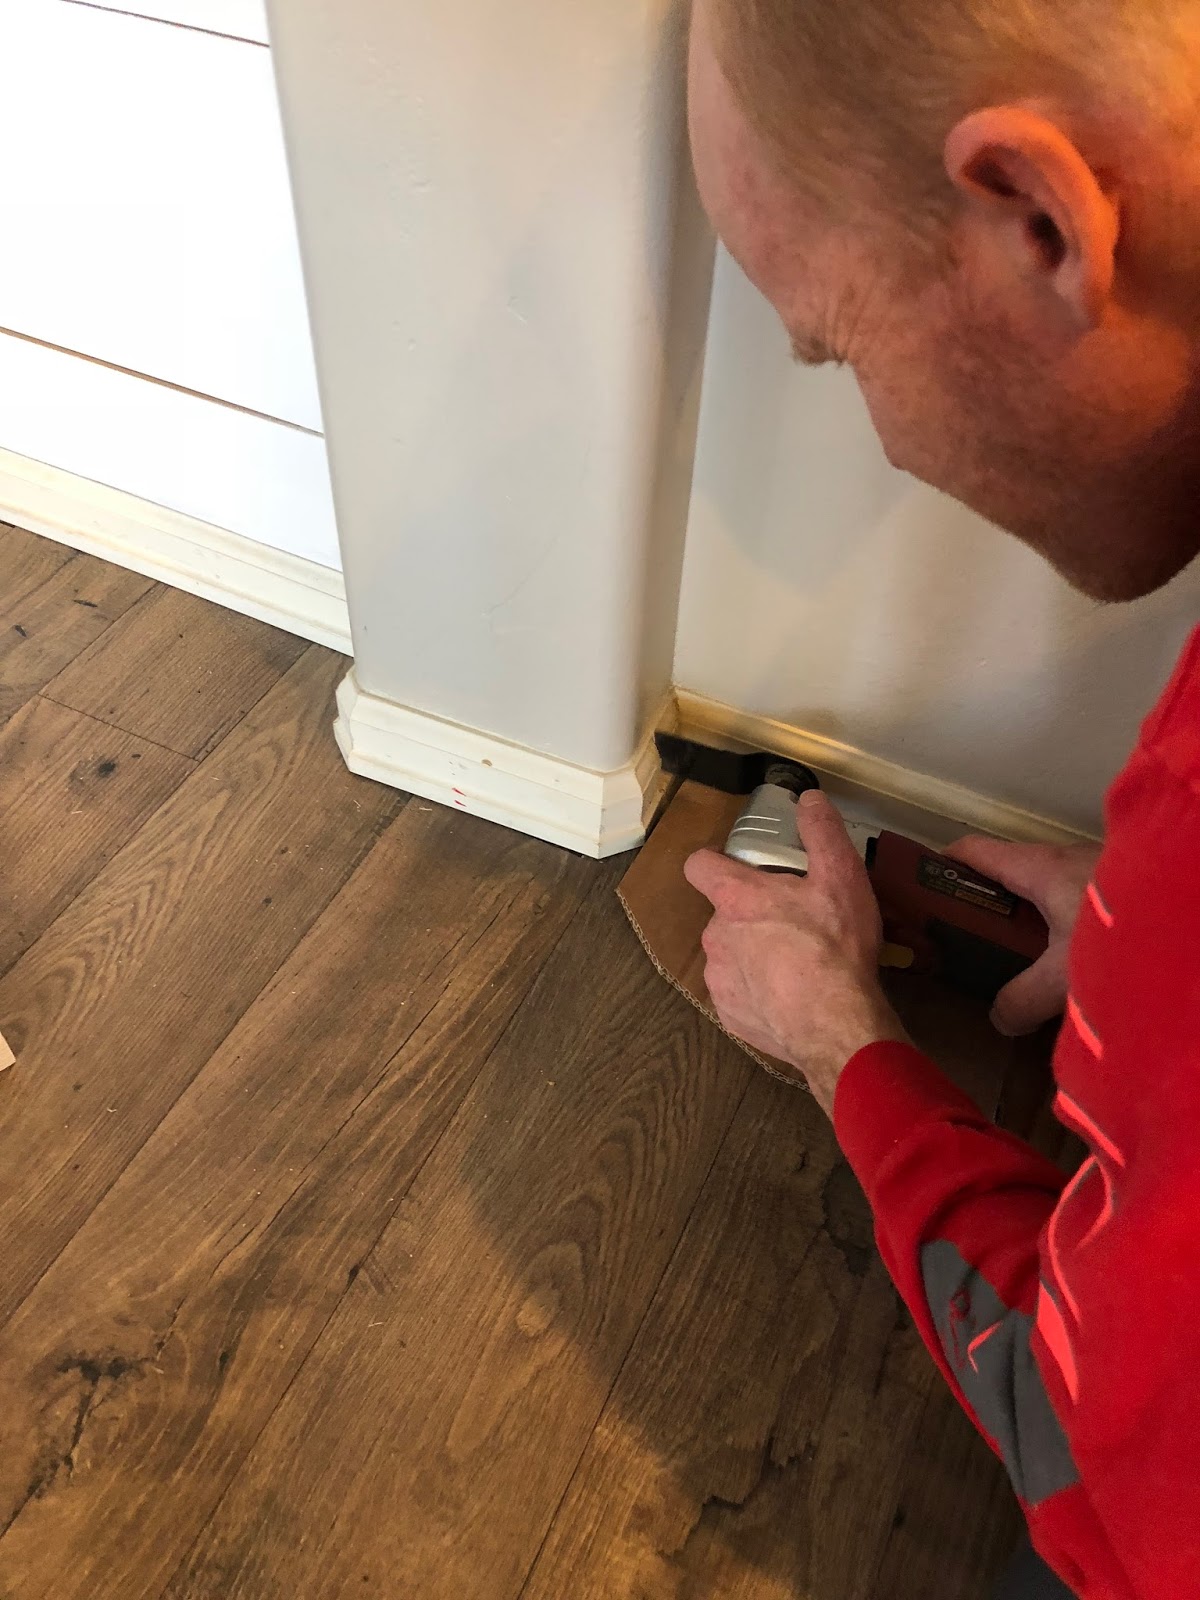
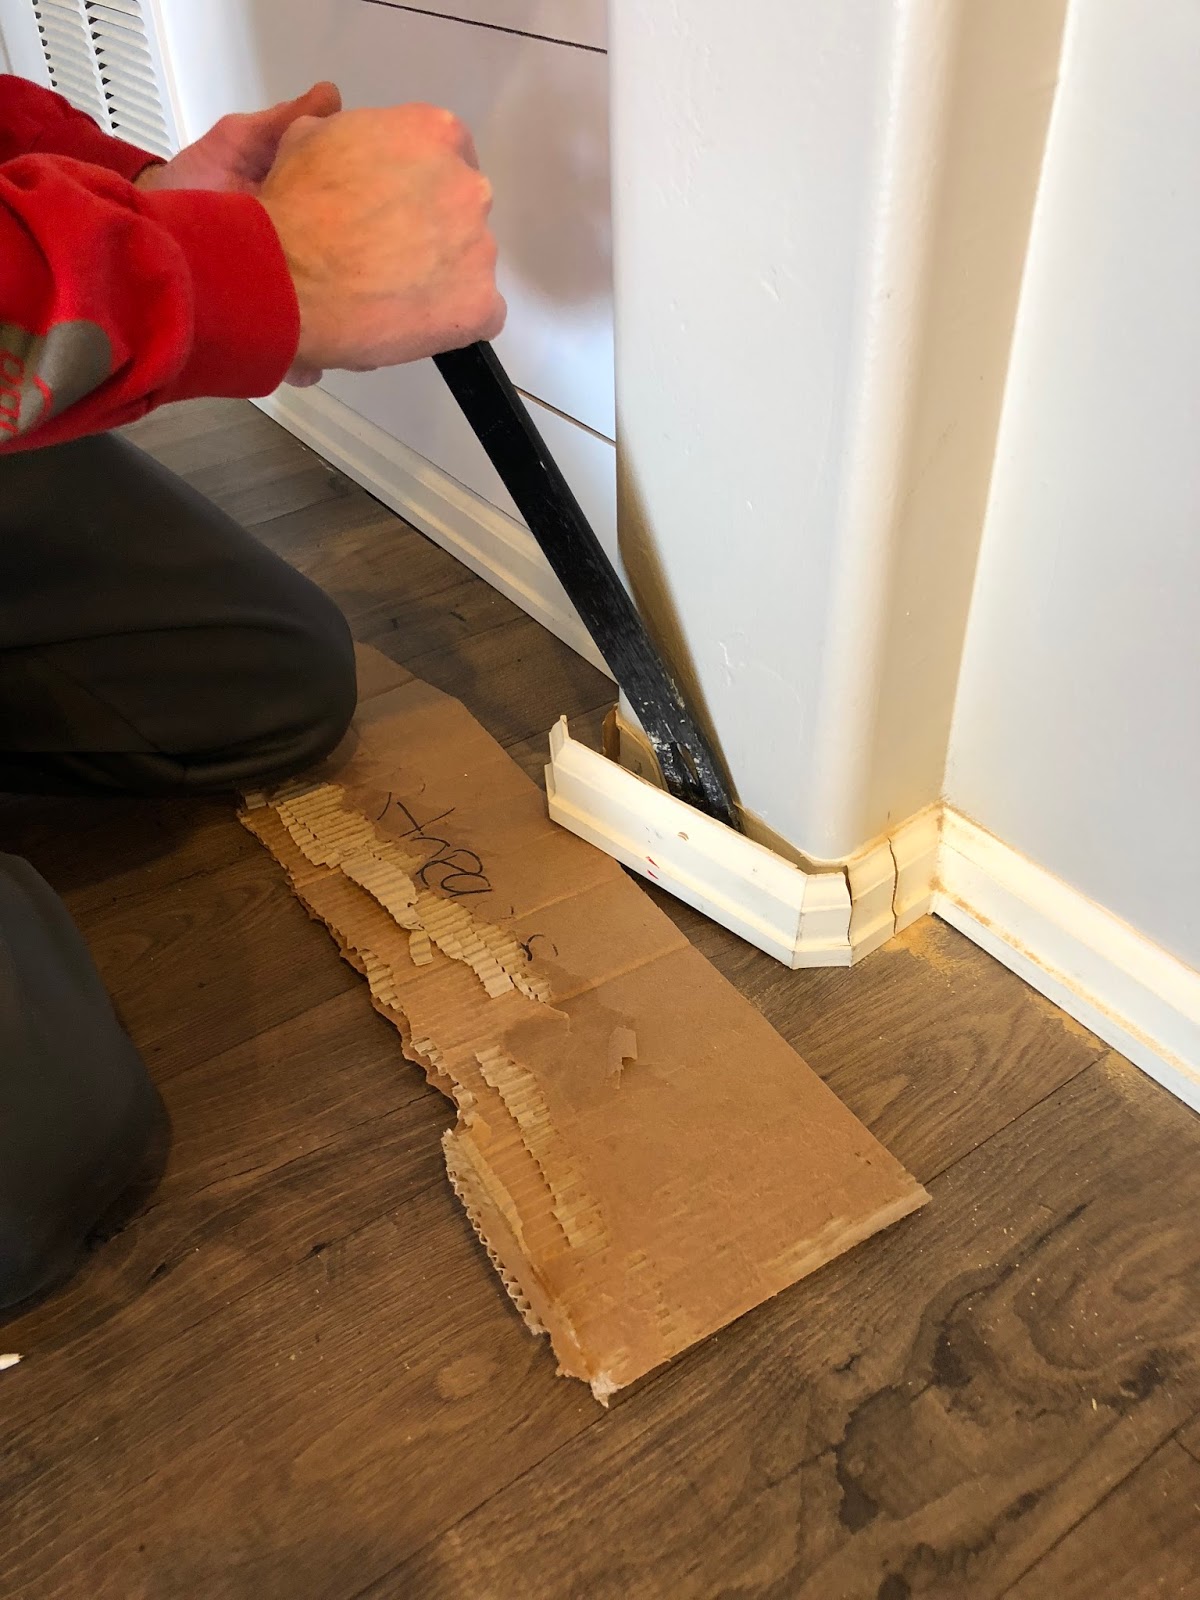
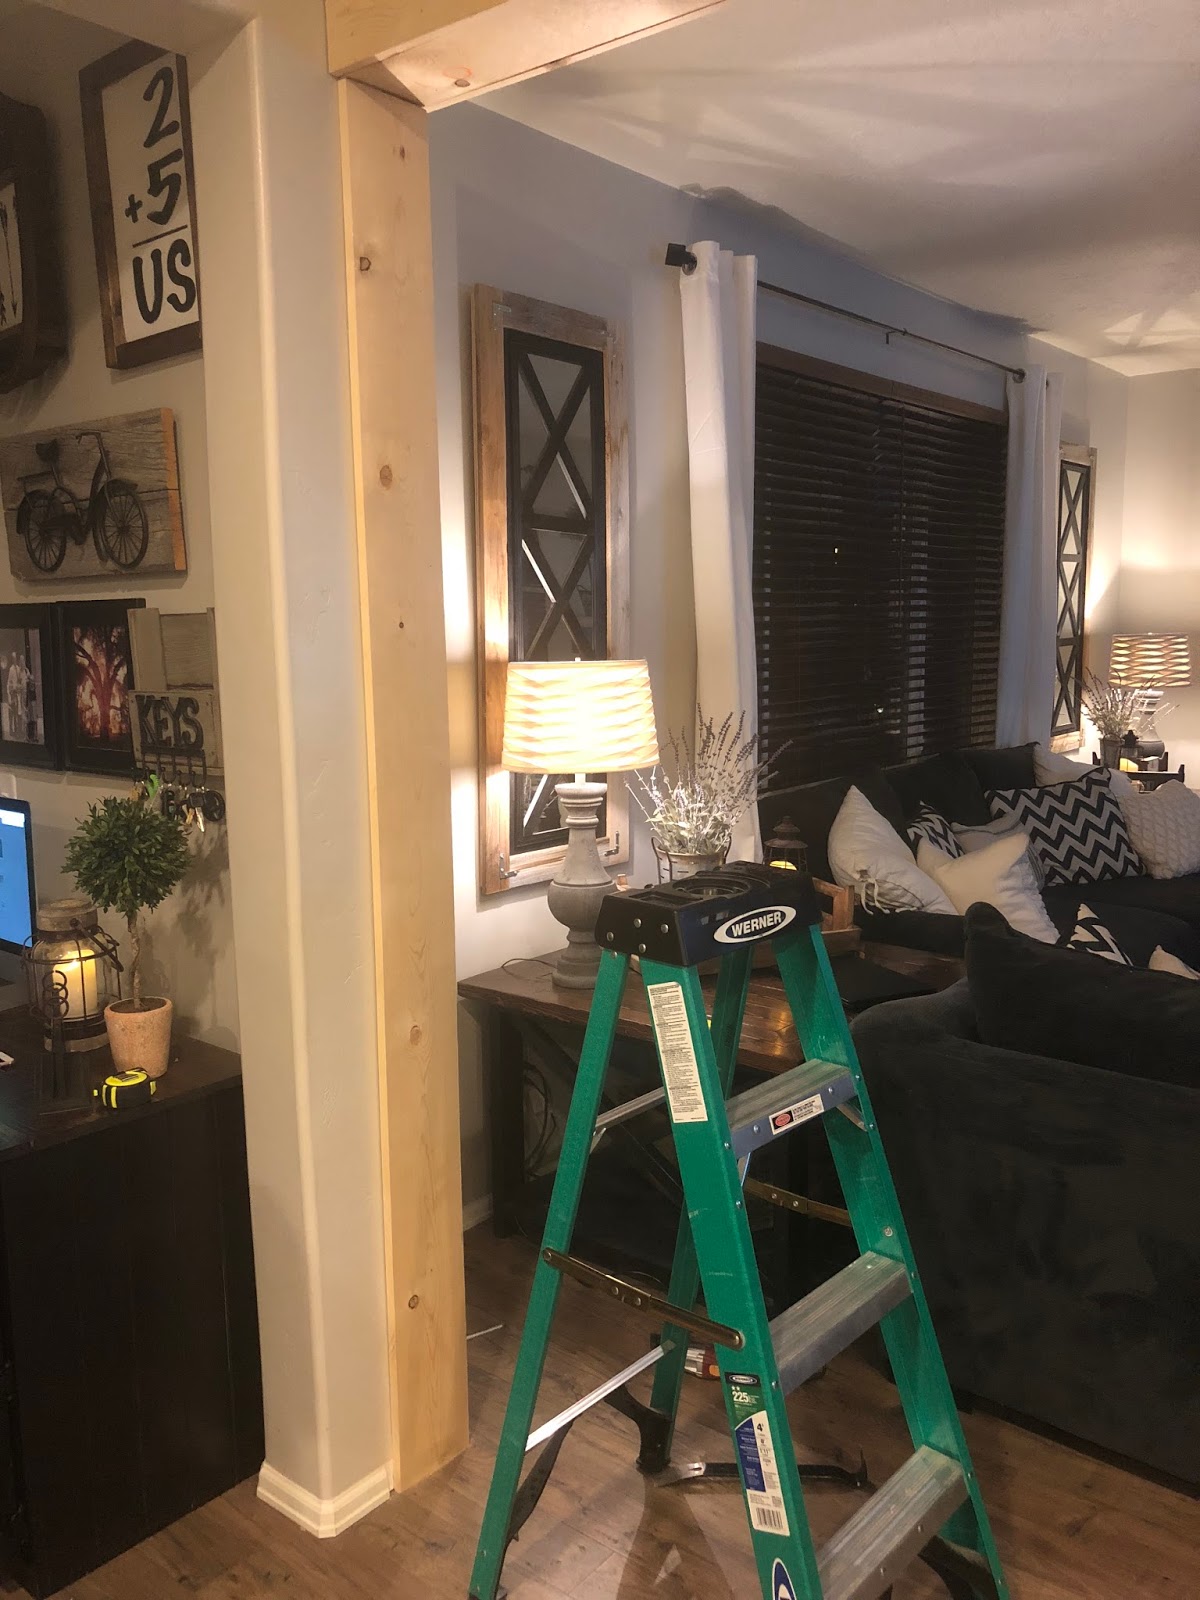
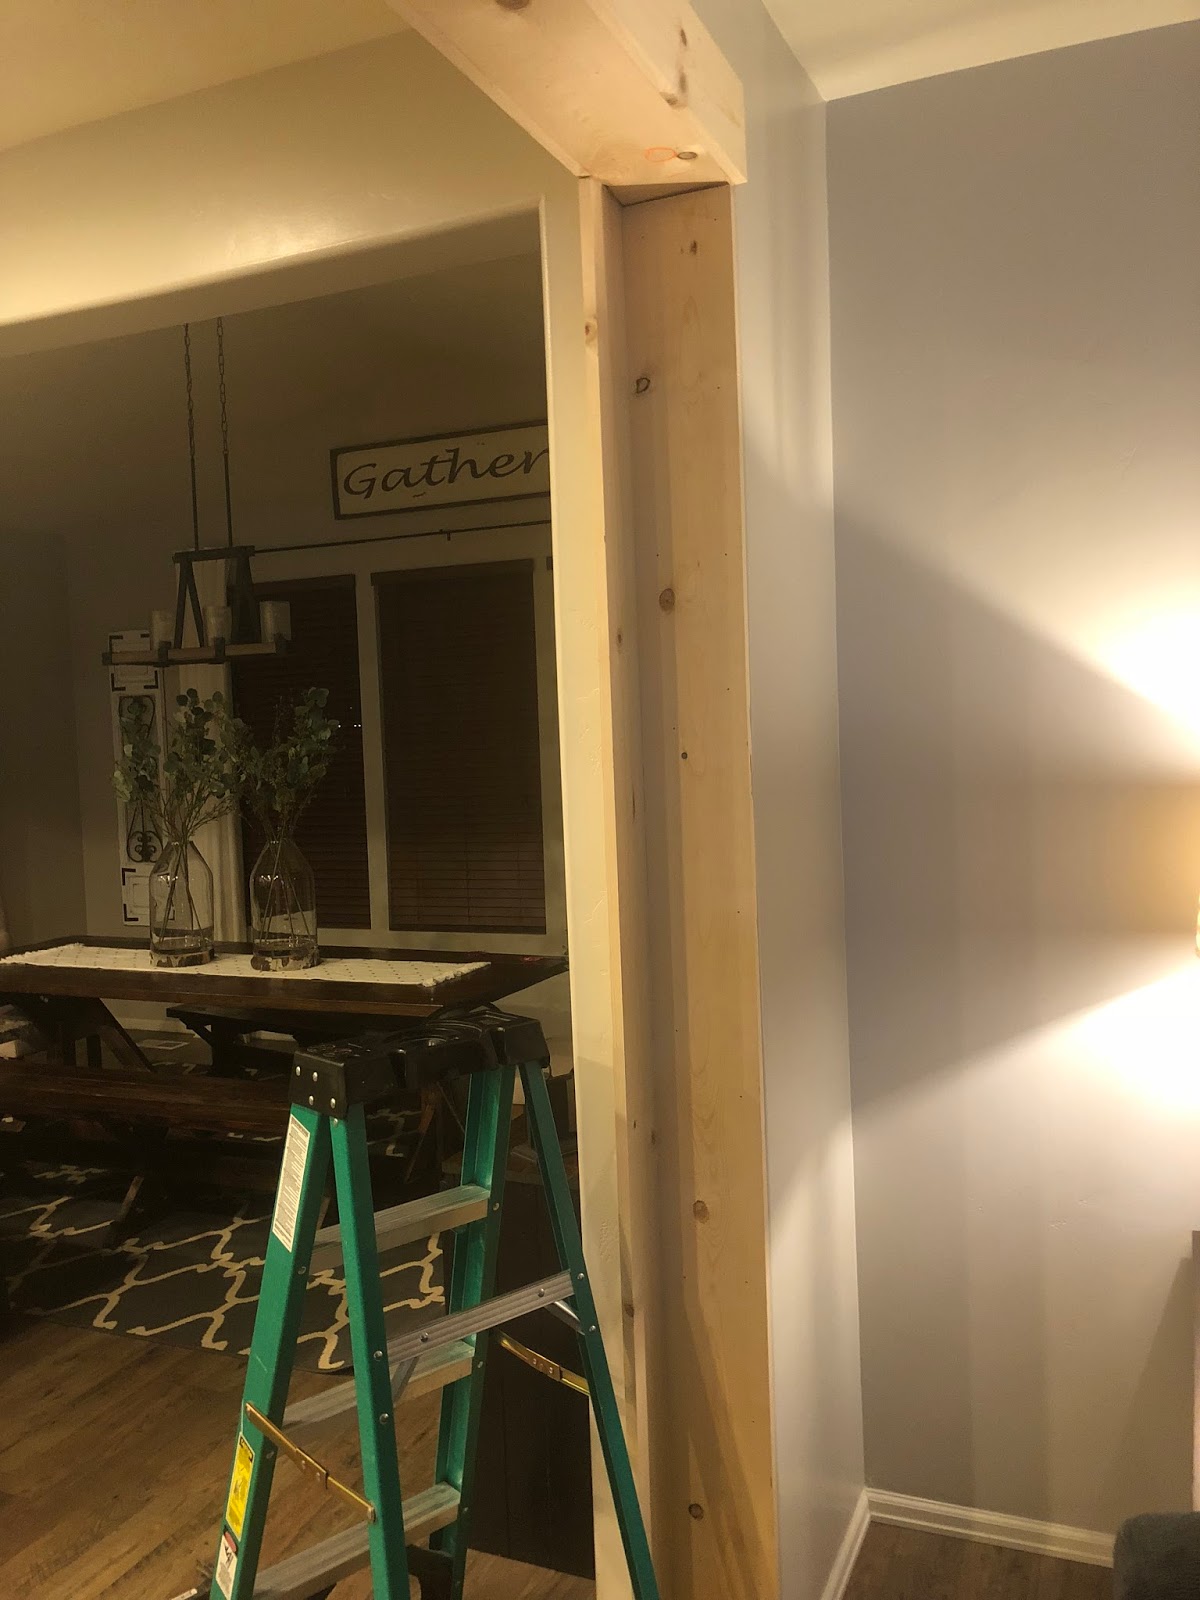
Before you can build your side beam you are going to want to cut out any base board you may have on your wall so that the beams can sit flat against the wall. This is where you are going to use your cutting tool to carefully cut the sides and then the pry bar to remove the piece of base board.
Step 5
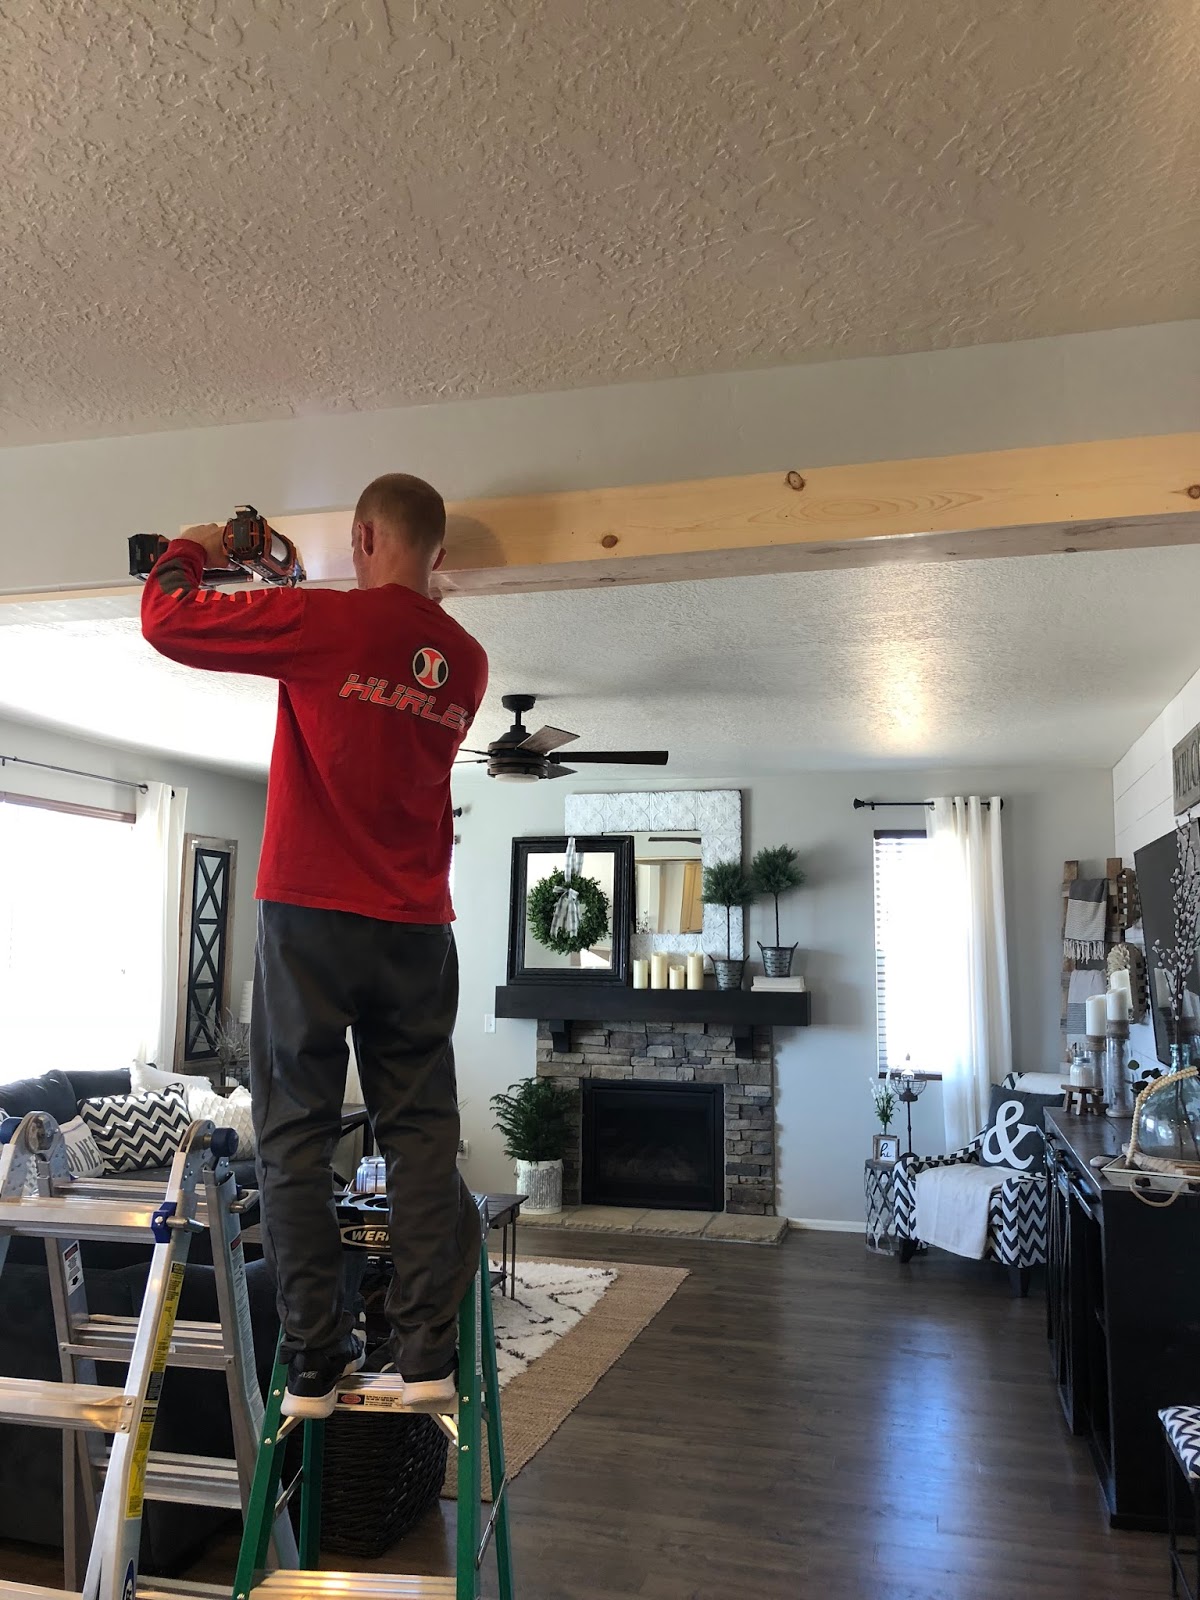
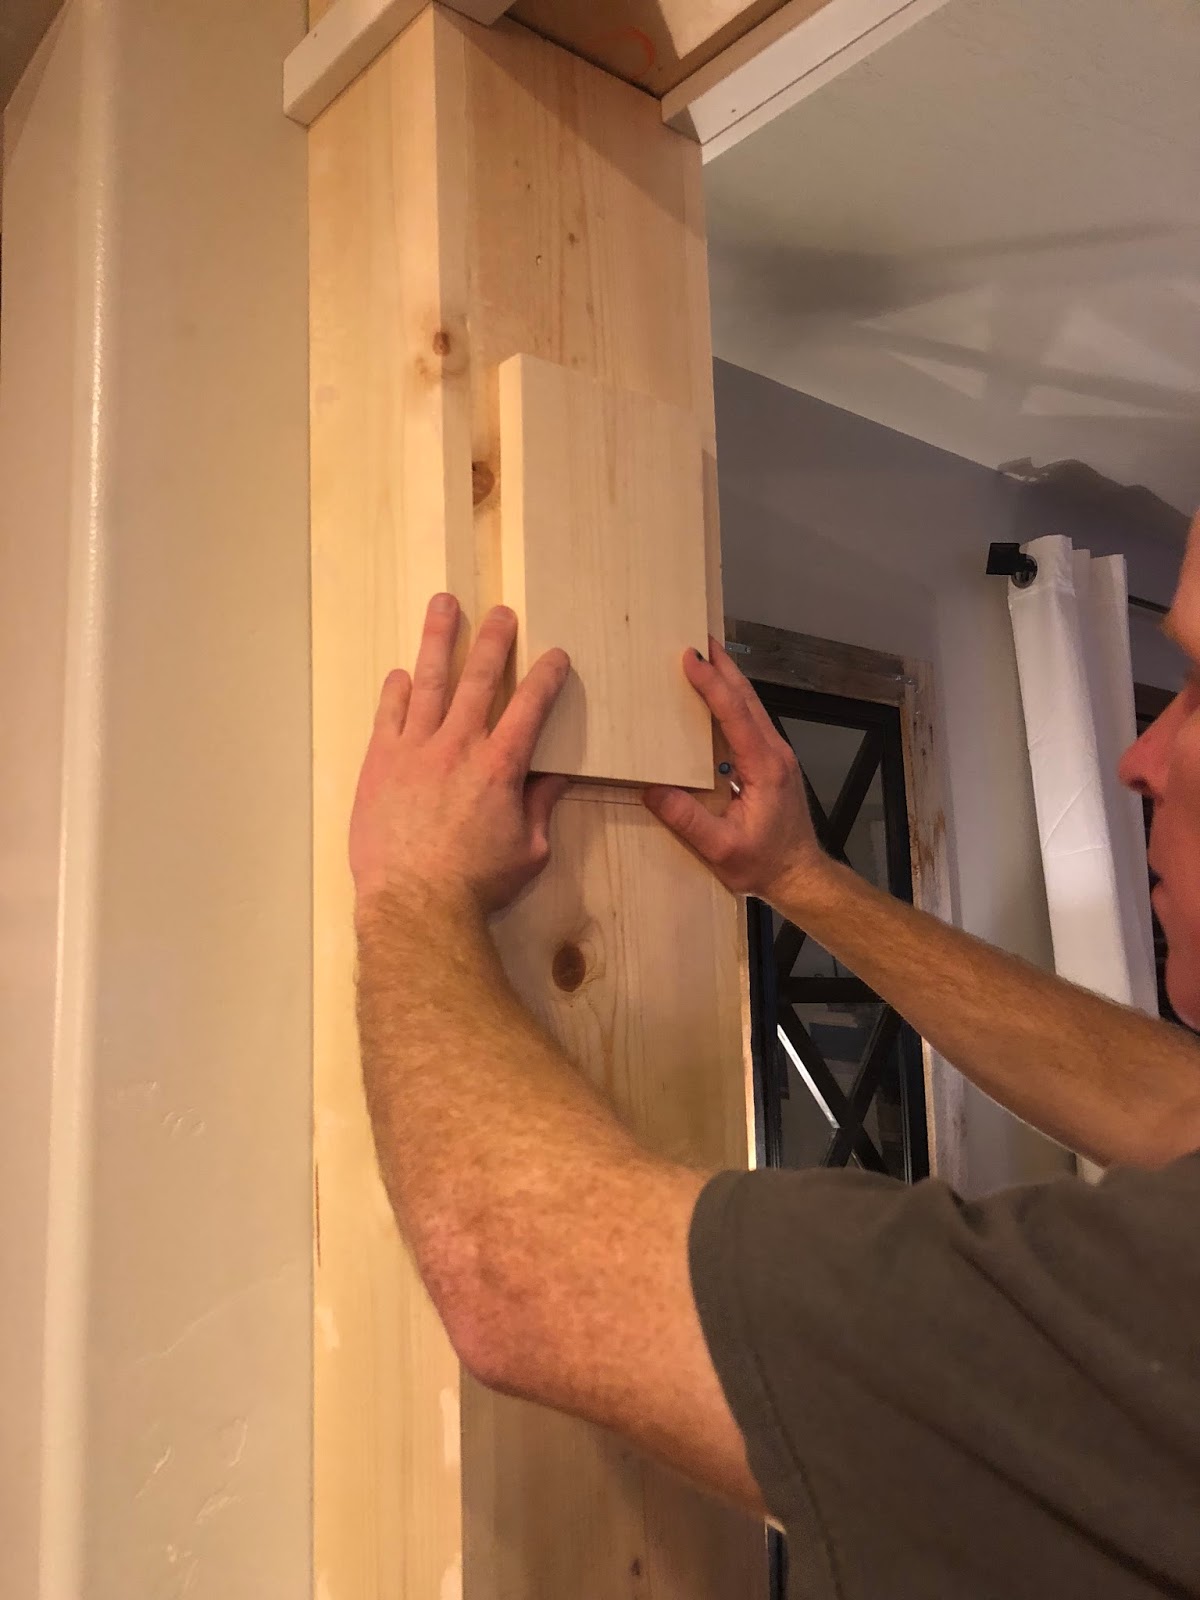
Next step is to build the beams on each side. For our space on one side we were able to attach the beam to the side of the wall, but on the other side we had to build a cleat to attach the wood to since the wall was flat. Depending on your walls you can attach you side beams either way. For our first side we built a hollow 3 sided beam that we attached to the wall.
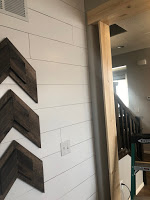
Step 6
For the next side beam we attached it to the wall using a cleat. You are going to want to attach your cleat (board) to the flat wall first, then build your hollow beam around your cleat. Use wood glue where your boards touch each other, and construction adhesive where your boards touch the wall. Once your cleat is in place you will attach the other sides of the beam to the wall and secure with brad nails, making sure to fire the nails into the wood cleat.
Step 7
Now that the main structure is built it’s time to add the trim. Use the 1″x 2″ MDF boards to trim out the top beam. Start by attaching a piece to the bottom then another piece to the sides, making sure to overlap the side of the MDF you just attached to the bottom of the beam, essentially forming an L shape on the bottom of your top beam. Then attach a piece of the MDF to the top side of the beam and repeat for the other side of the beam. Secure with wood glue and nails.

Step 8
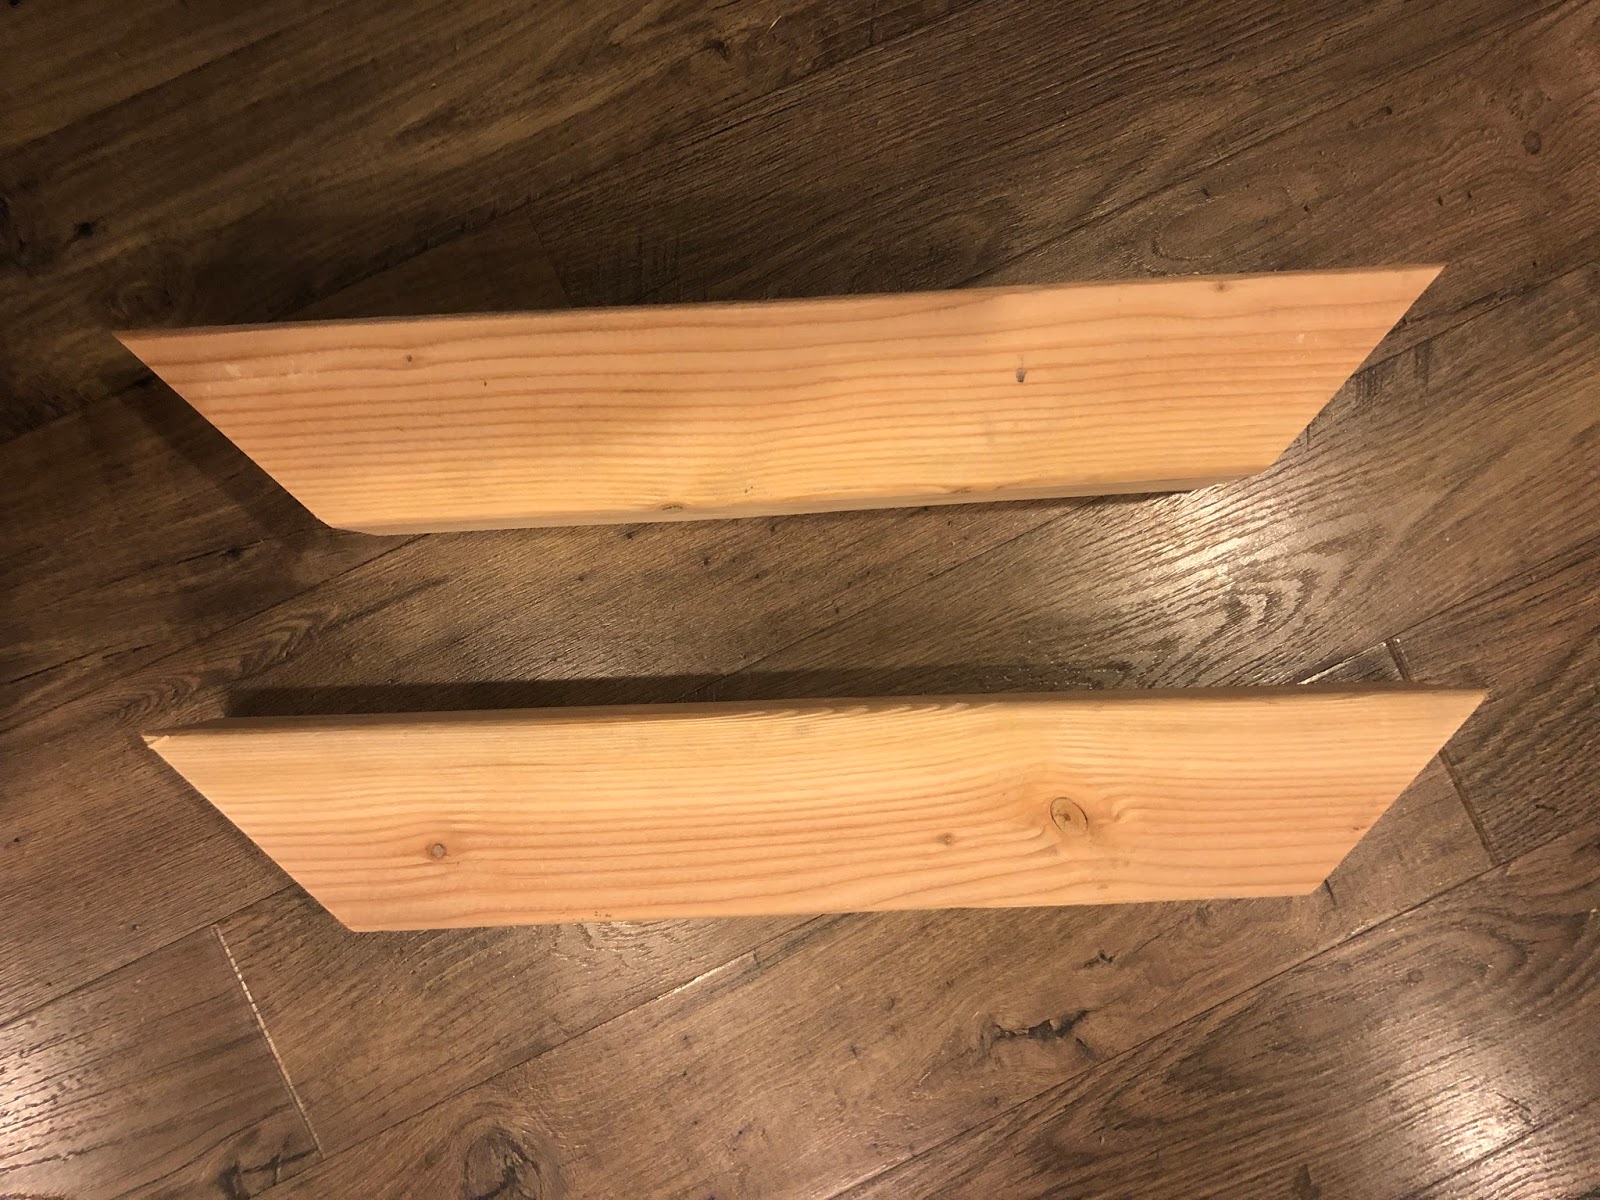
Now it’s time to build the corbels on the side of the beams. Cut your 4″x 4″ at a 45 degree angel to the size that fits your space. Take some of your scrap pieces of wood used to build the beams and cut a piece to attach to the bottom of your corbel. (This is just decorative and an optional step) Attach the base plate for the corbel to each side beam with wood glue and nails

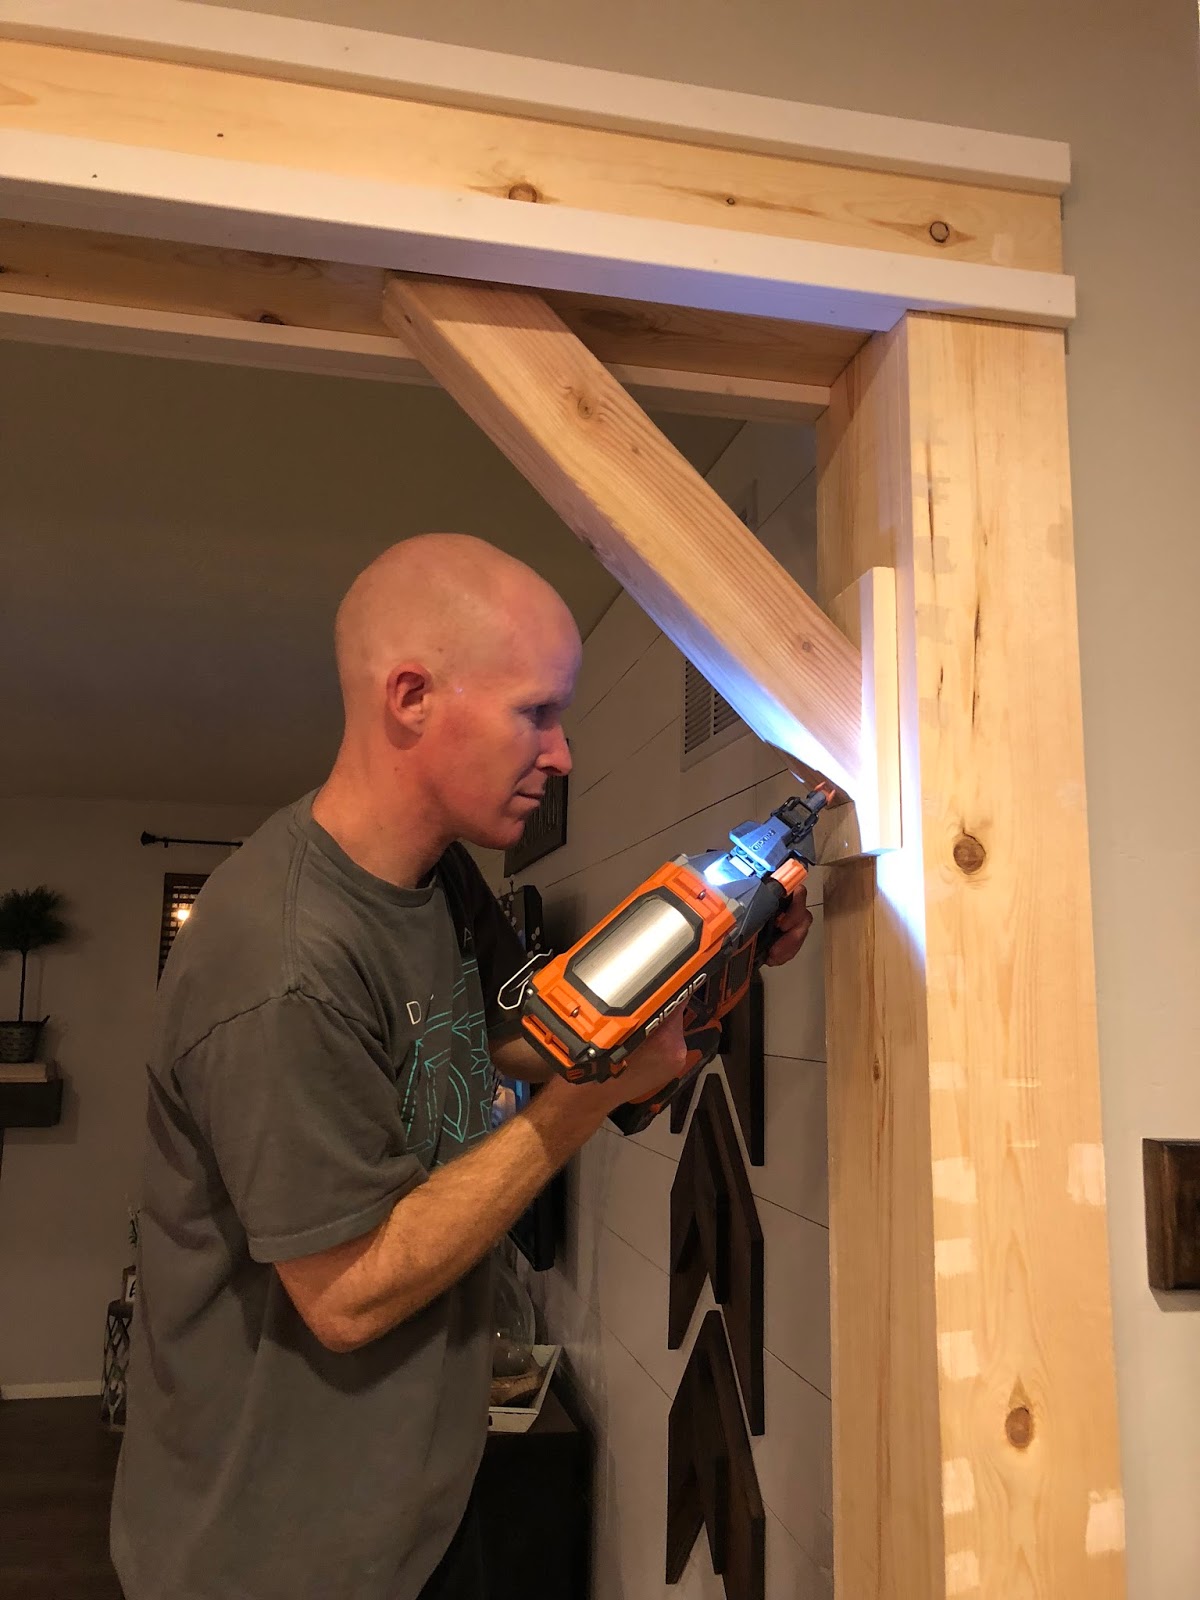
Step 9
Now its time to attach the corbels, use wood glue and nails. Shoot your nails at the base and top of the angled cut of the 4″x 4″
Step 10
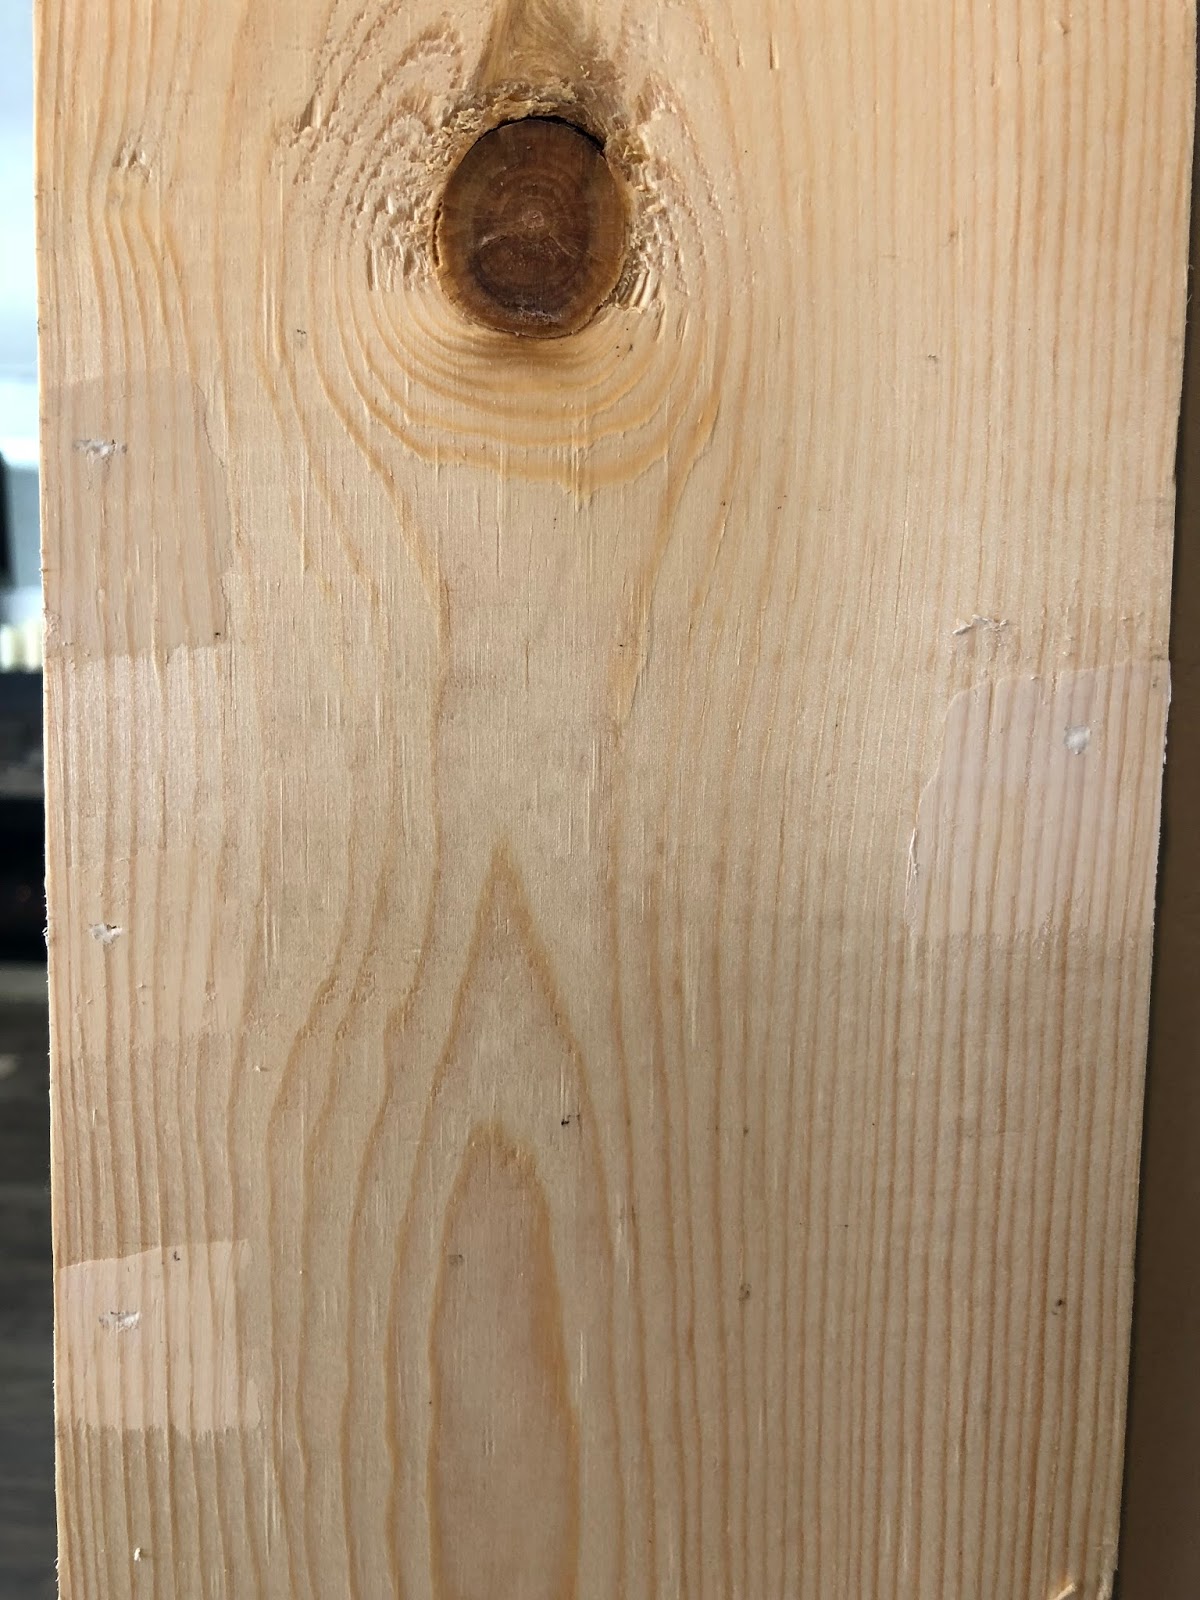
Now that the build part is finished it’s time to get it prepped for painting. You are going to need to fill all the nail holes and seams in the wood with caulk for a seamless looking finish. This dries pretty quickly (about 30 min) so once that is done and dry you can start painting.
Step 11
Now it’s time to paint!! We used a true white Valspar paint in a semi-gloss finish. You can paint this any color or use any brand paint you like, I just recommend getting it in a semi-gloss so that it can be easy cleaned and its not overly shiny.
This project took us 2 days to complete. It’s definitely not a beginners DIY project but if you have some building knowledge then it will come together nicely! I’m so excited with how well this project turned out and I hope you will give it a try in your home!!

-Grey Birch Designs-