


read more
One of the most common questions I’m asked is what paint colors are in my home. Deciding on what colors to use in your home can sometimes be a nerve-wracking decision. I hope this post helps answer some of the questions you have before heading to the paint department and being completely overwhelmed by the thousands of paint colors to choose from……..
Paint Brand
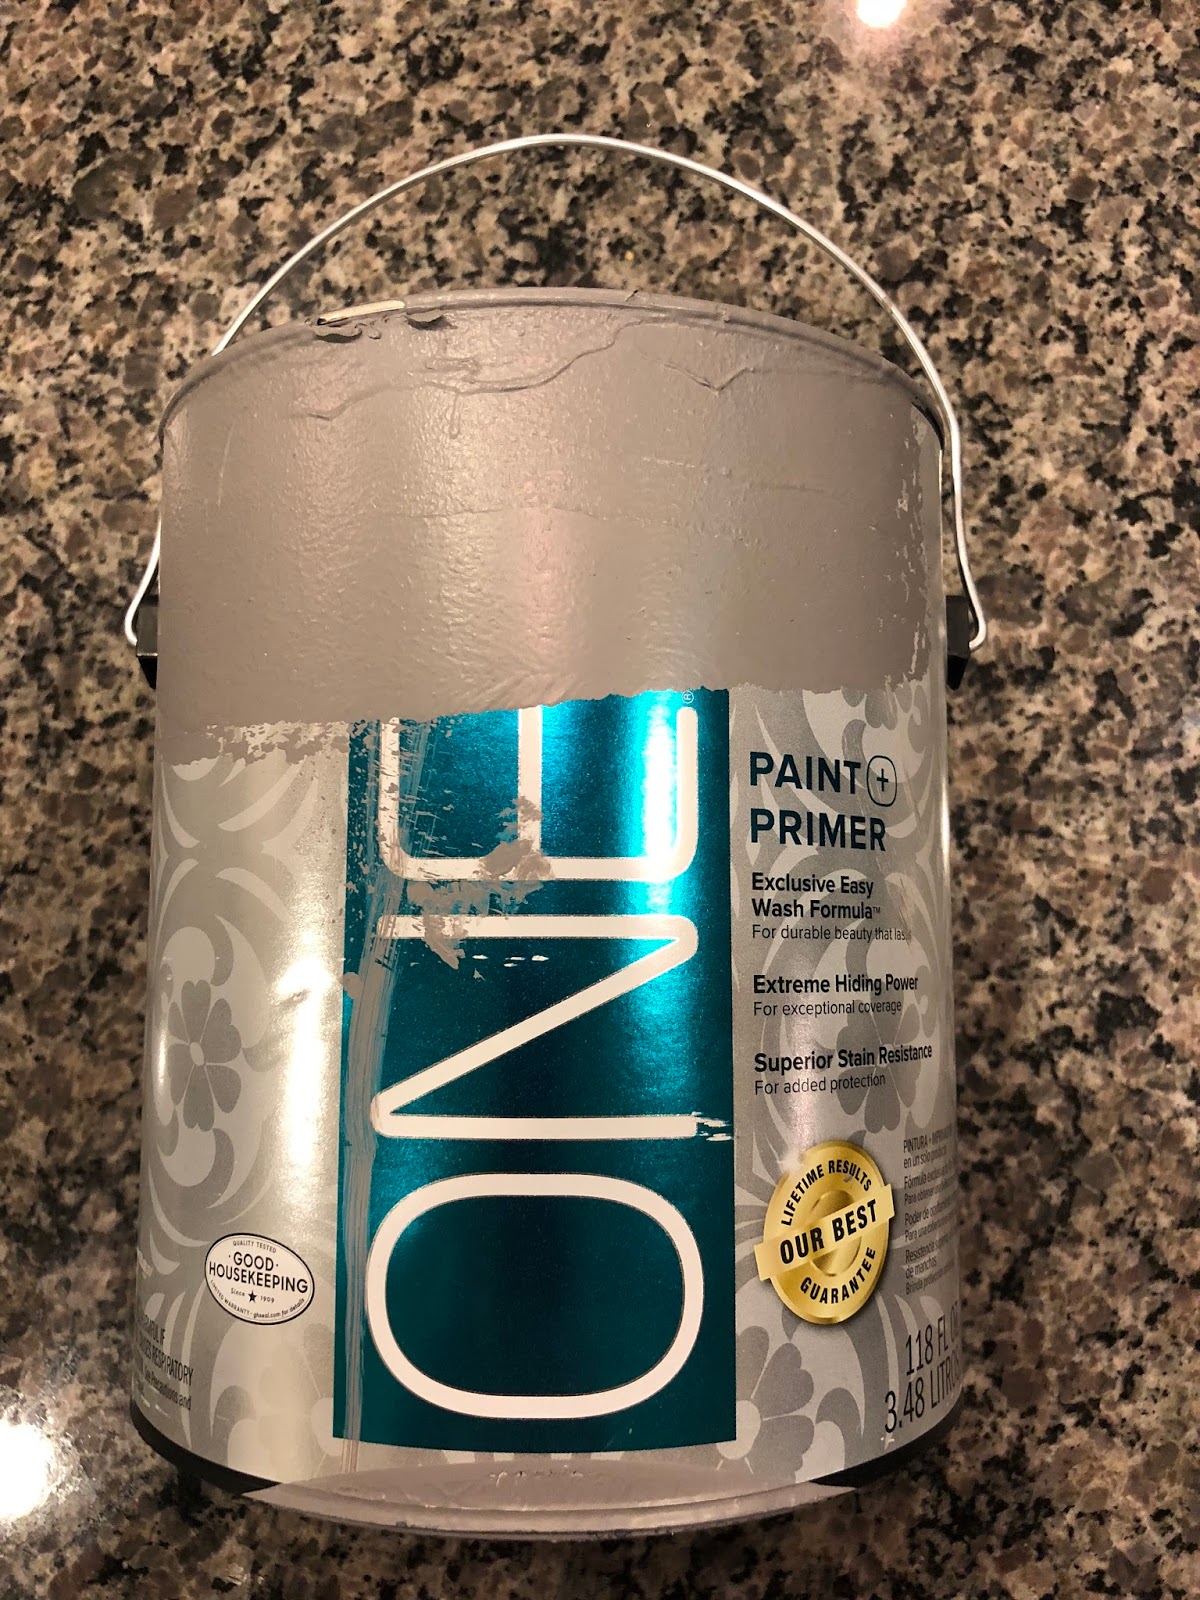
First I want to talk about paint brands since there are so many to choose from. I have tried many different brands, and for the most part, I don’t see a huge difference from say Valspar to Sherwin Williams. One thing I do think is important is to get at least the mid range quality paint. Don’t go with the cheapest one, because you will end up paying more in the long run by needing additional coats. I really like paint + primer. I feel it goes on thicker and covers better. I can usually get away with one coat, unless I’m painting over a darker color wall. Another thing to remember, since there are so many different brands out there, is the price can vary significantly from a more economical paint to a designer paint. I tend to fall in love with designer colors and fortunately places like Lowe’s and Home Depot will color match just about any color for use in an economical brand.
Paint Finish
I never used to realize how important paint finish is to the life of your walls until I had kids…..hahaha!! I was the person that always picked flat paint because I didn’t want it to shine. Well I have learned just how important the shine is!! Flat paint is a dirt magnet, but satin or semi-gloss paint is cleanable and wipeable. So for this reason I ALWAYS suggest at least a satin or higher finish.
My Paint Colors
Nearly all of the colors in my home are Benjamin Moore but color matched in Valspar paint. Some people say its not a 100% perfect match but I have been very happy with the colors and don’t notice any difference. My wallet appreciates it too!! I also often use true or pure white paint for trim or other accents. I like using this because I don’t notice any other colors pulling through the white. Whites can be tricky since there are so many tones to choose from. It’s very easy to love a white on paper and find that you see blues or tans in it once it’s on your wall. I have never had this problem when just using a pure white. Even if I have cool or warm tones in a room it always reads a true white and nothing else!
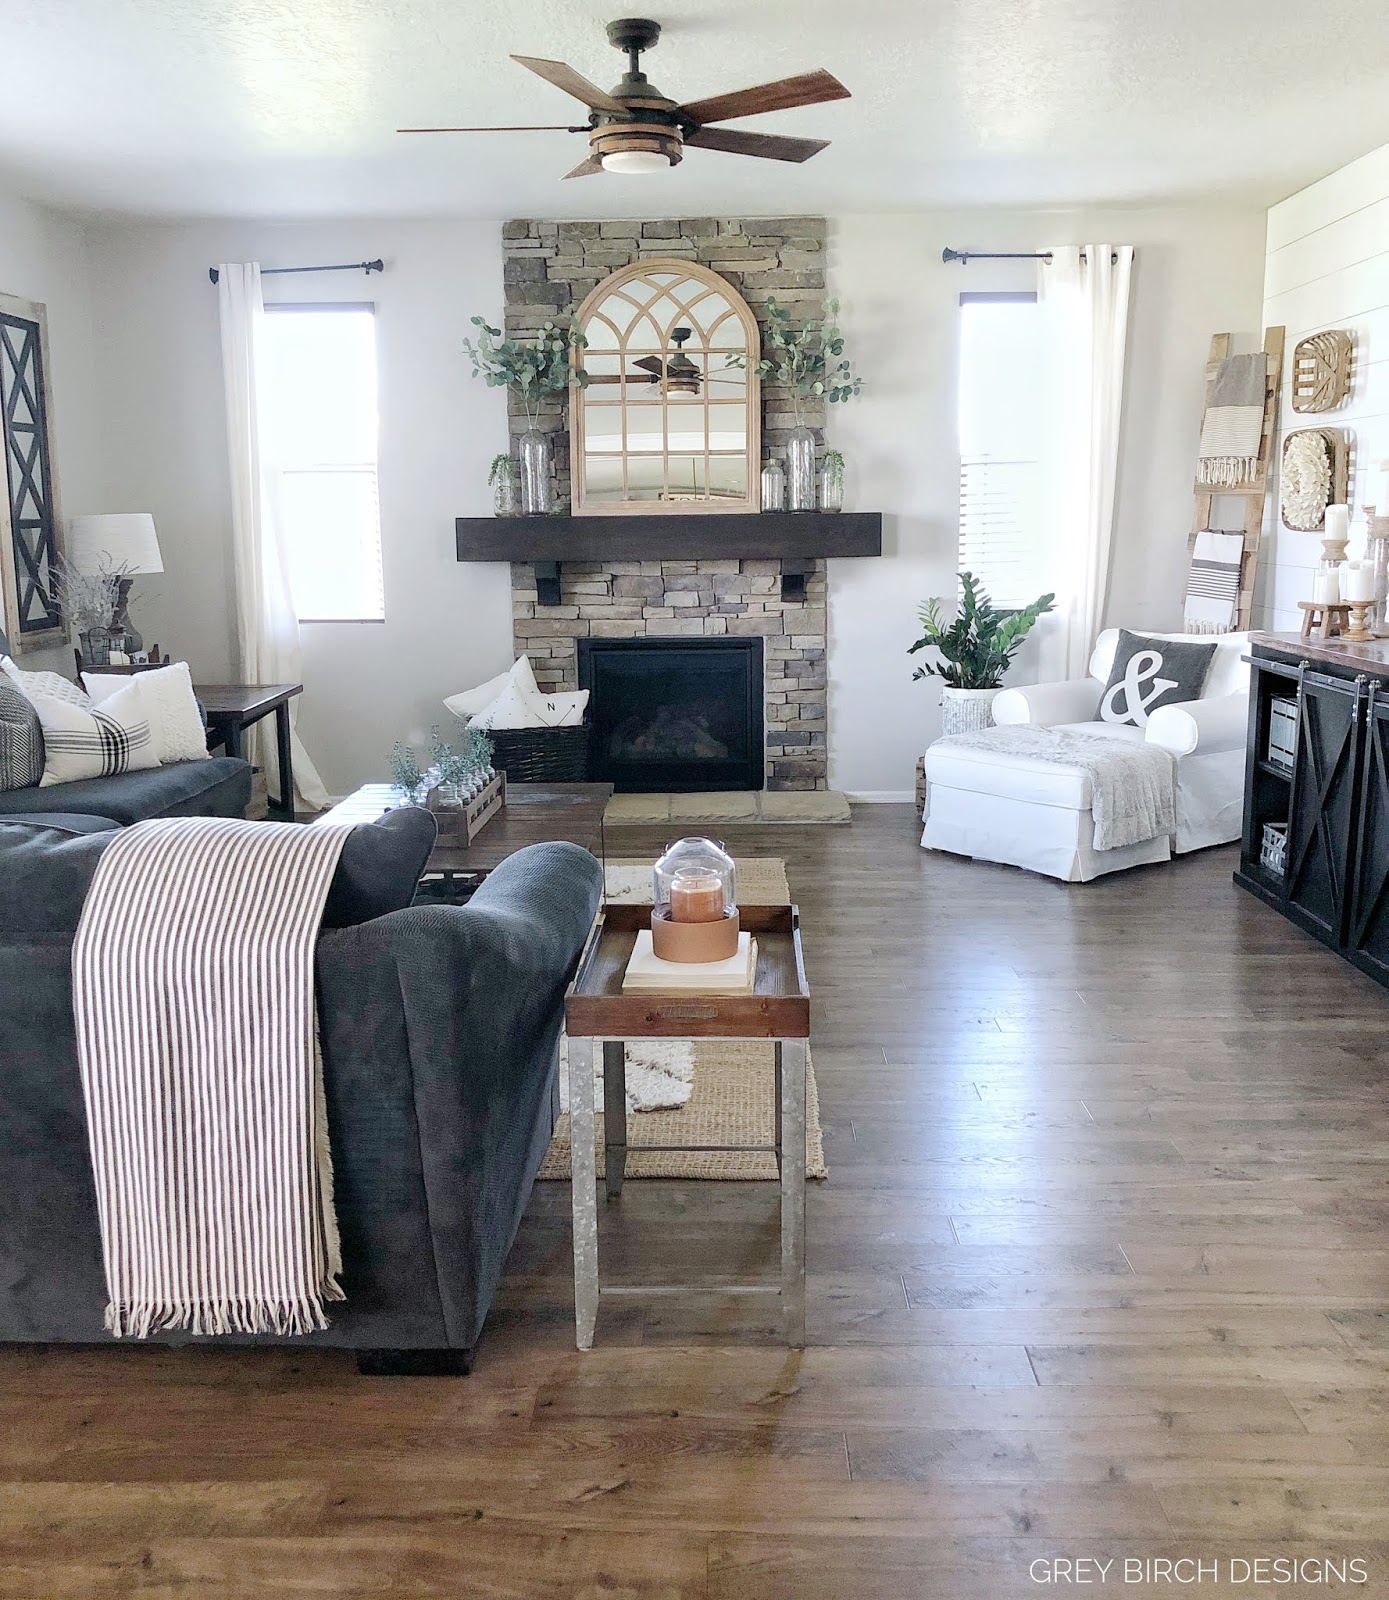
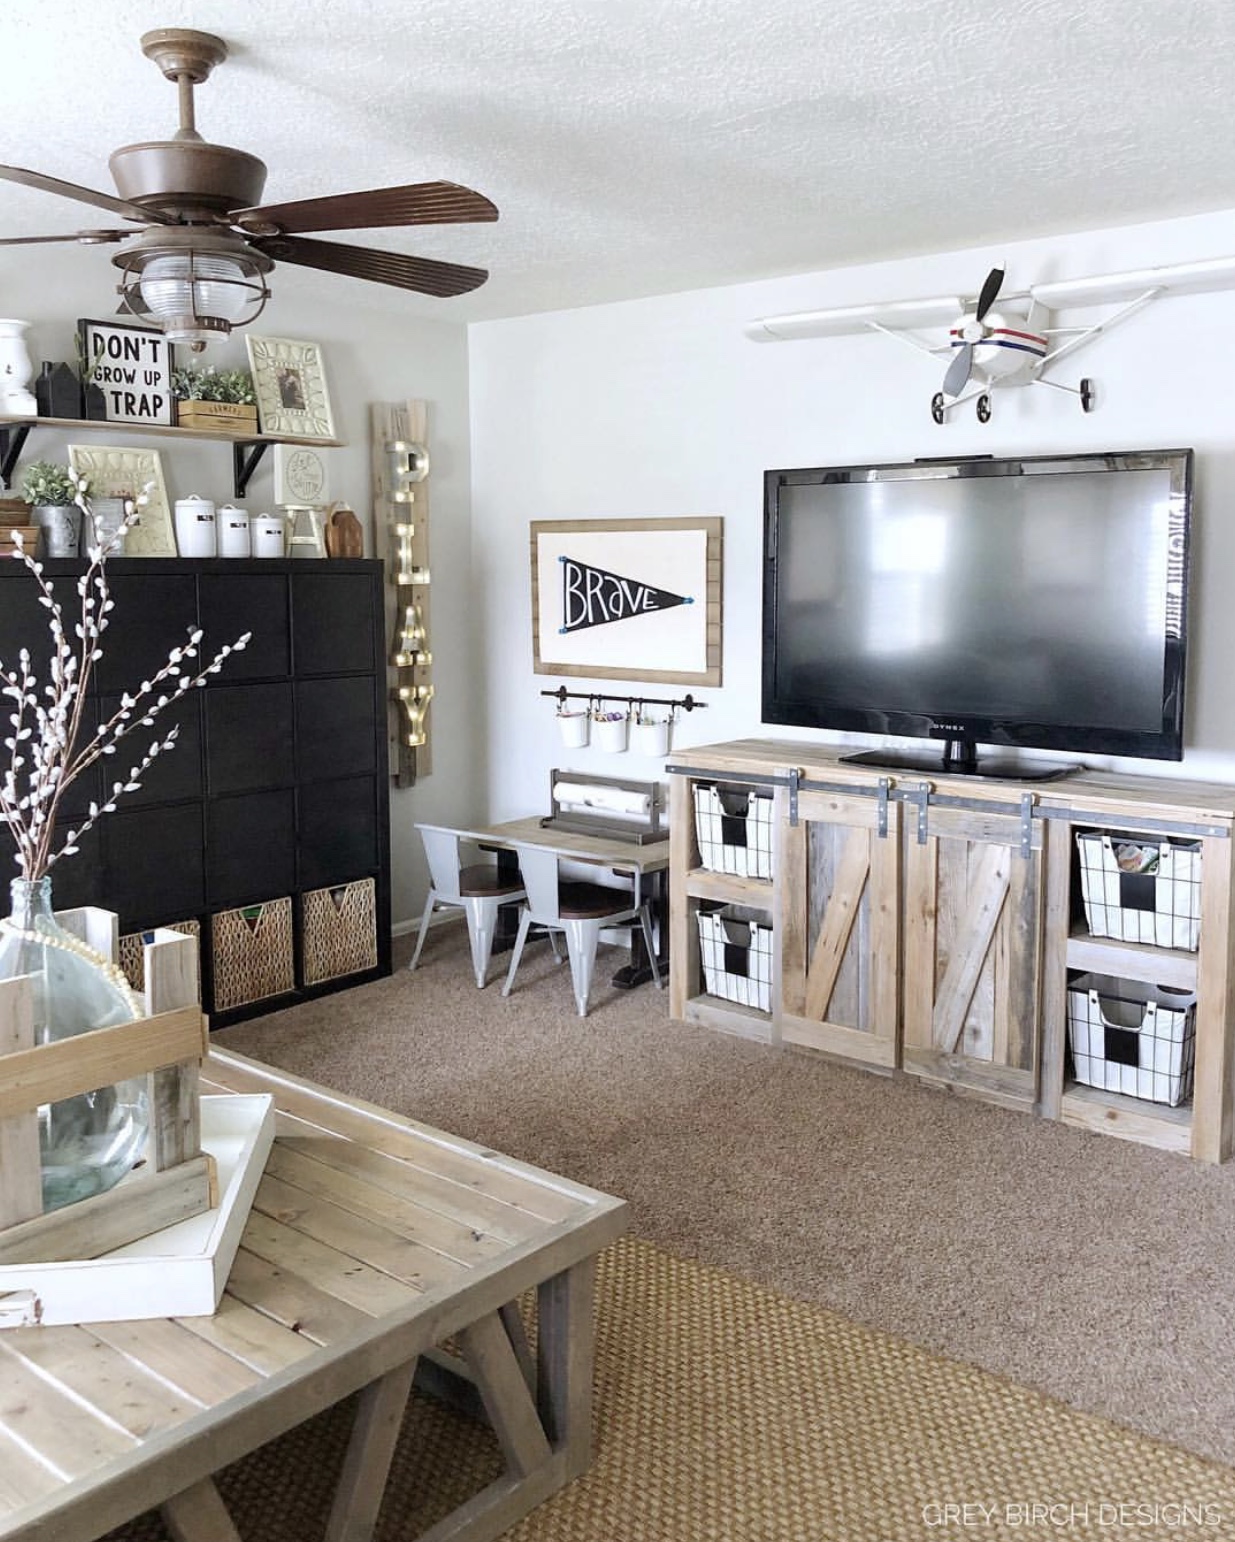
Living Room
- Walls: Revere Pewter in satin by Benjamin Moore
- Shiplap Wall: Pure white in satin by Valspar
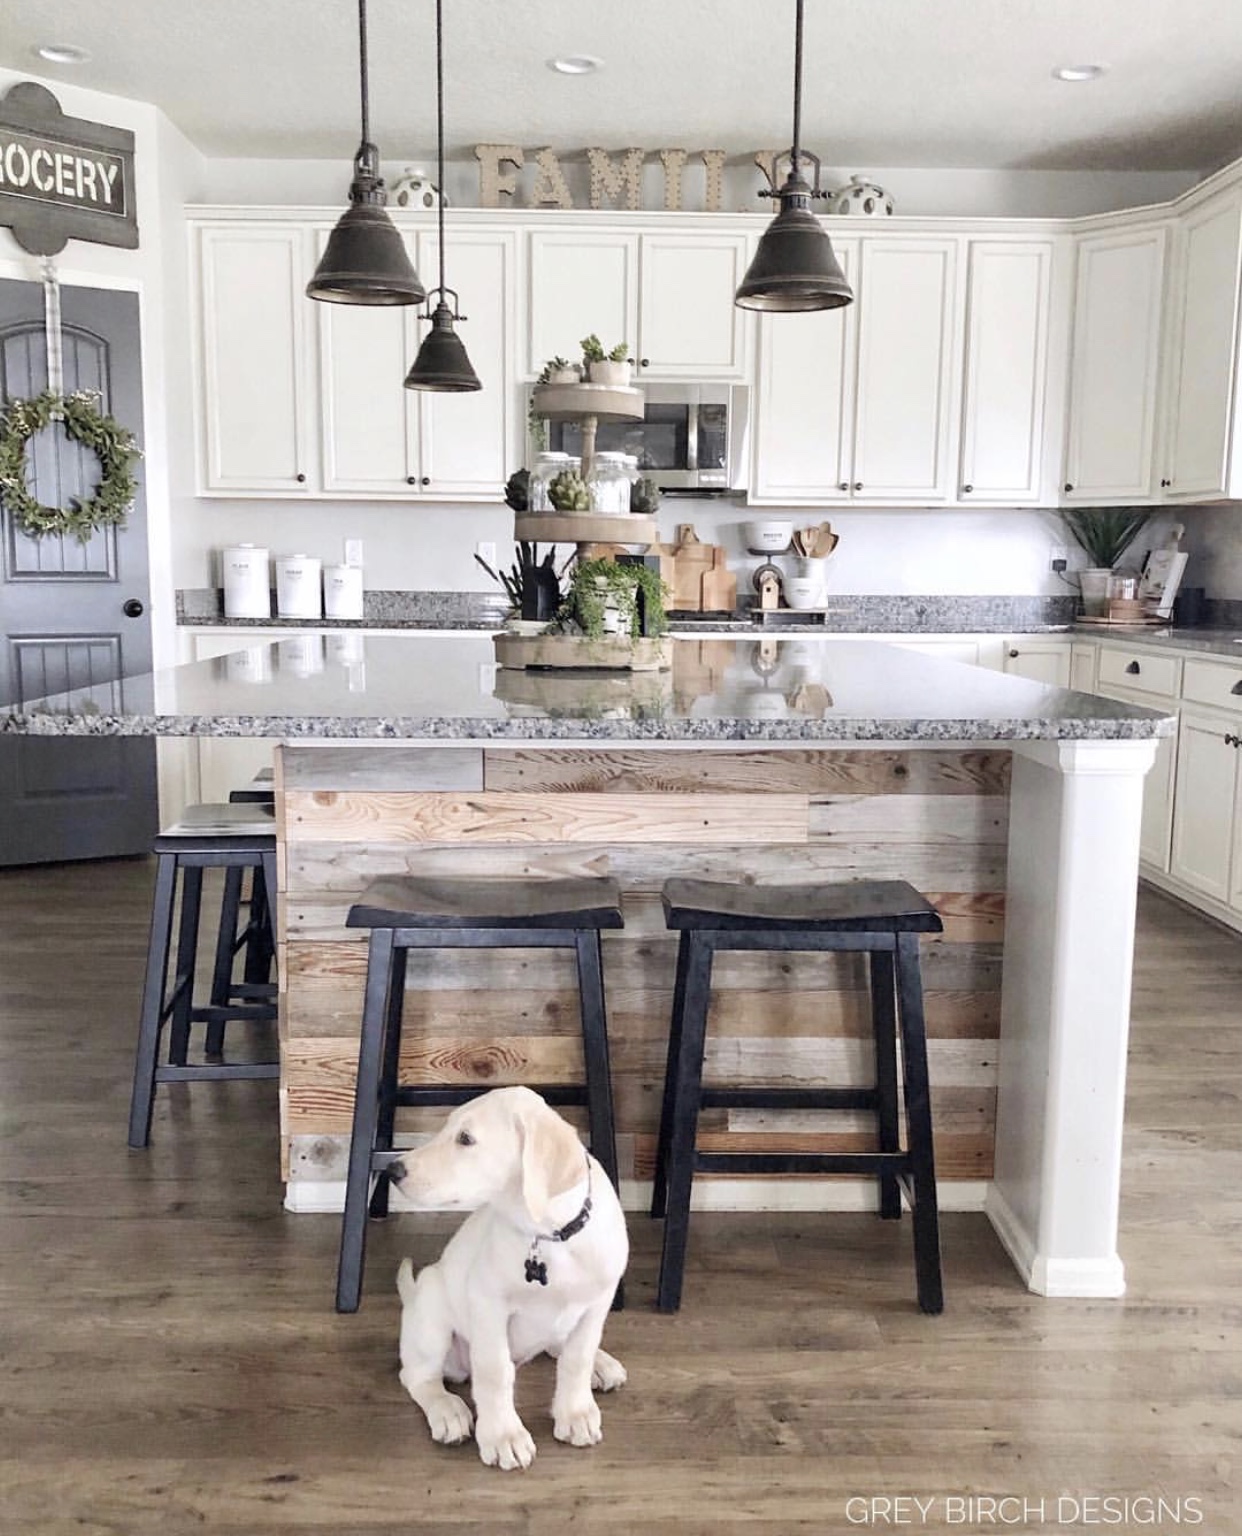
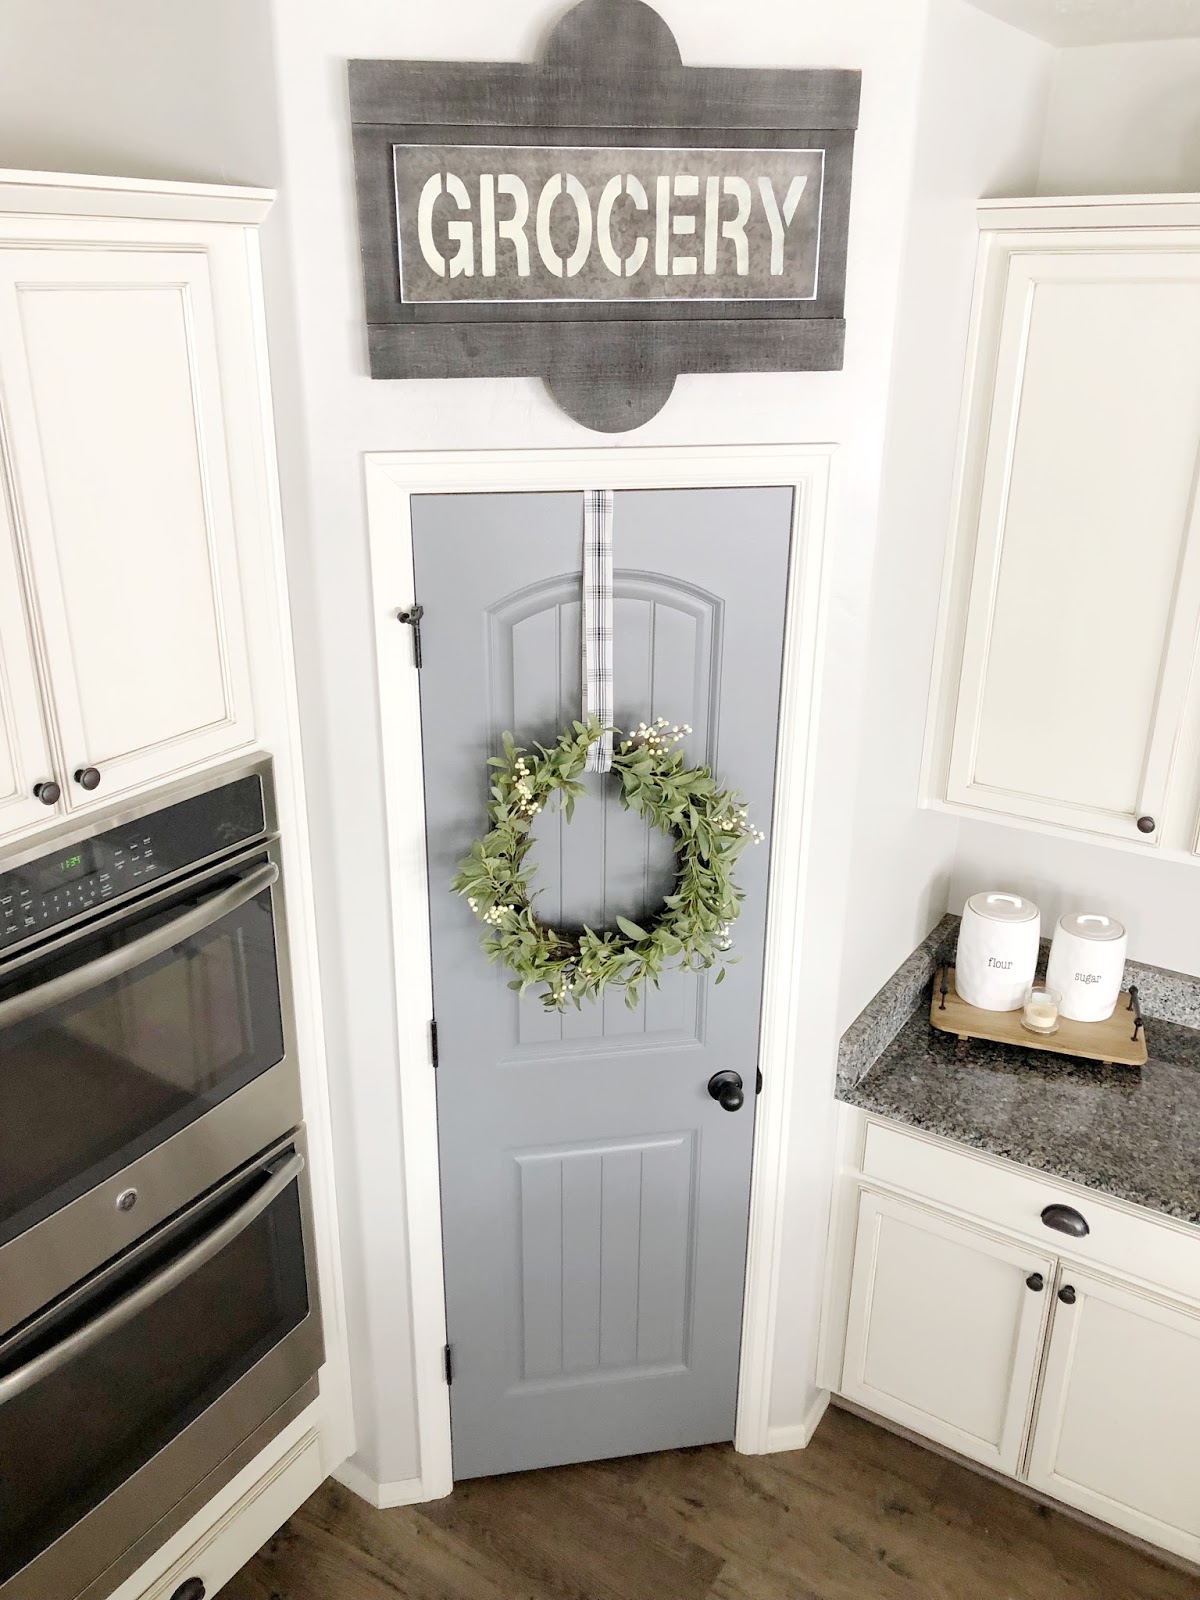
Kitchen
- Walls: Revere Pewter in satin by Benjamin Moore
- Cabinets: Custom color from manufacturer but all door trim and base boards are Dover White by Sherwin Williams and a near perfect match
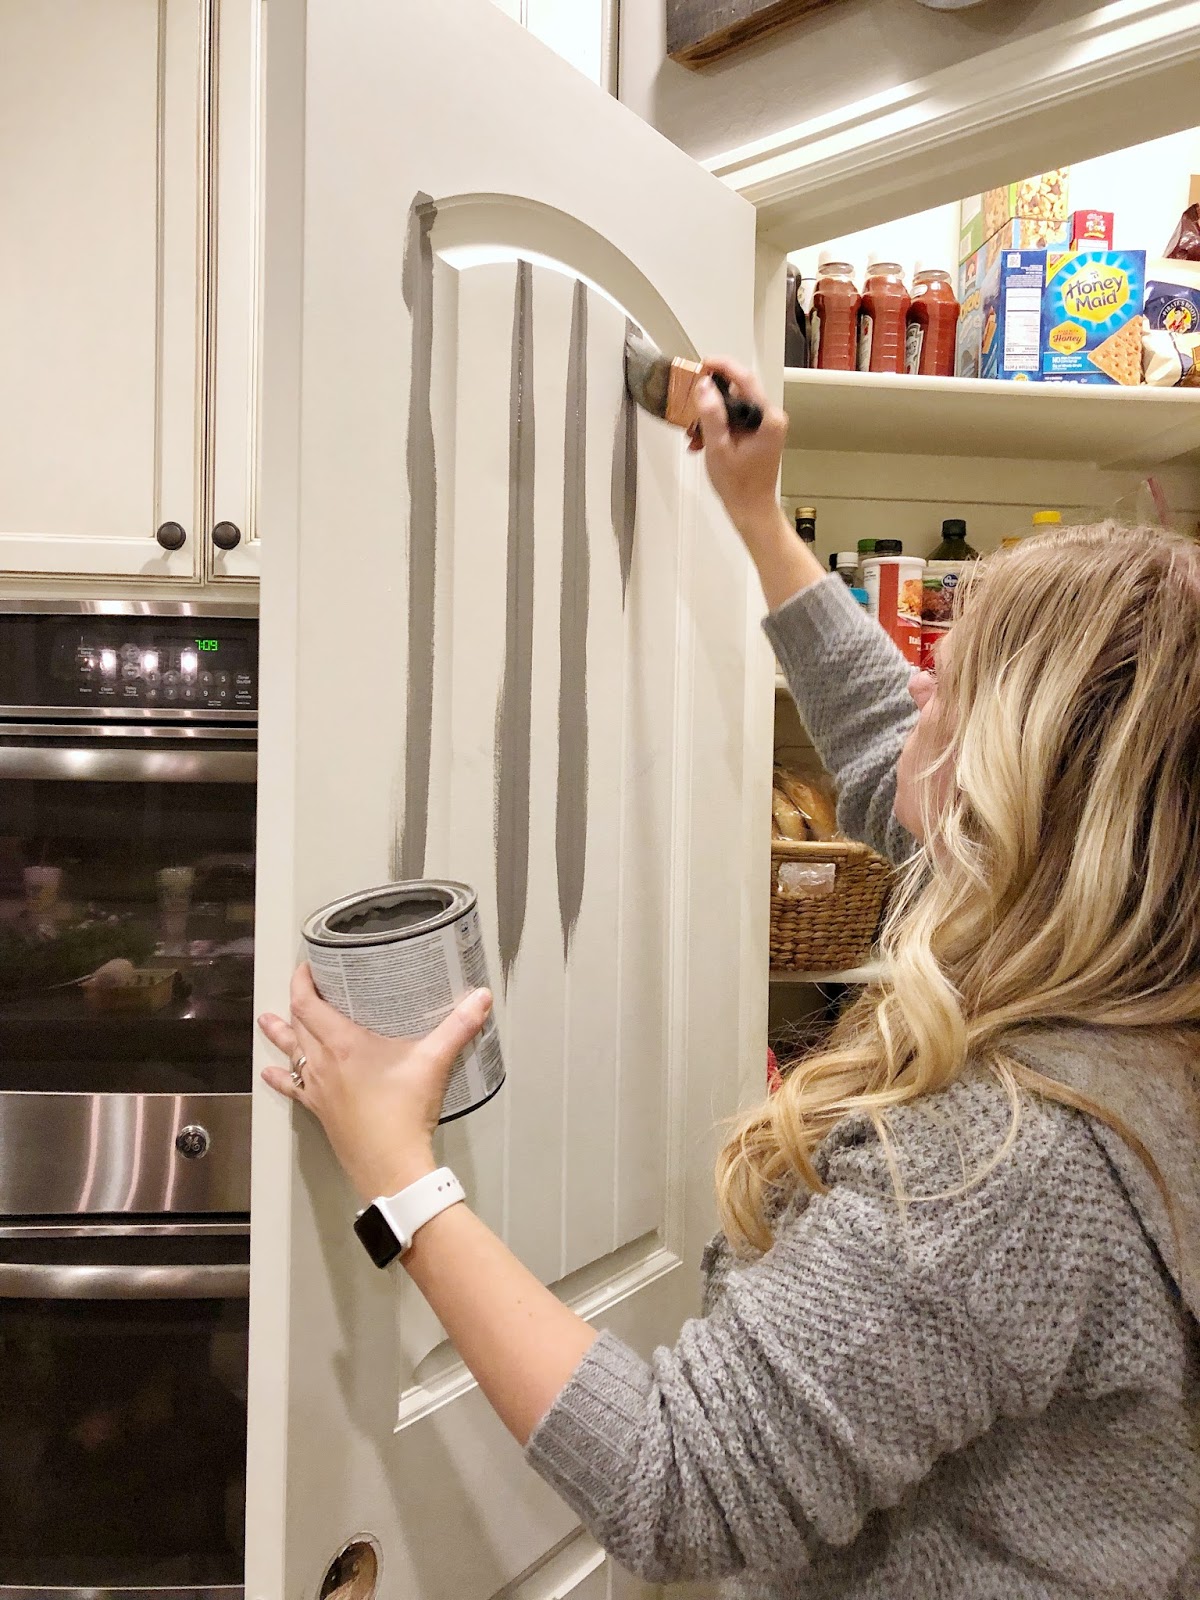
- Pantry Door: Peppercorn in semi-gloss by Sherwin Williams

Sunroom
- Walls: Revere Pewter in satin by Benjamin Moore
- Trim & Ceiling: Dover White in satin by Sherwin Williams

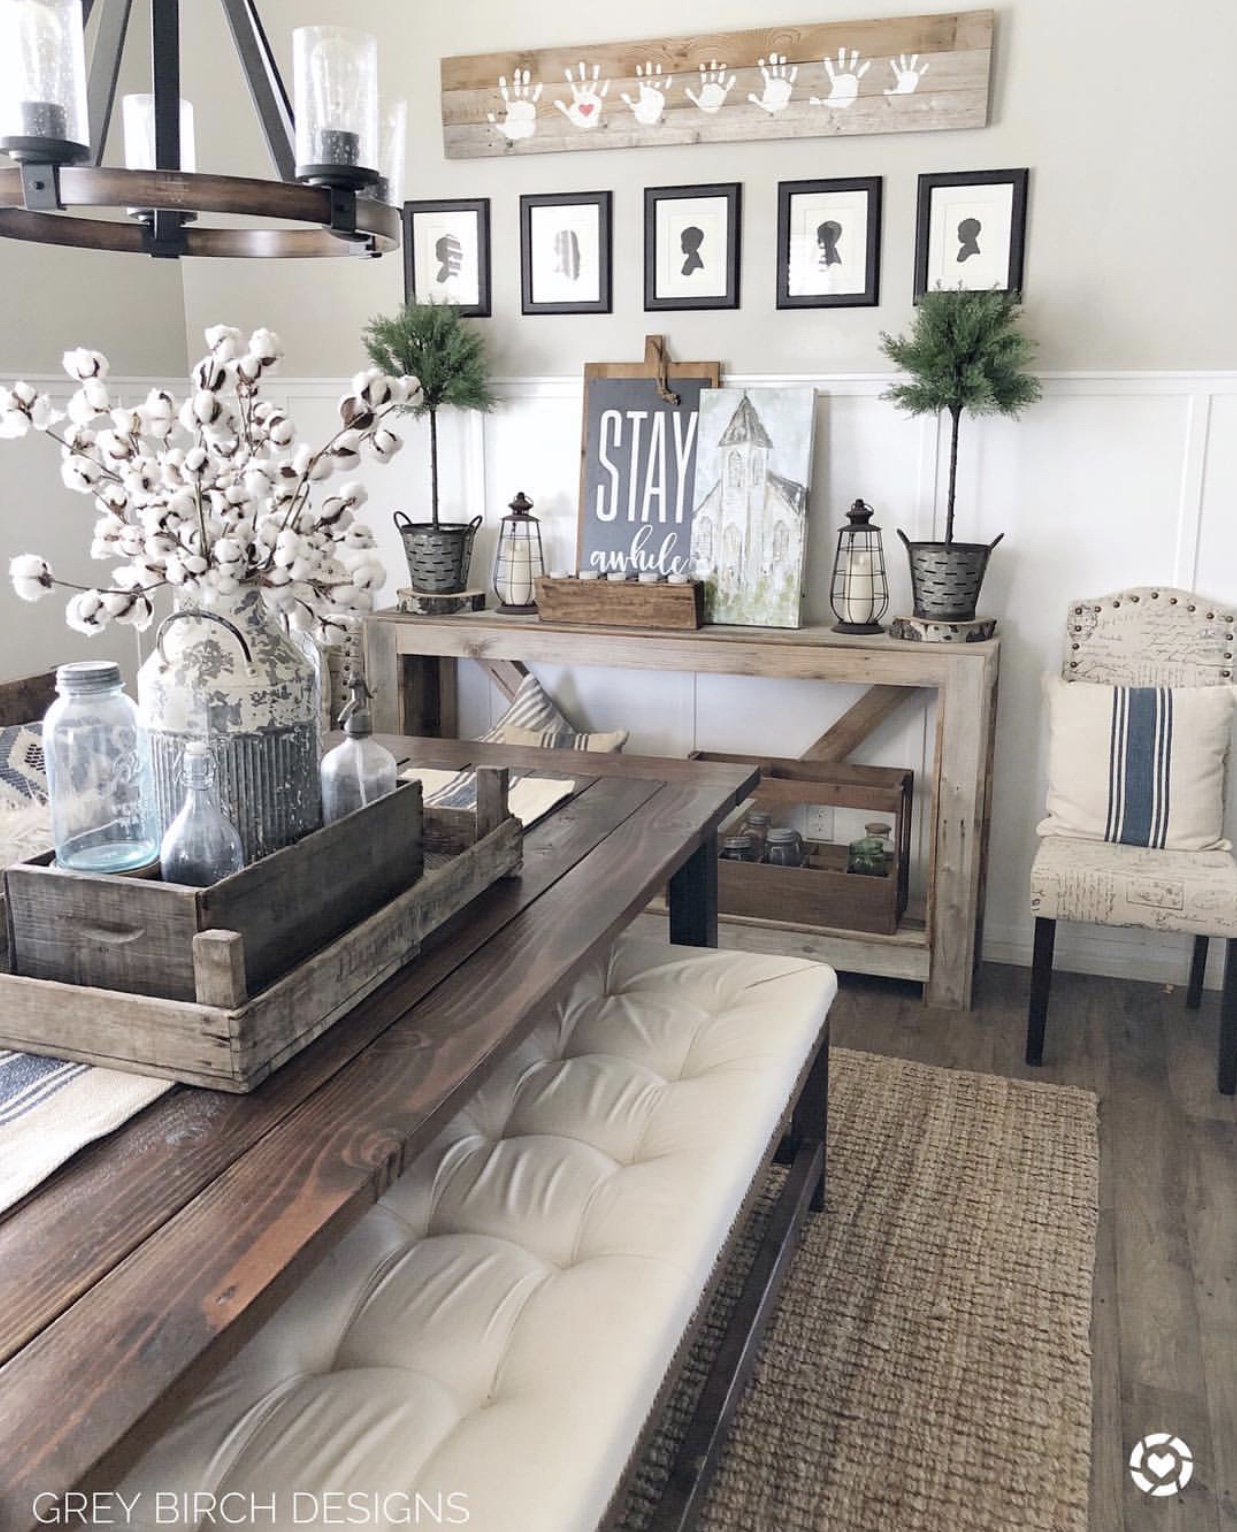
Dining Room
- Walls: Revere Pewter in satin by Benjamin Moore
- Board and Batten: Pure white in semi-gloss by Valspar
Guest Room
- Walls: Silver Fox in satin by Benjamin Moore
Loft
- Walls: Revere Pewter in satin by Benjamin Moore
- Trim & Ceiling: Dover White in satin by Sherwin Williams
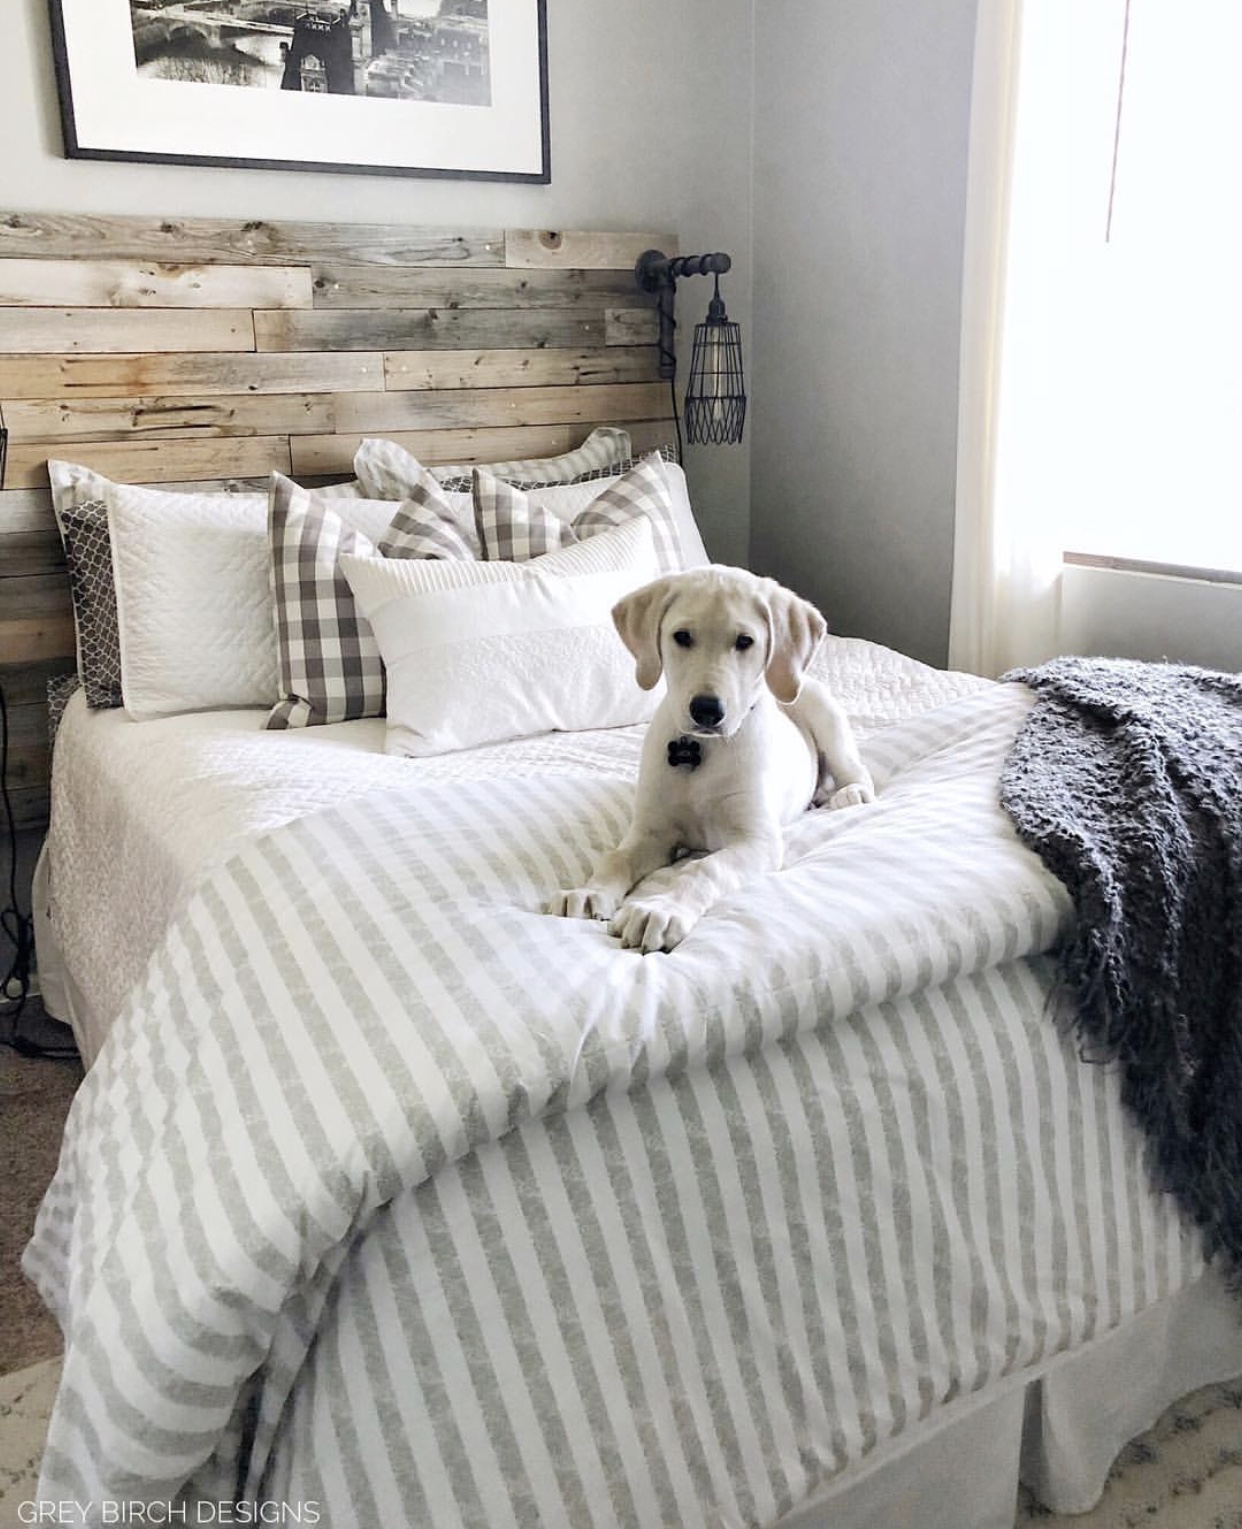
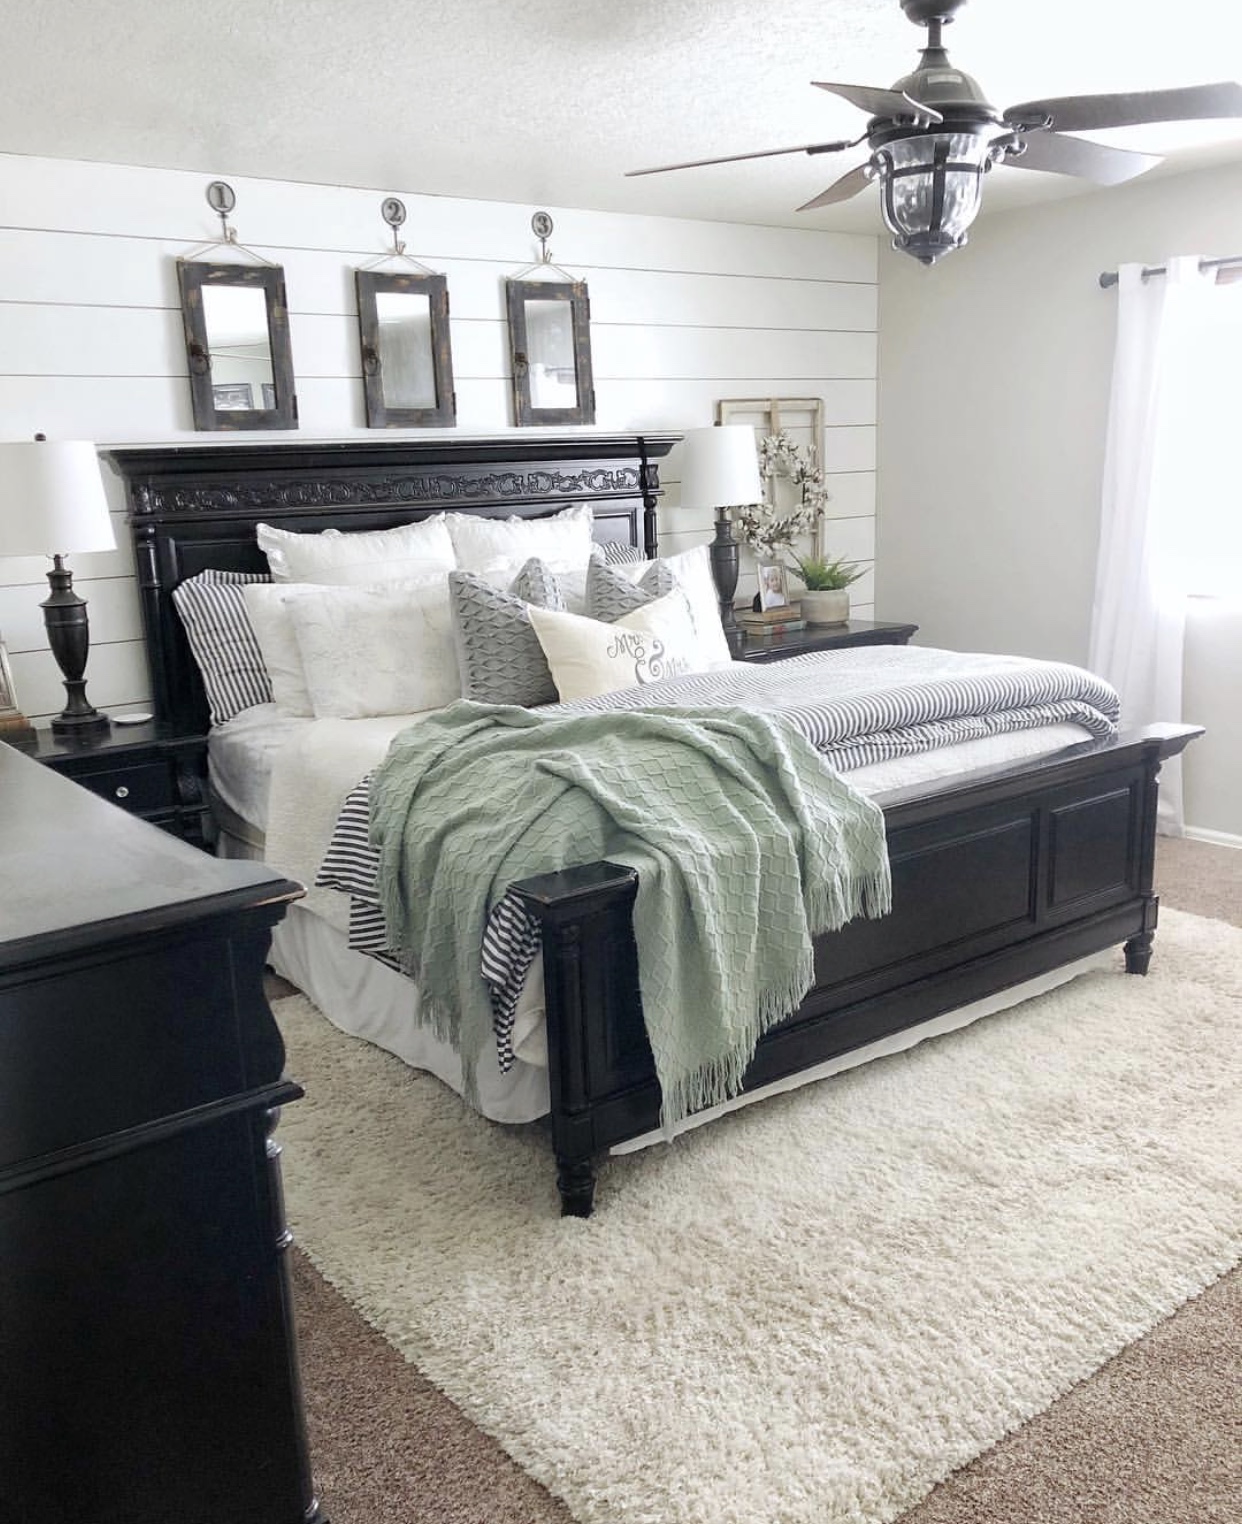
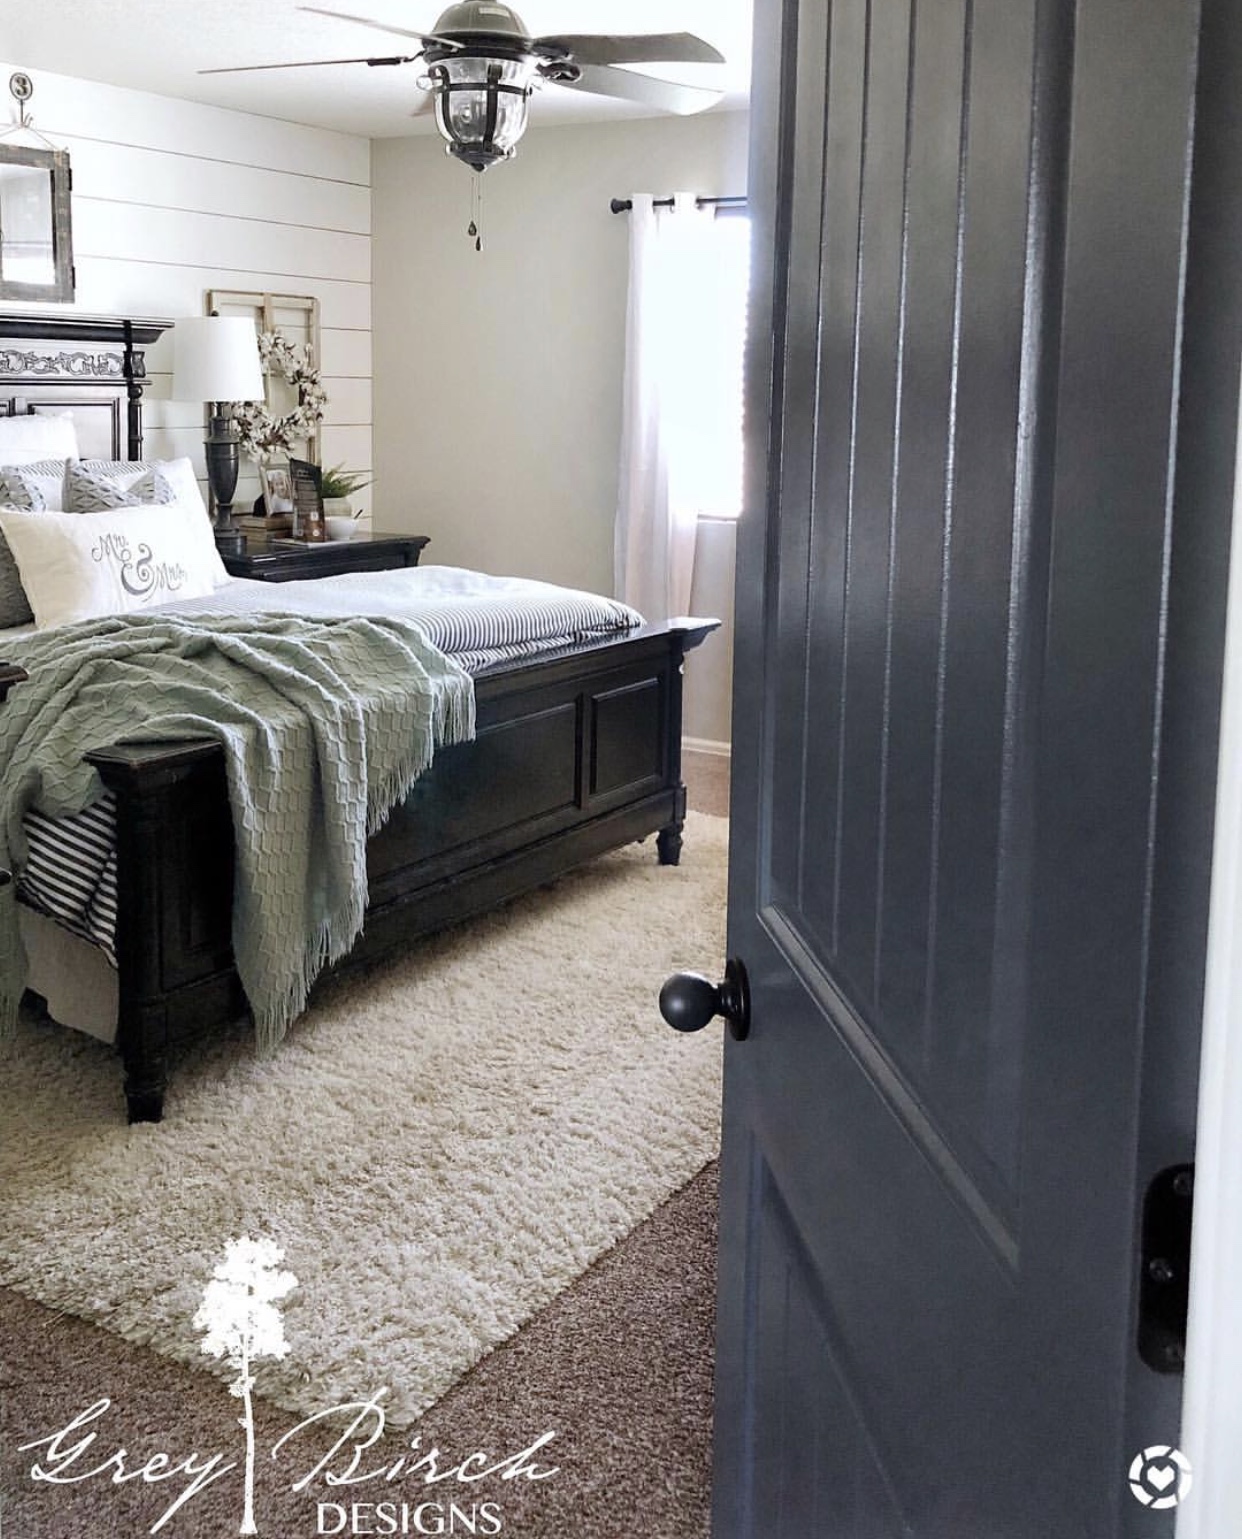
Master Bedroom
- Walls: Revere Pewter in satin by Benjamin Moore
- Shiplap Wall: Pure white in satin by Valspar paint
Master Bathroom
- Walls: Dover Grey in satin by Sherwin Williams
- Trim & Ceiling: Dover White in satin by Sherwin Williams
- Cabinets: Same as kitchen cabinets

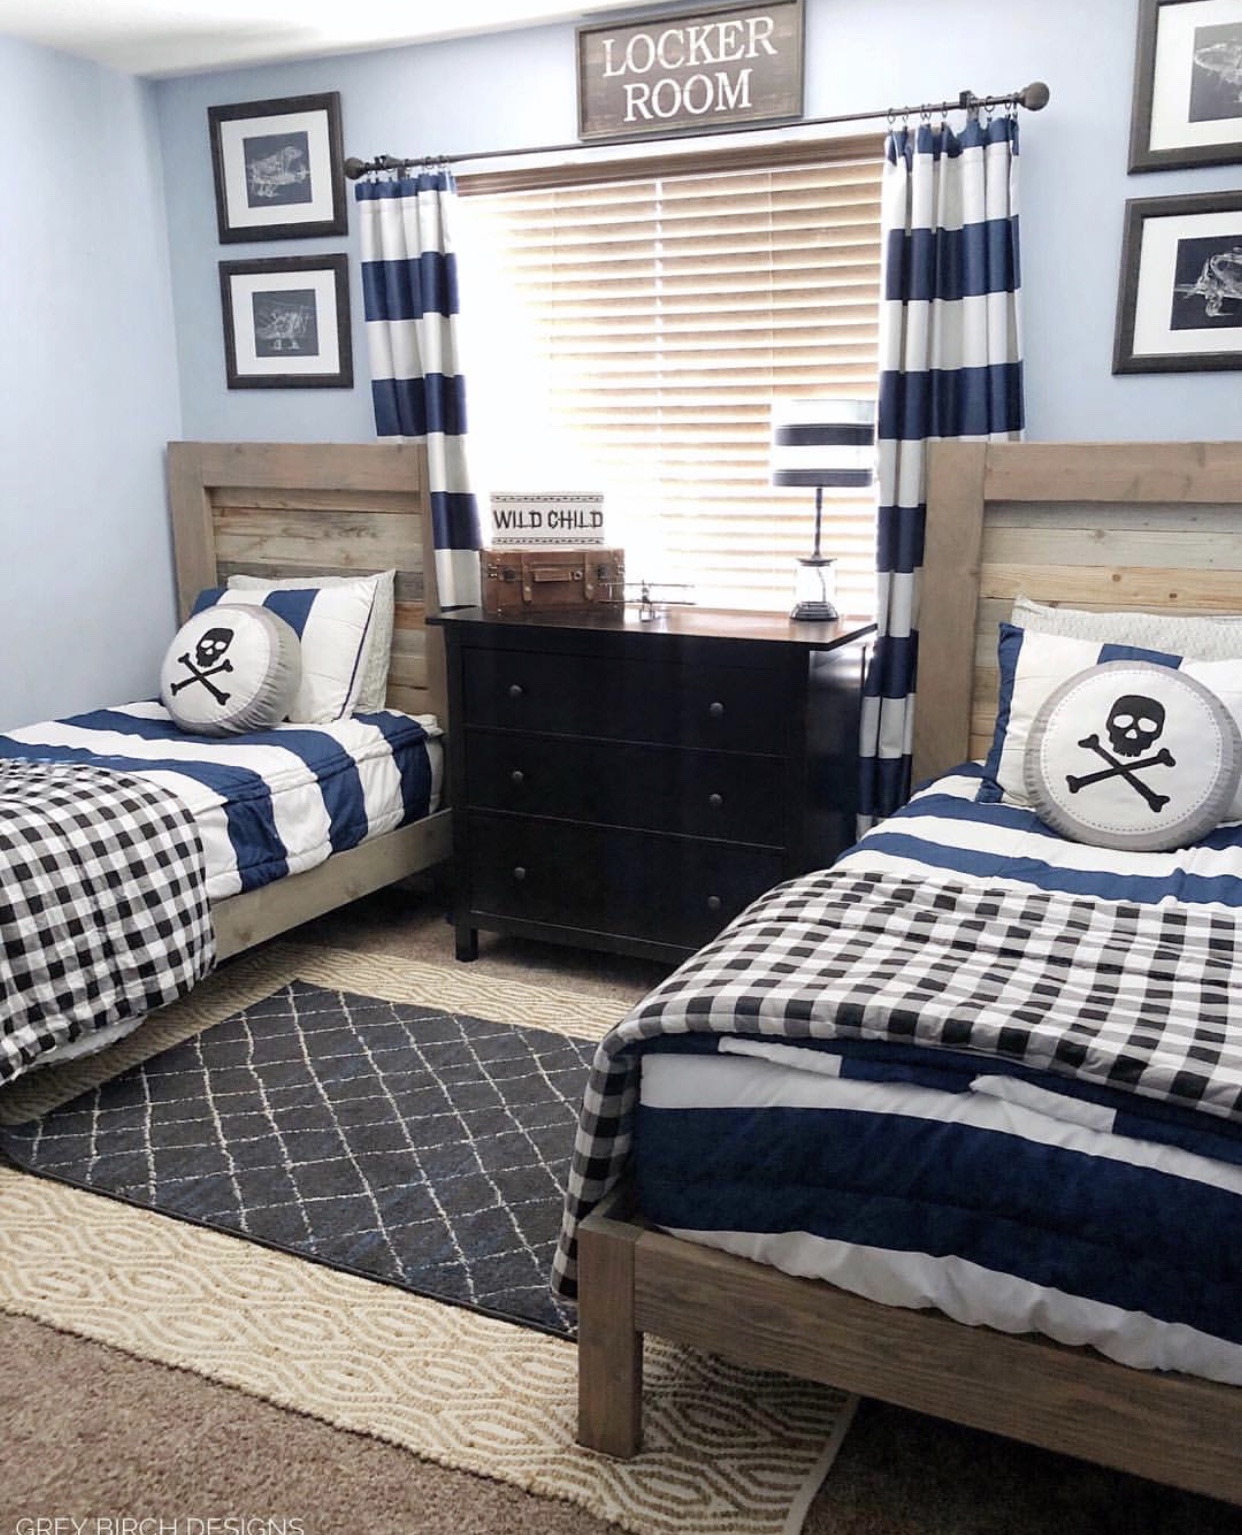
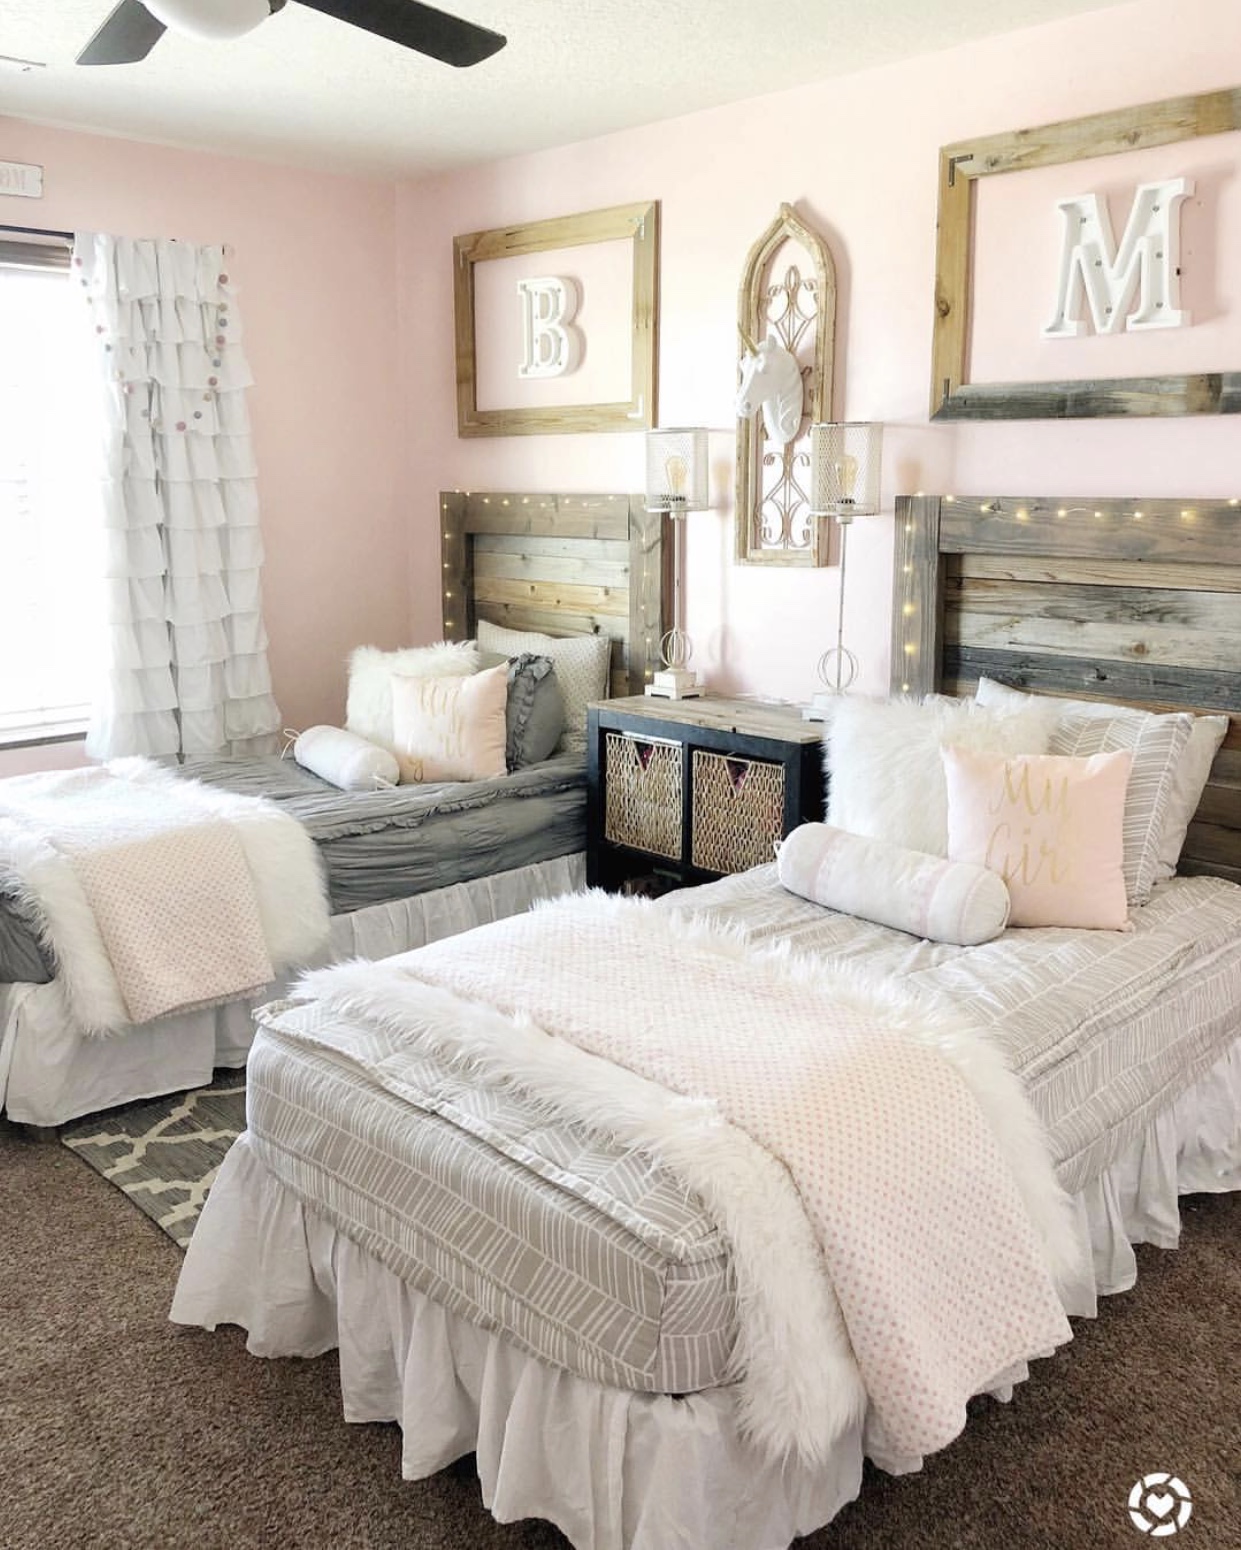
My Twins Room
- Walls: Glacier Mist in satin by Valspar
- Trim & Ceiling: Dover White in satin by Sherwin Williams
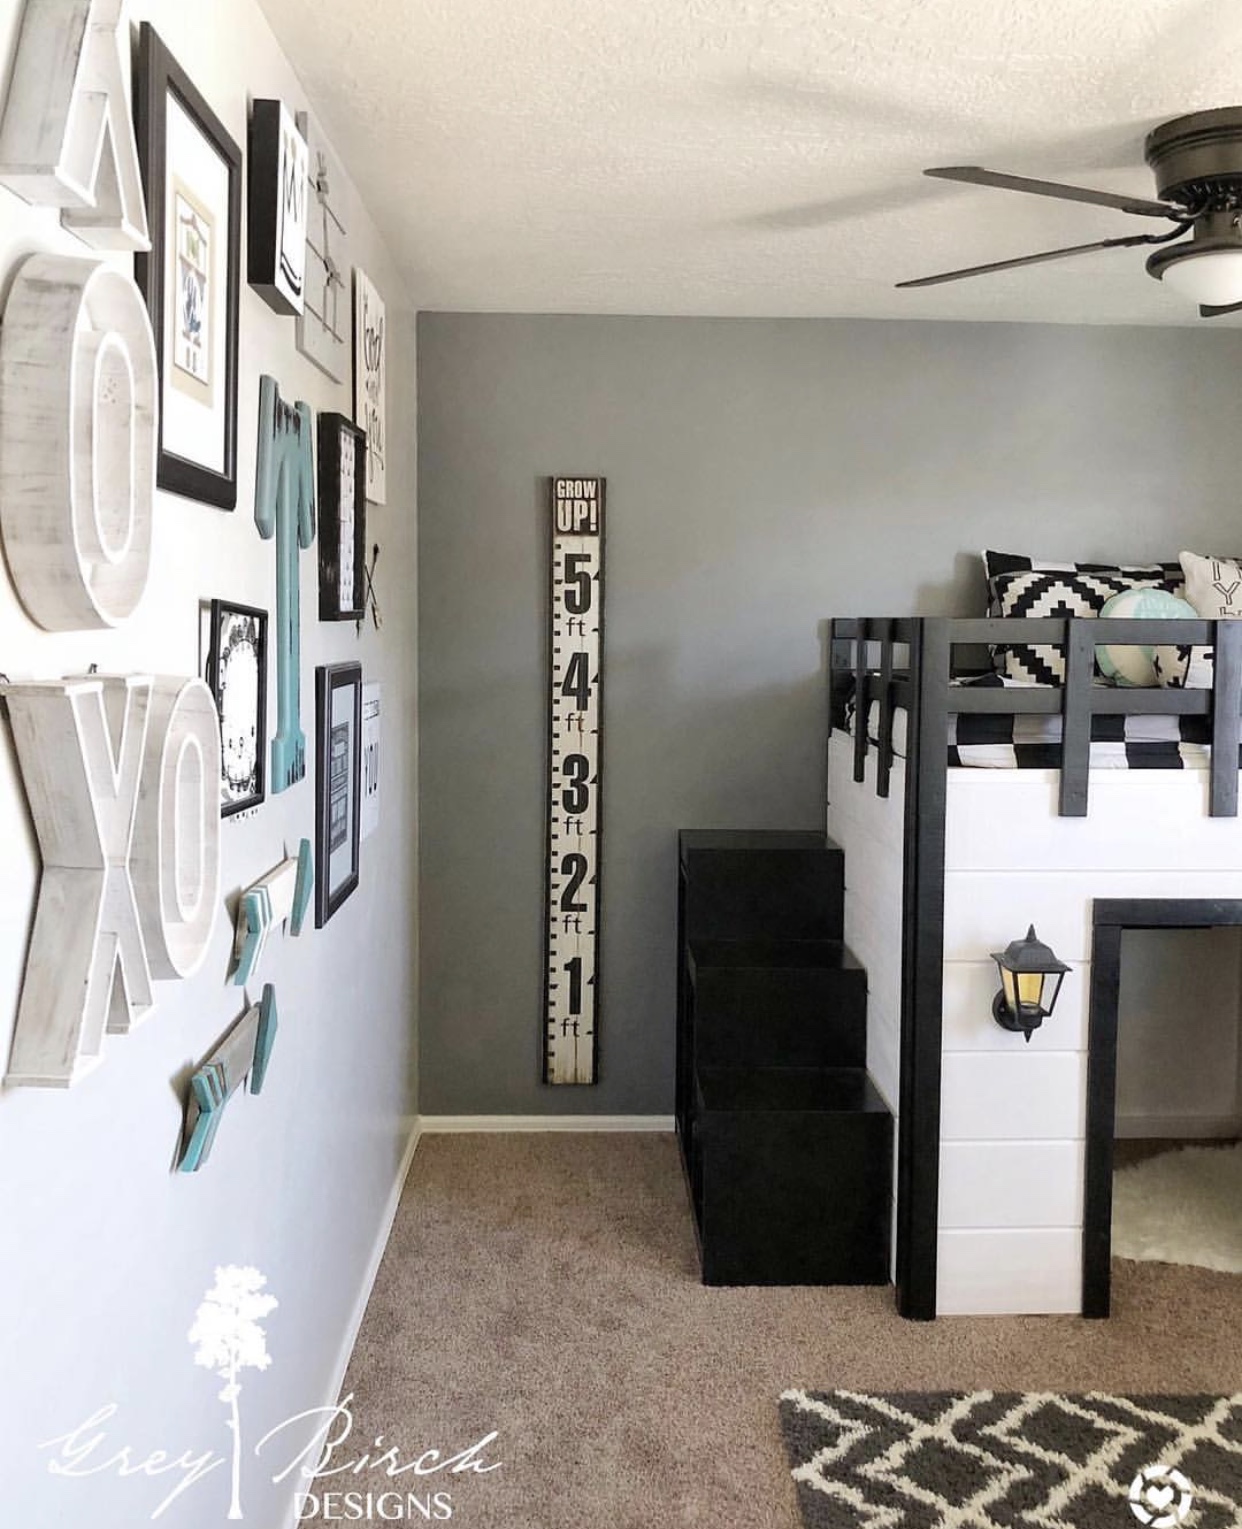
My Little Guy’s Room
- Walls: Dover Grey in satin by Sherwin Williams
- Trim & Ceiling: Dover White in satin by Sherwin Williams
- Feature Wall: Dover Grey in satin by Sherwin Williams
My Daughter’s Room
- Walls: Rose Buff in satin by Valspar
- Trim & Ceiling: Dover White in satin by Sherwin Williams
Interior Doors
- Doors: Peppercorn in semi-gloss by Sherwin Williams
- Trim: Dover White in satin by Sherwin Williams
One last tip! Paint colors can look slightly different in your home due to your home’s light and color scheme. It’s important to try a sample of the colors you’re thinking about using on a wall in your home just to make sure it’s what you’re wanting before investing in a lot of paint!
Happy painting my friends!
-Grey Birch Designs-
read more
How to Paint a Door
I have heard many concerns about painting doors, but I have a few tips to help you get that perfect streak-free finish!
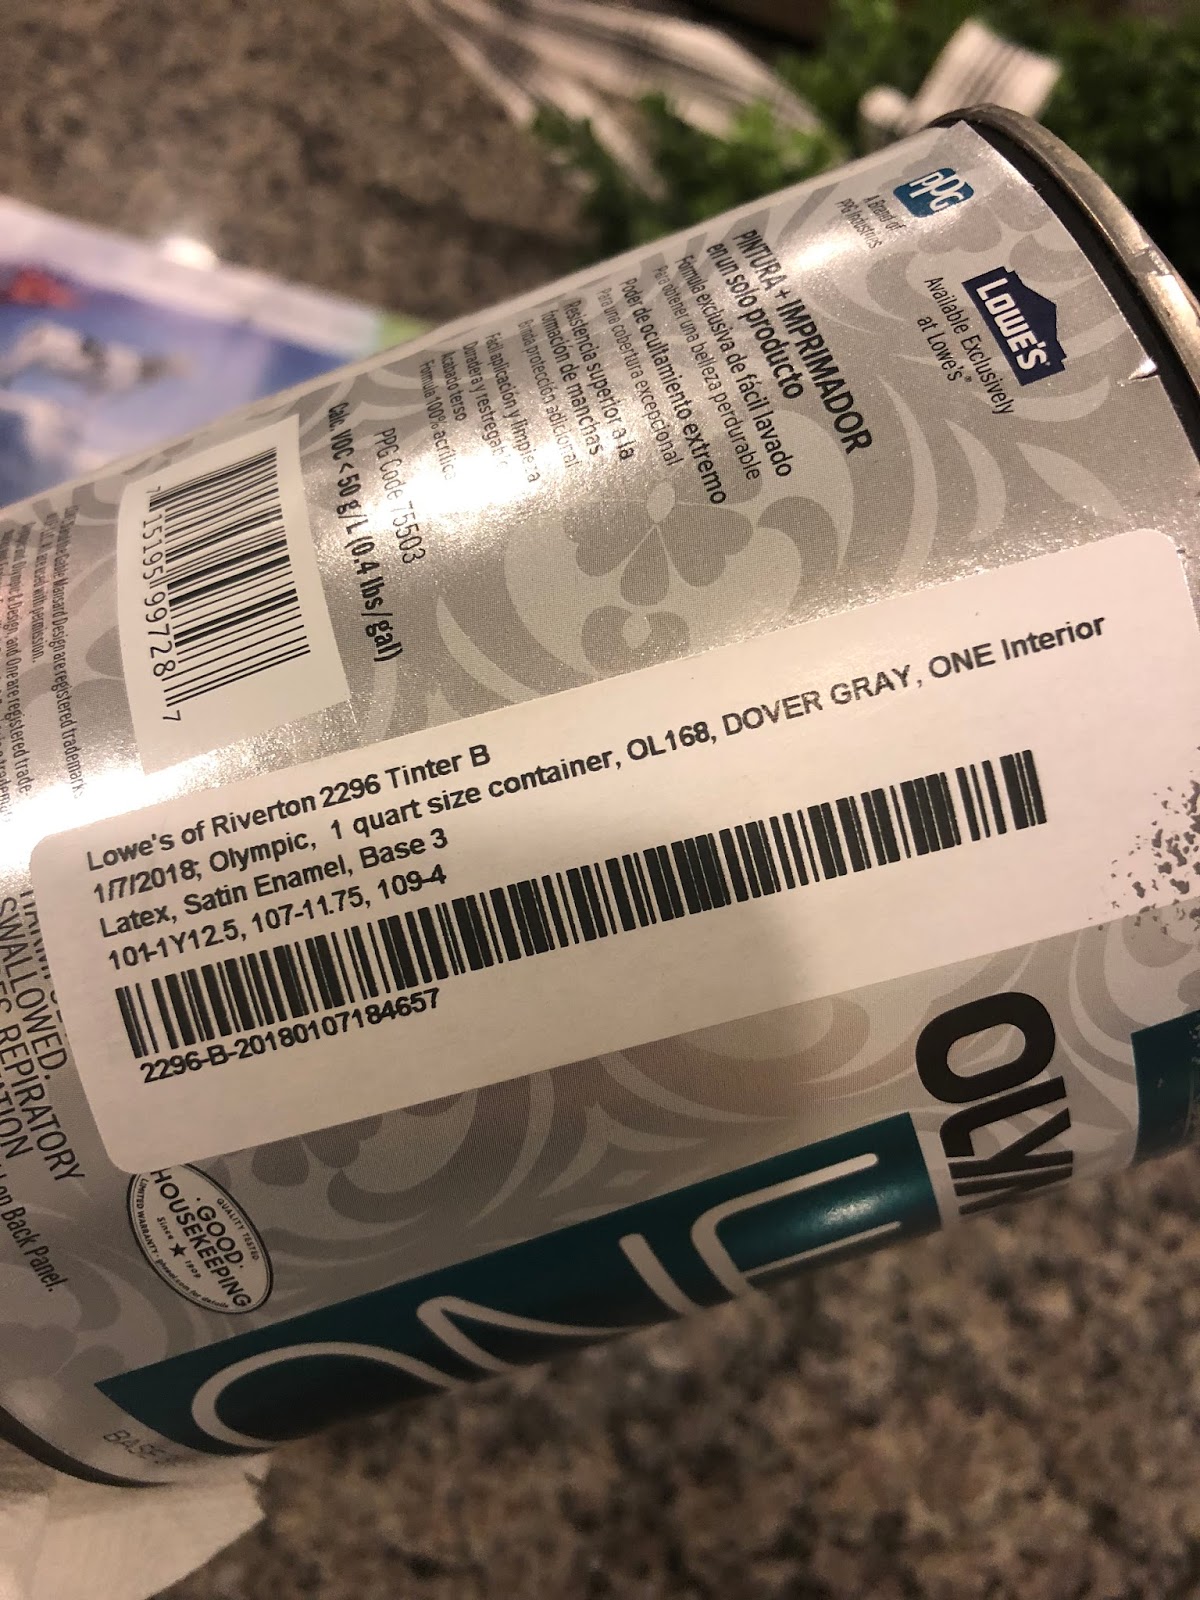
1. Lets talk paint
The most important part of any painting job is to make sure you have the right paint and supplies. I always suggest a paint+primer. This will give you the best coverage, and because the primer is already mixed in with the paint it also saves you a step, and who doesn’t love that!! Since doors are excellent dirty finger magnets, you want to make sure you can easily clean them. I use a satin finish on all my walls and doors. I find it’s much easier to clean than a flat finish but not as flashy as a semi gloss or gloss.
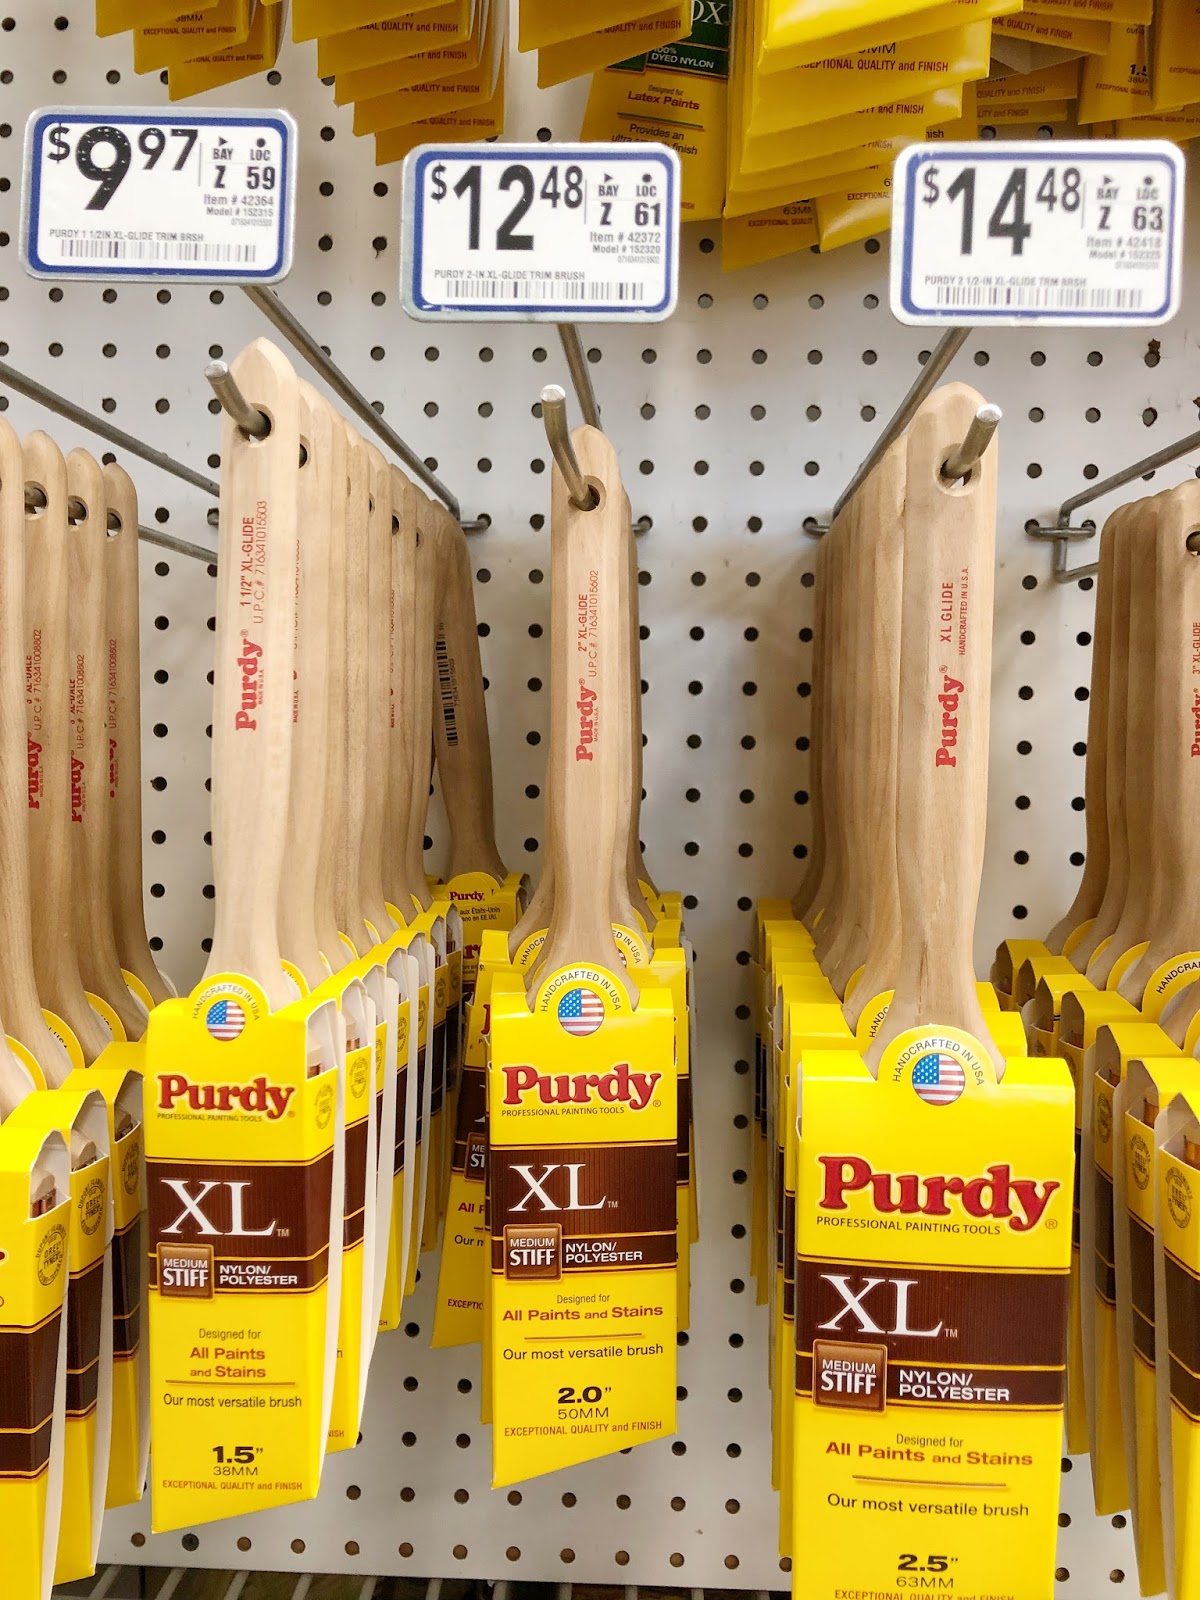
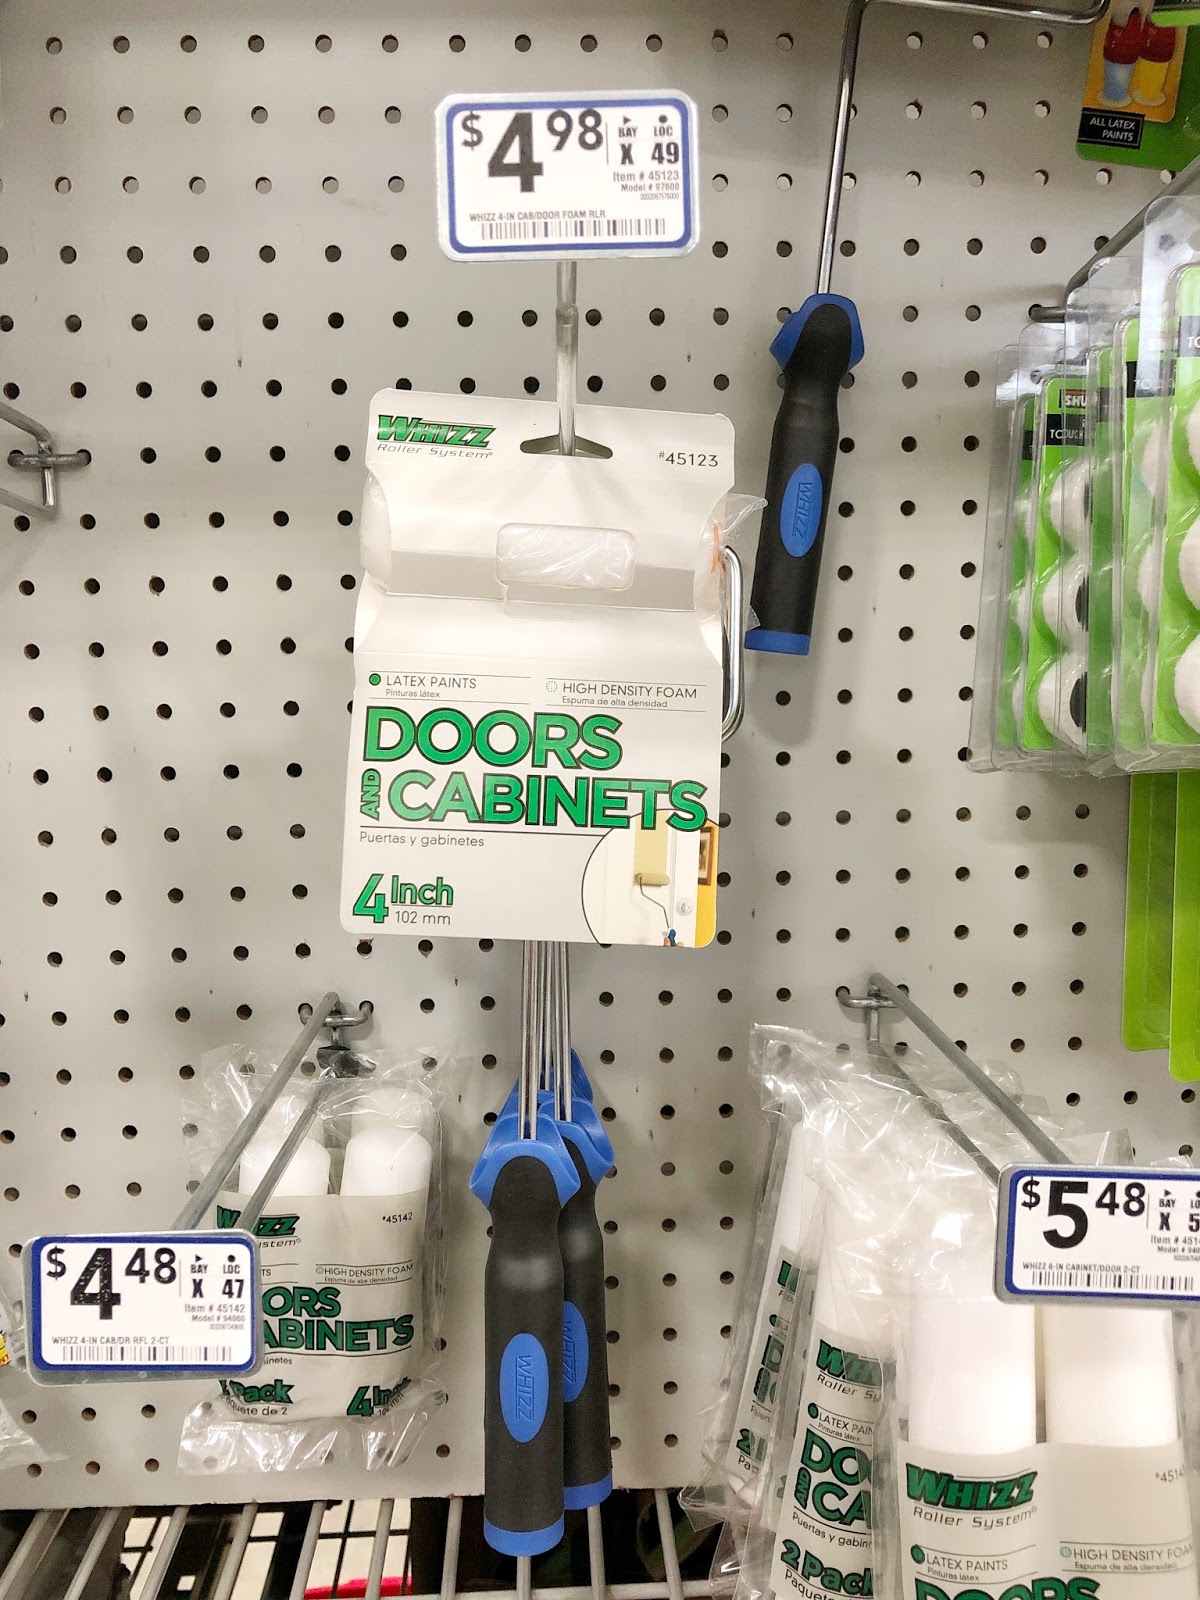
2. Supplies
For this job you will need a paint brush and a small paint roller. These items are my products of choice when I paint doors for a couple reasons. The angled brush really helps you get into those detailed areas of the door that your roller just can’t reach, and since it’s cut at an angle it gives you better control then a flat cut brush. The rollers should be low pile or foam, and small since the area you’re working with is not a large space.
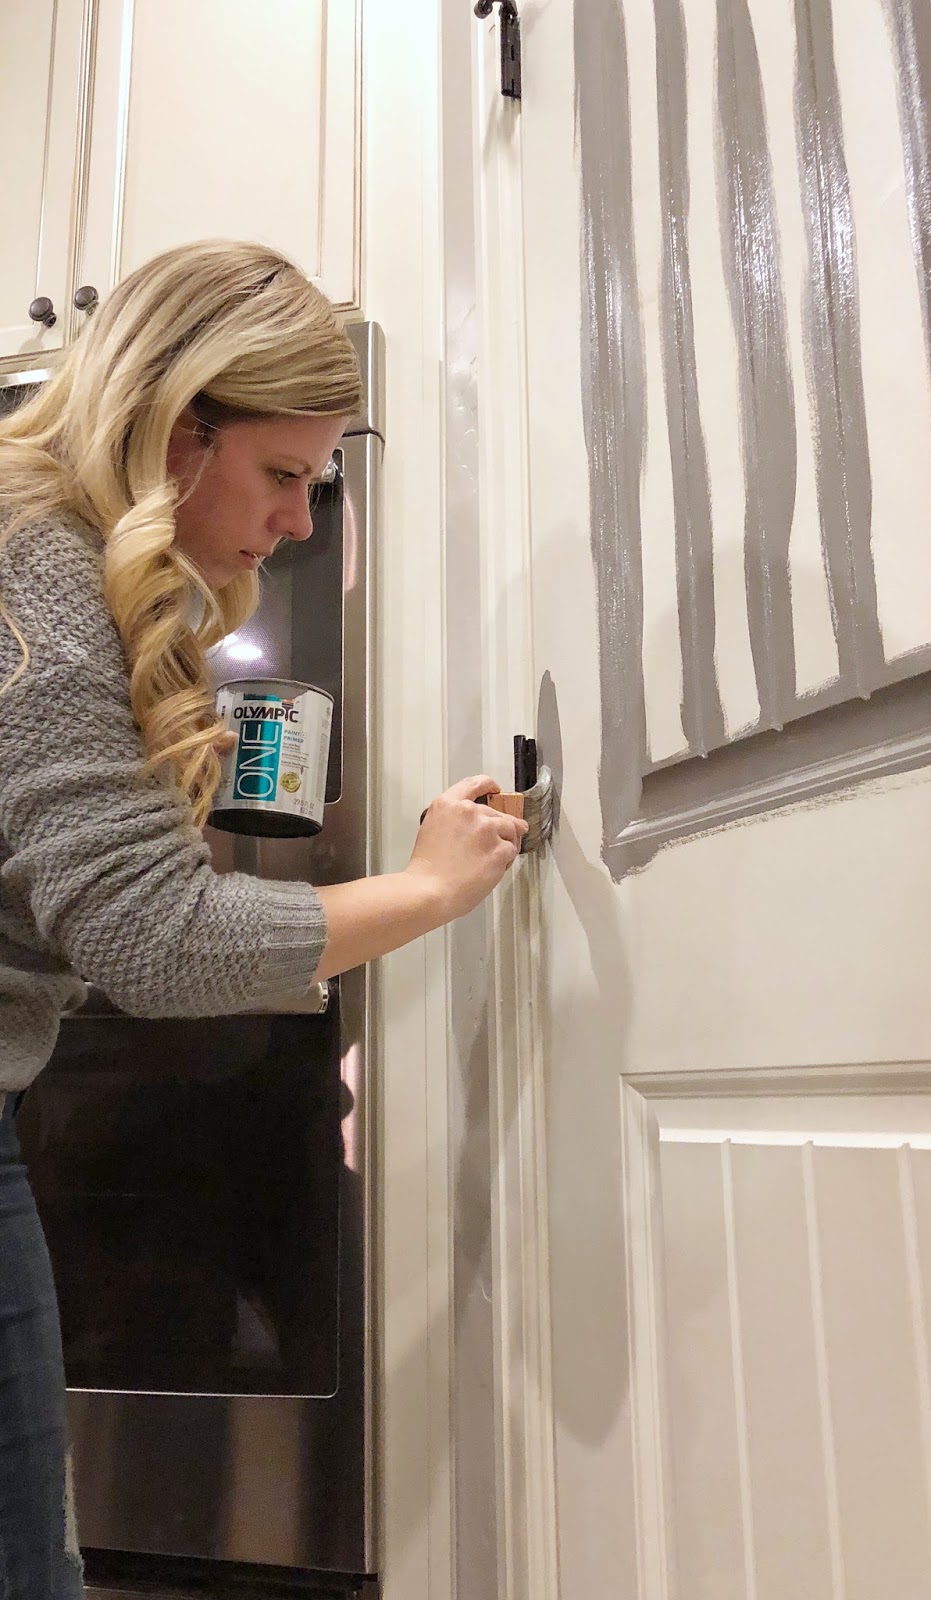
3. The Process
Before you start painting you should remove the door handles. Most handles have two screws on the inside of the door that are easily removed. I do not recommend removing the hinges as you can easily strip the wood out of the screw holes in the door. Start with your brush and trim all the tight edges where your roller won’t fit. You will generally need to do two coats on all these areas because the coverage with a brush is not as good as a roller. You also want to do this step first to avoid any brush strokes in your paint after it’s dry. I usually wait about 20-30 minutes between coats.
Once you are done with this step it’s time to get out that roller and finish up your door! Put a generous amount of paint on your roller and cover your door with thick even strokes. Work the roller in one direction (usually up and down), and watch out for obvious overlap or drip marks. After you’re finished, give your door the once over and check for thin areas. While your paint is wet it may look patchy, but this will disappear when it dries.

Once your door has dried overnight you can put your hardware back on and enjoy your beautiful painted door! Happy painting!!
-Grey Birch Designs-