read more
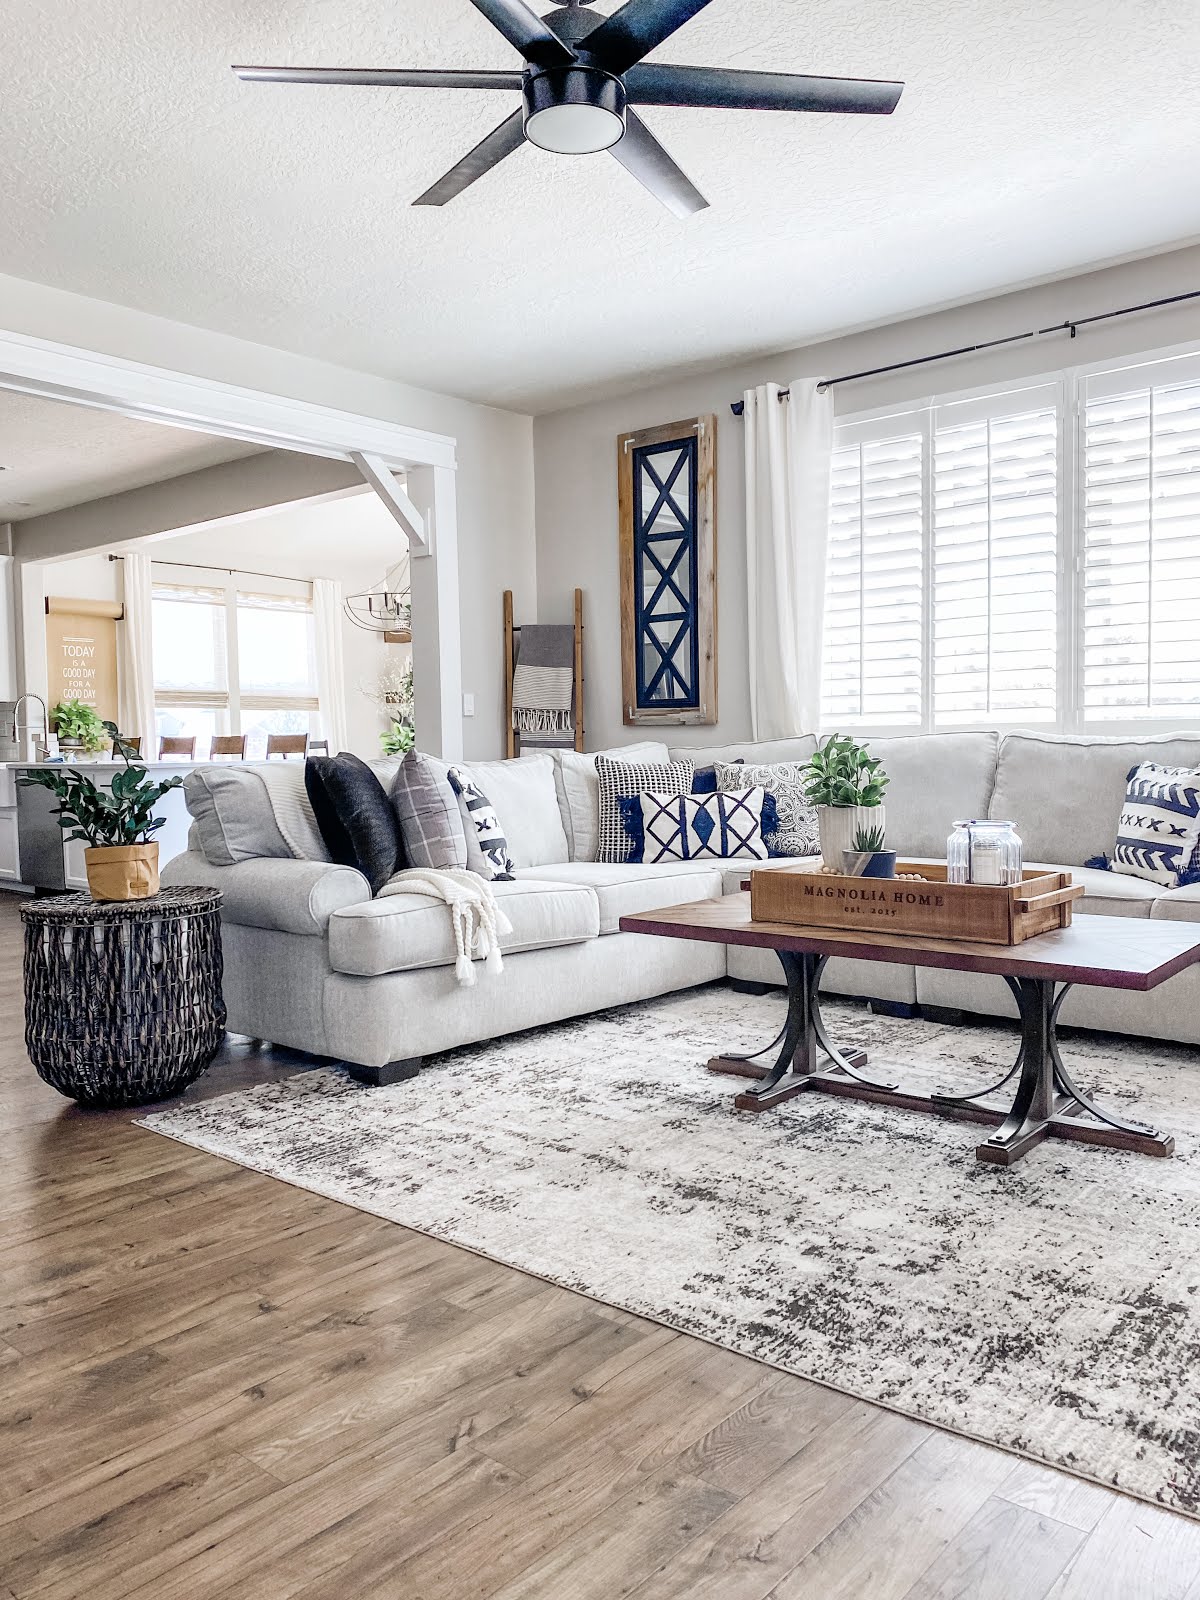
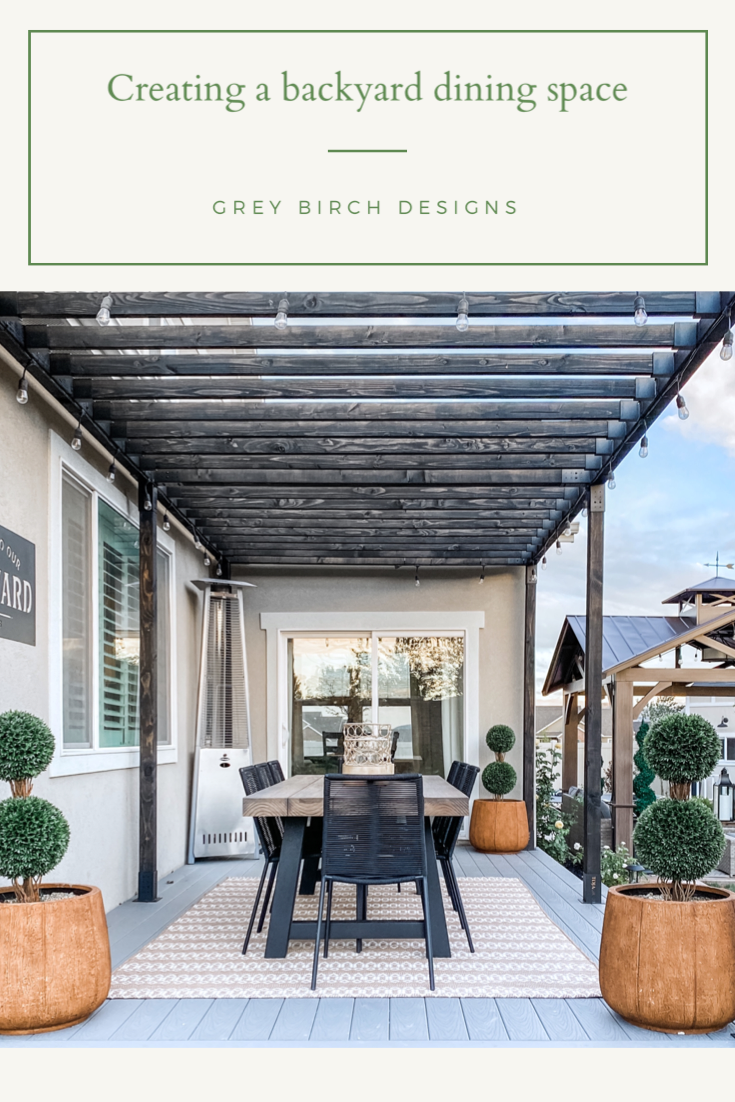
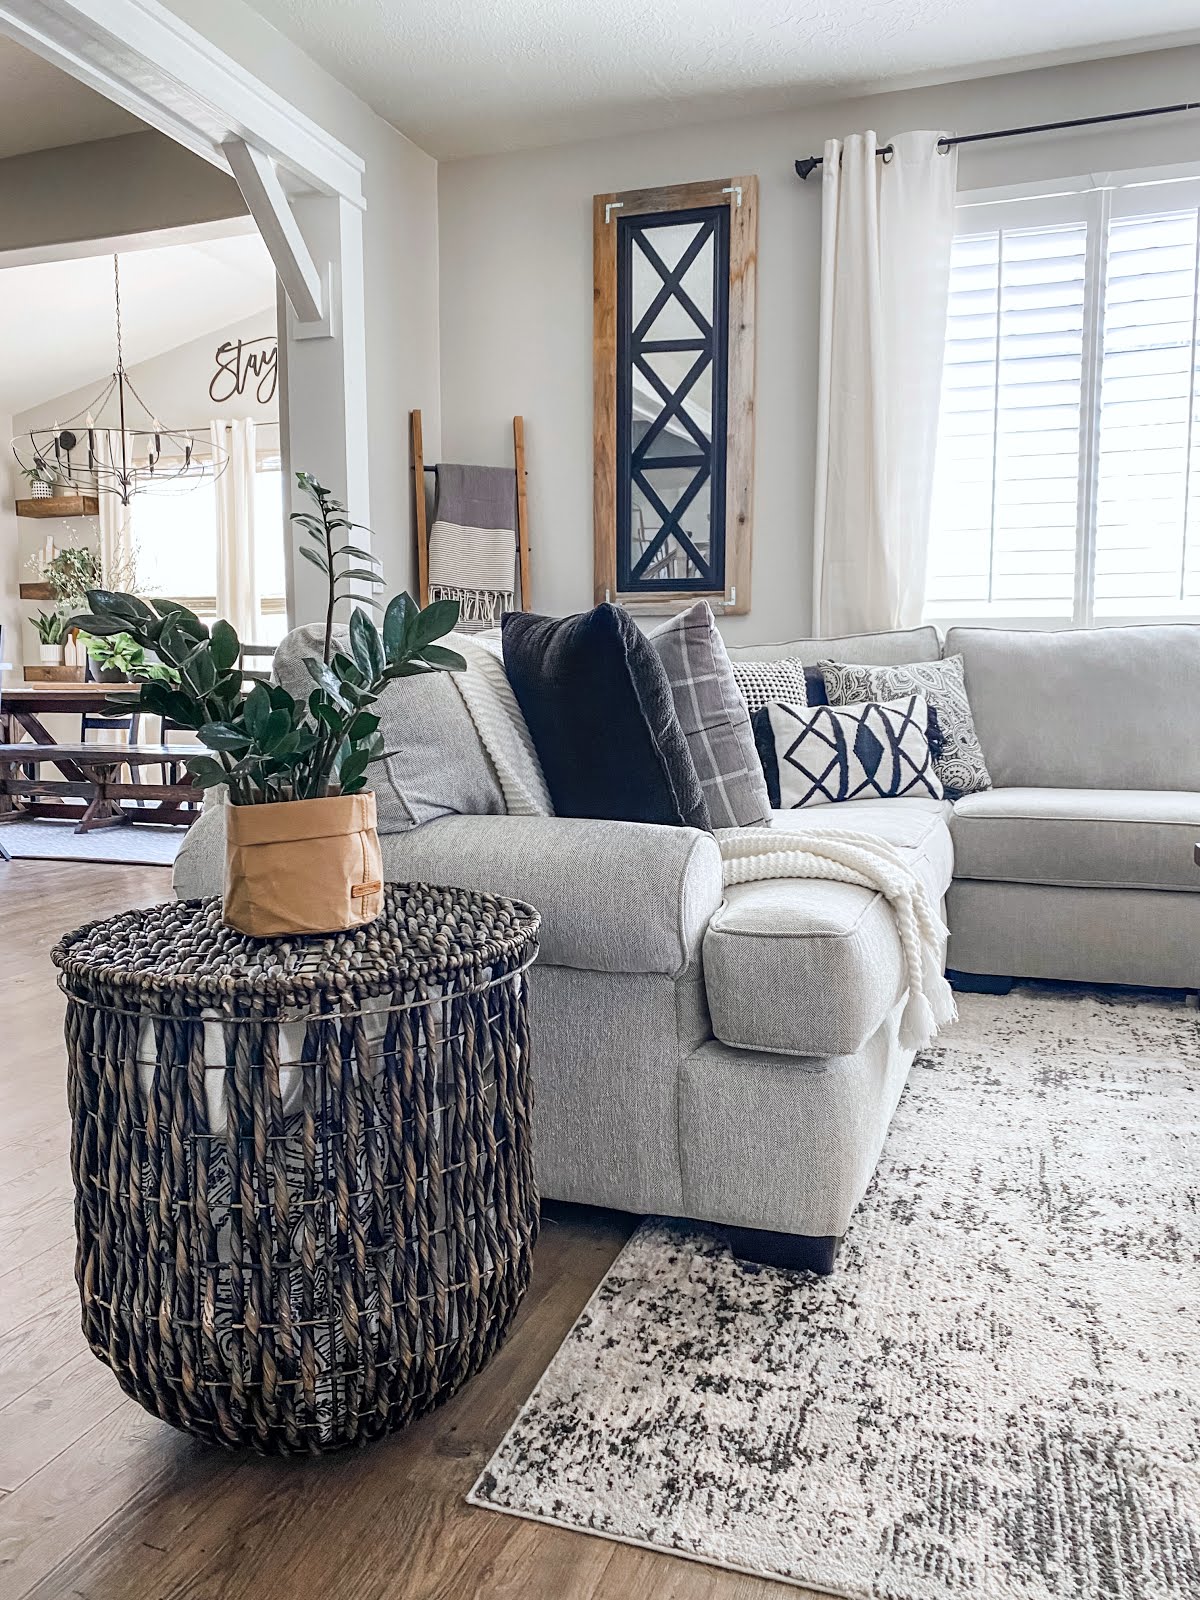
Over the past few months I have felt my style evolving, not necessarily changing but just becoming more refined. It’s funny to look back on how my style has changed over the years and grown up right along with me! One thing I have always loved is a vintage twist in my decor. I love to mix styles, specifically modern with a twist of vintage vibe, and that’s exactly what I did in my sunroom!
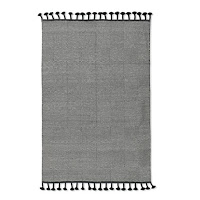
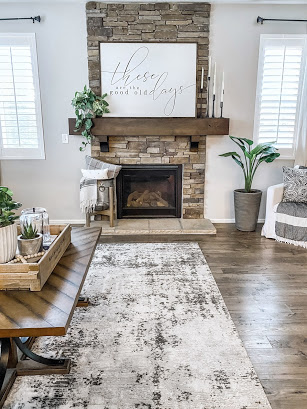
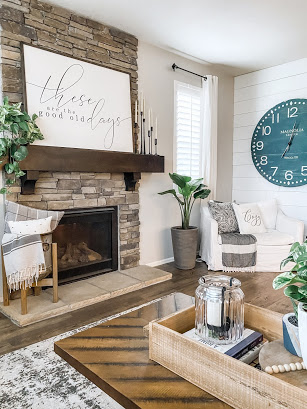
The real star of this room is my new handmade vintage inspired Rune rug from Revival Rugs. I have been a long time fan of their beautiful rugs and I’m so excited to add one into my home! I love the natural colors, the beautiful design, and of course I’m a sucker for any rug with fringe!! This rug is inspired by nomadic tribes. They were limited by the size loom they would make their rugs on, so they would commonly join long narrow panels together to make a larger, wider rug. How cool is that! I love knowing the story and history behind vintage pieces, as well as the design inspiration of vintage reproductions. It truly gives more life to a piece of decor for me.
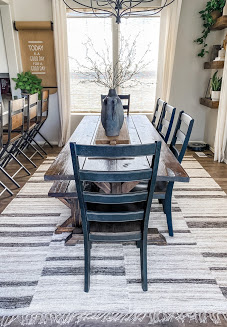
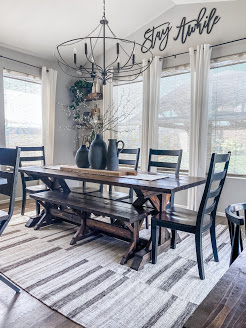
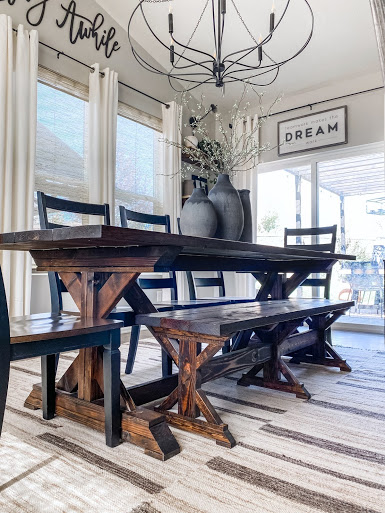
This room is the perfect space for my new rug because this is where I have so many of my vintage inspired faux found pottery I have made. Have you tried this project yet?! I’m seriously obsessed with making these! They are the perfect compliment to each other and bring the whole look and feel of the space together, with a little bit of a story! This room has such a warm welcoming feel to it now and it’s a place we love to gather together as a family and enjoy a meal!
Revival rugs not only has vintage inspired handmade rugs, but also a collection of true one of a kind vintage rugs that you can’t find anywhere else! Check them out here and use my code: GREYBIRCH10 to save yourself 10% off a truly beautiful and unique rug for your home that will last the test of time!
-Grey Birch Designs-
read more
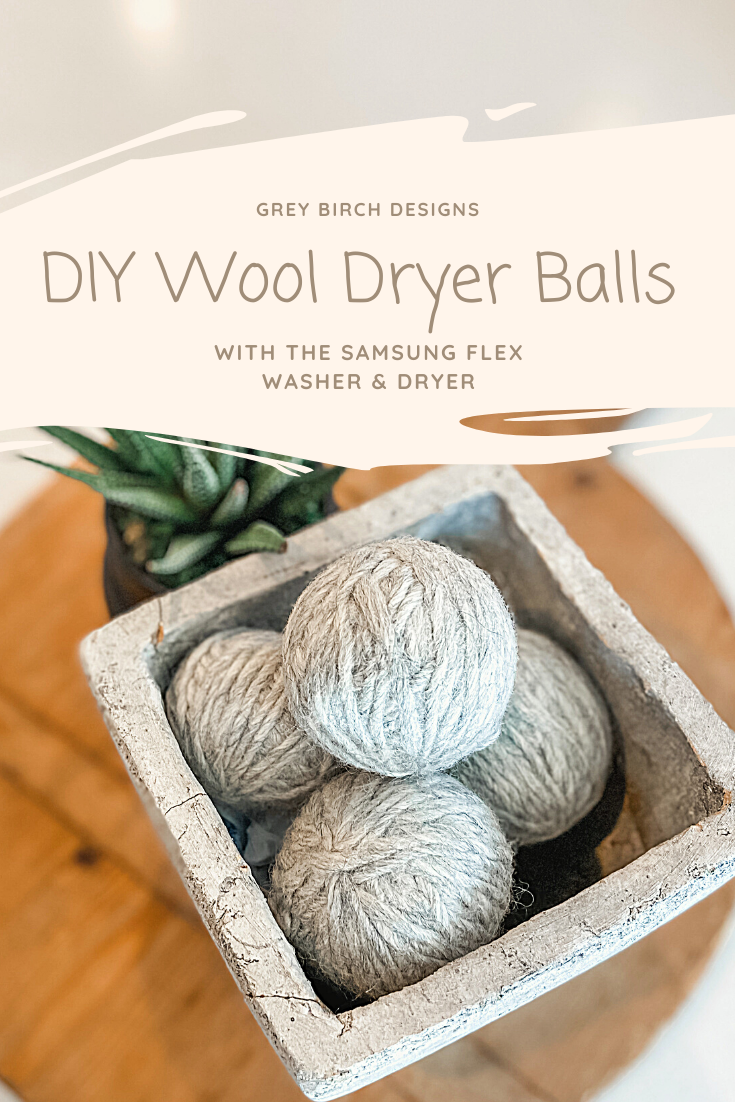
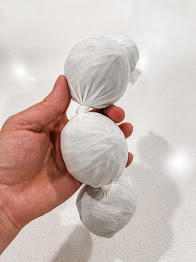
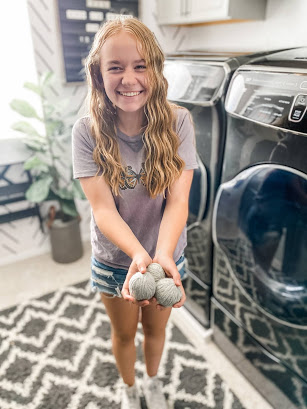
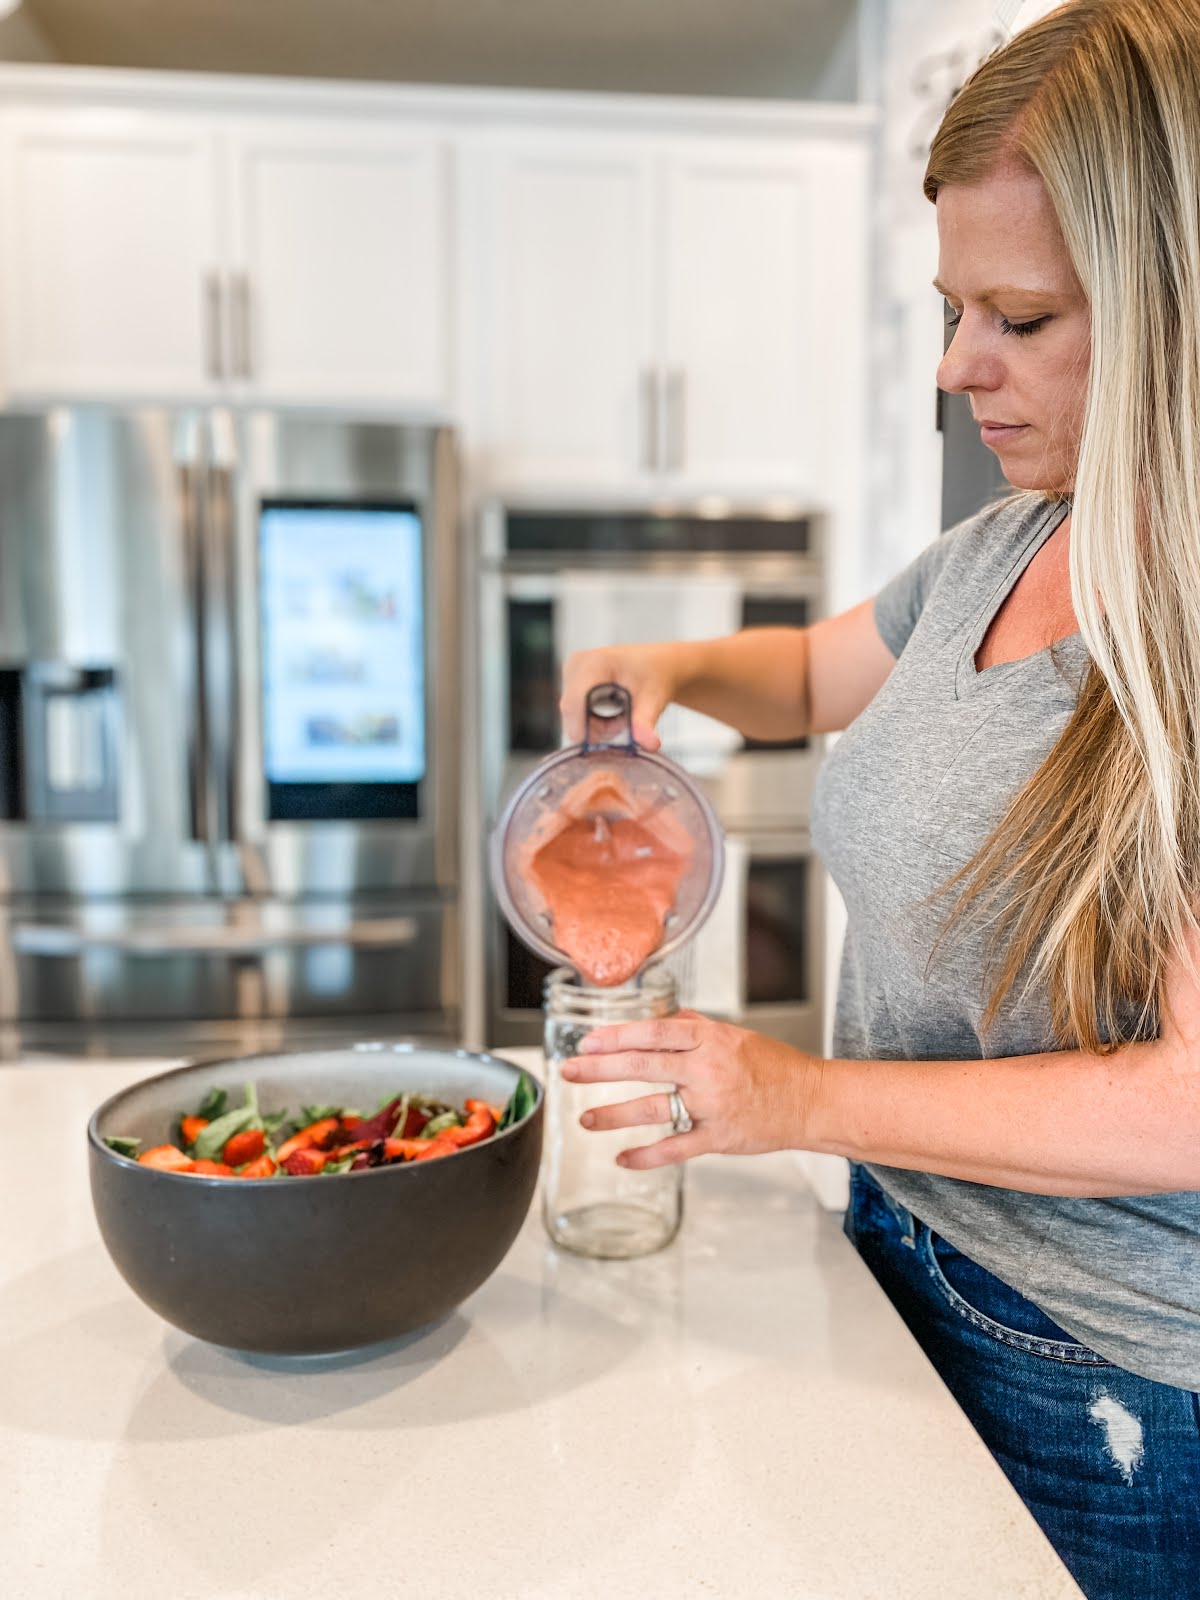
I have been super interested in the benefits of replacing our fabric softener with wool dryer balls. I love the idea of it being chemical free because a couple of my kids have very sensitive skin. I also love that you can add a few drops of essential oils to give your clothes a fresh smell!
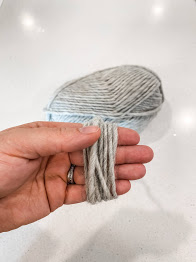
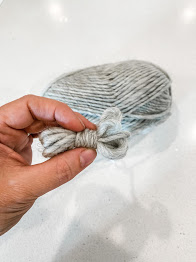
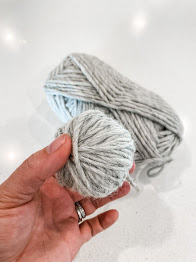
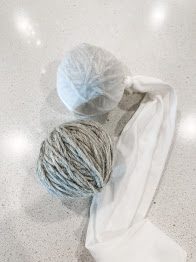
I set out to make my own and give then a shot! They are super easy to make and there is a good chance you already have what you need around your home, making this a very affordable project!
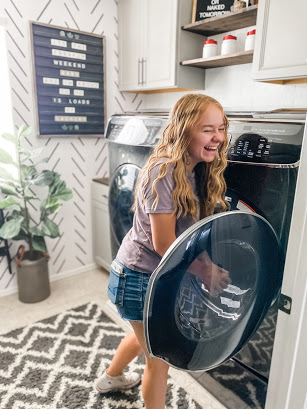
 Now it’s time to make it all come together! Wash them with hot water in your washing machine. I use my Samsung Flex Washer and Dryer. With the smaller washer on top I can do this project without running a full load of laundry or wasting water by running the washer with only the dryer ball project in it.
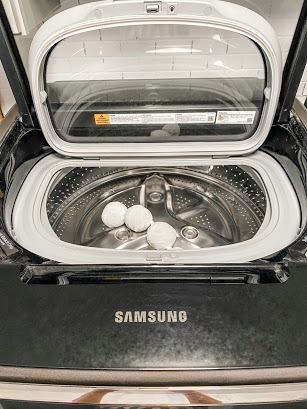

read more
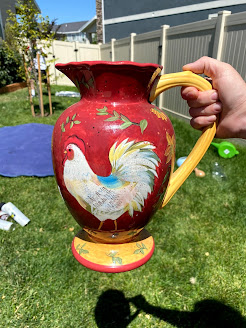
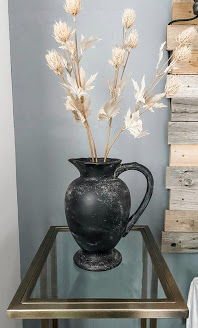
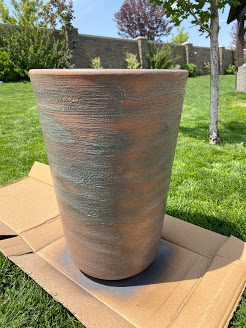
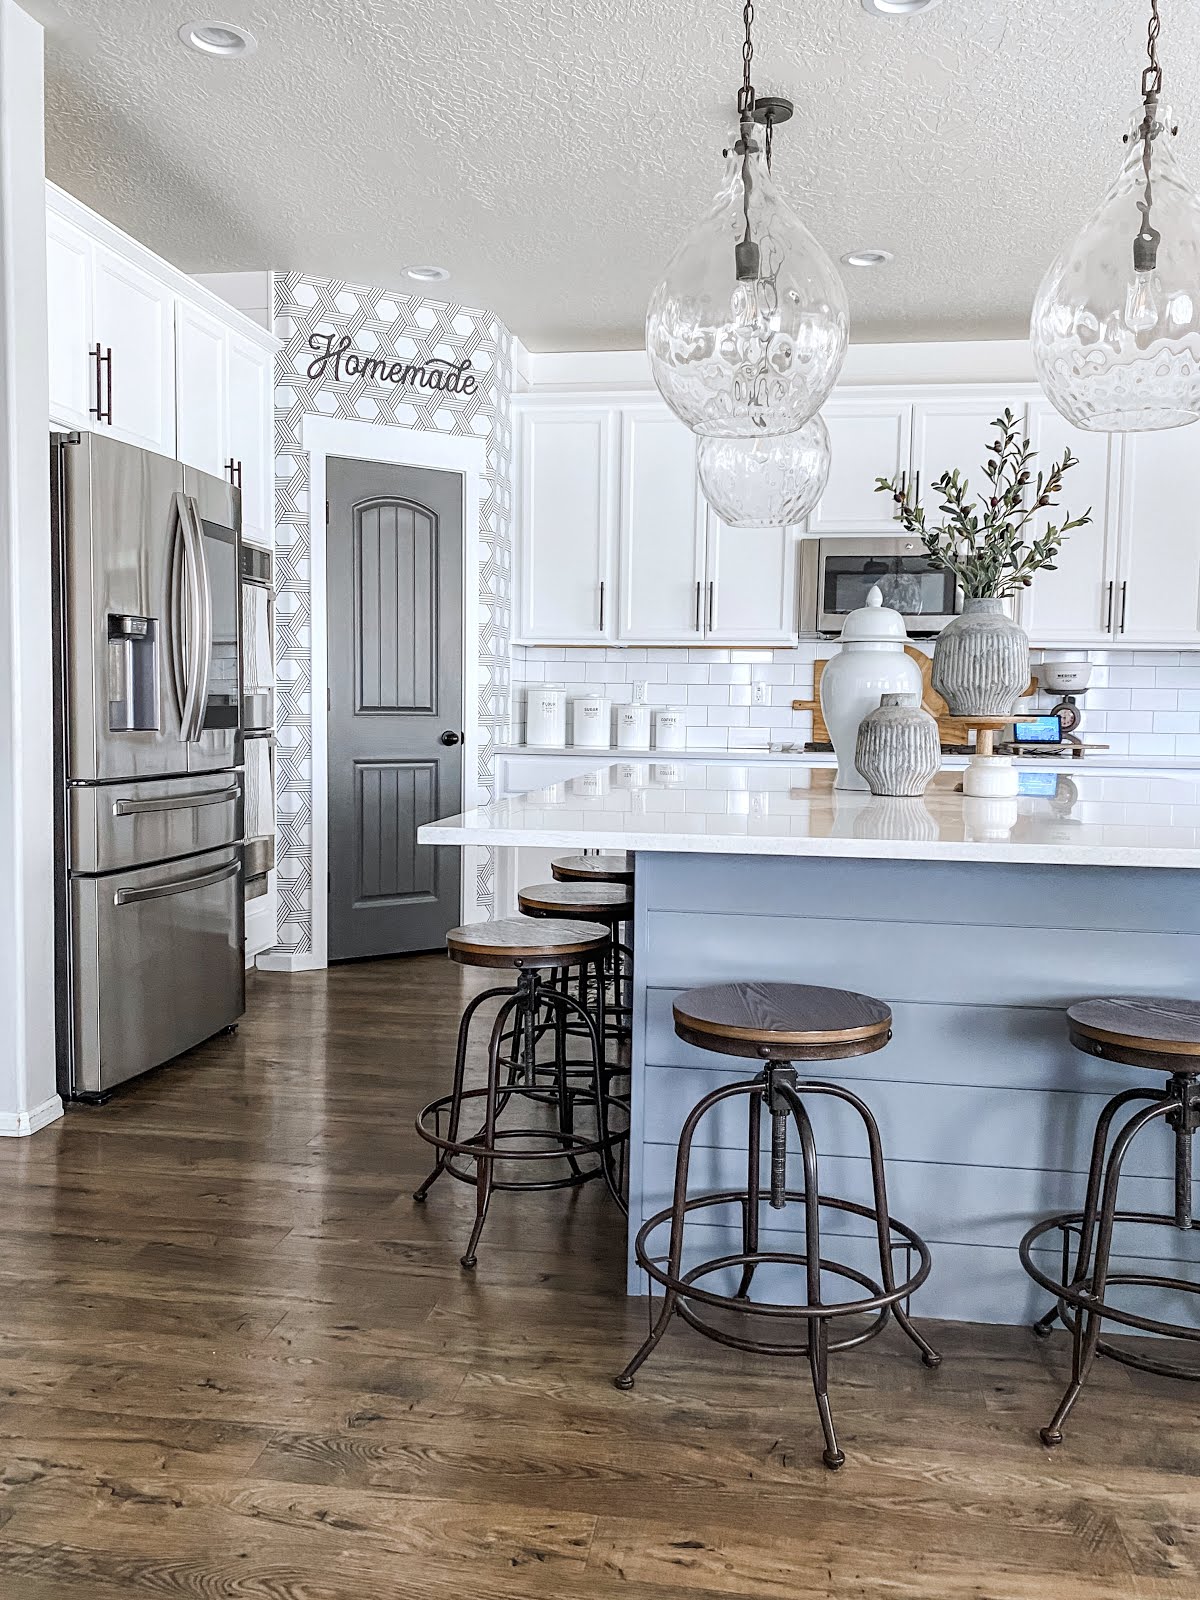
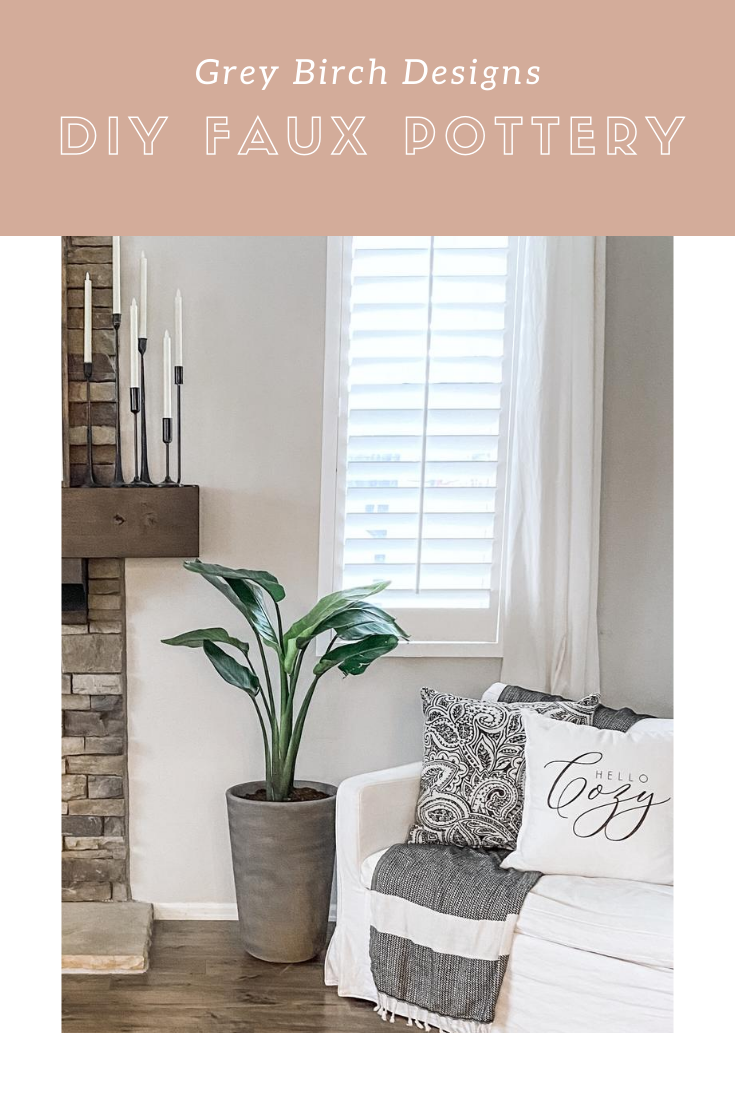
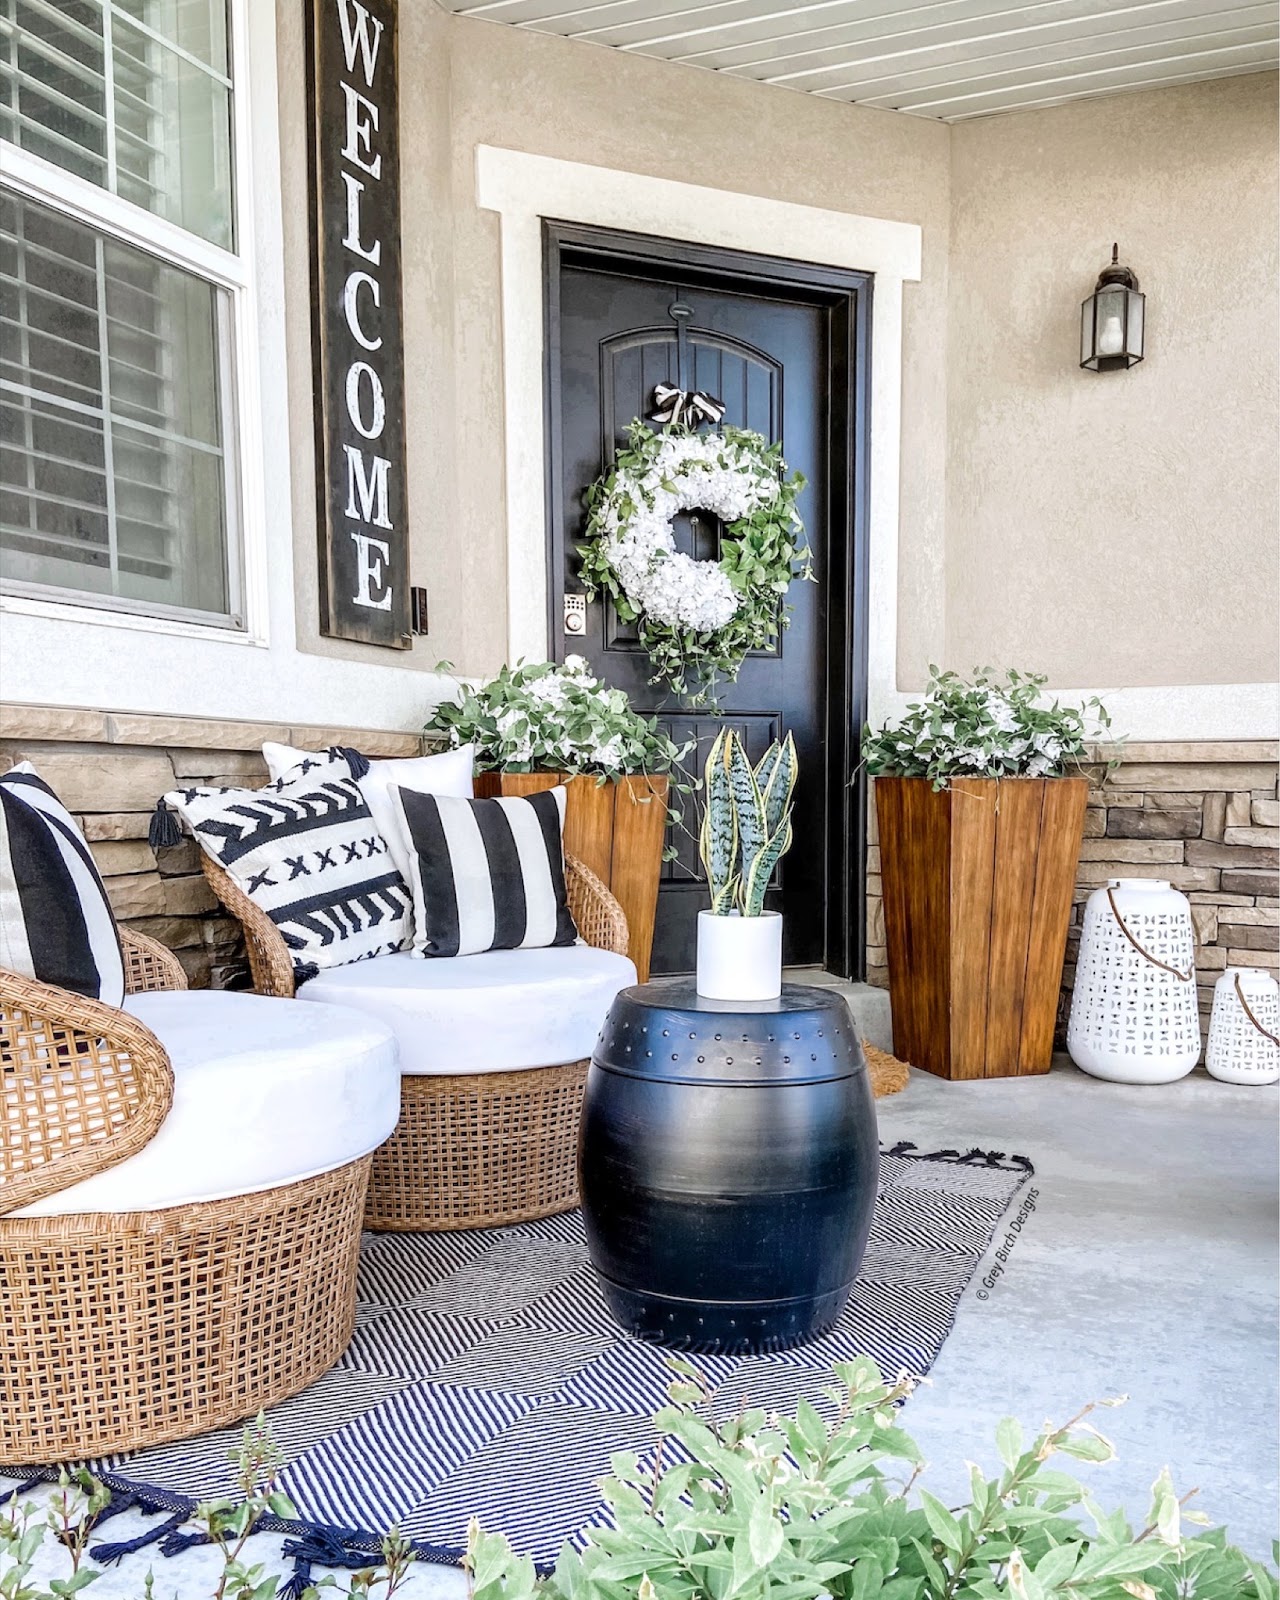
If there has ever been a DIY project that I have been obsessed with it’s this one! I have lost count of how many ugly containers I have turned into modern vintage looking faux pottery, and I still want to do more! It’s such a fun project that you really can’t mess up and will always turn out beautiful!
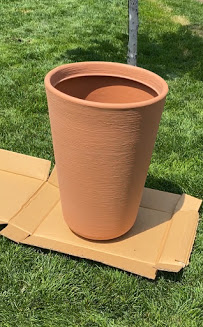
- Container you want to transform
- Texture Spray
- Matte Finish Spray Paint
- Dirt from your backyard
- Matte Sealer Spray

You can use this technique on practically anything. I have used ugly pottery, glass vases, plastic pots, even a set of lamps!! Click here to see how my lamps turned out. I’m completely in love with them!
- The first step is to cover your piece with a texture spray, this one by Rust-Oleum is my favorite. There’s no wrong or right way to do this. You can see the texture overlaps when you spray it and that’s completely fine. This step gives your piece the truly authentic look of pottery so be generous with the texture spray!
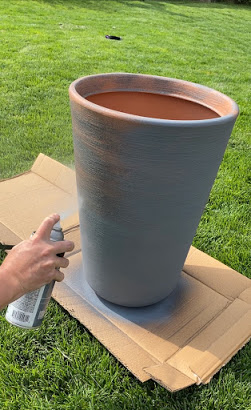
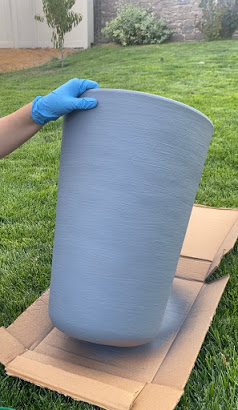
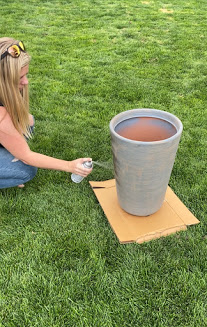
- Let the texture sit until it’s dry to the touch, about 10-15 minutes. Next, spray paint it any color you want. Make sure the paint is a Flat/Matte finish. If you use spray paint with any kind of a gloss finish it won’t give you the same look. For this project I used this medium grey color. I love it and it gives my planter a little bit of a concrete look!
- Now comes the fun part. Grab some dirt from your backyard and add just a little bit of water. You don’t want to add too much water to the dirt, think somewhere in-between dry dirt and mud! Now rub it all over your project and let it completely dry!
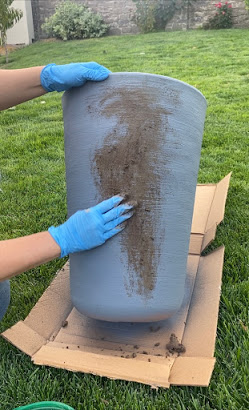
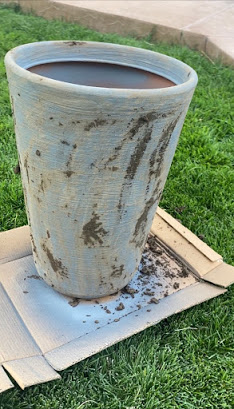
- After the dirt is dry take a clean cloth and rub some of it off. You can take off a little or a lot, it’s up to you! If you have trouble removing the dirt, it may be because your dirt was too wet. Get your cloth damp and carefully rub the dirt off that way. If your cloth is too wet and you completely remove all the dirt you will need to repeat the last step to get some of that dirt back on your project.
- The last step is spraying the project with a matte sealer. This is optional but I do find that it preserves your project better, and because the finish is also matte it won’t change the look or feel of your project!!


read more
read more


-Grey Birch Designs-

read more
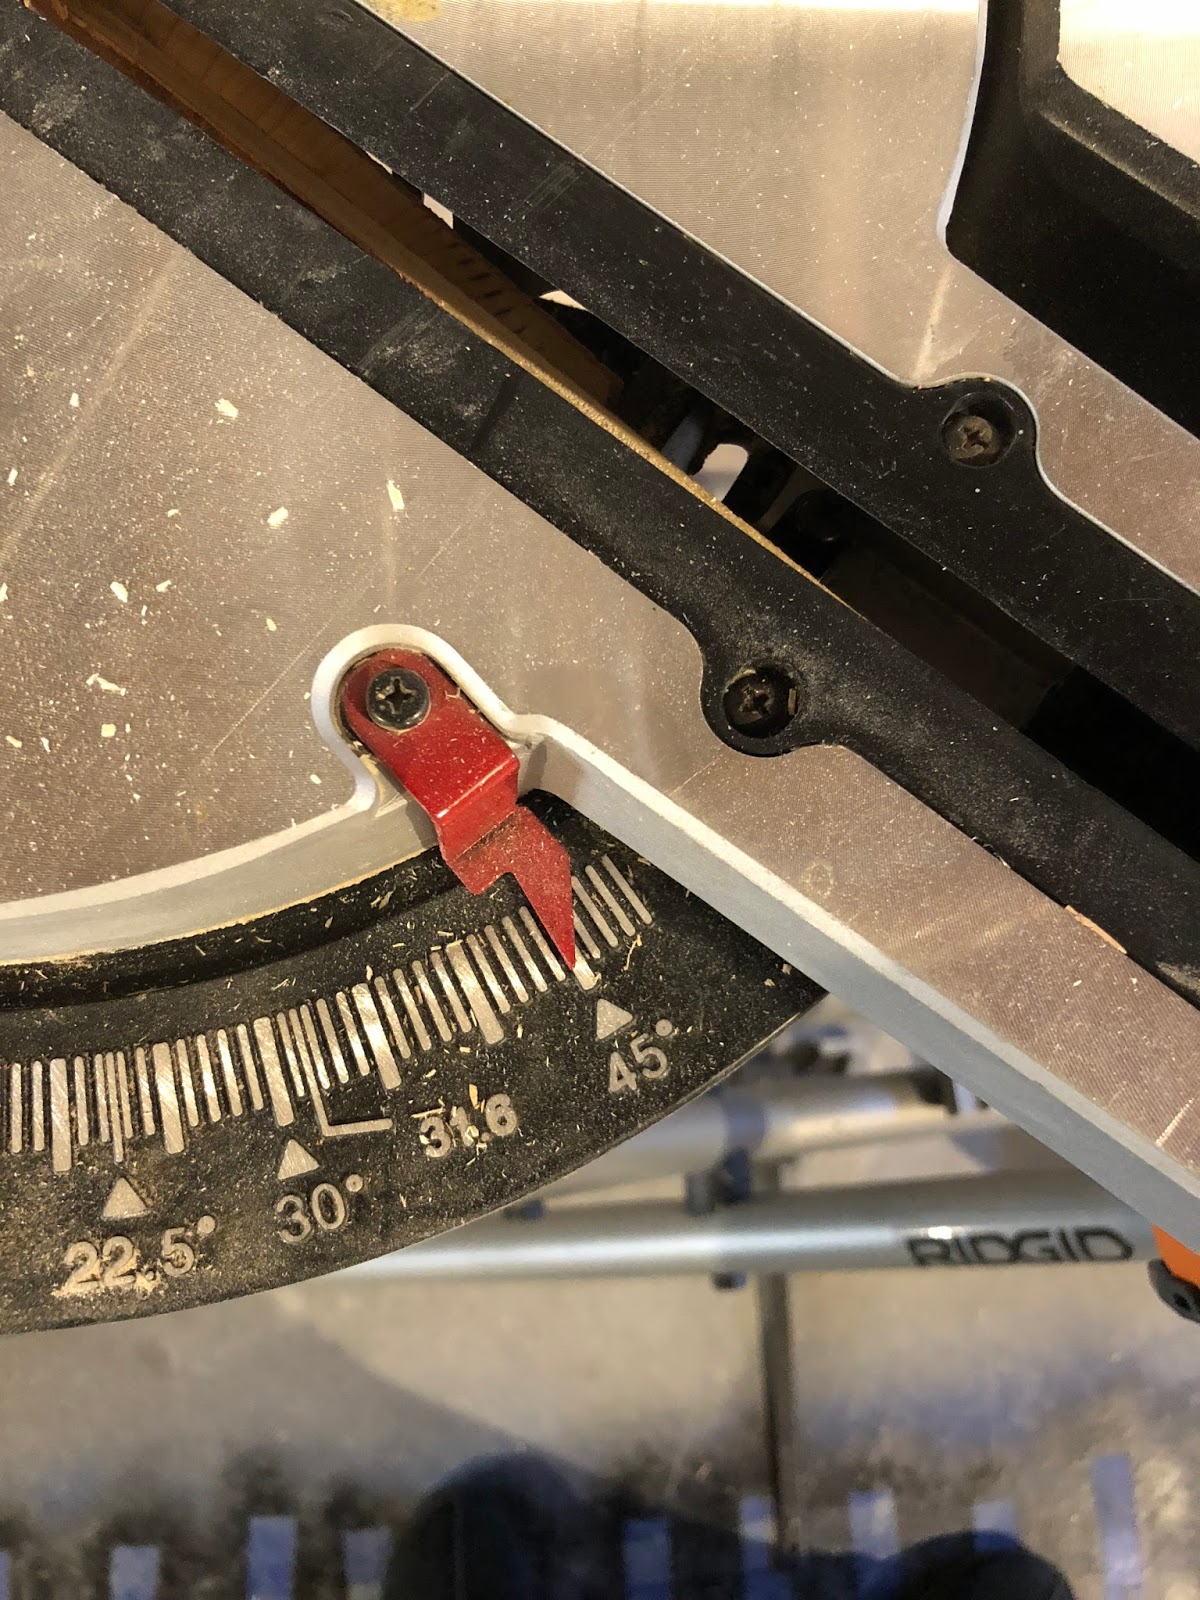
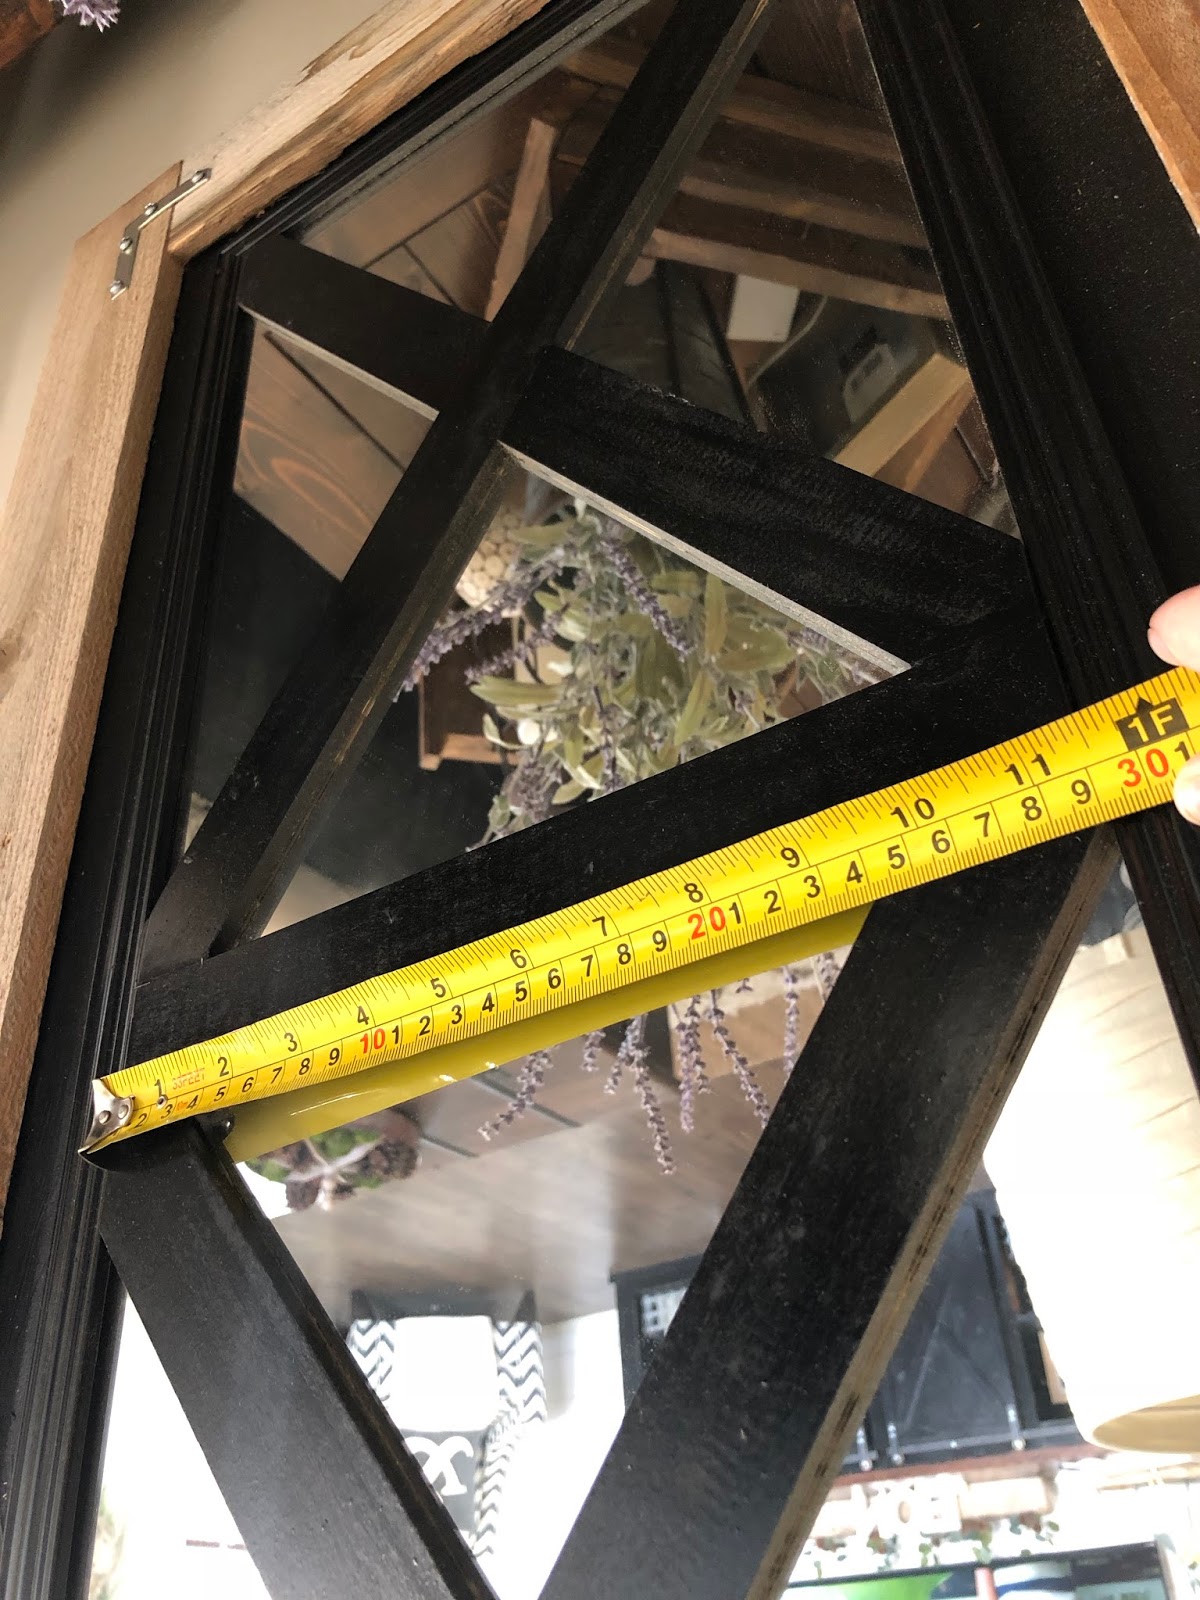
1.5″ wide and .25″ thick

read more


read more