read more
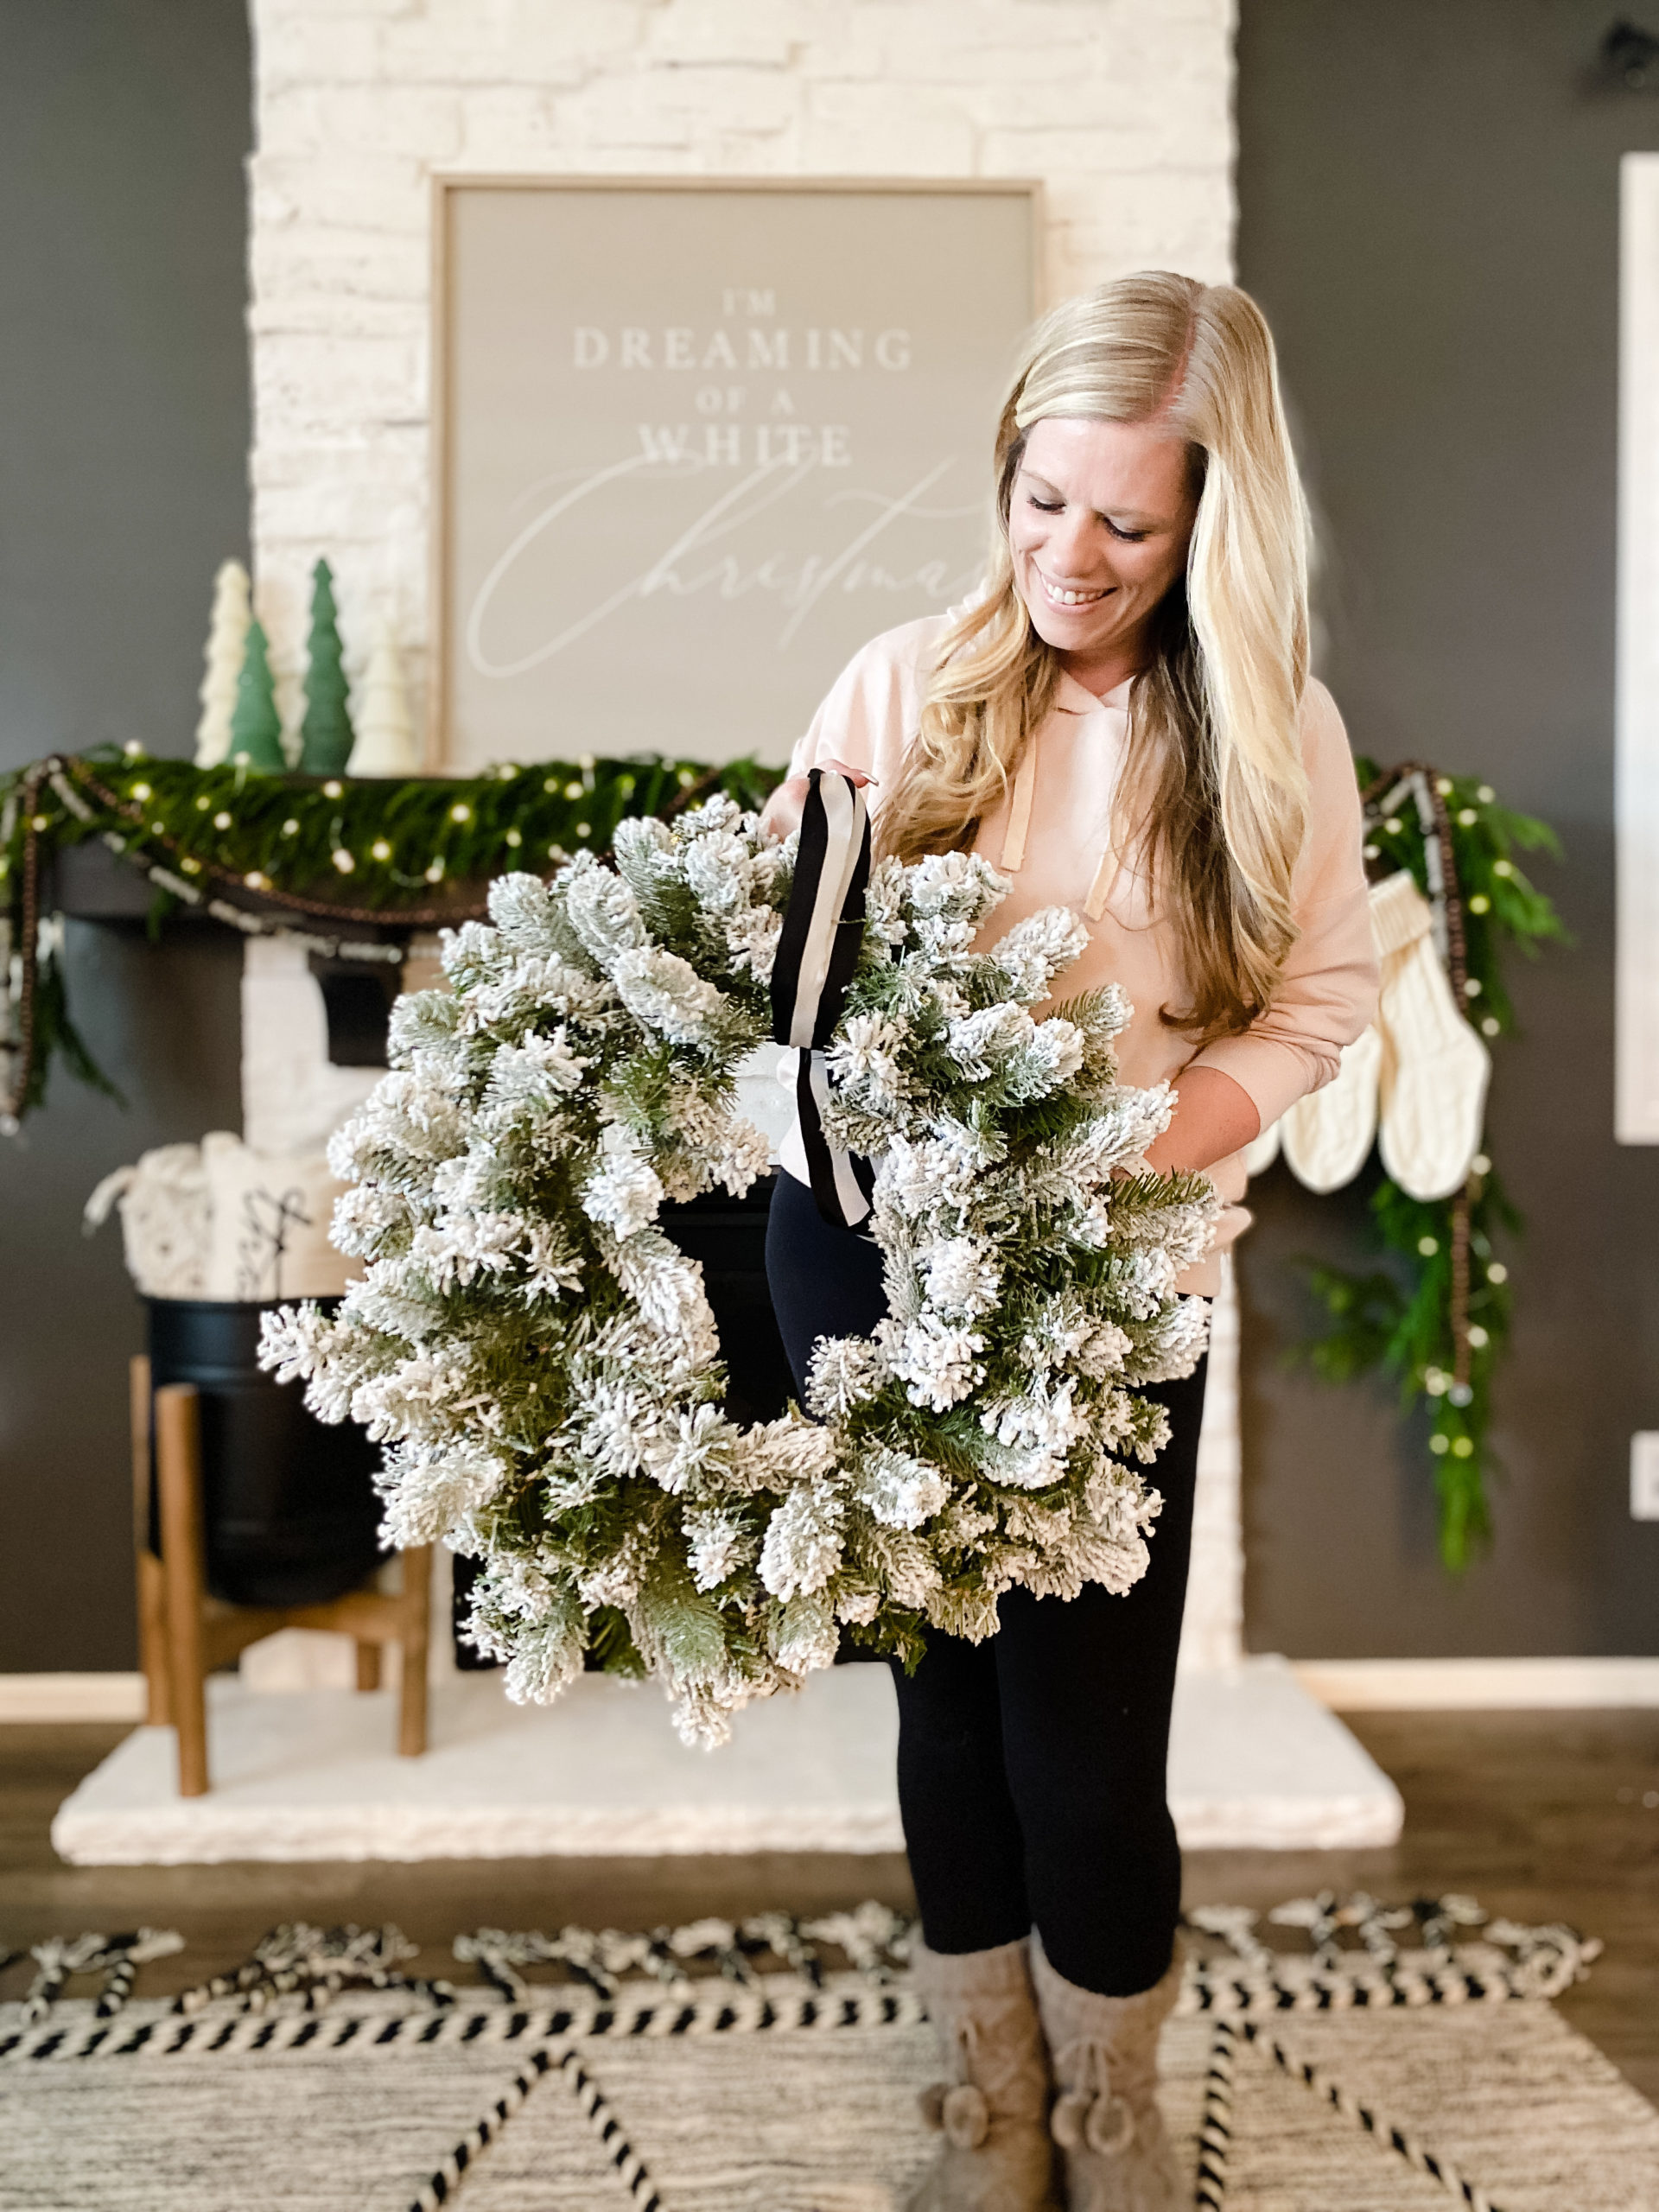
Each year when the holidays roll around I always find that my seasonal decor style changes a bit, but I really don’t want to invest in all new decor year after year! Last year I wanted flocking on EVERYTHING, this year not so much. So when I opened up my holiday storage bins and found just about every faux greenery covered in flocking I knew I had to come up with an easy solution that wouldn’t break the bank!


I had these really nice pre-lit Holiday wreaths I love to hang over the windows in our sunroom, but I wanted to add more natural elements and greenery to balance out the flocking on the wreaths and give them a more natural organic look and less of a white Christmas farmhouse look this Holiday season!
I found some faux greenery stems and mini pinecones that worked well with the flocked wreaths to give me the look I was hoping for! All I needed were some zipties, wire cutters, and Krazy Glue for this project!
Step 1:
First I took my plain flocked wreath and pushed back all the branches so I could get to the metal frame of the wreath. Then I laid down these faux pine leaf stems with baby pinecones (they are larger of the two I picked out for this project) and attached it to the frame with a couple zipties.

I repeated this step on the opposite side on the wreath, overlapping the base of the greenery stems just slightly so they flanked the bottom of the wreath and traveled up towards the top.
Step 2:
Next I took my second style of faux stems (a thicker pine with small berries on it) and layered them on top of the ones I already attached to the wreath. I did the same thing using just a couple zipties to secure the branches to the frame of the wreath.

Since the faux greenery I used is traditionally used in things like vases and containers, they have long stems on the bottom that I didn’t need in my wreath. I took some wire cutters and simply cut off what I didn’t want!
Step 3:
Now that I had the greenery secured it was time to fluff the wreath. I wanted the flocked branches and the new stems to look like one so I bent and moved the branches as needed to blend them together in the wreath.

Step 4:
Next came the icing on the cake, that took the wreath from plain to Wow! I cut up pieces of faux frosted eucalyptus and placed then randomly in the wreath. To keep them in place I used the Krazy Glue. It works awesome because is has a quick grab time, about 20 seconds, and it bonds to anything!! I placed a small bead of Krazy Glue around the frosted eucalyptus and held it in place until it grabbed!

Step 5:
I loved how the faux greenery with the baby pinecones looked in my wreath but it needed more of the little pinecones, so I took more of Krazy Glue and added a handful of these little pinecones around the wreath to bring in a more organic look. I added a pea size amount to the bottom of the pinecones and attached them to random branches in the wreath!

This was a super easy project for the holidays that I tackled in an afternoon and it completely changed the look of my old plain wreath! Thanks the the versatility of Krazy Glue I was able to get the look I wanted for my holiday decor this year without having to go out and buy all new wreaths!
-Grey Birch Designs-
read more
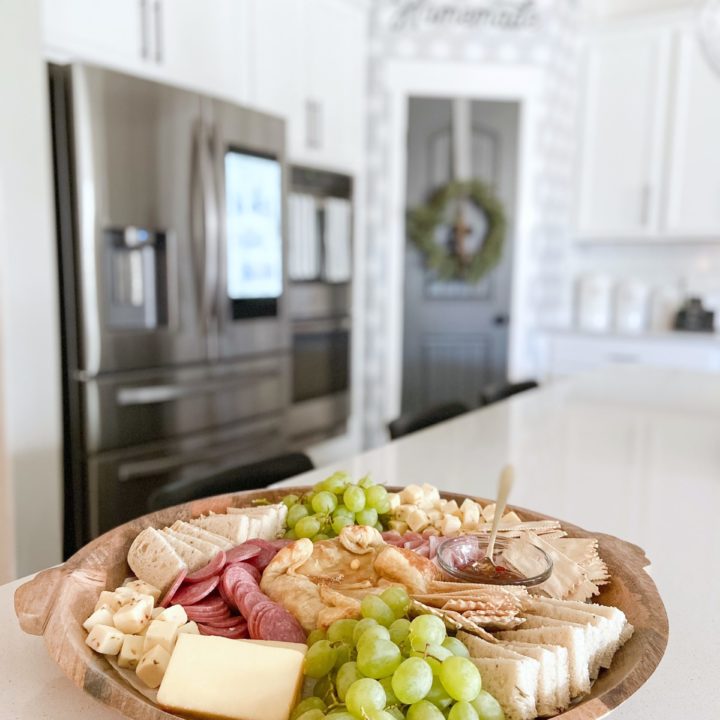
With the holidays around the corner, one of my favorite things to make in the kitchen is a charcuterie board. There are so many different varieties but my favorite is the traditional cheese and meat board. Before I head off to the market, I like to make a list of everything I need. My Samsung refrigerator has a super cool voice controlled assistant called Bixby that makes things really easy. I say “Hey Bixby, add Brie cheese to my grocery list” and it does the rest. Then I can quickly send the list to my phone and head out the door. On the off chance I forget to send the list, I can view the inside of my refrigerator from my phone at the market. Pretty cool!


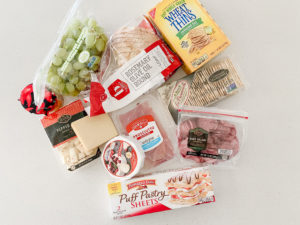
When I build a charcuterie board I like to include fruit, crackers, meats such as prosciutto and salami, and a variety of cheese. My favorite is baked brie. For my baked brie recipe you’ll need:
Charcuterie Board Baked Brie
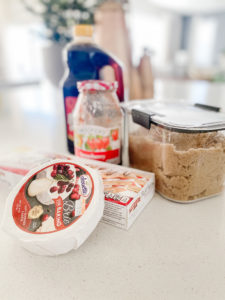
Brie cheese wrapped in a puff pastry with added sweetness from brown sugar, jam and a hint of maple syrup!
Ingredients
- One sheet of puff pastry dough
- One round brie cheese
- 2 table spoons strawberry jam
- 1 table spoons brown sugar
- 1/4 cup maple syrup
Instructions
- Pre-heat the over to 350 F
- Slice the top off the brie (optional but it will help the puff pastry stick to the cheese)
- Place the brie on top of the puff pastry. Spread the jam on top of the brie and fold the dough over it
- Sprinkle the top of the dough with brown sugar and maple syrup
- Bake at 35oF for 30 minutes.
Notes
Let cool for 5-10 minuites before serving. Place in the center of your charcuterie board and add fruit, crackers, meats, jams and other cheeses to finish builded your board!
This recipe is delicious! I have a lot of fun making these charcuterie boards with my family and awesome appliances like my Samsung refrigerator make it stress free! To read more on some of the awesome kid friendly features our Samsung Family Hub Refrigerator has to offer check out my blog post here

-Grey Birch Designs-

read more
This is a project that I didn’t think we would ever see finished. When the plans we had to build a new home fell through (thank you COVID) we decided to finish our basement! Throughout this huge project I’ve been asked the question “Are you happy you didn’t move?’ and I can honestly say it was the biggest blessing in disguise!! It was hard to see at the time, but now sitting here I feel so incredibly happy for where we are!!
For our basement we knew we wanted to build 2 bedrooms, a bathroom, a kitchenette, a living room, and a game room! It was a bit overwhelming to think about all the work but also super exciting. We knew it wasn’t going to happen over night, but I’m excited to say we are officially finished with phase one of our basement build!

read more
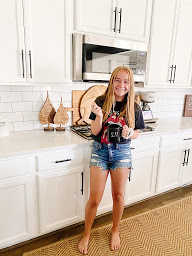
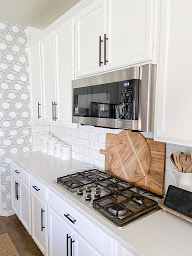
We recently upgraded our microwave oven to the Sharp 1.8 Cubic Feet Stainless Steel 1100W Over-the-Range Microwave Oven and could not be more excited to share all of the details with you all. I have to say, the edge-to-edge stainless steel, black glass, and discreet branding (yes, the logo is on the inside of the oven) make this oven pair beautifully with our other stainless steel kitchen appliances.
Our Sharp above range microwave oven saves on counter space without compromising functionality in our kitchen. This full-feature over-the-range microwave oven from Sharp offers convenient Sensor Cook Technology and Auto Defrost, making cooking and reheating my favorite foods, snacks, and beverages easier.
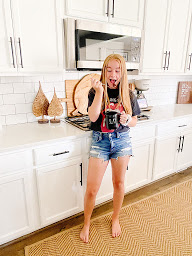
During the day, our kids love to use our Sharp microwave oven to make a quick meal and hit the Express Cook +30 button to warm their food up; it truly makes cooking more simple during the day. The kids are super impatient, so it’s an excellent one-button feature. Given that our family uses the kitchen appliances in our home MUCH more now than we have in the past, the Simply Better Clean enamel coating inside the oven is a life-saver because it is stain resistant wipes clean with a damp cloth.
This Sharp over-the-range microwave oven also includes a super cool setting to soften ice cream for dessert time! If you don’t have a sweet tooth, worry not. The Melt/Soften feature is also specifically tuned to quickly melt cheese, chocolate, or soften butter, making impulse baking a breeze.
My daughter’s most recent baking obsession to make when she is craving something sweet (which is all the time) in our Sharp Microwave Oven are mug cakes! By far, their favorite is the Chocolate Banana. It’s super easy to make:
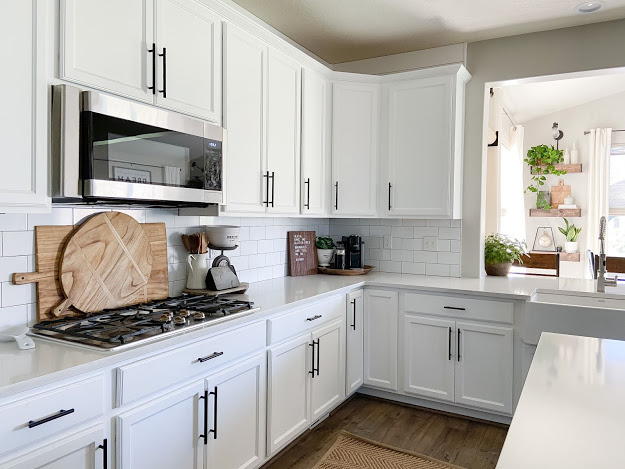
Overall, we’ve been very happy with our new Sharp over-the-range microwave oven and recommend incorporating a Sharp microwave into your kitchen design. The microwave oven is very well made, making it super practical for everyday family life, and it looks so sleek and premium in our newly remodeled kitchen!
-Grey Birch Designs-

read more
This is a sponsored post written by me on behalf of Hunter Fan Company. All opinions are 100% mine.
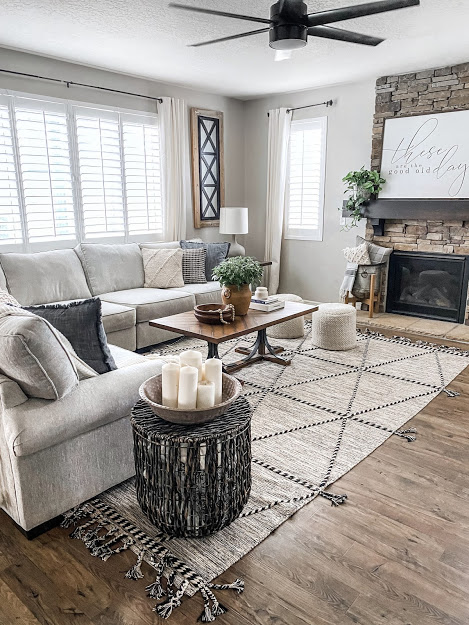
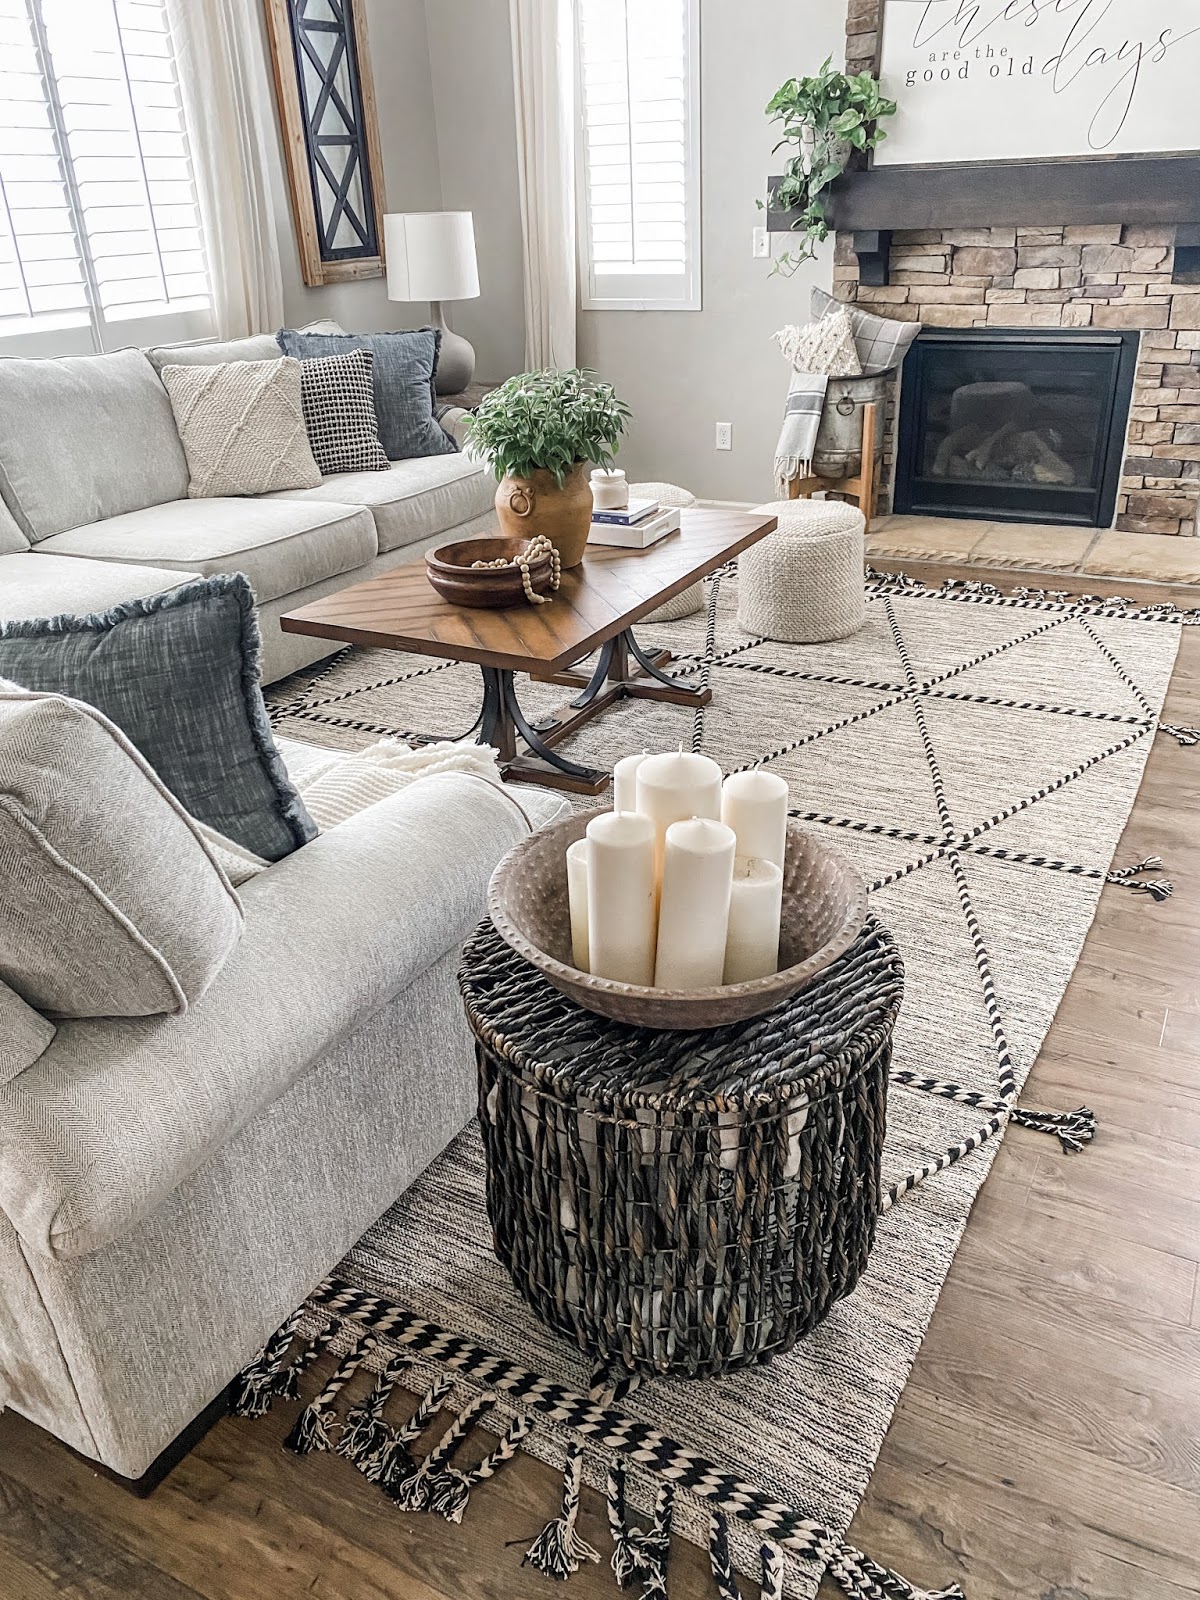
I recently gave my living room a little update. I have been really loving the more eclectic, lived-in look than the matchy matchy look. I wanted my living room to have a warm, inviting feel with a mix of old vintage and new modern designs.
I started with my sectional pillows. Instead of picking 2 or 3 of the same throw pillows and repeating them throughout the sofa, I picked 7 different pillows that all complemented each other but were still different. This really makes the room feel like things have been collected over time and not staged. Next I changed my rug to a larger size. Our living room is pretty big and our previous 8×10 rug didn’t adequately fill out the space. I went with this new rug because of all its amazing texture. I’m a sucker for good high texture pieces!
The biggest change was upgrading our ceiling fan to this matte black Solaria from Hunter Fan Company It’s the best fan we have ever had. We had previously had a 52″ fan in here and it really didn’t move the air around very well so it was time for it to go!

Aside from this fan being a larger size, 60″ in fact it has the brands exclusive SureSpeed technology, which means it’s a high-velocity fan with airflow optimized for high-speed cooling … and let me tell you that’s exactly what it does! The fan has specially designed blades and the motor is smaller, which makes it push air more efficiently — 20% more airflow than other fans! It also has an LED light, which is nice because we have been switching all our lights to LED – they are long lasting and energy efficient. But my favorite thing about this fan is thepre-paired and ready to use wall control! It eliminates the need for a remote and that’s a total game changer. There is nothing more frustrating than losing your fan remote and not be able to control it … believe me I know from first hand experience.
I have only seen this wall control feature on Hunter fans and I think it’s the smartest design I have ever seen! All you do it install in on your switch plate and it’s ready to use. You can turn it on and off through the wall control, as well as change the direction the fan spins and the speed, all from one place! Yay for never misplacing your ceiling fan remote again!!
The last thing I did to round out this room update was add in some vintage and faux vintage looking pottery, warm wood tones, house plants, and some candles! It wasn’t a big change but boy does this space feel more homie and functional, with an eclectic vibe that I’m completely in love with!!
-Grey Birch Designs-

read more
I love Fall! It’s definitely my favorite time of year. The crisp air, cute sweaters, pumpkin EVERYTHING (give me all the pumpkin spice) and of course the Fall decor. I have put together a round up of my favorite Fall finds this year. It has been so fun and I can’t wait to start decorating my home for Fall!!
Faux florals are one of my favorite things to switch out in my decor for each season and these are some of my favorite ones to really bring in that Fall vibe!
Finally, Fall wouldn’t be Fall without pumpkins and candles, right?!? Here are a few of

read more
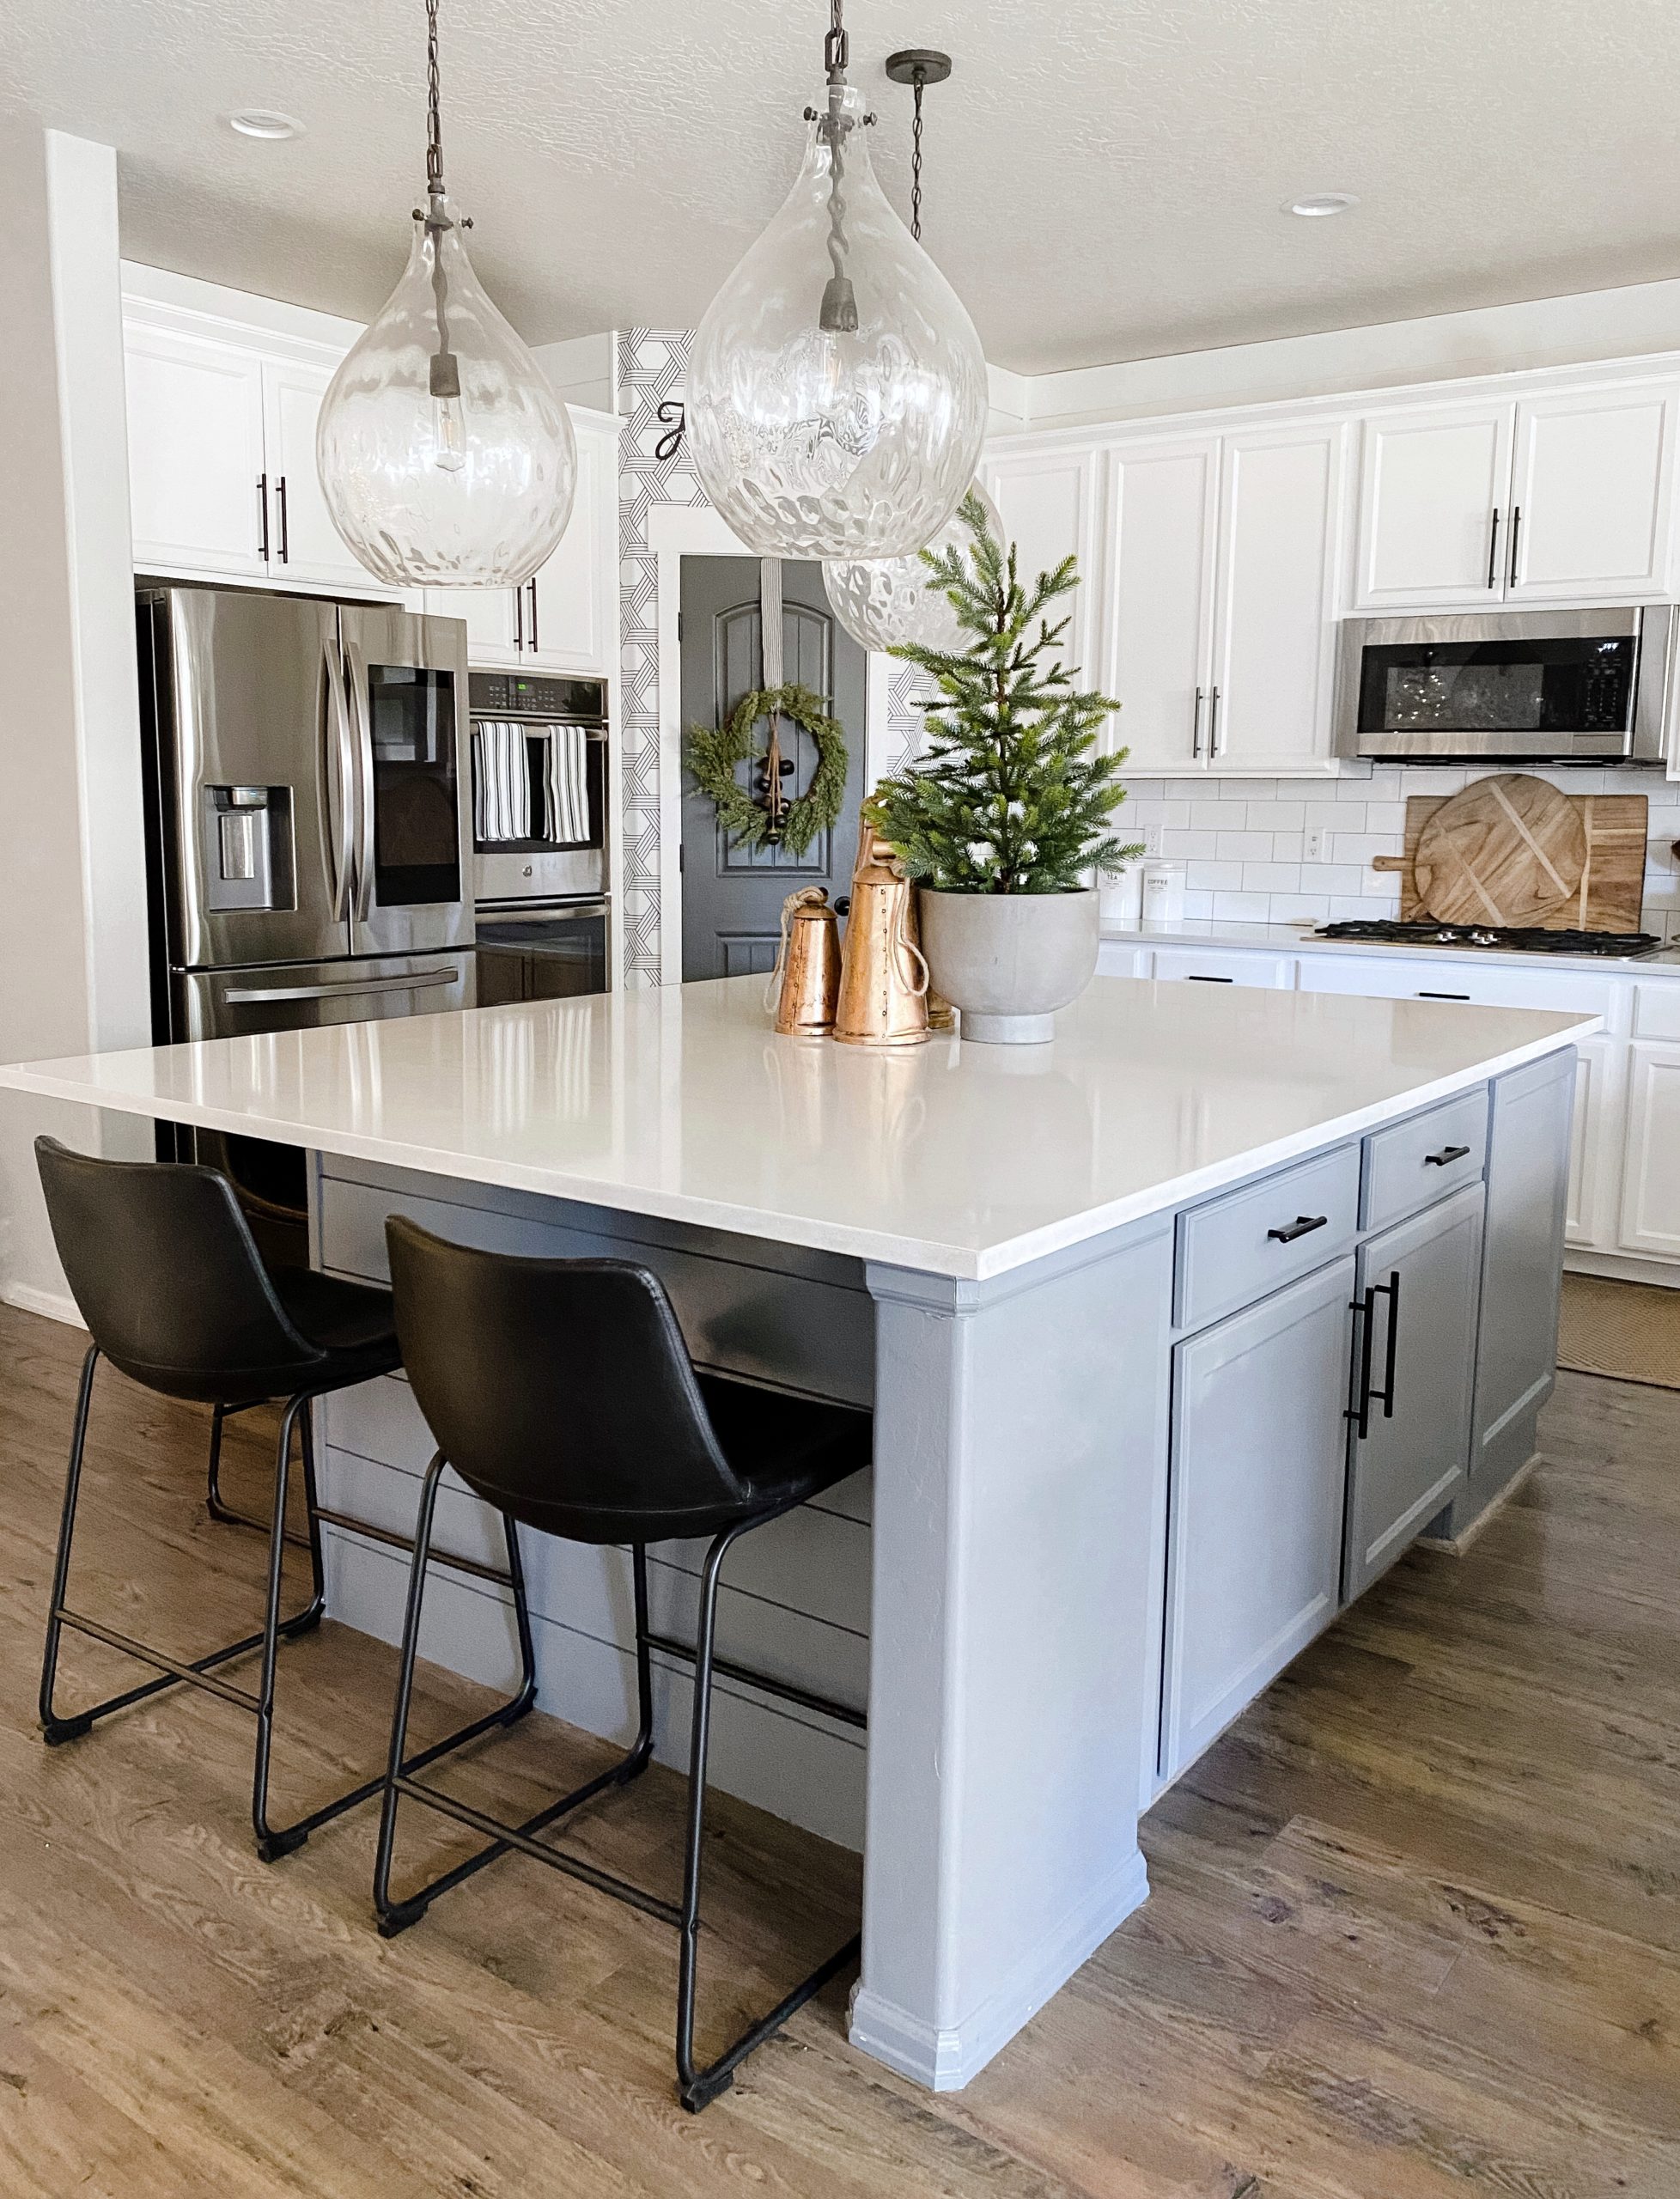
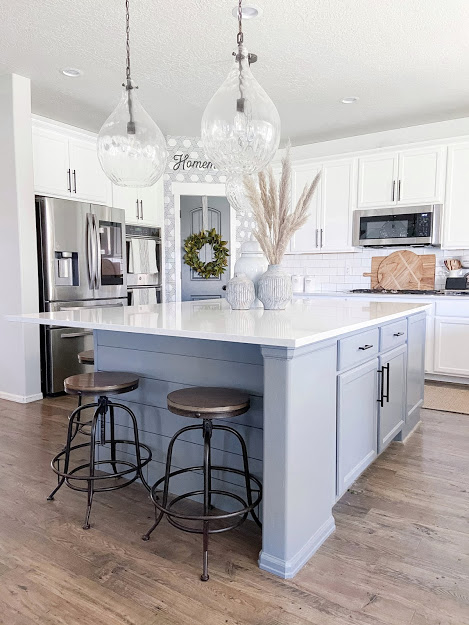
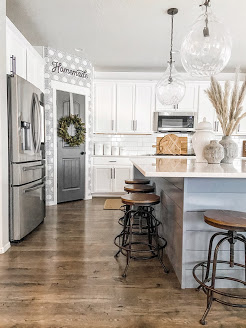
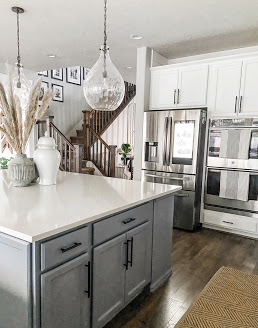
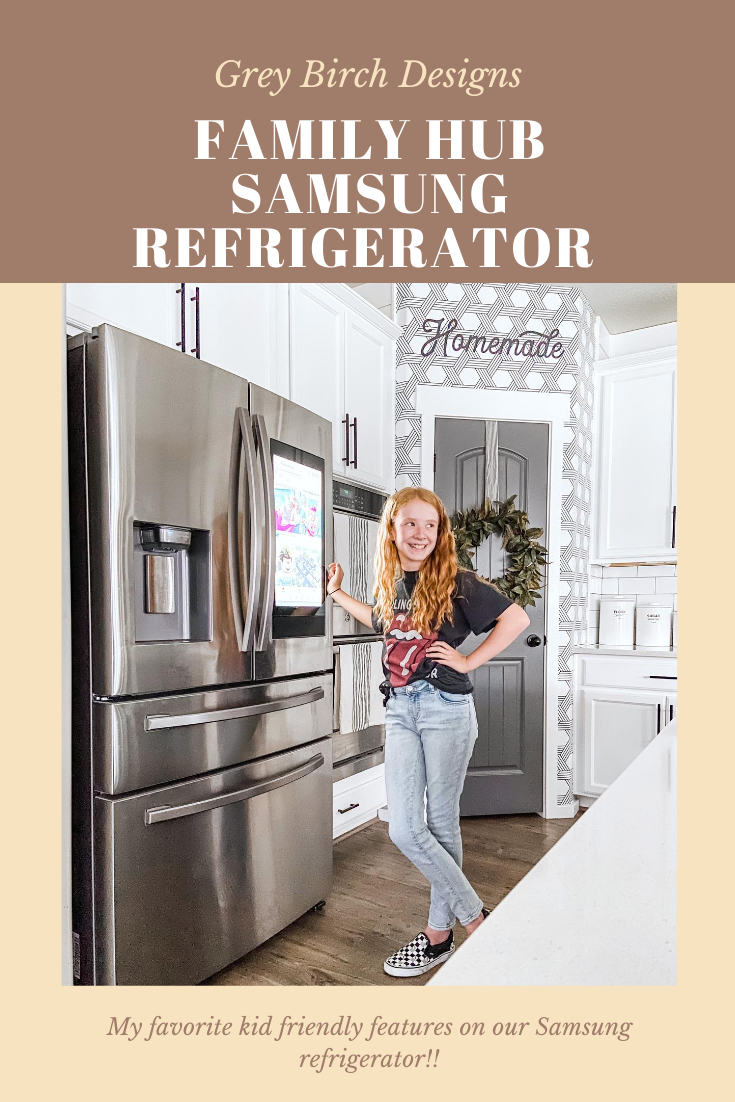
Our kitchen is truly the heart of our home. We spend so much time in here eating meals, doing homework, and most importantly cooking. I put a lot of effort into the design of my kitchen because I love cooking, especially with my husband. It’s usually my time to unwind, but cooking can quickly turn from fun to stressful when you have hungry, bored kids at your feet wanting to know when dinner is ready. Enter in my lifesaver Samsung family hub refrigerator!!
I never imagined how useful this refrigerator would be! It serves as a source of entertainment for my little ones with the coloring note pad app, music, and YouTube built in to the family hub. It makes cooking dinner less stressful and more entertaining! I can’t tell you how many times I have found my kiddos giggling as they pull up a photo of mom or day and draw on mustaches and funny hats! I regularly set up the coloring note pad for my youngest son before I start cooking. Then I know he is happy, entertained, and close to me if he needs anything which makes meal prep and cooking relaxing and enjoyable!!
Although I love to cook I’m definitely not a gourmet chef! I make a super simple sauce to put over chicken or fish that you would think took me all day to make! My favorite simple sause for the summer is this Herb Lemon Cream sauce. It’s delicious on any protein and so ease to make!
Ingredients:
- Fresh Dill
- 4 TBSP Sour Cream
- 2 TBSP Chicken Stock Concentrate
- 2 tsp. Dijon Mustard
- Juice from 1/2 lemon
- 1/4 Cup Hot Water
Directions:
Add Dill, Sour Cream, Chicken Stock Concentrate, Dijon Mustard, Lemon and hot water to a med size sauce pan. Heat thoroughly till all the ingredients come together stirring frequently with a wisk. Let simmer for 5 minuets, serve warm over your favorite protein or vegetables!
read more
