read more
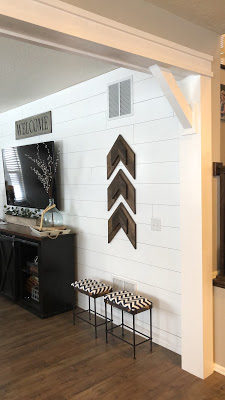
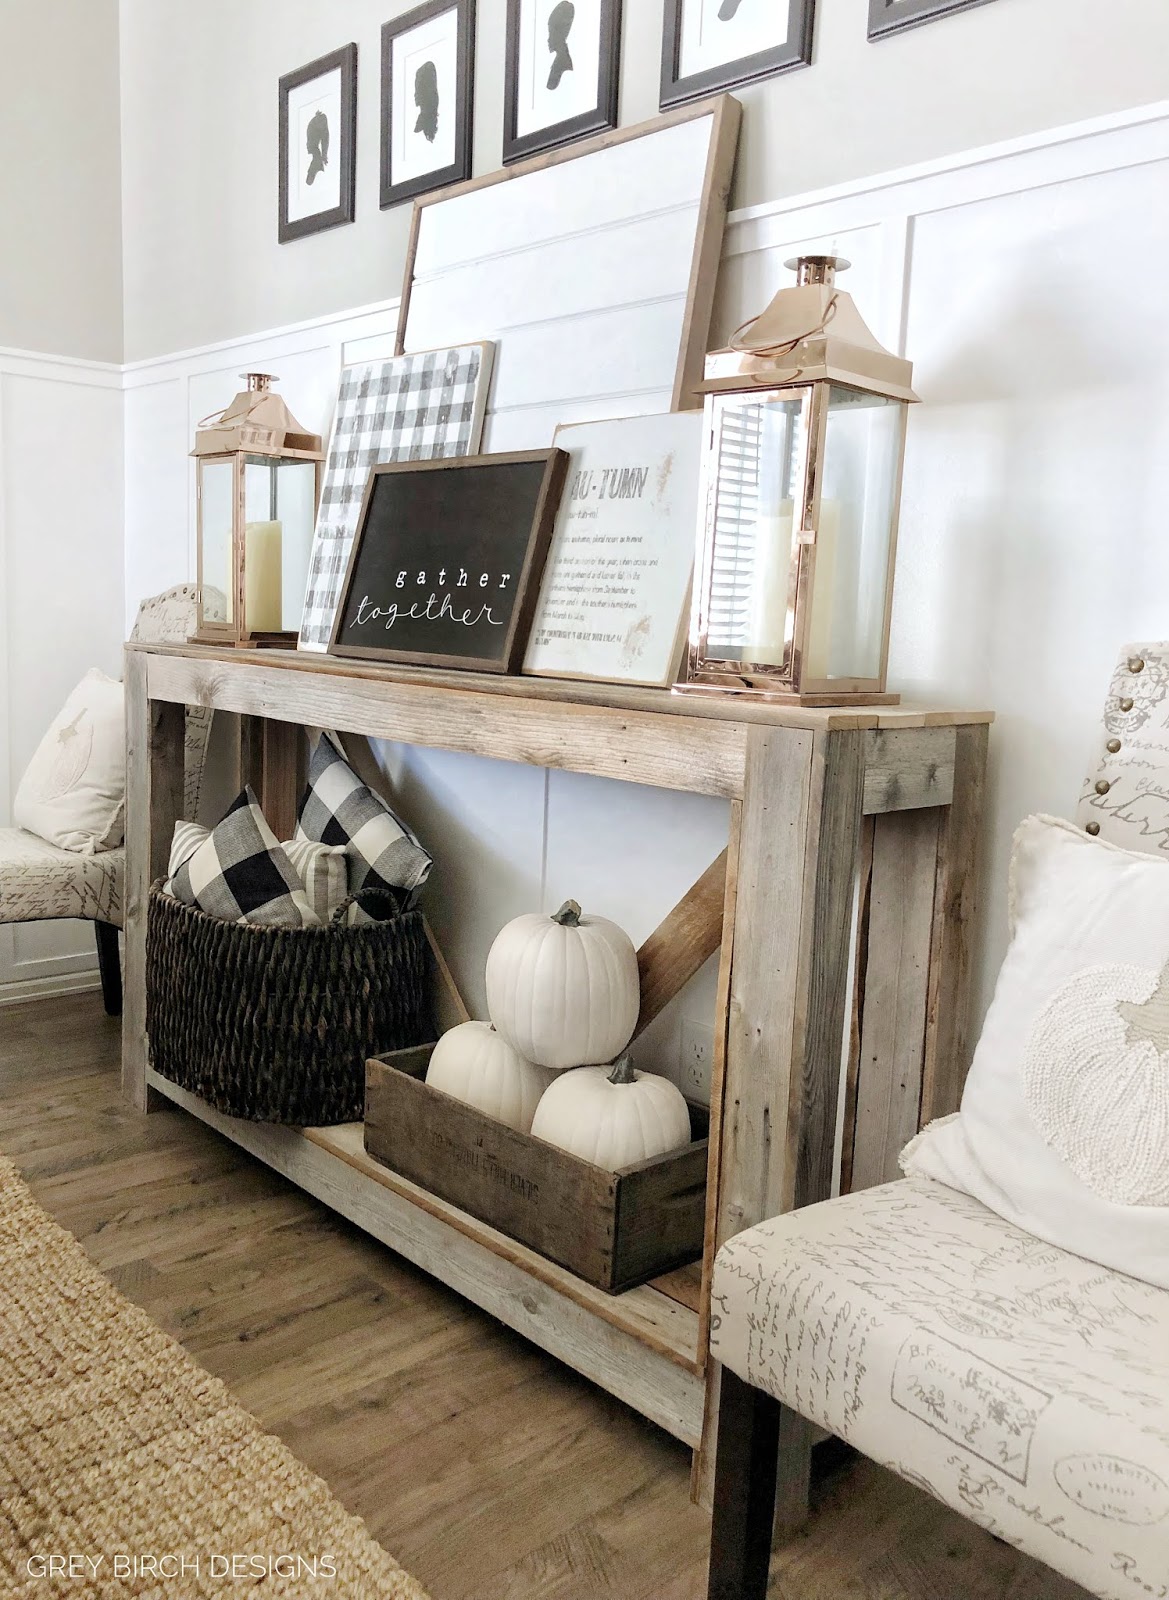
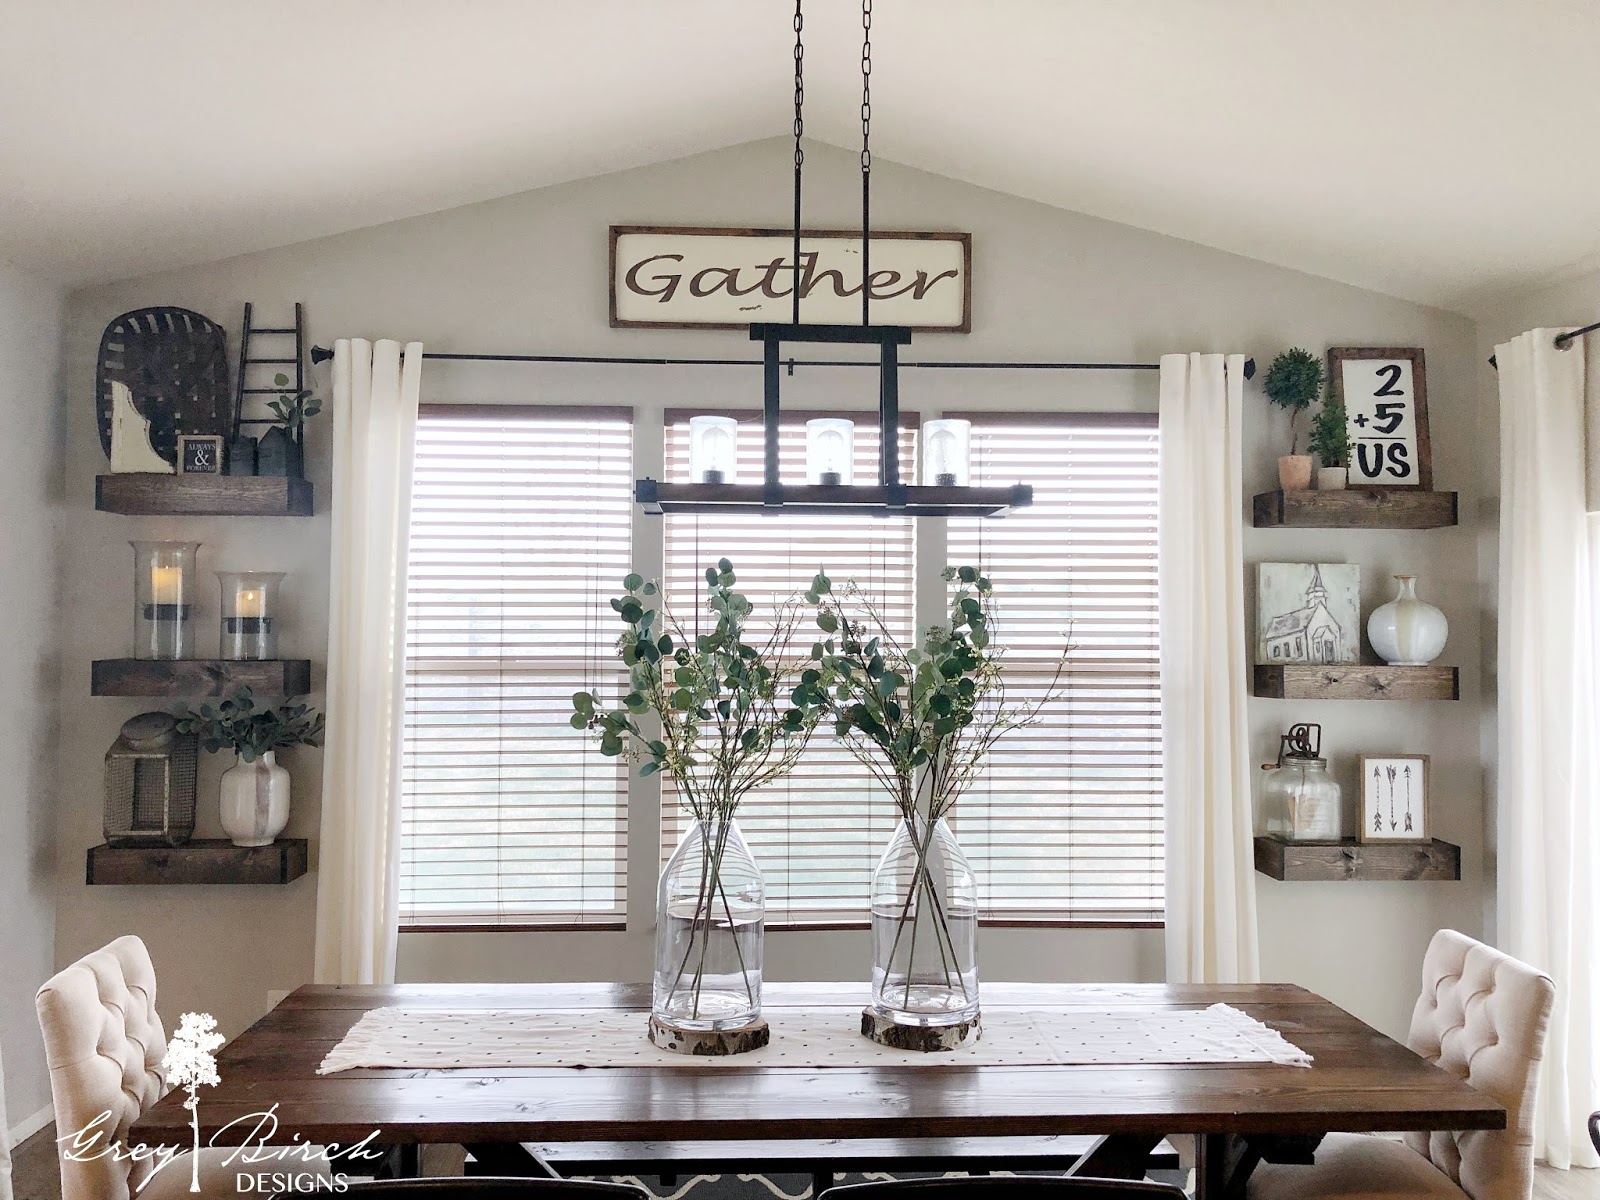
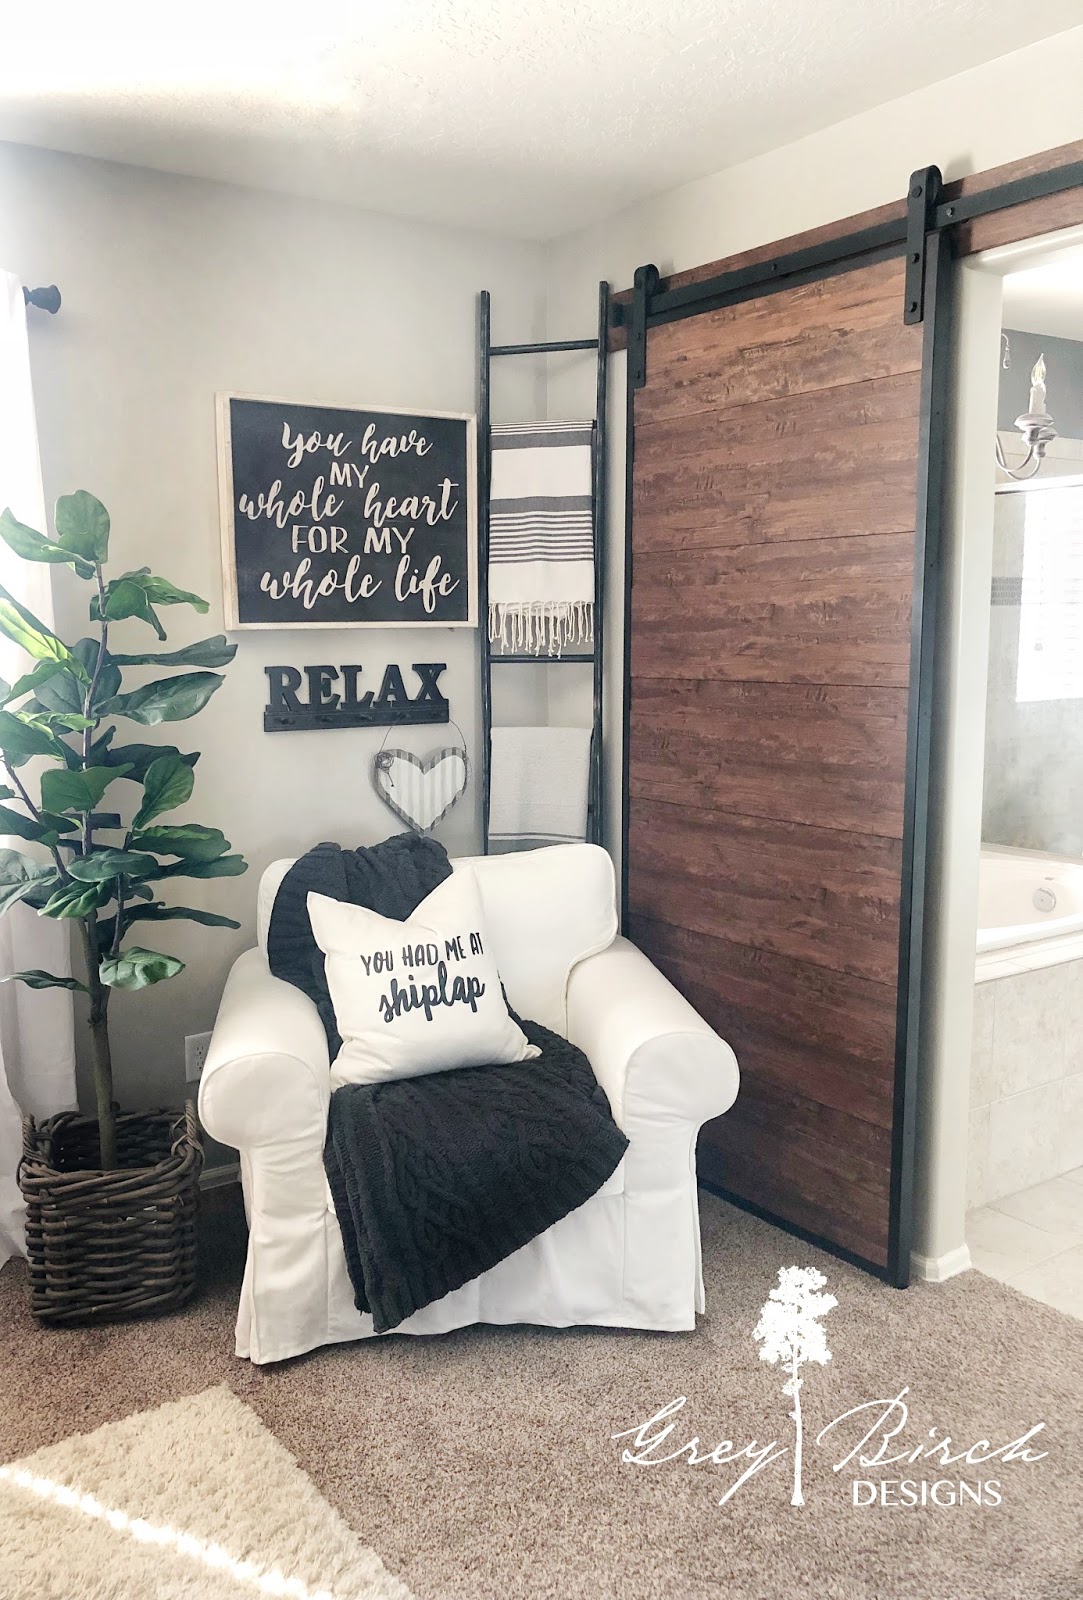
I really love the look of layered signs! It’s such a fun look to create a statement piece in your home. The key part to making this work is to establish your statement piece, and today I have a fun DIY project that can be used as your anchor piece. This board combines some of my favorite things: wood signs and SHIPLAP!!! This shiplap board is the perfect anchor piece in a sign grouping because it adds texture without taking away from the whole design. It can also be used in many other ways, such as in combination with a wreath, etc. The possibilities are endless.
- Plywood or MDF board cut to your desired size
- Tongue and groove or standard shiplap boards
- White paint
- 1″ x 2″ boards (for the trim)
- Any stain color you like (for the trim)
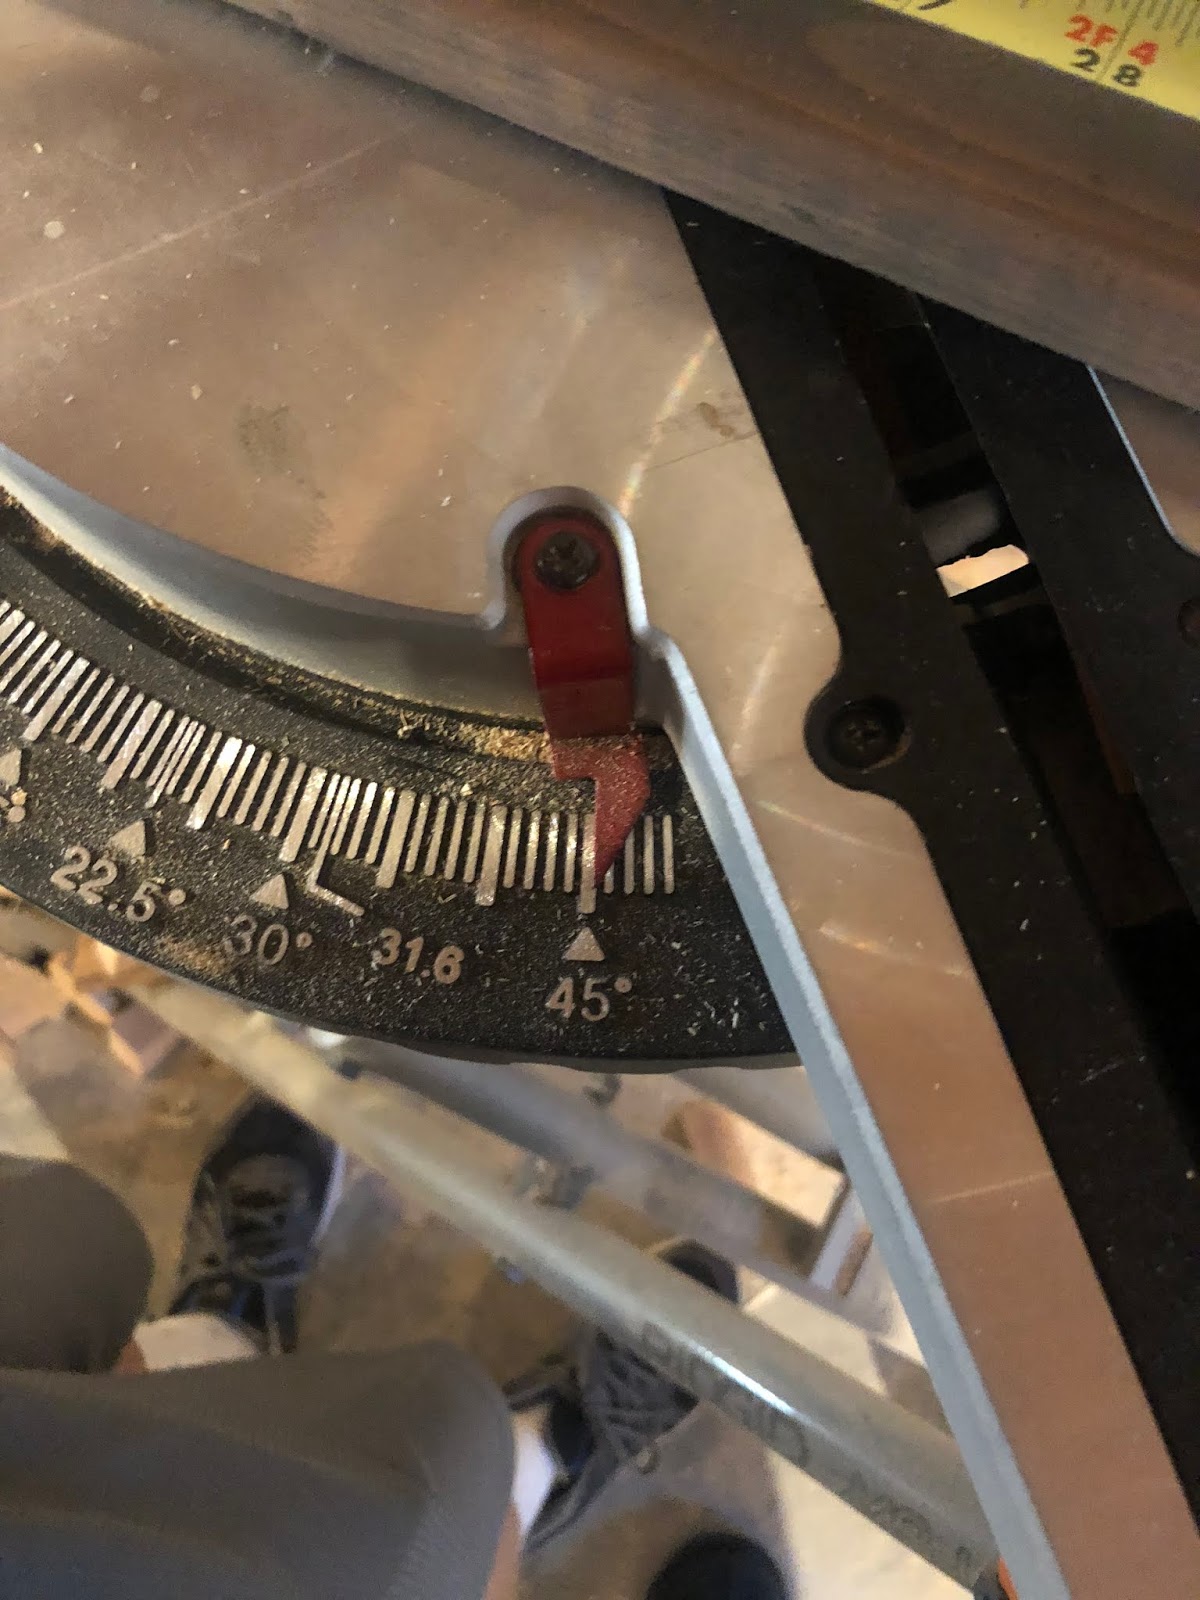
- Miter saw
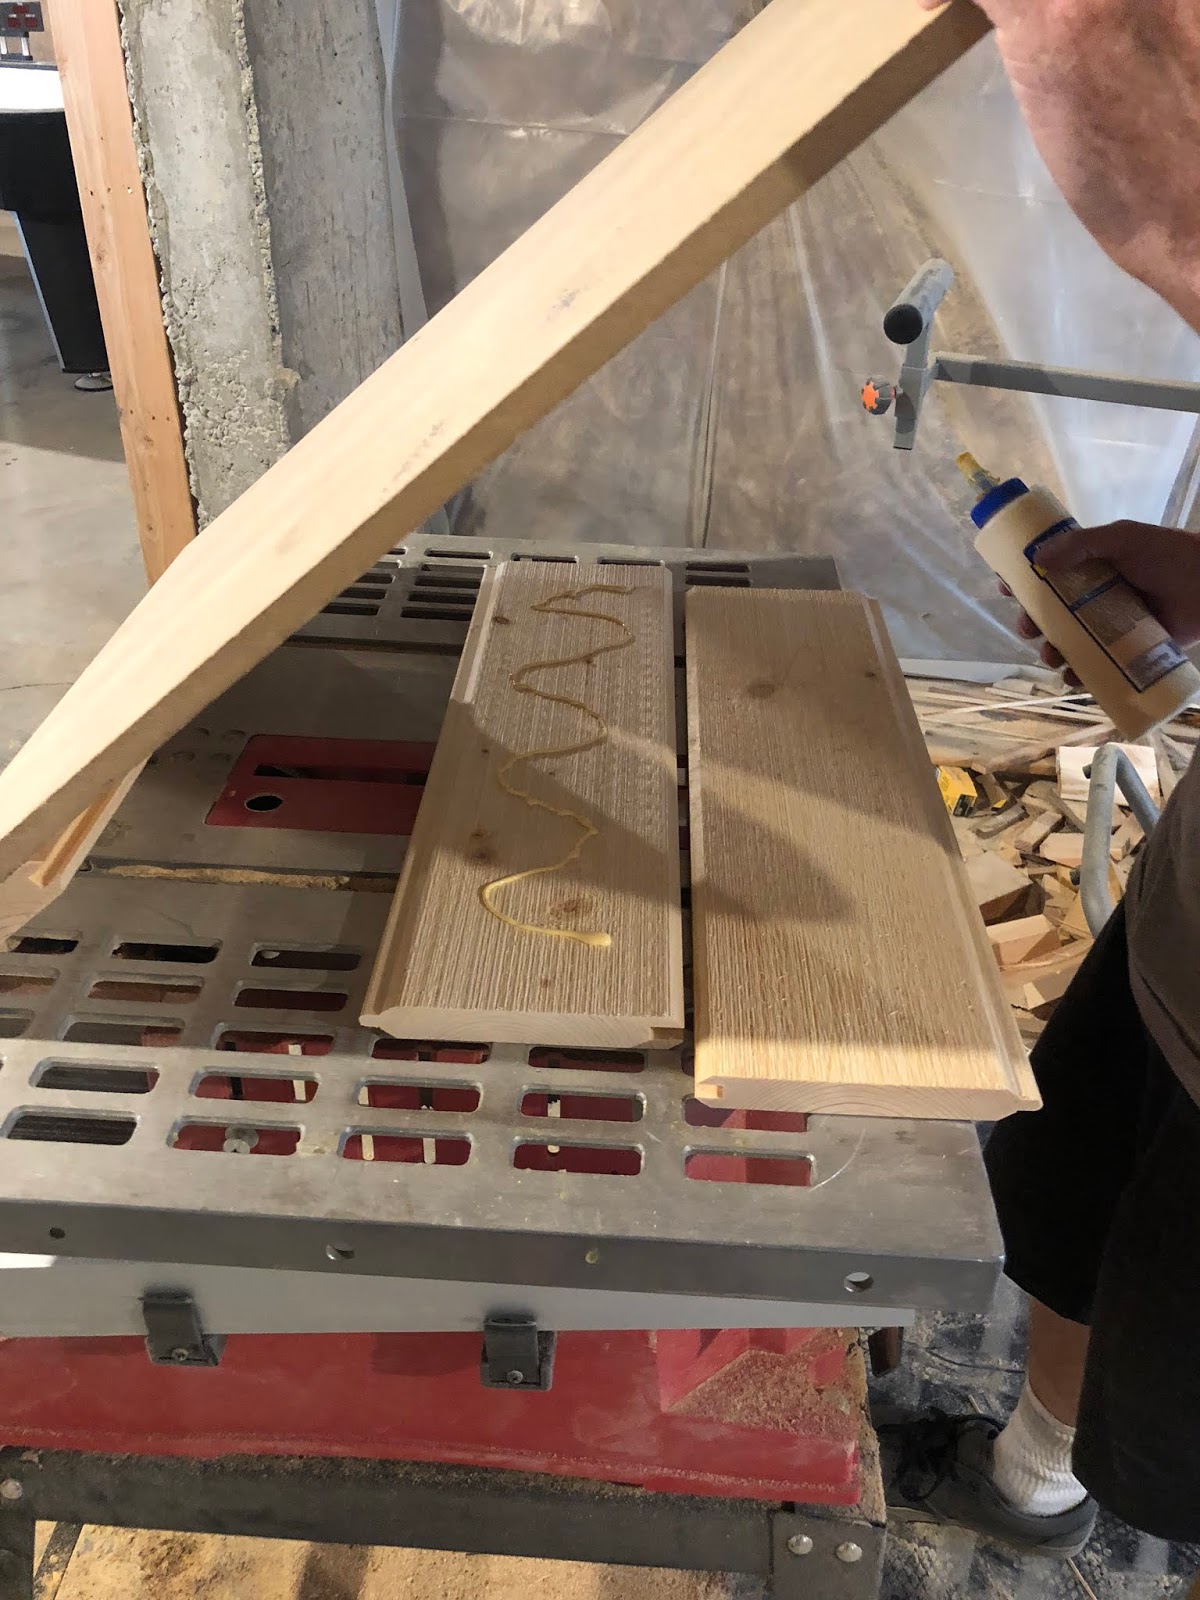
- Wood glue
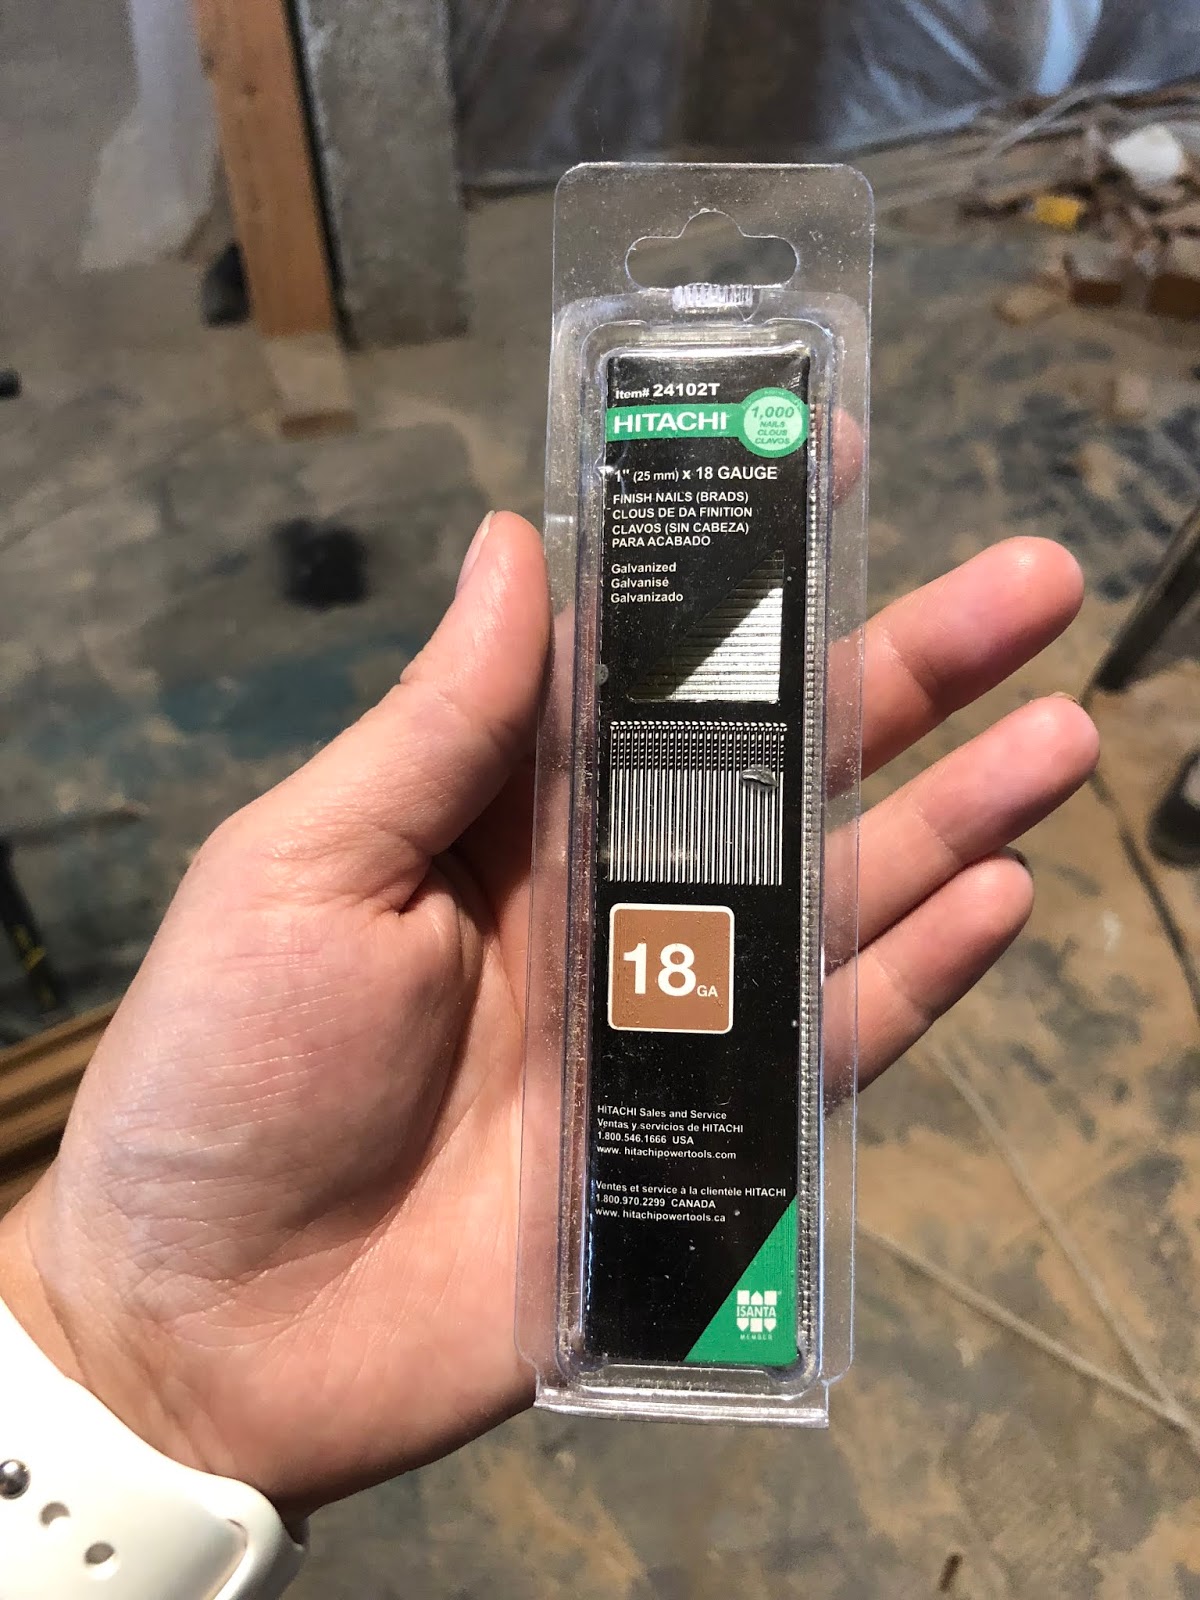
- Brad nails and nail gun
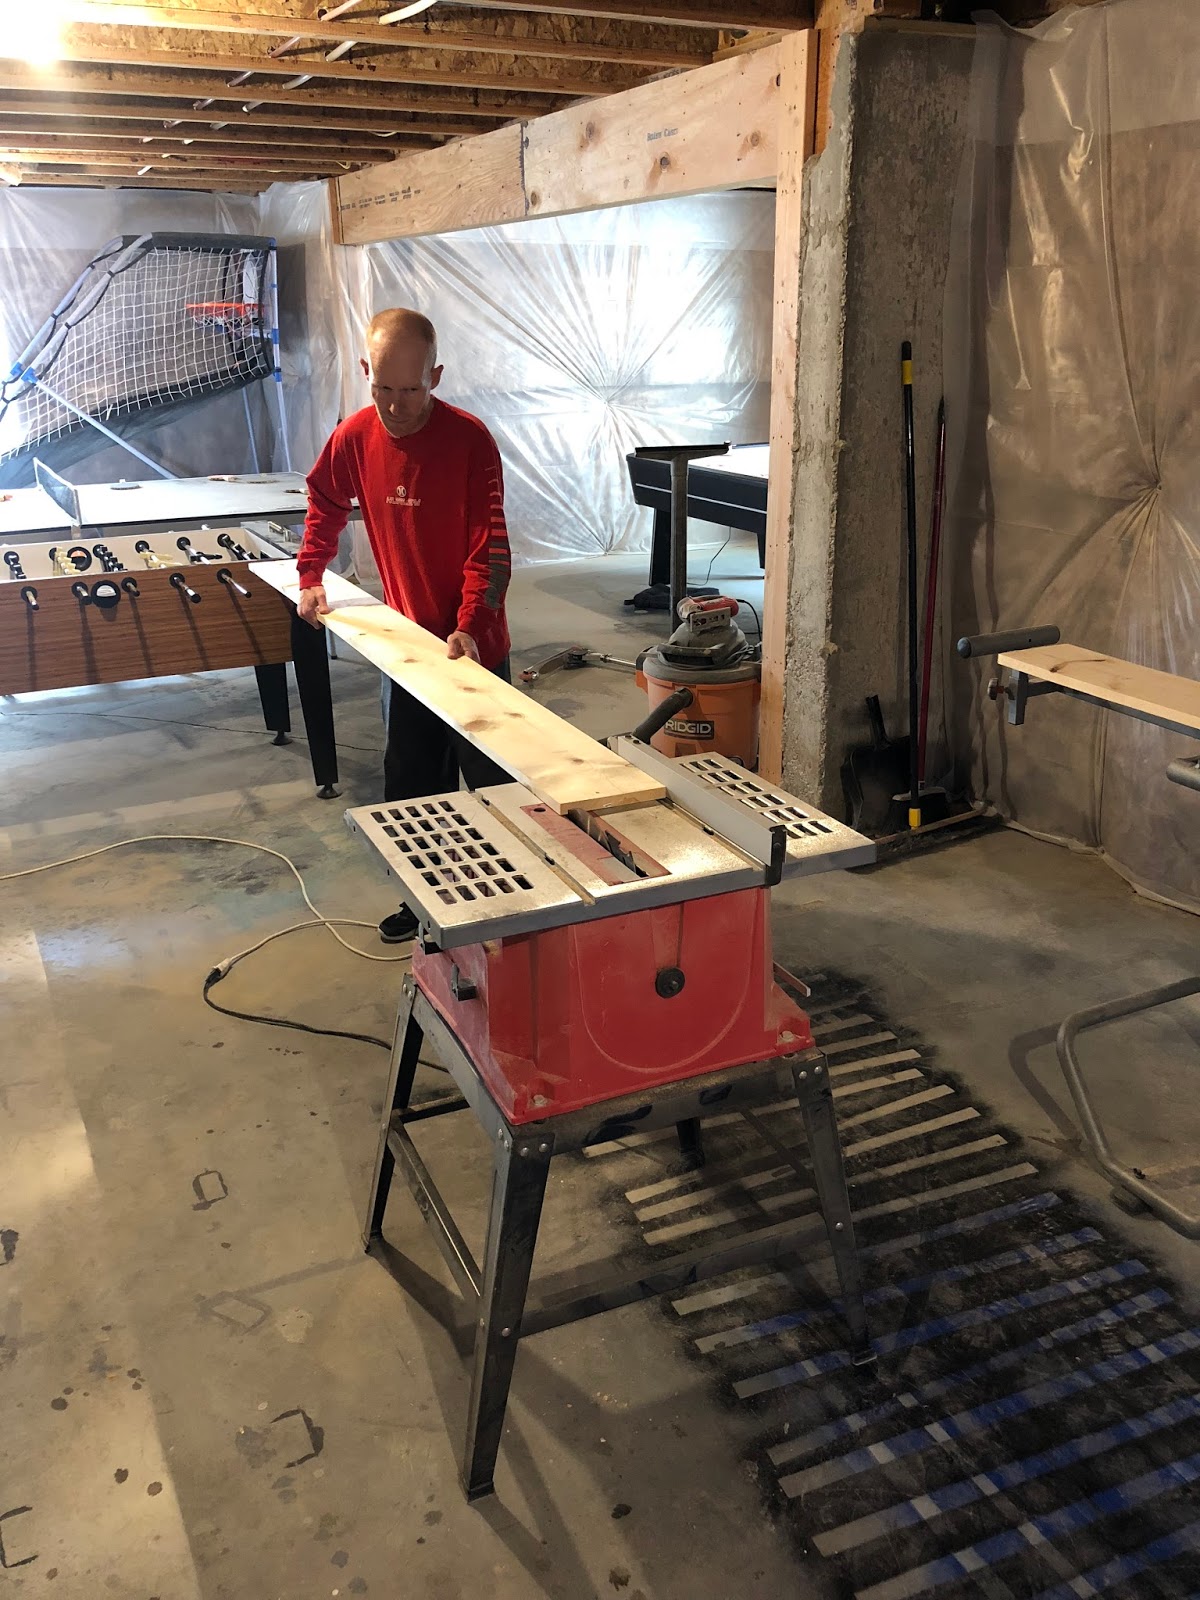
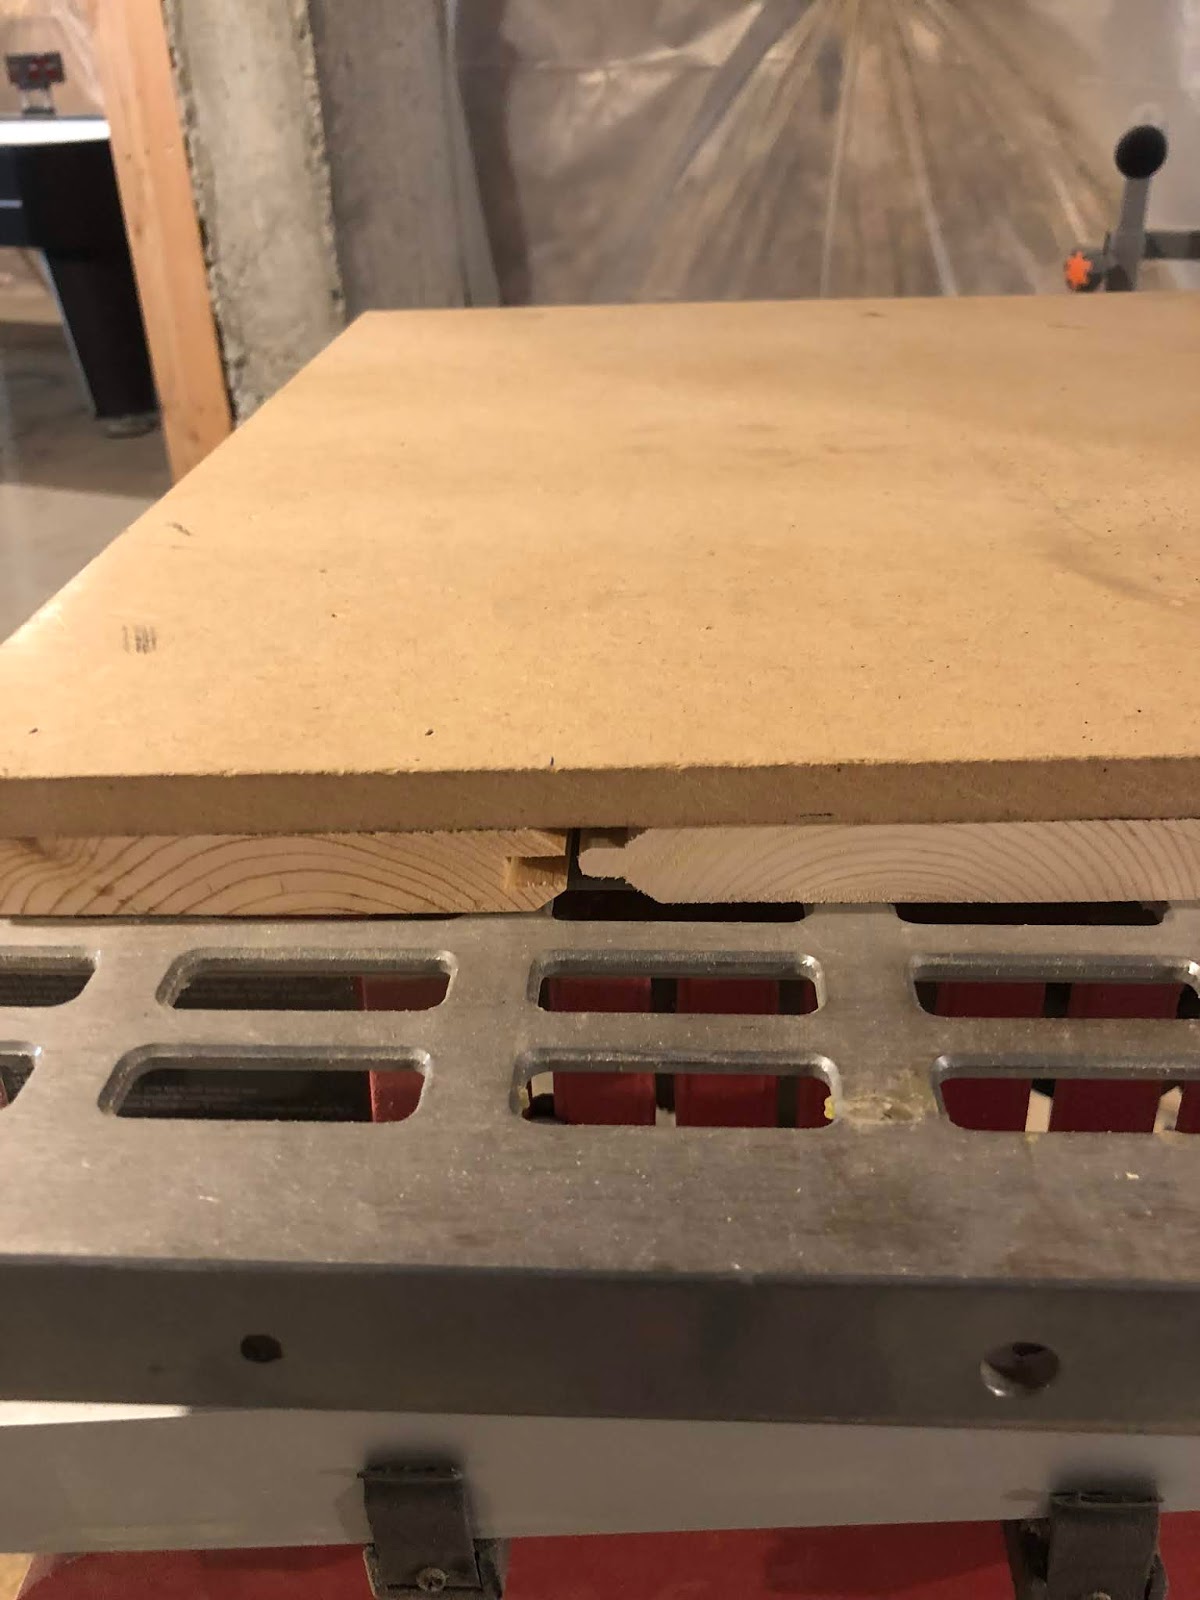
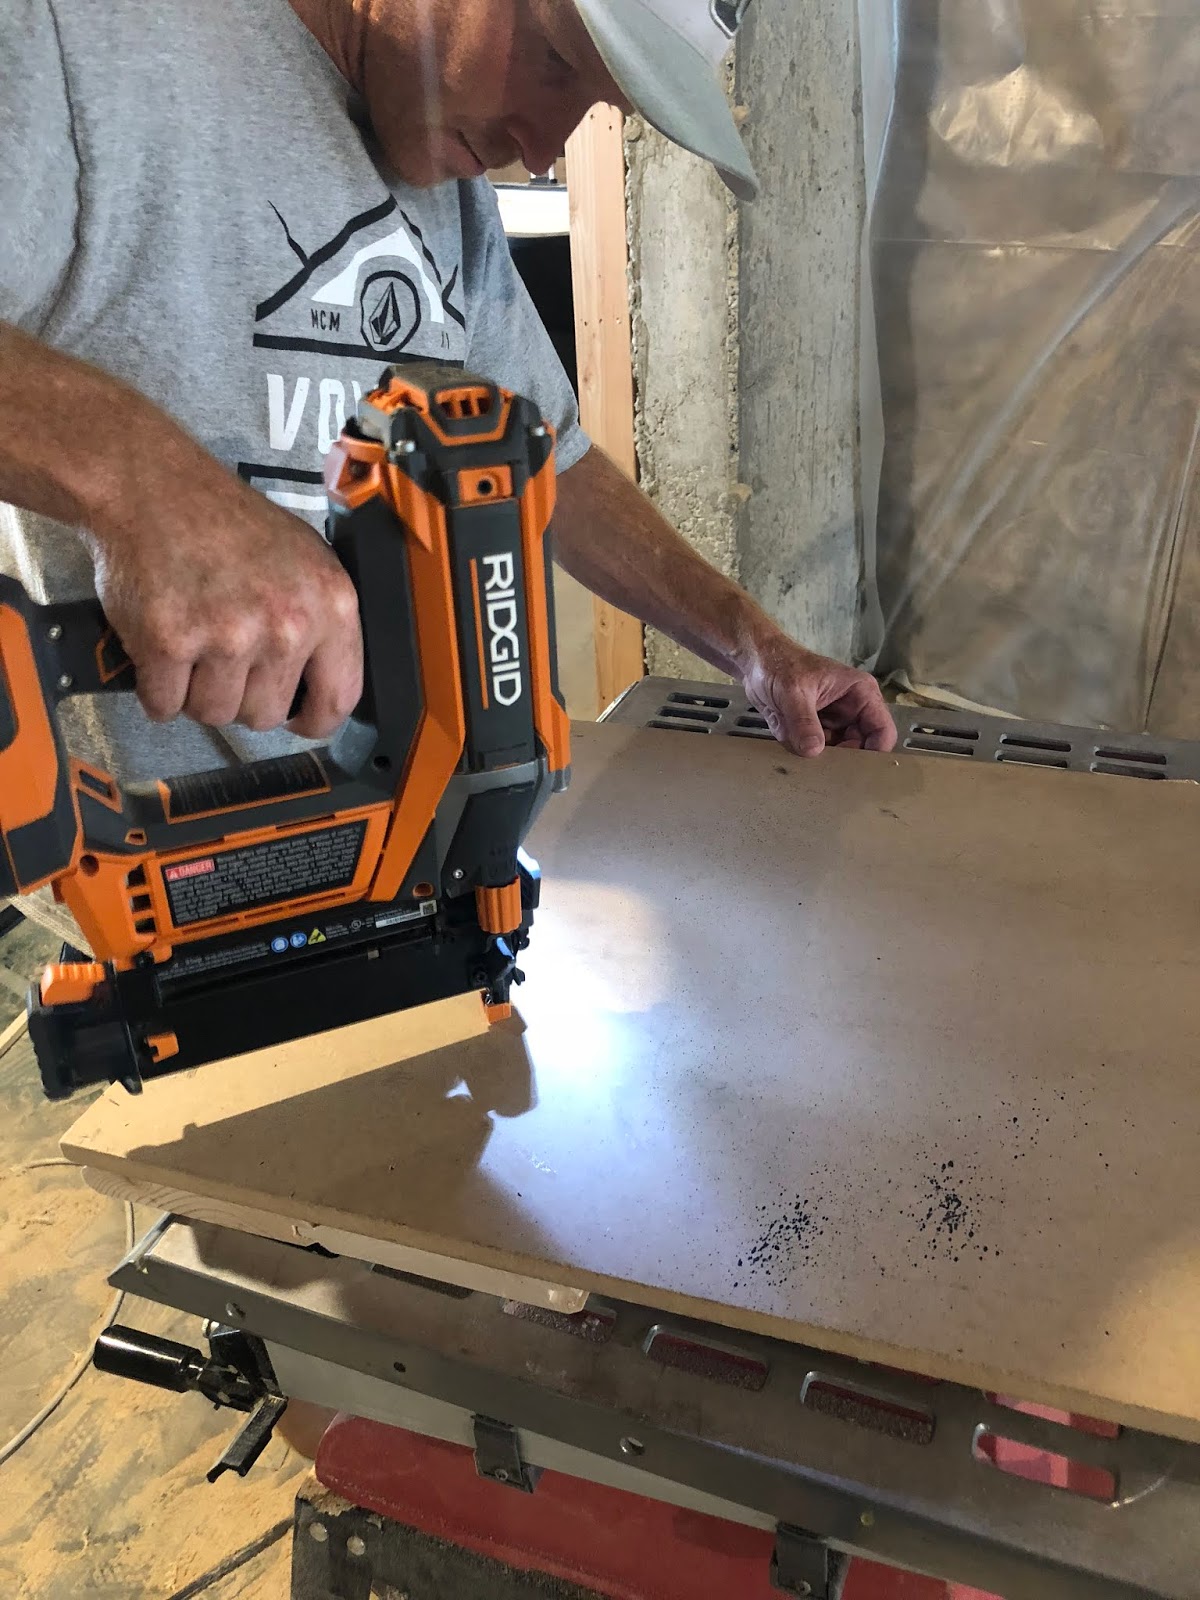
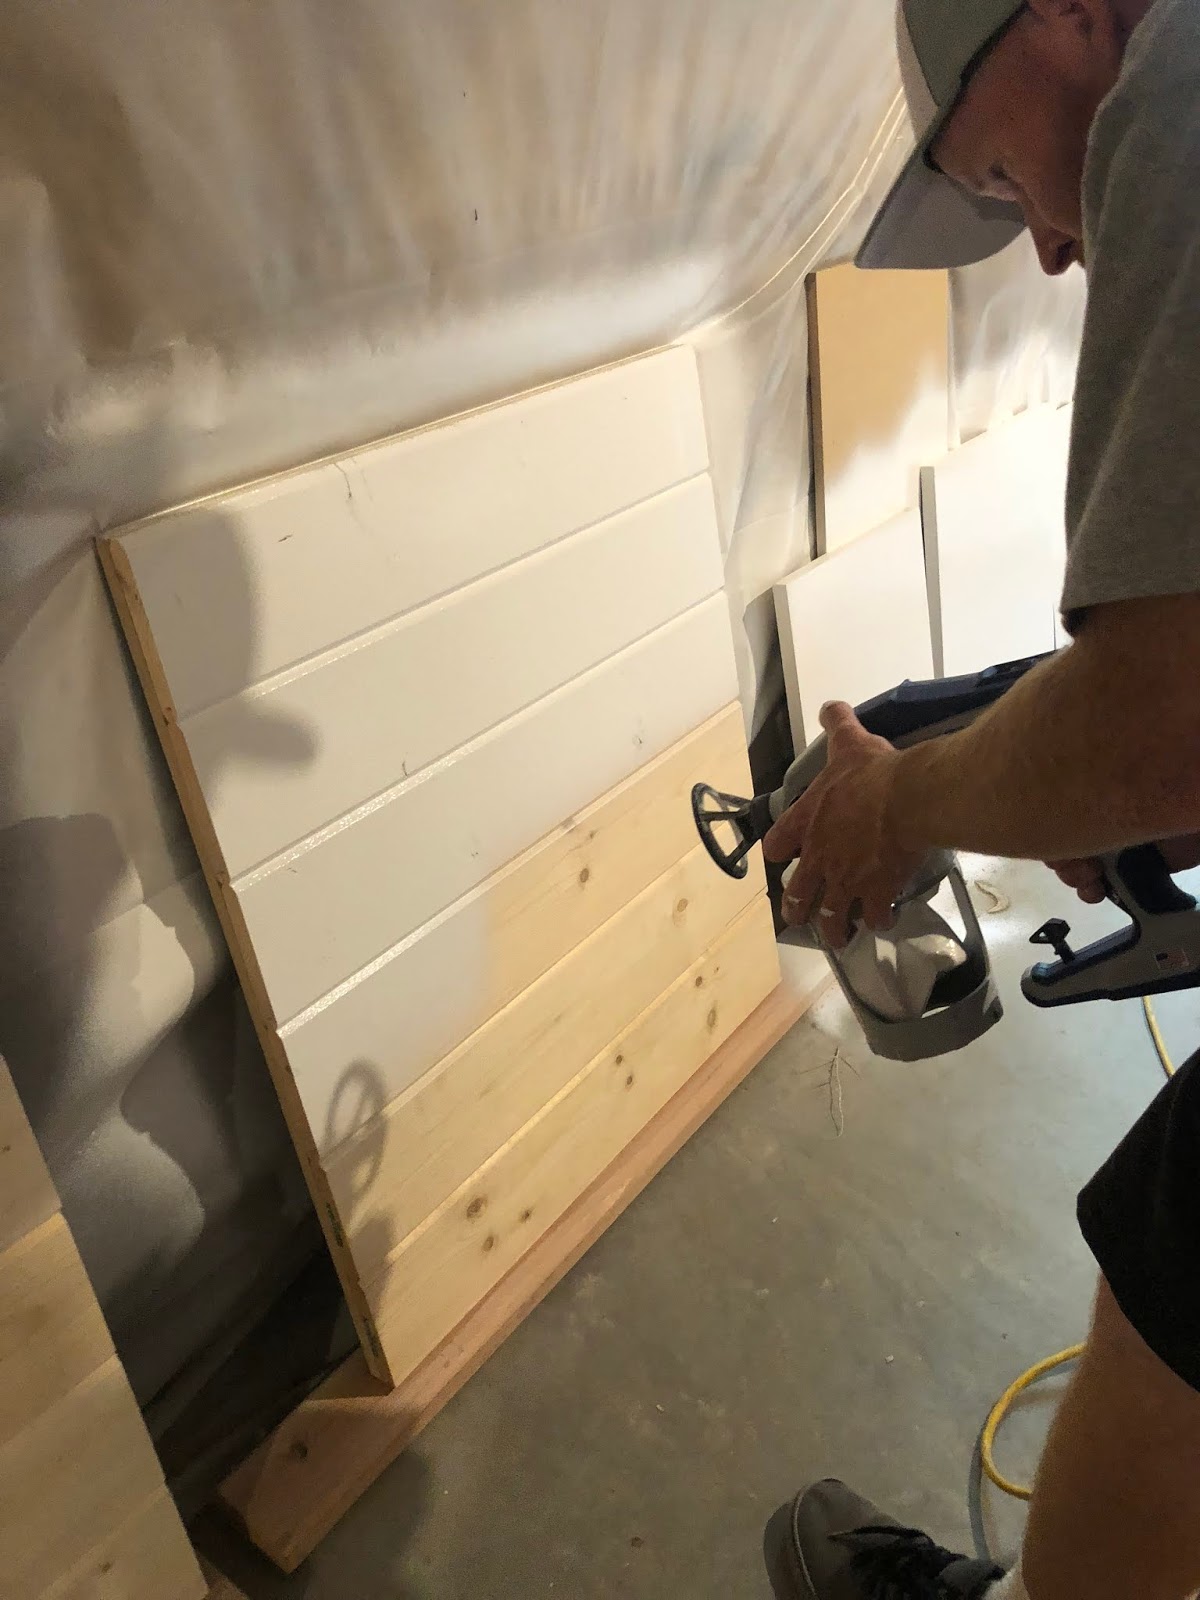
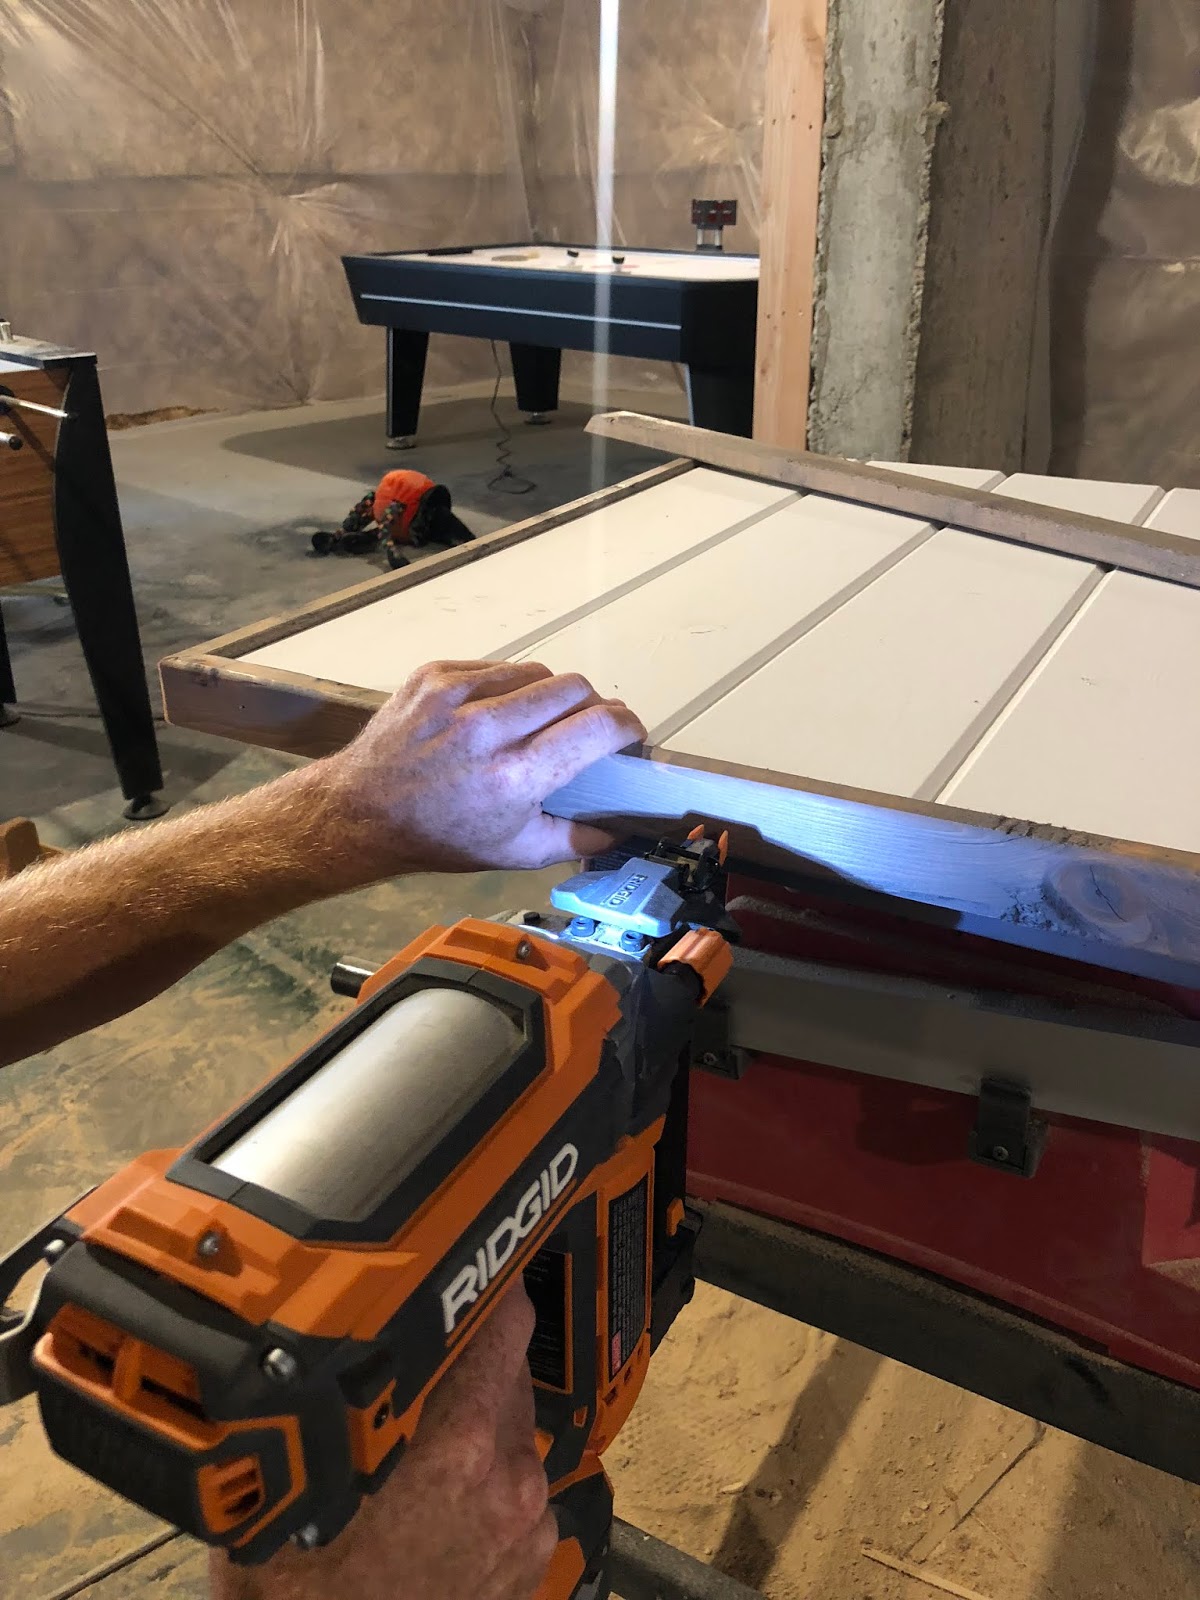
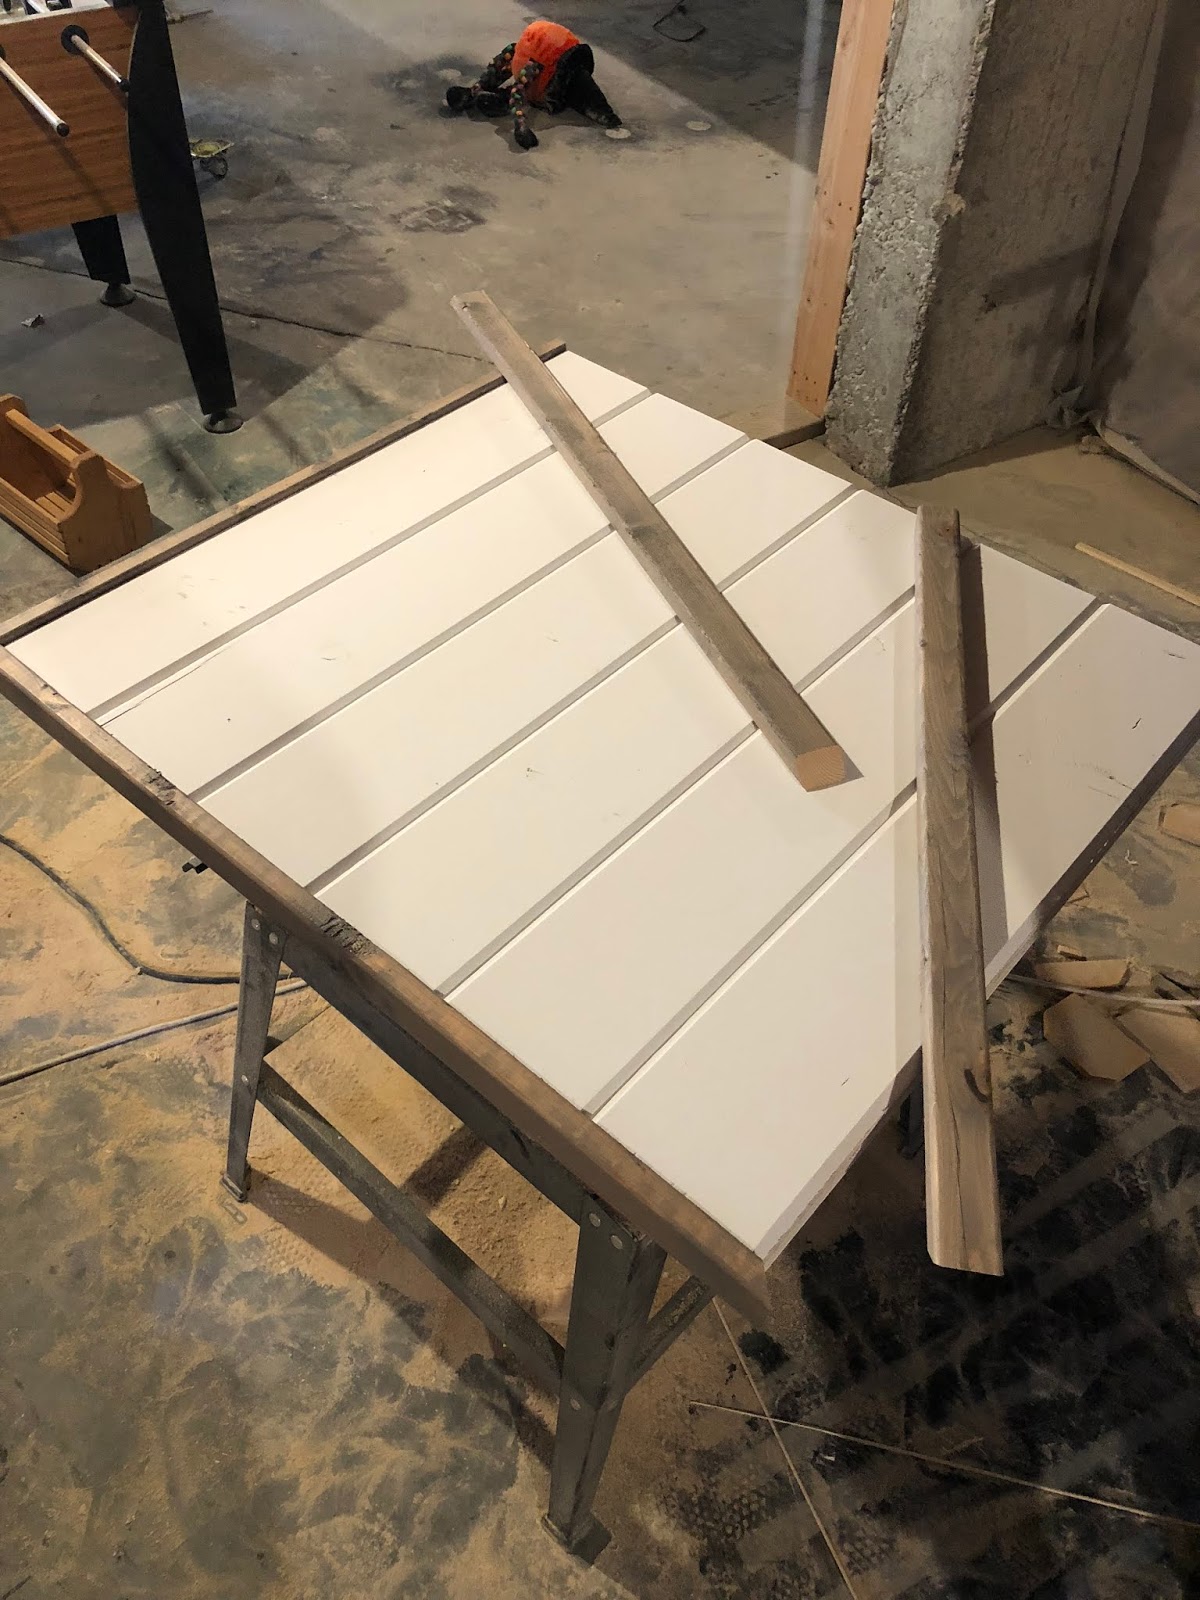
The first thing you want to do is cut your MDF or plywood to the size you want your sign to be. Home Depot can make the cuts for you for free or you can use a table saw if you have one. Then measure the width of your board and cut pieces of shiplap at that length to stack one on top of another. You will need to determine how many of pieces of shiplap to cut based on the height of your sign. Now its time to assemble everything together! Fasten the shiplap pieces to the board using glue and brad nails. For a cleaner look, shoot the nails in from front to back. This requires assembling everything upside down like you see in the pictures below.
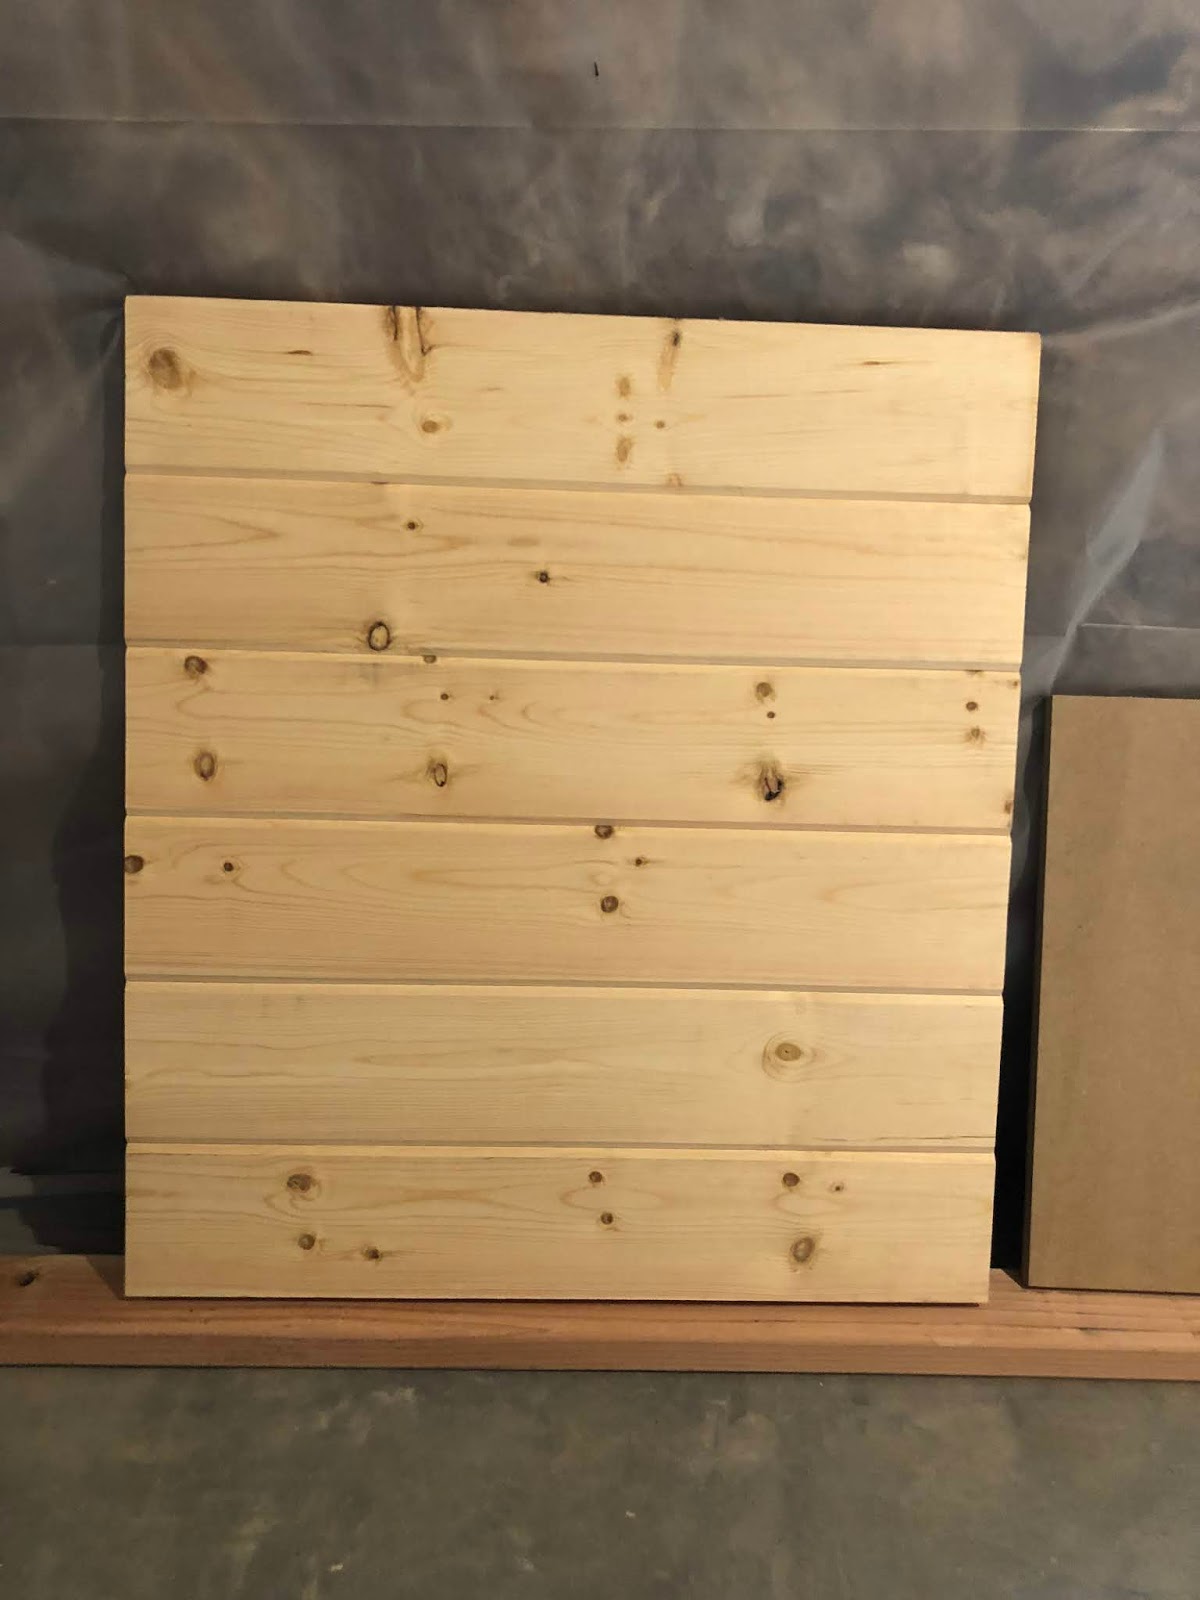
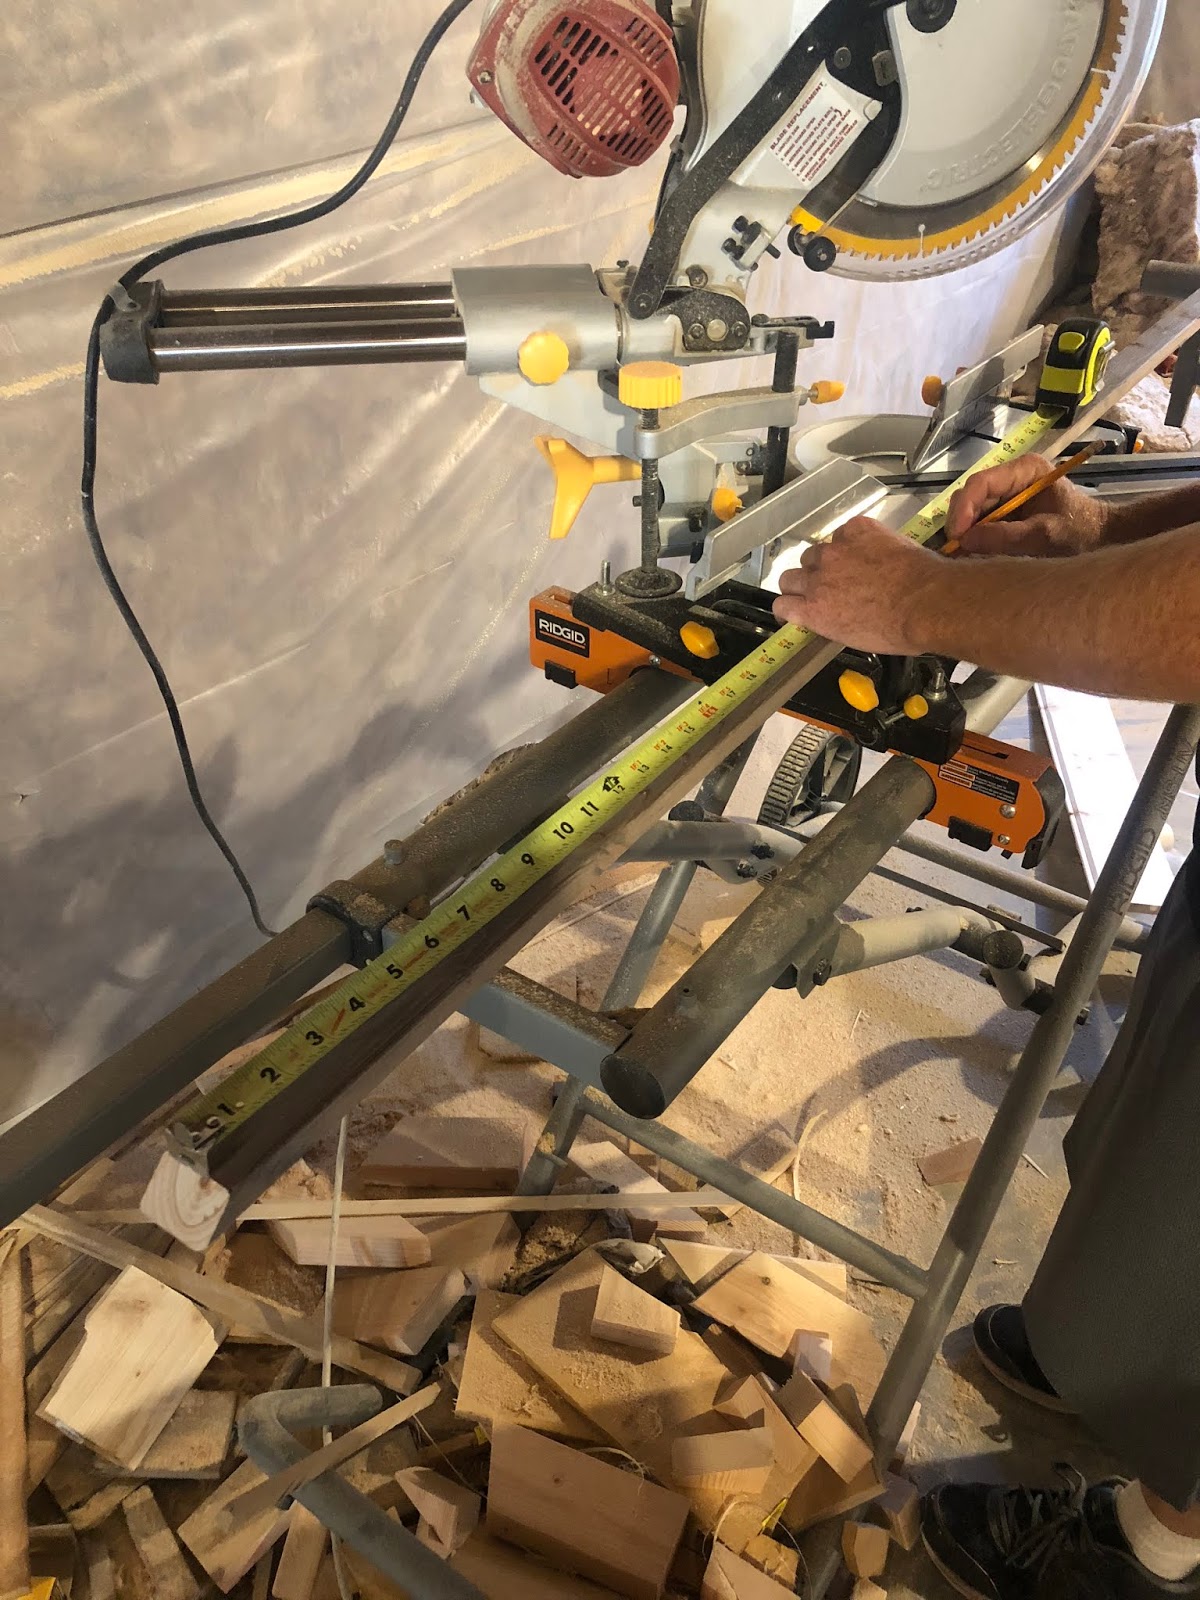
Now it’s time to paint. Don’t worry about painting the sides because they will be covered with your trim pieces. We used a paint sprayer but you can easily do this with a roller or paint brush. While that is drying you can cut and stain your trim

read more
Check out these easy and budget friendly DIY planters!
read more
read more

read more
1″ x 4″ pine boards (shelf sides)
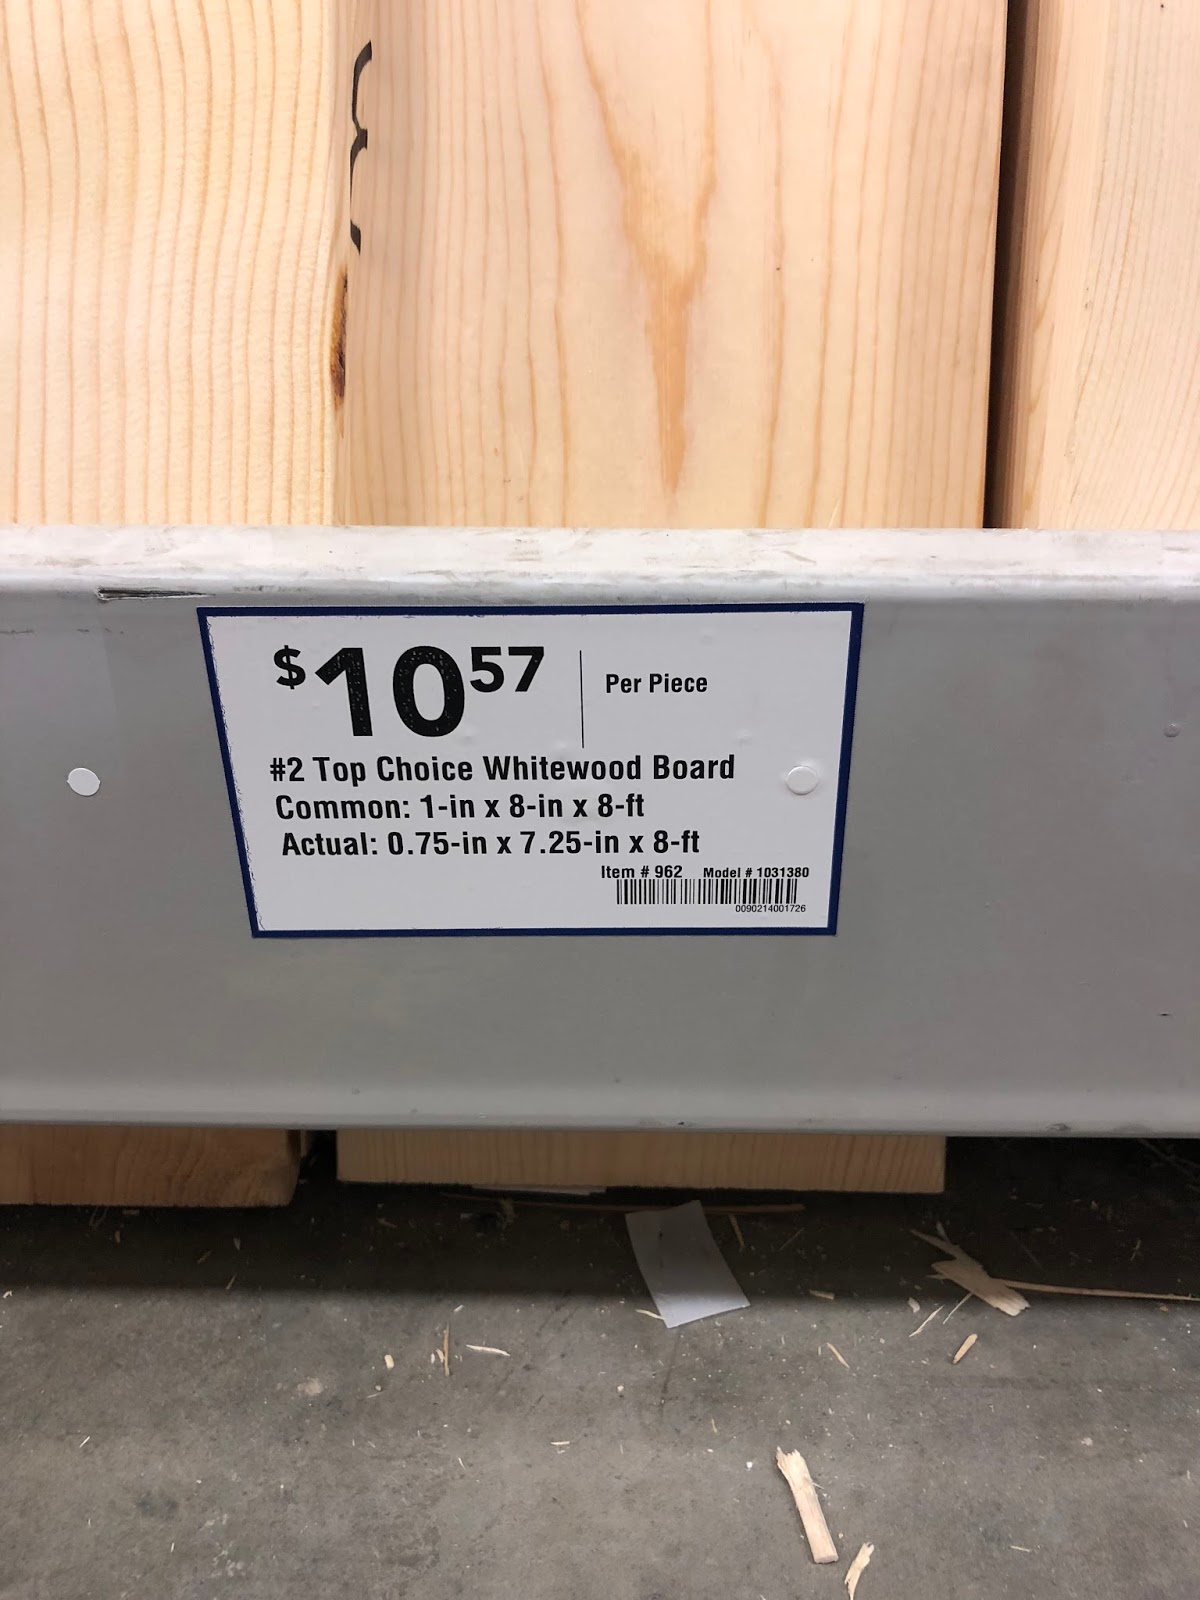
1″ x 8″ pine boards (shelf top + bottom)
2″ x 3″ wood studs (cleat frame)
Brad nail gun or hammer and finish nails
Drill/driver and wood screws
Miter saw
Sander/sand paper
Glue
Level
Stud finder
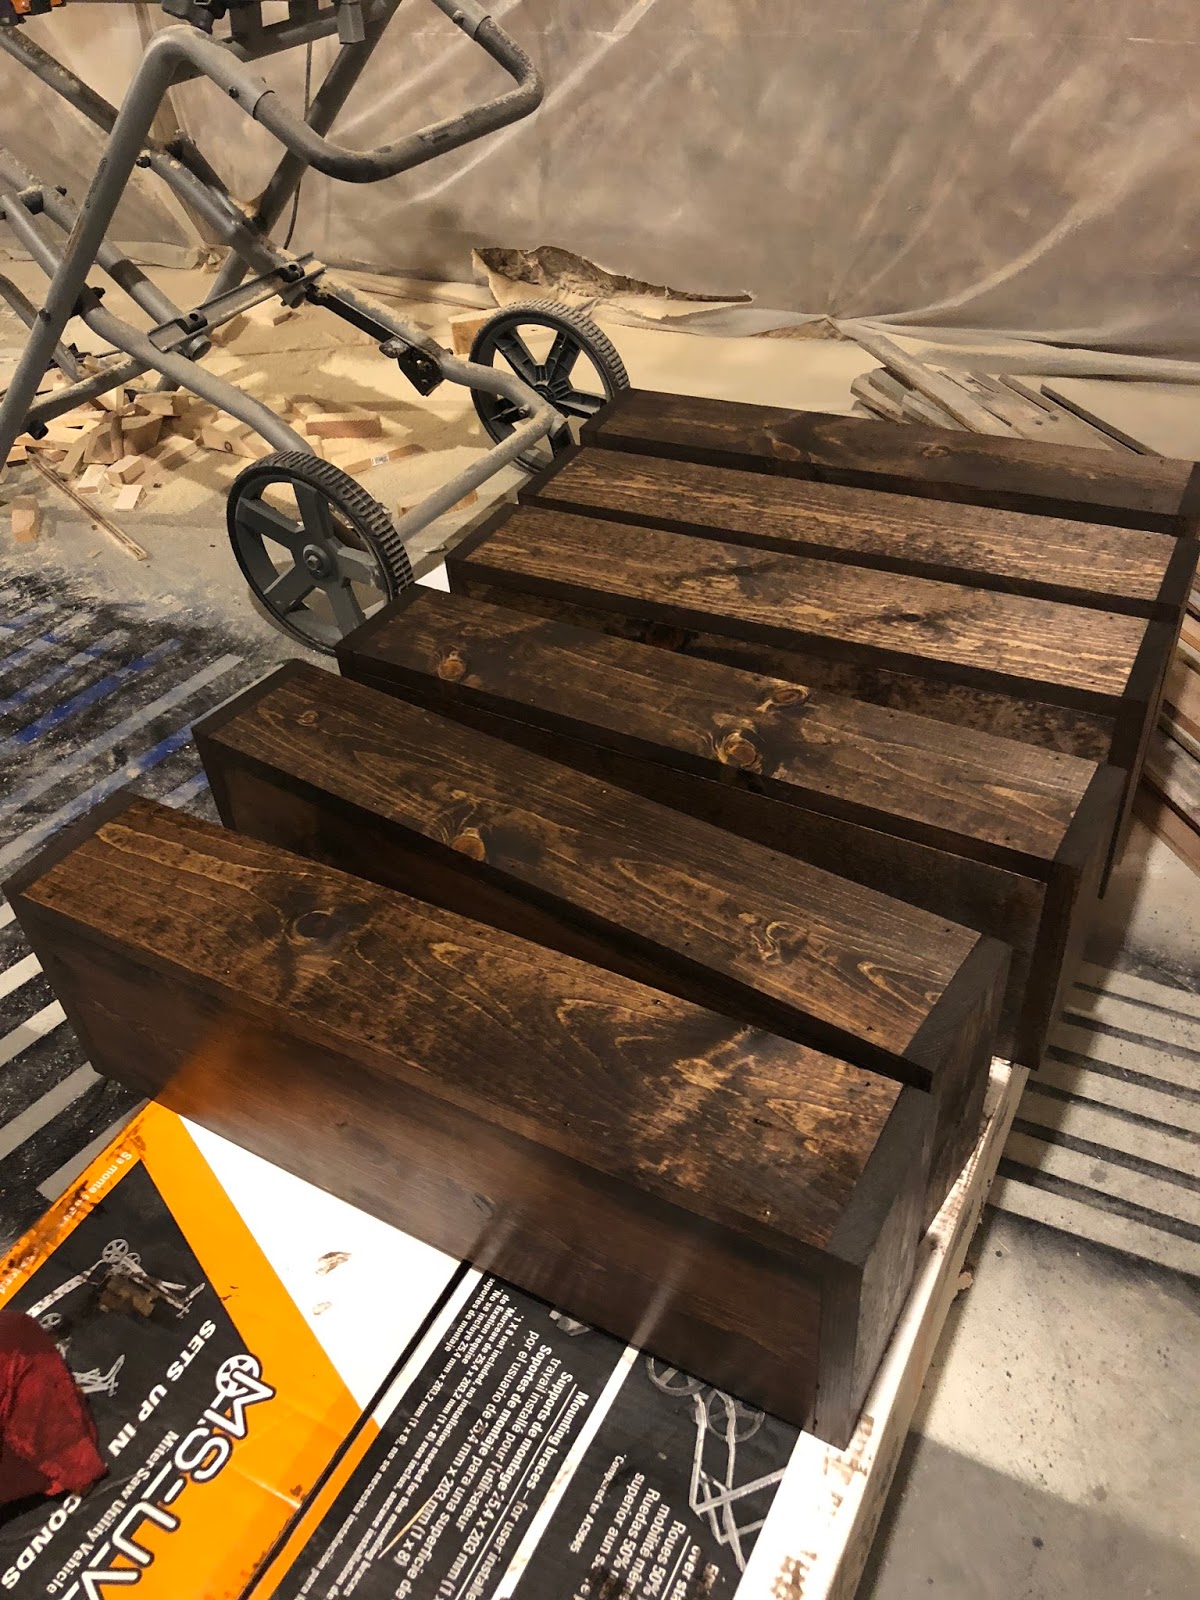
Wood Stain (we used Minwax Expresso)
Board lengths will vary depending on how many shelves you are going to build
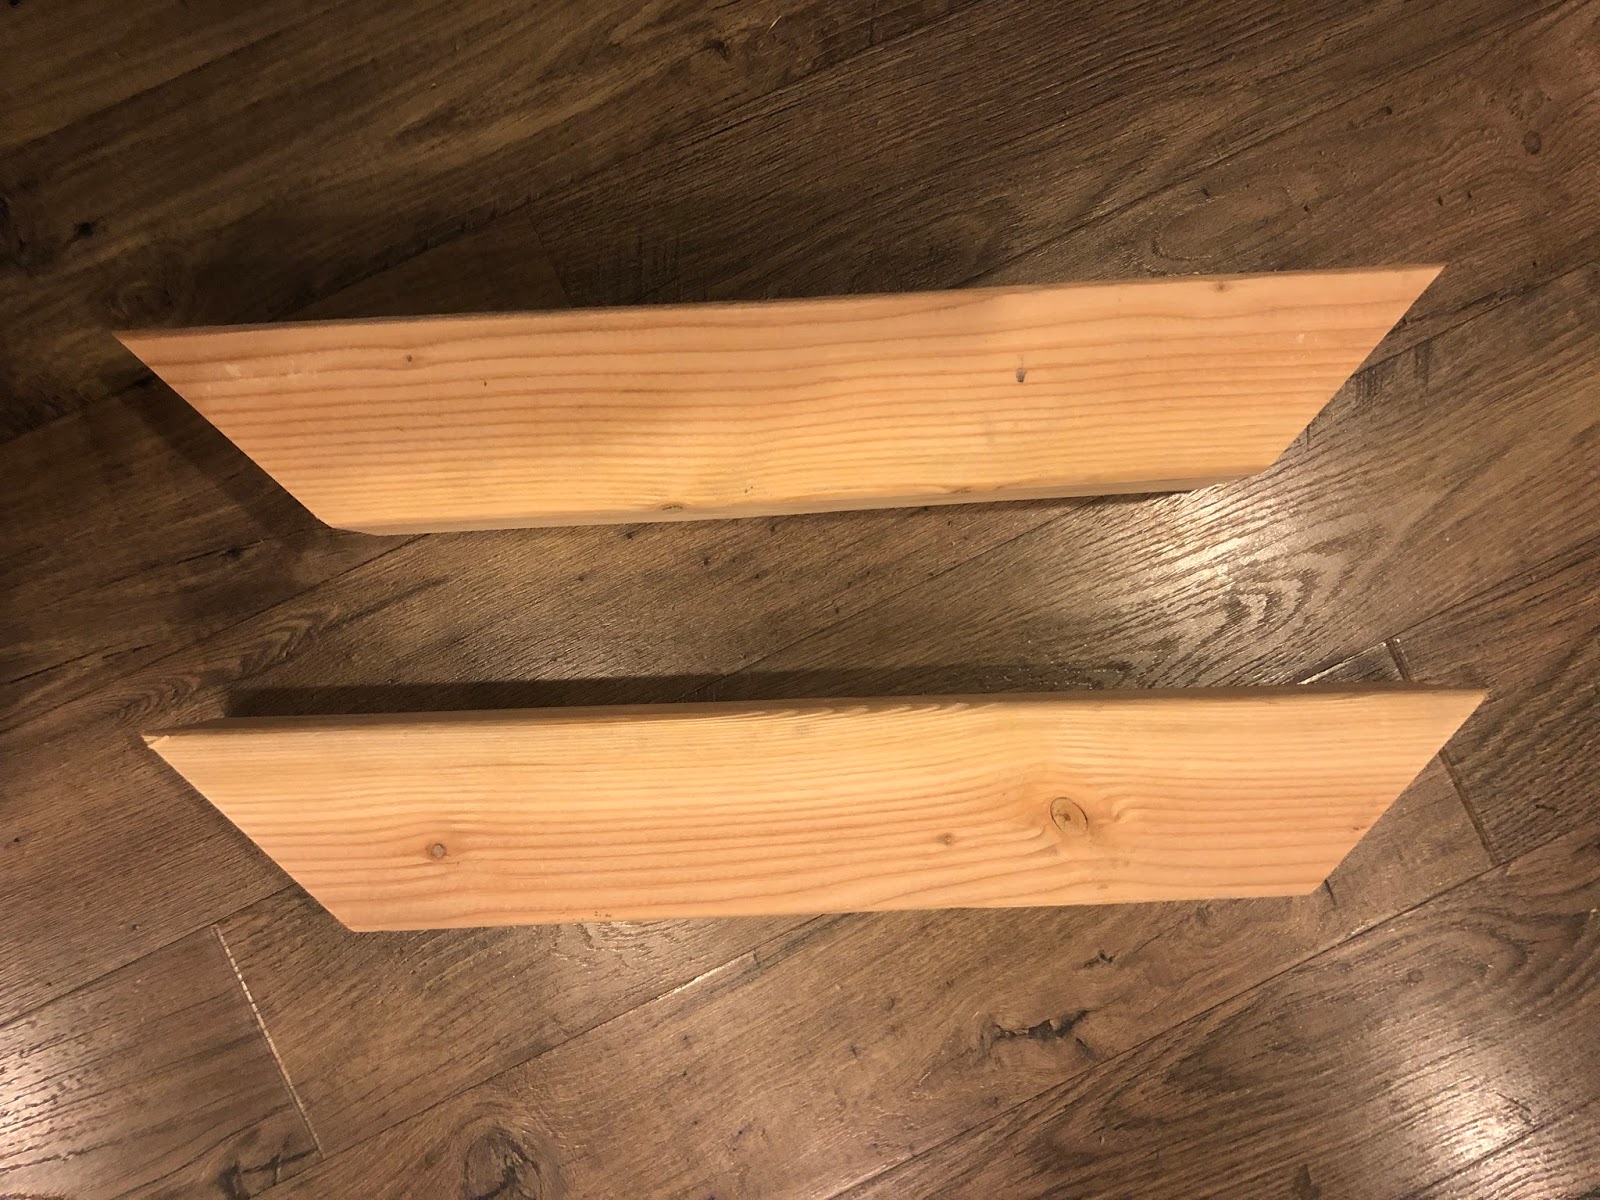
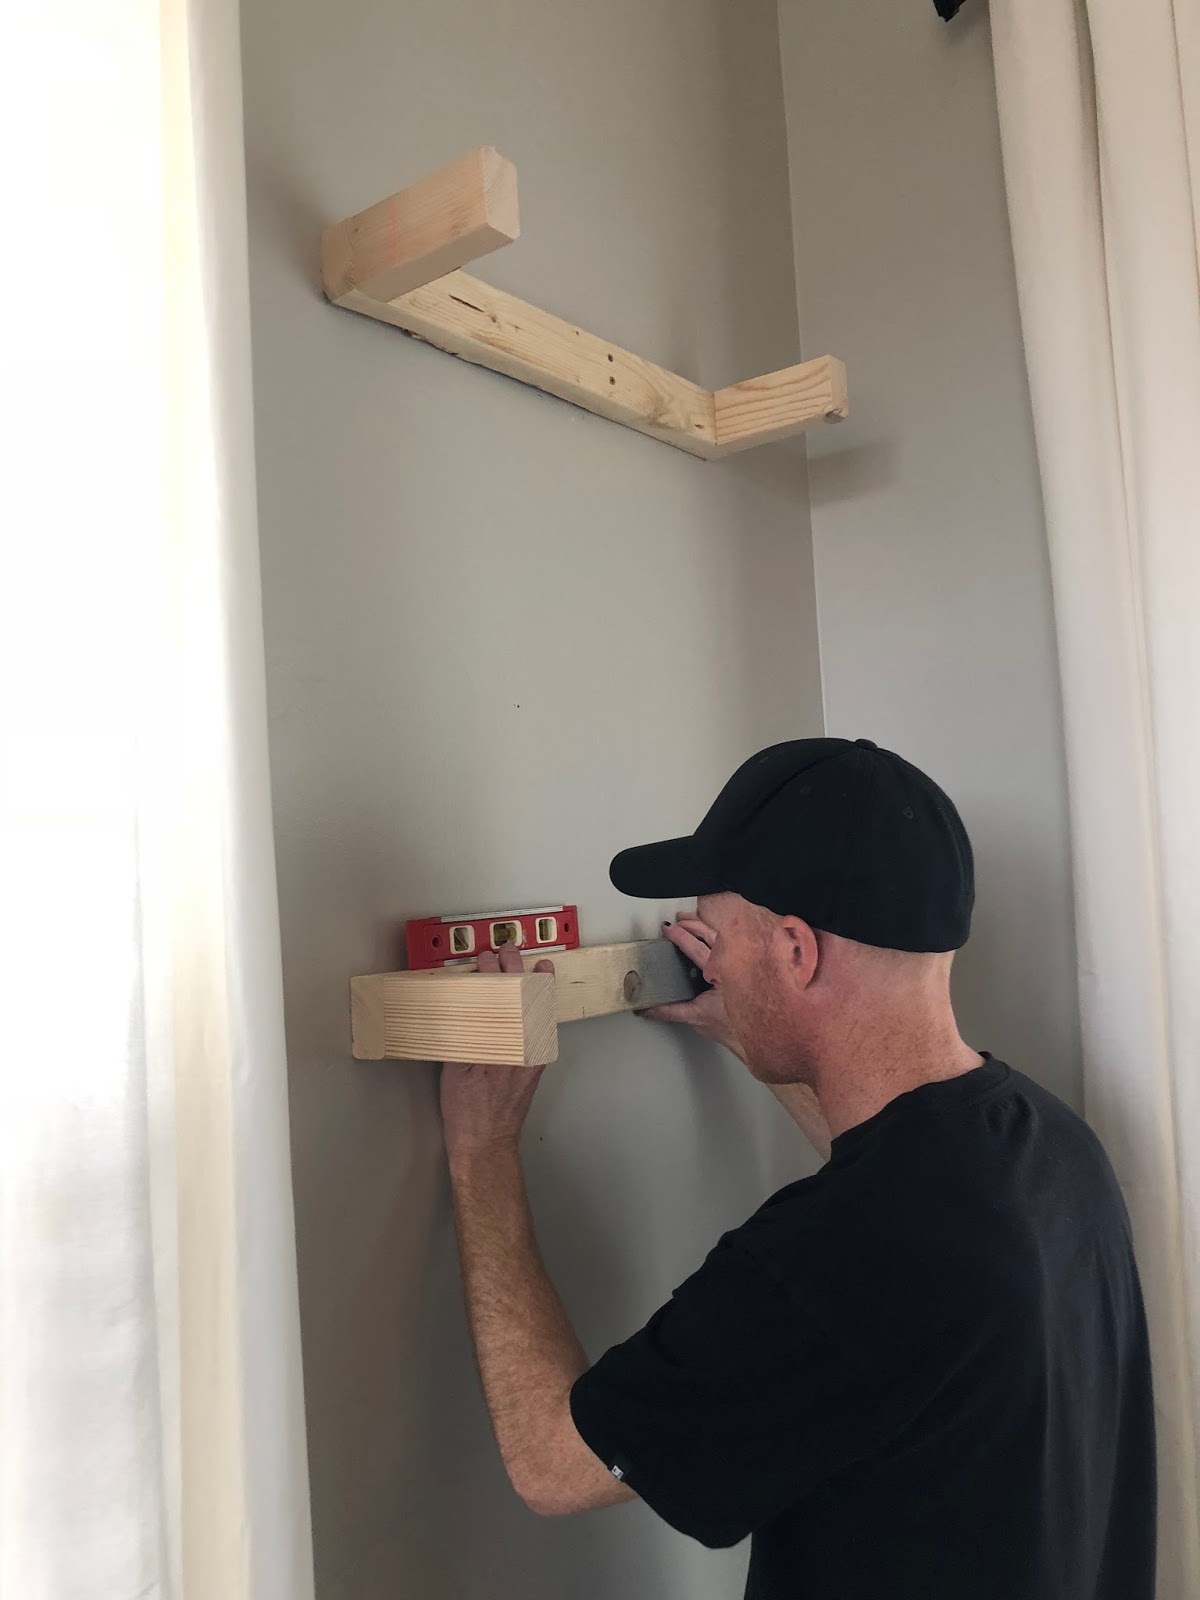
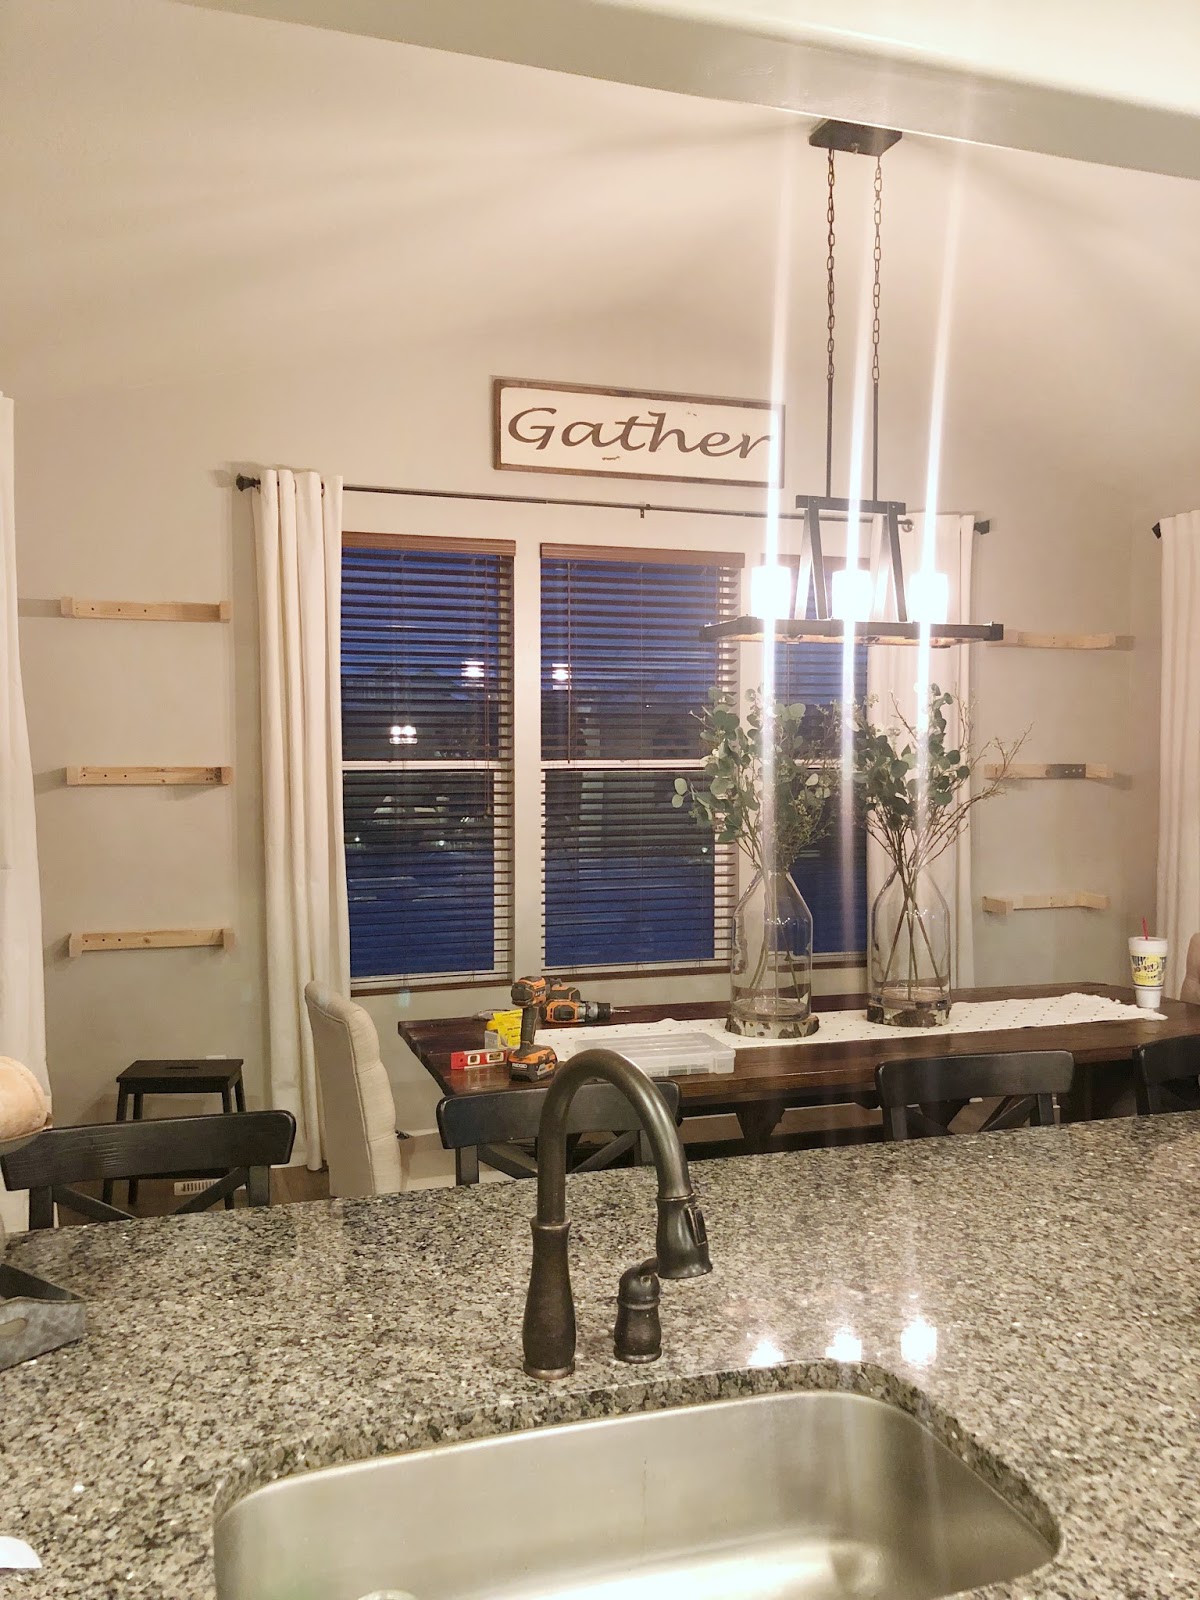
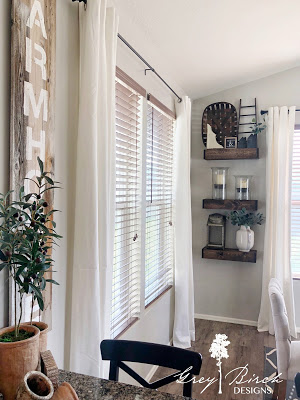
Mark the desired location of each cleat on the wall so they are equally spaced and level. Secure the cleats to the wall using screws long enough to reach into the studs – I recommend 3″ screws. Remember to pre drill your holes to avoid splitting the wood.
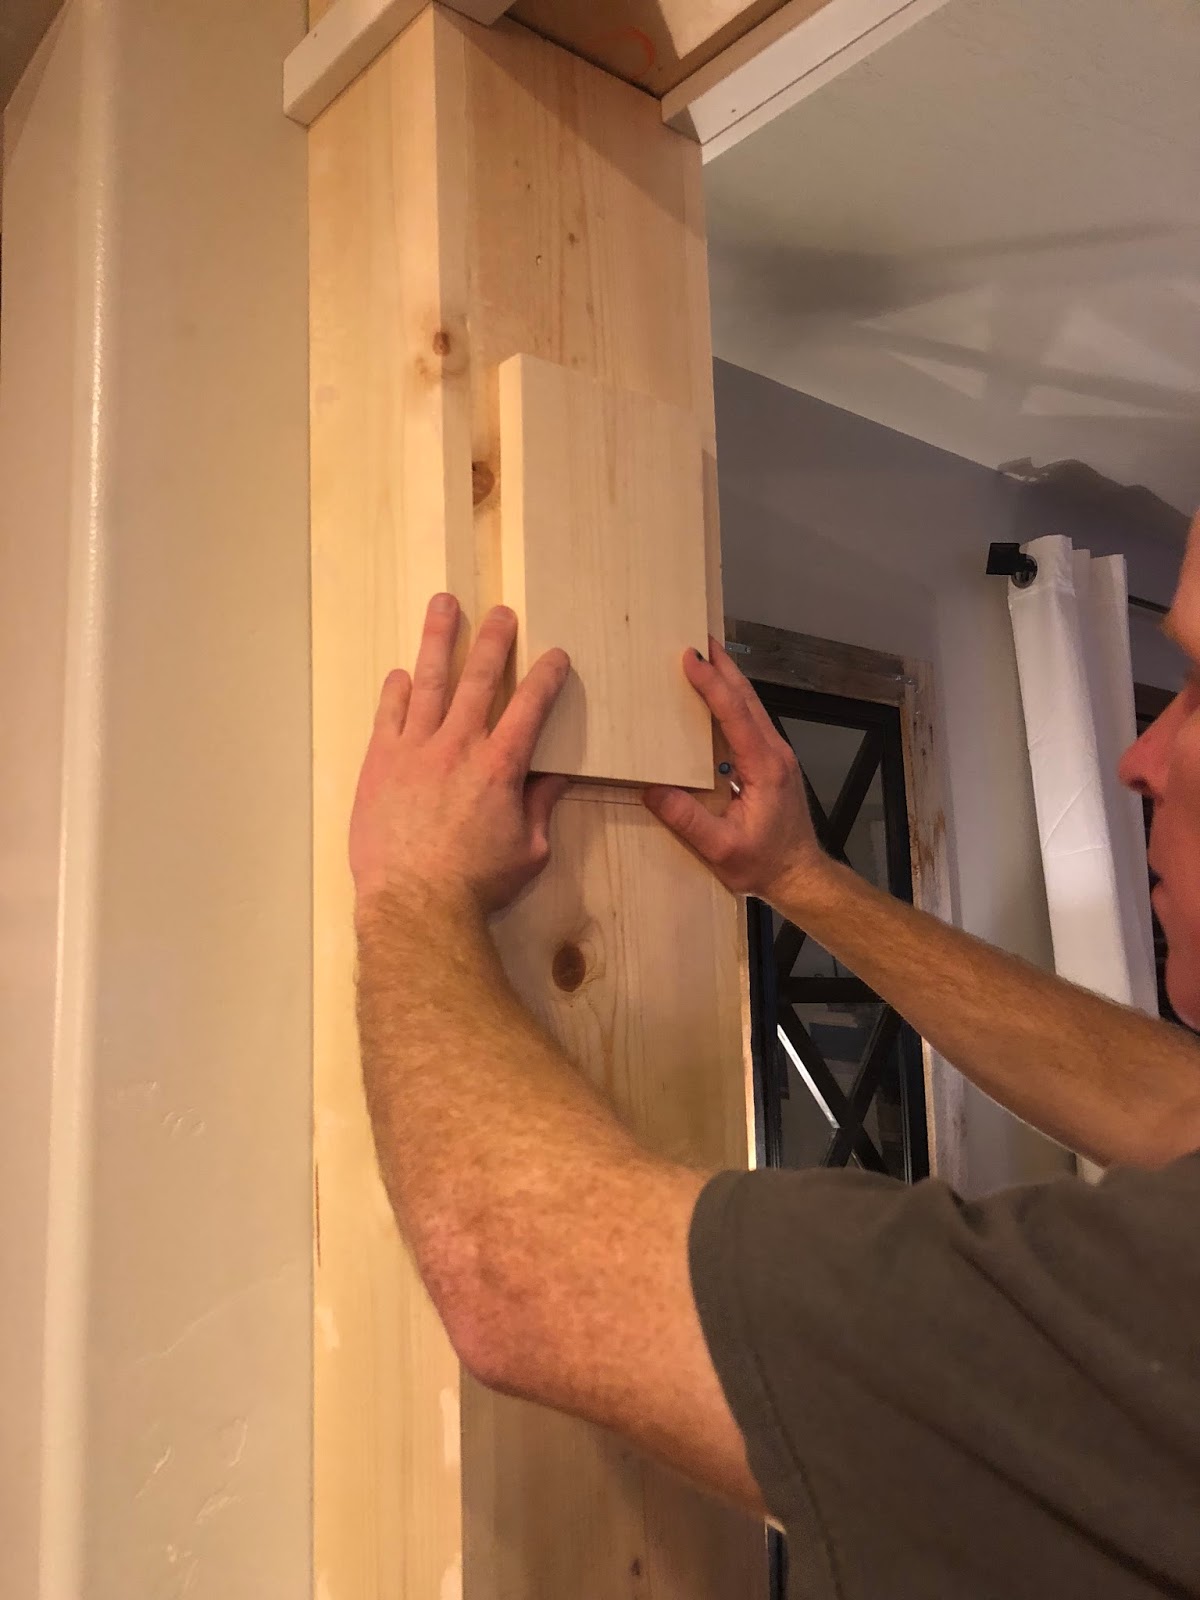
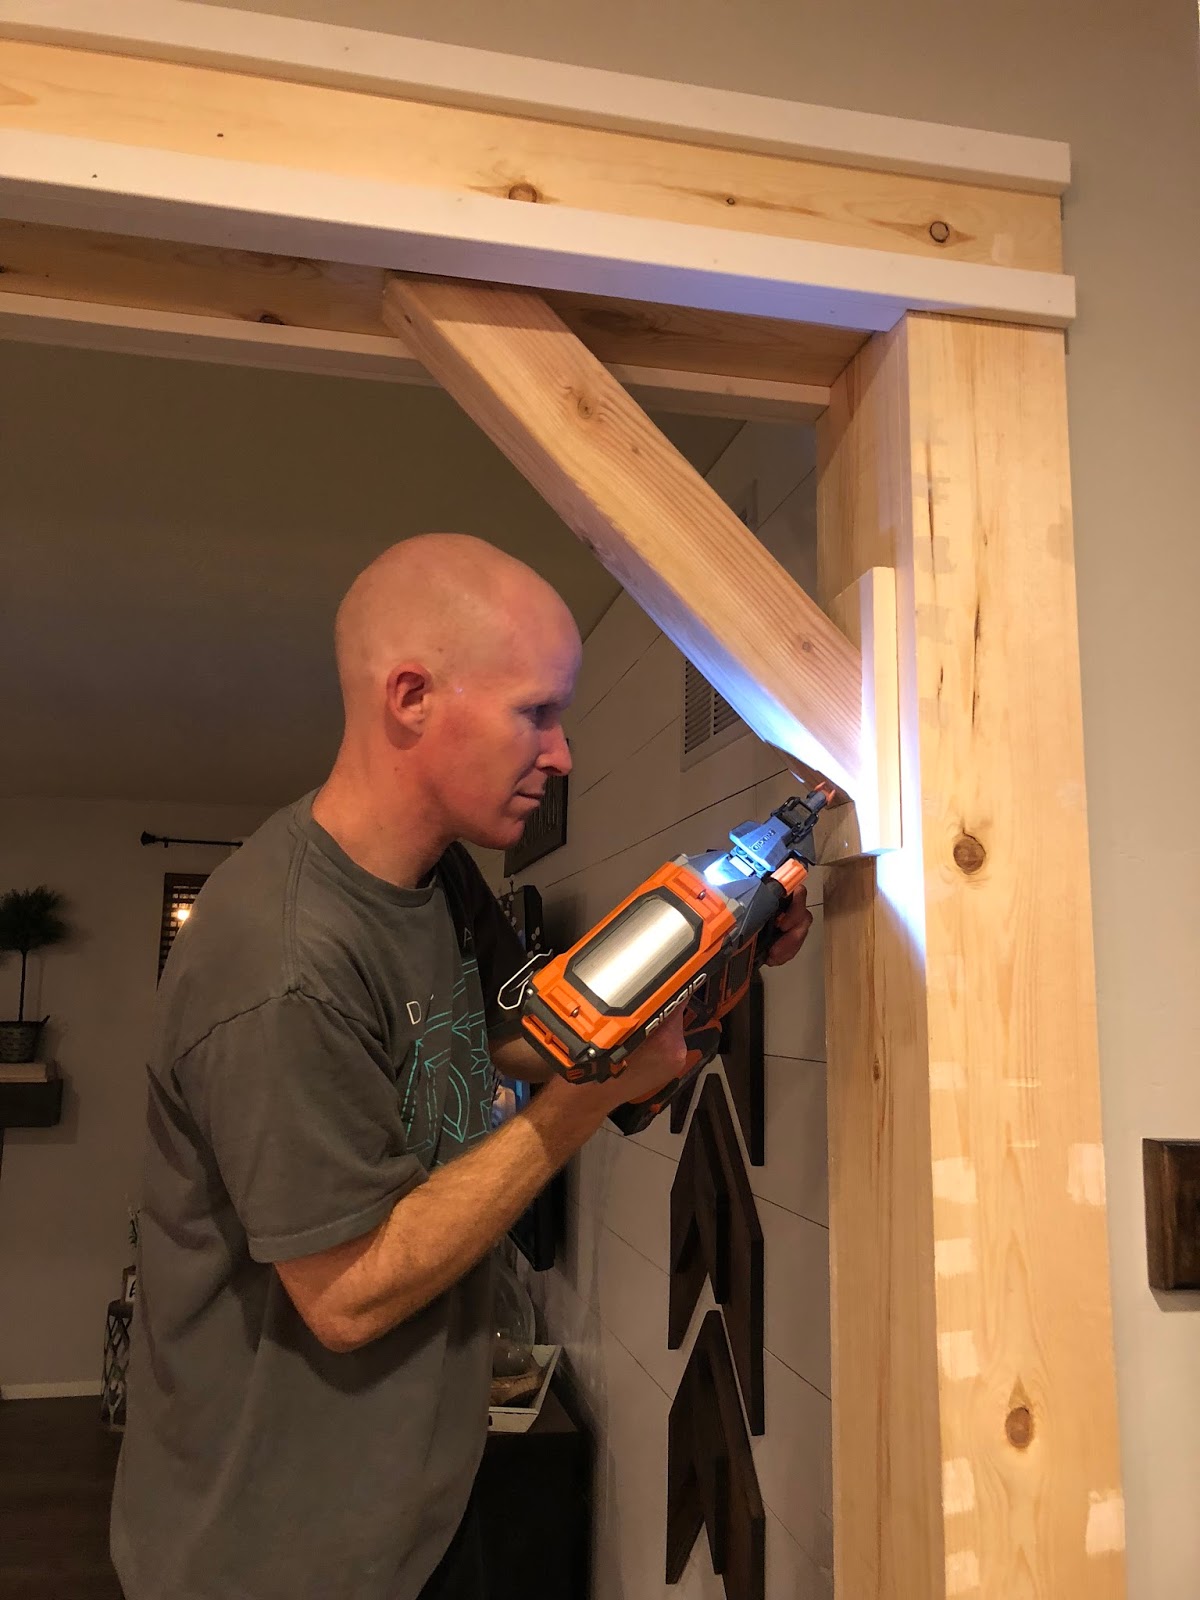
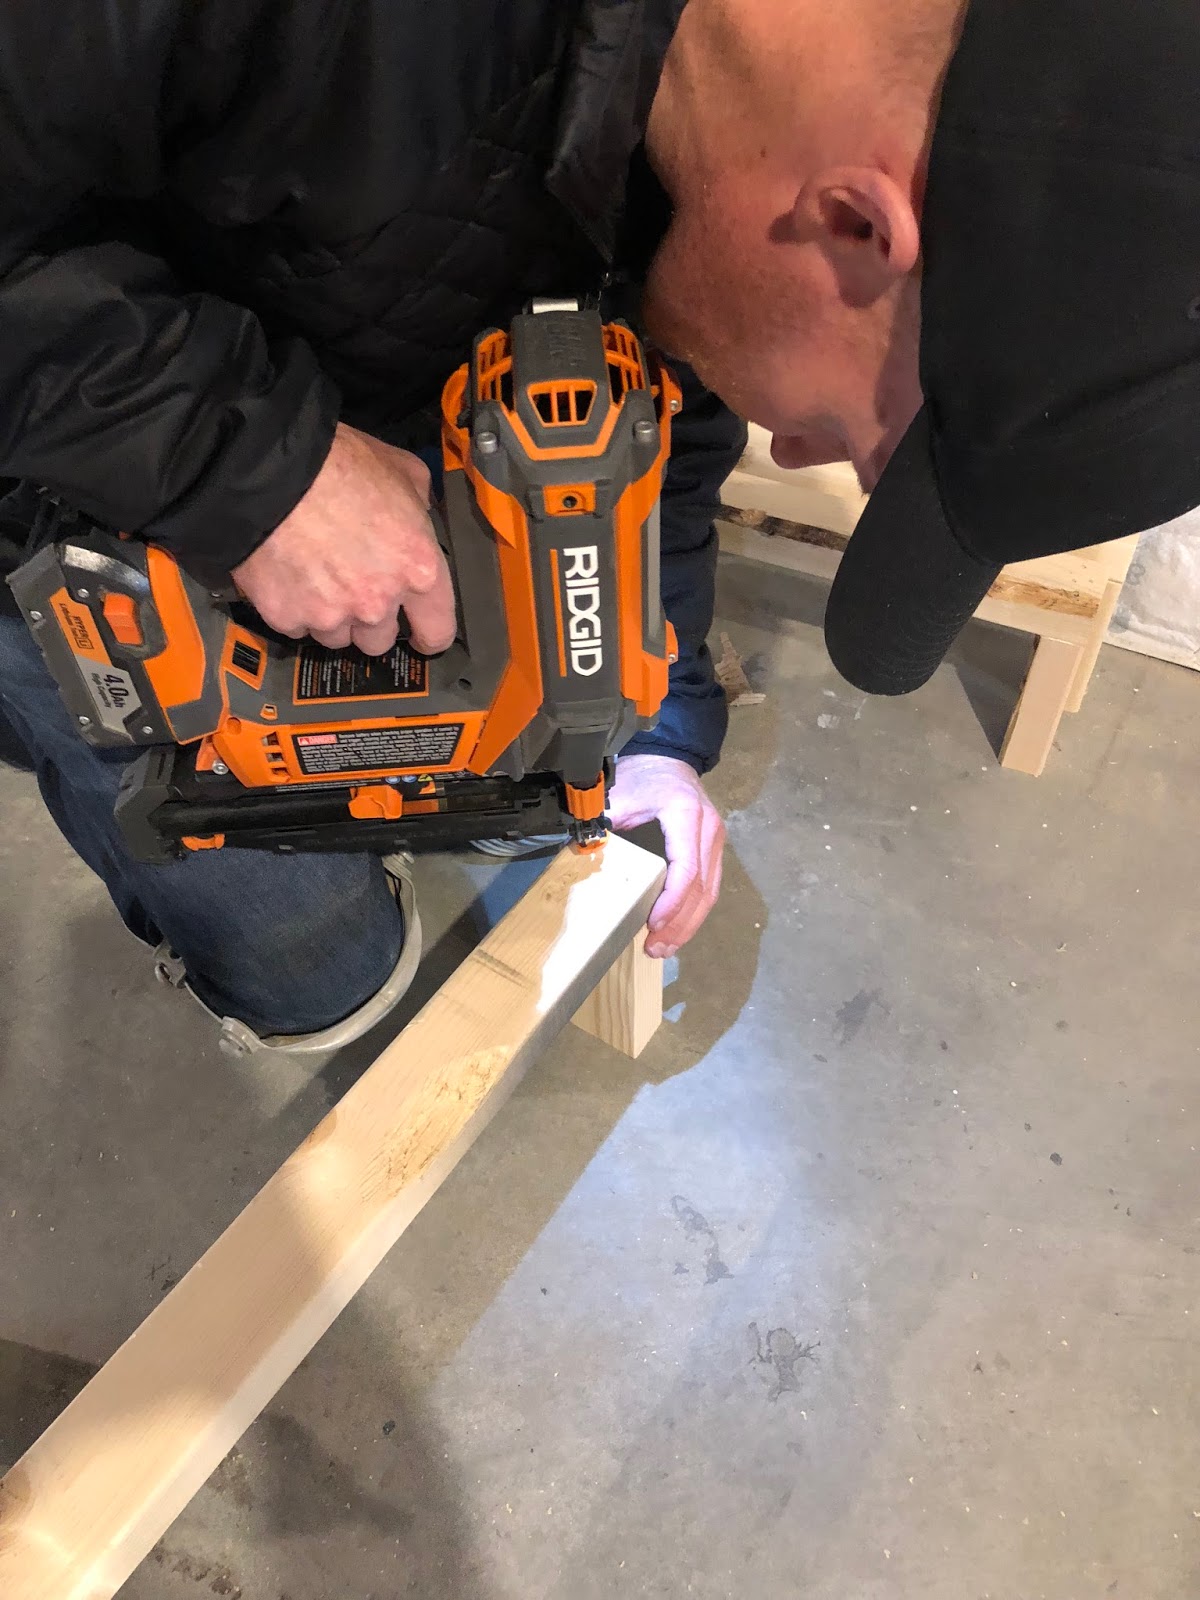
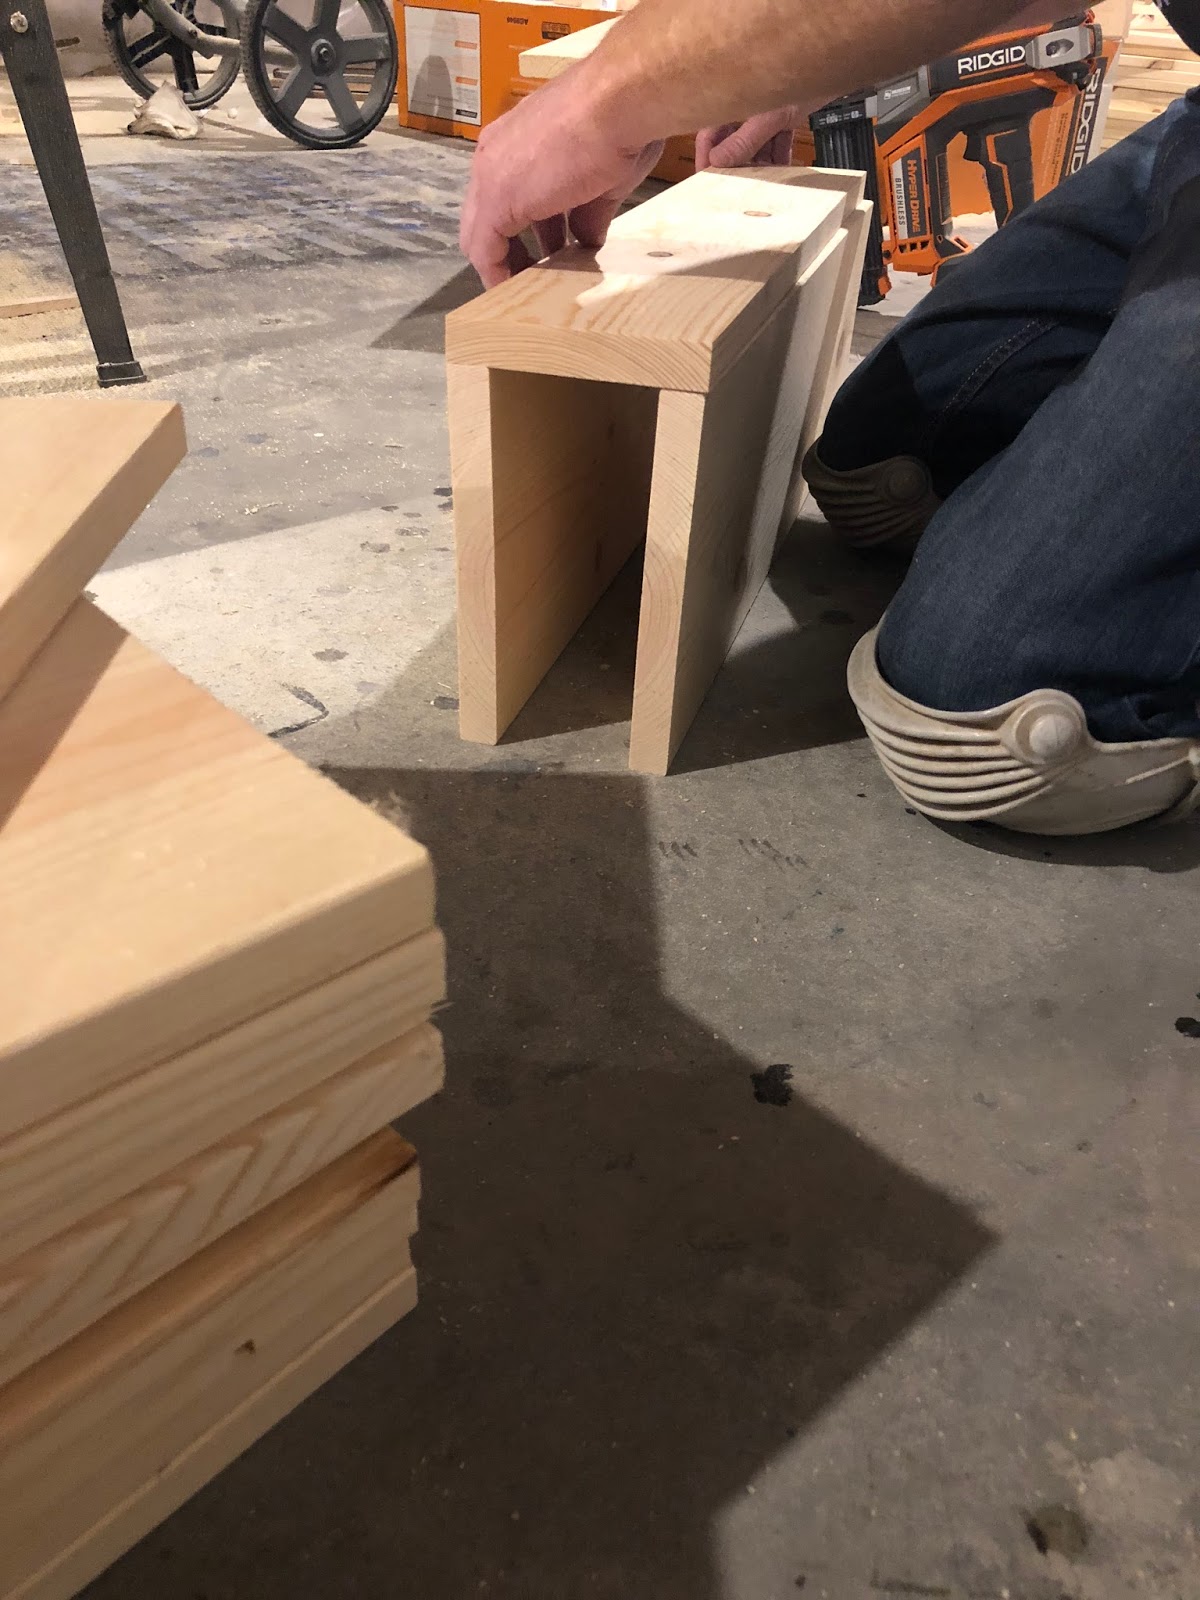
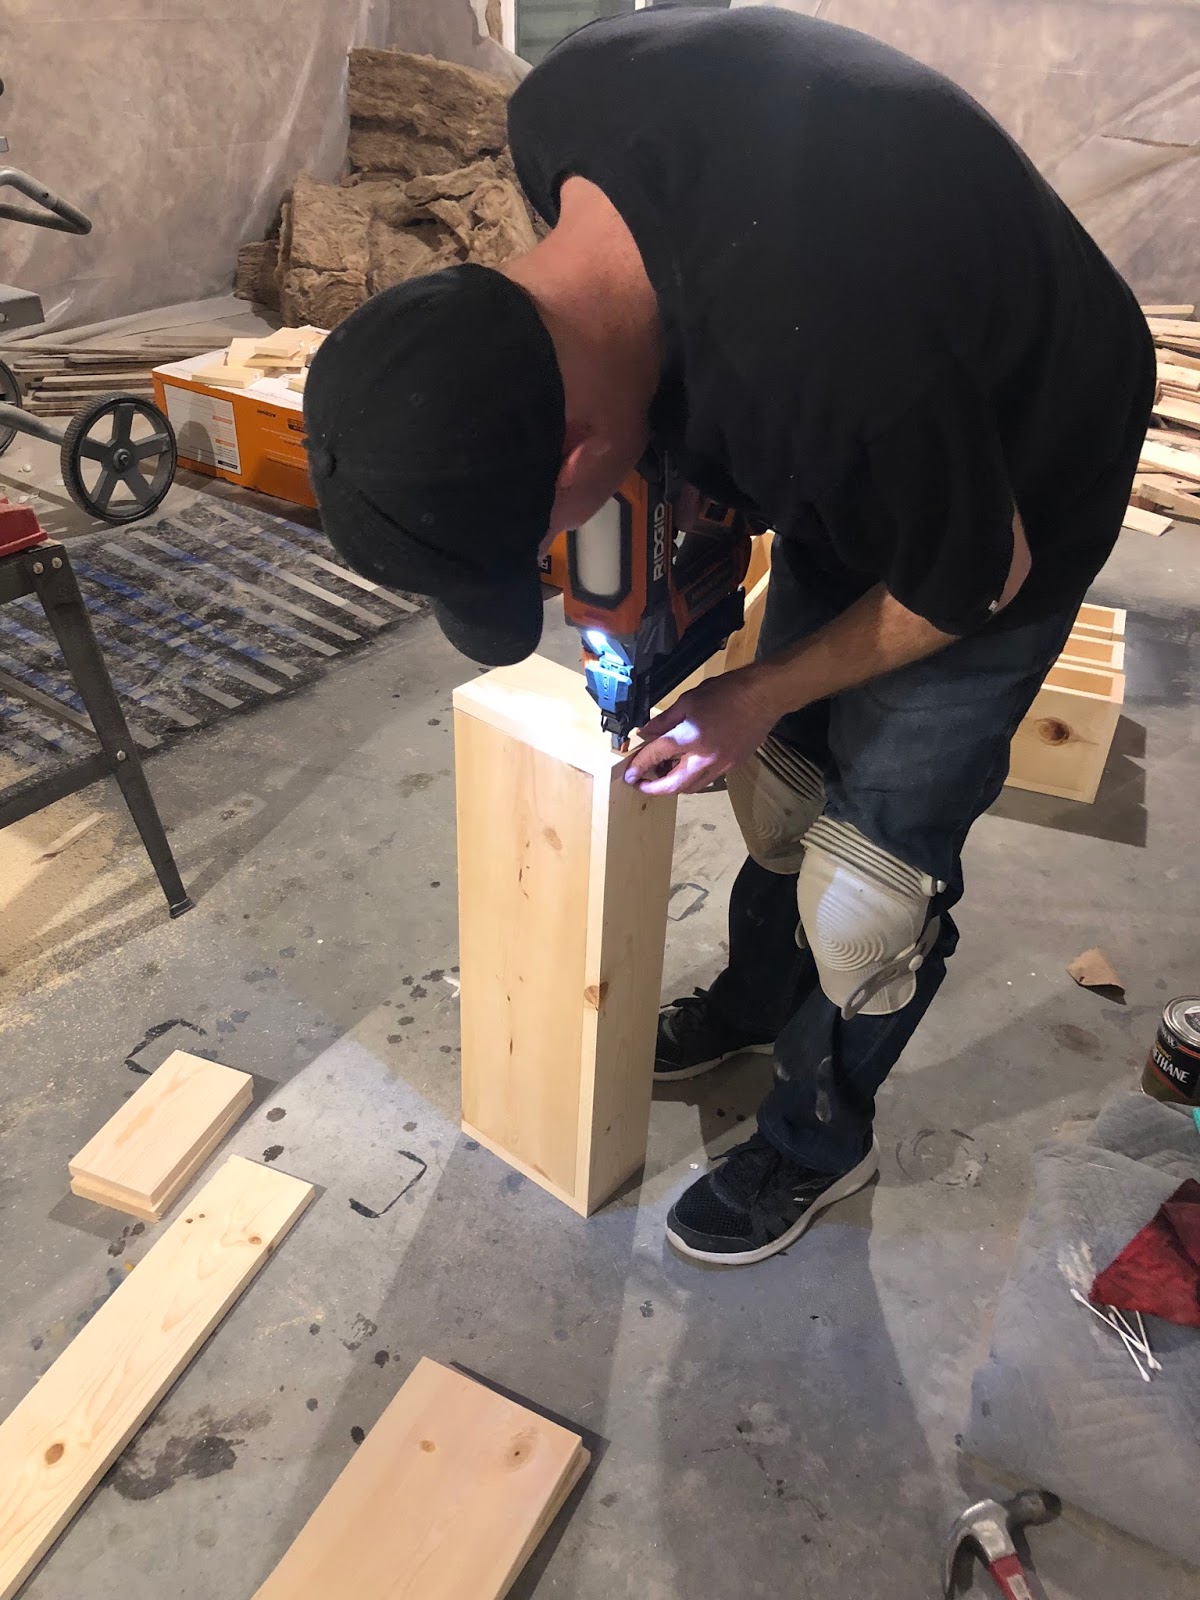
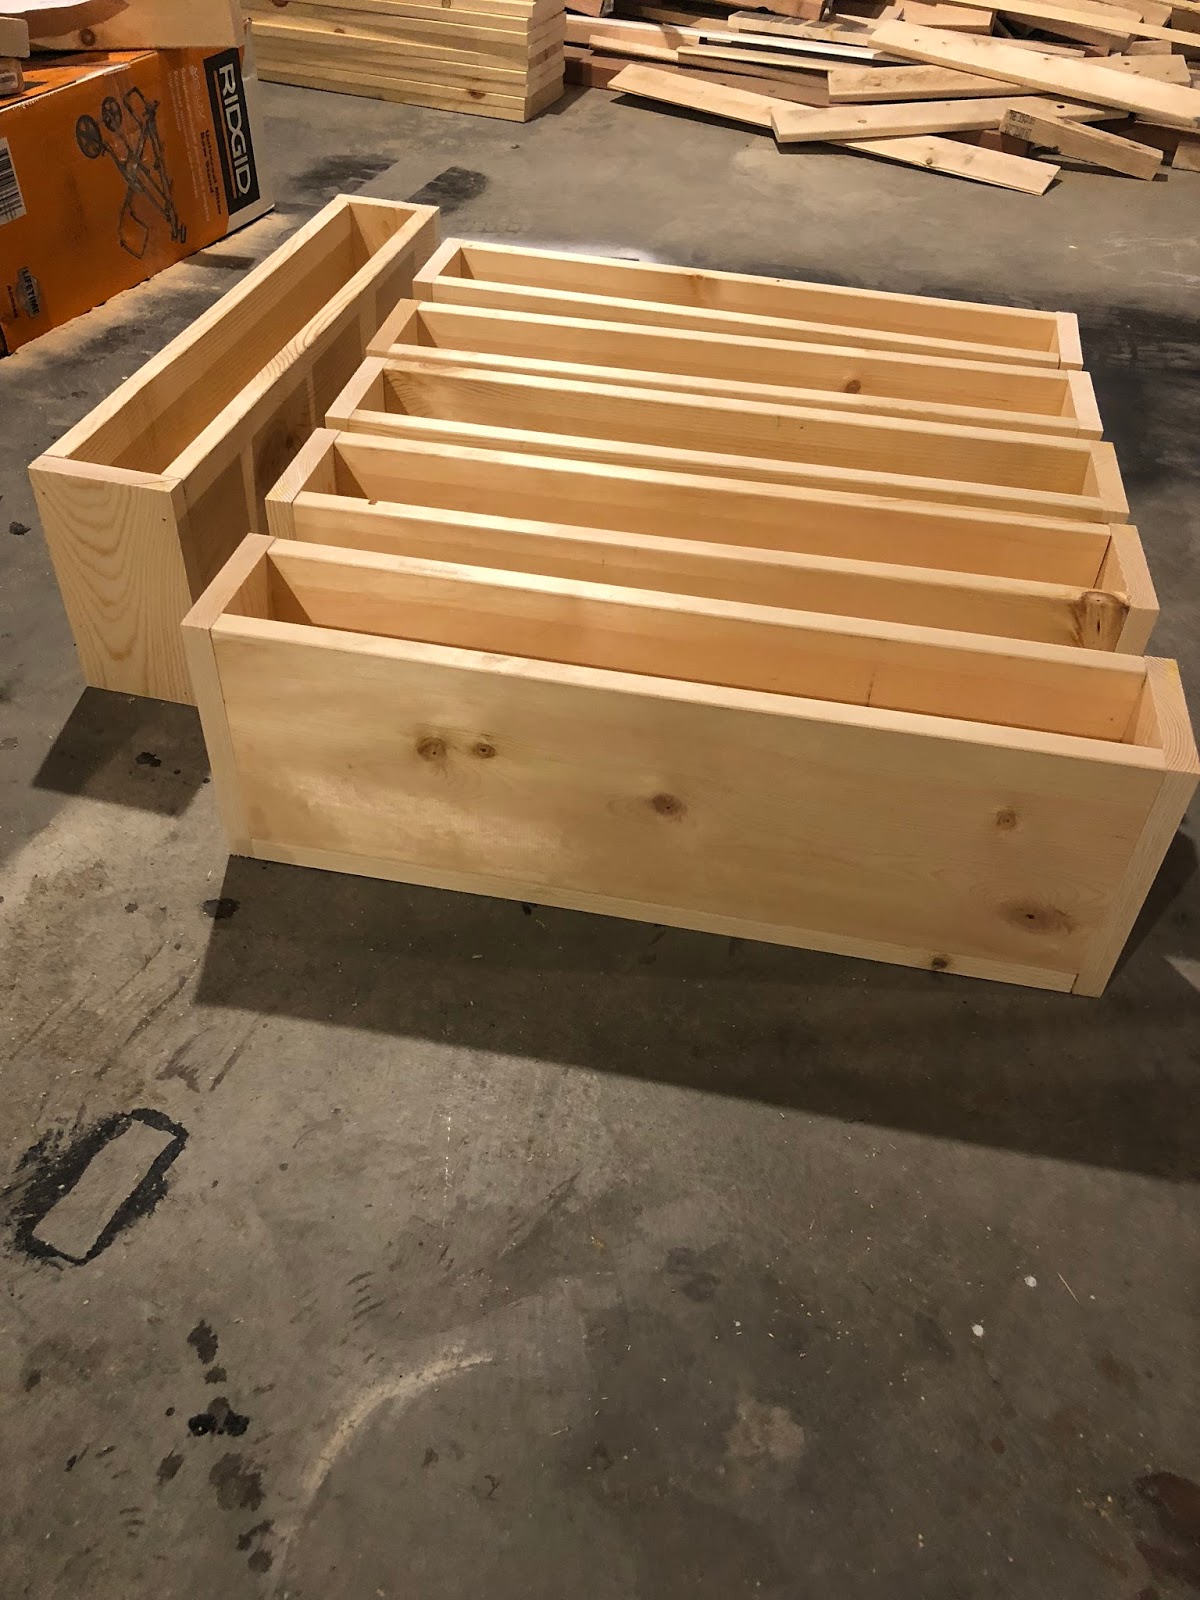
Once you have installed the cleats you can start building the shelves. You are basically building a simple wood box that is missing one side. Cut the top, bottom, and face boards all to the same length. This length should be approximately a half inch longer than the width of your cleat (so the shelf will easily slide on). Secure the face board to the top and bottom boards as shown in the picture below. I recommend using glue and 1.5″ brad nails.
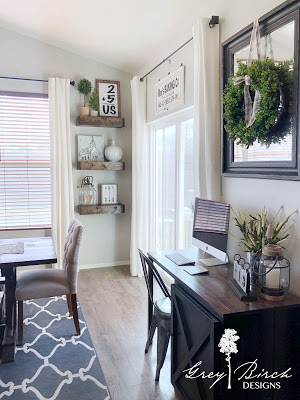
-Grey Birch Designs-


read more
- Miter Saw
- Finish Nail gun
- Nails
- Wood dowels (you will need 2 or 3 depending on how many slats you want)
- 1″x 2″ pine board (these are for the sides so you will need 2 of these)
- Wood Glue
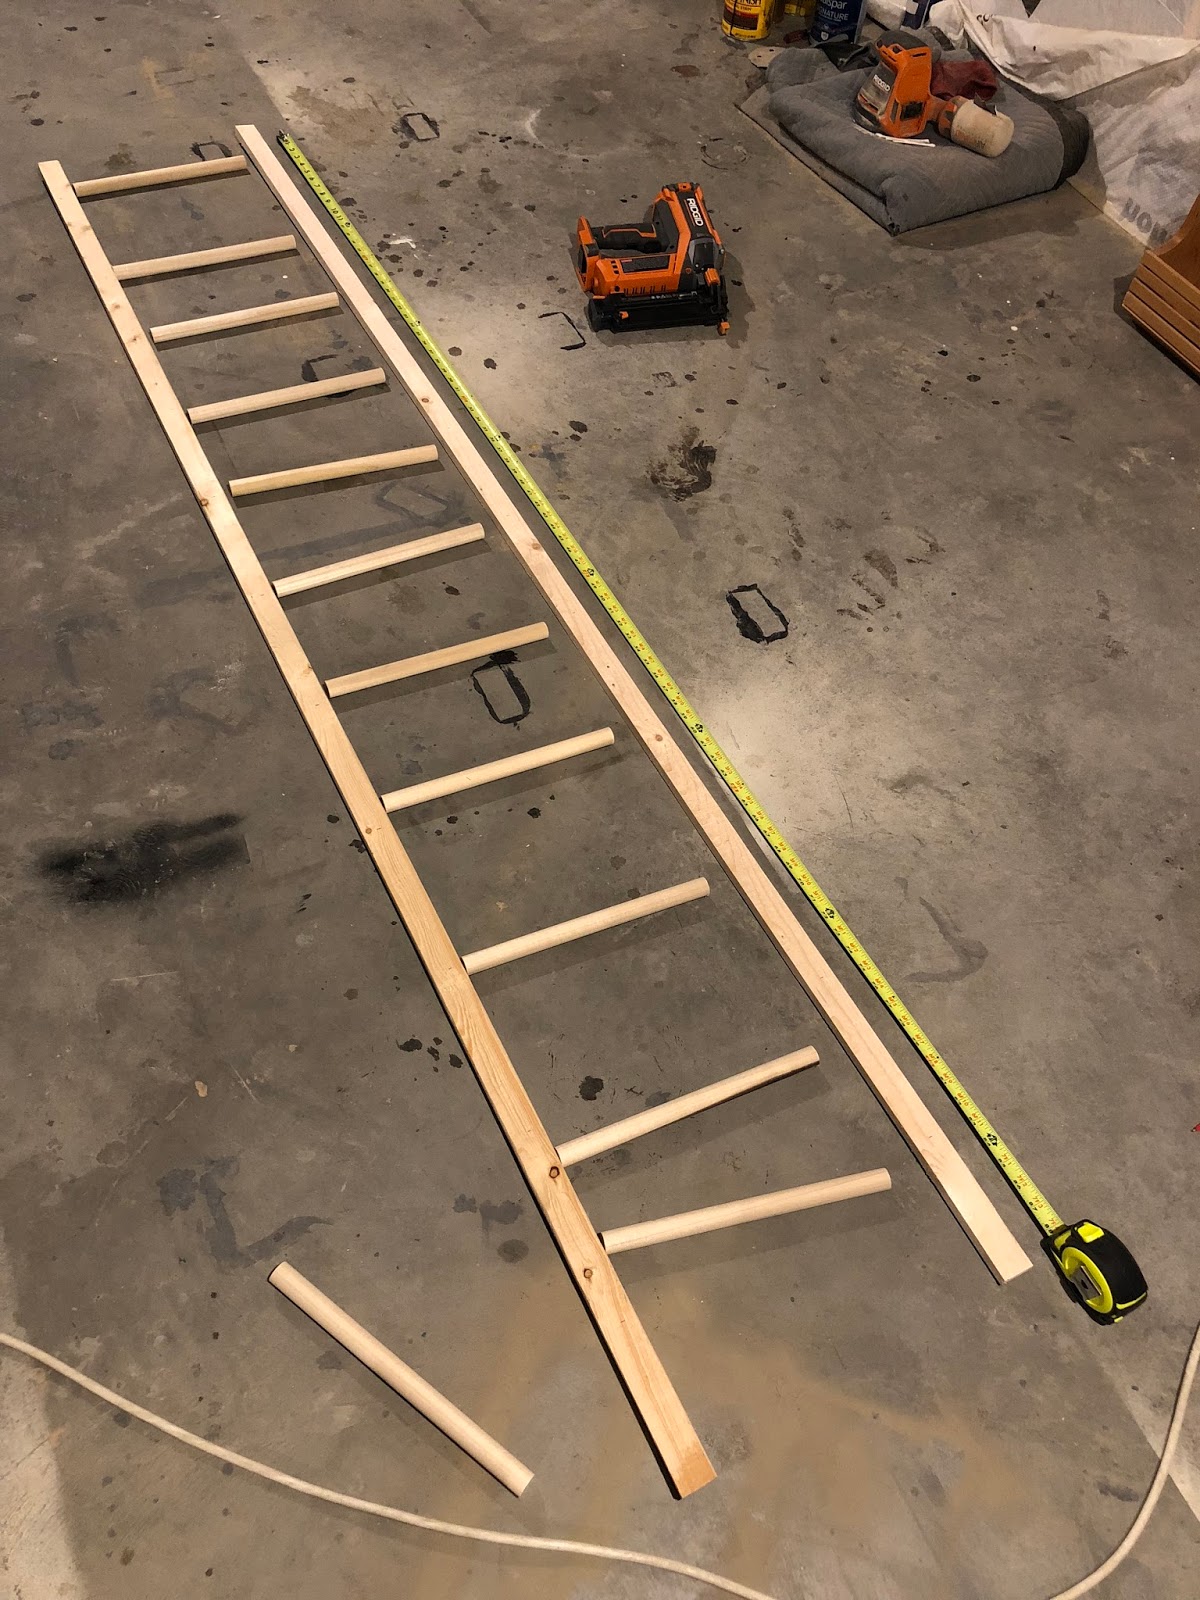
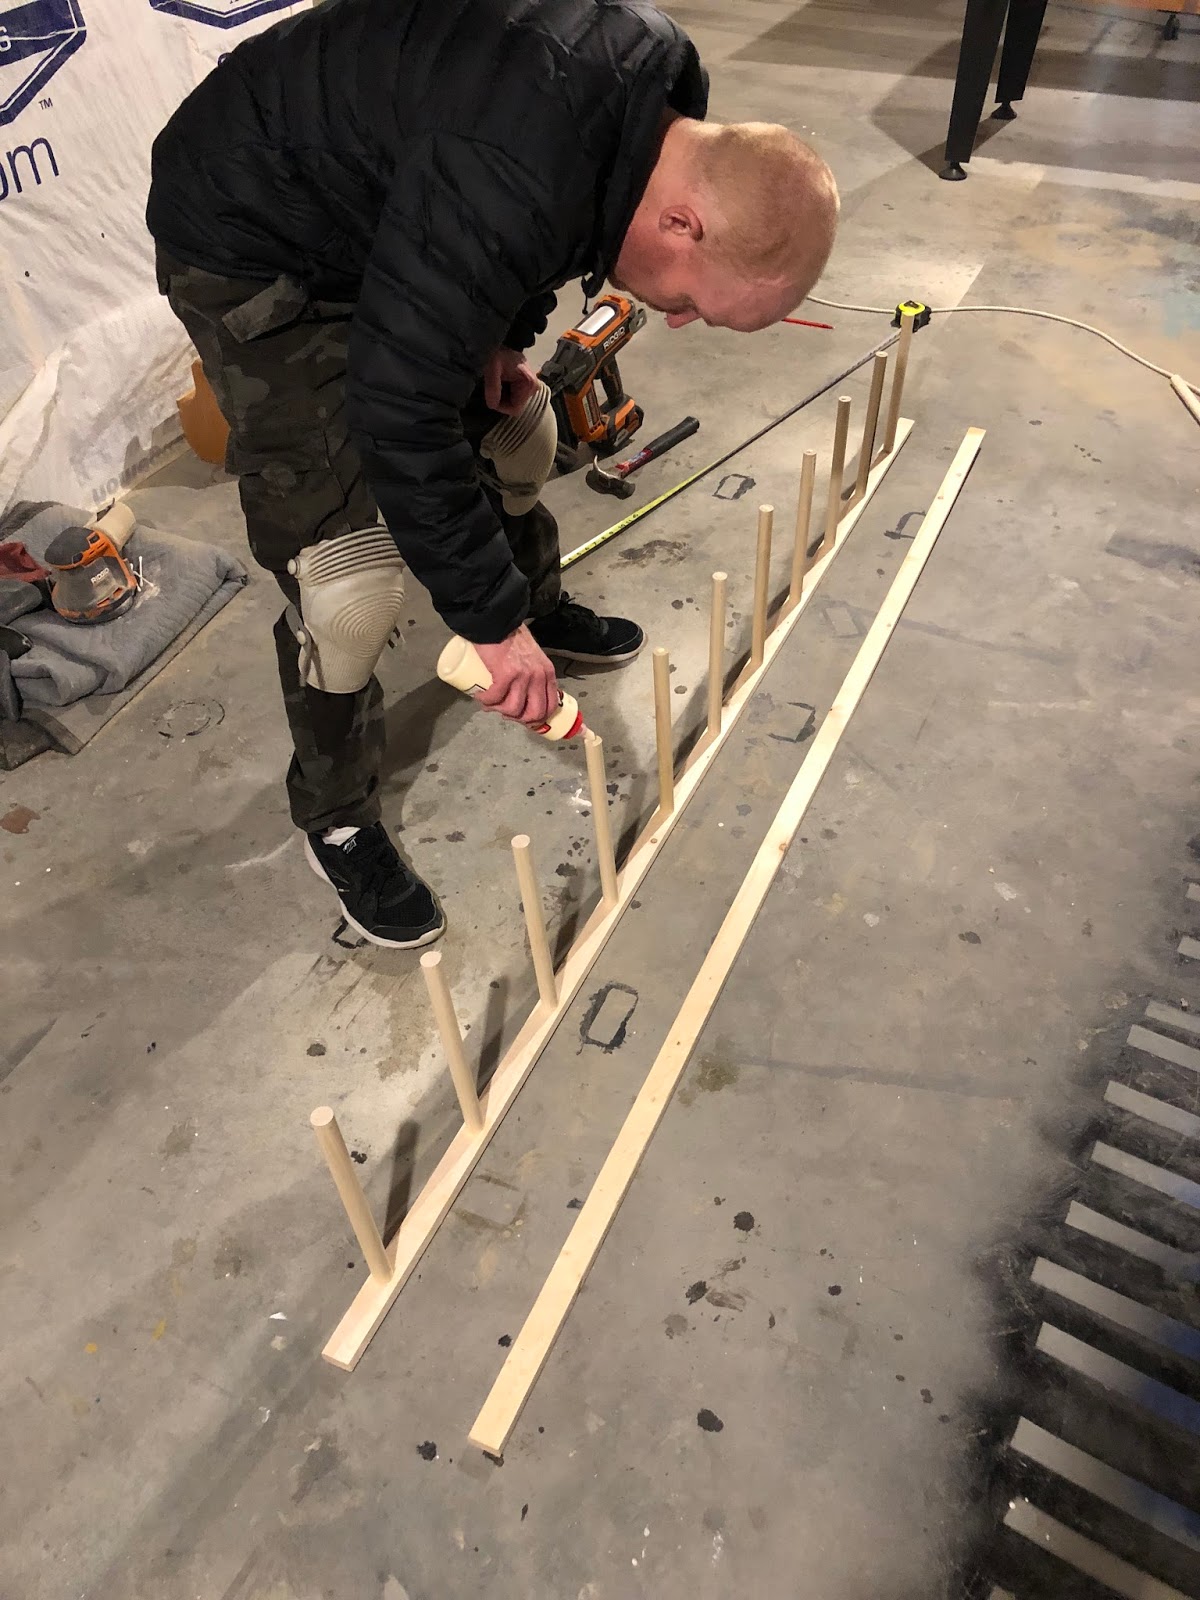
Hope you enjoyed this super easy and quick DIY Ladder!
-Grey Birch Designs-
read more
- Miter Saw
- Table saw (optional)
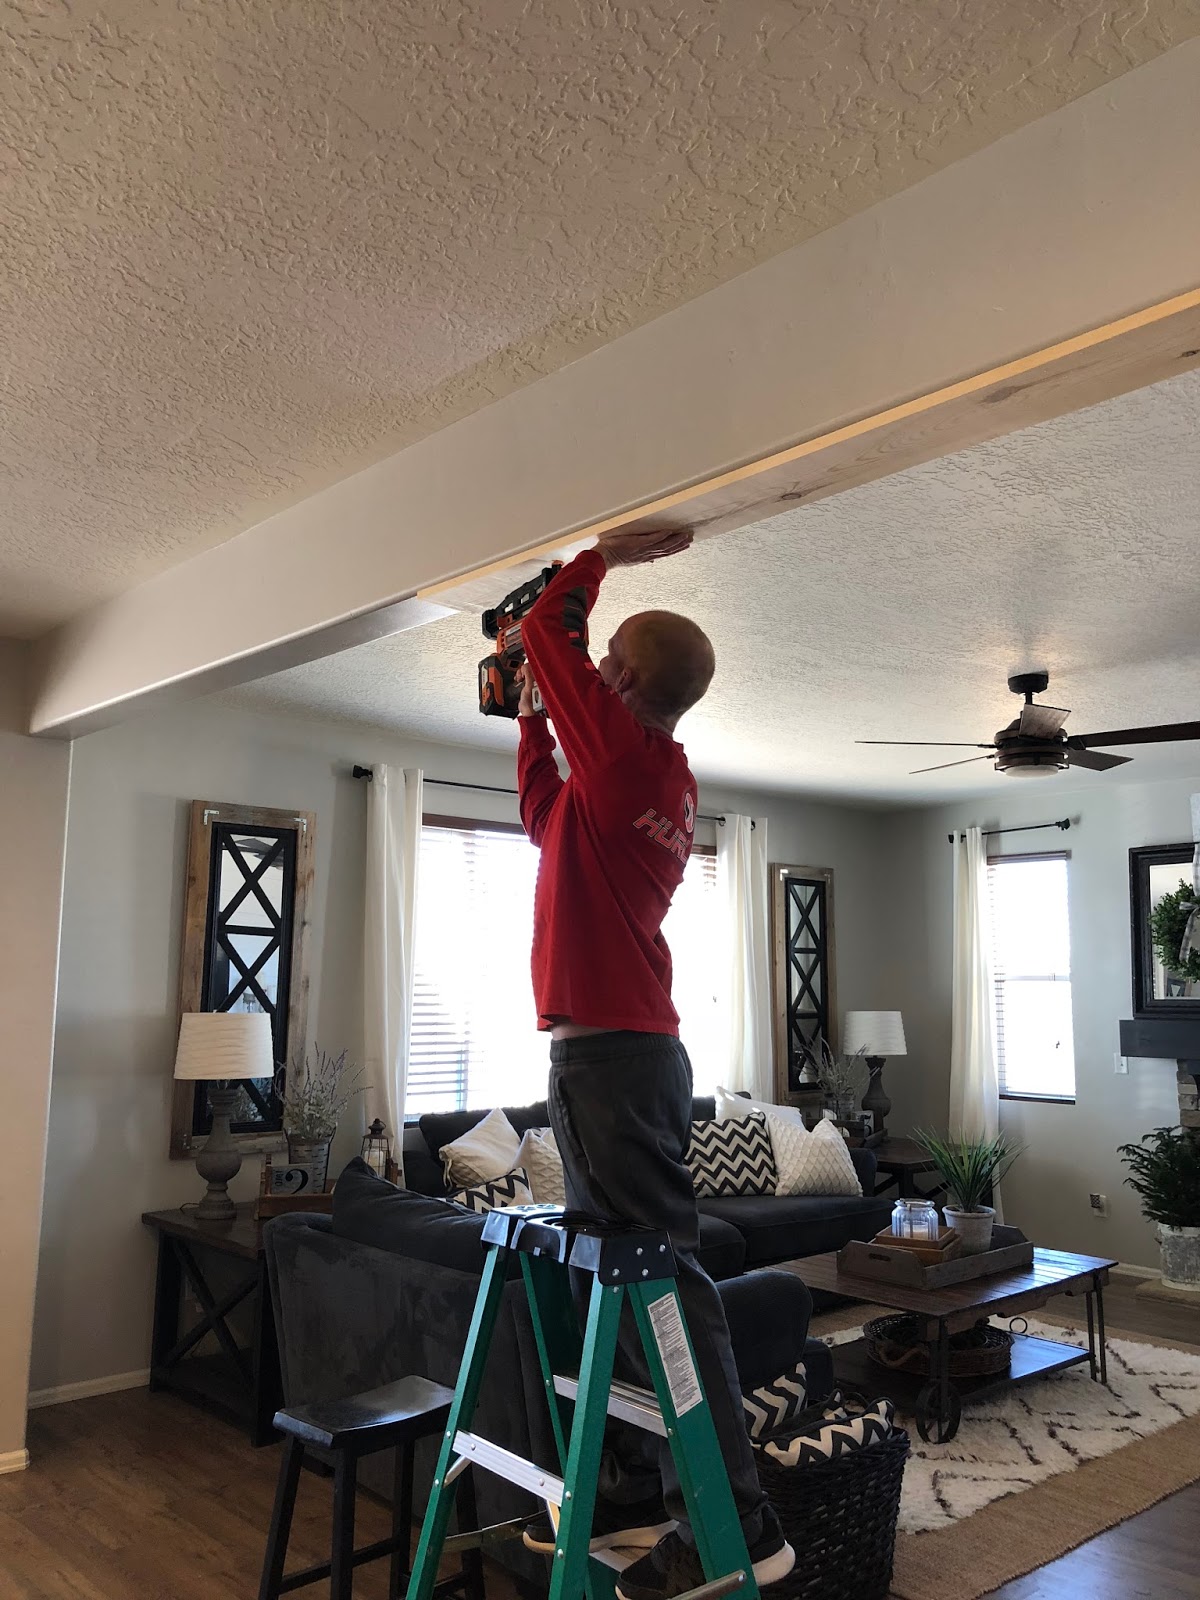
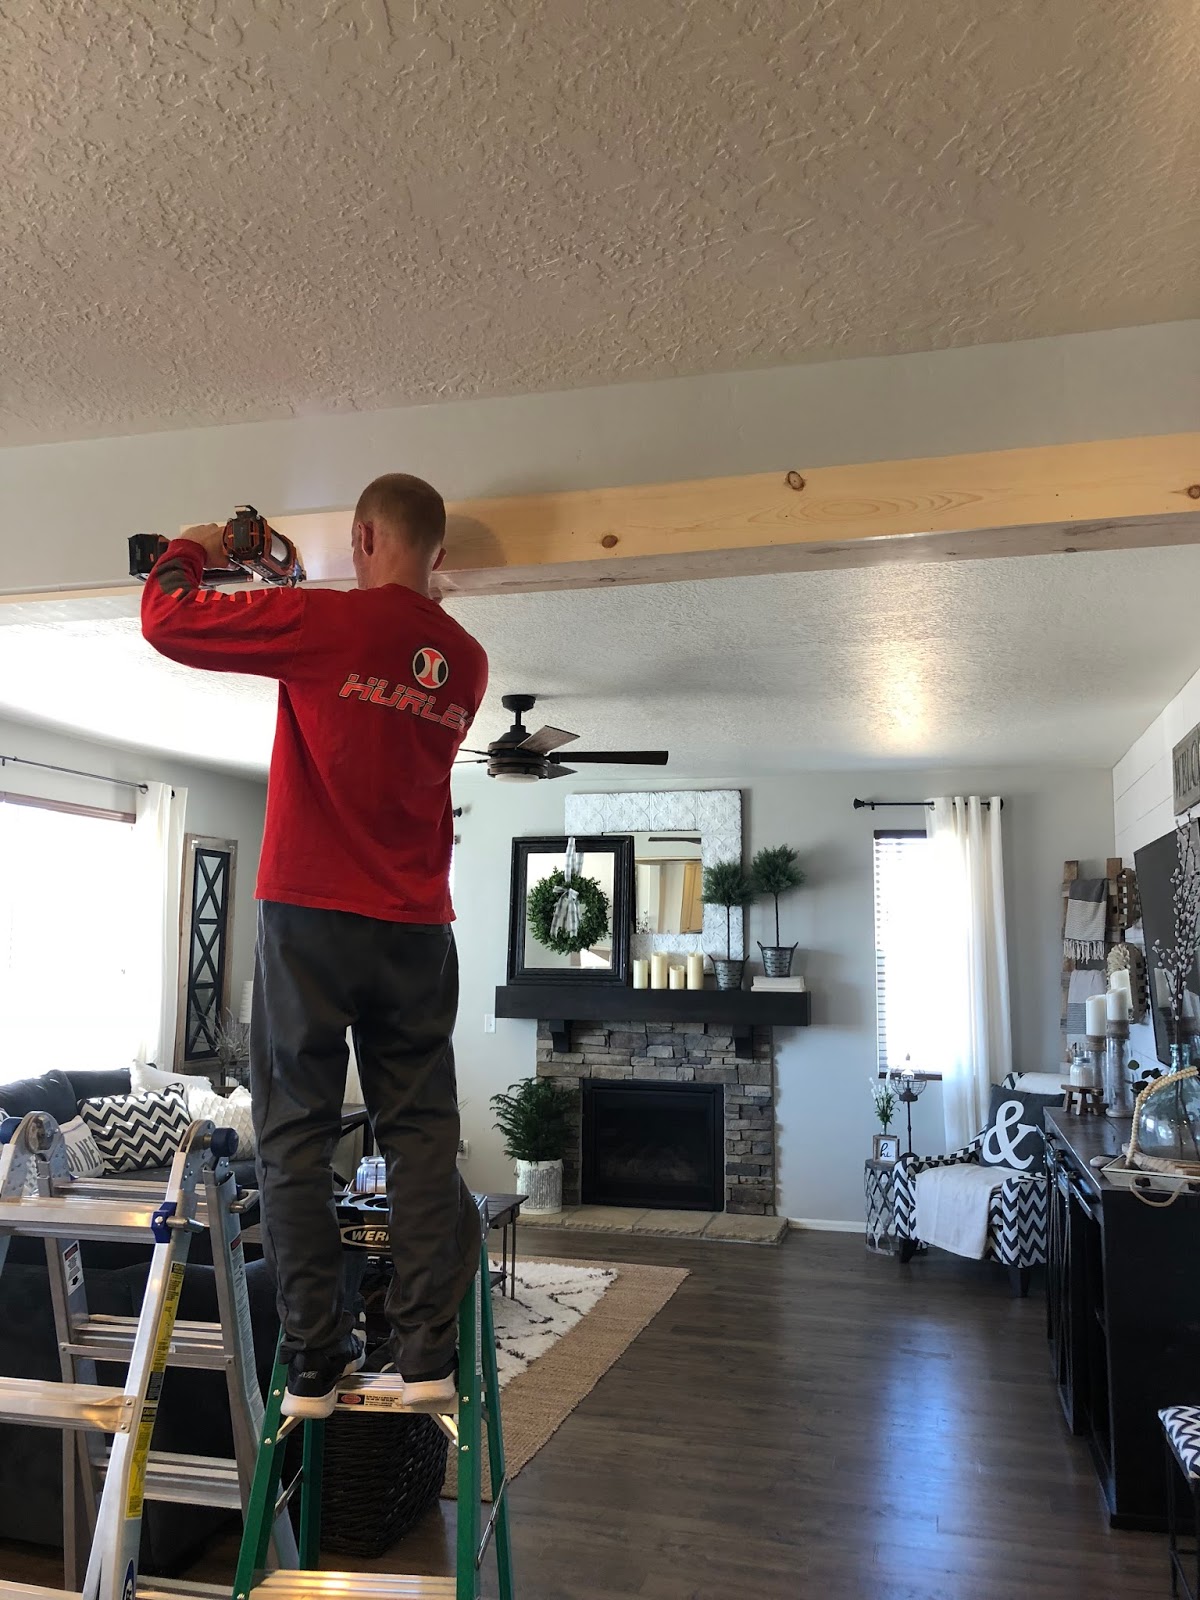
- Brad Nail Gun and brad nails
- Tape Measure
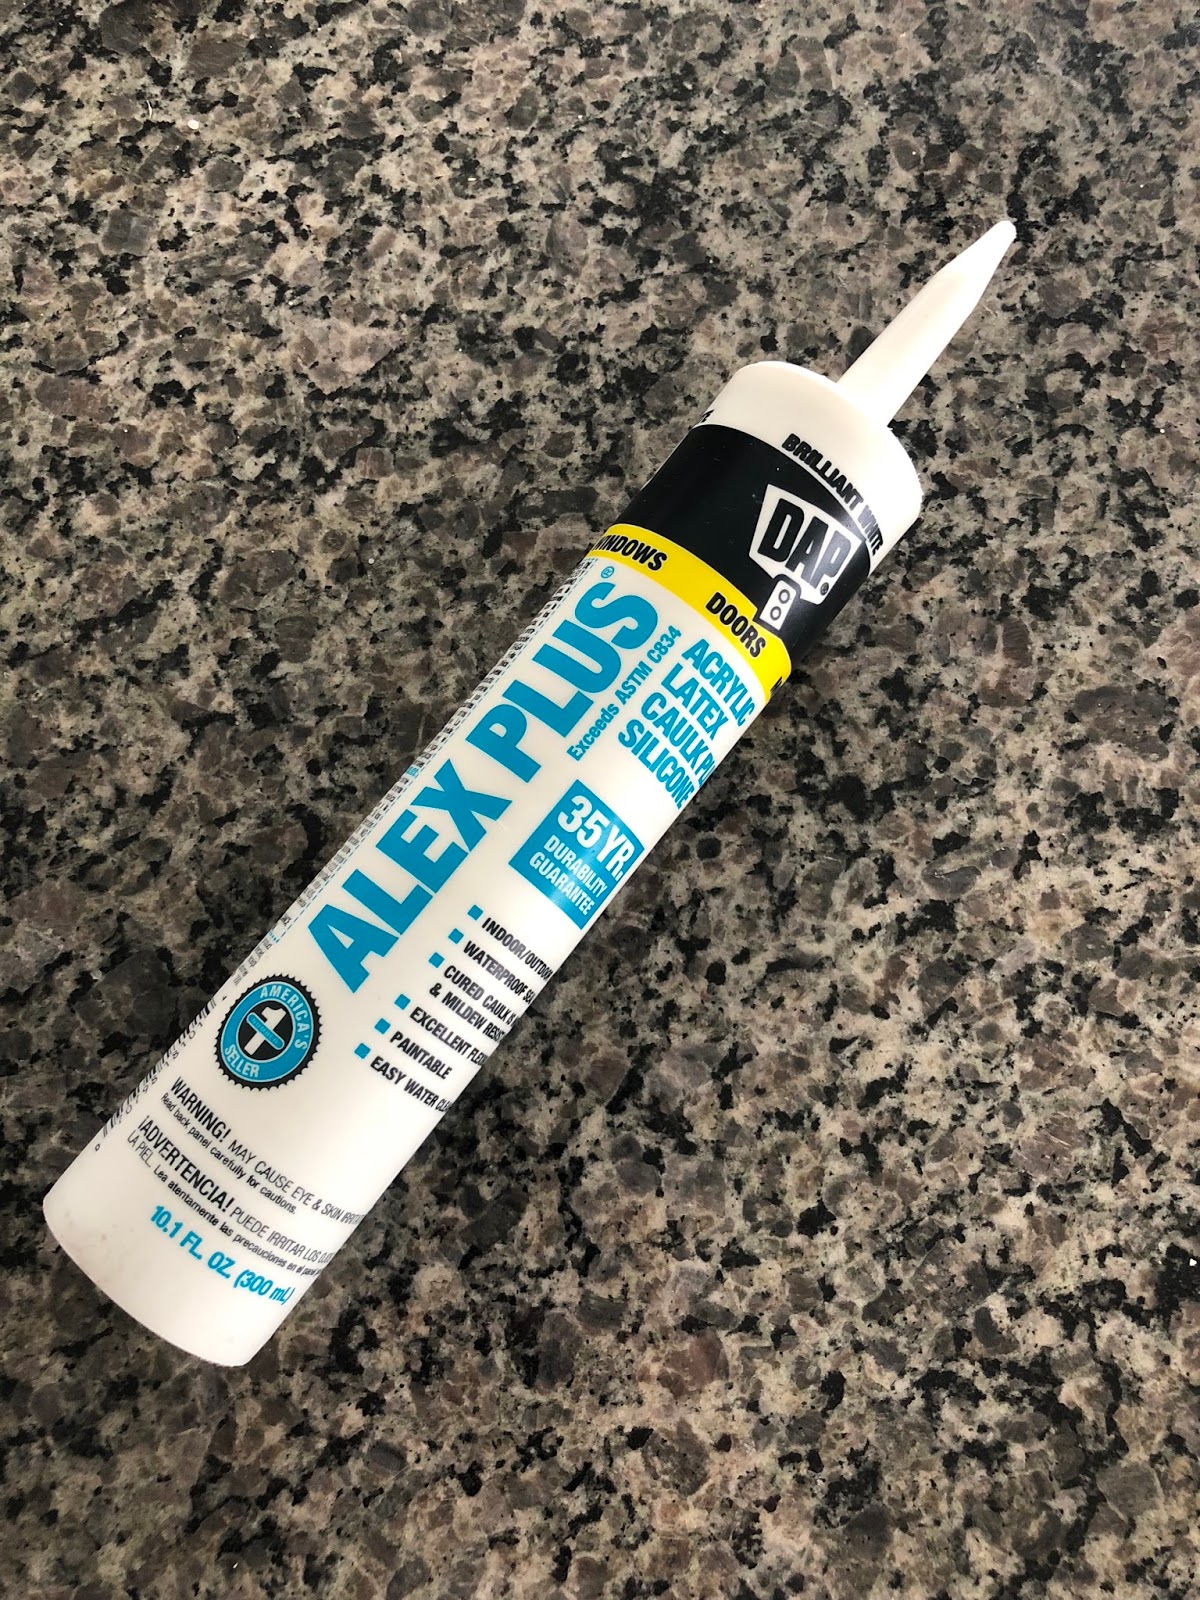
- Caulk Gun and caulk
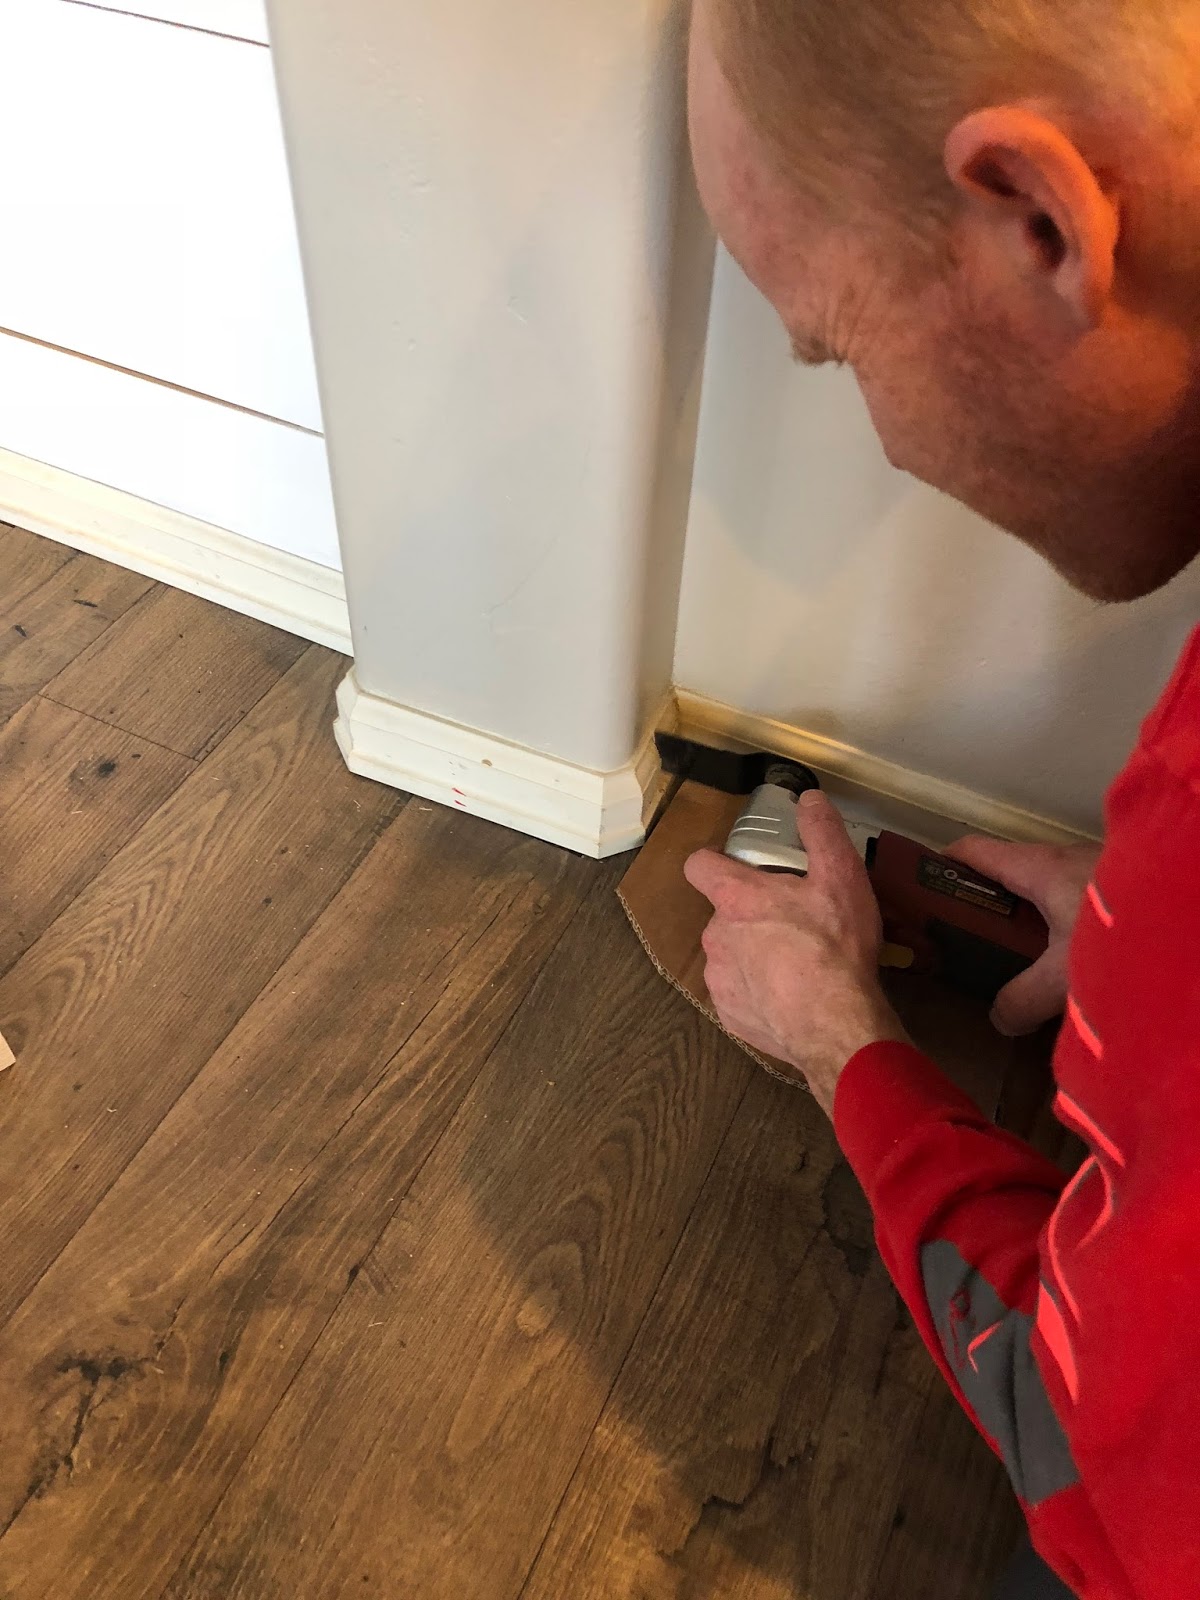
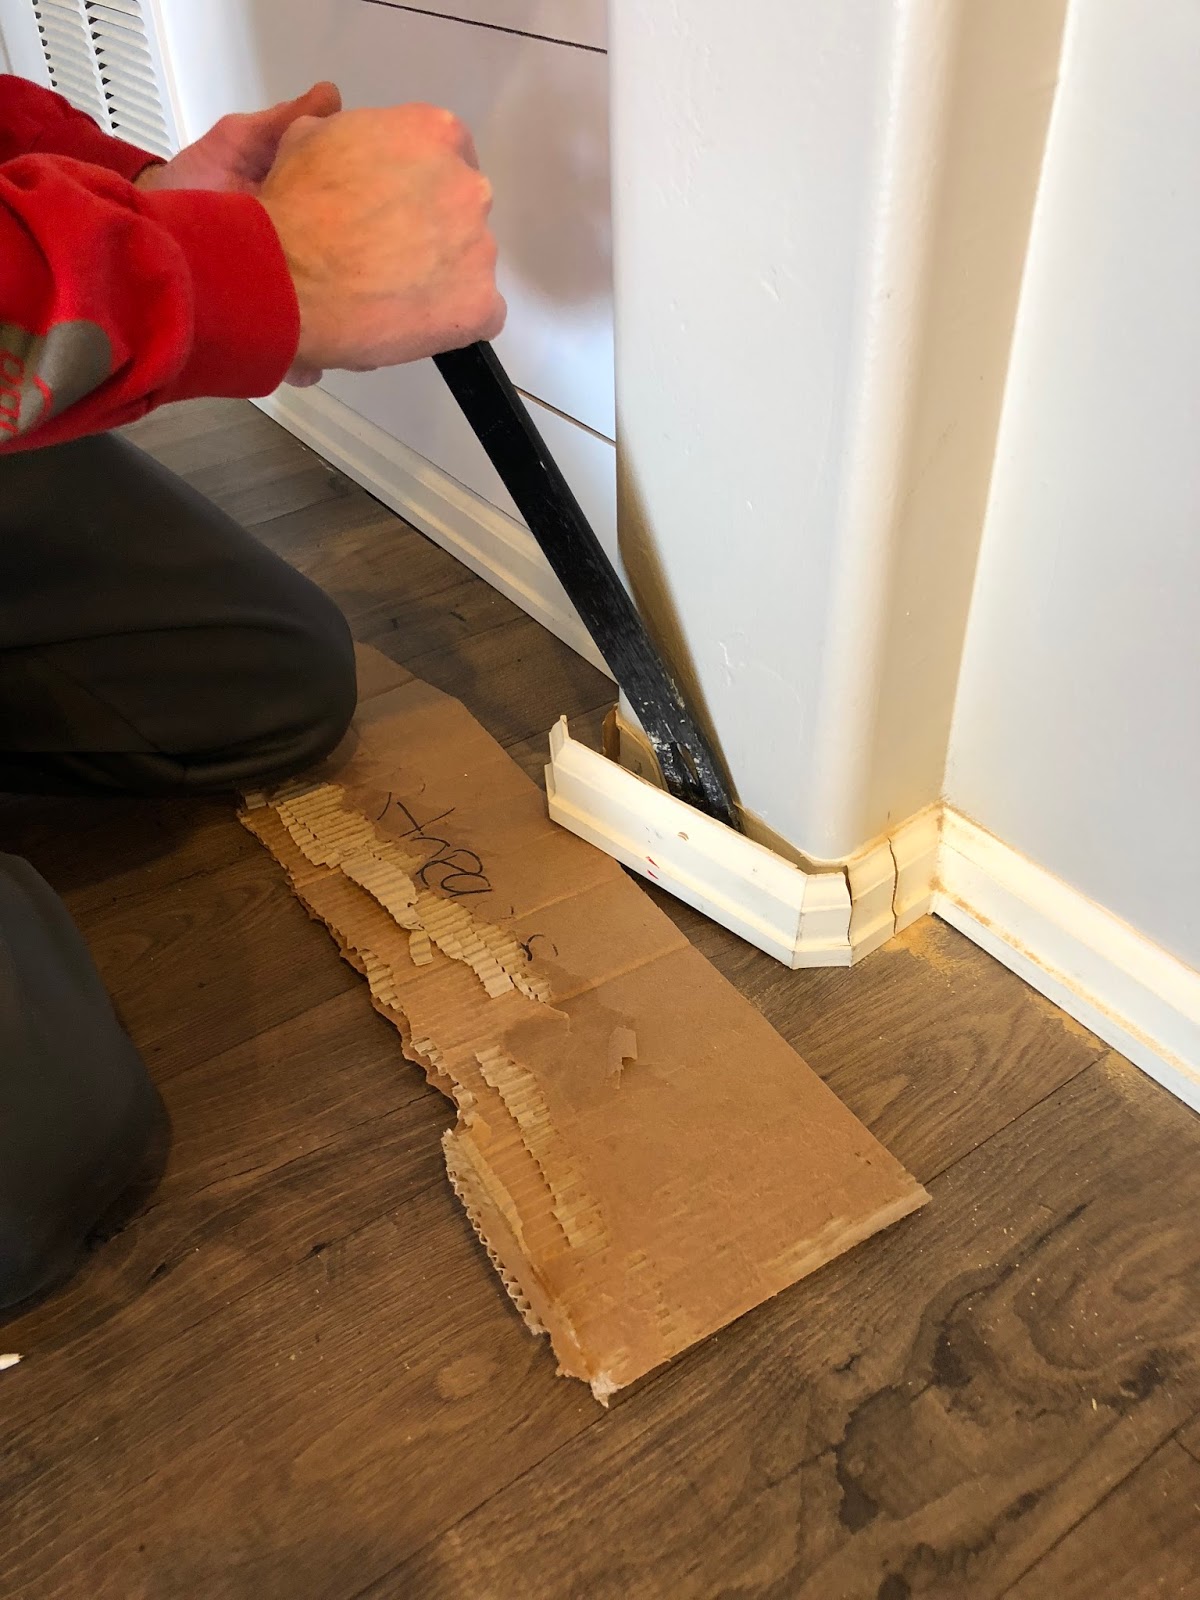
- Multi Cutting Tool (to remove sections of base board)
- Pry Bar (Small)
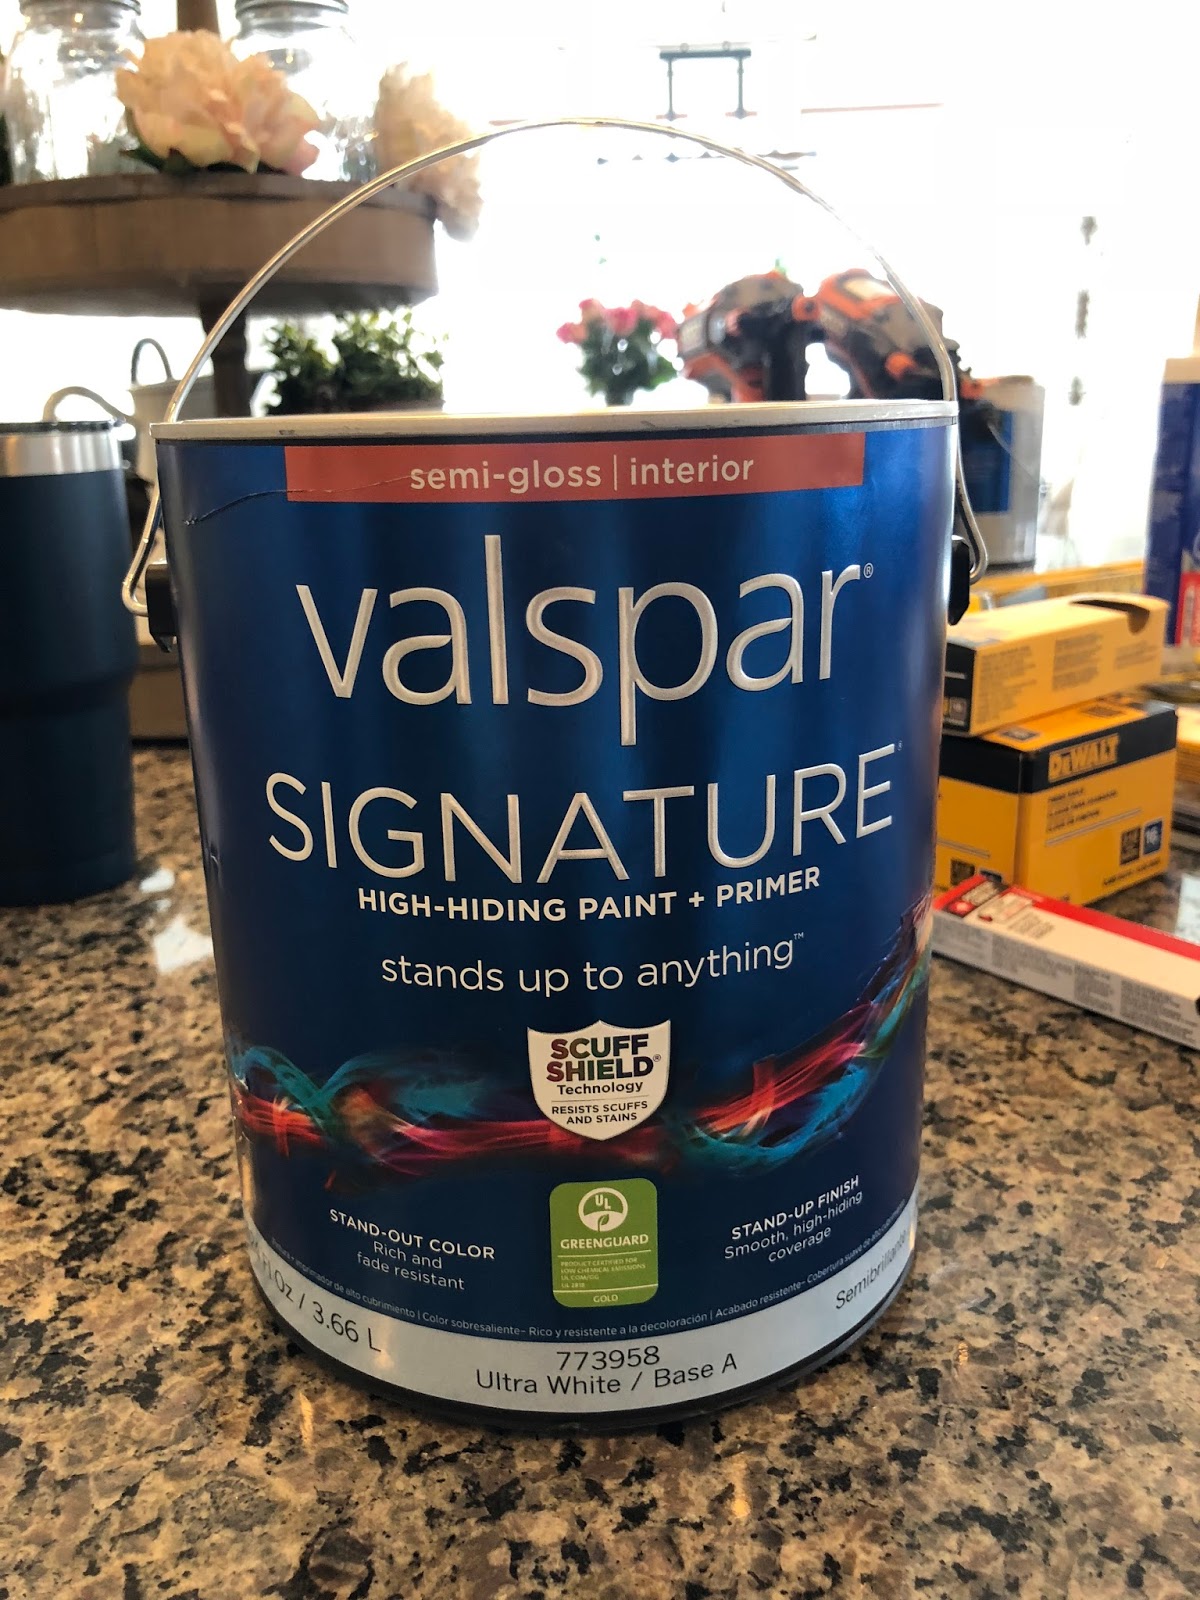
- Paint (we used a pure white paint by Valspar in a semi-gloss finish)
- Masking Tape
- Paint Brush, Short Paint Roller, Paint Tray
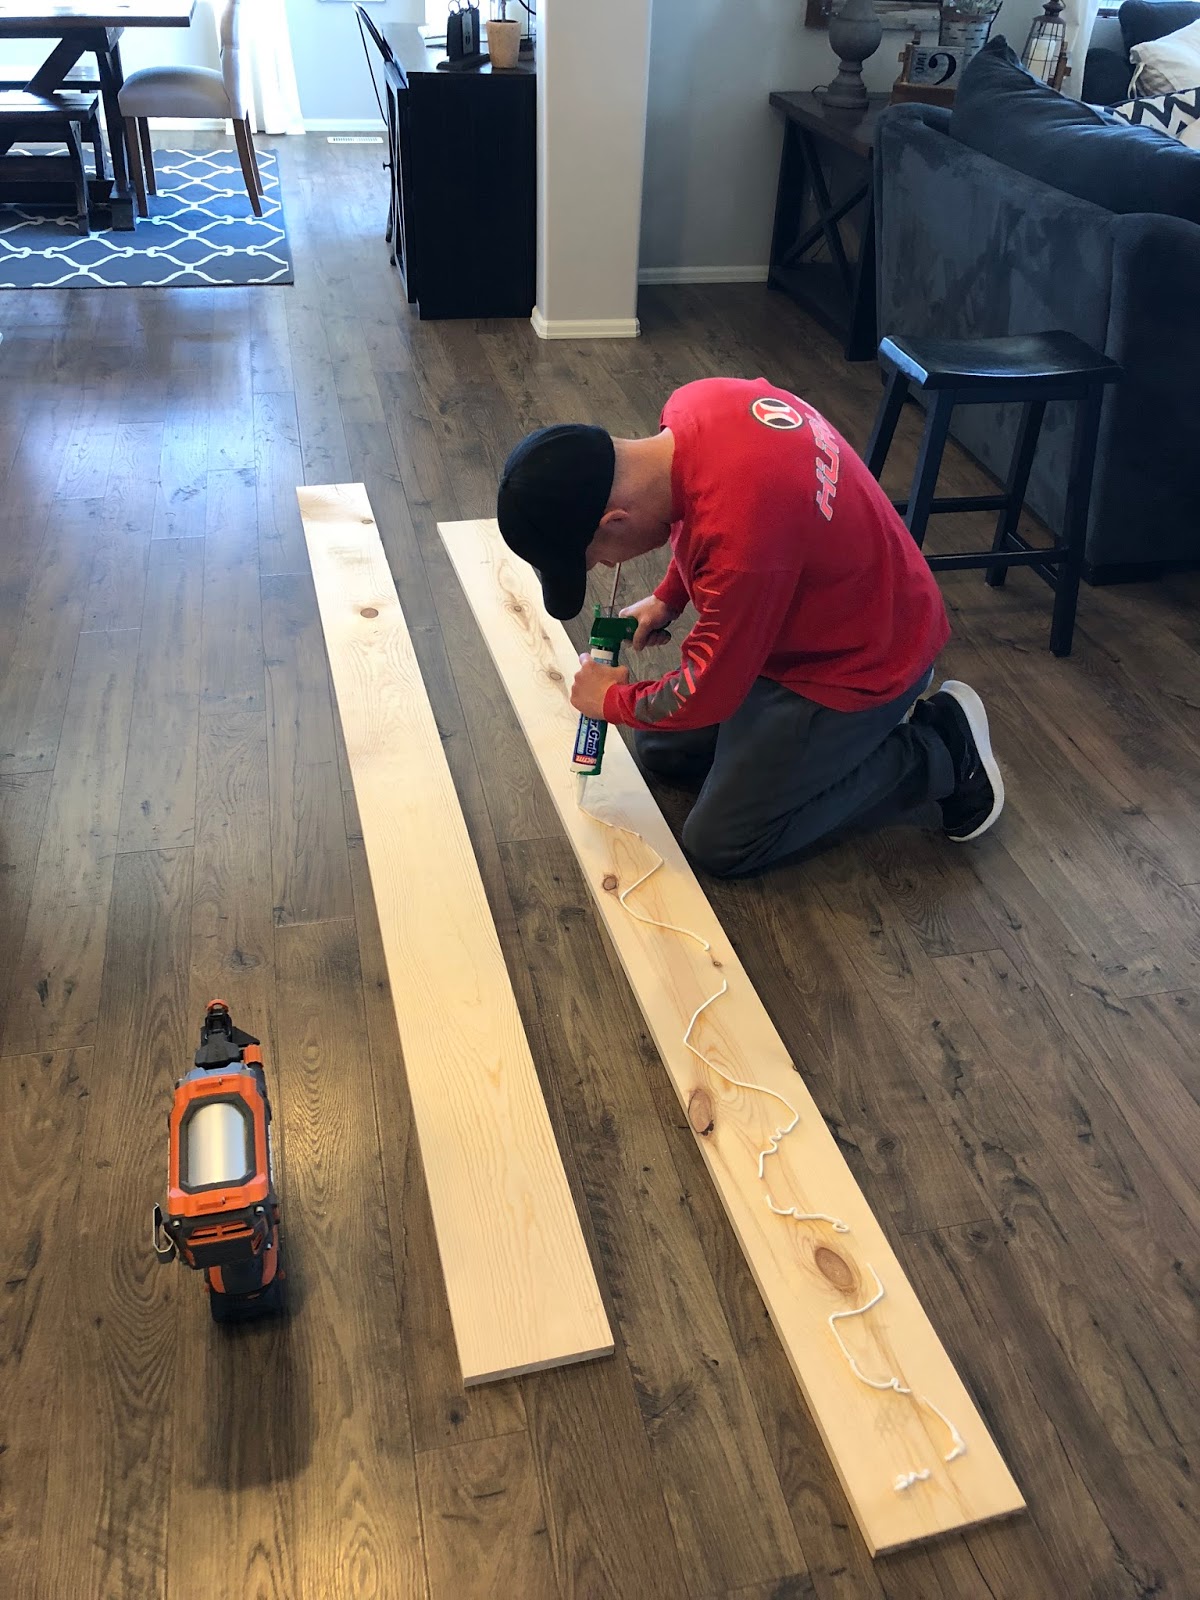
- Construction Adhesive
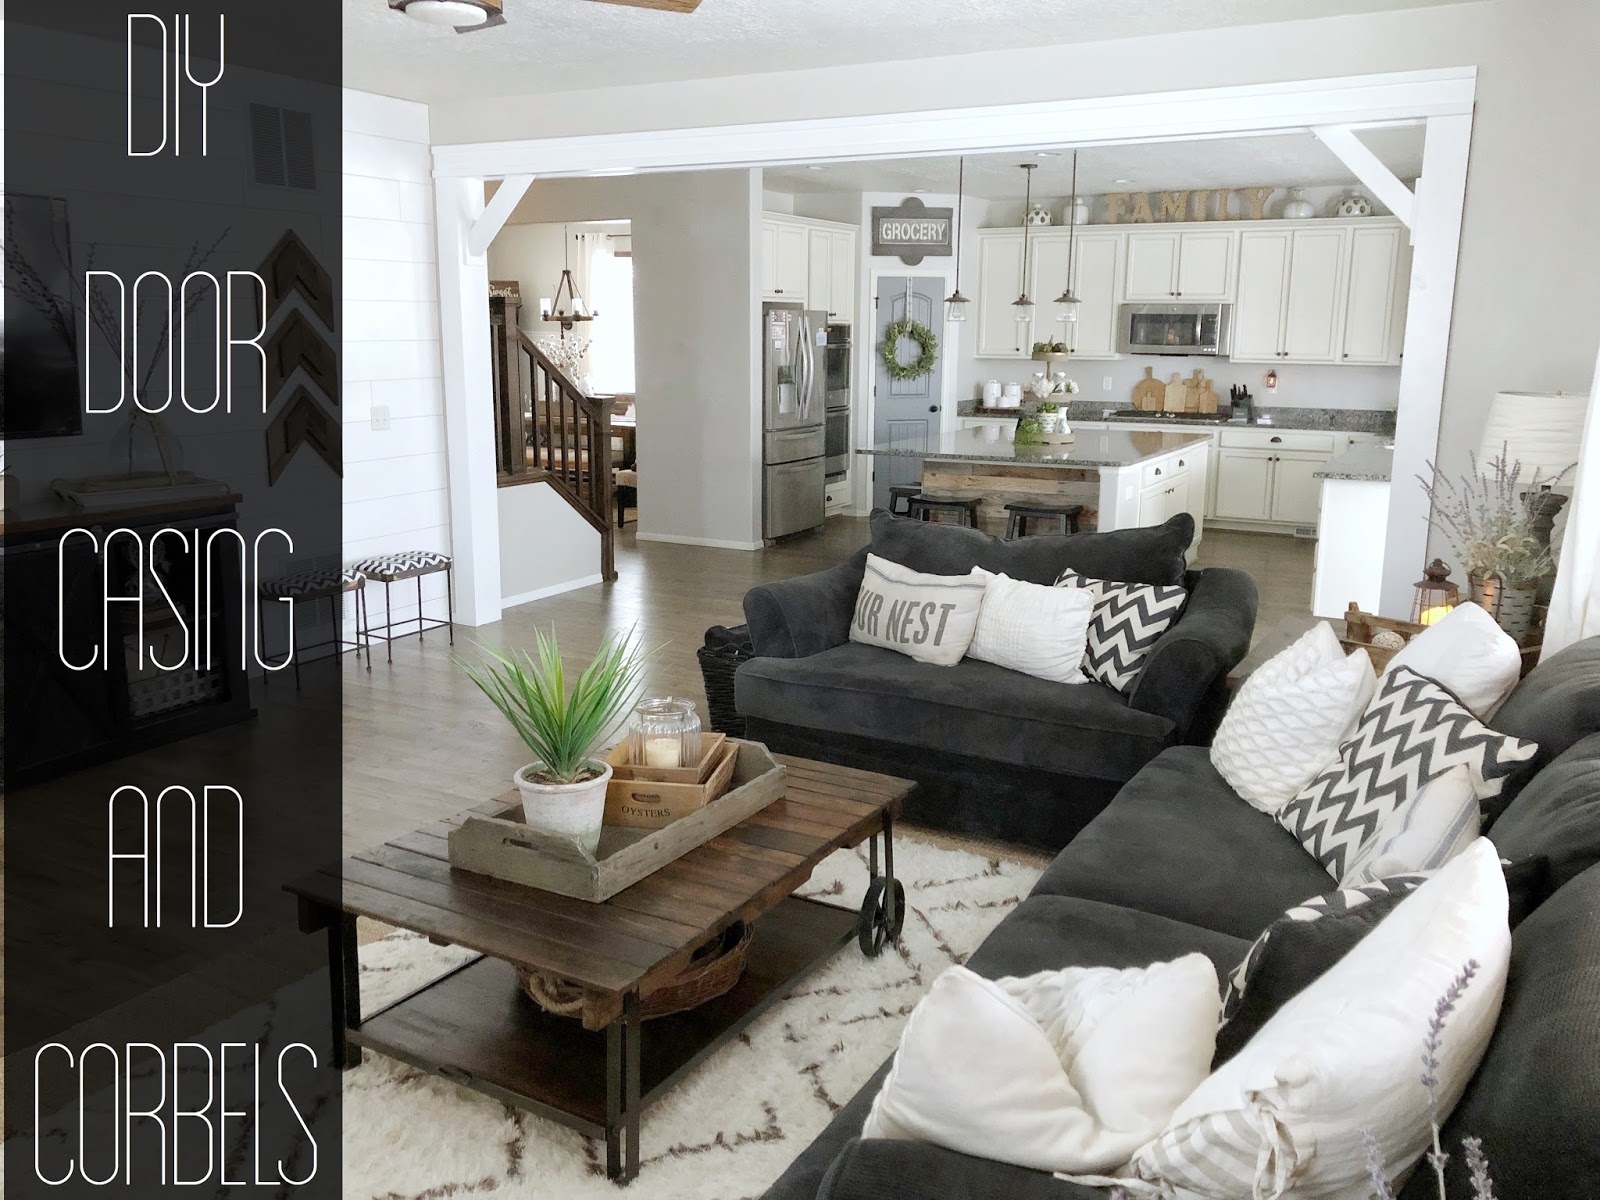
- 1″x 6″ Pine Boards (choose your length)
- 1″x 8″ Pine Boards (choose your length)
- 4″x 4″ Pine Board (this is to make the corbels so you just need 1)
- 1″x 2″ MDF Trim (this is for the trim on the top beam)