


read more
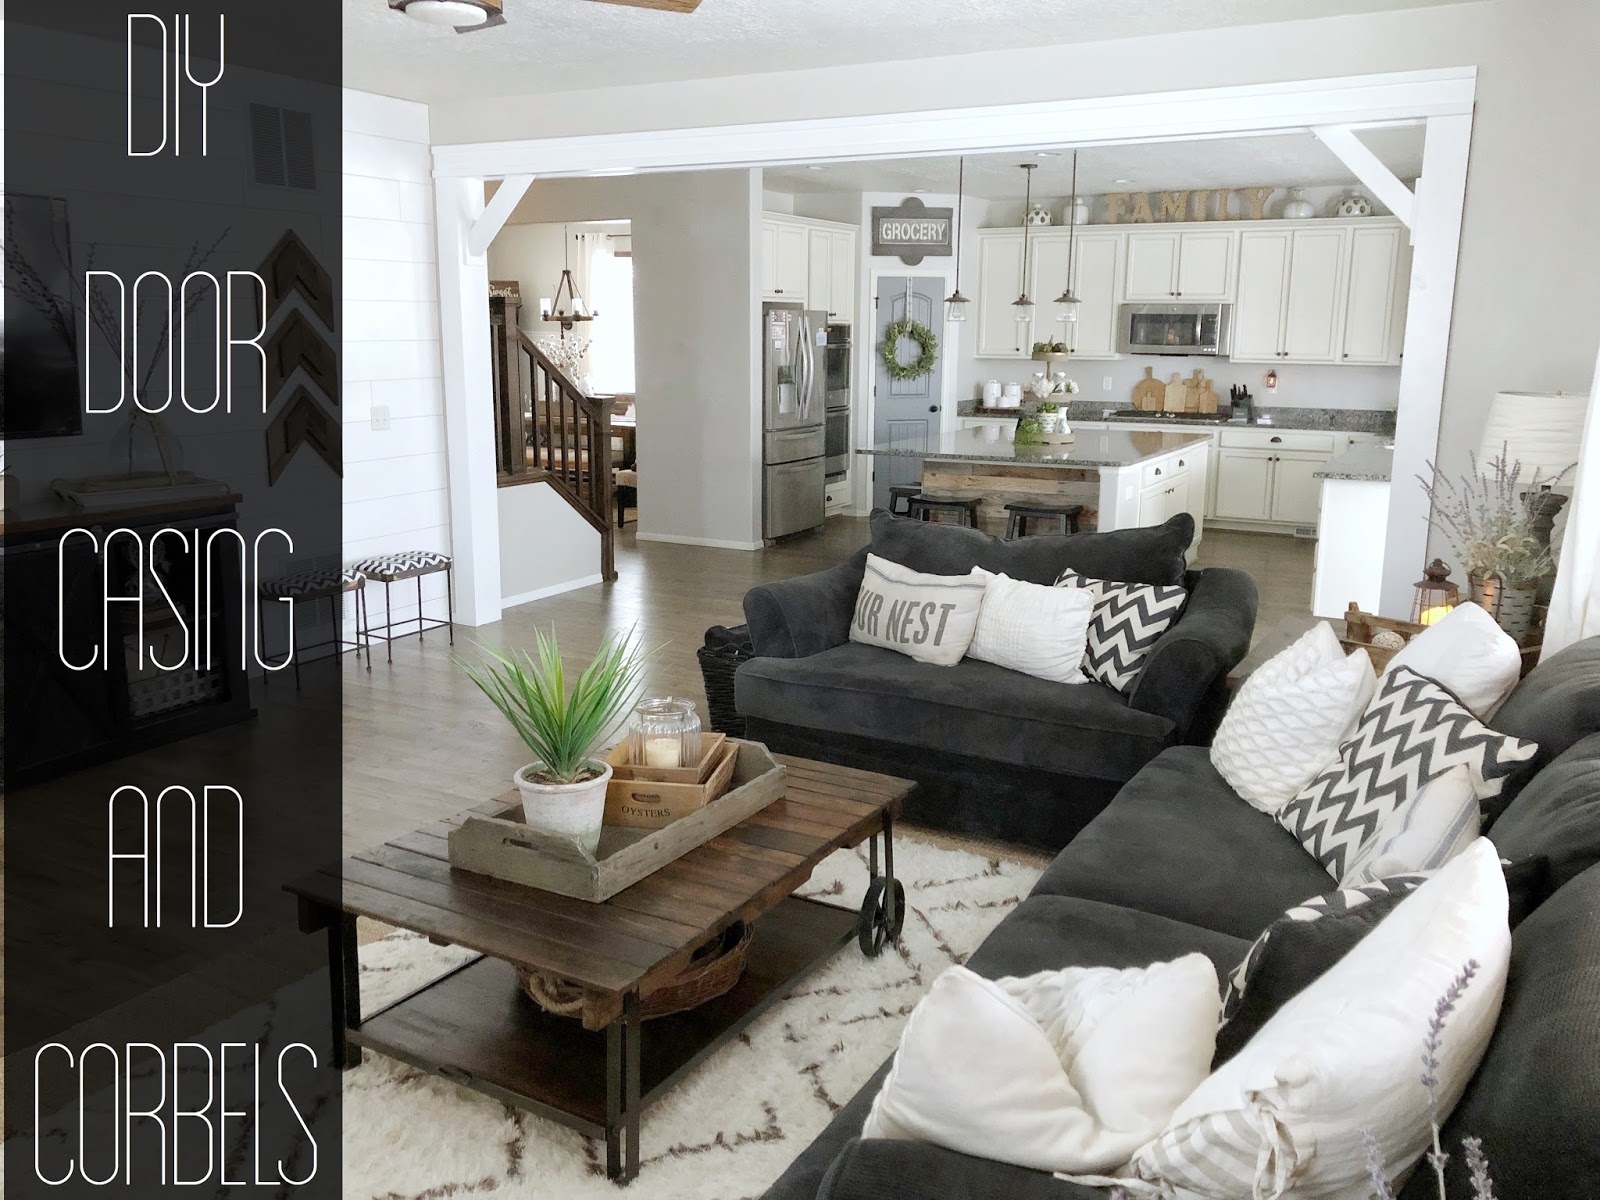
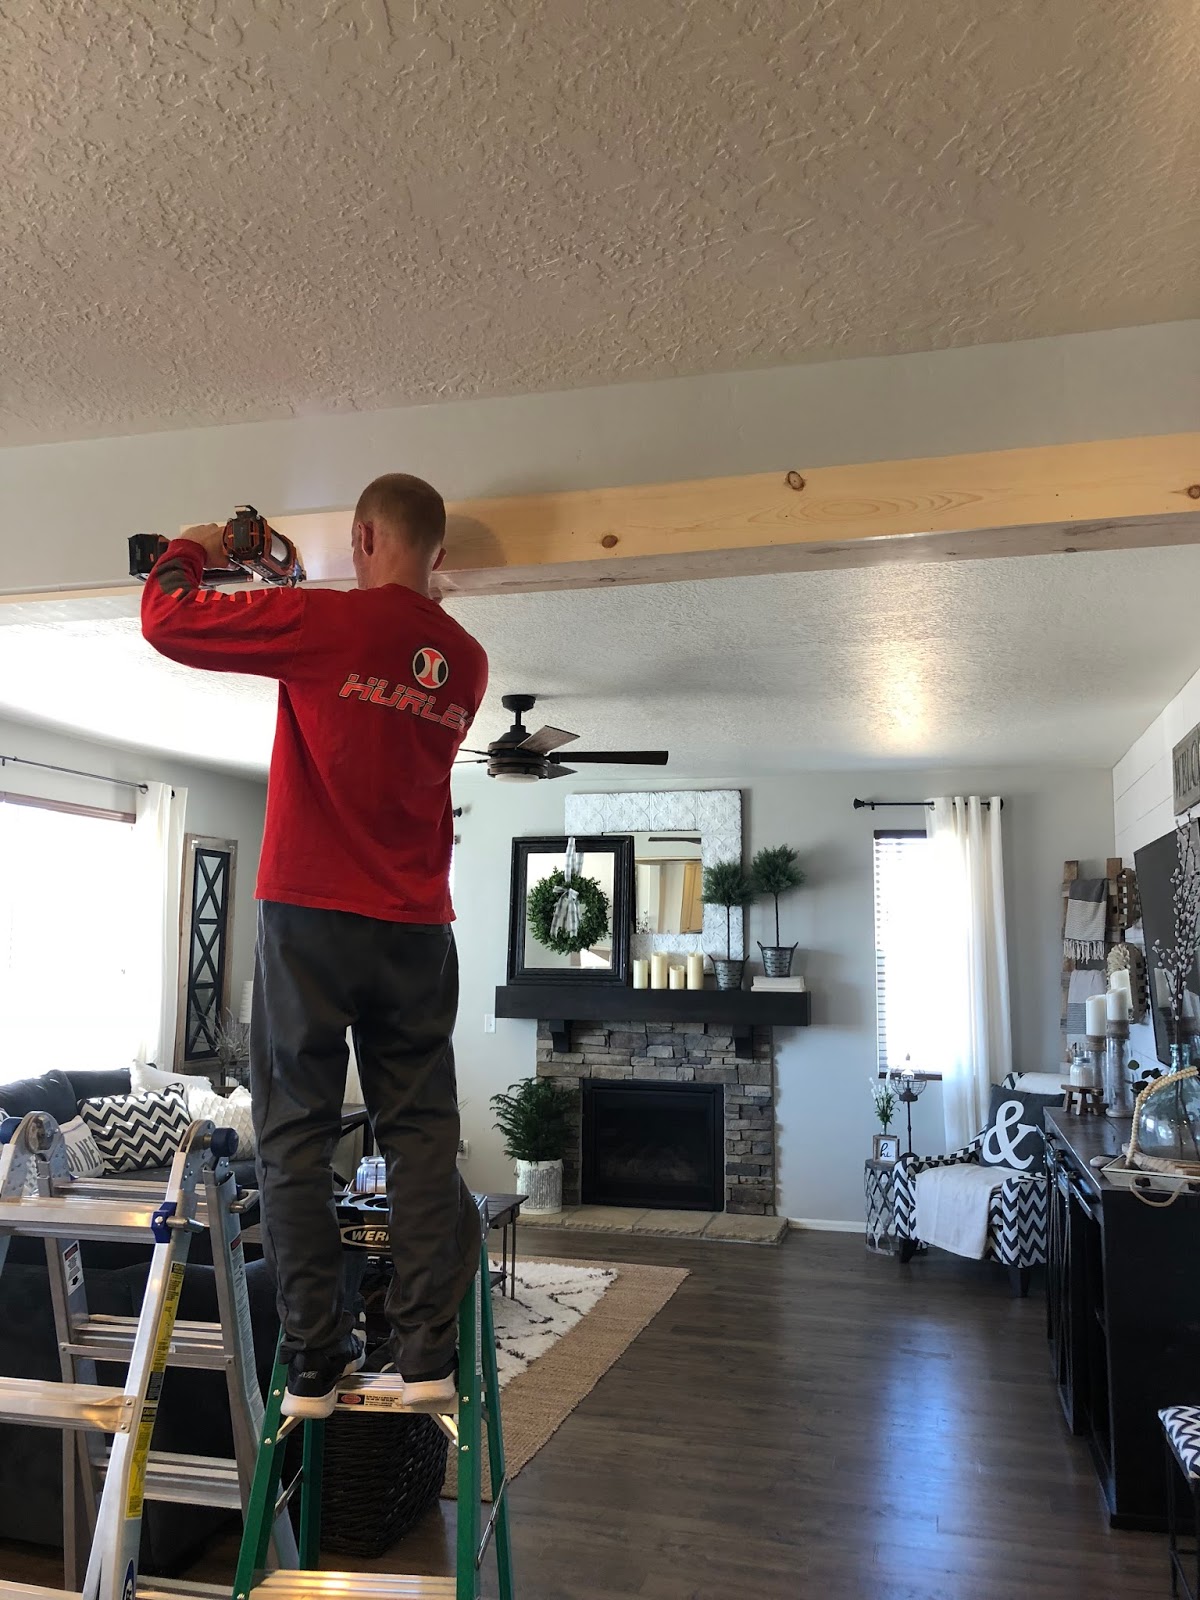
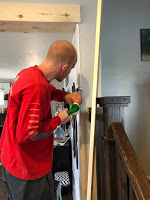
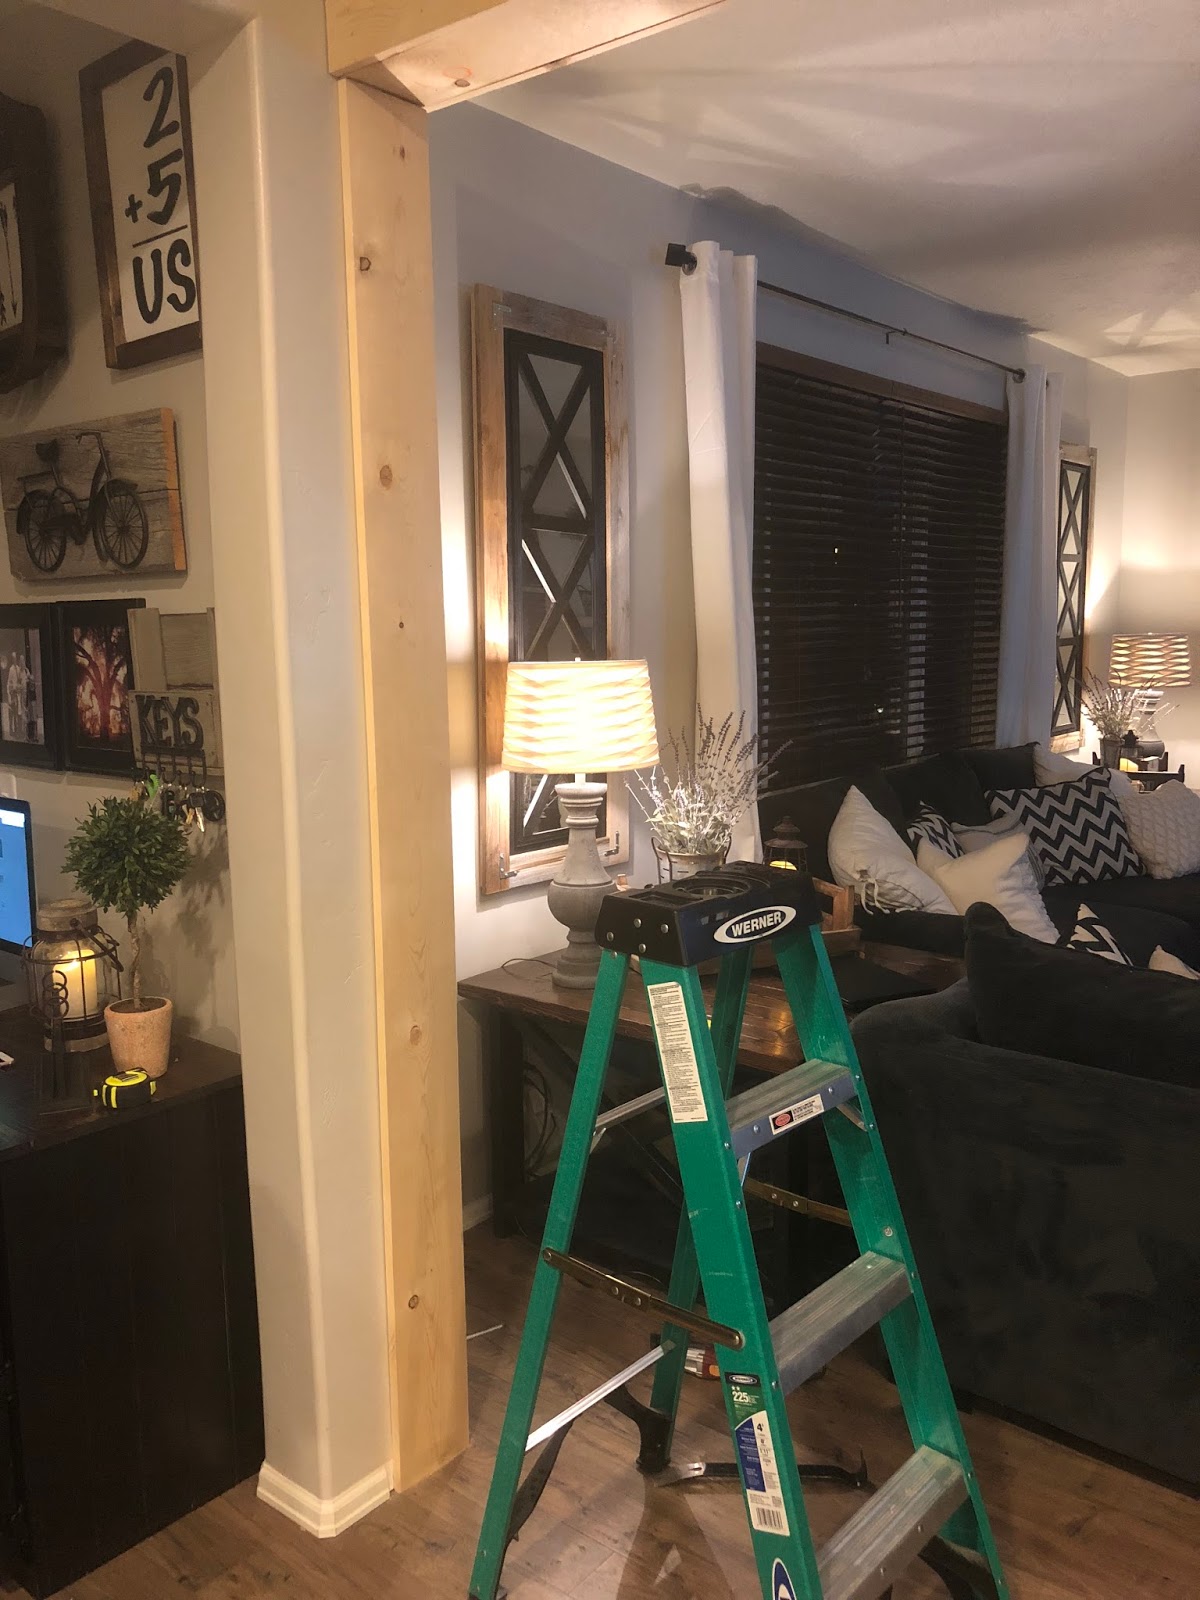
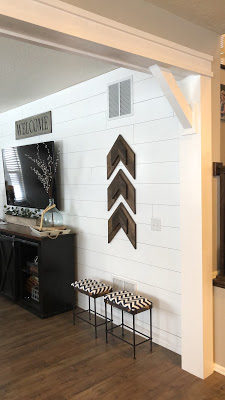
If you follow us on Instagram then I’m sure you saw our project this weekend that I shared through my stories. I’m absolutely in love with how it turned out – it looks like it was always supposed to be there. When we built our home we always felt like something was missing, something to make our home feel more like a custom home and less of a track house. We thought about putting beams in our living room and actually planned on do that, until I came up with this idea. So I explained to my husband the picture I had in my head and he ran with it, figuring out how to make it possible. I can design, but when it comes to construction, I’m at a loss……… so thank goodness for him! The project came together perfectly and I couldn’t be happier with the result and the way it has completely transformed the space! So as promised here is our tutorial for this project!!
(Since each home’s wall openings are different size, I cannot provide measurements, as you will have to do those based on your home and the entryway you want to do this in)
Supply List
- Miter Saw
- Table saw (optional)
- Brad Nail Gun and brad nails
- Tape Measure
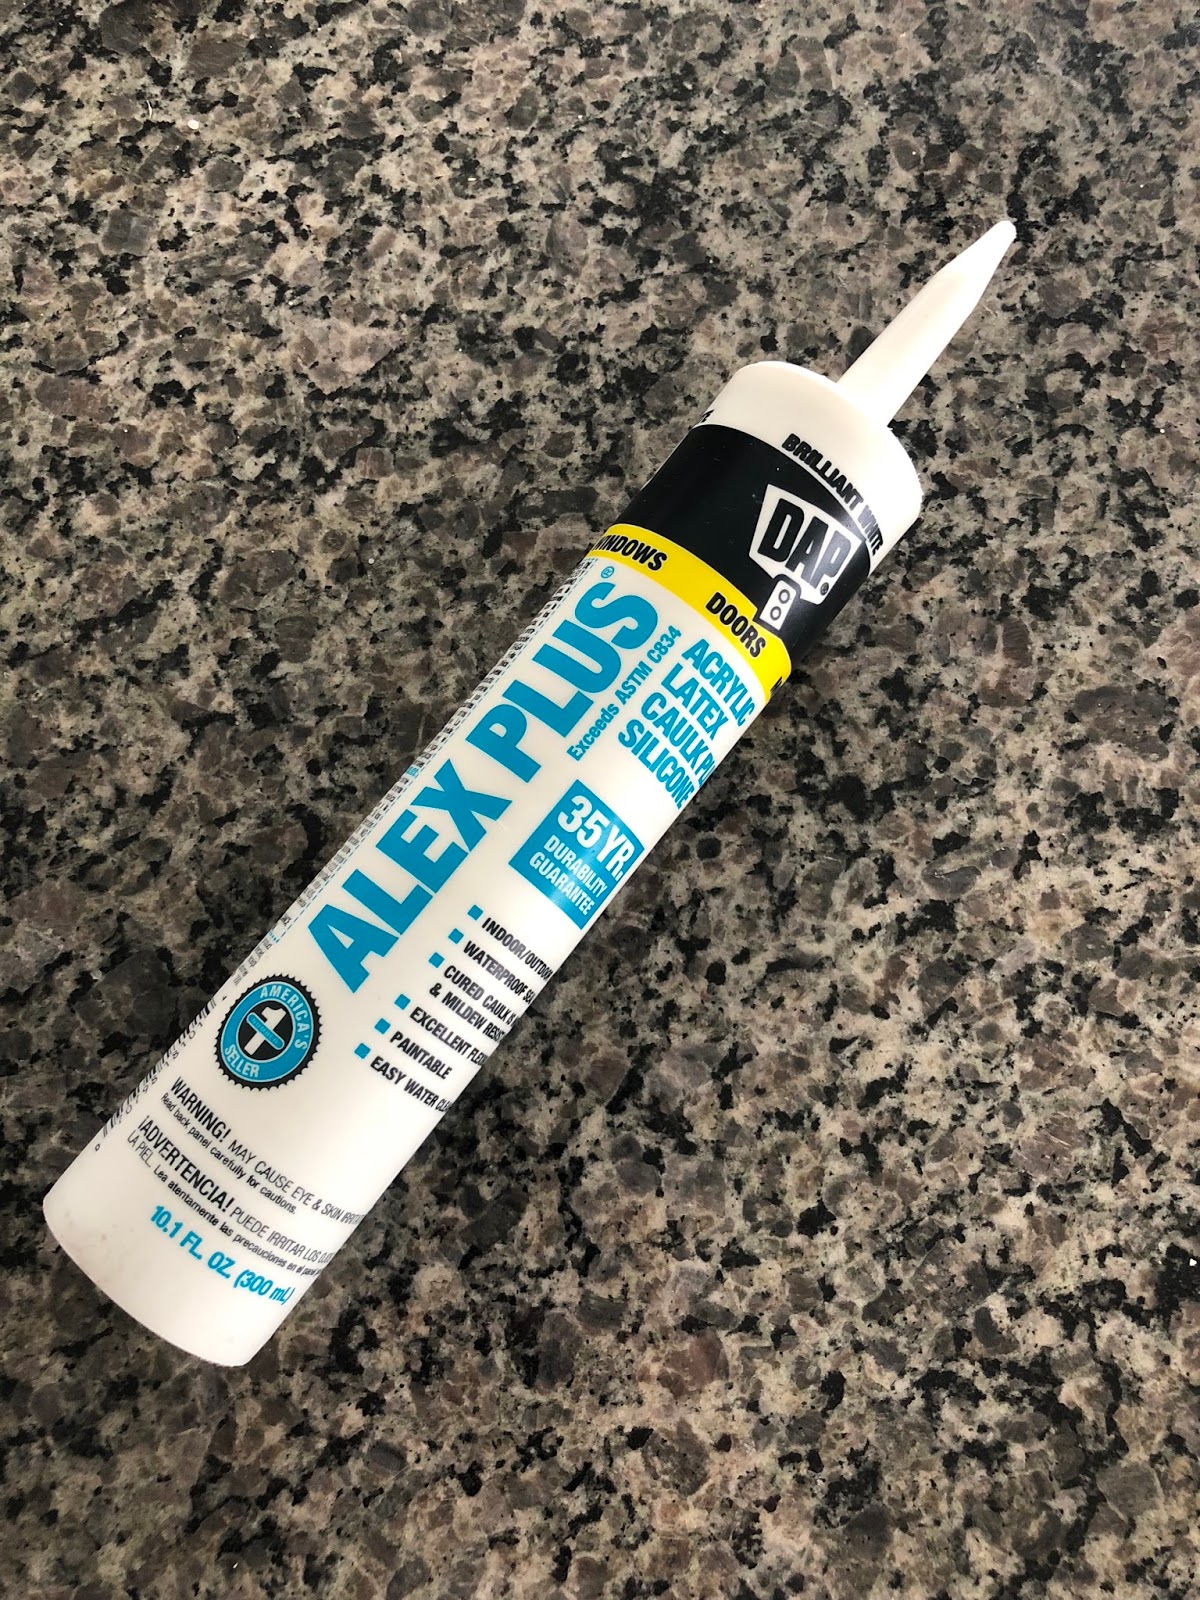
- Caulk Gun and caulk
- Multi Cutting Tool (to remove sections of base board)
- Pry Bar (Small)
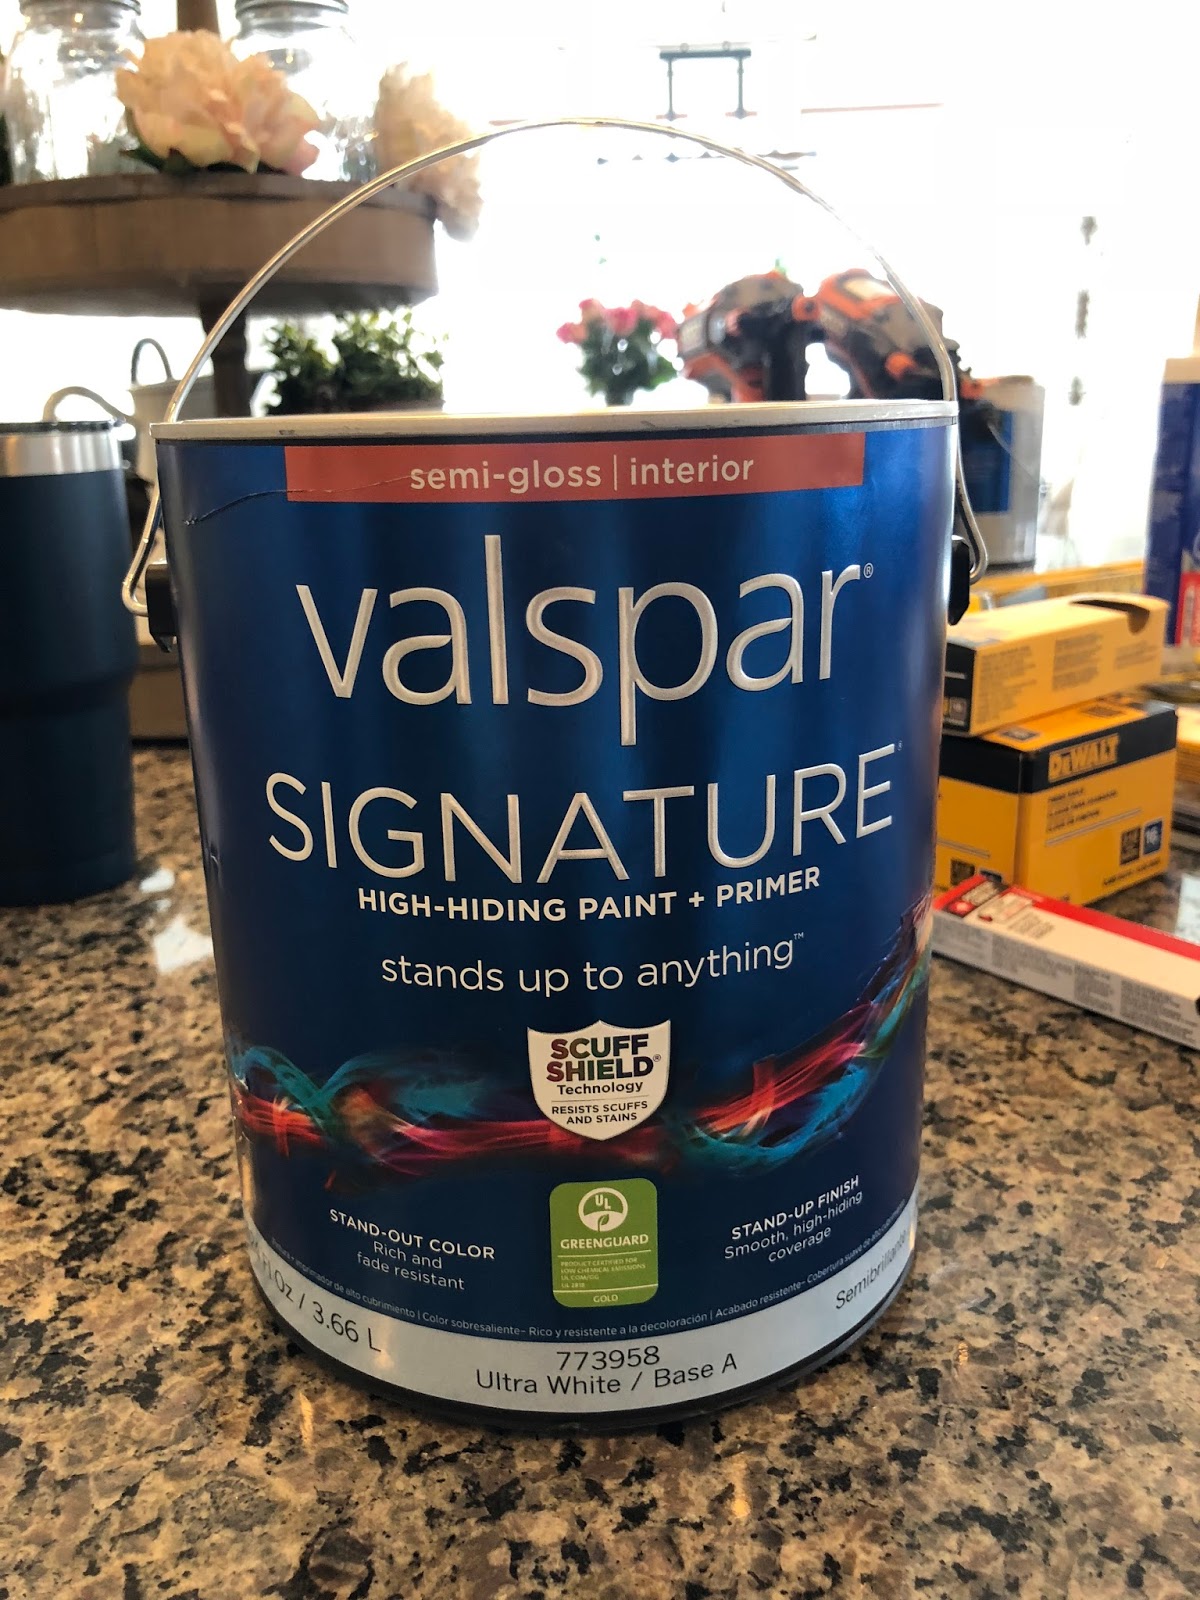
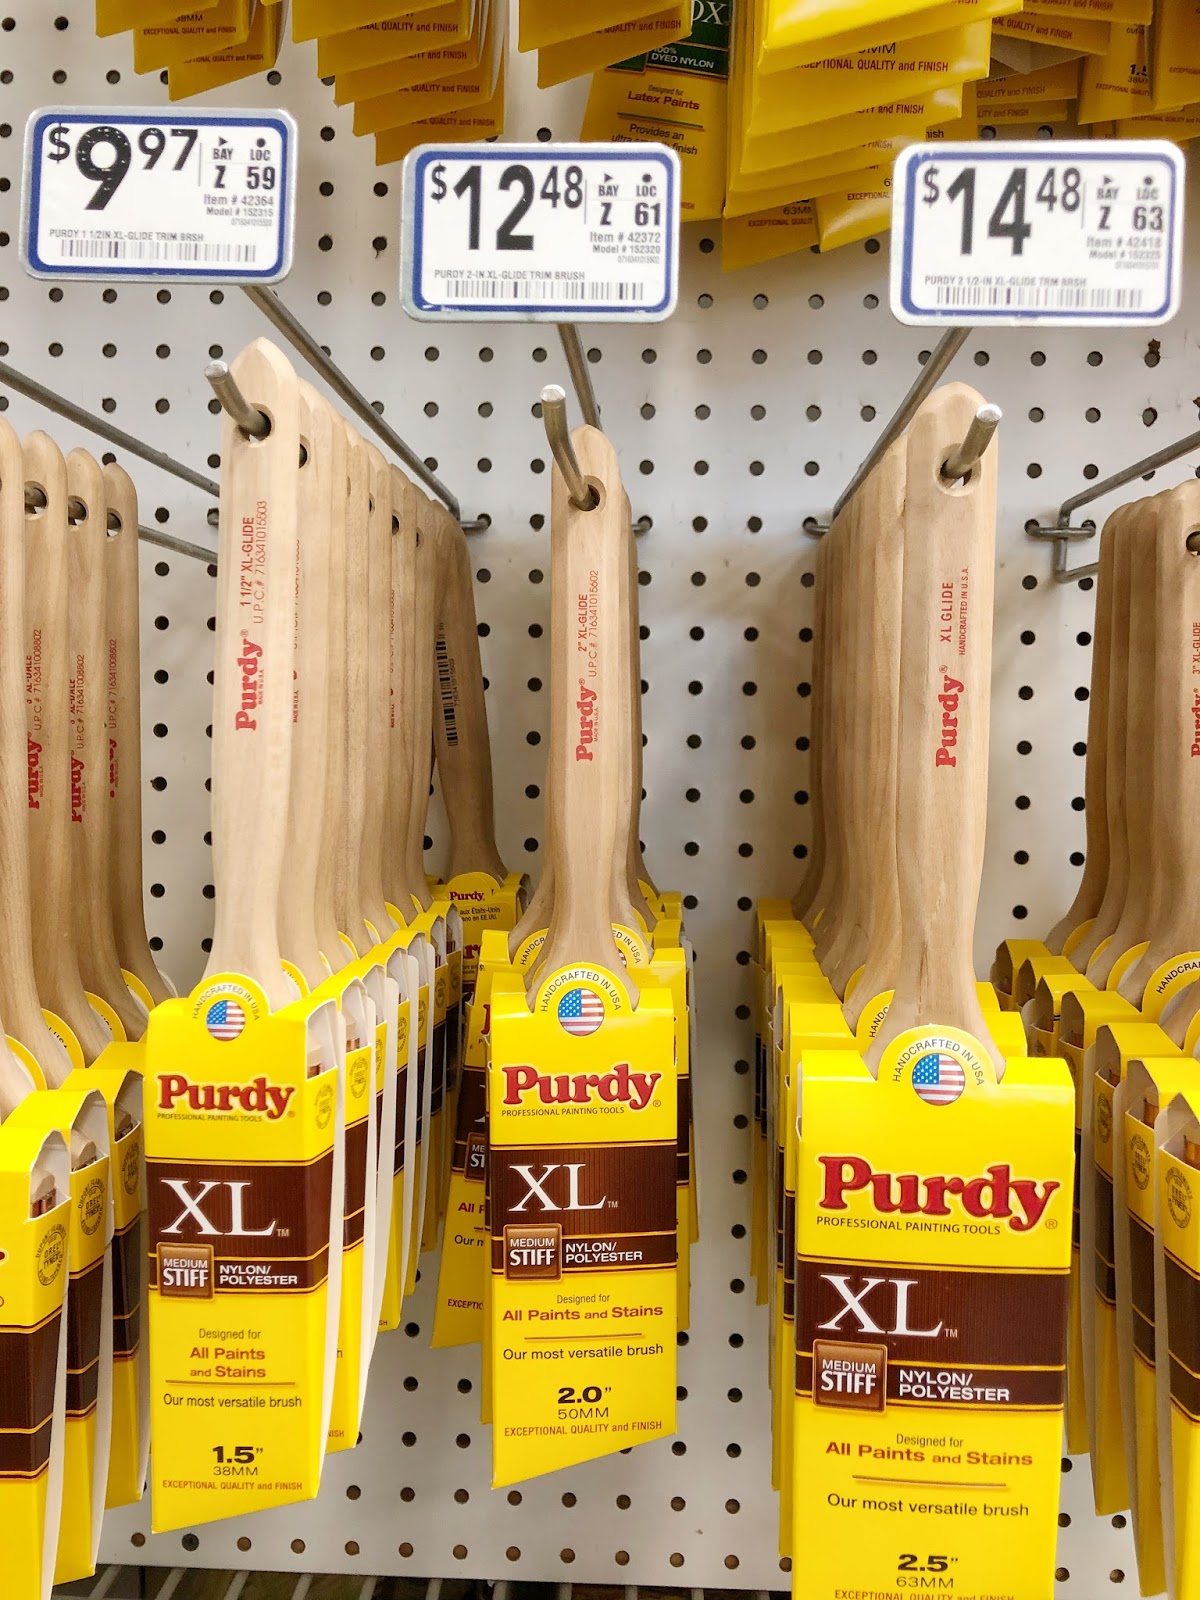
- Paint (we used a pure white paint by Valspar in a semi-gloss finish)
- Masking Tape
- Paint Brush, Short Paint Roller, Paint Tray
- Construction Adhesive
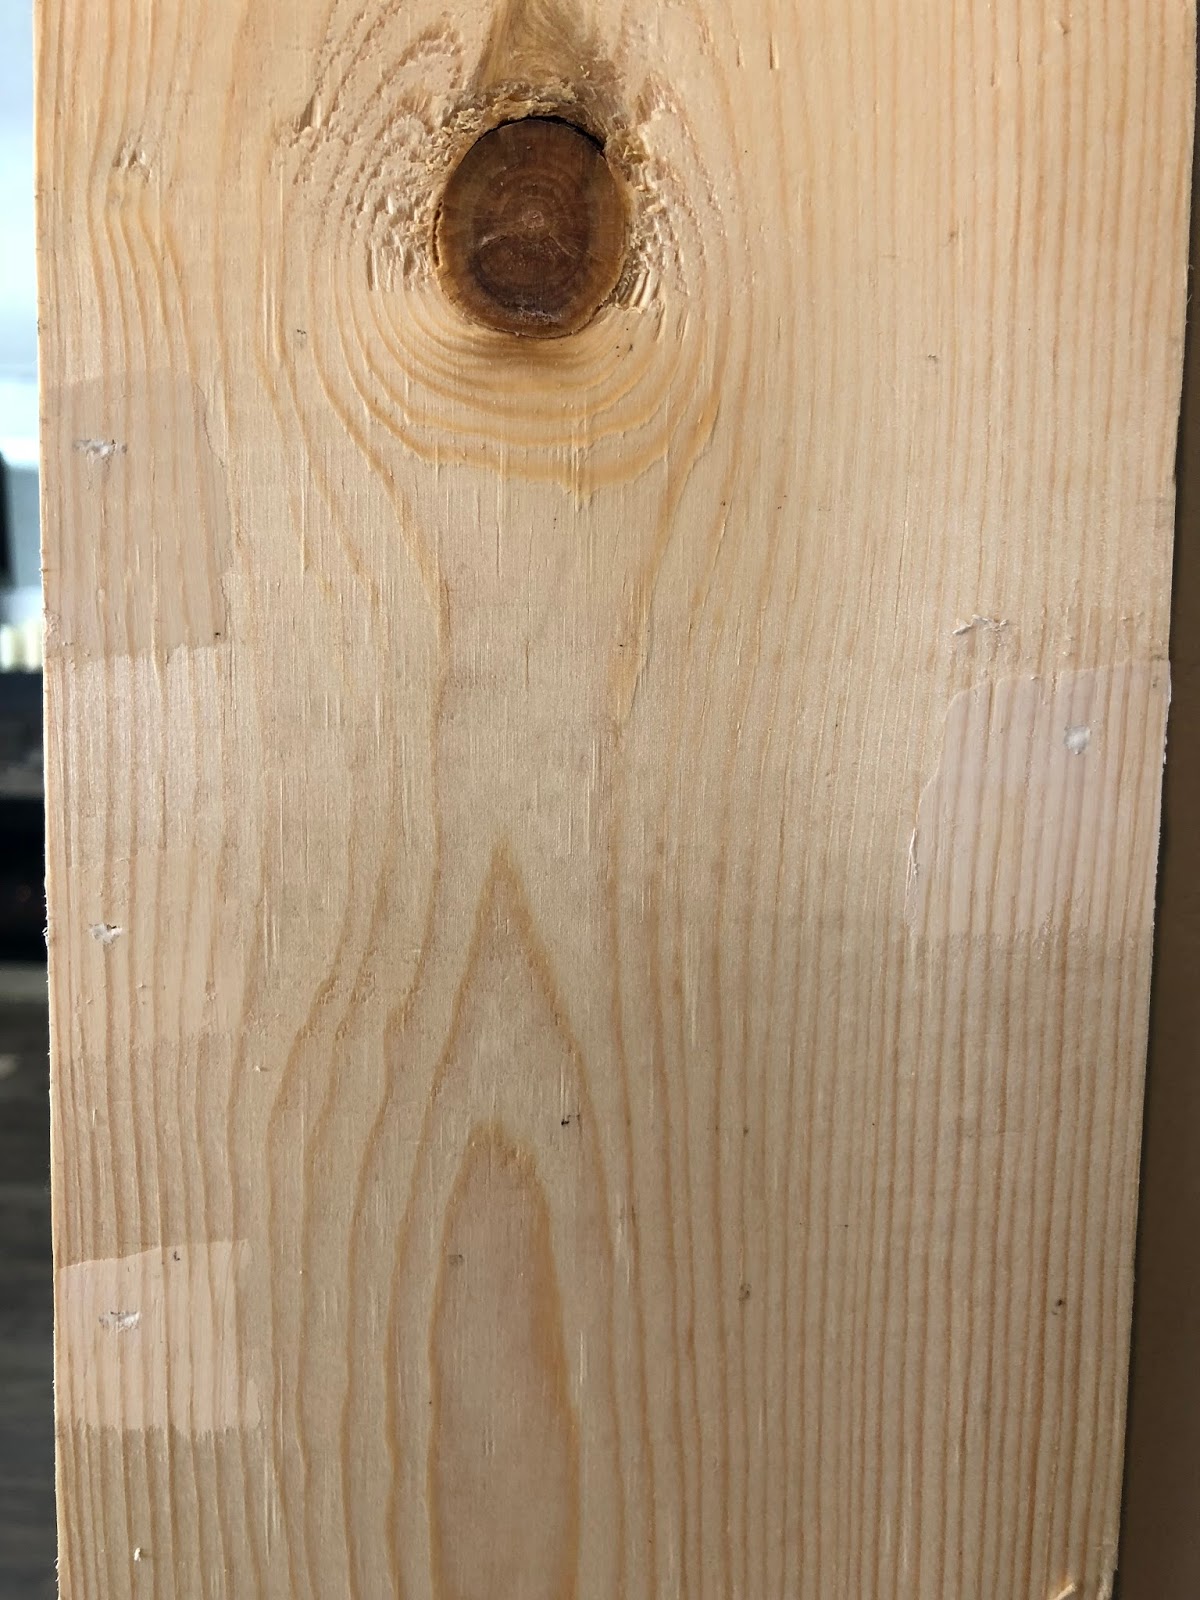
- 1″x 6″ Pine Boards (choose your length)
- 1″x 8″ Pine Boards (choose your length)
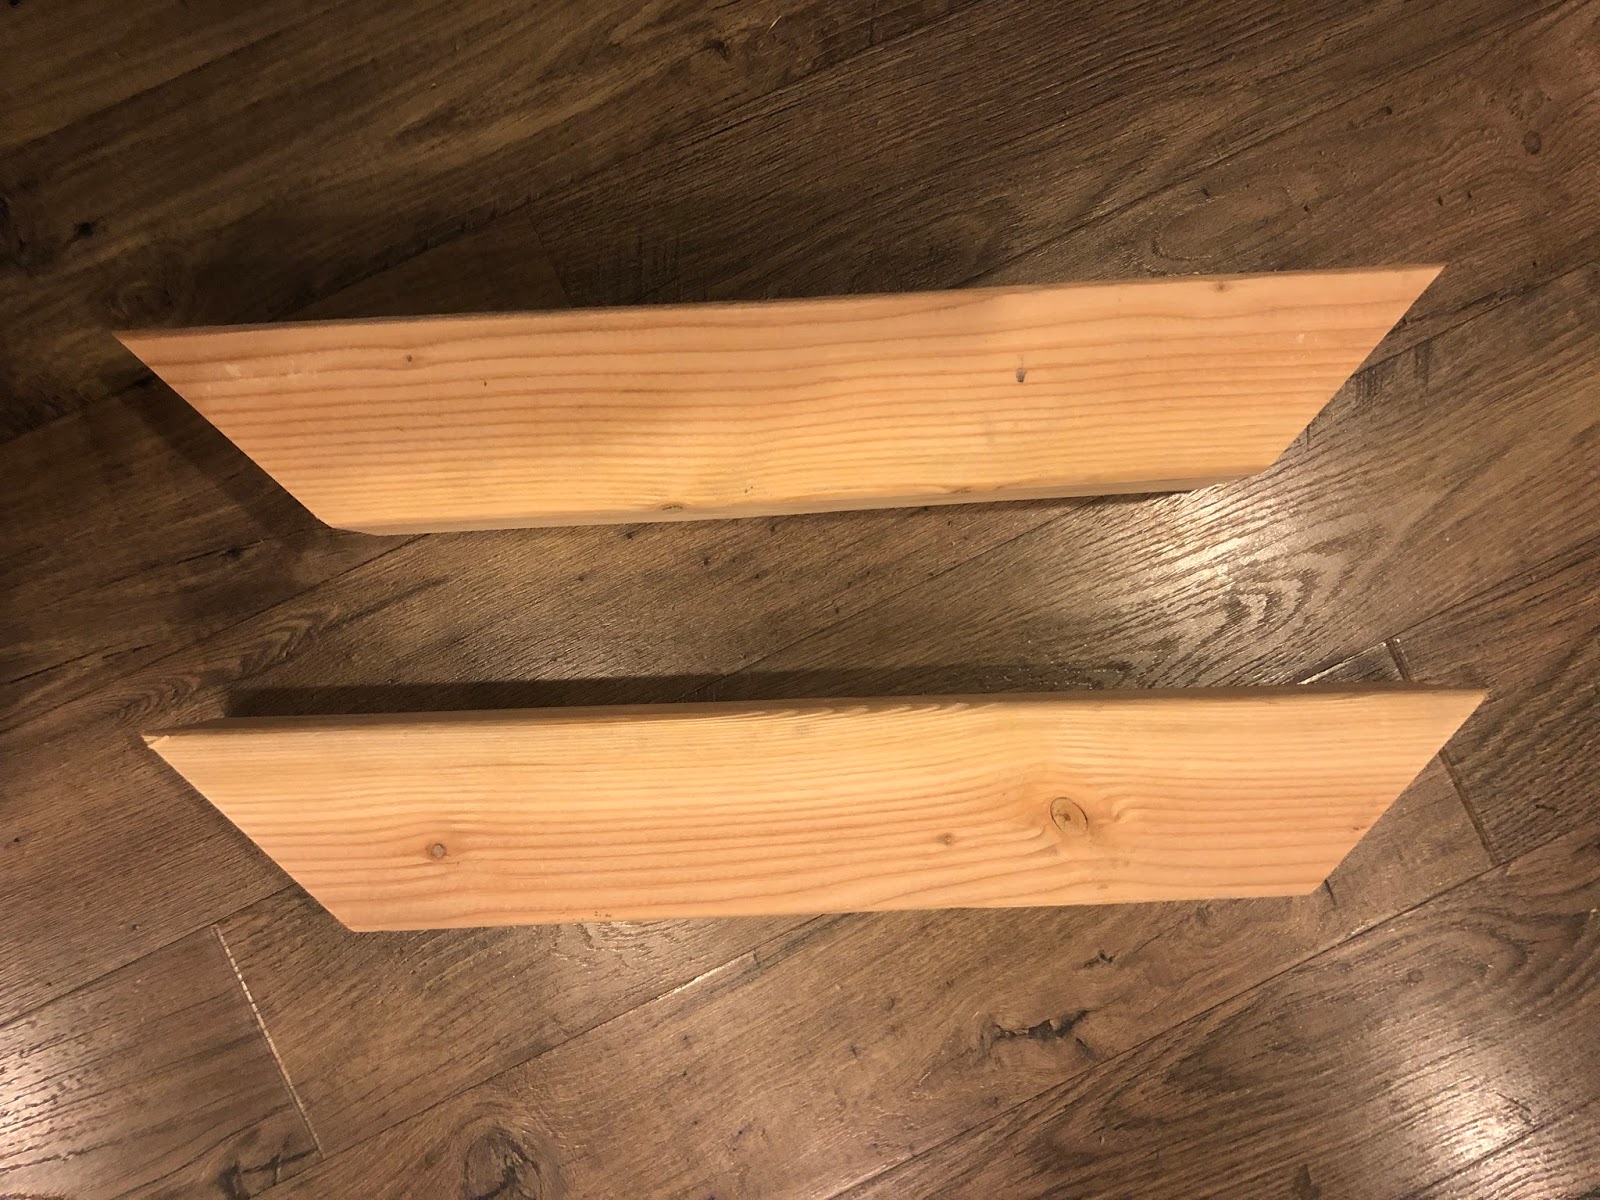
- 4″x 4″ Pine Board (this is to make the corbels so you just need 1)
- 1″x 2″ MDF Trim (this is for the trim on the top beam)
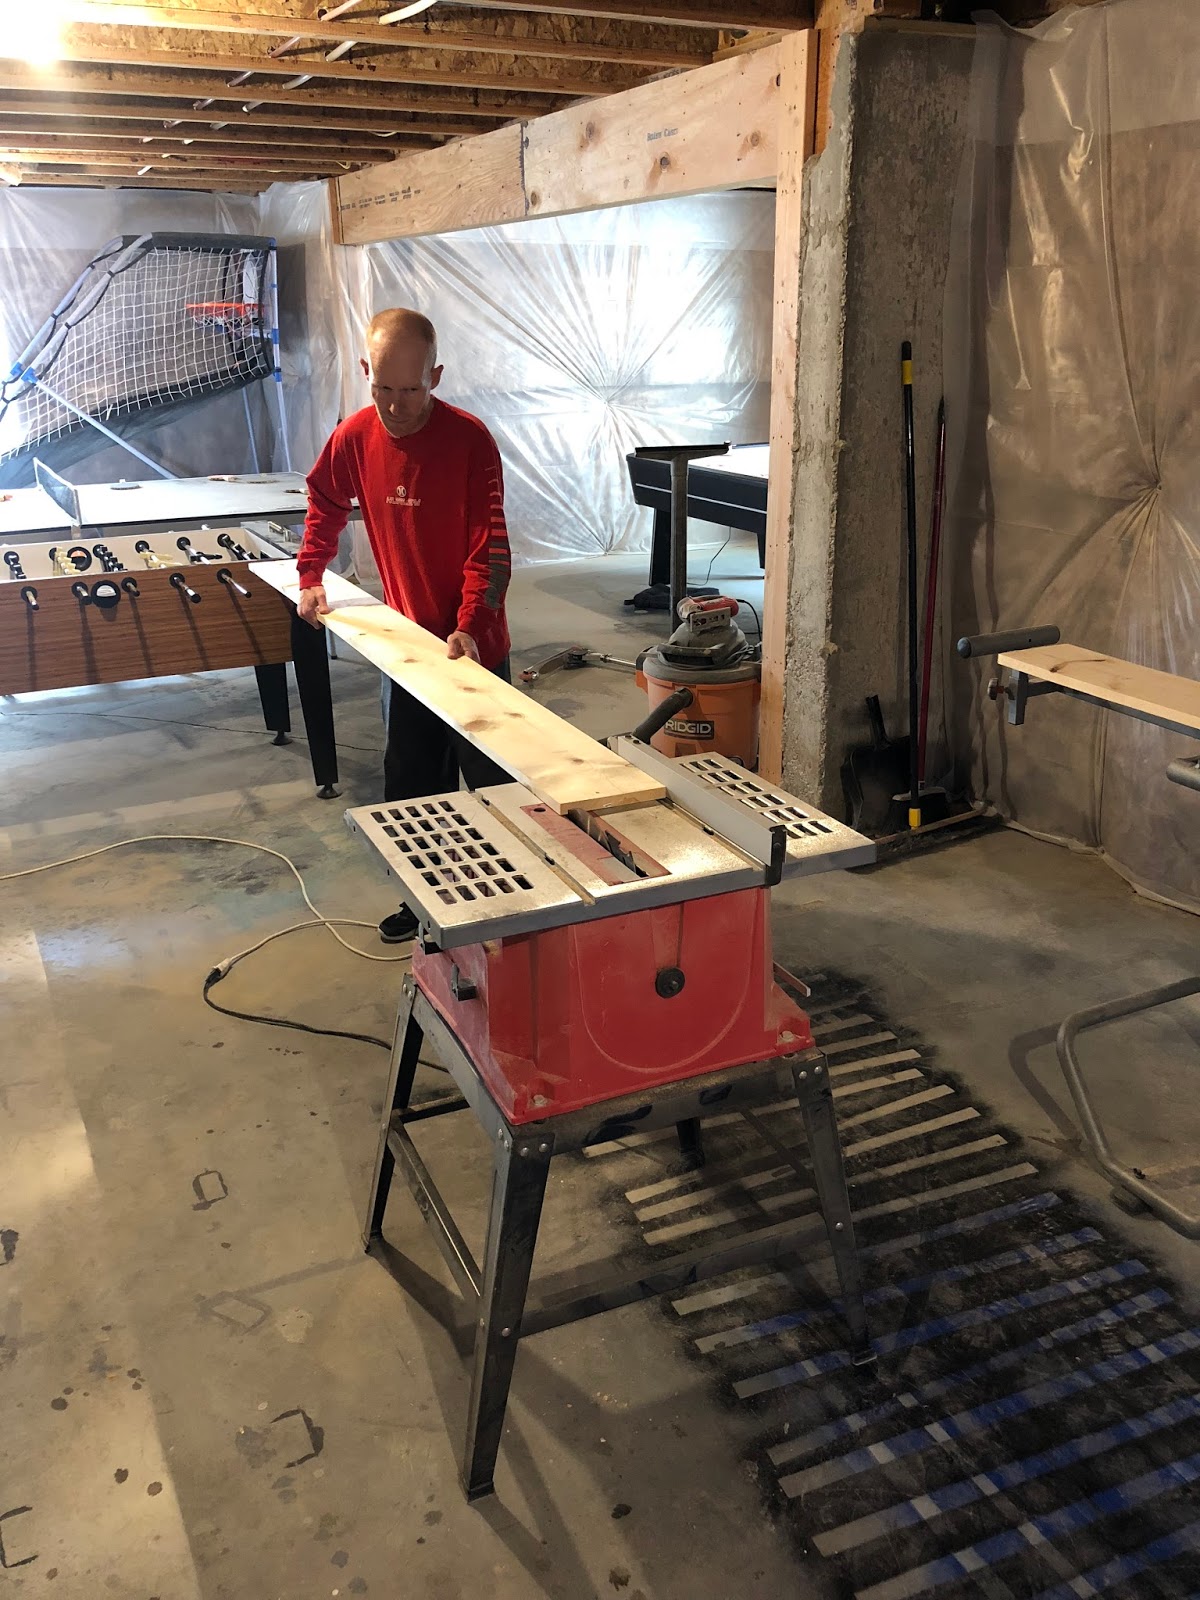
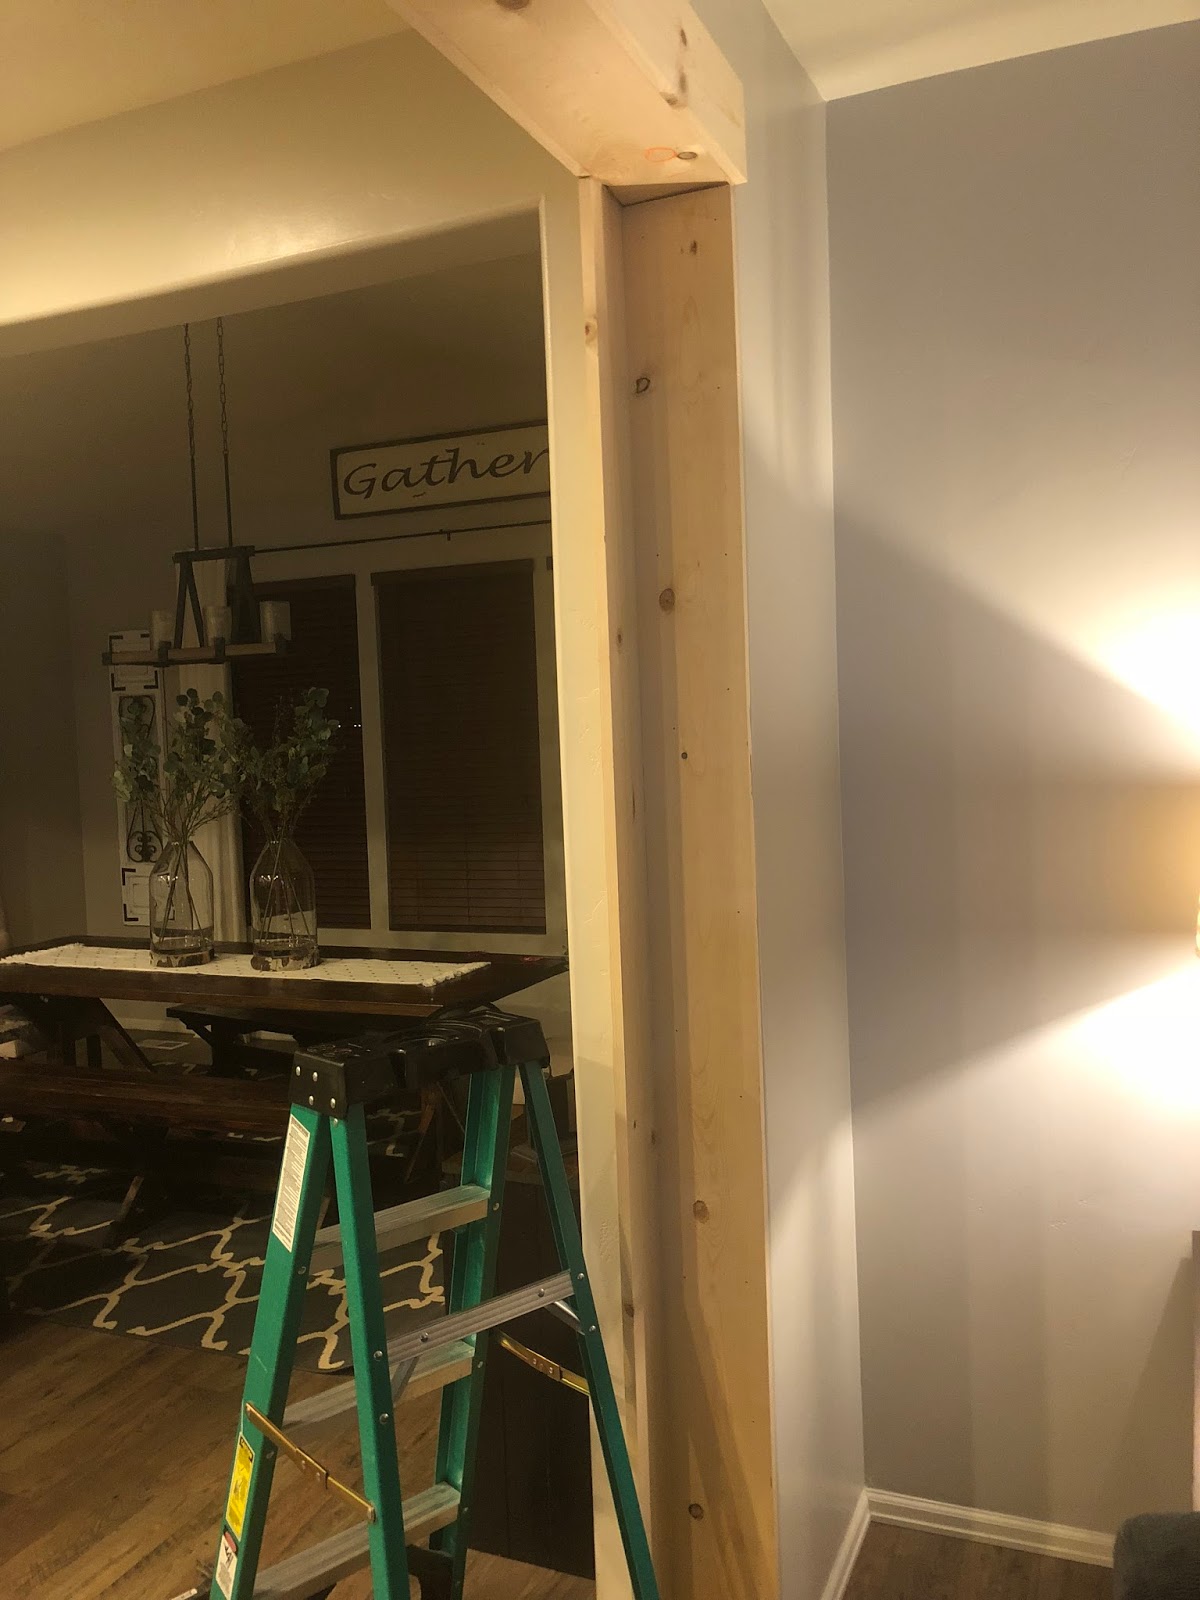
Step 1
Before you start this project it’s important to get all your measurements so you know how much wood to buy. You will be making 3 hollow 3 sided beams, one on the top and one on each side. Our space was quite large (16′ wide) so we ended up needing eight 1″x 6″ boards at 8′ and five 1″x 8″ boards at 8′ for our beams, and twelve 1″x 2″ MDF trim pieces for the trim work.
Step 2
The first thing you are going to do is cut your boards to build your top beam. We decided to cut the width down a bit so we ripped our boards first and then cut them to the right length, (this step is optional and just personal preference)
Step 3
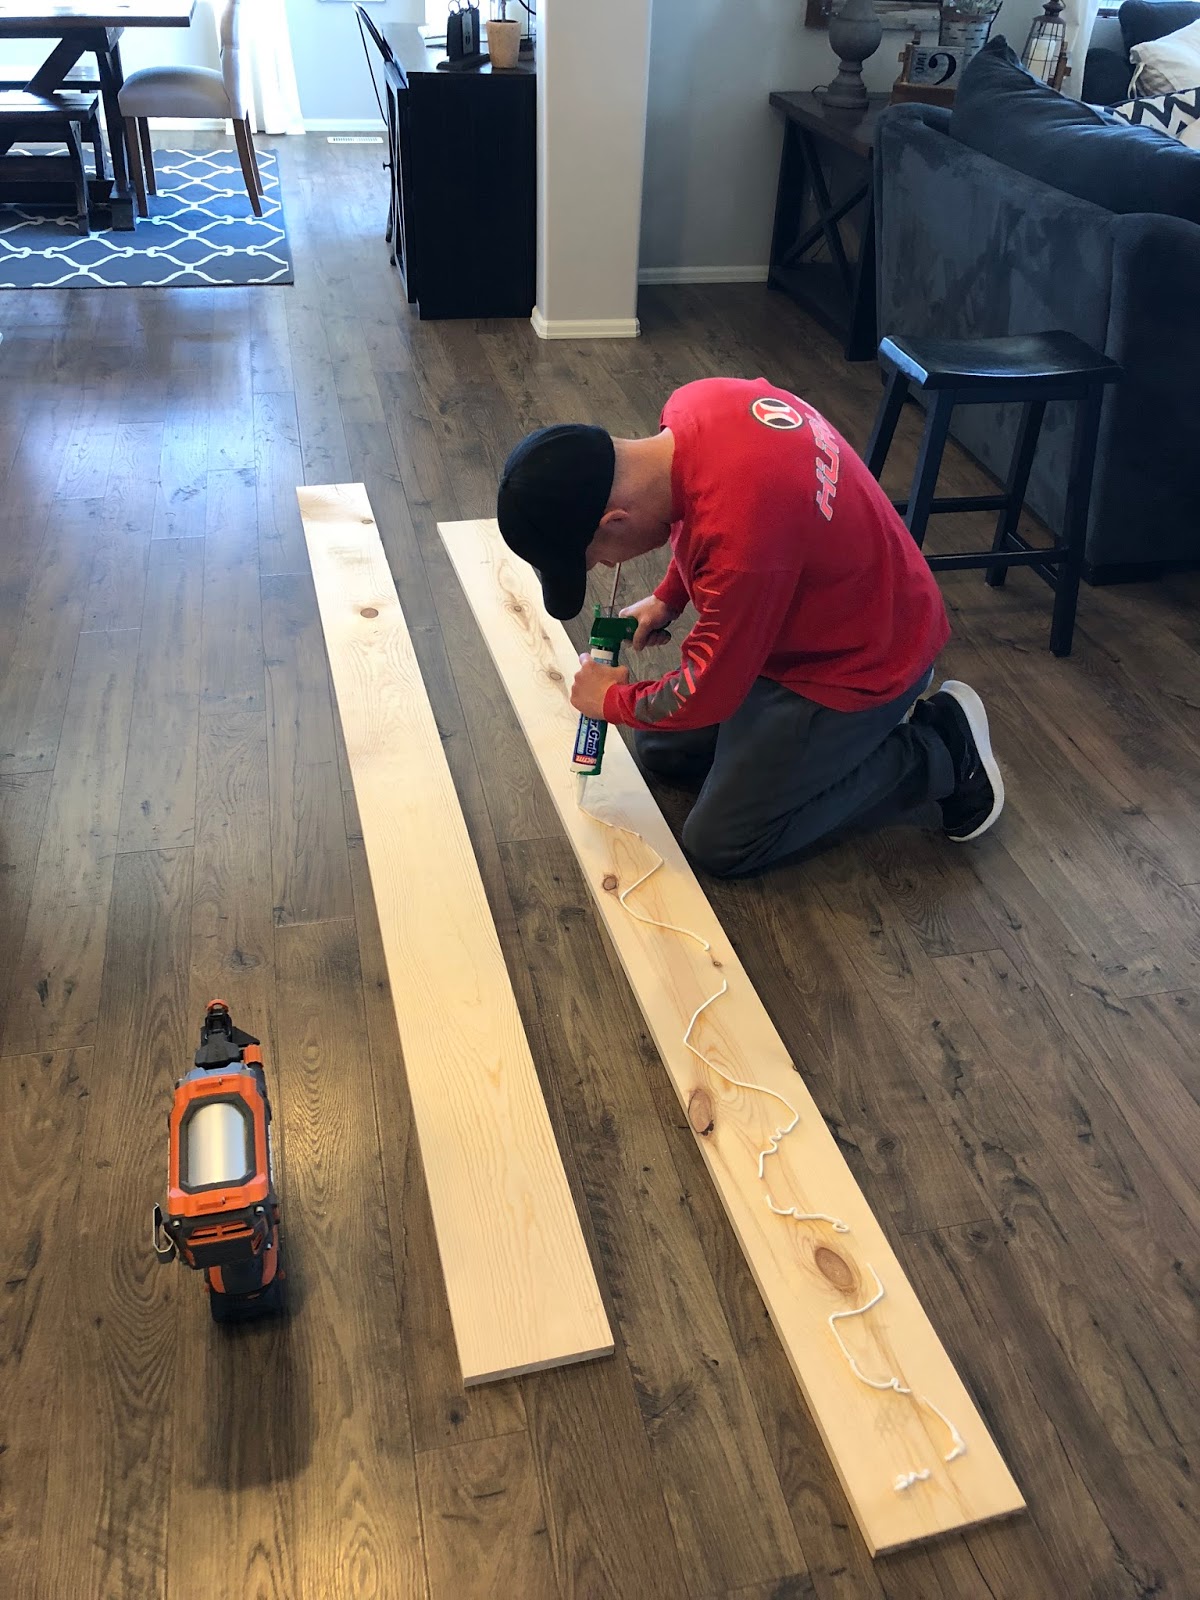
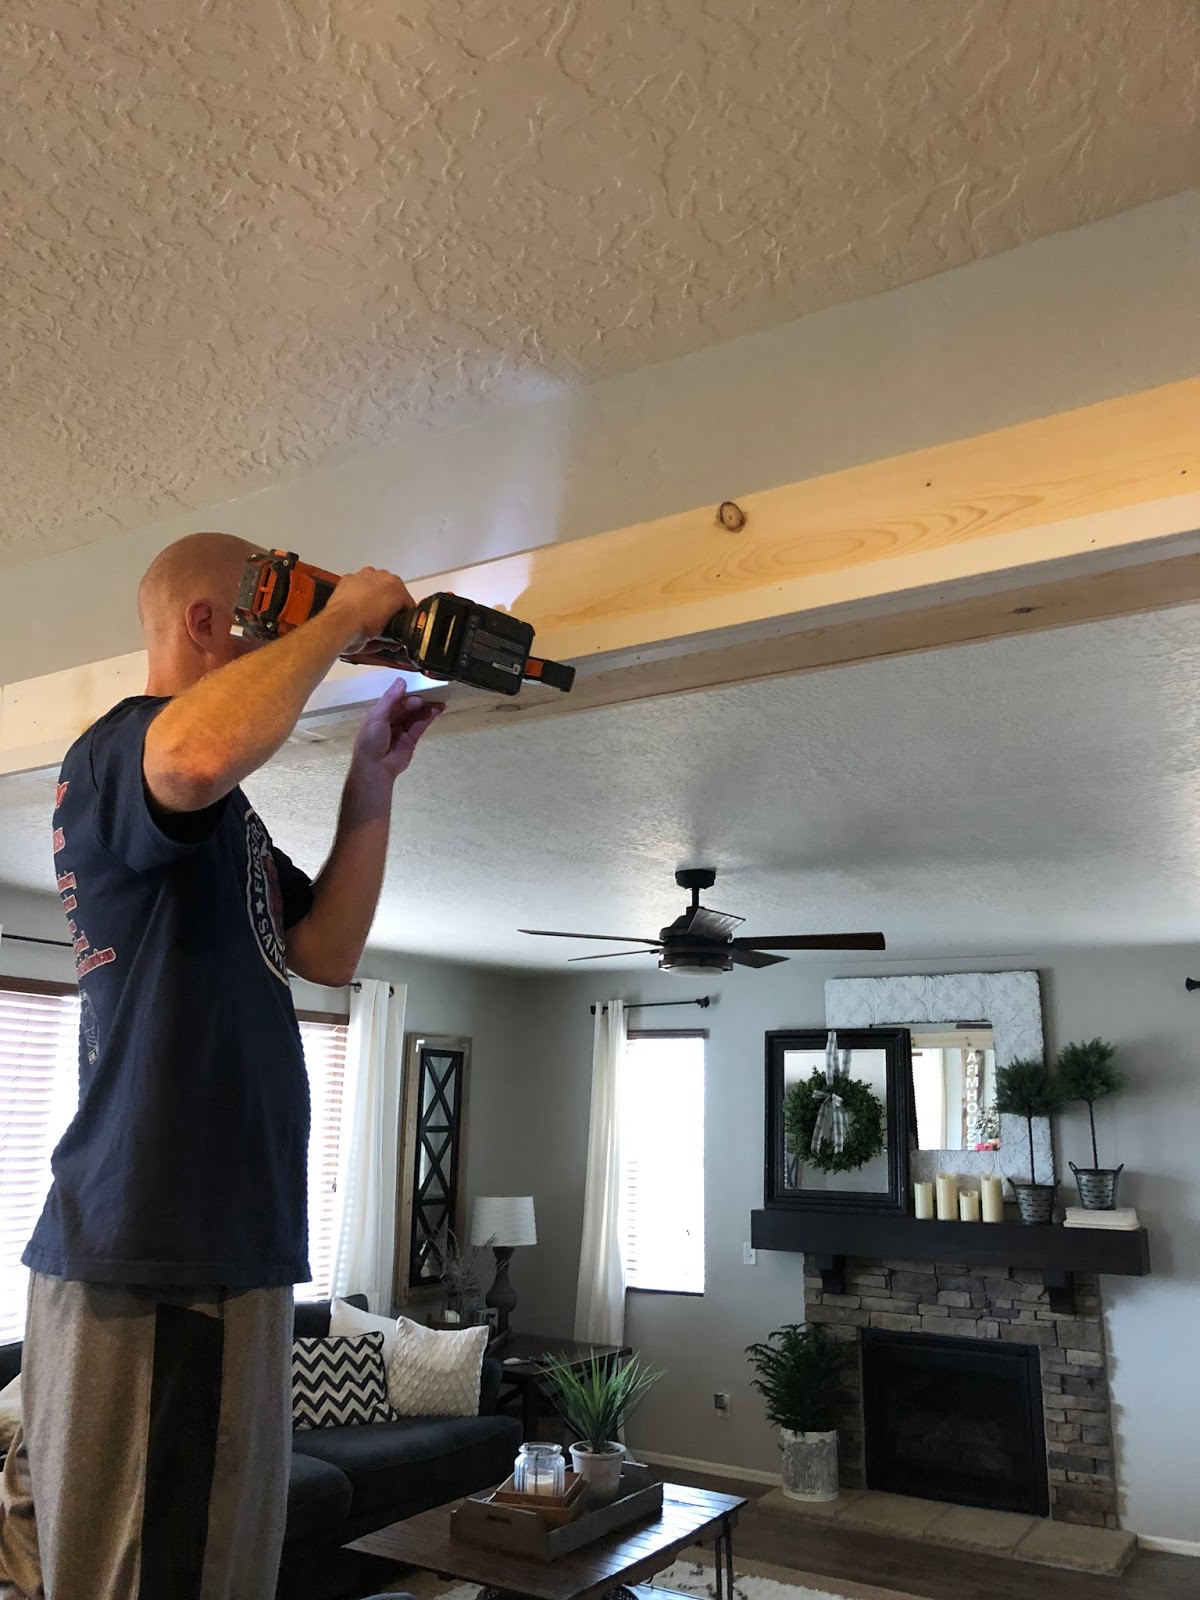
Now that your boards are cut you can build the top beam. To do this you are going to place a 1″x 8″ board on the underneath of the header then a 1″x 6″ board on each side, essentially wrapping that section on wall to look like a beam. You are going to want to put some construction adhesive on the back of each board then place it on the the wall and secure it with nails.
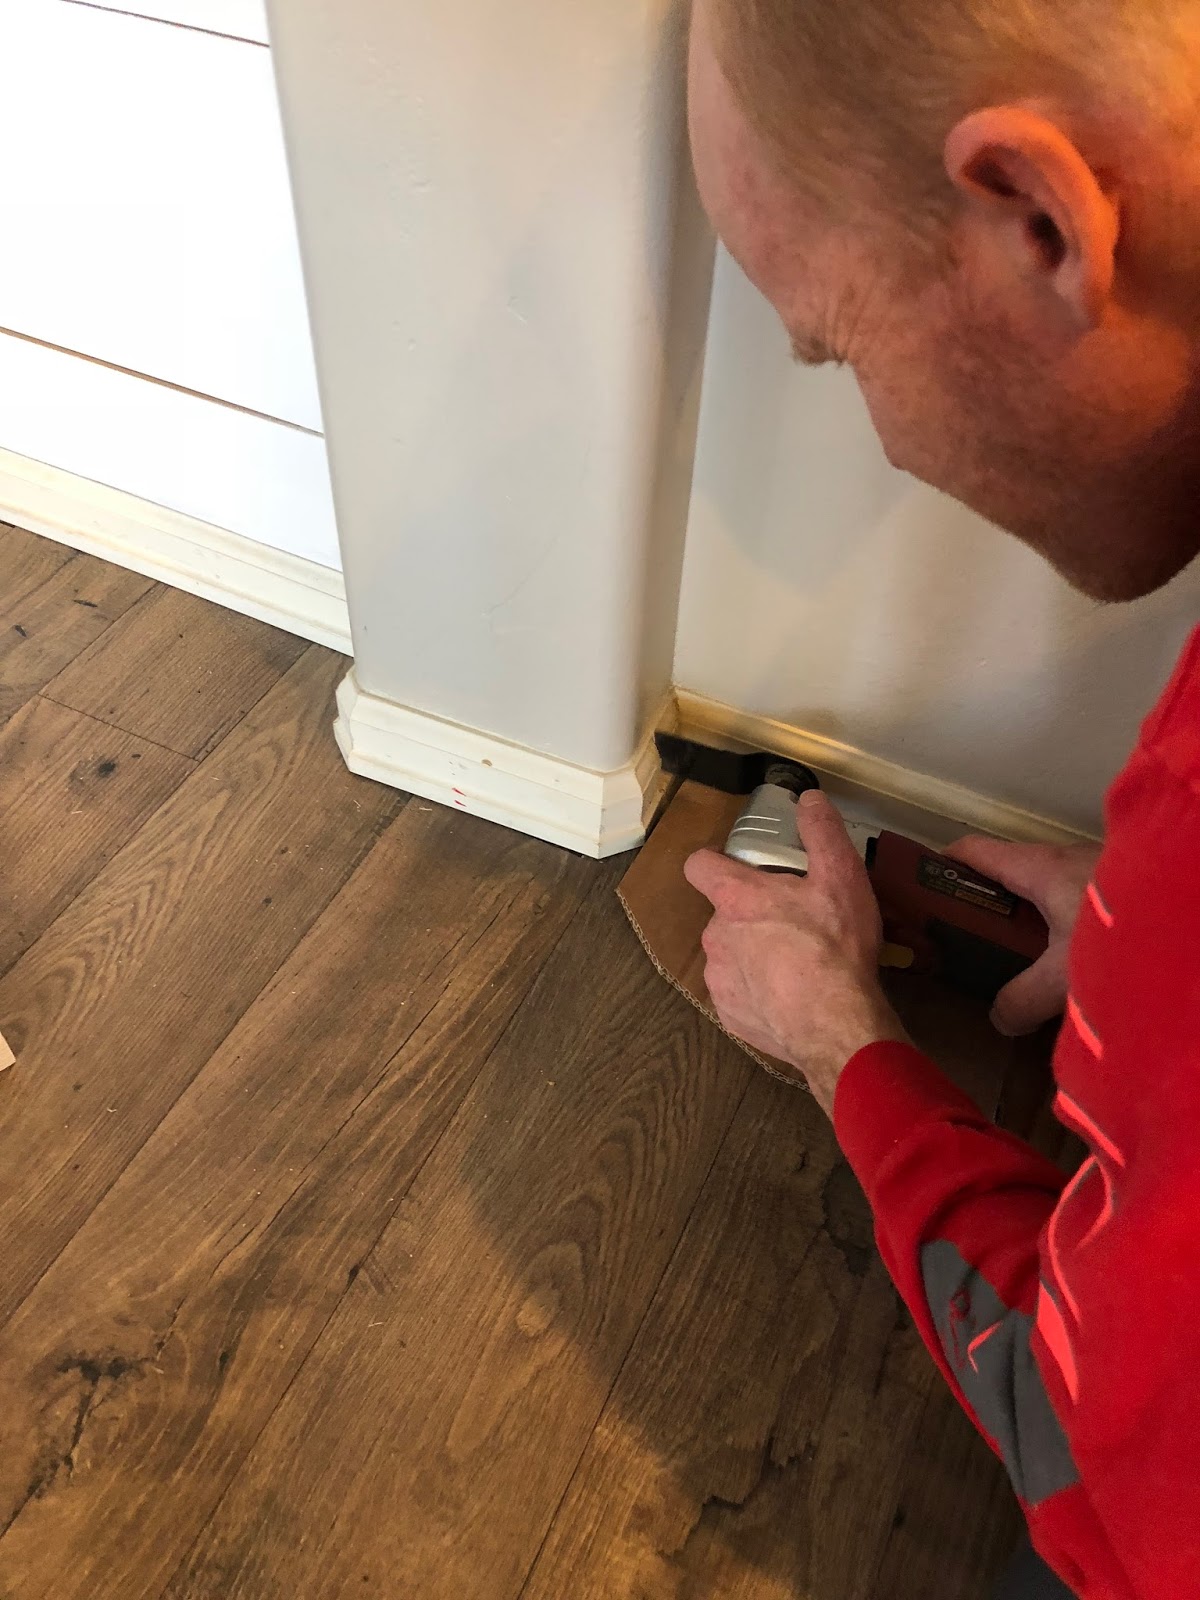
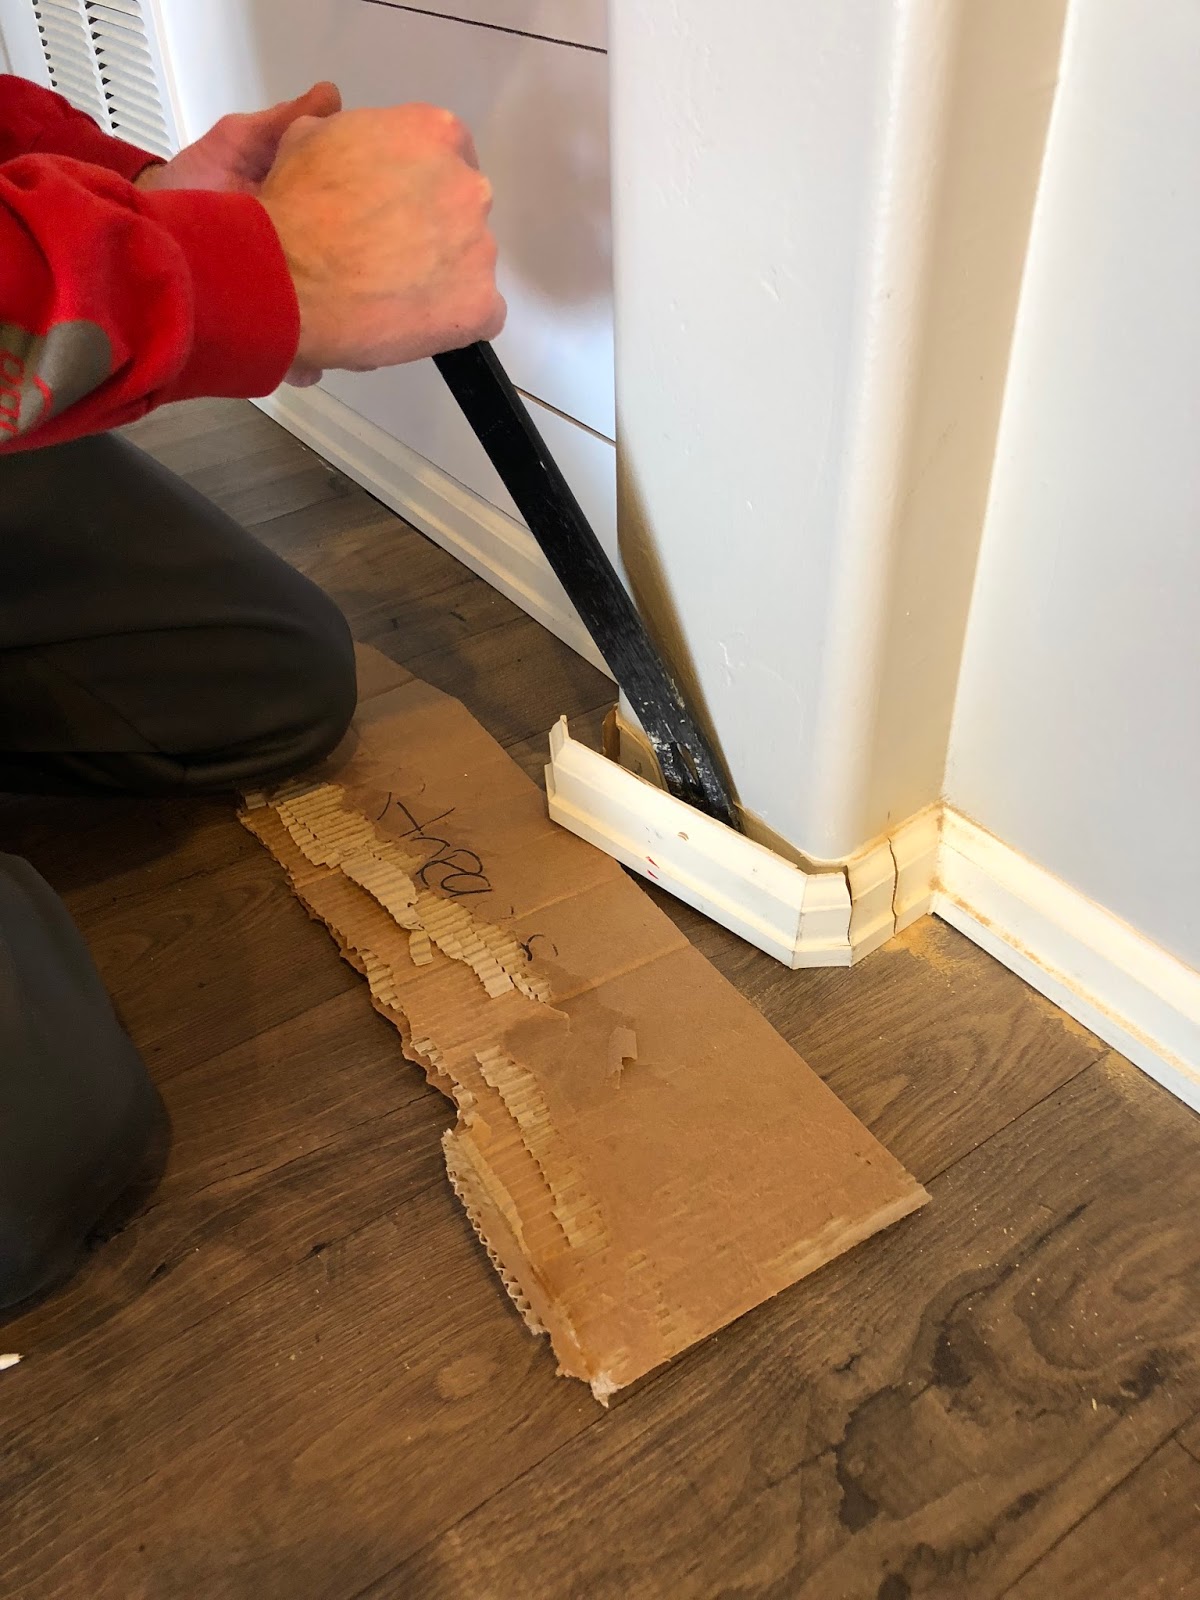
Step 4
Before you can build your side beam you are going to want to cut out any base board you may have on your wall so that the beams can sit flat against the wall. This is where you are going to use your cutting tool to carefully cut the sides and then the pry bar to remove the piece of base board.
Step 5
Next step is to build the beams on each side. For our space on one side we were able to attach the beam to the side of the wall, but on the other side we had to build a cleat to attach the wood to since the wall was flat. Depending on your walls you can attach you side beams either way. For our first side we built a hollow 3 sided beam that we attached to the wall.
Step 6
For the next side beam we attached it to the wall using a cleat. You are going to want to attach your cleat (board) to the flat wall first, then build your hollow beam around your cleat. Use wood glue where your boards touch each other, and construction adhesive where your boards touch the wall. Once your cleat is in place you will attach the other sides of the beam to the wall and secure with brad nails, making sure to fire the nails into the wood cleat.
Step 7
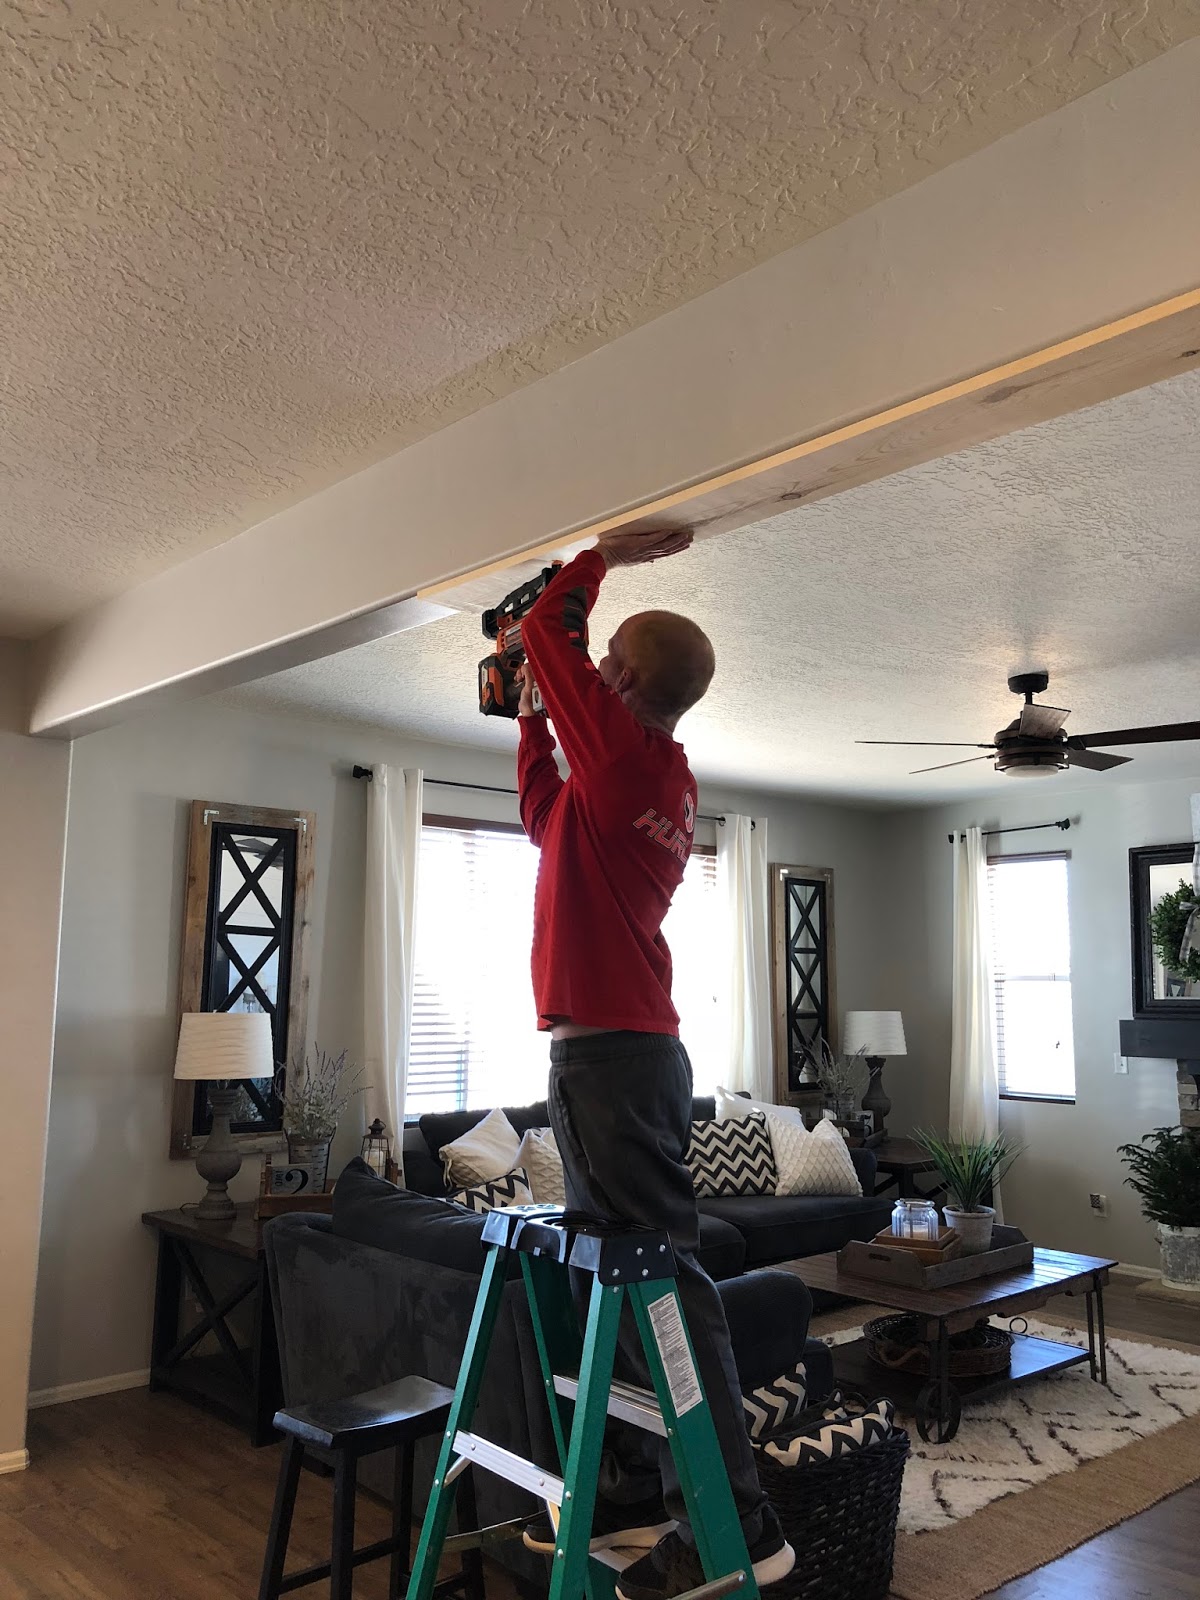
Now that the main structure is built it’s time to add the trim. Use the 1″x 2″ MDF boards to trim out the top beam. Start by attaching a piece to the bottom then another piece to the sides, making sure to overlap the side of the MDF you just attached to the bottom of the beam, essentially forming an L shape on the bottom of your top beam. Then attach a piece of the MDF to the top side of the beam and repeat for the other side of the beam. Secure with wood glue and nails.

Step 8
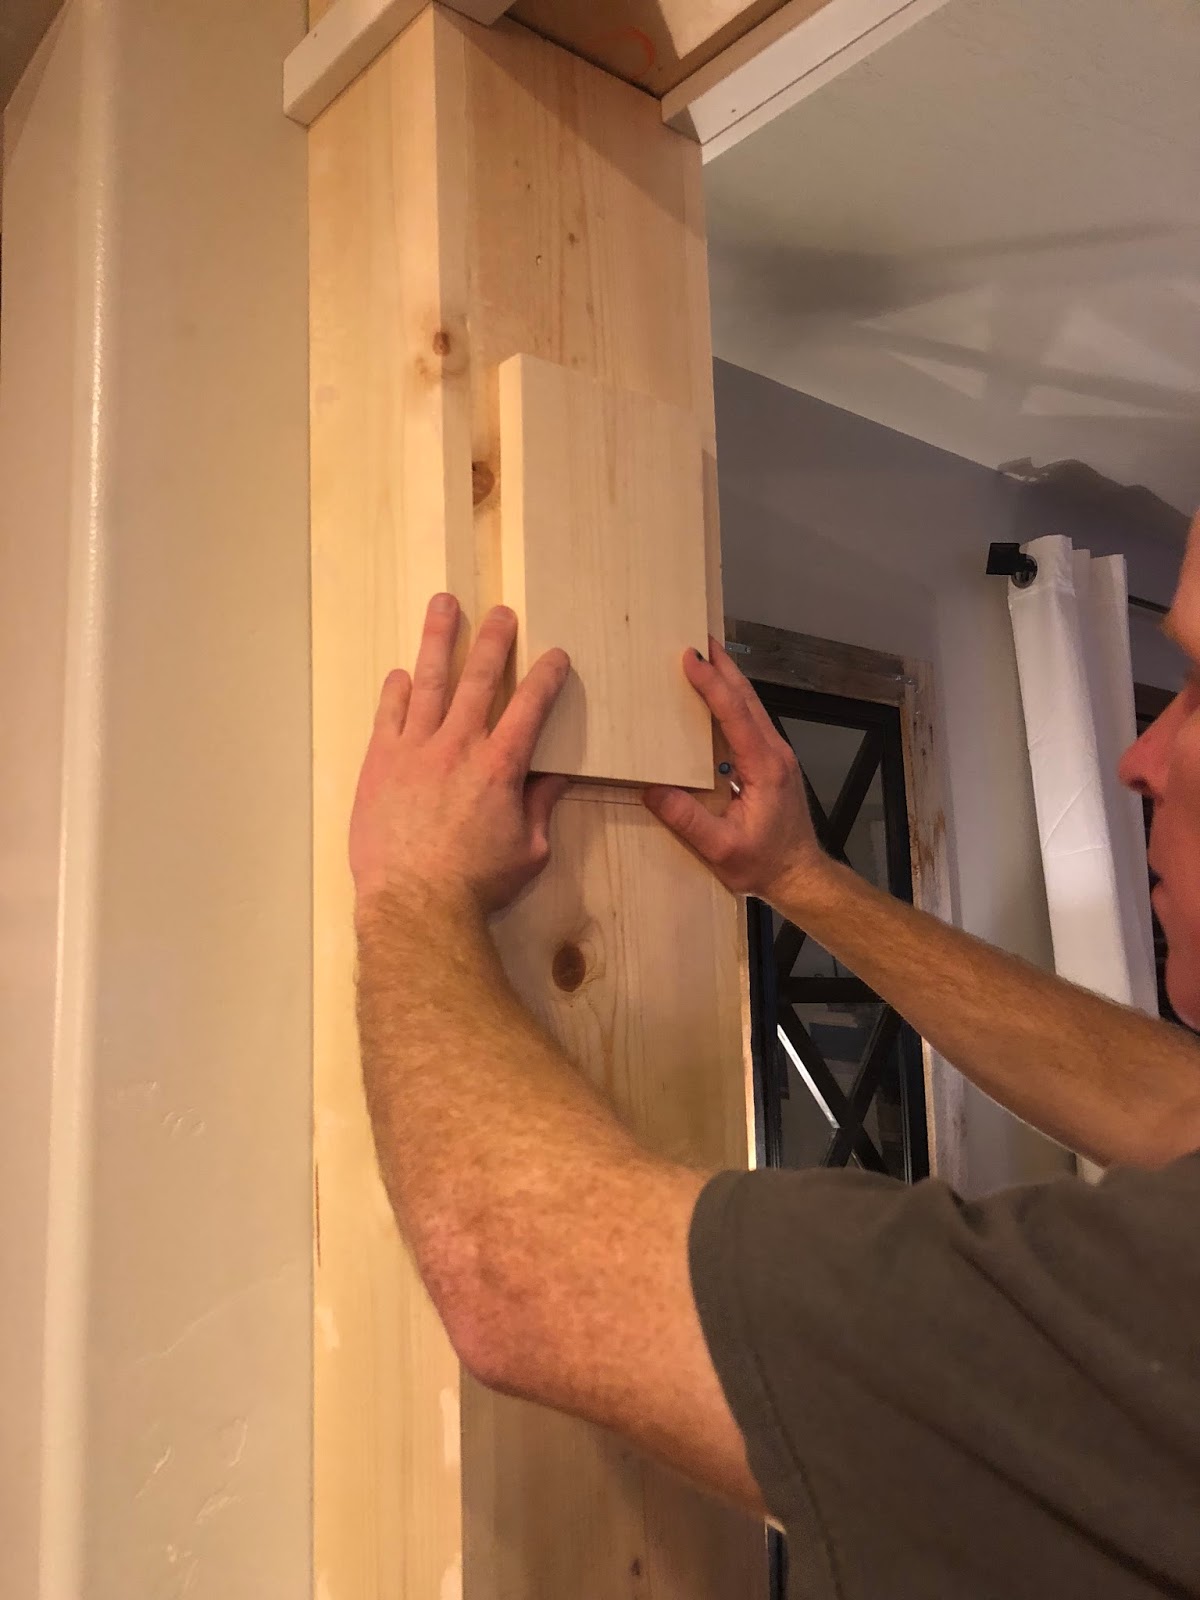
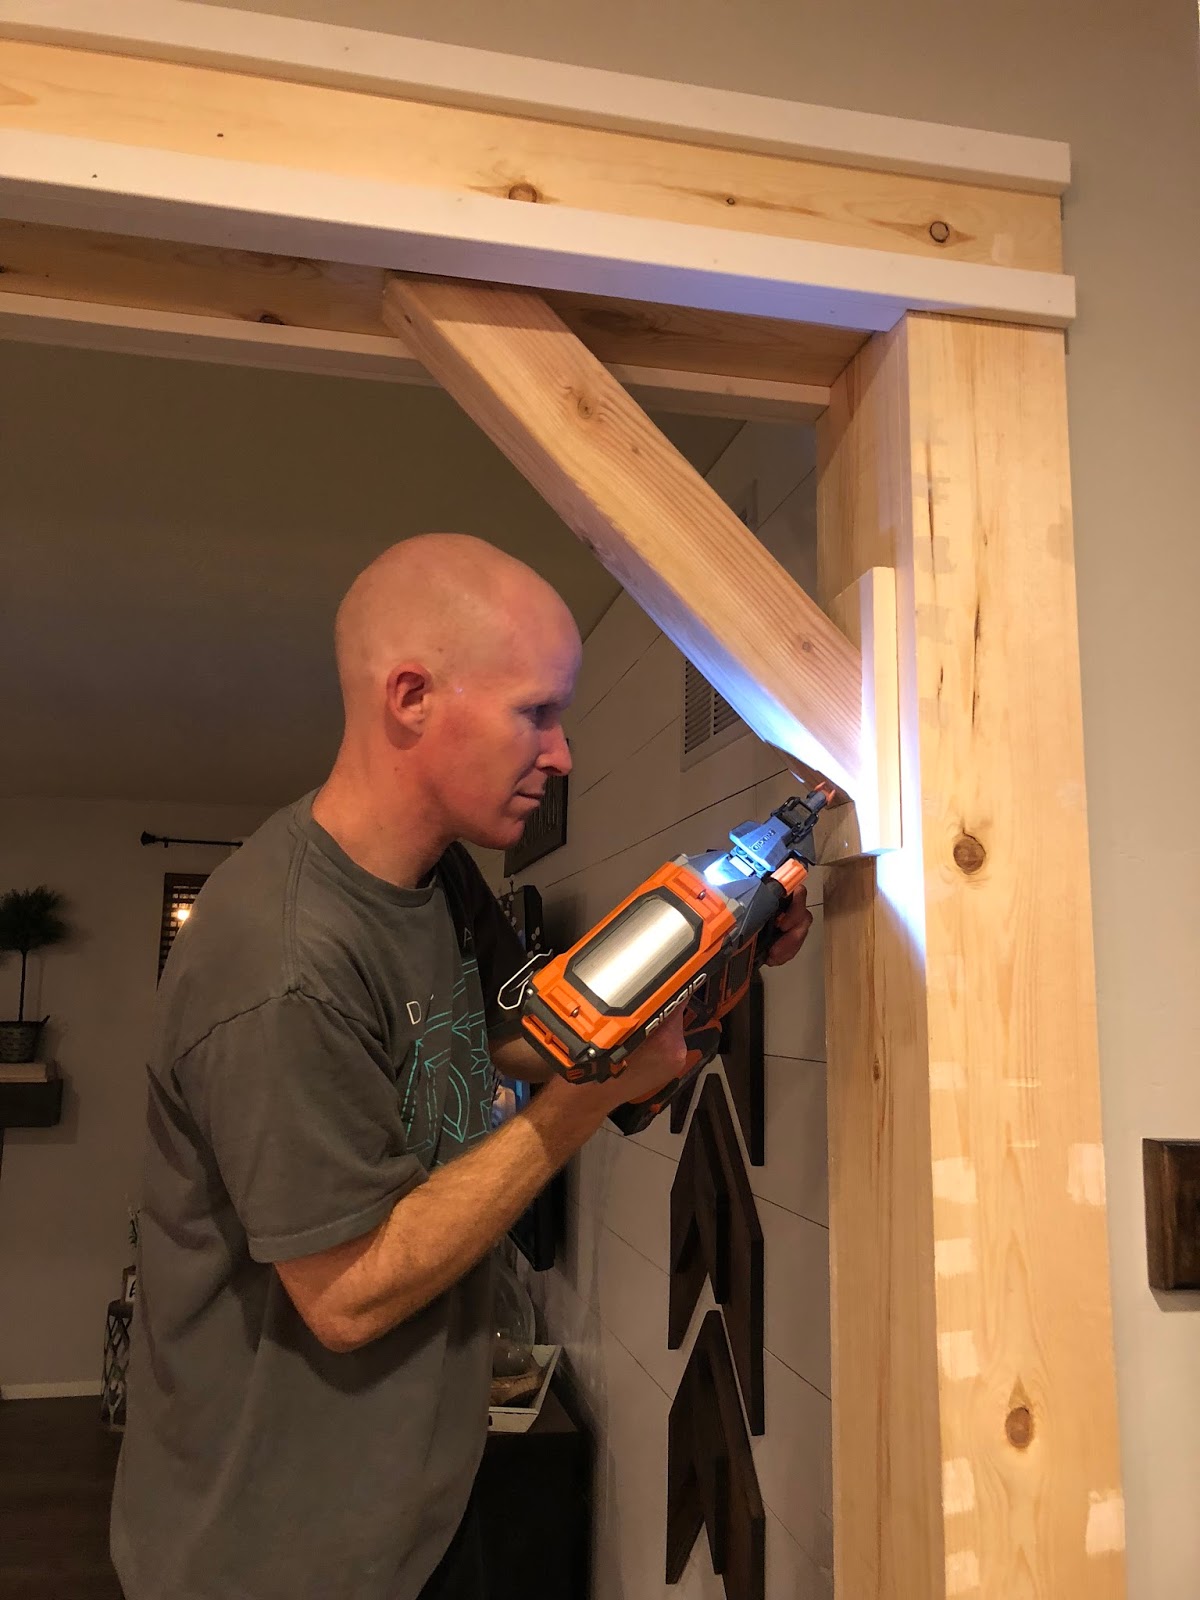
Now it’s time to build the corbels on the side of the beams. Cut your 4″x 4″ at a 45 degree angel to the size that fits your space. Take some of your scrap pieces of wood used to build the beams and cut a piece to attach to the bottom of your corbel. (This is just decorative and an optional step) Attach the base plate for the corbel to each side beam with wood glue and nails

Step 9
Now its time to attach the corbels, use wood glue and nails. Shoot your nails at the base and top of the angled cut of the 4″x 4″
Step 10
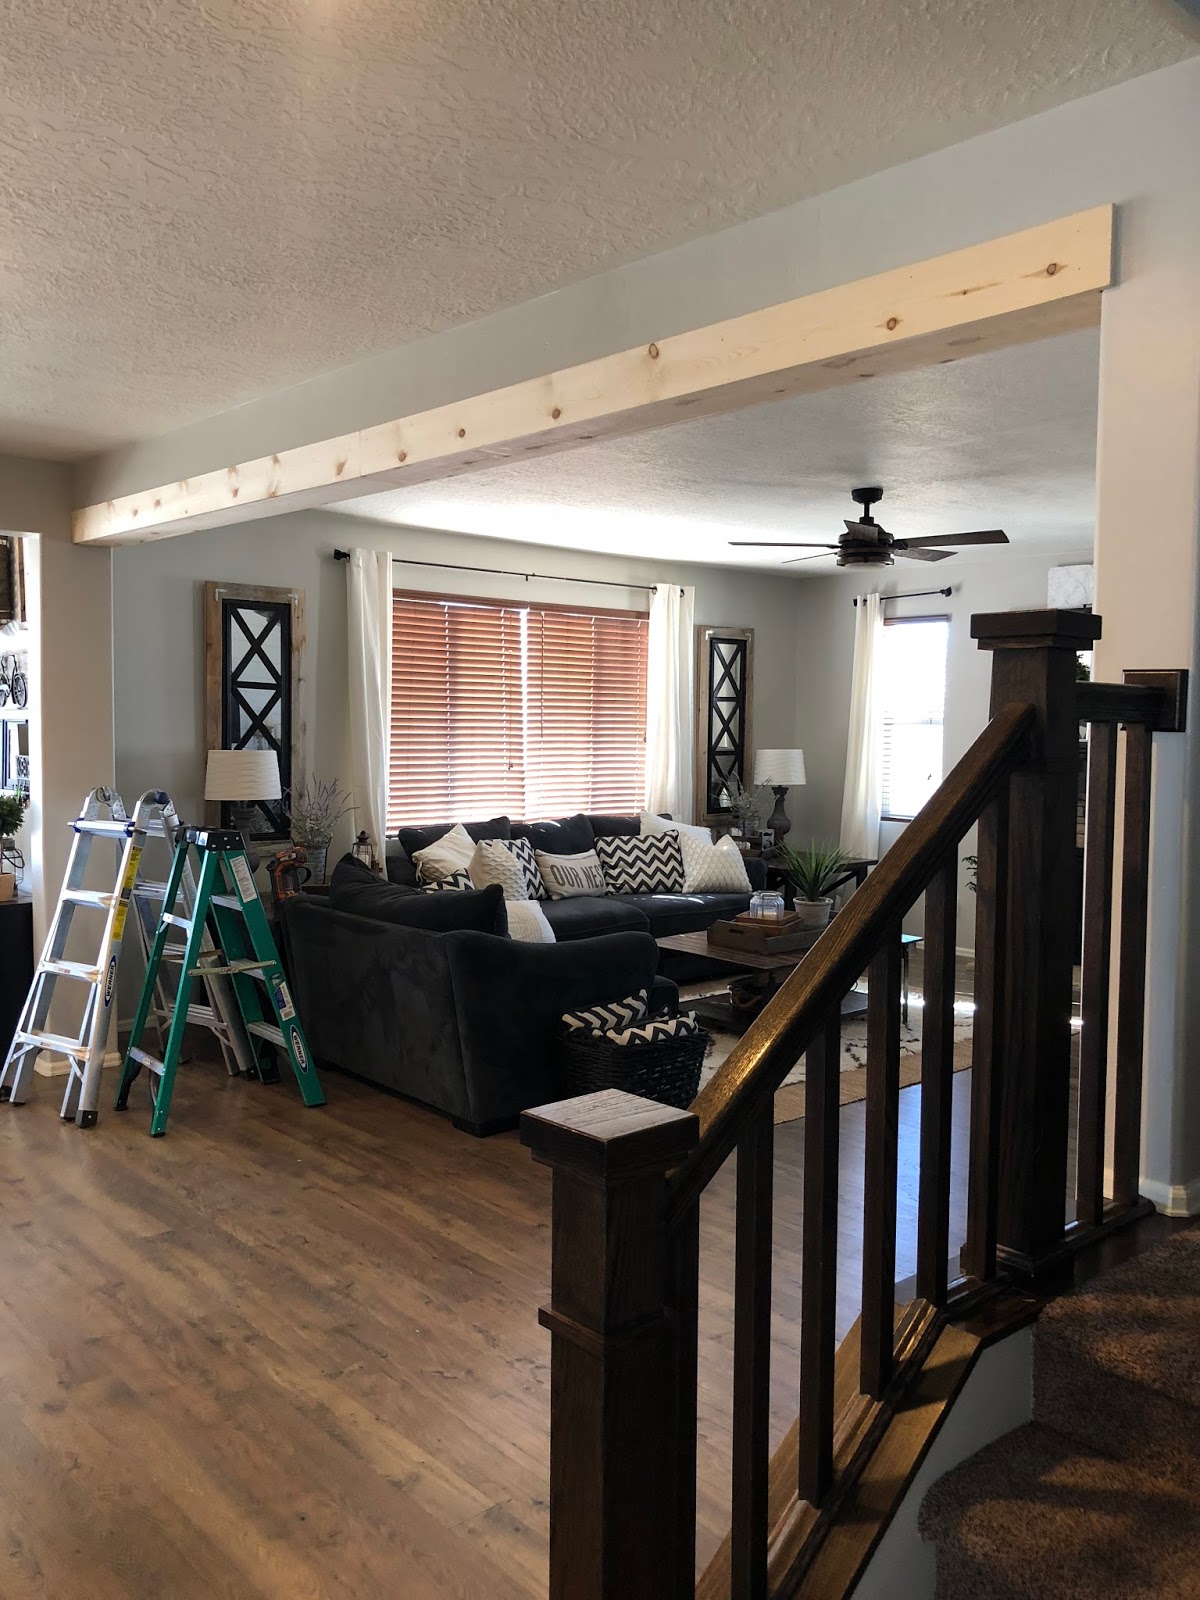
Now that the build part is finished it’s time to get it prepped for painting. You are going to need to fill all the nail holes and seams in the wood with caulk for a seamless looking finish. This dries pretty quickly (about 30 min) so once that is done and dry you can start painting.
Step 11
Now it’s time to paint!! We used a true white Valspar paint in a semi-gloss finish. You can paint this any color or use any brand paint you like, I just recommend getting it in a semi-gloss so that it can be easy cleaned and its not overly shiny.
This project took us 2 days to complete. It’s definitely not a beginners DIY project but if you have some building knowledge then it will come together nicely! I’m so excited with how well this project turned out and I hope you will give it a try in your home!!

-Grey Birch Designs-
read more
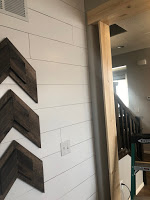
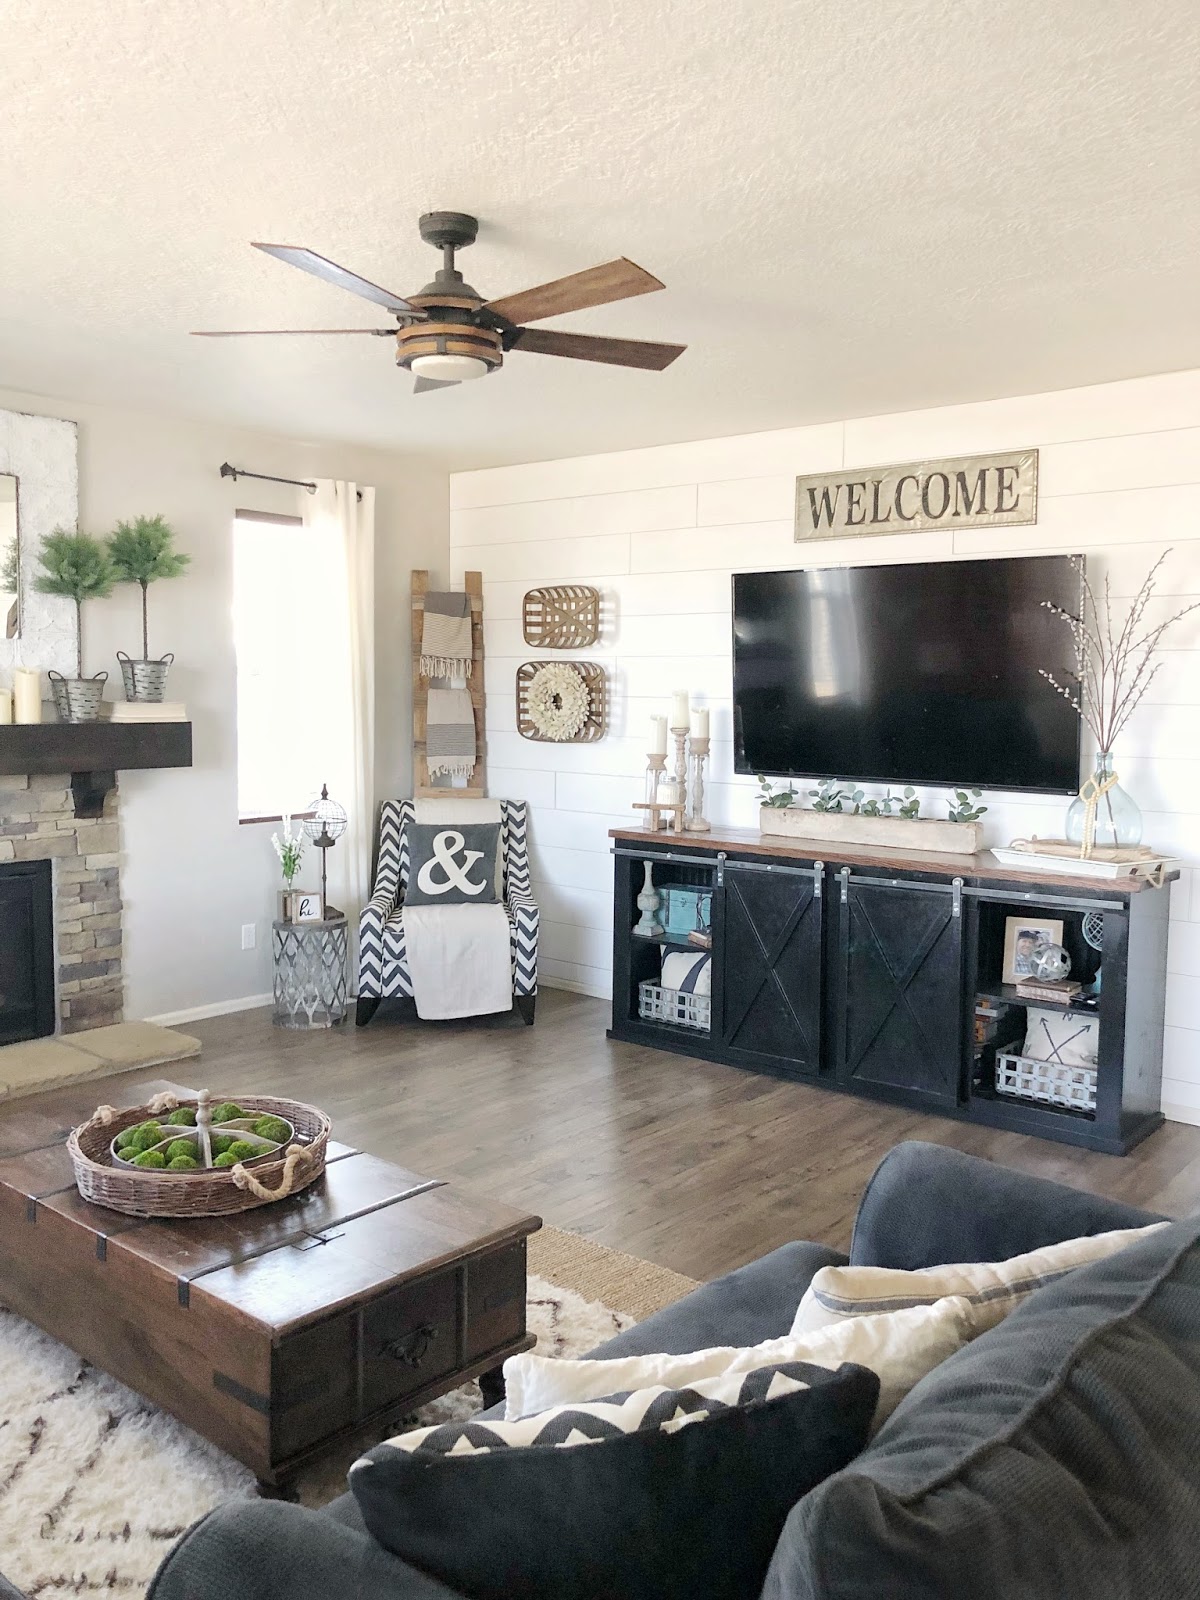
One of my favorite things in the world is shiplap walls!! I love the look and the impact they make in a space. They are also an inexpensive update you can do yourself to give your room a high end look! We have put shiplap in a few of our rooms and I get asked questions about them all the time, so here is my step by step tutorial on how to shiplap a wall.
Supply List:
- Plywood (standard 4’x8′ sheets)
- White paint (or whatever color you want to paint your shiplap)
- Paint supplies (Paint Roller, Paint Brush, Paint Tray)
- Nail gun with 18 gauge brad nails or hammer and finish nails
- Stud Finder
- Level
- Pencil
- Miter Saw
Step 1:
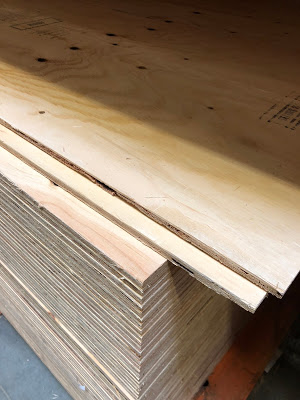
The first thing you will want to do is measure your wall to figure out how much plywood you will need to buy. For our wall we used 4 sheets of plywood and ripped (cut) them into 7 3/4″ strips at Home Depot. This size got us the most use out of the sheets of plywood with very little left over scraps. This is the type of plywood we used for our living room wall but there are a variety of types/thicknesses to choose from.
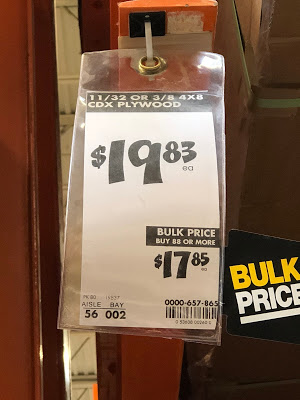
*TIP: If you buy your plywood at Home Depot they will rip your boards for free. If you are at Lowes they charge .25c a cut, and that can add up when doing a project like this!
If the wood you are using is rough you will want to sand the boards before you put them up on your wall. If they are smooth you can skip this step!

Step 2:
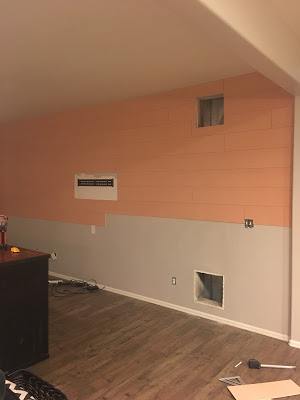
Once your boards are relatively smooth it’s time to get them up on your wall. Start by marking your wall studs. Use a stud finder to locate each stud at the top and bottom of the wall. Draw a vertical line down the wall in pencil to mark where each stud runs down the wall. You must nail the wood to the studs – drywall alone is not strong enough.

Step 3:
For this style of shiplap we wanted the breaks in the horizontal pieces to look random, so you are going to want to cut some of your boards at different lengths. Start working in the top corner and work your way across and down. To get the spacing the same we used a couple nickels and placed then in between each row. Once each board was nailed we removed the nickels and repeated this step all the way down the wall.
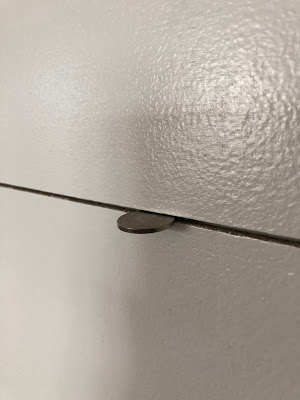
*Tip: You are going to want to cut your boards around any vents or switch plates on your wall so that when you put them back on you will have a nice clean look.
Step 4:
Now that your shiplap is all up it’s time to paint! I always recommend getting a satin finish in your paint so that it can be cleaned. If you want a more glossy look you can always go with a semi gloss or gloss. We used a satin finish on our shiplap wall.
That’s it!! Let your paint dry for 24 hours before you put anything back up on your wall and enjoy!


-Grey Birch Designs-
read more
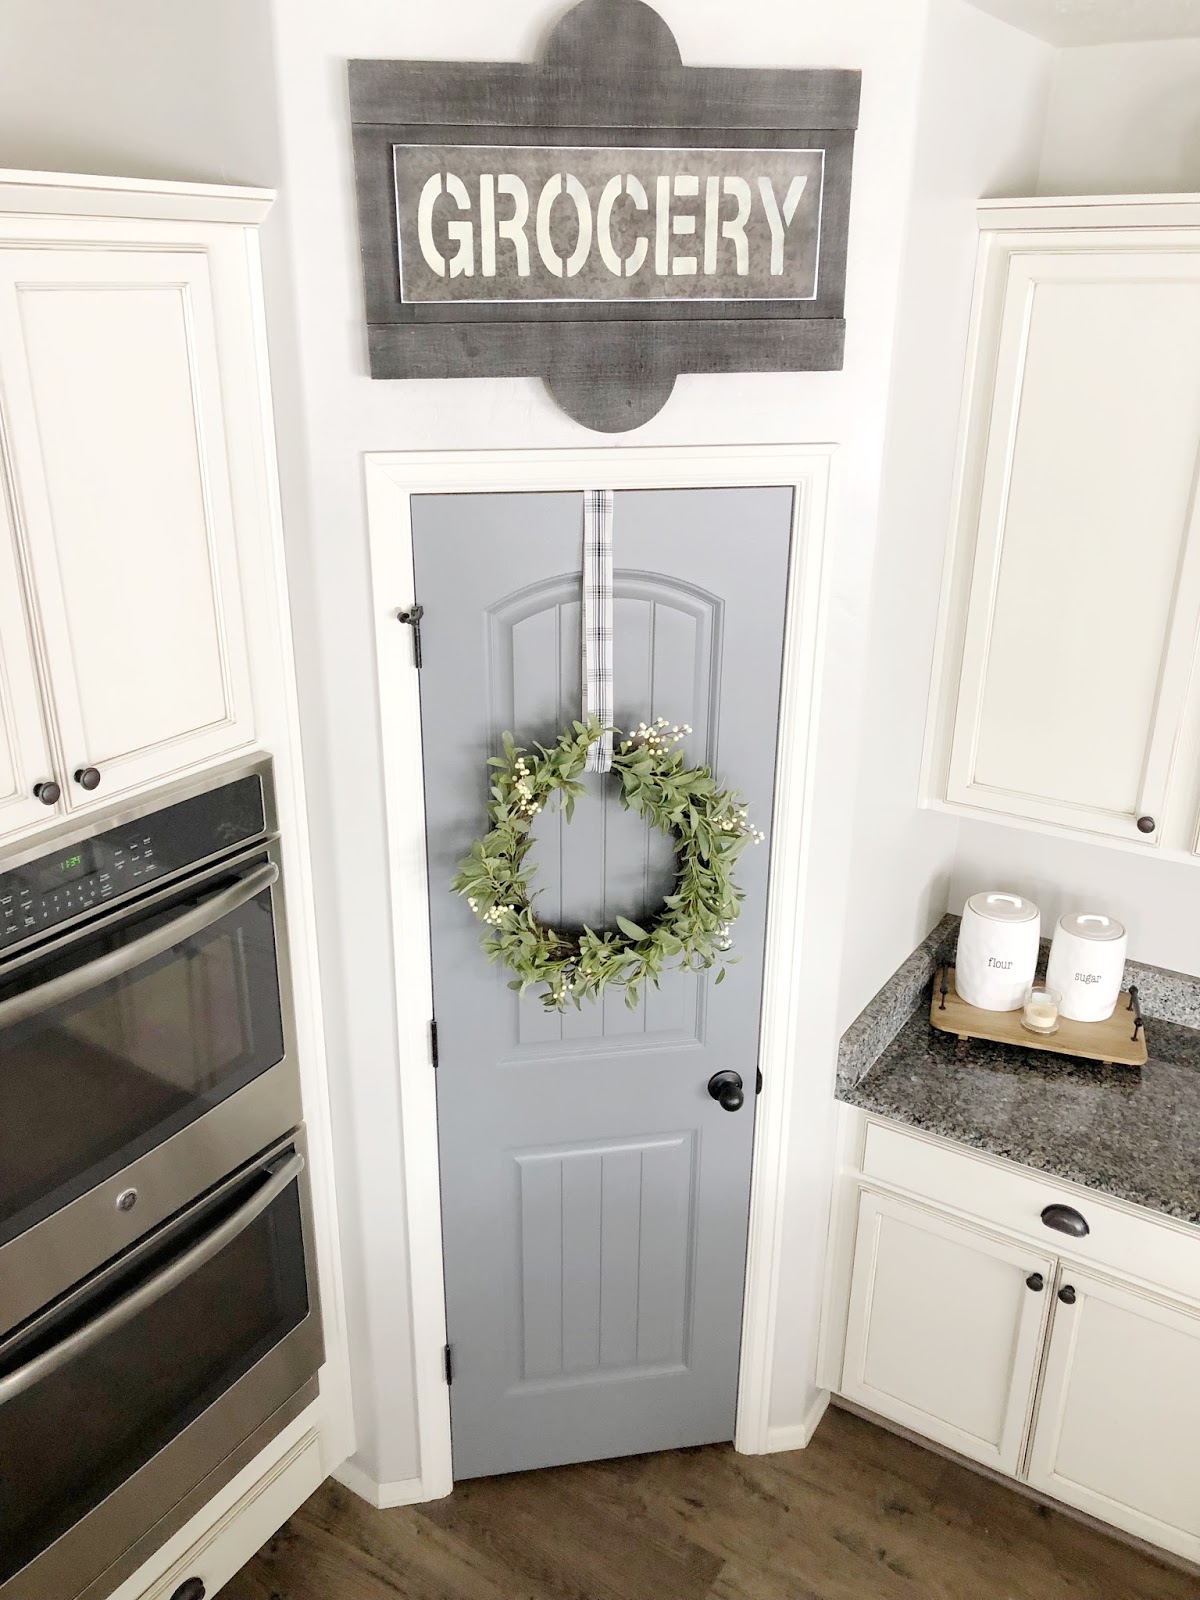
How to Paint a Door
I have heard many concerns about painting doors, but I have a few tips to help you get that perfect streak-free finish!
1. Lets talk paint
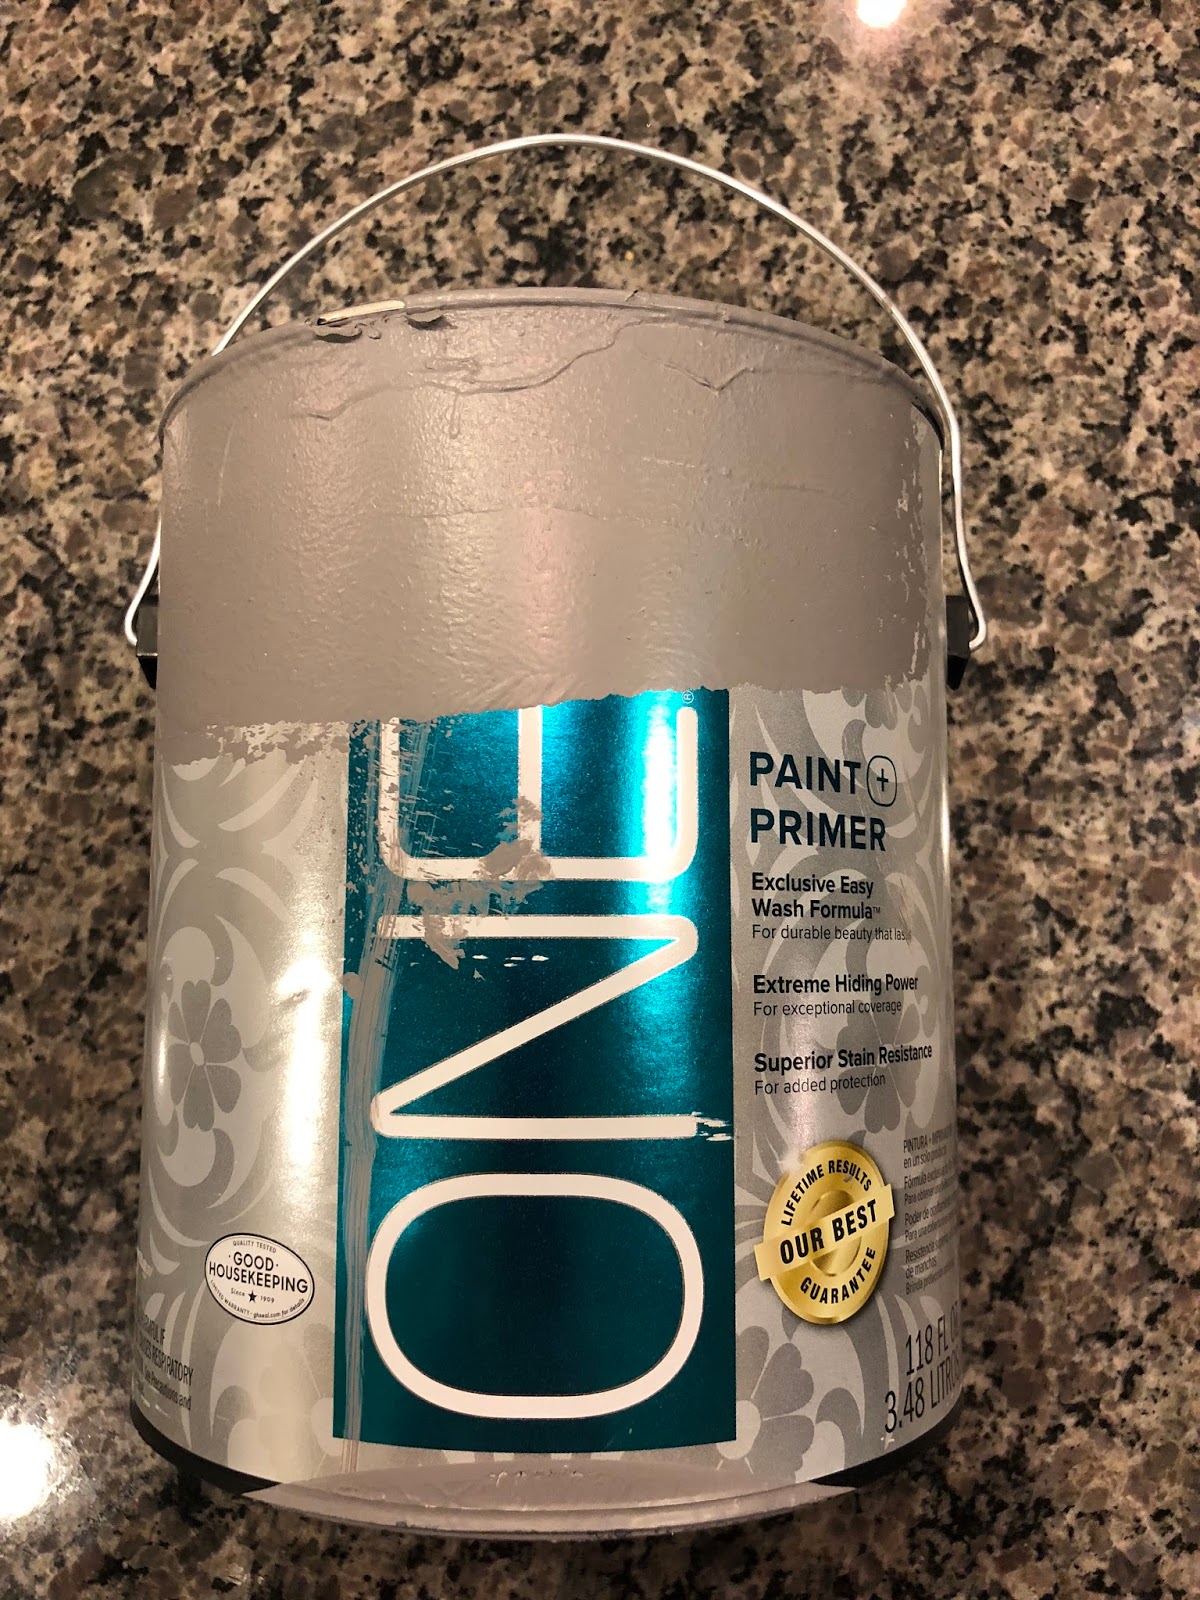
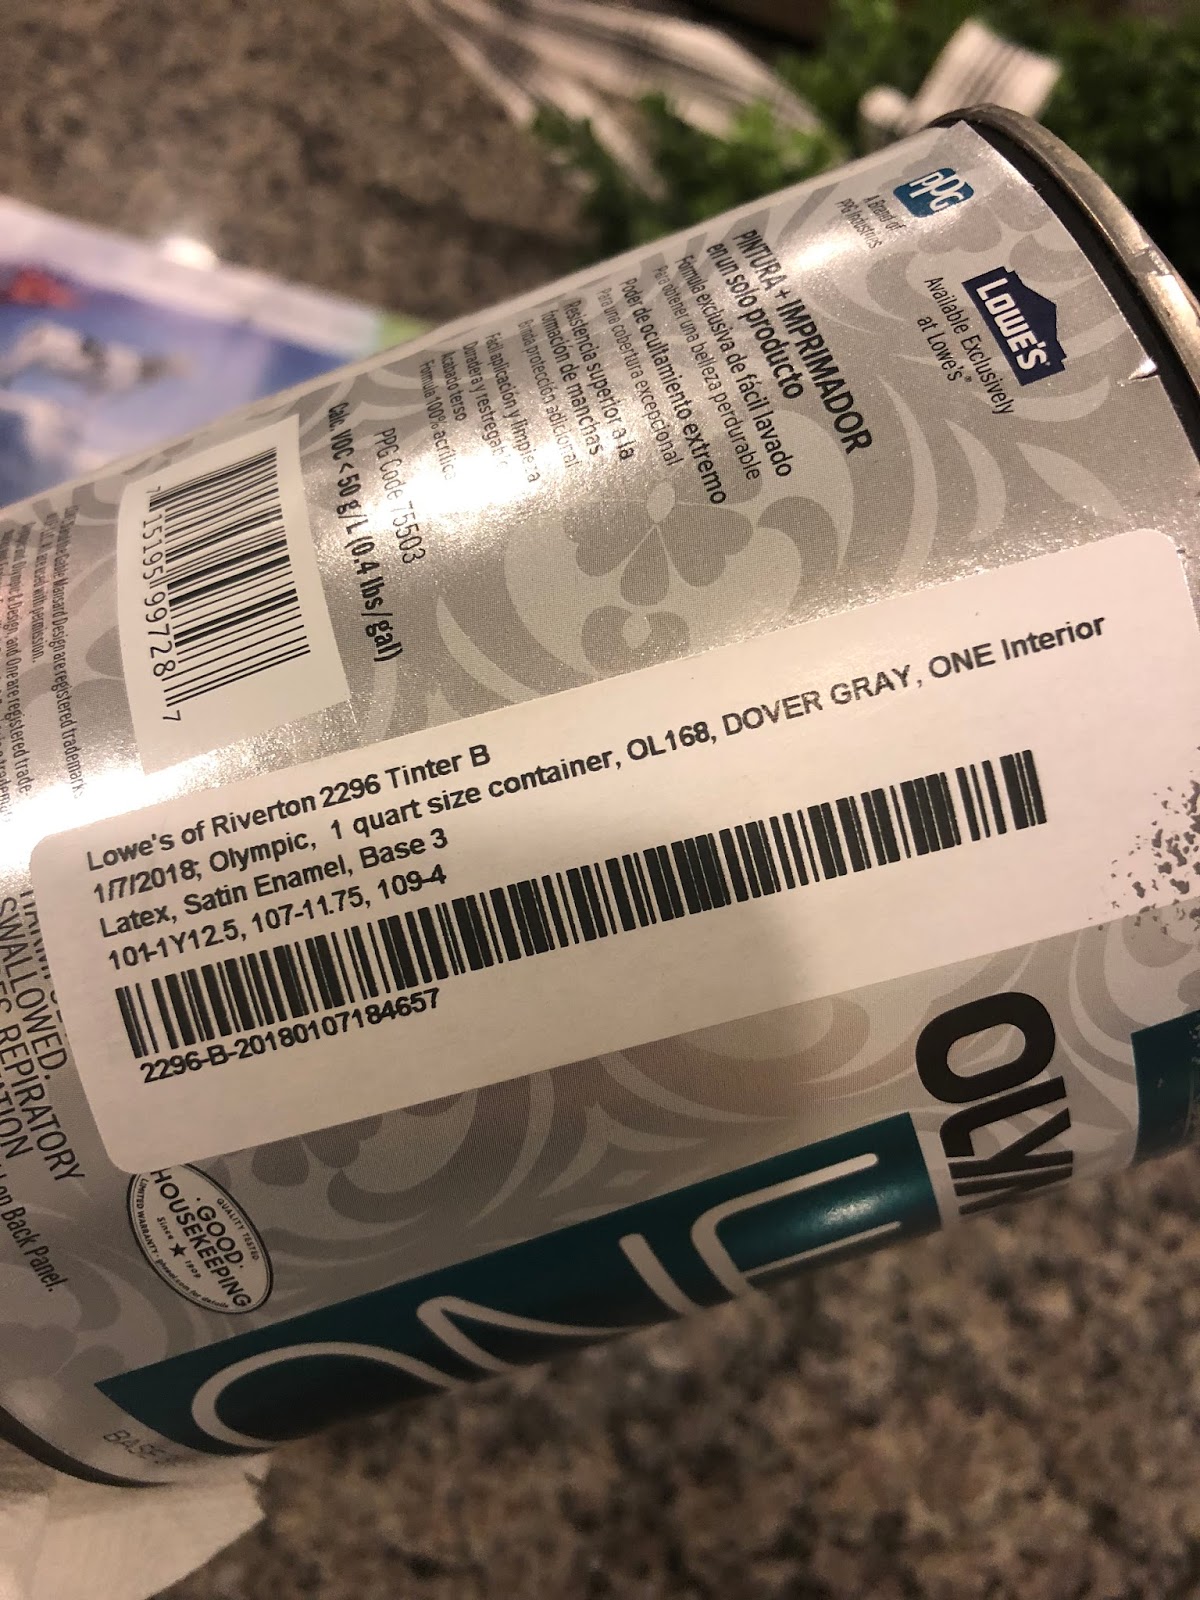
The most important part of any painting job is to make sure you have the right paint and supplies. I always suggest a paint+primer. This will give you the best coverage, and because the primer is already mixed in with the paint it also saves you a step, and who doesn’t love that!! Since doors are excellent dirty finger magnets, you want to make sure you can easily clean them. I use a satin finish on all my walls and doors. I find it’s much easier to clean than a flat finish but not as flashy as a semi gloss or gloss.
2. Supplies
For this job you will need a paint brush and a small paint roller. These items are my products of choice when I paint doors for a couple reasons. The angled brush really helps you get into those detailed areas of the door that your roller just can’t reach, and since it’s cut at an angle it gives you better control then a flat cut brush. The rollers should be low pile or foam, and small since the area you’re working with is not a large space.
3. The Process
Before you start painting you should remove the door handles. Most handles have two screws on the inside of the door that are easily removed. I do not recommend removing the hinges as you can easily strip the wood out of the screw holes in the door. Start with your brush and trim all the tight edges where your roller won’t fit. You will generally need to do two coats on all these areas because the coverage with a brush is not as good as a roller. You also want to do this step first to avoid any brush strokes in your paint after it’s dry. I usually wait about 20-30 minutes between coats.
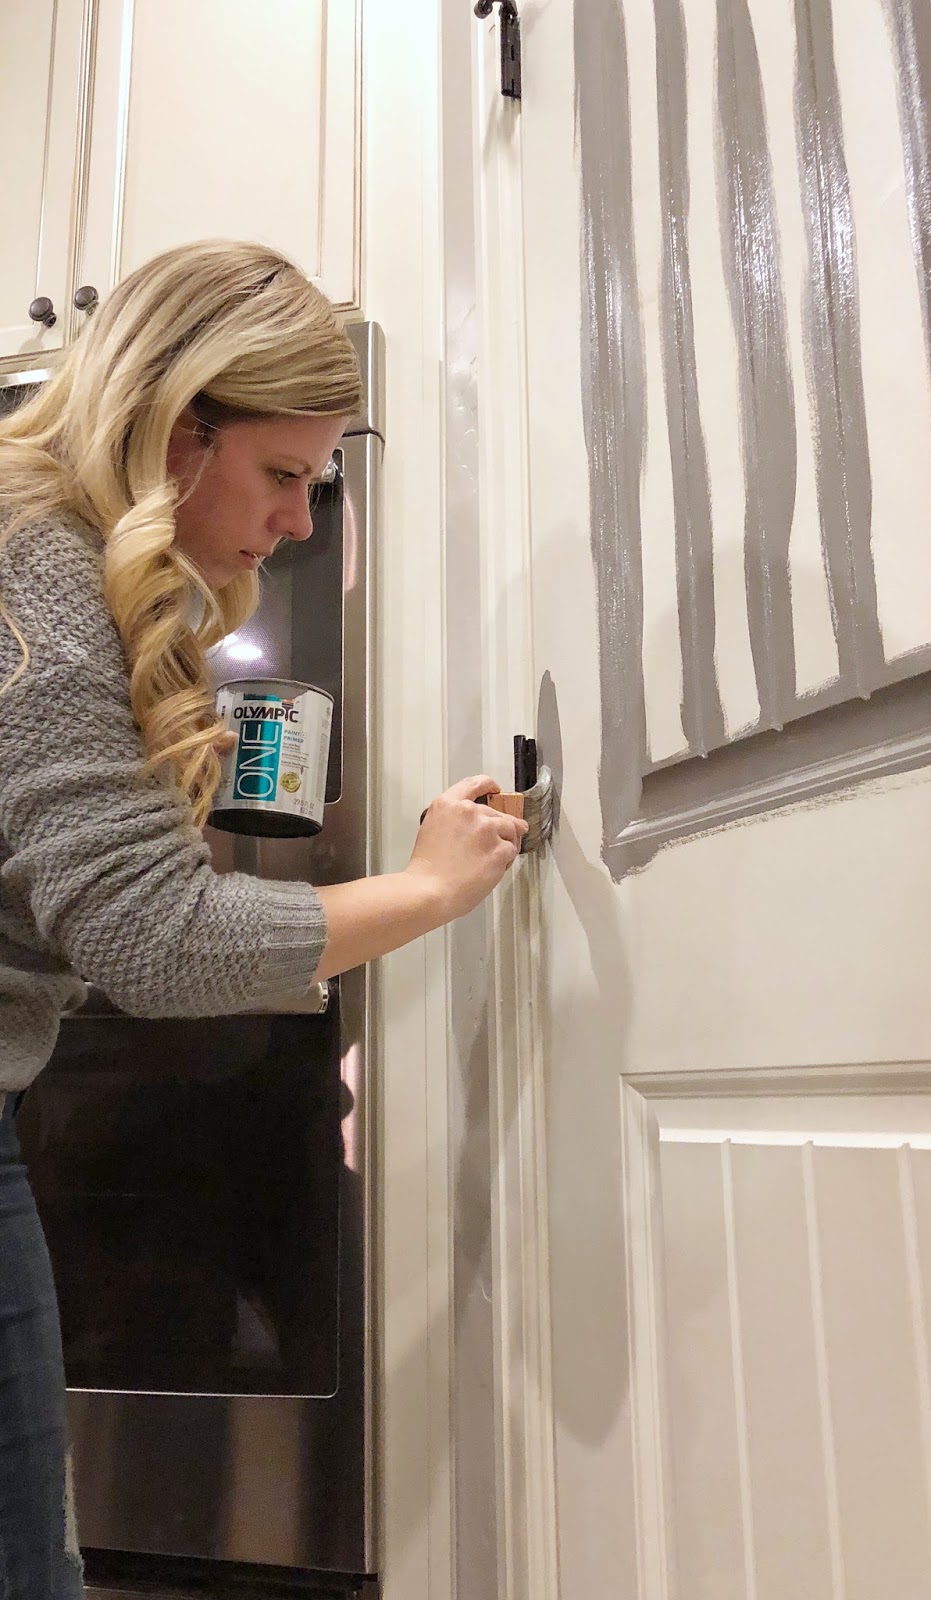
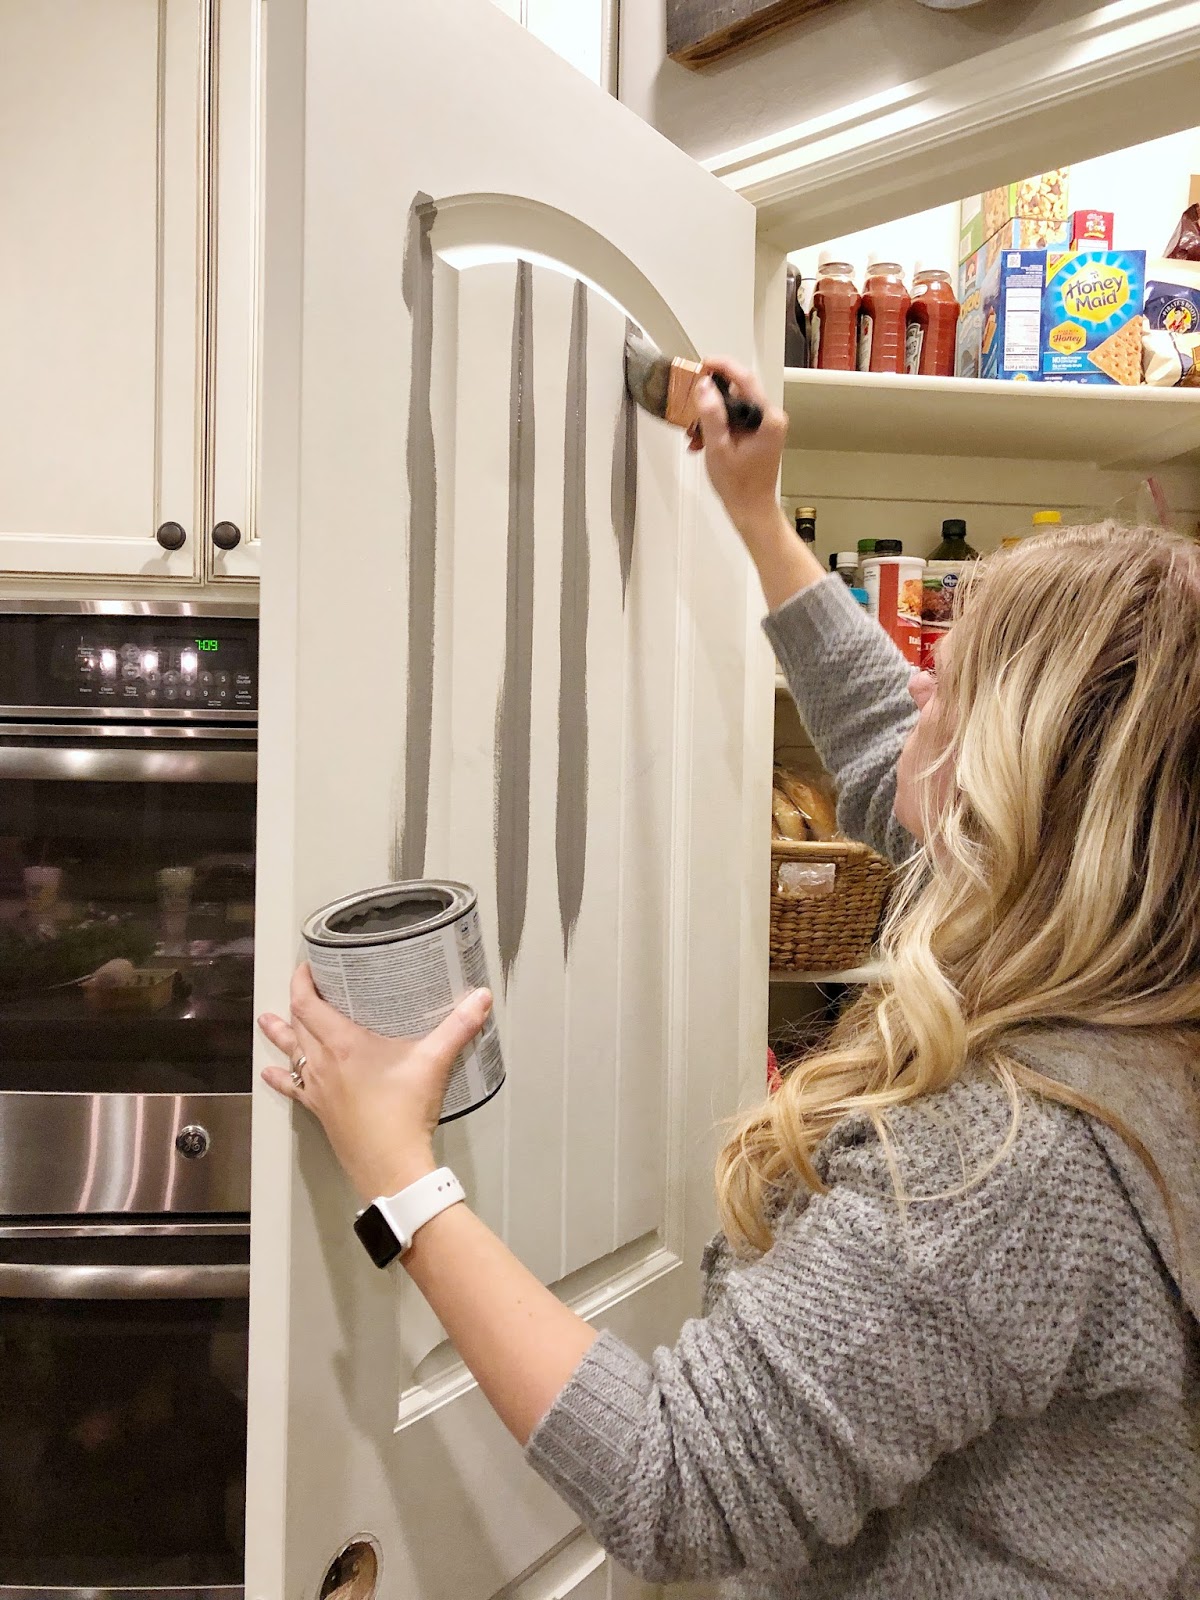
Once you are done with this step it’s time to get out that roller and finish up your door! Put a generous amount of paint on your roller and cover your door with thick even strokes. Work the roller in one direction (usually up and down), and watch out for obvious overlap or drip marks. After you’re finished, give your door the once over and check for thin areas. While your paint is wet it may look patchy, but this will disappear when it dries.

Once your door has dried overnight you can put your hardware back on and enjoy your beautiful painted door! Happy painting!!
-Grey Birch Designs-
read more
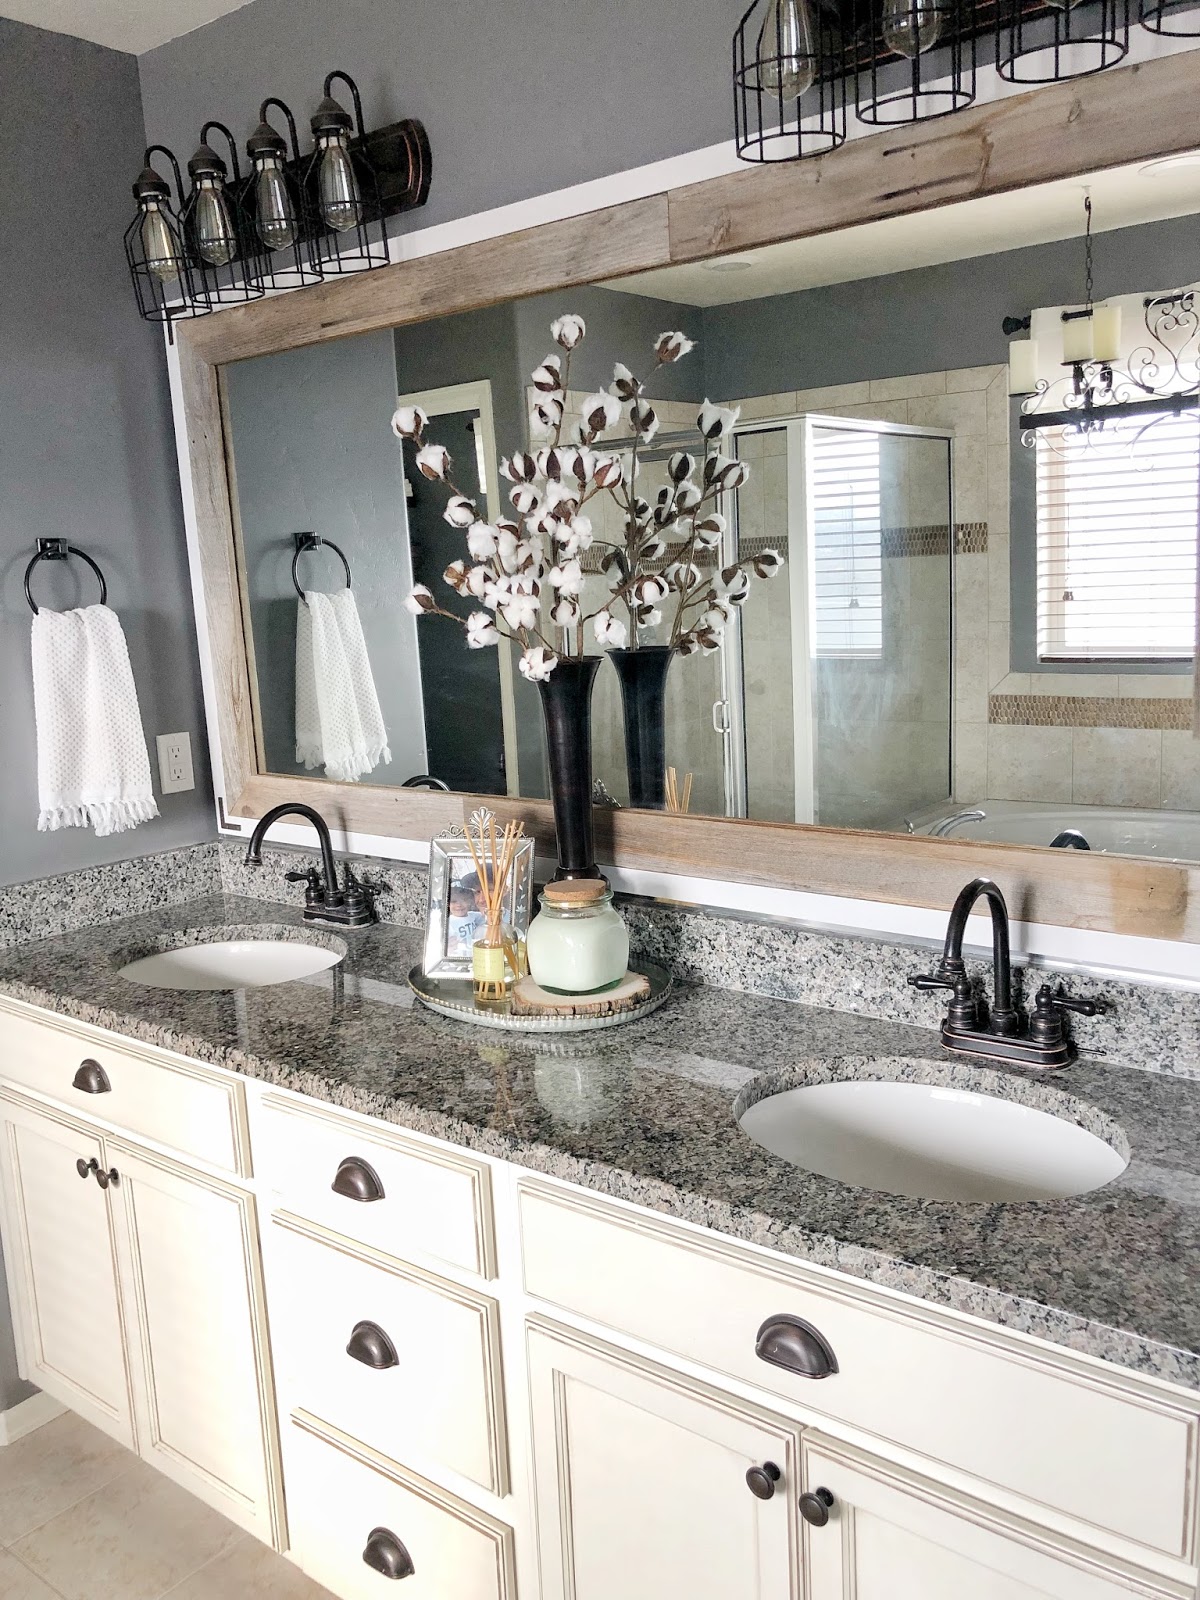
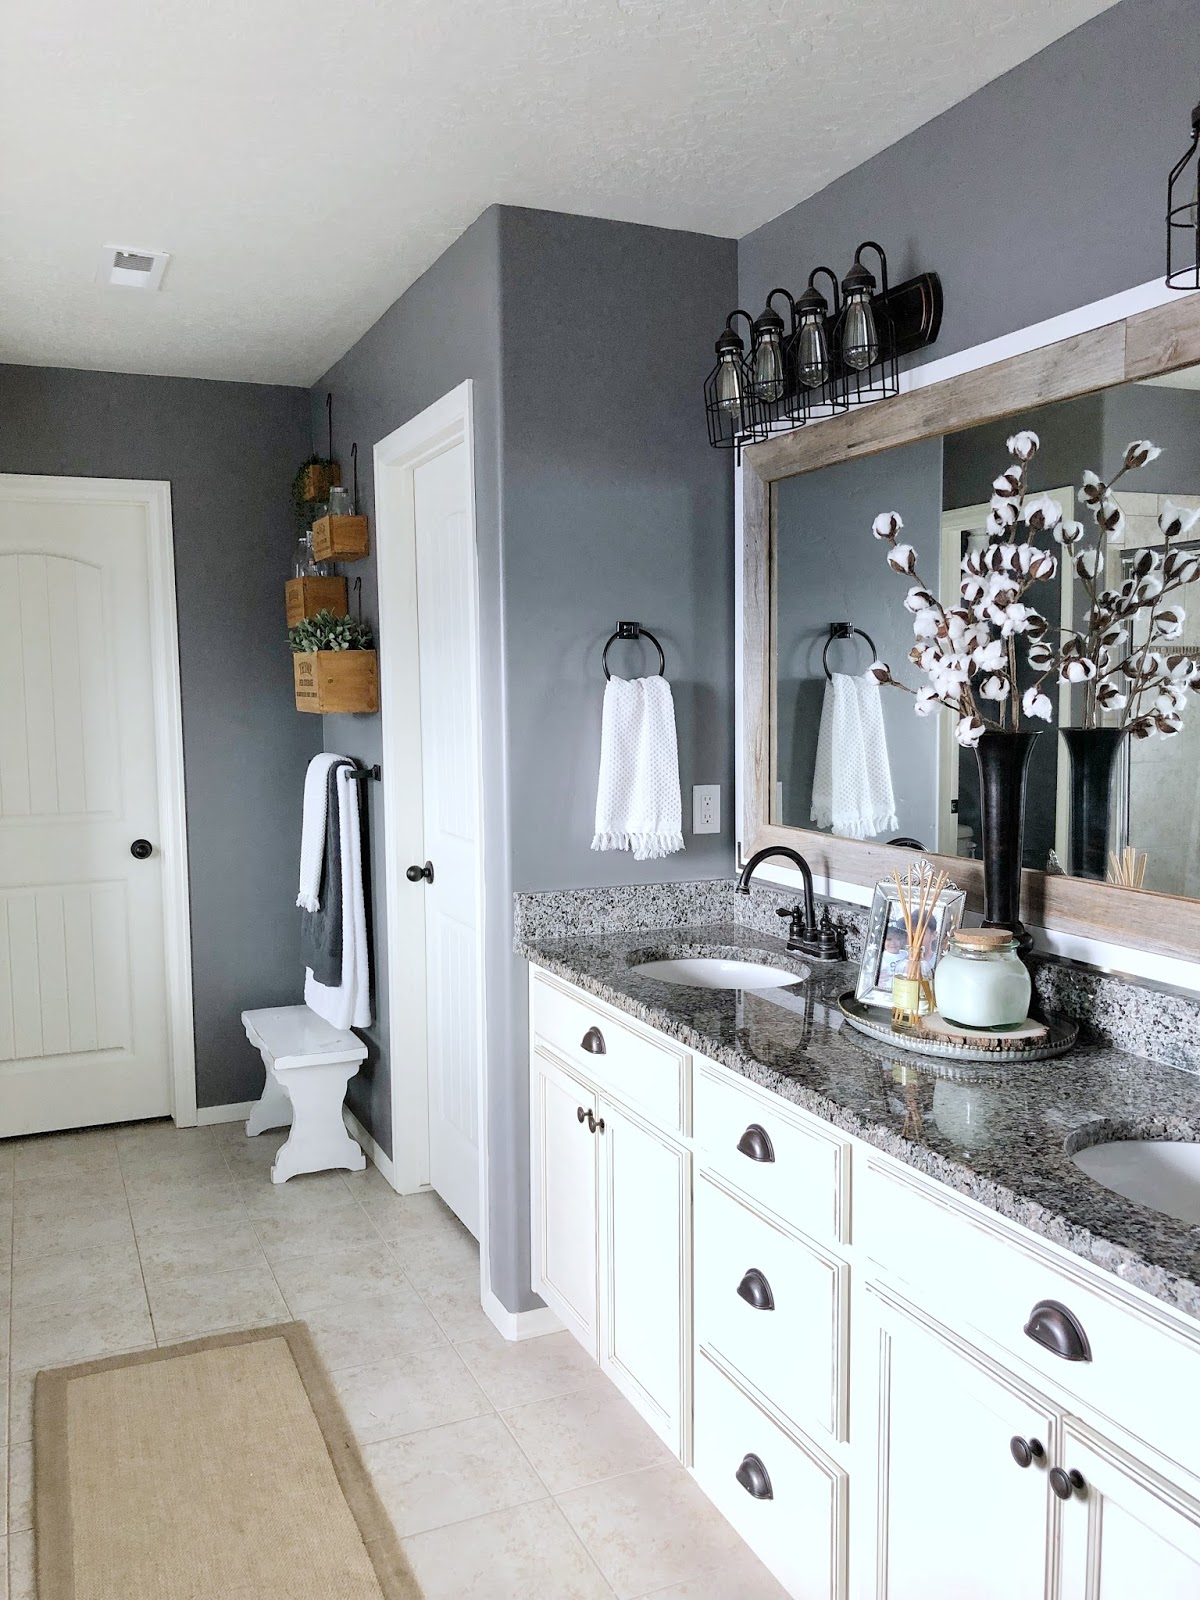
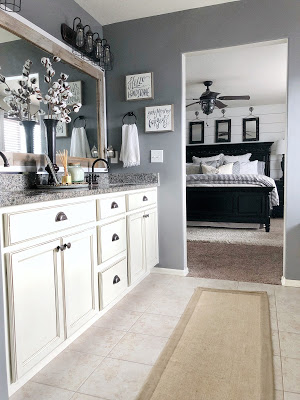
How to make your builder grade bathroom mirror look like a custom upgrade!
One of my favorite upgrades I have done in all the homes we have lived in is change the bathroom mirrors. It’s such a easy project and the difference it makes is huge!
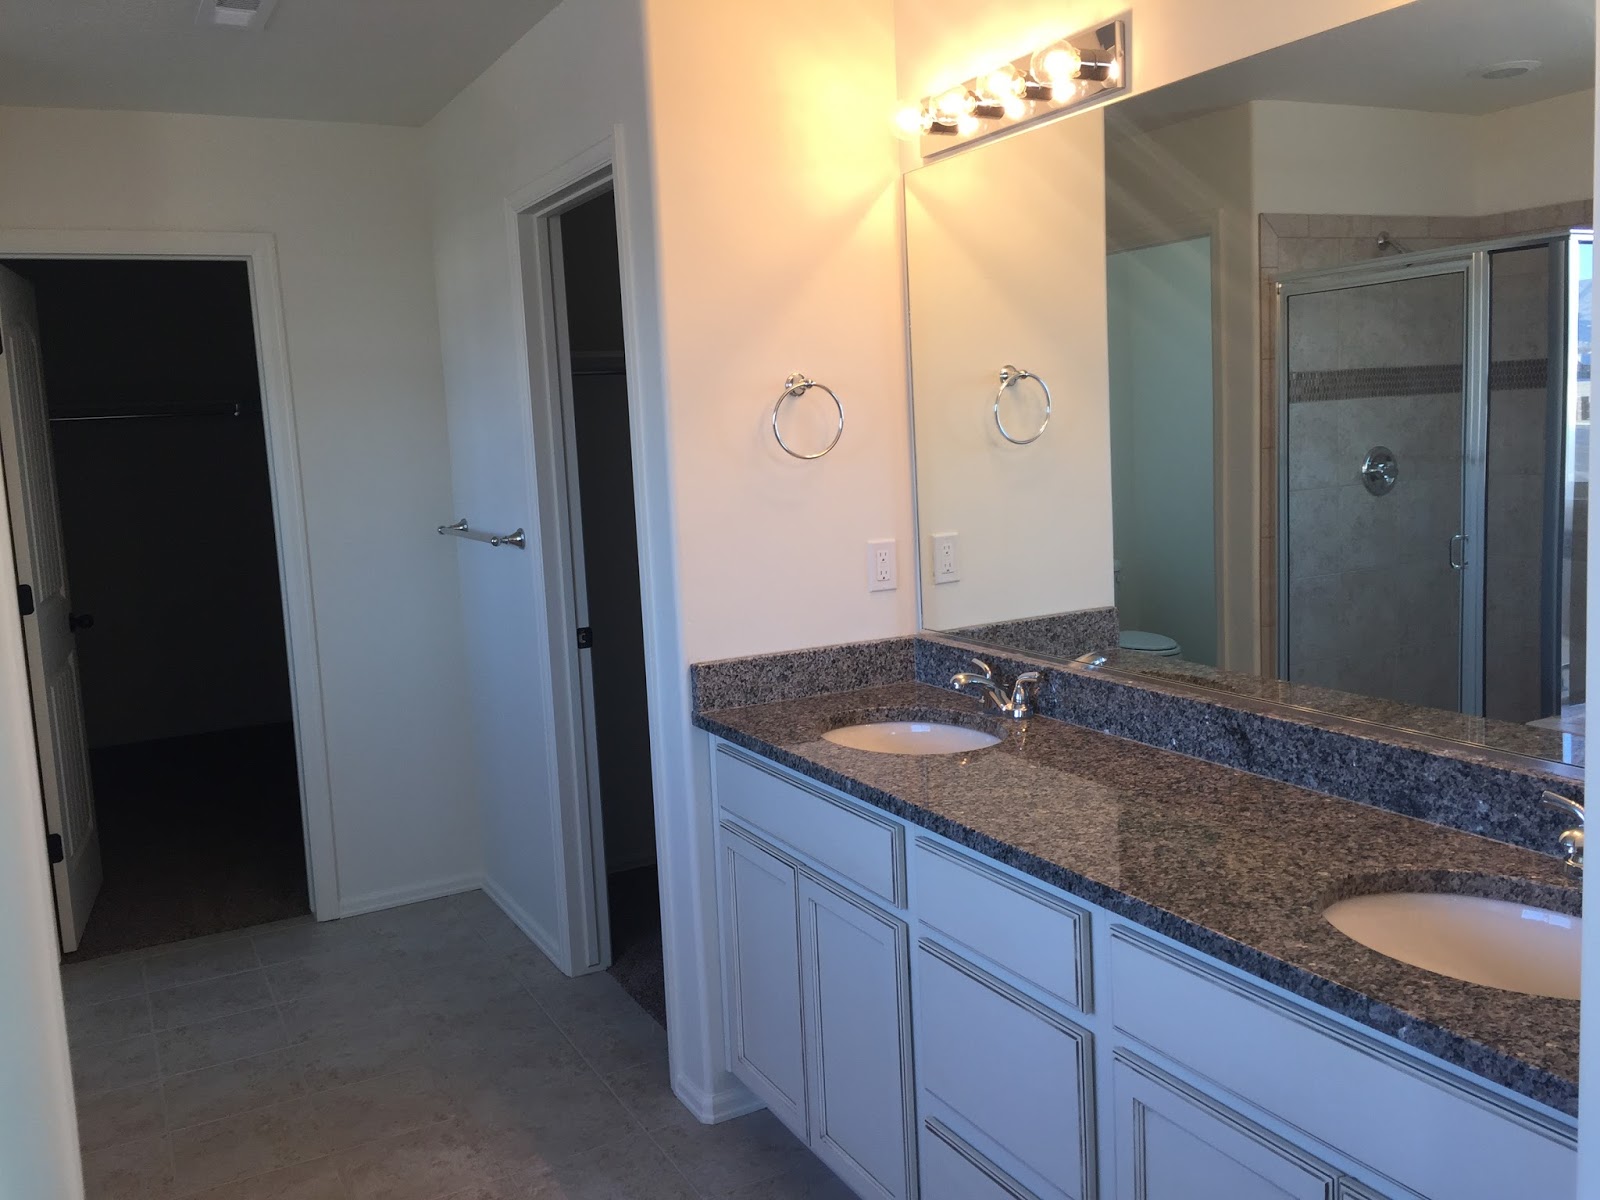
In the past I have ripped down the builder grade mirror and just bought a nice mirror and hung that in it’s place. That works fine but it has be a pain getting the large mirror off the wall without shattering it into a million pieces……. So I have come up with a different solution and have been doing this for years!
I frame it!! So easy, right?? I decided to do the ones in our new house with reclaimed wood and some white trim. I then added a metal bracket on the corners just to give it a little more interest. This project is so quick, maybe an hour start to finish, and what a difference it makes in your bathroom!
Here is a little before and after
To do this project you will need the following:
-Wood of your choosing
–Corner Brackets (optional)
–Impact Driver or Screwdriver (if using the corner brackets)
I get asked about the lights over our mirror all the time so if you are interested in those as well I will link then here!
The light bar I found at Lowe’s (I could’t find the same one online to link it, but its just the light bar. It doesn’t come with light covers or light bulbs)
Step 1:
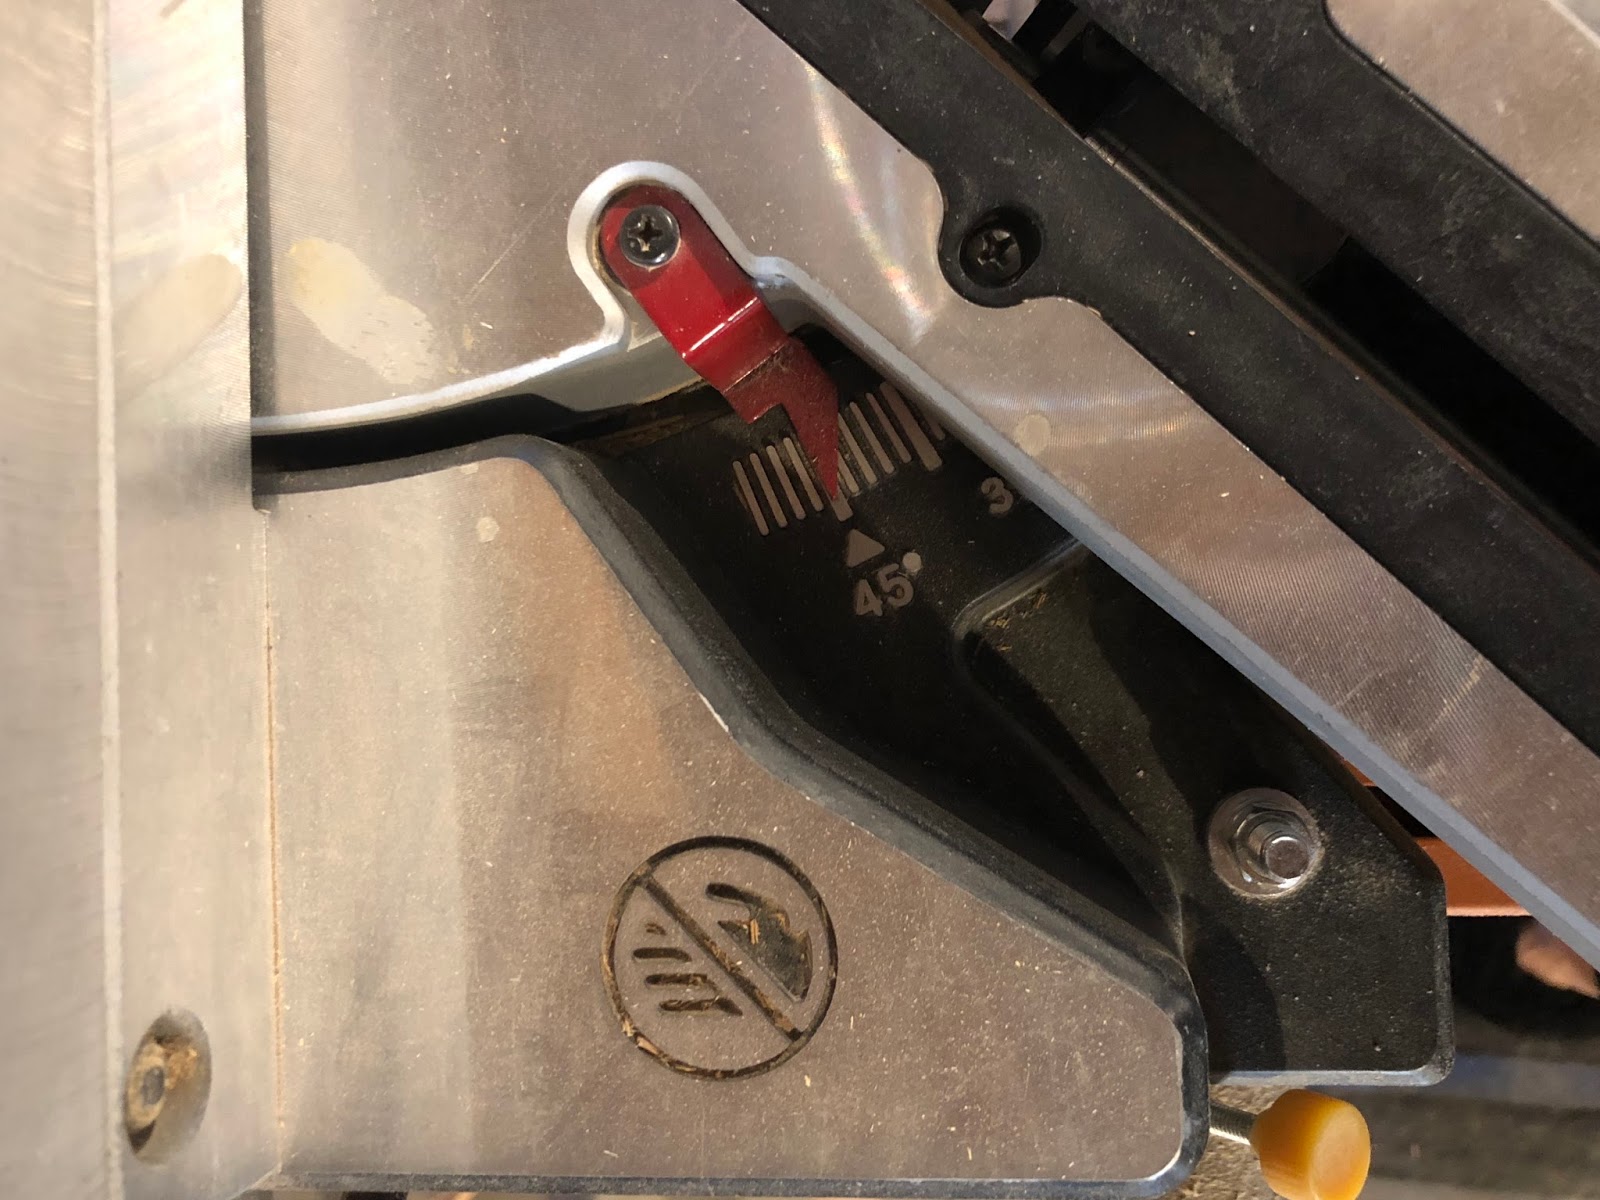
Mesure the the length and height of your mirror so you know how long to cut the boards. Once you have those measurements then cut your wood at a 45 degree angle on your miter saw so that the corners each meet up at a 45 degree angle. This takes a little bit of time and patience. If you don’t have much experience cutting wood I recommend cutting the boards longer than needed and slowly cutting them down until they fit.
Step 2:
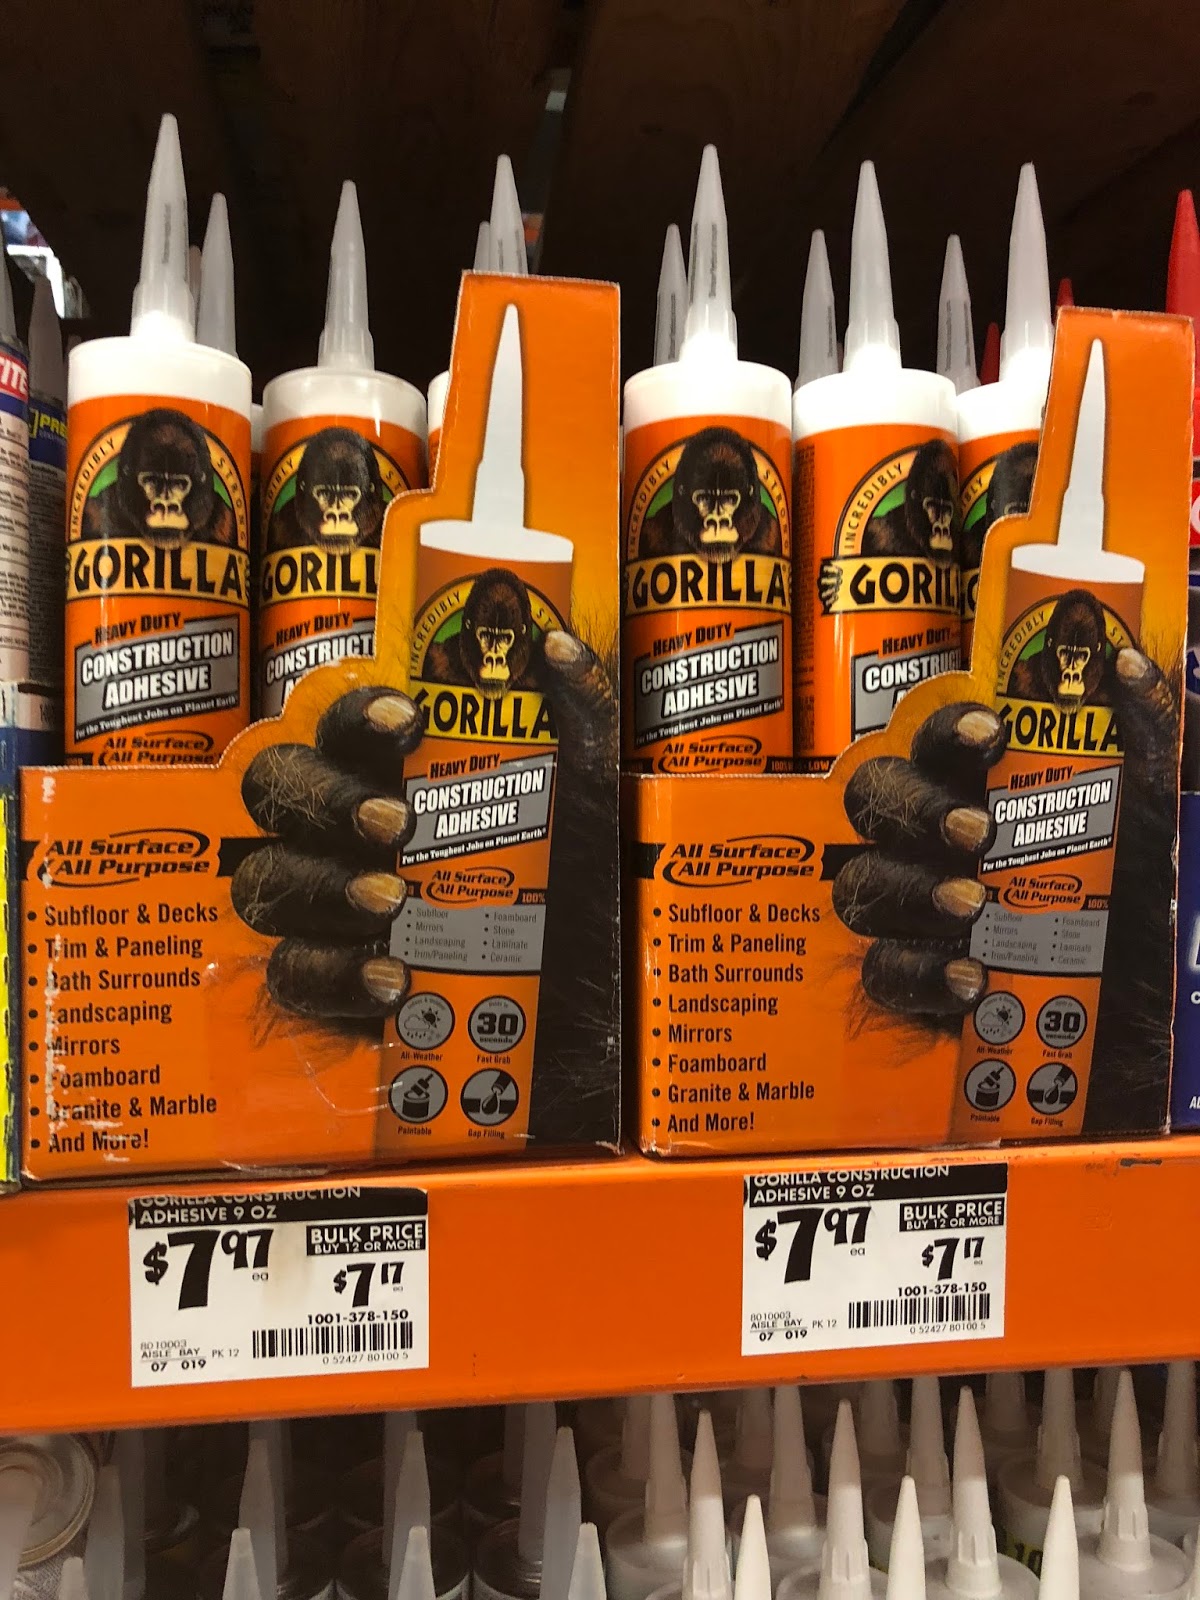
Now that you have cut all your wood its time to put it up on your mirror. Start on the top and put a good amount of the clear adhesive on the back of the wood and stick it directly to the mirror. Then place a few clamps to hold it in place. Work your way around your mirror repeating this step until your mirror is completely framed. I use the Gorilla brand adhesive because it has a fast grab time. I have used others before and the wood has fallen off even after 24 hours with clamps holding it. This one grabs fast and holds strong!
Step 3:
If your not doing the metal braces on the corners your done!! If you are nows the time to put them on. Make sure the screws you use are shorter than the thickness of the wood. You don’t want to drive the screw through the back of the wood because you could crack the mirror. Once you have the right size screws just center them in the corners and use a drill or screwdriver to attach them to the wood, and thats it, simple right!

Hope you enjoyed this quick little tutorial, now go have fun and frame out those ugly builder grade mirrors and make them look amazing!!
-Grey Birch Designs-
read more
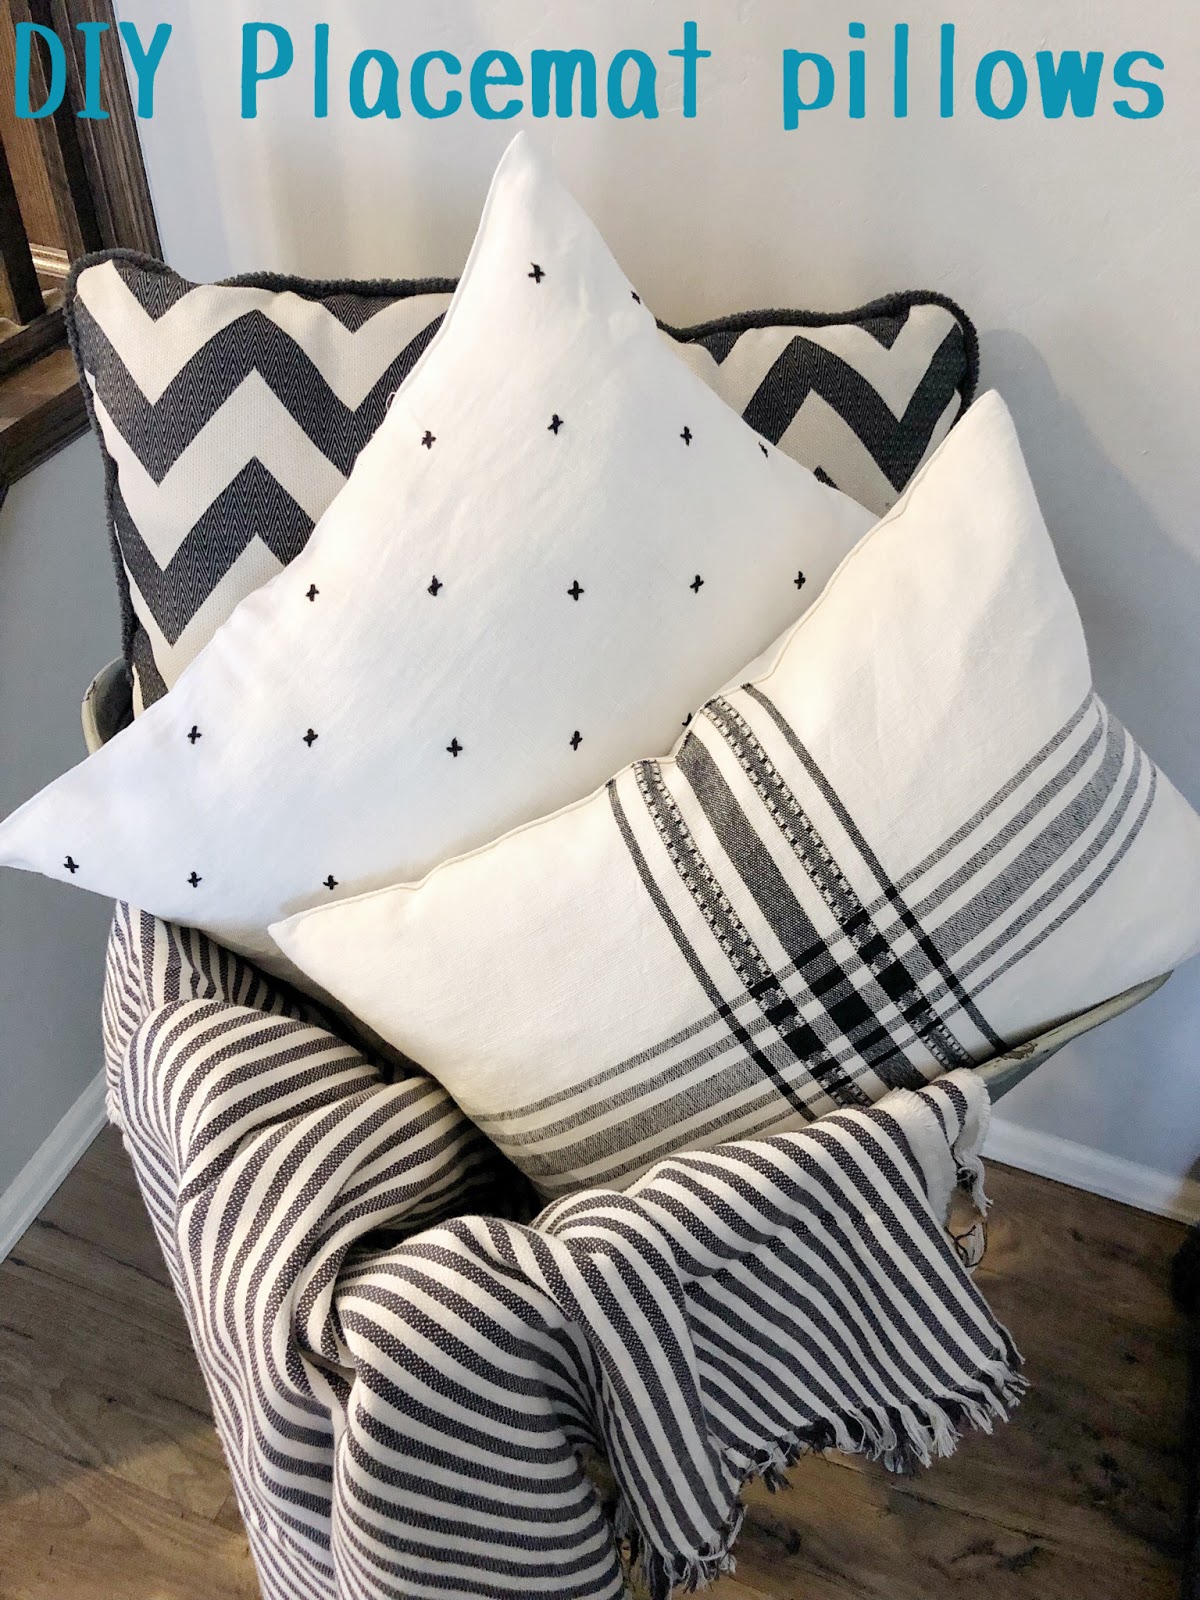
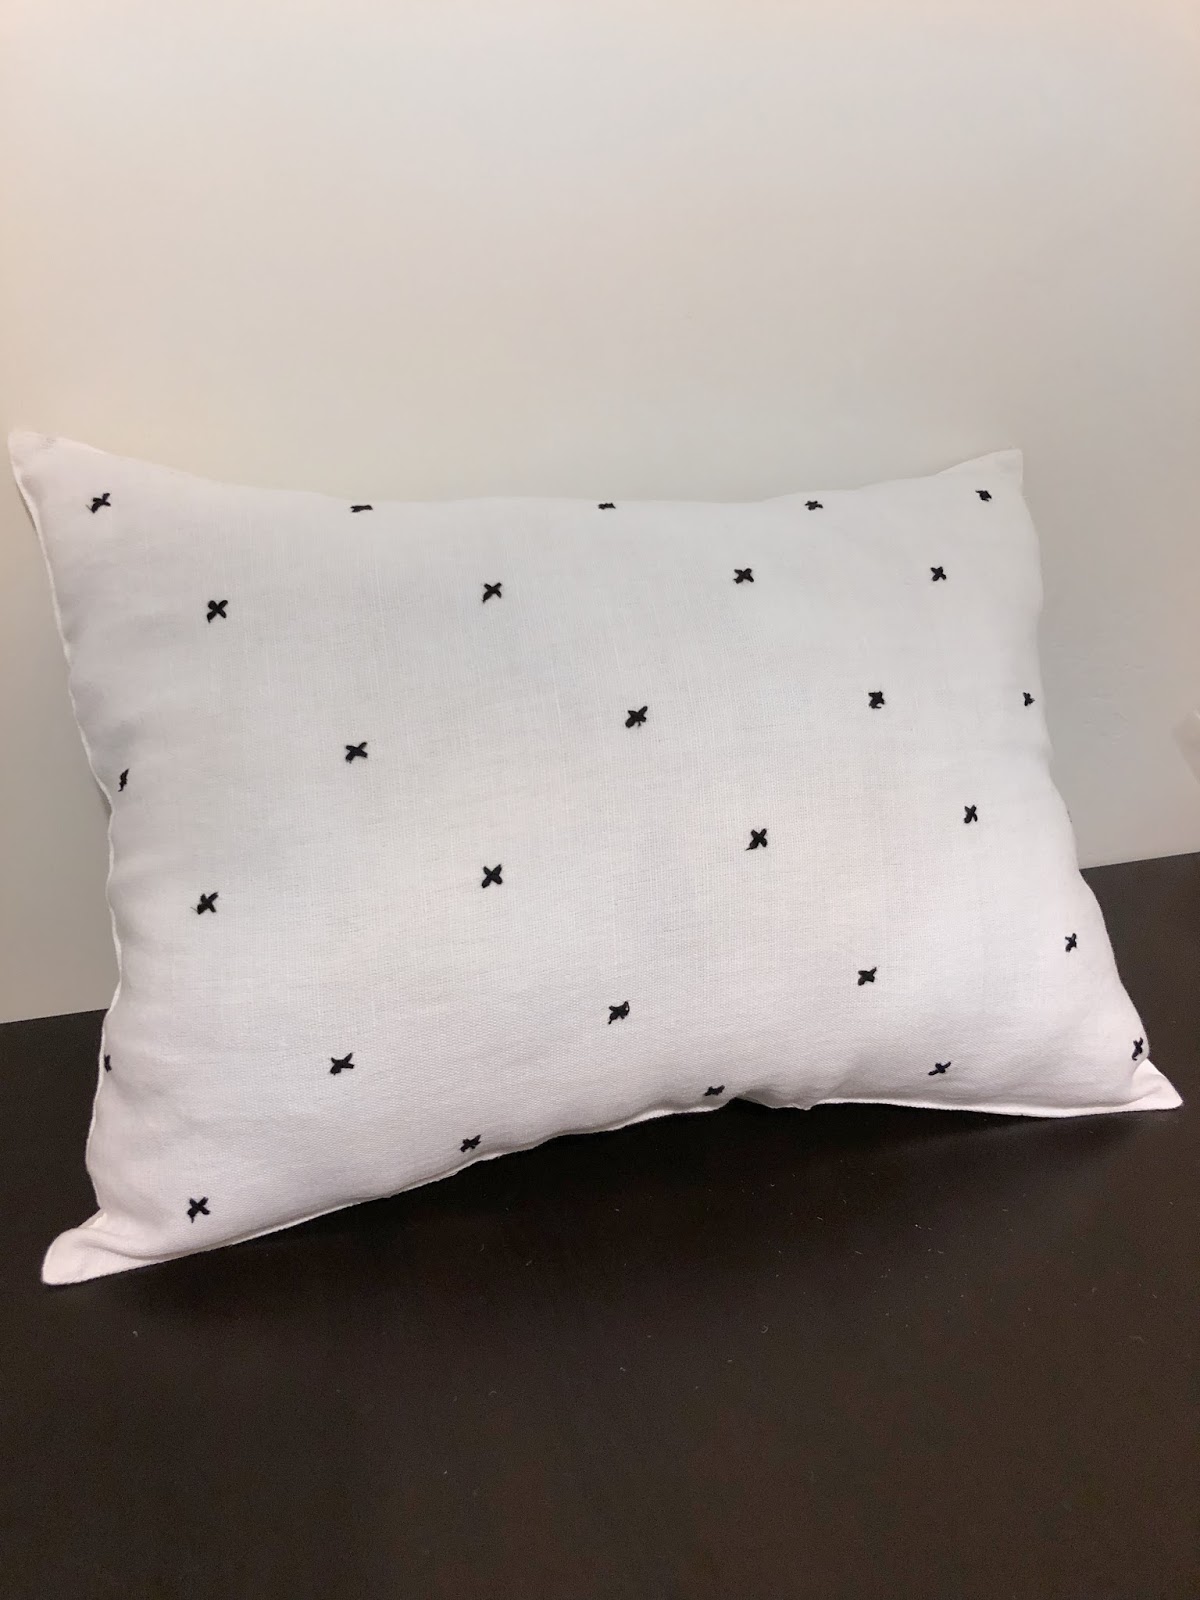
Throw pillows are one of the easiest ways to change up your decor and give it a fresh new look, and I love these DIY placemat pillows because they are very affordable! So here is what you need to make these cute pillows:
-Any placemat of your choosing (mine are from the Hearth and Hand Collection at Target)
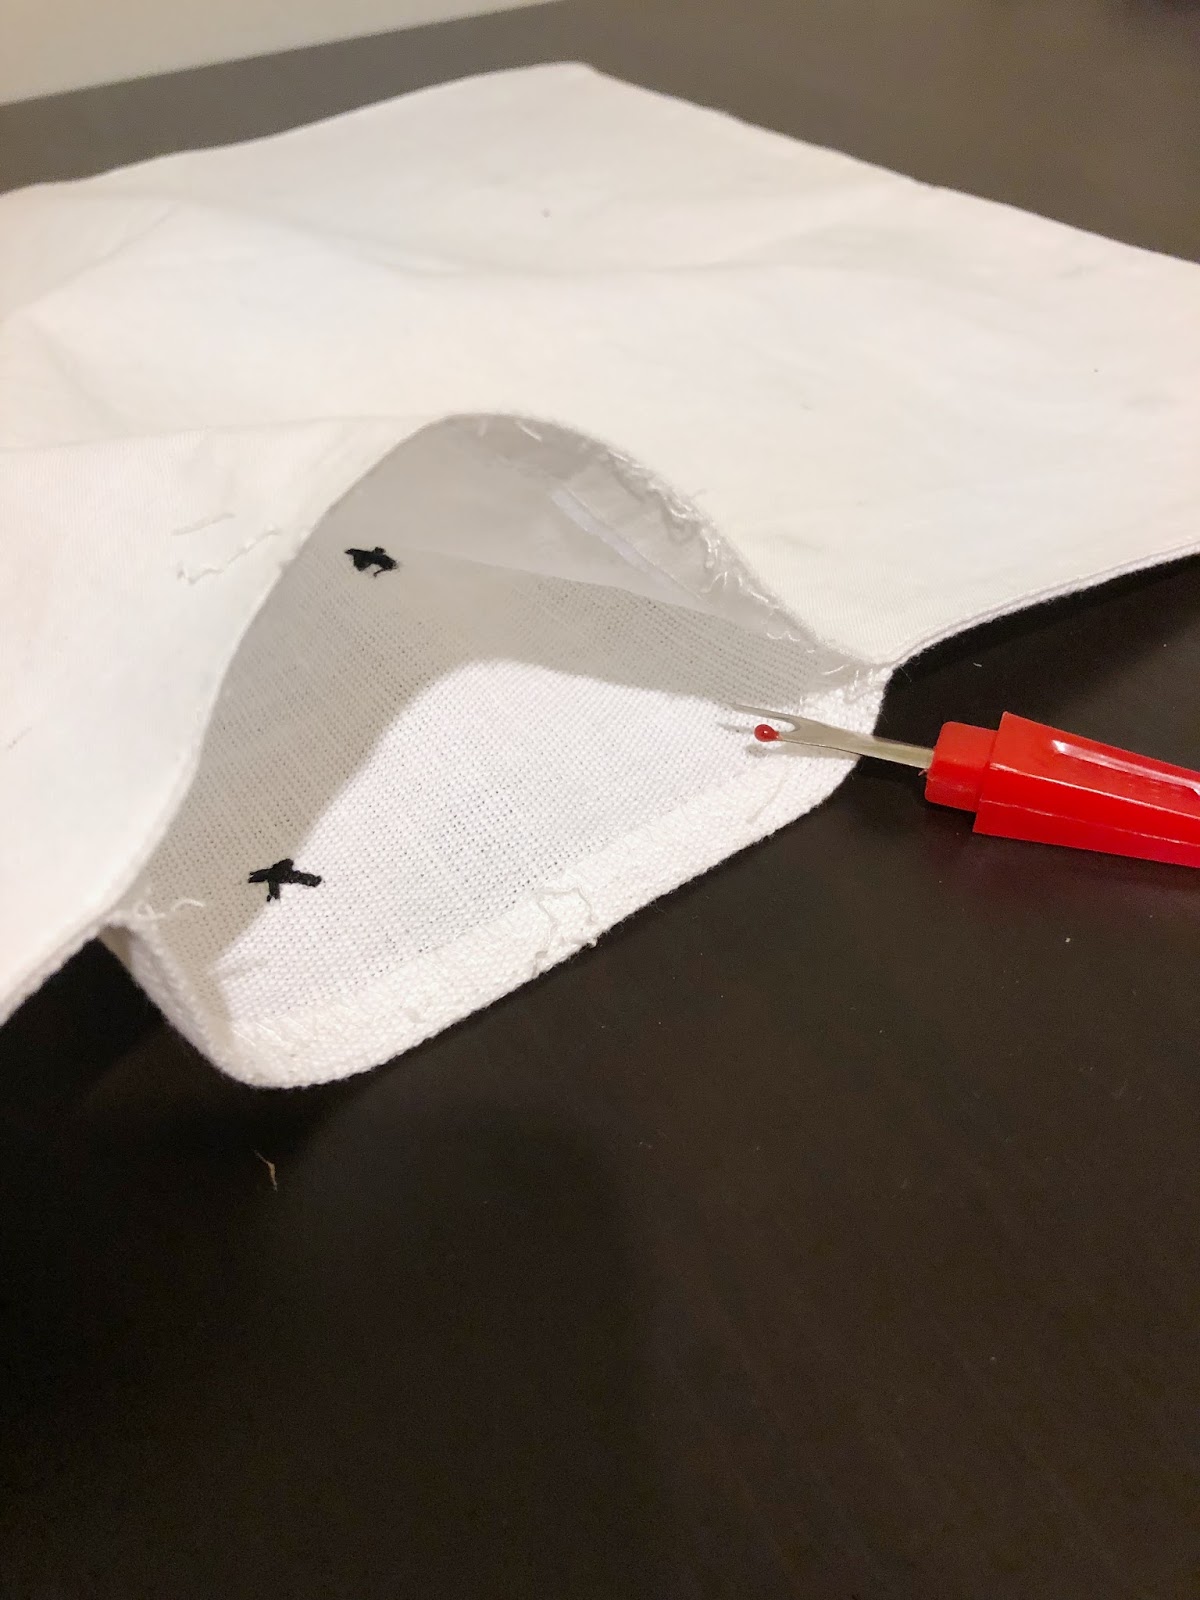
Step 1:
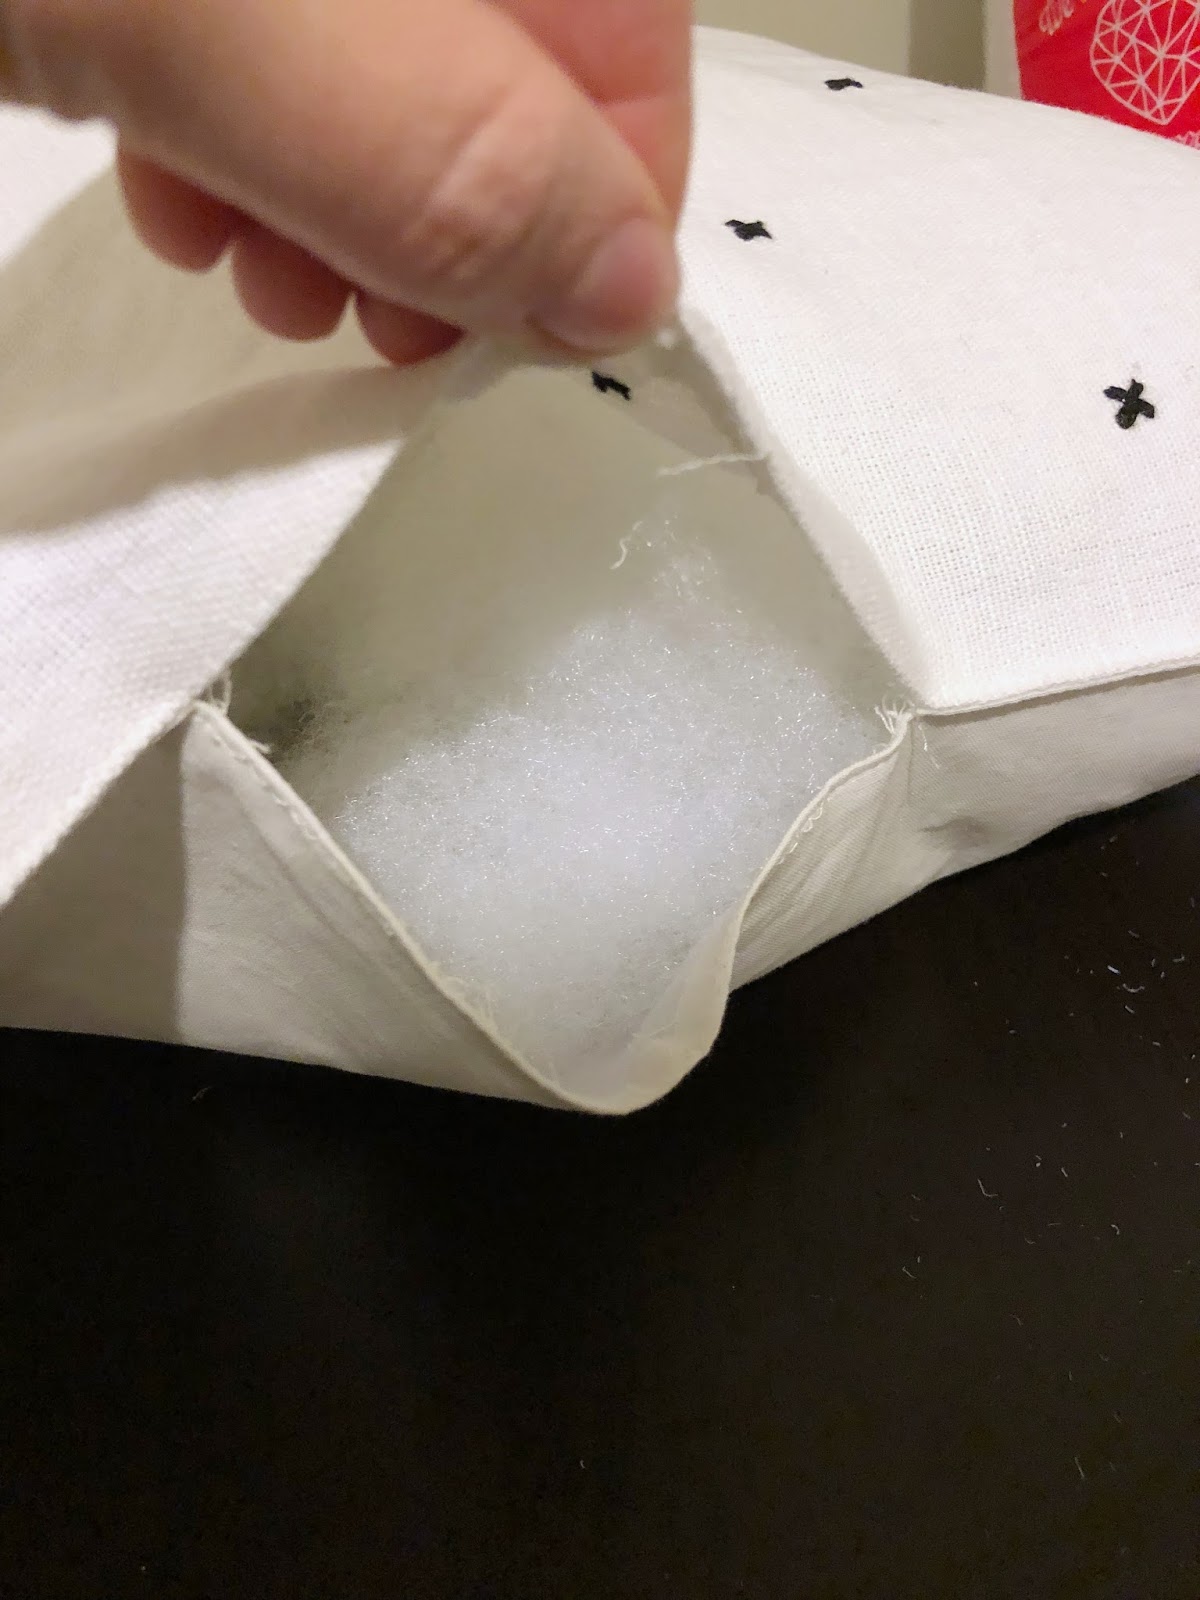
Find the seam along the bottom and use your seam ripper to cut the thread and make an opening about the width of your hand.
Step 2:
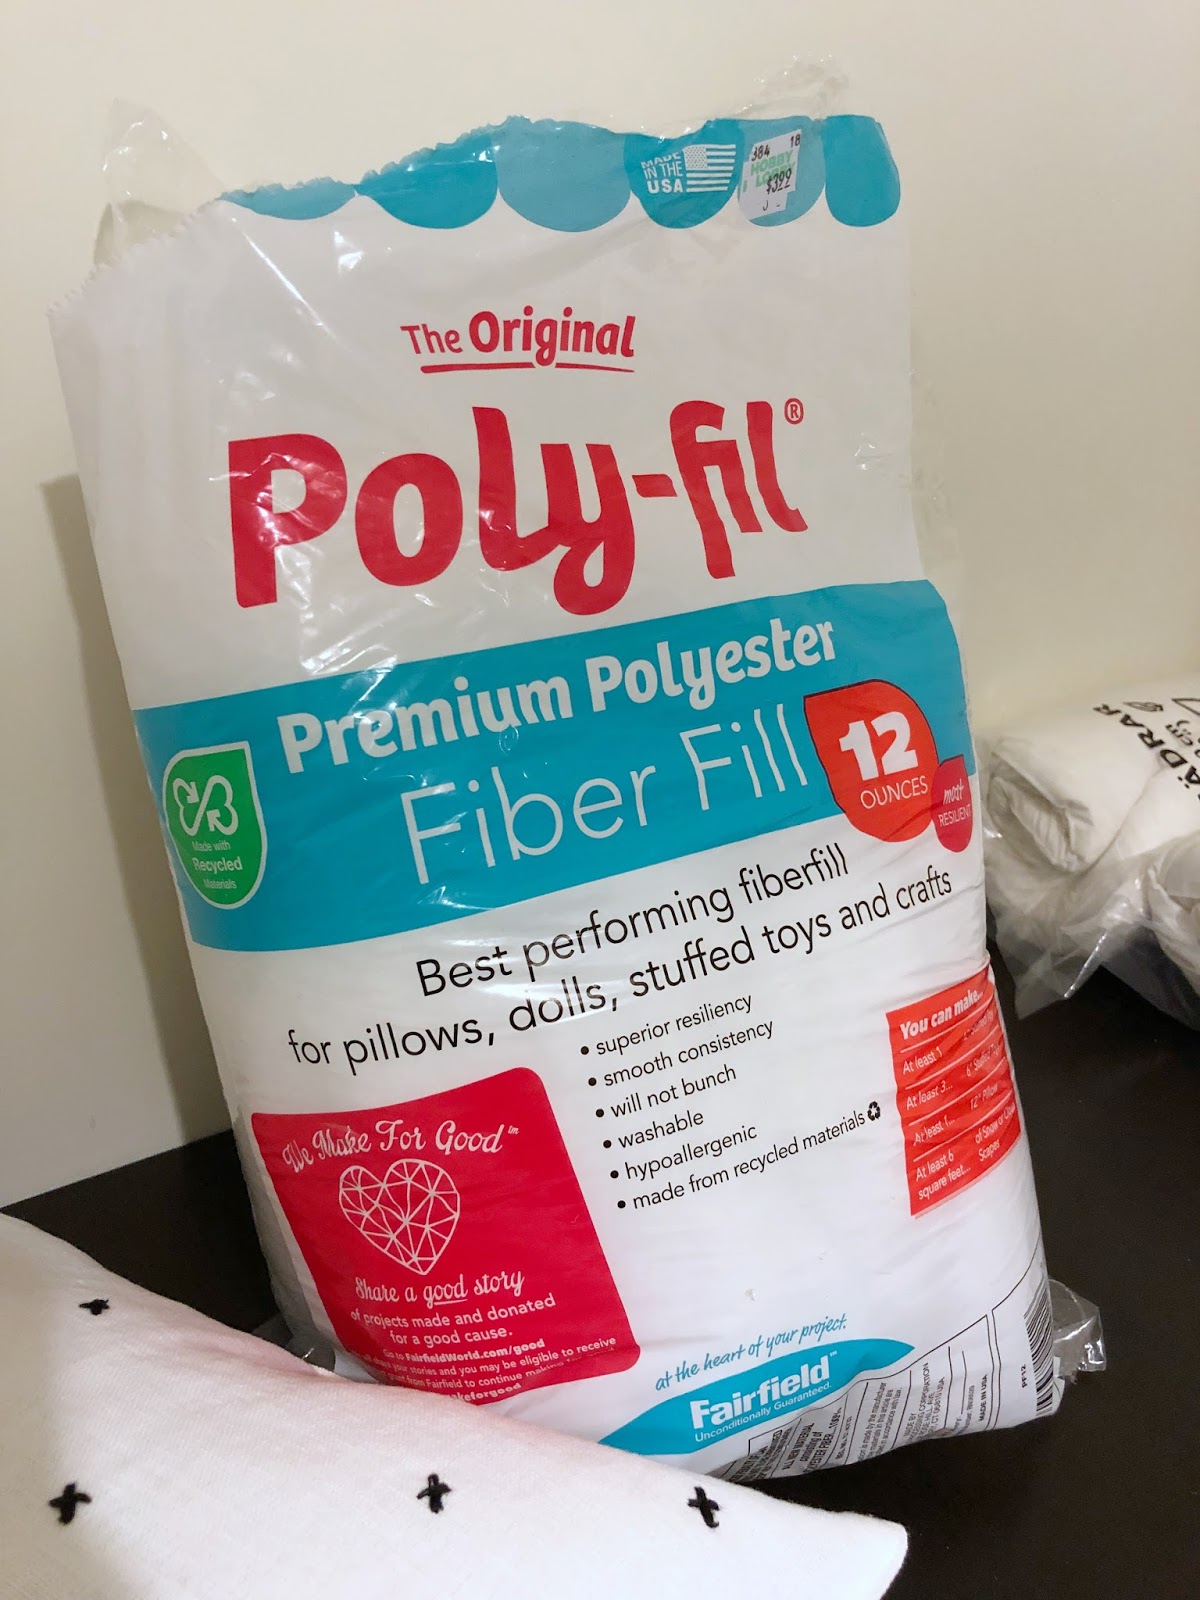
Take your bag of Poly-fil and stuff your placemat to the fullness you like. I ended up using the whole 12 oz size bag for one pillow, but I like mine to be full and over-stuffed.
Step 3:
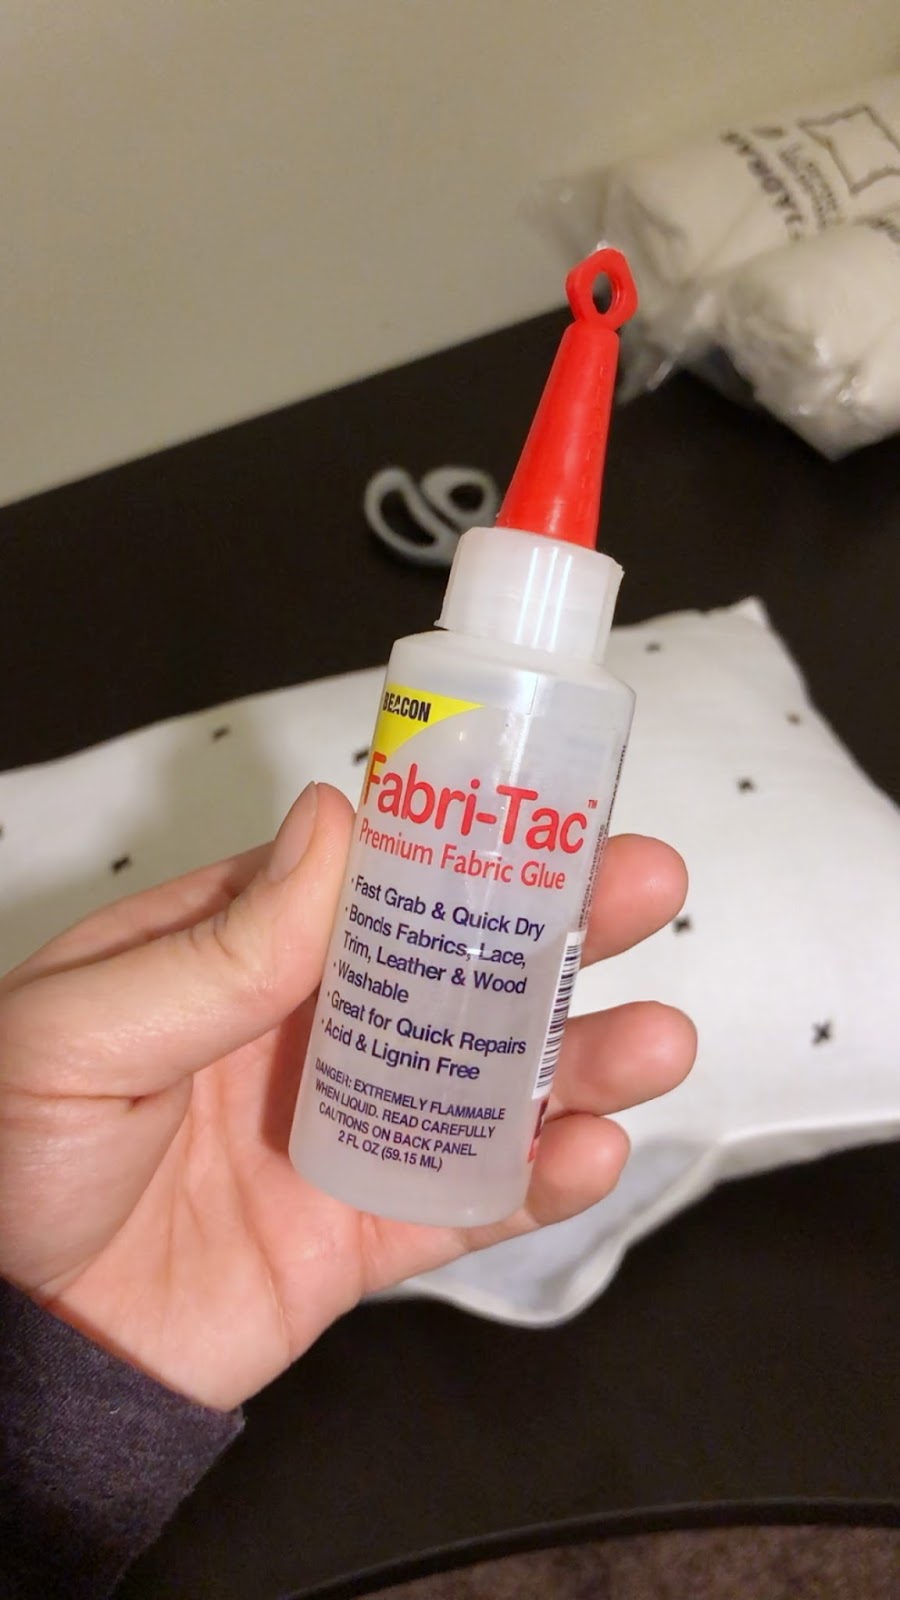
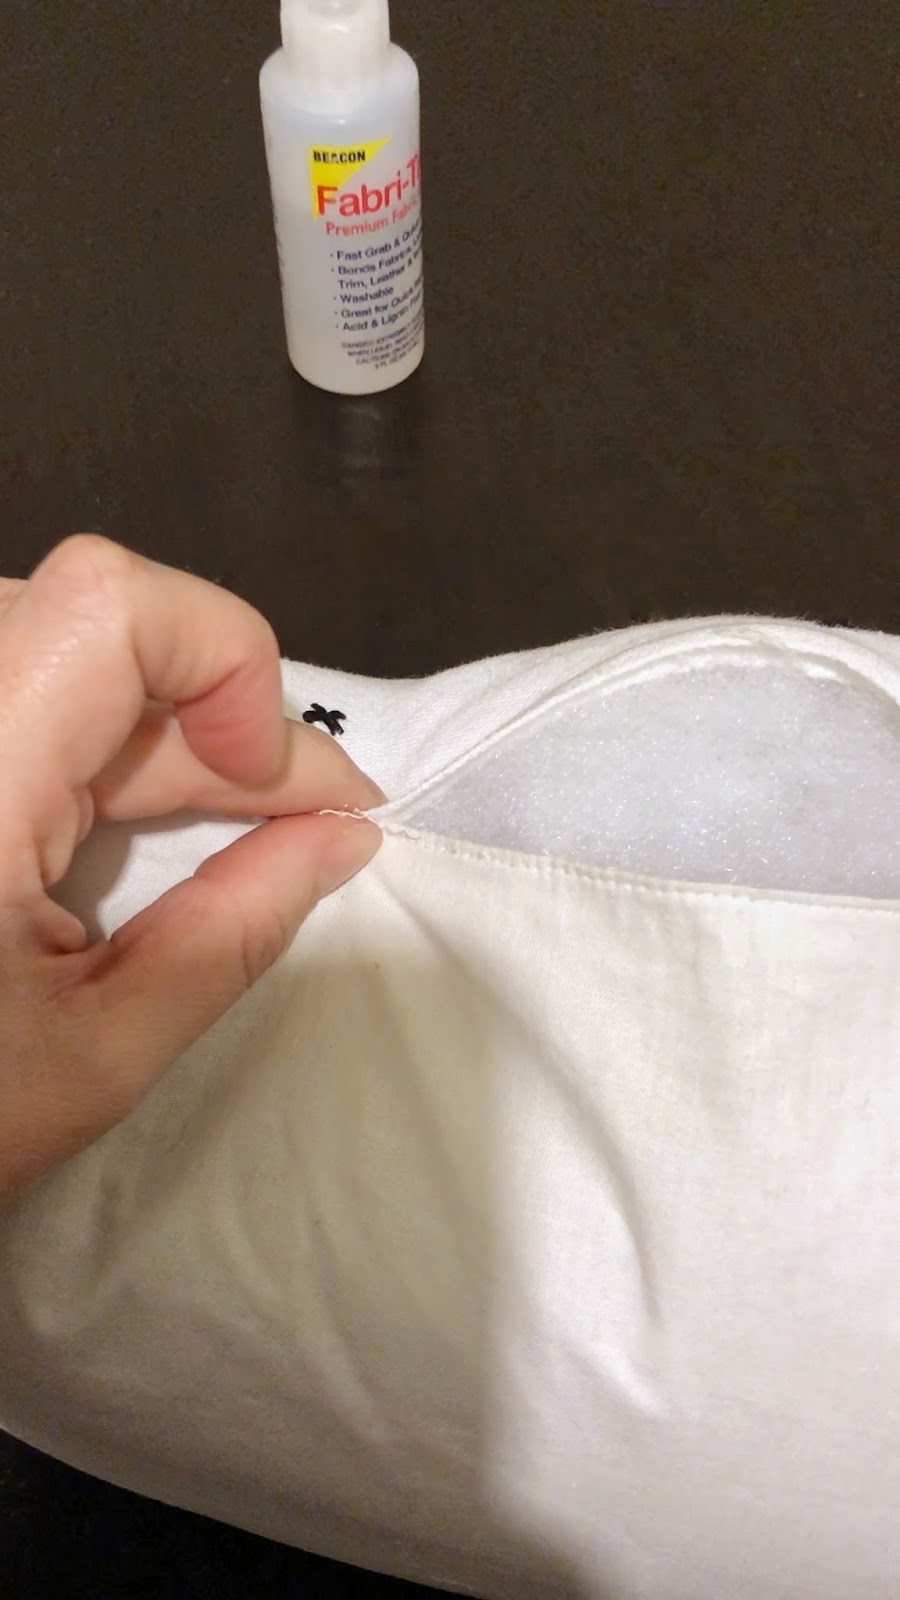
It’s time to close up your pillow! Take your fabric glue and run a little bit along the seam you opened with your seam ripper. Then pinch it together with your fingers for a few seconds until you can feel that it is holding. Continue this until you have completely closed your seam.
That’s it, pretty easy, right? And now you have a pillow!! I have also made these with down pillow inserts from Ikea instead of Poly-fil, and they work very well.
Hope you give this easy DIY a try!!
-Grey Birch Designs-
read more
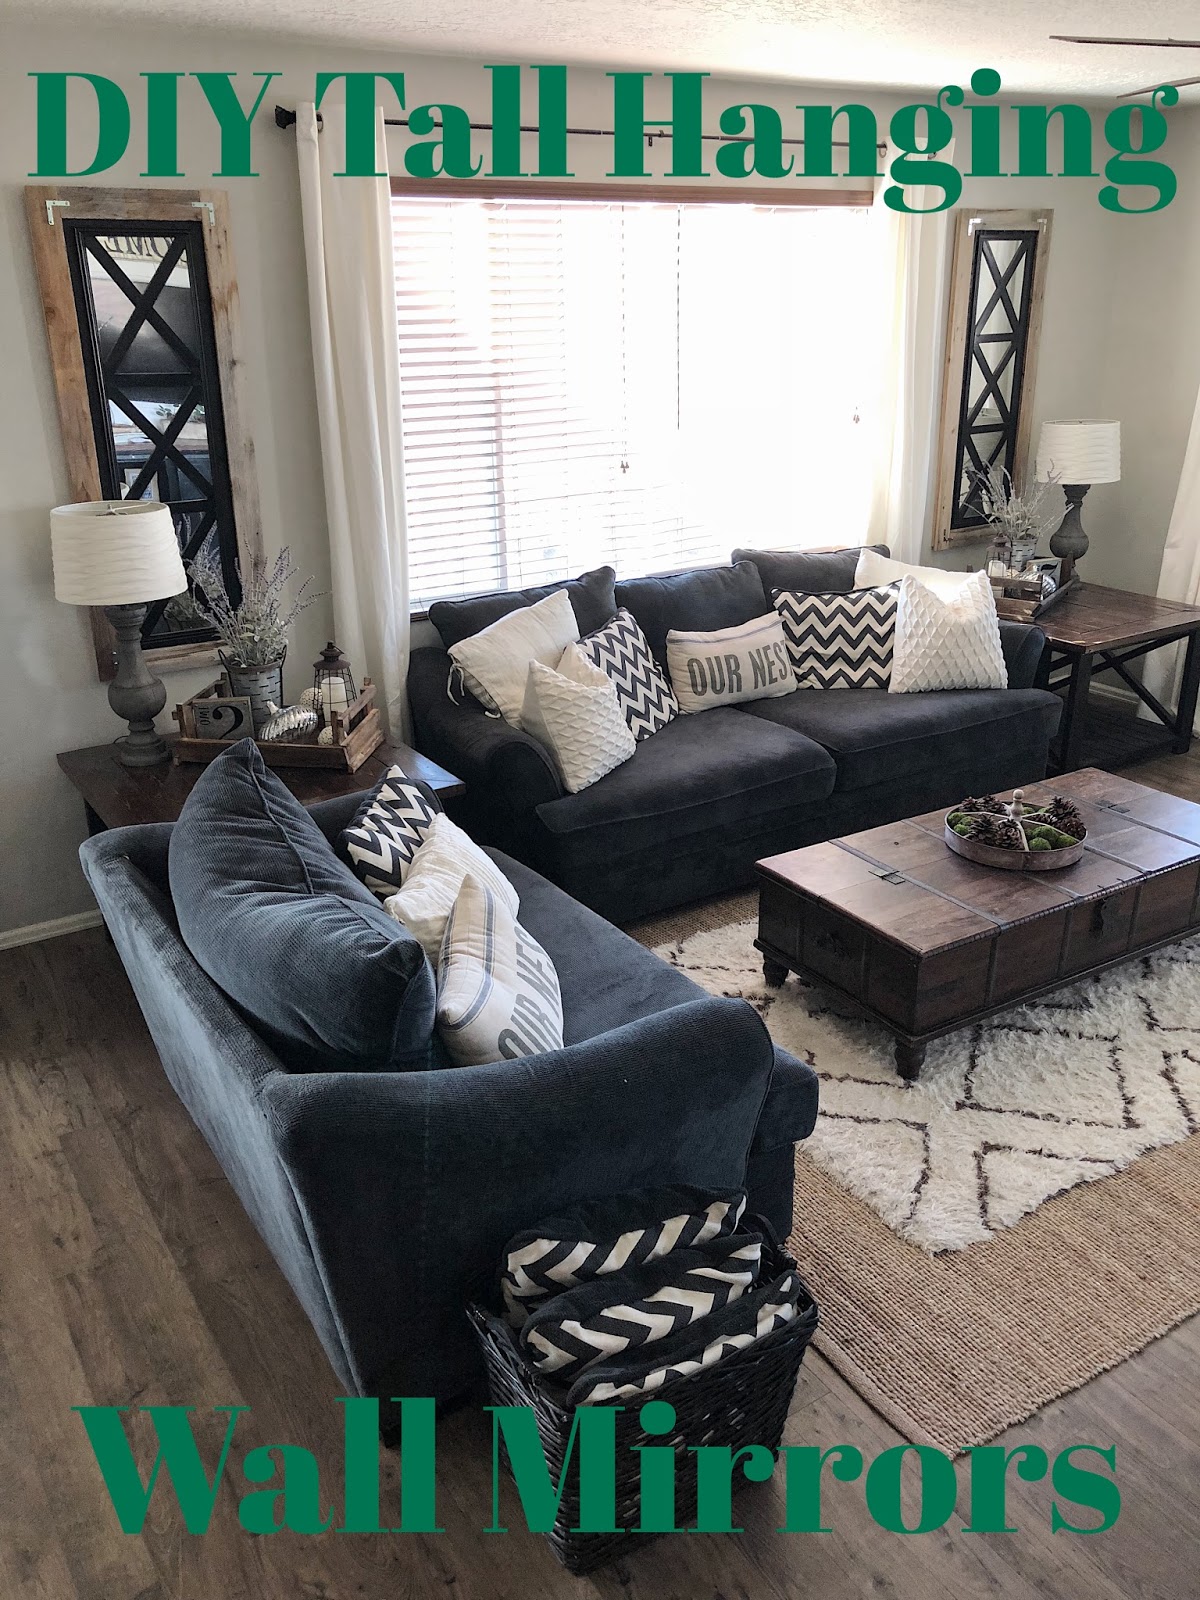
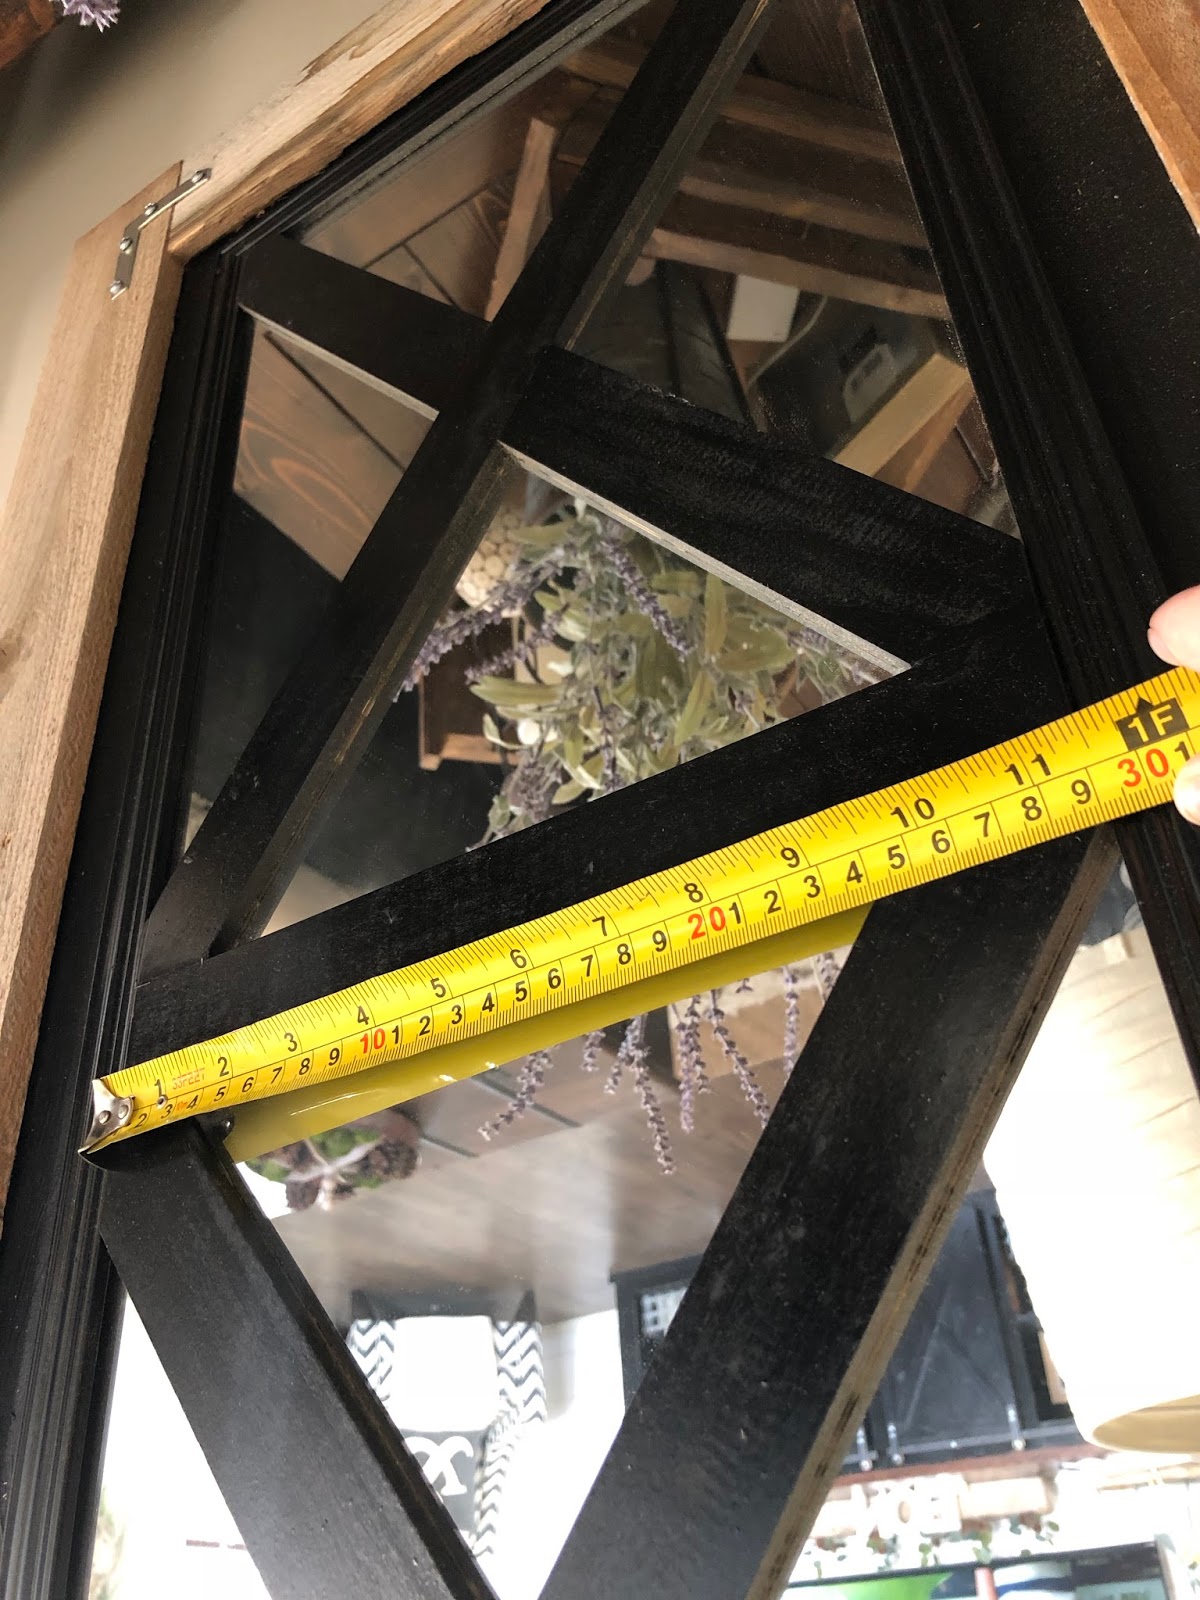
I am frequently asked about my living room mirrors and everyone is always surprised when I tell them they are actually a really easy DIY project I did. When we first moved into our new home I realized the living room needed a statement piece. I looked a lot of places to find tall designer inspired mirrors but just couldn’t bring myself to spend a lot of money, so I set out to try and make what I wanted for a fraction of the cost. I could’t be happier with how they turned out, here is a little overview of how I made these DIY wall mirrors.
Supply list:
You can find these at Target or Walmart for around $5!!
Cut to 57.5″ x 23″
(this can be customized a bit depending on the size mirror you get)
TIP: If you don’t have a large saw to cut the plywood Home Depot will cut it for FREE!
(I found mine off a local buy and sell page but Home Depot sells wood that looks similar, or you could buy any trim wood and stain it whatever color you like)
(they come in a few different sizes so you can pick the size you like best, I used the 2.5″ size)
– Wood trim (1.5″ wide and .25″ thick)
– Black paint
Tool List:
– Sander or sand paper
– Clamps
– Nail gun or hammer & nails
Once you get all your supplies together it’s an easy build from this point on!
STEP 1:
The first thing your going to want to do is paint your cut pieces of plywood and your trim pieces, and let them dry wile you make your other cuts.
STEP 2:
Now you are going to want to cut the barnwood to frame out your piece of plywood. Measure the top of your plywood, mark out the measurement on your barnwood, then take your miter saw set it at a 45 degree angle and cut. Repeat this step for the bottom and sides of the plywood.
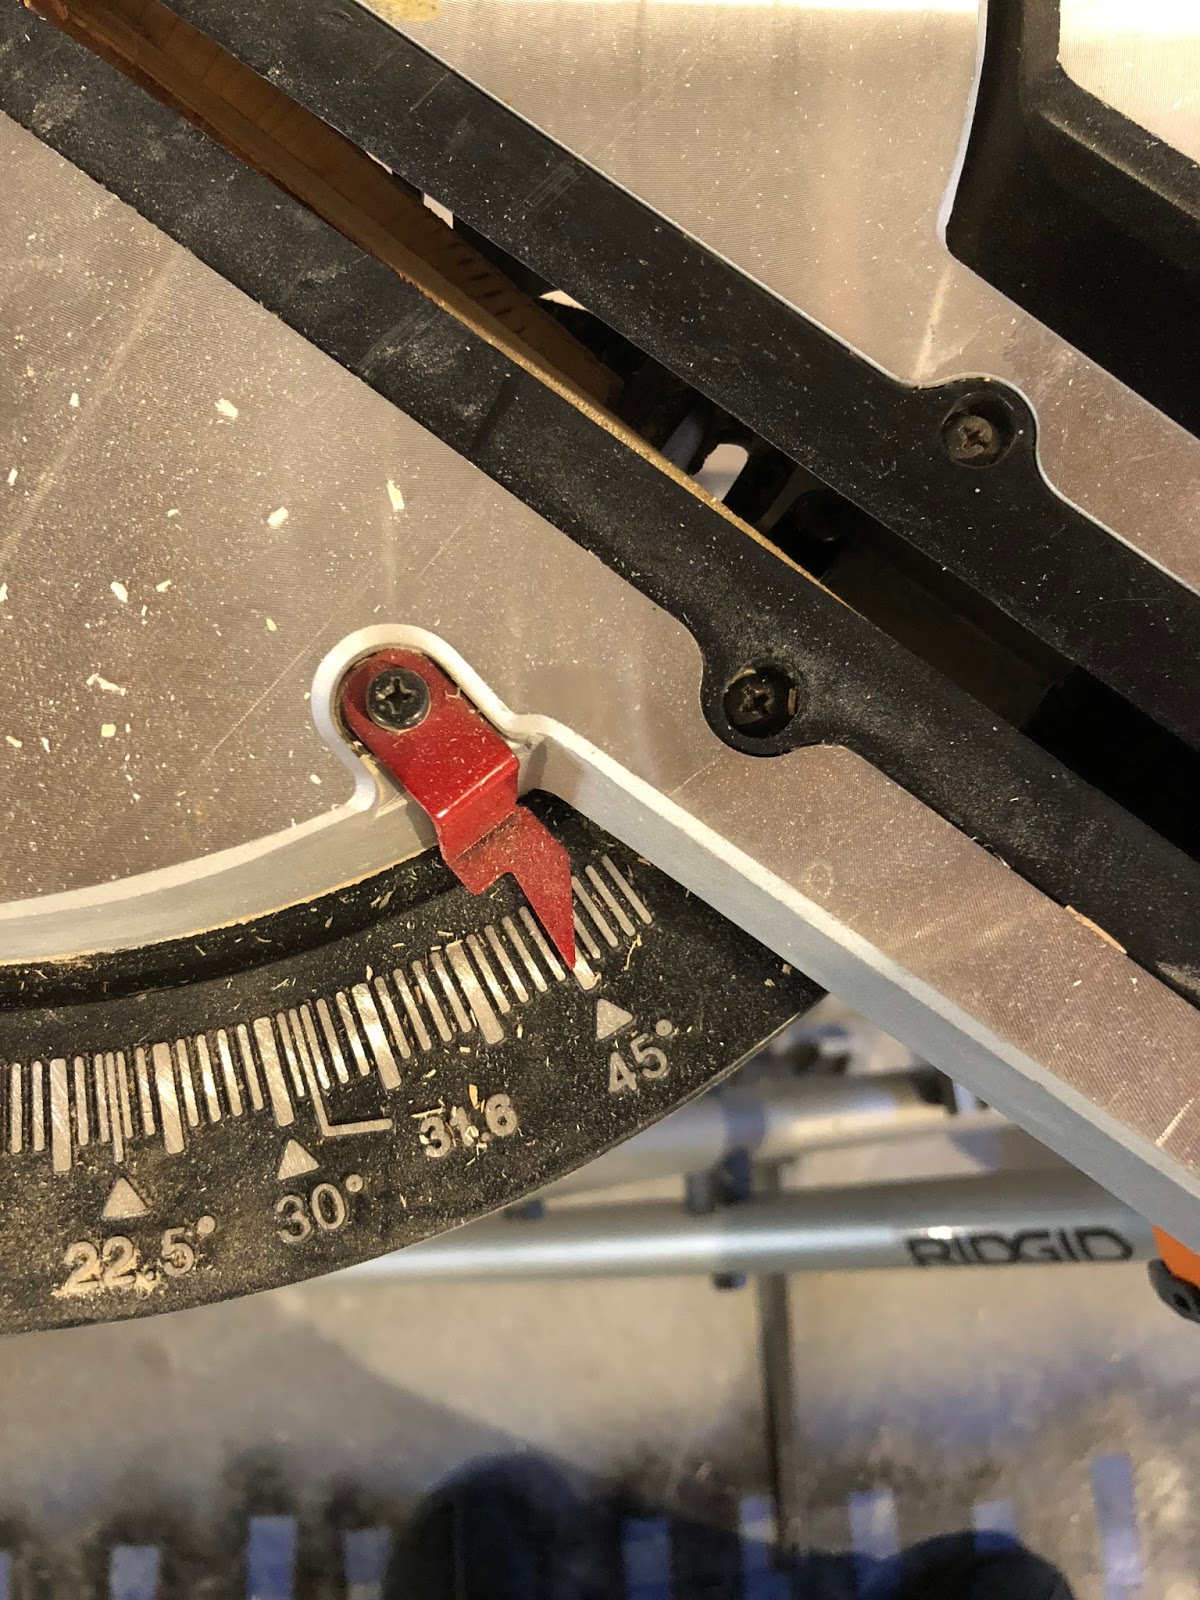
STEP 3:
Next you are going to cut the trim pieces to make the X’s on the mirror. First you are going to divide the hight of the mirror into 3 equal sections. Then mesuere the with and cut 2 pieces to make the boxes.
STEP 4:
Now to make the X’s you will need to measure each box on a diangal (do each one seperately because the boxes can vary in size slightly) once you have the measurement you are going to make cuts to fit into the corners of the boxes. The best way to do this is to trace the angles on the wood and cut them on the saw. Repeat this step until you have all the wood trim cut to put your boxes and X’s together.
STEP 5:
Now it’s time to put everything together!! Lay out your wood trim pieces on the mirror. Once you get them how you want, take some clear silicone adhesive and glue each piece down to the mirror. Depending on how tight fitting your wood trim pieces meet up you may want to fill the small gaps with some wood filler.
STEP 6:
Now its time to attach your mirror to the plywood. Use the same adhesive on the back of the mirror and glue it down to the middle of the plywood.
STEP 7:
Time to attach your barnwood frame! Take each piece you have already cut and attach it with some wood glue. Then take your clamps and clamp the wood down wile you secure each piece with a few nails.

STEP 8:
After everything is done drying, if you used wood filler now is the time to sand it and touch up the paint. Then the final step is to add the hanging hardware. There are many ways you can do this. I like to drive 2 screws several inches apart into the back of the wood and connect them with picture hanging wire.

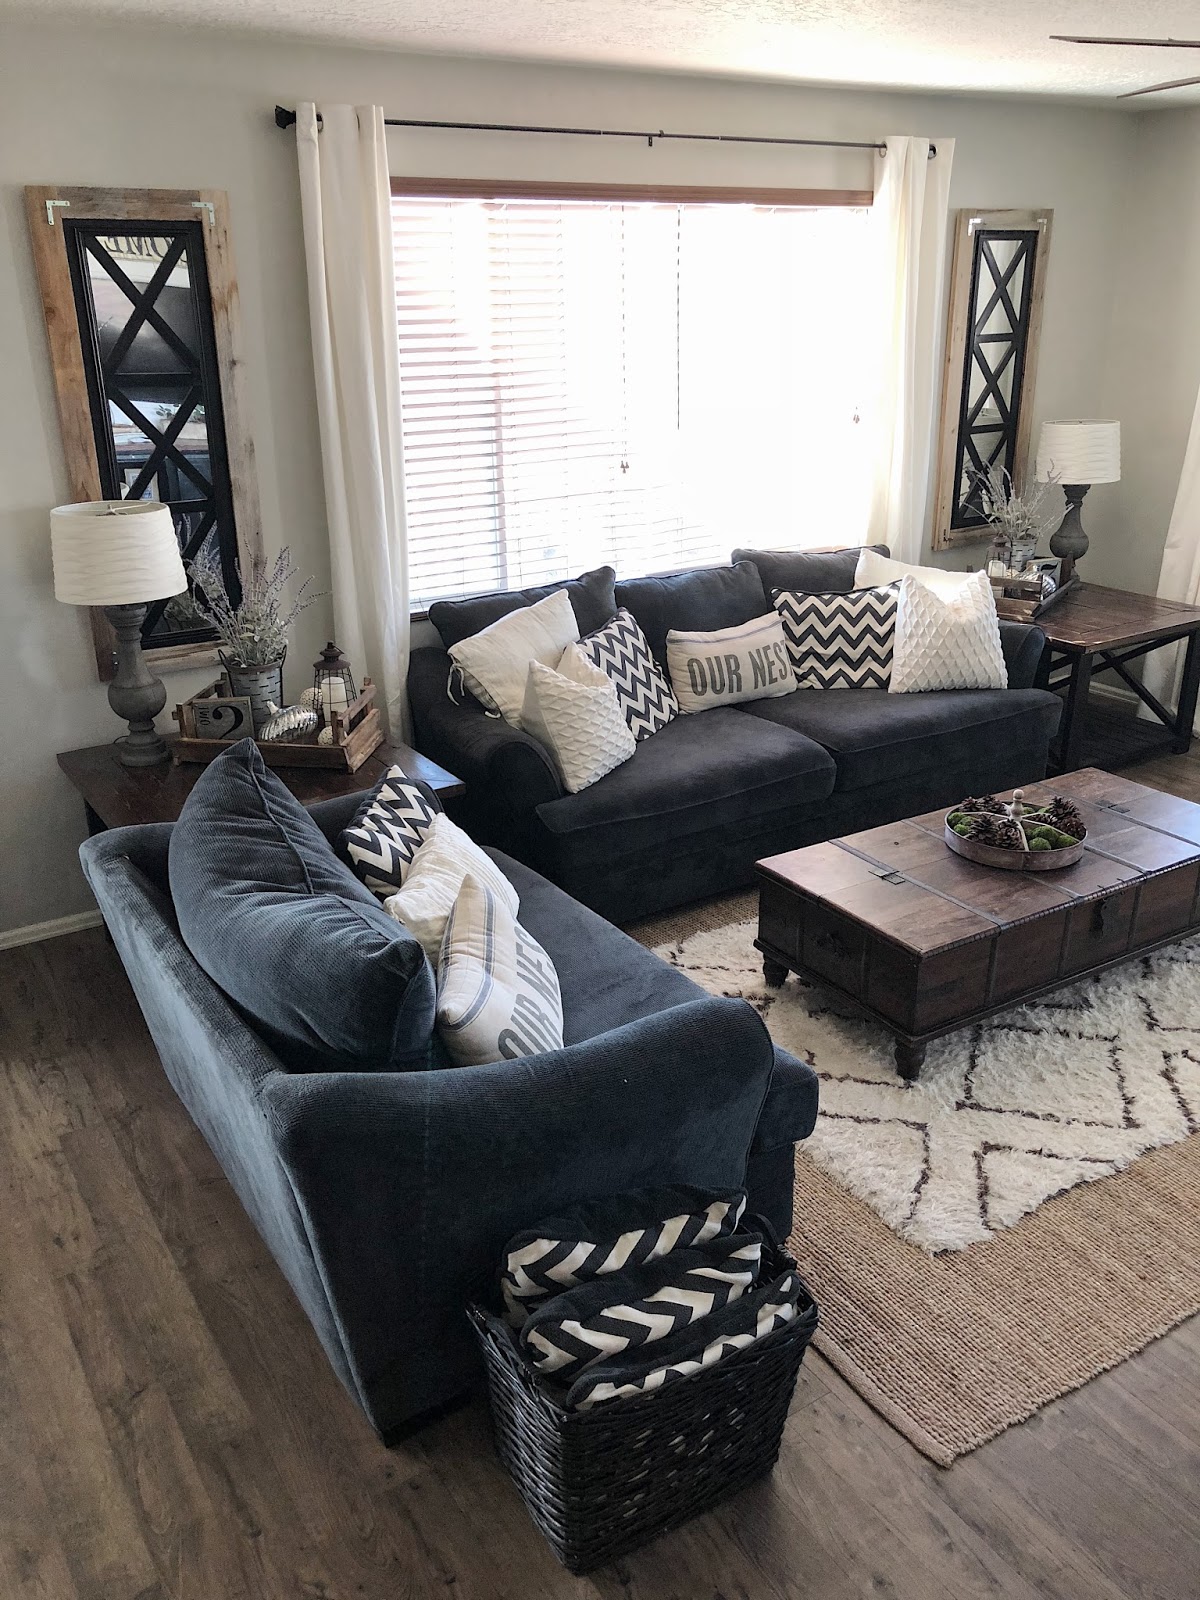
That’s it, your done, and now you have a beautiful custom mirror without the designer price tag!!
I hope you find this tutorial helpful and give it a try. I love seeing your projects so send me pics of your finished pieces!!
-Grey Birch Designs-