


read more
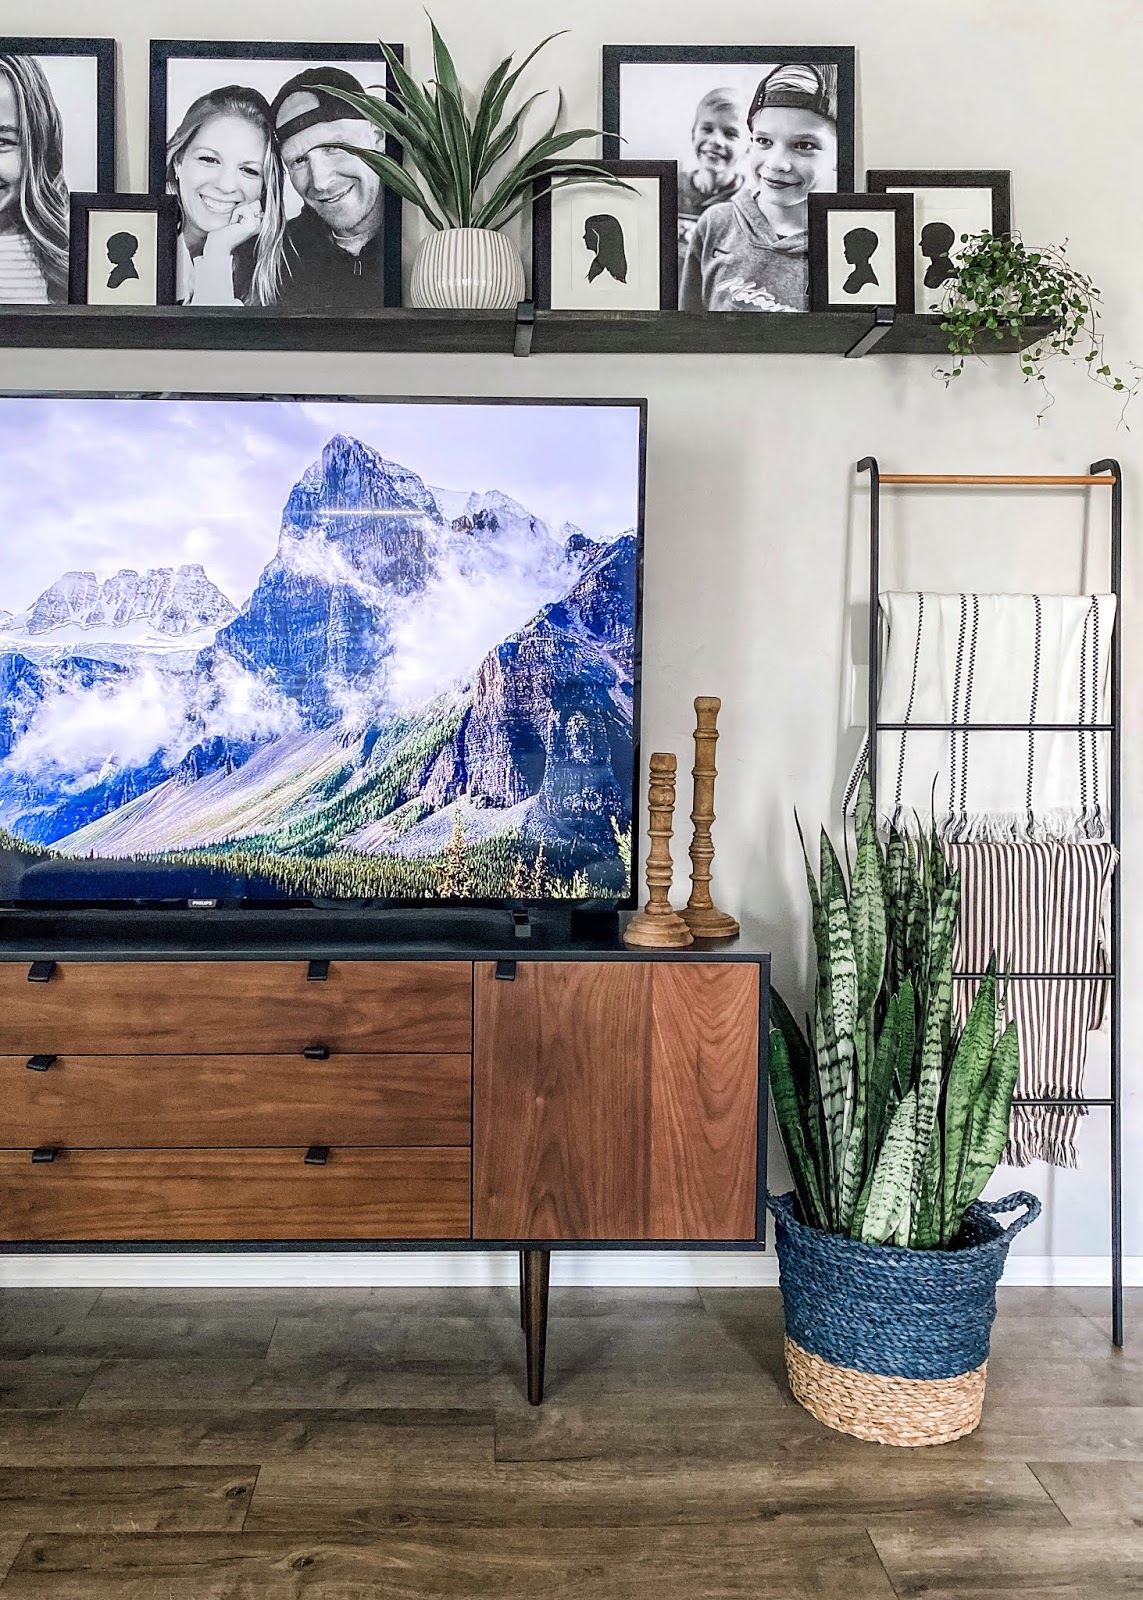
I recently gave our loft/playroom a refresh that fits our growing kids and their needs. I loved how the room came together but the TV wall bothered me. When we replaced our old TV with this larger TV the photo wall didn’t look right anymore. I needed to come up with a different design.
I had a vision in my head and for a certain type of picture shelf but I couldn’t find it anywhere – so that meant I had to DIY it! The TV wall is long and I wanted one large shelf, not two put together.
For this project I used:
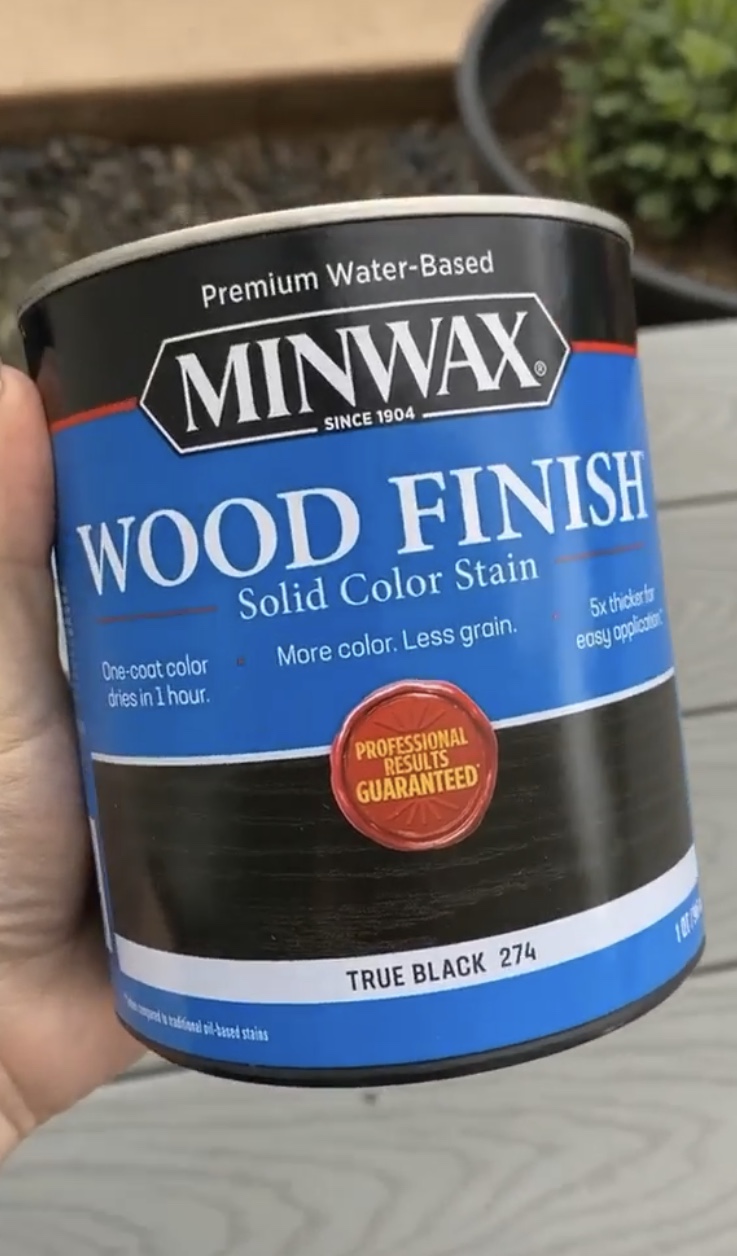
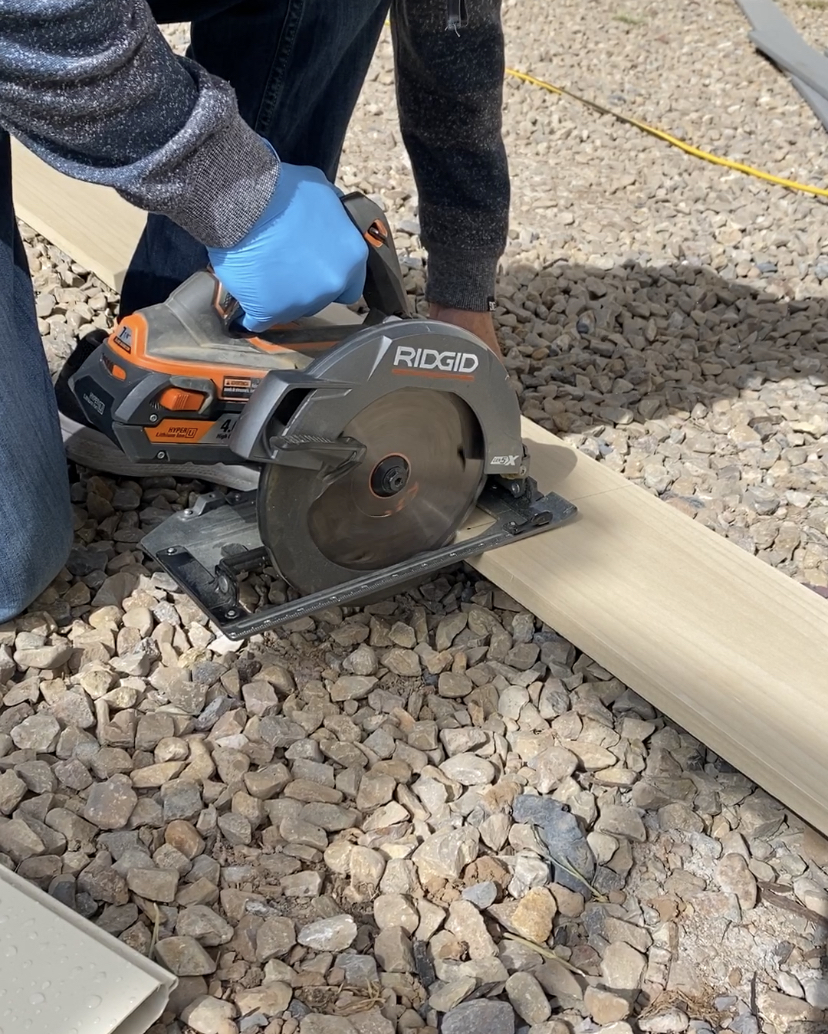
Since the wall is 12′ we cut the board down to 10′, which fills the wall but leaves a little bit of space on the sides. We used a circular saw to make the straight cut and then stained the wood with black wood stain and cloth rags
I found the best was to apply the stain evenly was to work in smaller areas and wipe off the stain quickly after applying it. If you have an extra set of hands it’s quick and easy to have one person apply the stain while the other follows right behind wiping it off!
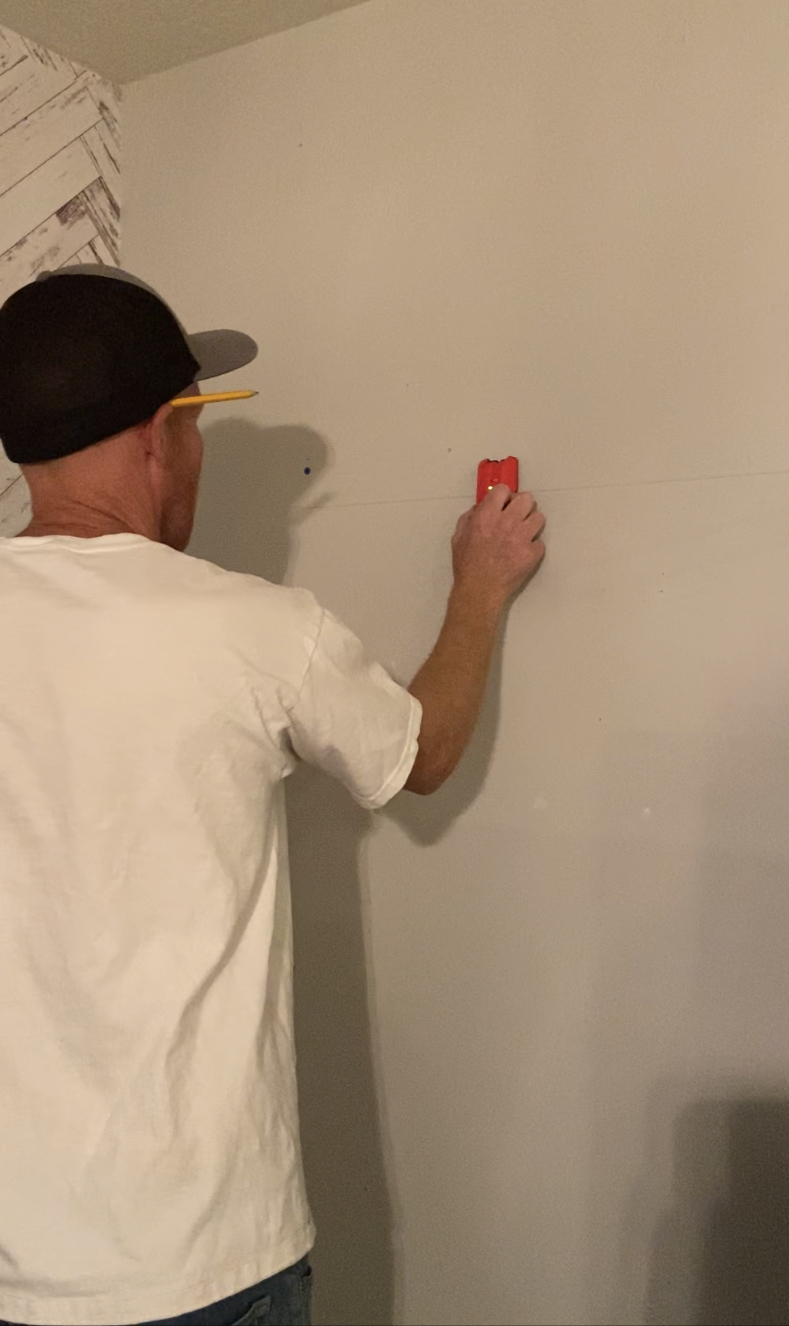
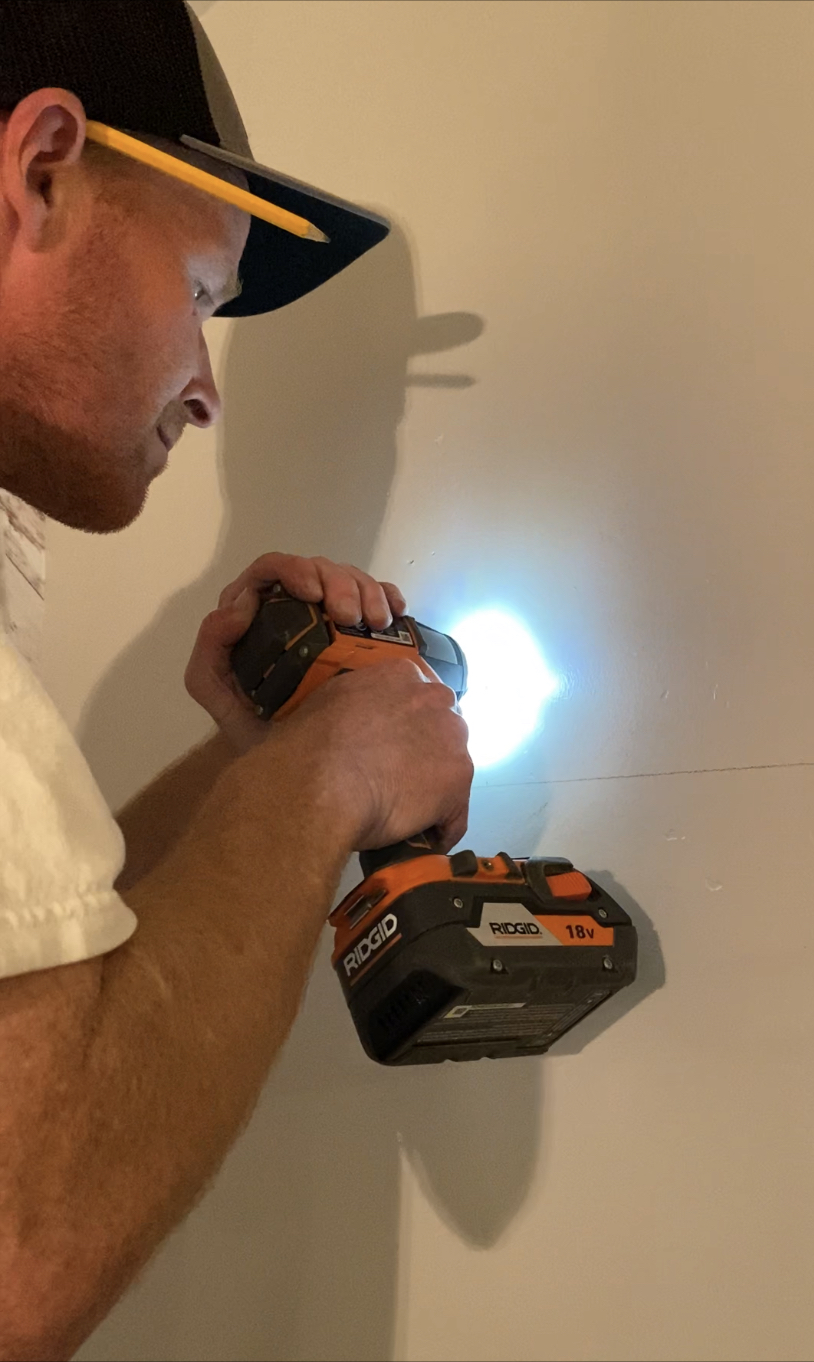
I let the stain dry for a few hours before I put it up on the wall. To install the shelf we held the board up on the wall where we wanted it and used a level to make sure it was straight. Then we drew a level line on the wall across the top of the wood. This makes it easier to attach the brackets to the wall without having to also hold up the wood shelf.
Next we found and marked the studs. For this long shelf we used 4 of the metal brackets. We pre-drilled the holes and then attached the brackets to the wall with 2
inch screws. Once that was done we simply slid the wood into the brackets and then it was time to decorate!
inch screws. Once that was done we simply slid the wood into the brackets and then it was time to decorate!
I used a mix of large black and white family photos, hand cut silhouettes of our whole family, and some new house plants I picked up from Trader Joe’s.
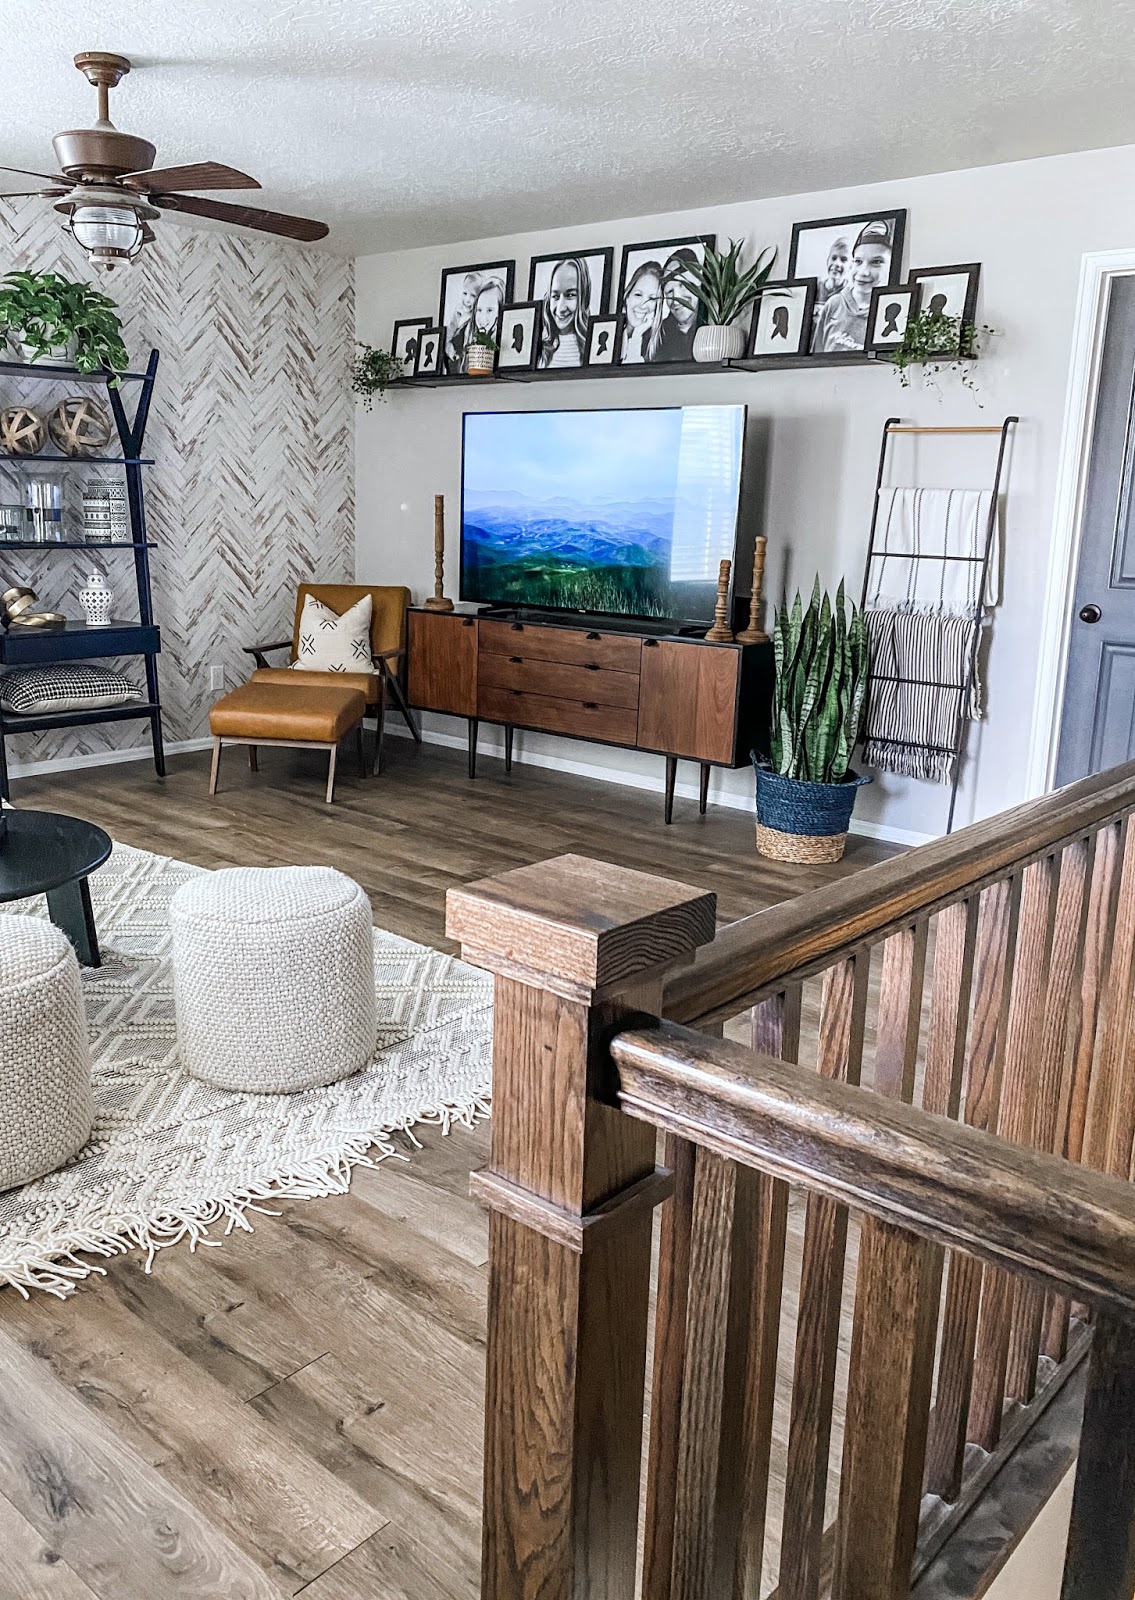
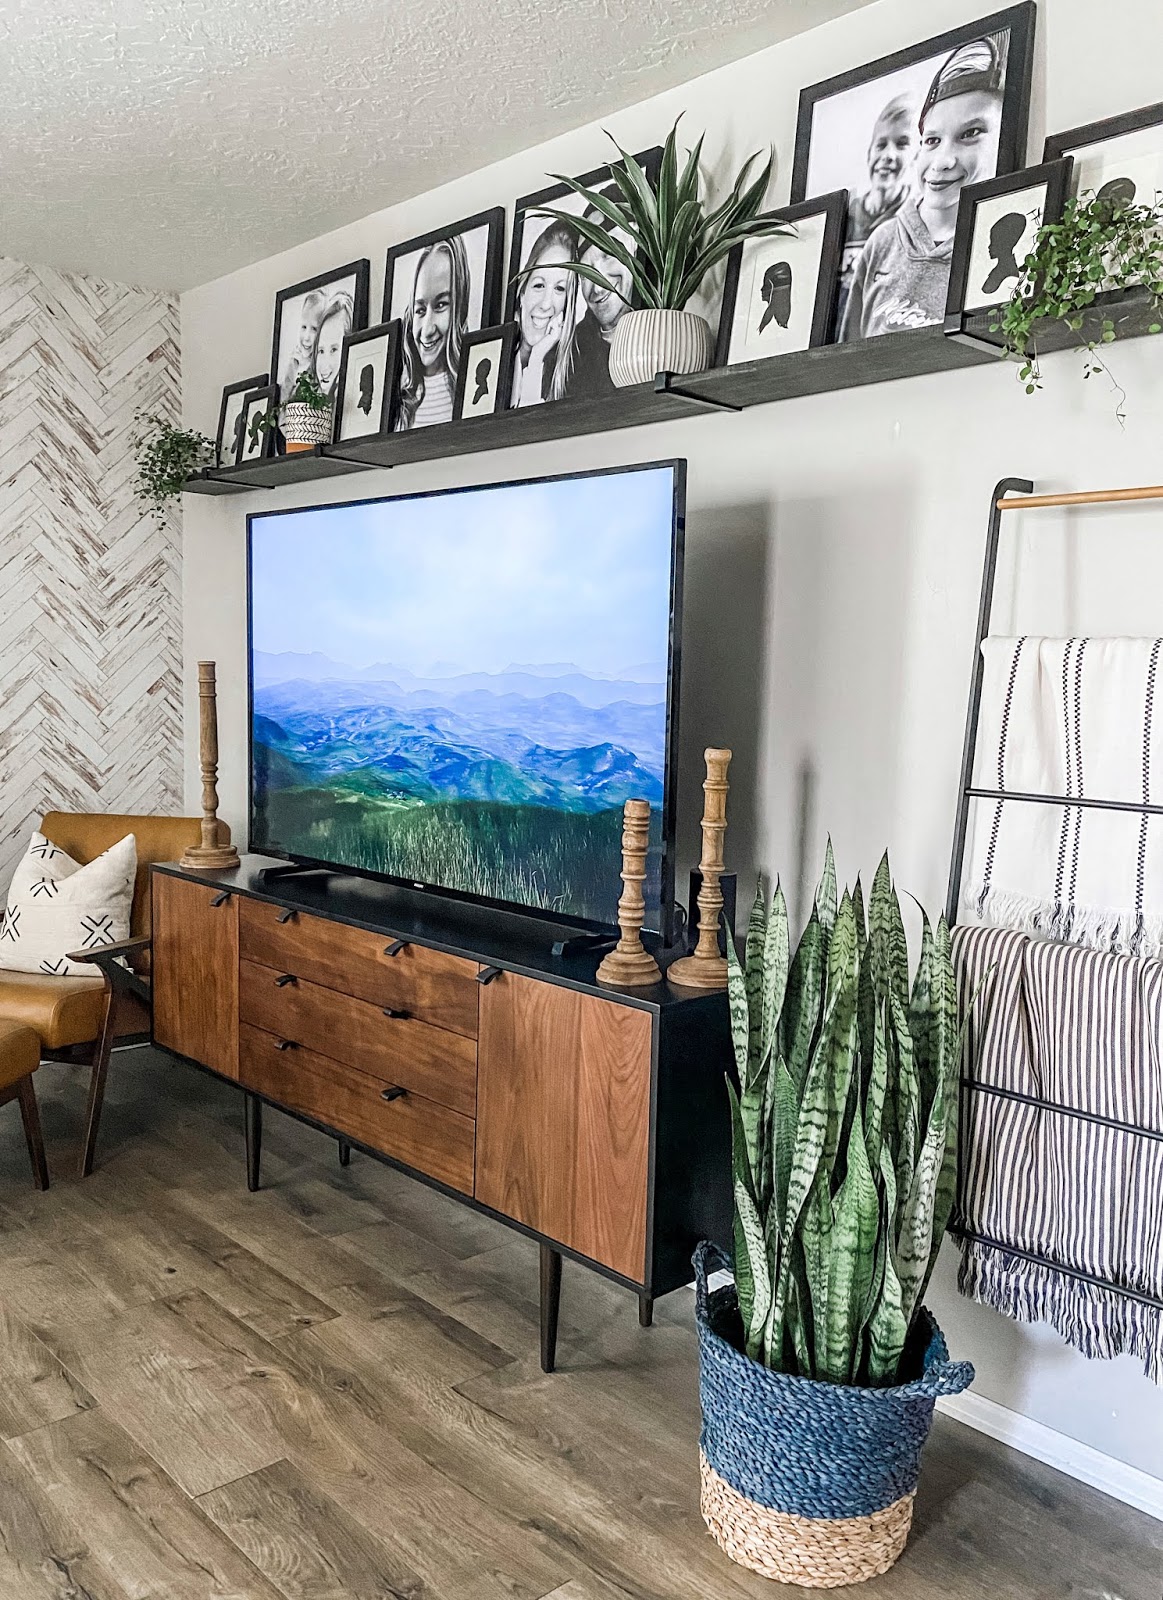
I’m incredibly happy with how this simple project turned out. Finally I love every aspect of our new and improved loft/kids hangout room! To see this project in action check out this video of us putting the whole project together!
-Grey Birch Designs-
read more
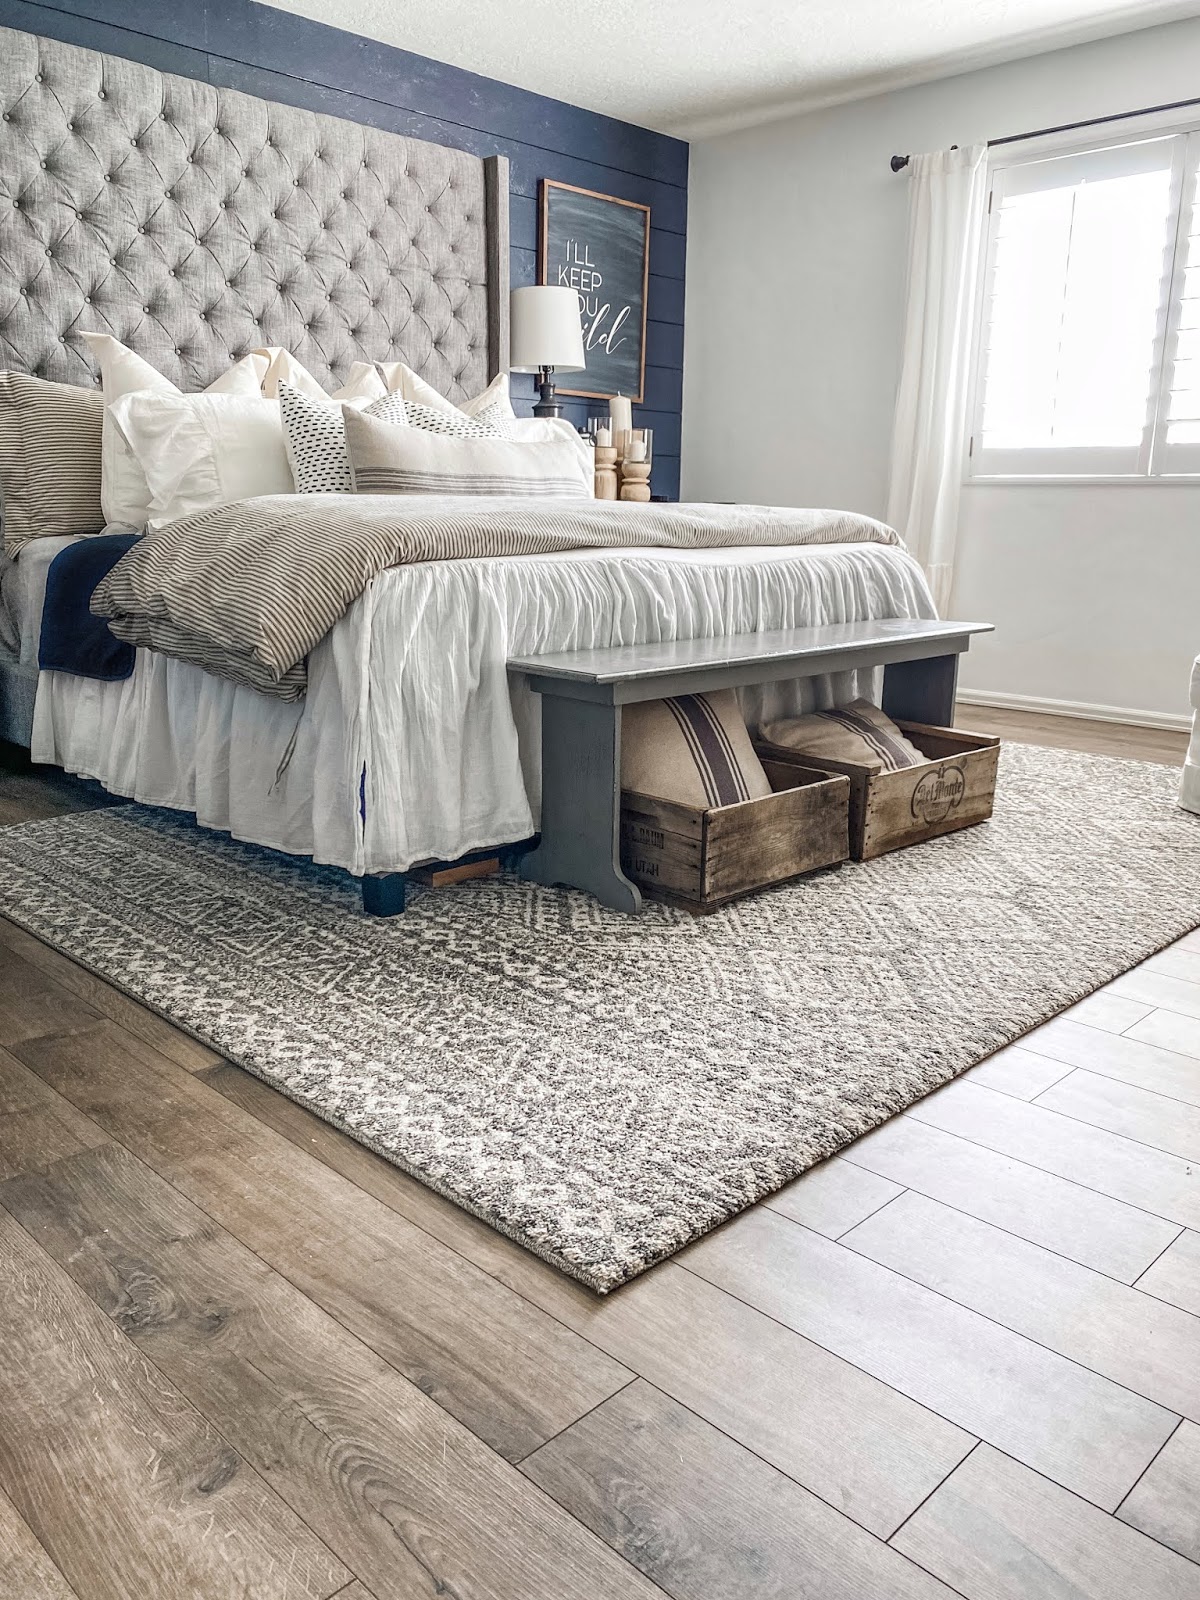
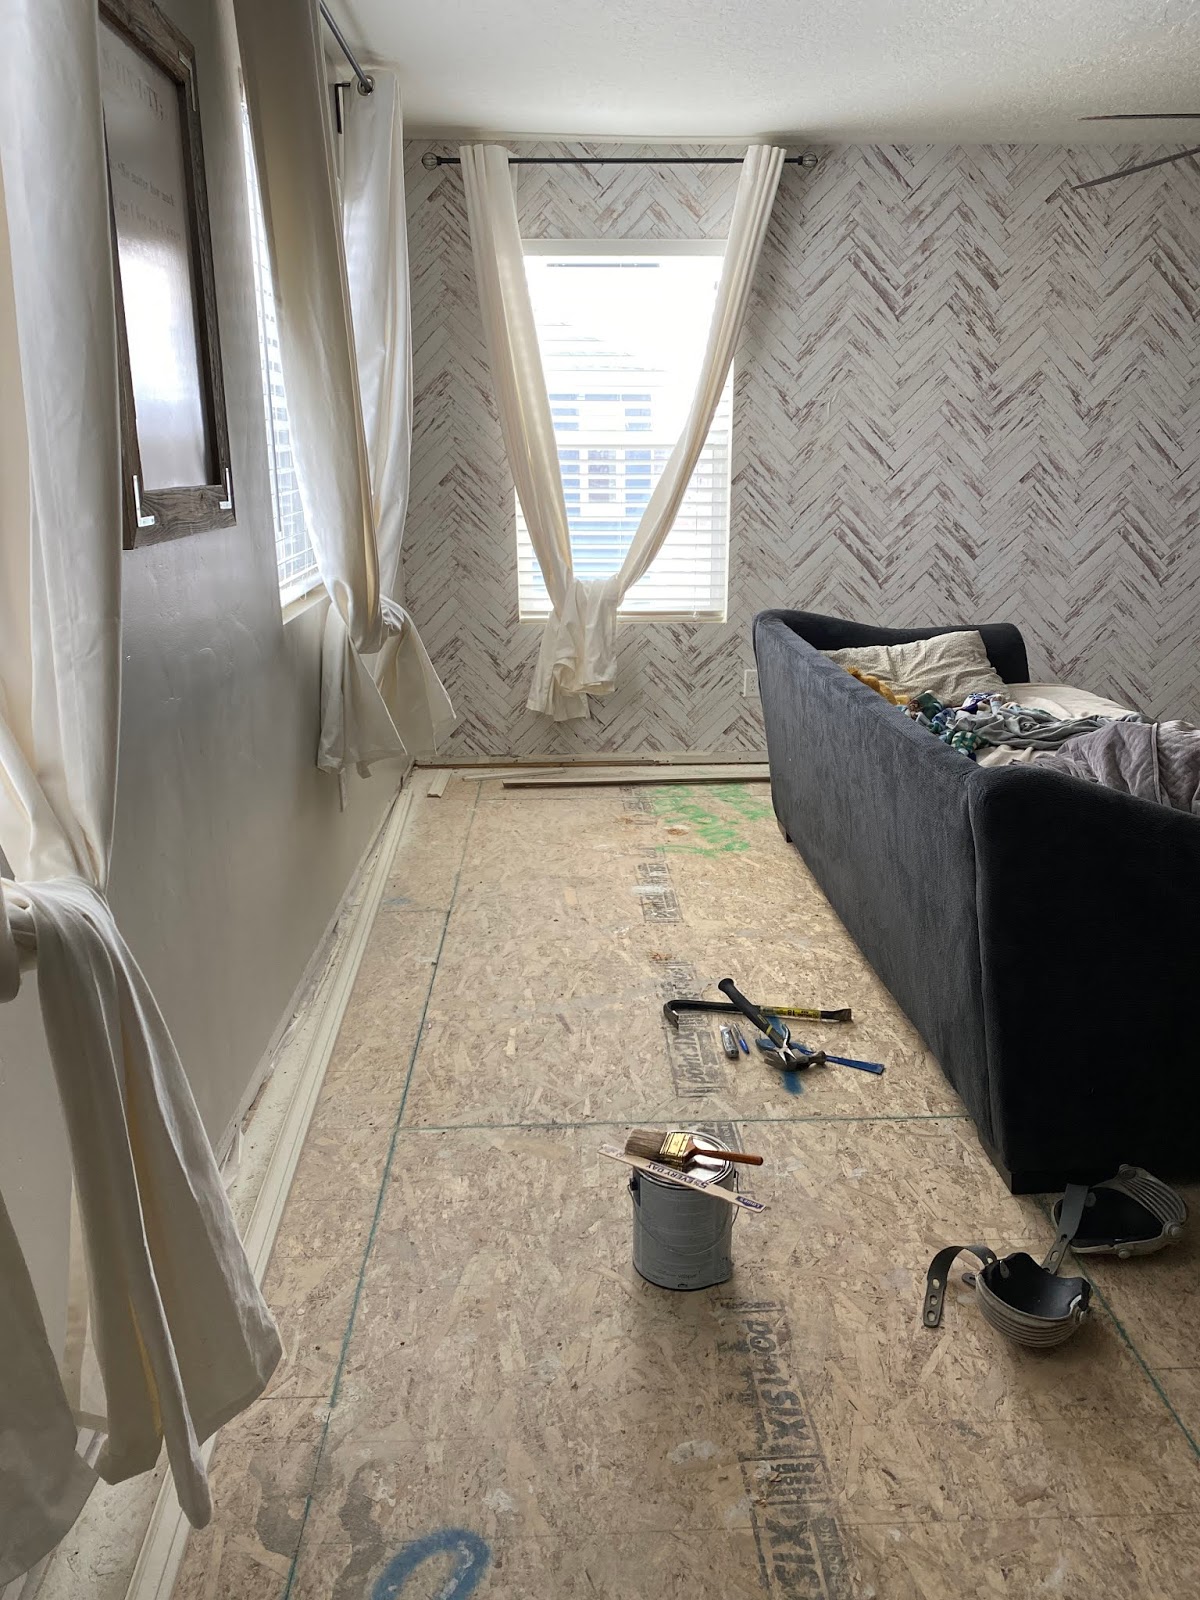
This month we tackled a big home project, one that I have wanted to do for some time now. We ripped out the carpet upstairs and installed new laminate flooring! I was a little nervous this was going to be more than we could handle, but this product from Creative Surfaces made the installation super easy!
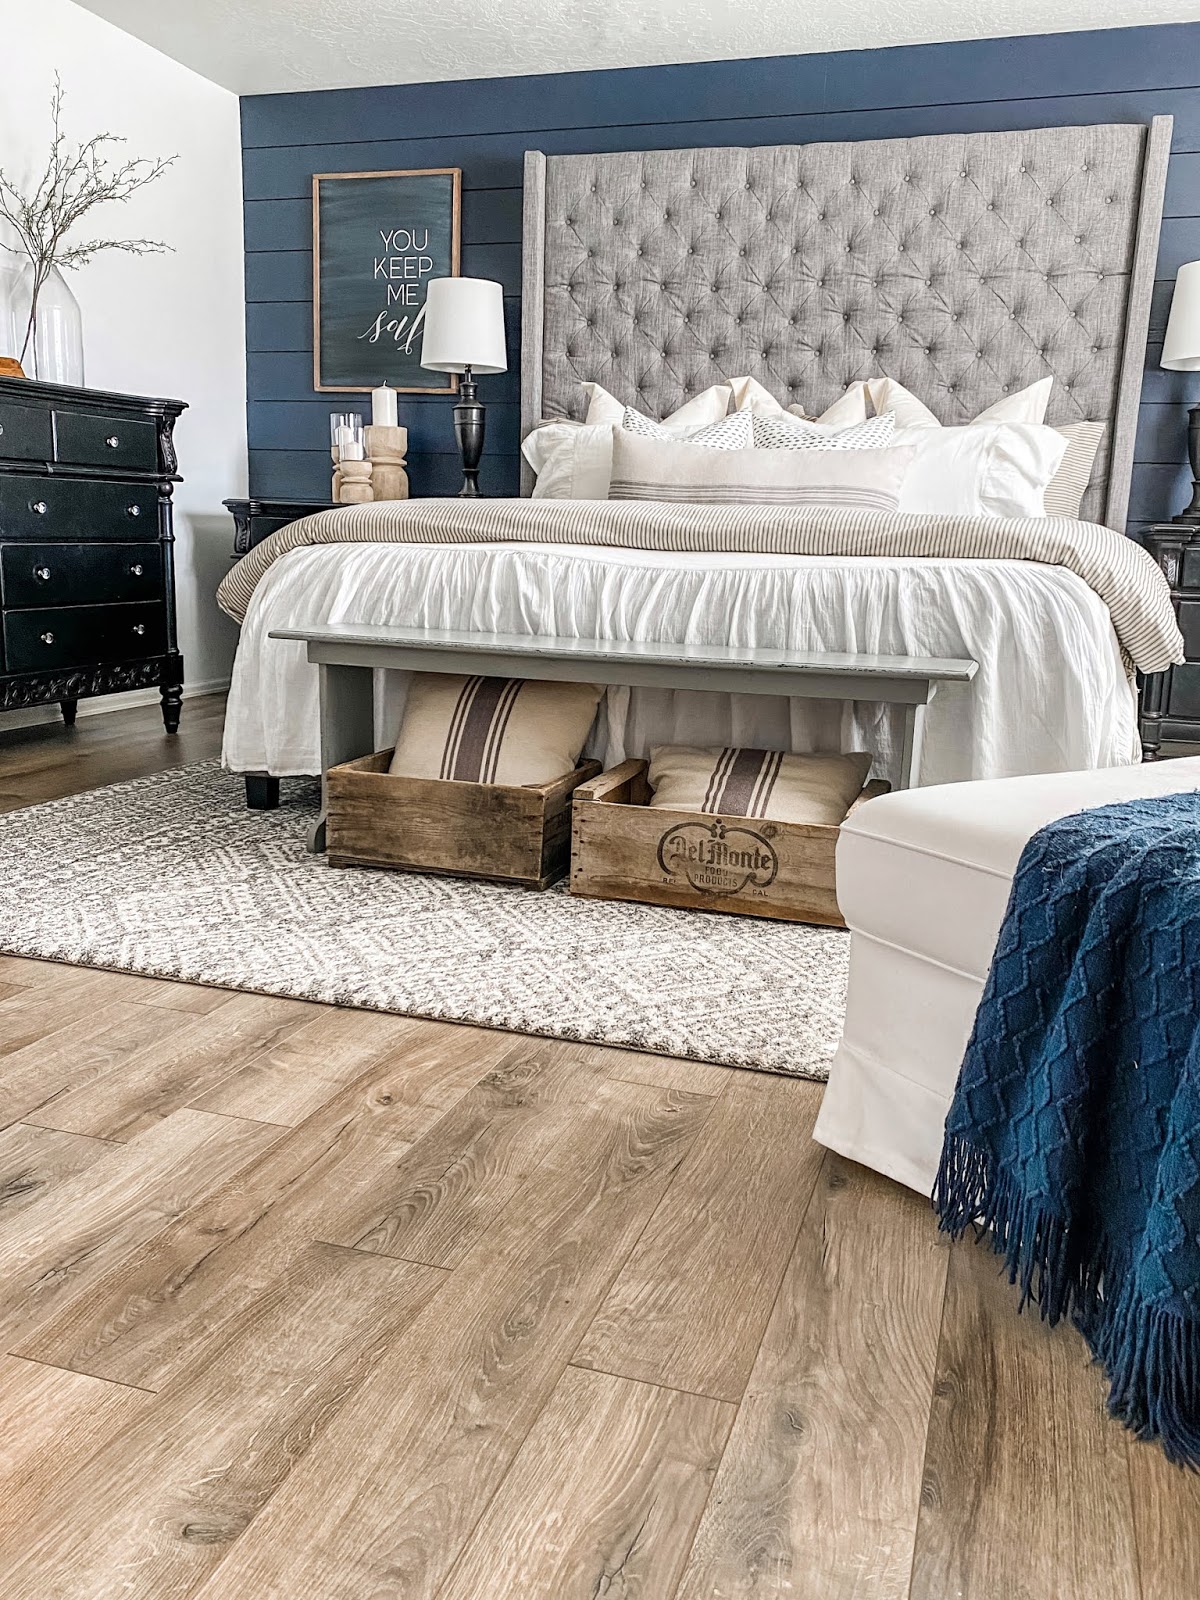
We chose the Riverside Oak Laminate Plank and the color is perfect! It’s a beautiful medium brown with a subtle grey undertone. There are beautiful variations in the planks, giving them the look and feel of real wood but with the benefit of being extremely durable.
One thing that makes this flooring so easy to install is the underlayment is already attached to the planks. If you have ever installed laminate flooring before and fought with a big roll of underlayment then you know what a huge time saver this is. The planks also have SurfaceLoc system making it easy to snap and lock the boards together to form a solid surface floor.

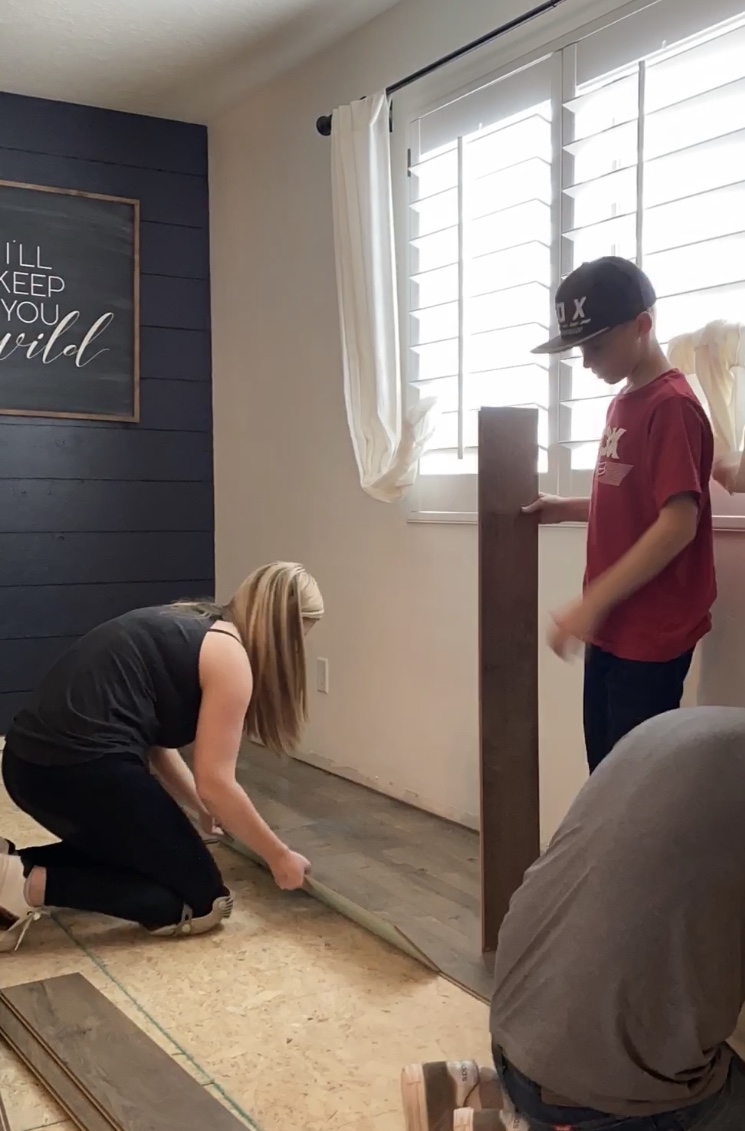
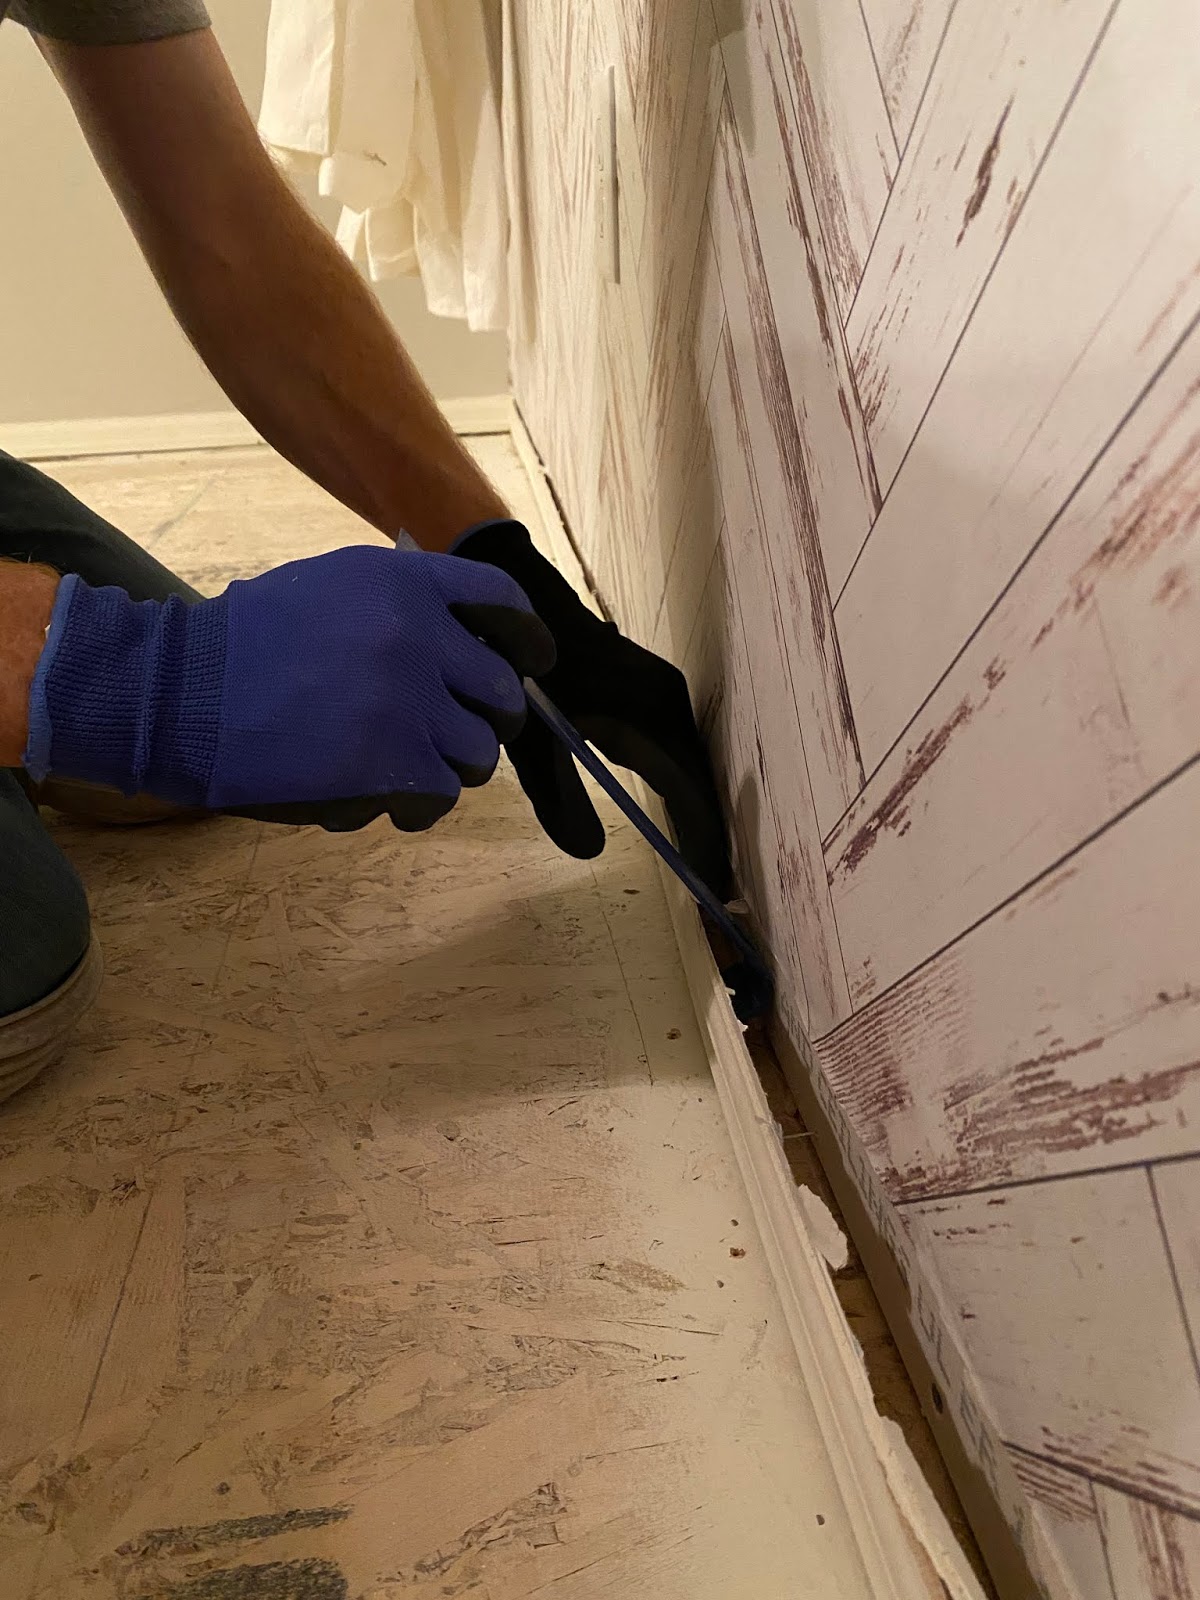
There are a few things that are important to remember when switching out your flooring from carpet to laminate. First you will need to remove your baseboards. This is important because the thickness of carpet is much less than laminate, so you will not be able to slide your laminate under the baseboards. A tip to save a little money is to reuse your old baseboards instead of replacing them. If you use a hammer and a pry bar you can carefully pull the baseboards off the wall without damaging them. If you choose not to remove your baseboards you have the option of using quarter round moulding to hide the gaps for a clean finished look.
When you lay the floor you want to make sure you stagger the boards. If any of your seams meet up then your joints won’t be as strong and could shift over time. Install your floor like a typewriter by starting at one end and working your way left to right. When you get to the end, cut your board to length and use the left over pieces as the start of the next row.
I wish I had done this project sooner because it completely transformed our upstairs! Now my flooring is not only beautiful but is also super easy to clean, which is awesome with 5 kids and 2 dogs!!
You can find this laminate flooring at your local Walmart or check their website Creative Surfaces to see when it will be available in your area!
-Grey Birch Designs-
read more
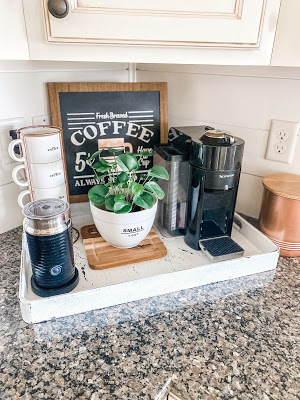
Most people keep their coffee maker out on their countertop, but it’s not the prettiest thing to look at! I wanted to create a countertop coffee station that was compact, functional, and appealing to the eye. I challenged myself to come up with a different kind of DIY. I didn’t want to have to build anything, buy a bunch of stuff, or spend a lot of money, so upscaling items was the perfect solution!!
I made a list of the must have items in my coffee station:
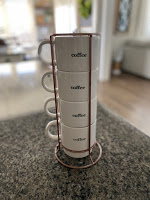
-A cup holder
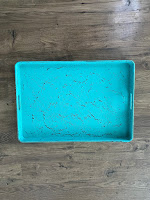
-A tray big enough to hold everything
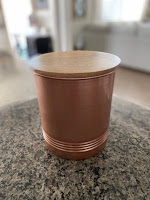
-A place to hold my coffee pods
-Some decor to make it cute
I went out hunting for things that would meet these needs but were as budget friendly as possible. I knew the colors of the items didn’t really matter because I could change them. The main focus was the right size and functionality.
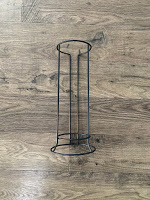
I found the perfect size canister for my coffee pods, a large enough tray to hold everything, a mug holder, and the perfect size sign to make it cute and also hide those ugly power cords! I got all this for under $40. The only problem was none of the items were the ideal color or matched my style. My next step was to figure out my color scheme with the help of all the amazing paint colors available from ColorShot
For this project I used:
I wanted a distressed look for my tray so I first painted it with Blackout Once it dried I painted it with Marshmallow and sanded it to get some of that black paint to show through, giving it a great distressed look! For my mug holder and coffee pod canister I wanted to bring in a copper color so I used Lucky Penny on both of these!

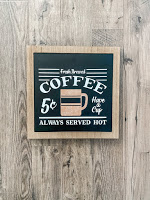
The last thing I did was create a cute coffee sign. I popped the wood board out of the frame, painted the background with Blackout and laid down my stencil. I sprayed the stencil with Marshmallow and then I pulled more of that pretty copper color into my sign by using the Lucky Penny-Paint Pen to color in the coffee cup. I wanted it to have a vintage look, so before the paint dried I blotted it with a paper towel. I repeated this step 3 times to get the look and depth of color I wanted. Check out this video for more details on how I made this fun sign!
This project made such a difference in our kitchen!! I set out to make something functional, compact, and beautiful all on a budget and I think I hit all those points!
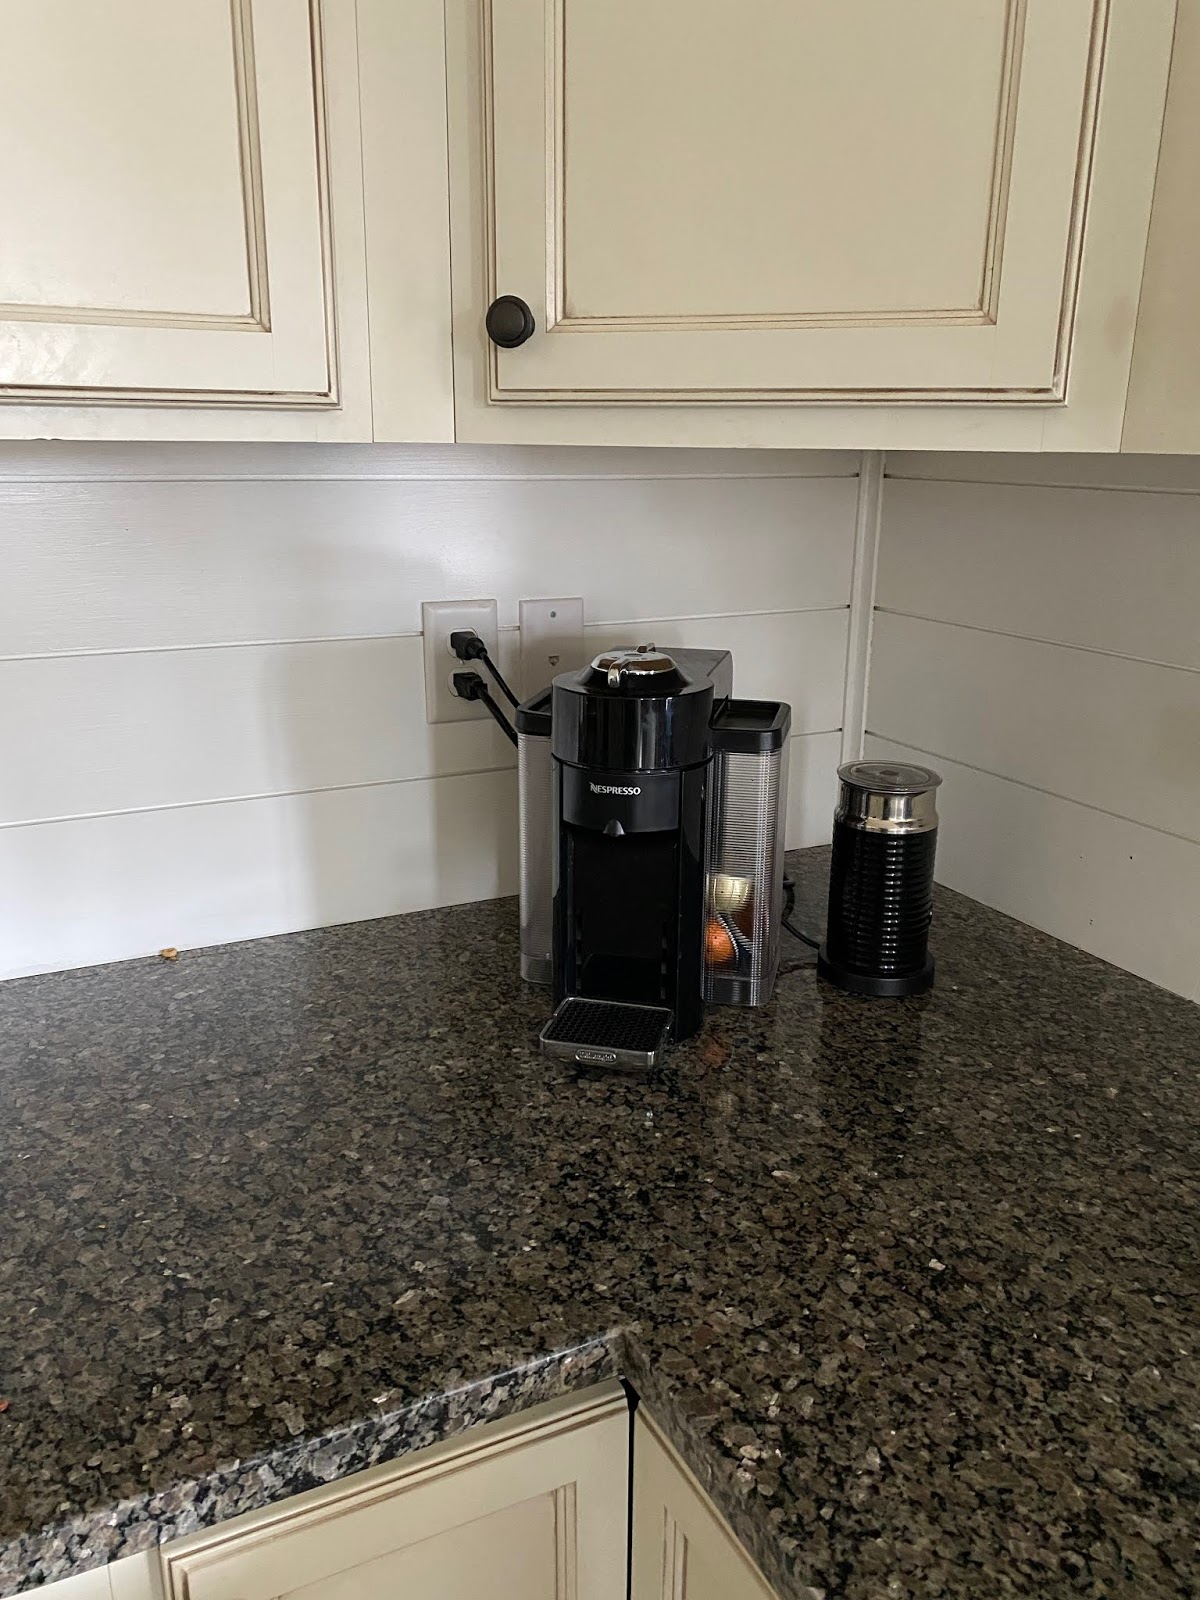
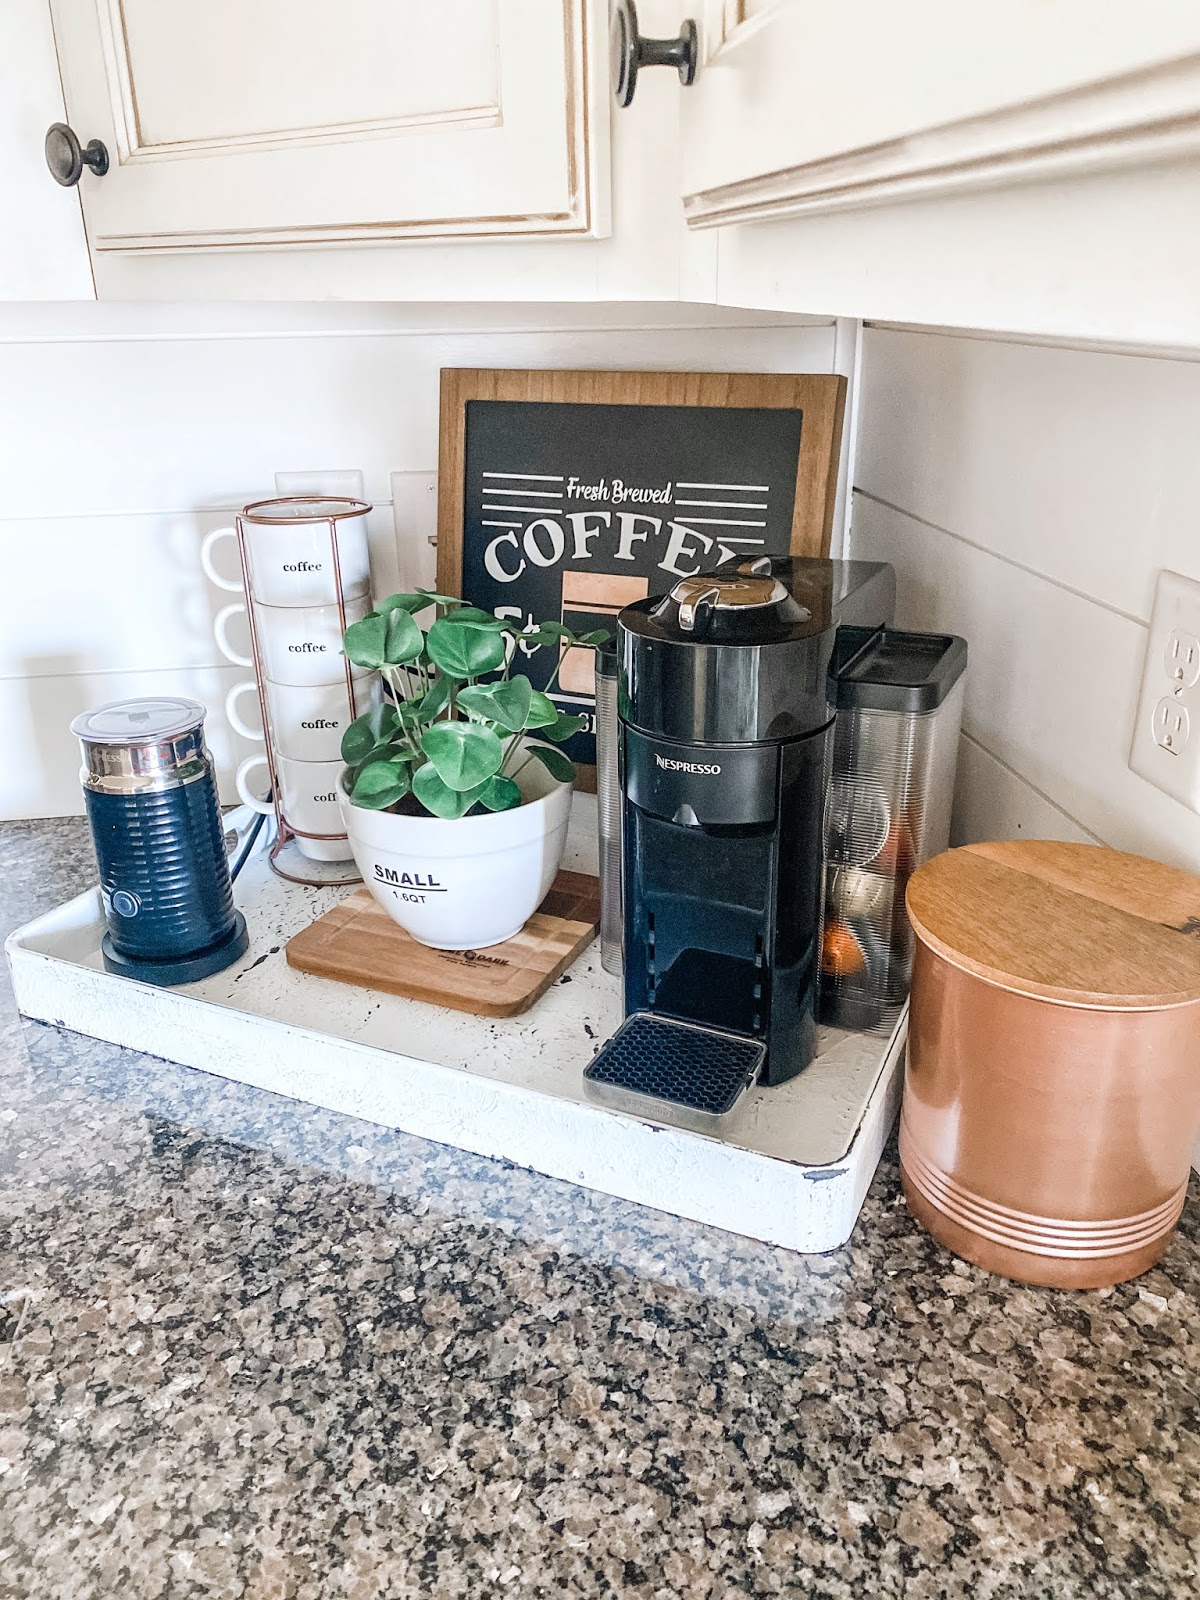
Before After
All ColorShot paint products are available at Home Depot
To watch this whole project from start to finish check out this link to my DIY video!!
-Grey Birch Designs-
read more
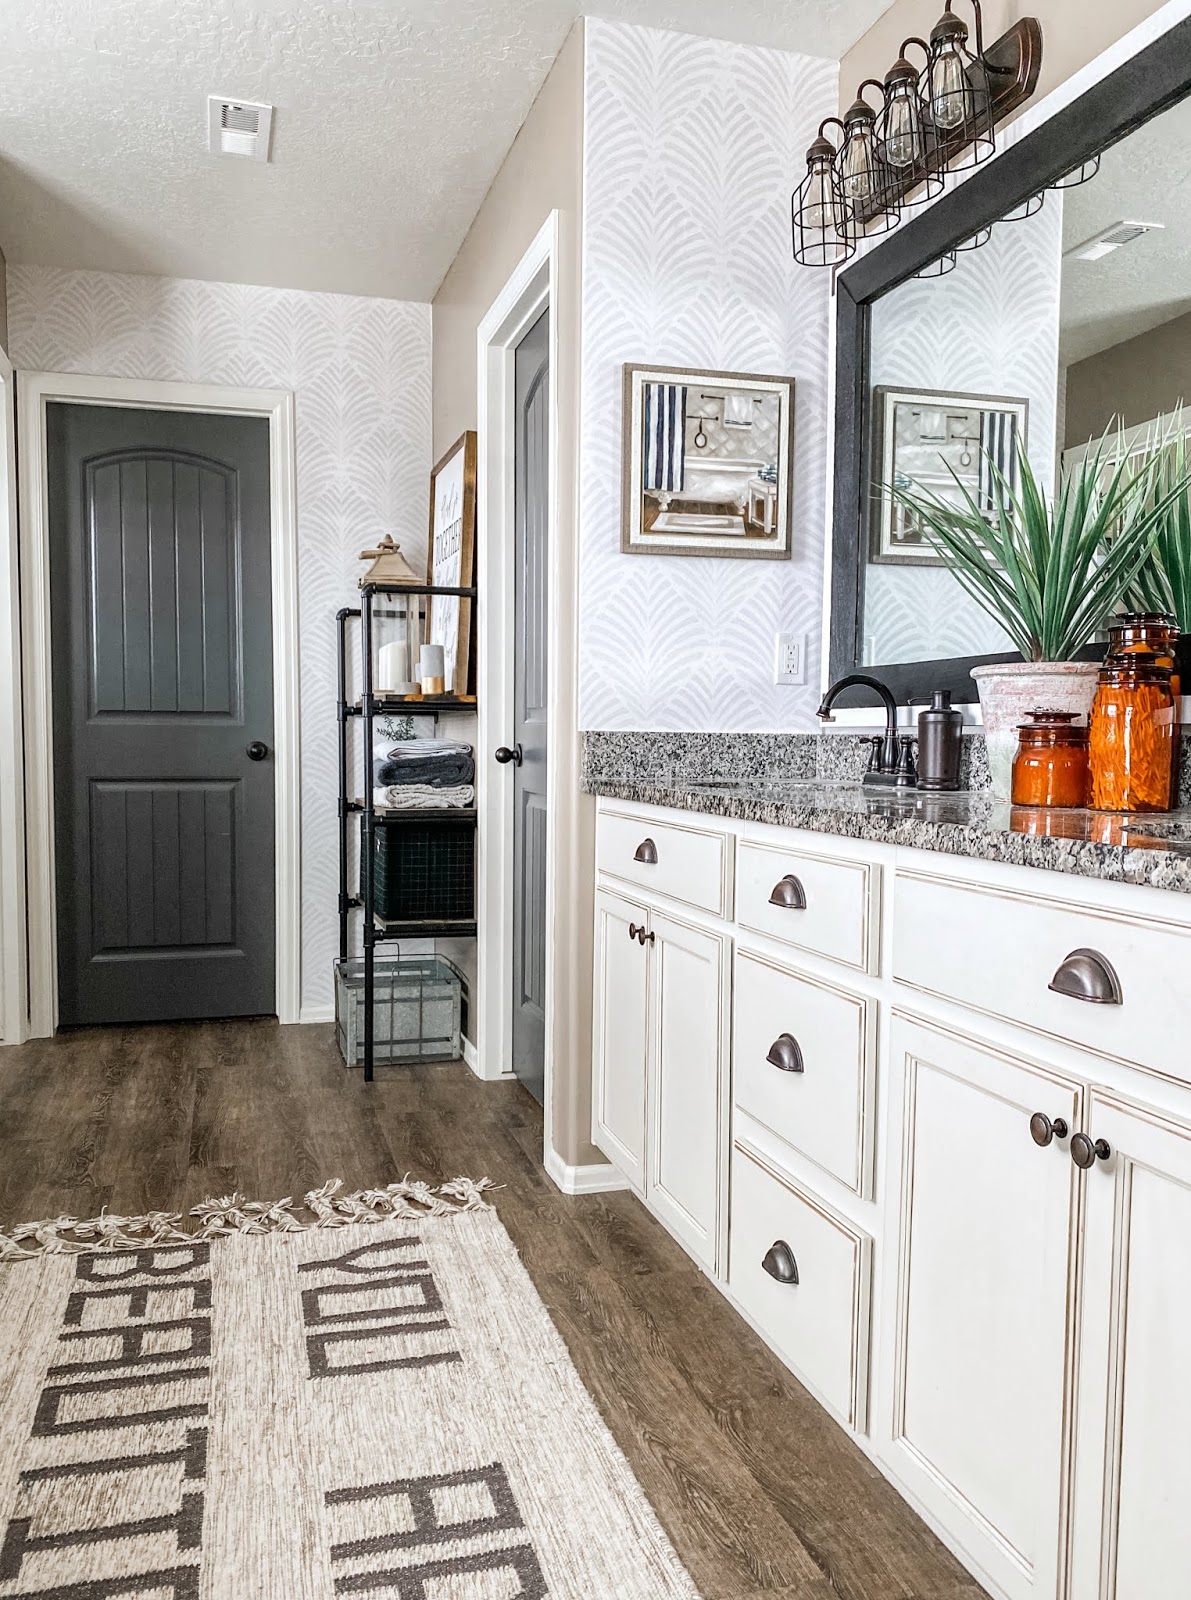
Wallpaper is one of my favorite things to use to bring a pop of color or pattern to a space. After recently painting my bathroom I knew it needed a splash of pattern to bring the space alive! I also knew I didn’t want to introduce a new color. I found the most gorgeous wallpaper from Milton & King and I knew if would be the perfect fit!
There are a few different types of wallpaper on the market, This kind is called paste-the-wall wallpaper, meaning the wallpaper itself is un-pasted and not sticky. To apply this kind of wallpaper all you need is some wallpaper paste. I picked this kind up from Home Depot and it worked great!
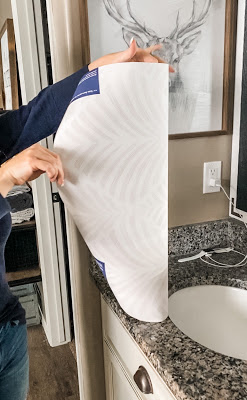
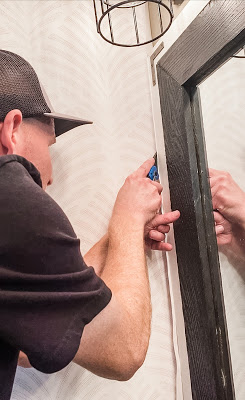
You simply apply the paste on the wall with a roller, just like you would if you were painting, and then apply the wallpaper. After you smooth it out, trim the excess and continue!
I have been super pleased with the quality of Milton & King wallpaper. One of my favorite features of this wallpaper is it’s cleanable!! It’s protected with two coats of a specially formulated glaze, making the non-woven base and paper top layer very durable and easy to clean. Dirt, dust, and other marks can be simply cleaned using a damp cloth with soapy water.
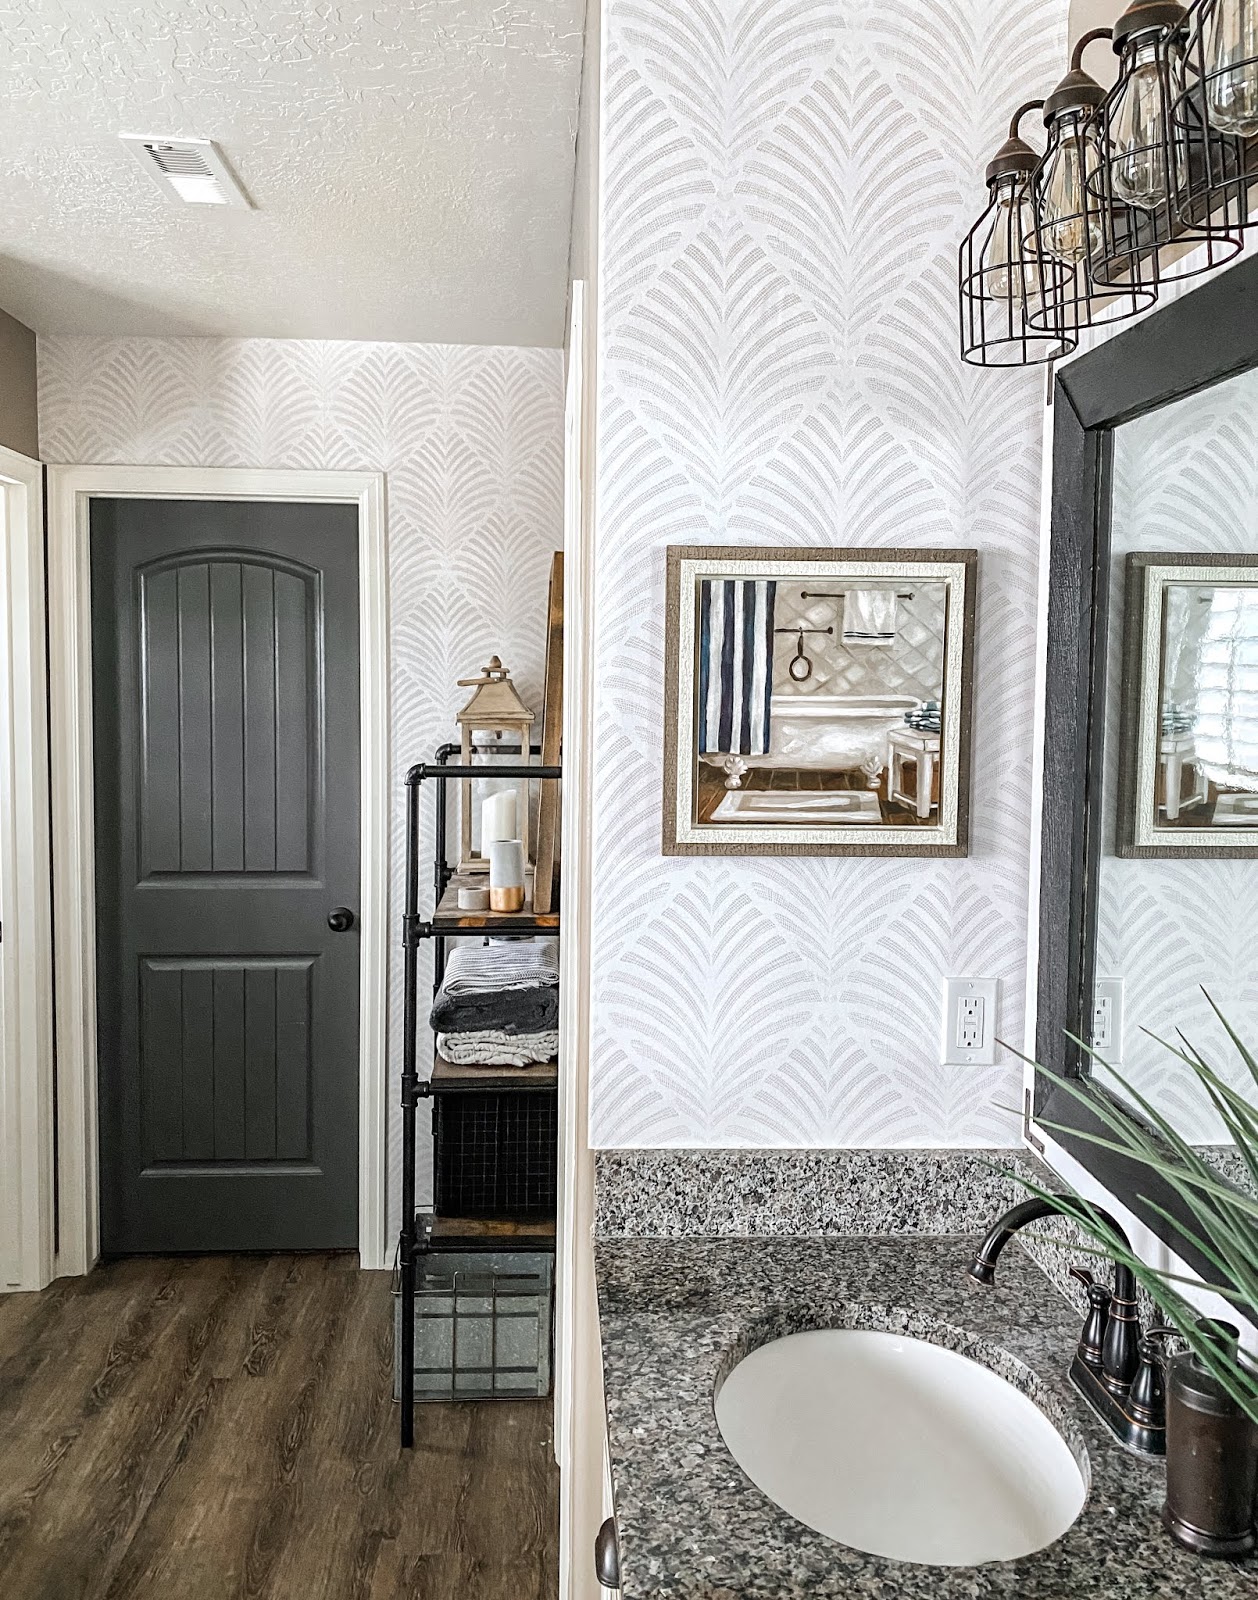
This was a fun project with a big statement!! It only took a couple hours to do and I couldn’t be happier with how it turned out. It’s the perfect pop of pattern I was looking for in my master bathroom refresh!
Check out my YouTube video below of this project!!
-Grey Birch Designs-

read more
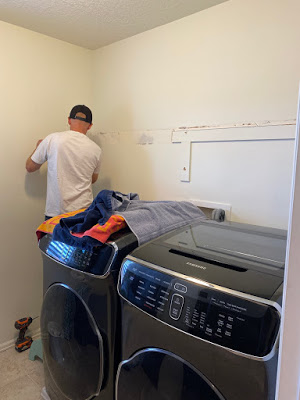
I have always loved the idea of having a pretty laundry room. I used to see them all the time on Instagram and Pinterest and thought that one day I would transform my plain, ugly laundry room into something I was proud of. Well last week I made that transformation and I couldn’t be happier! No joke, I actually enjoy doing laundry now, and I find myself looking for things to wash just so I can hang out in there, haha! Come see what we did to make this space beautiful and functional!
The first thing we did was clear everything out, including our old washer and dryer, so we could have a blank space to get the design juices flowing!
Before
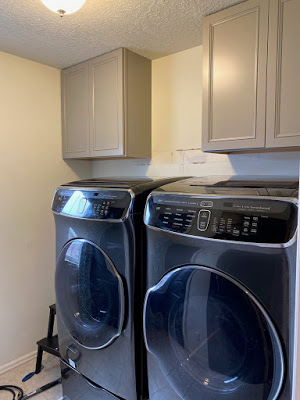
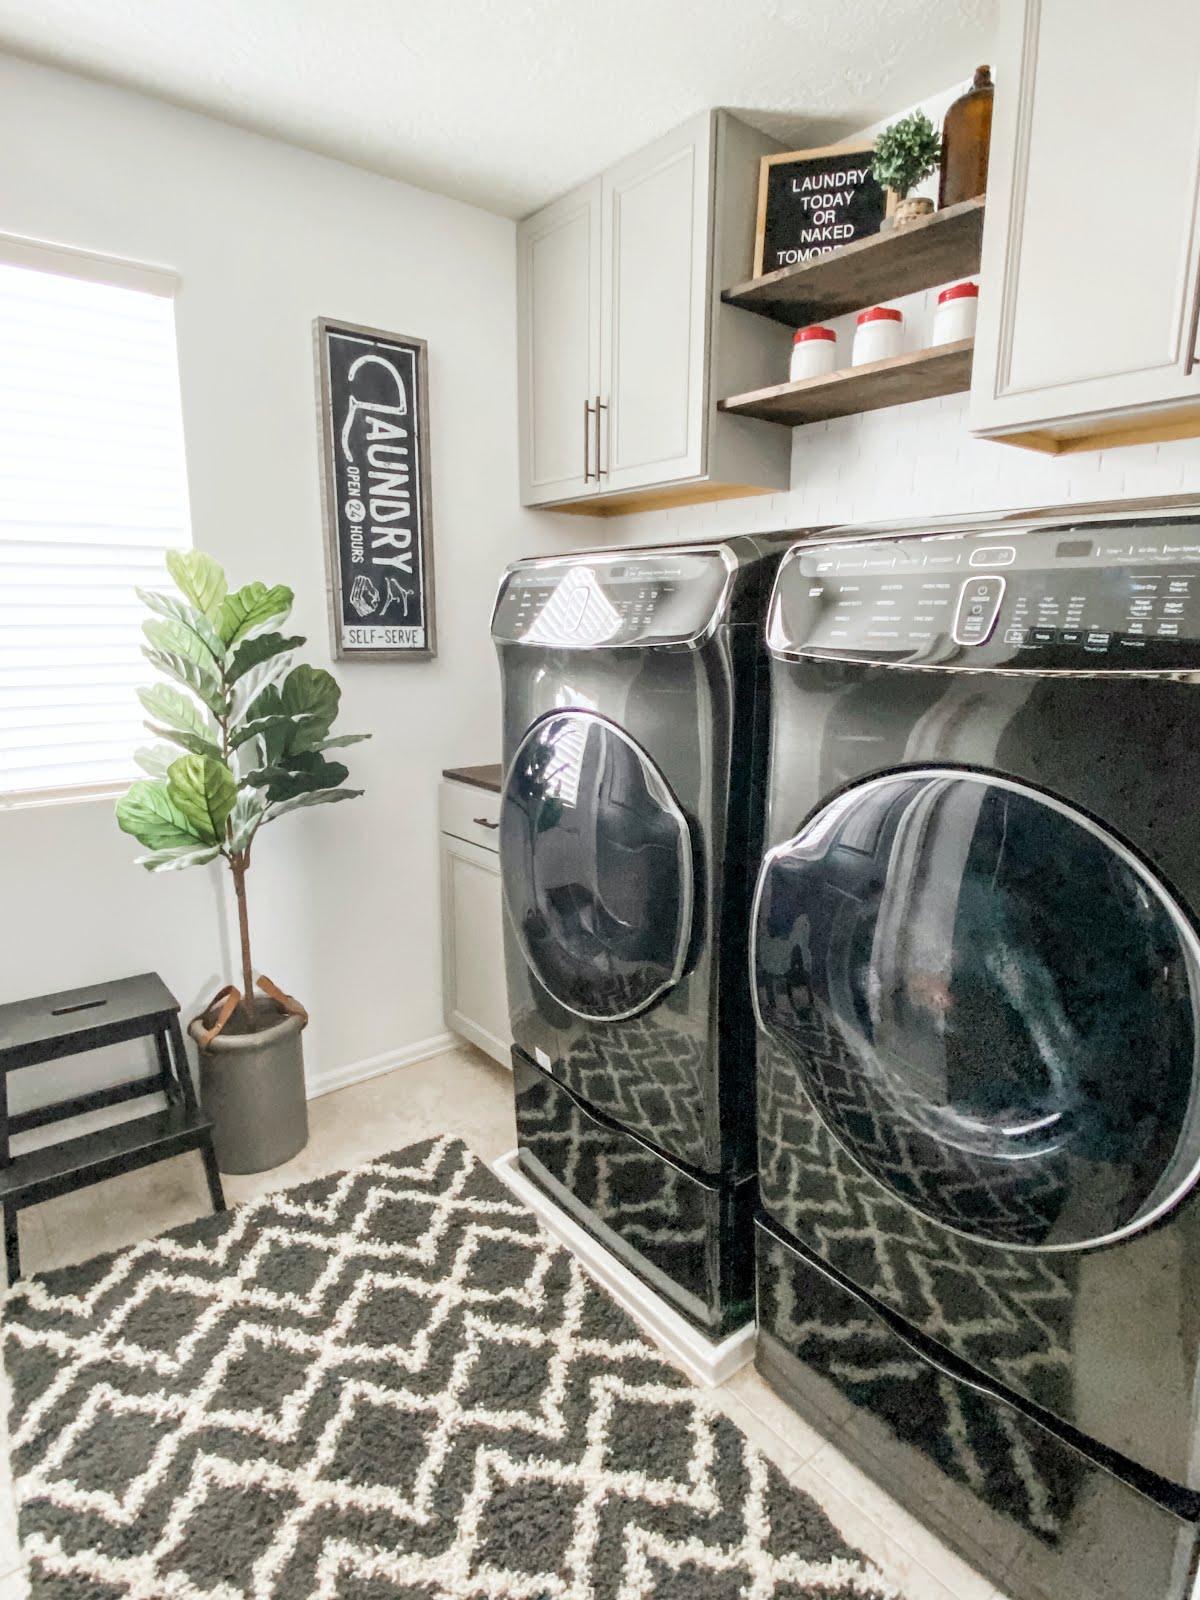
Once I figured out my design it was time to get started!! We took down the basic shelf that was installed by our builder and replaced it with beautiful gray wall cabinets! They are much more attractive and give me so much more storage, total win win!
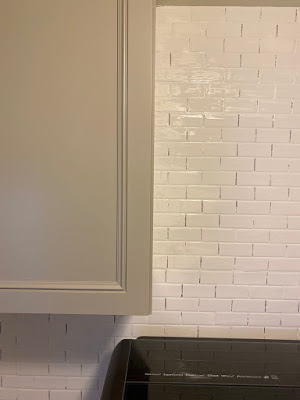
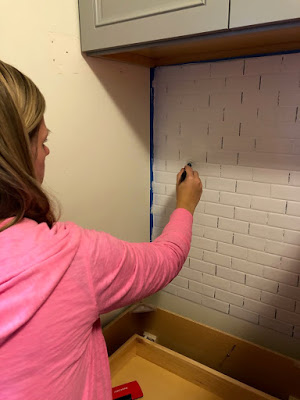
The next thing we did was take some left over peel and stick tiles from another project and put them on the back wall behind the washer and dryer. I didn’t love the original color of these tiles so I did a dry brush technique and painted them white, giving them the look and feel of white washed brick!
We had an open space next to the washer that I thought would be a perfect laundry folding station, so we installed a matching base cabinet. It has been the best use of space!
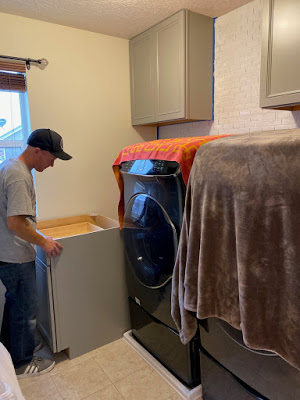
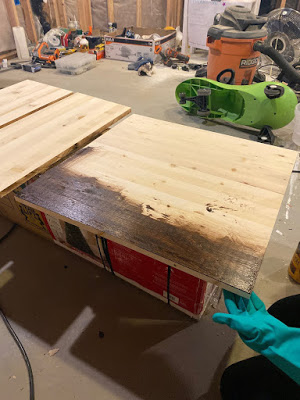
The last things we installed were a wood countertop for the base cabinet, and a set of floating shelves between the wall cabinets. This was a super budget friendly project because we used project boards that look similar to butcher block, but cost less than $20 each. Lastly we stained them to match and added a coat of polyurethane!
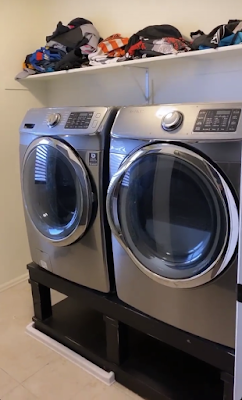
The biggest and most exciting change we made was the addition of a new washer and dryer set from Samsung. These things make doing laundry a breeze! They are front loaders each with a smaller washer and dryer on top for small loads and delicates. You can literally do 2 loads of laundry at one time, now that’s my kind of laundry!!
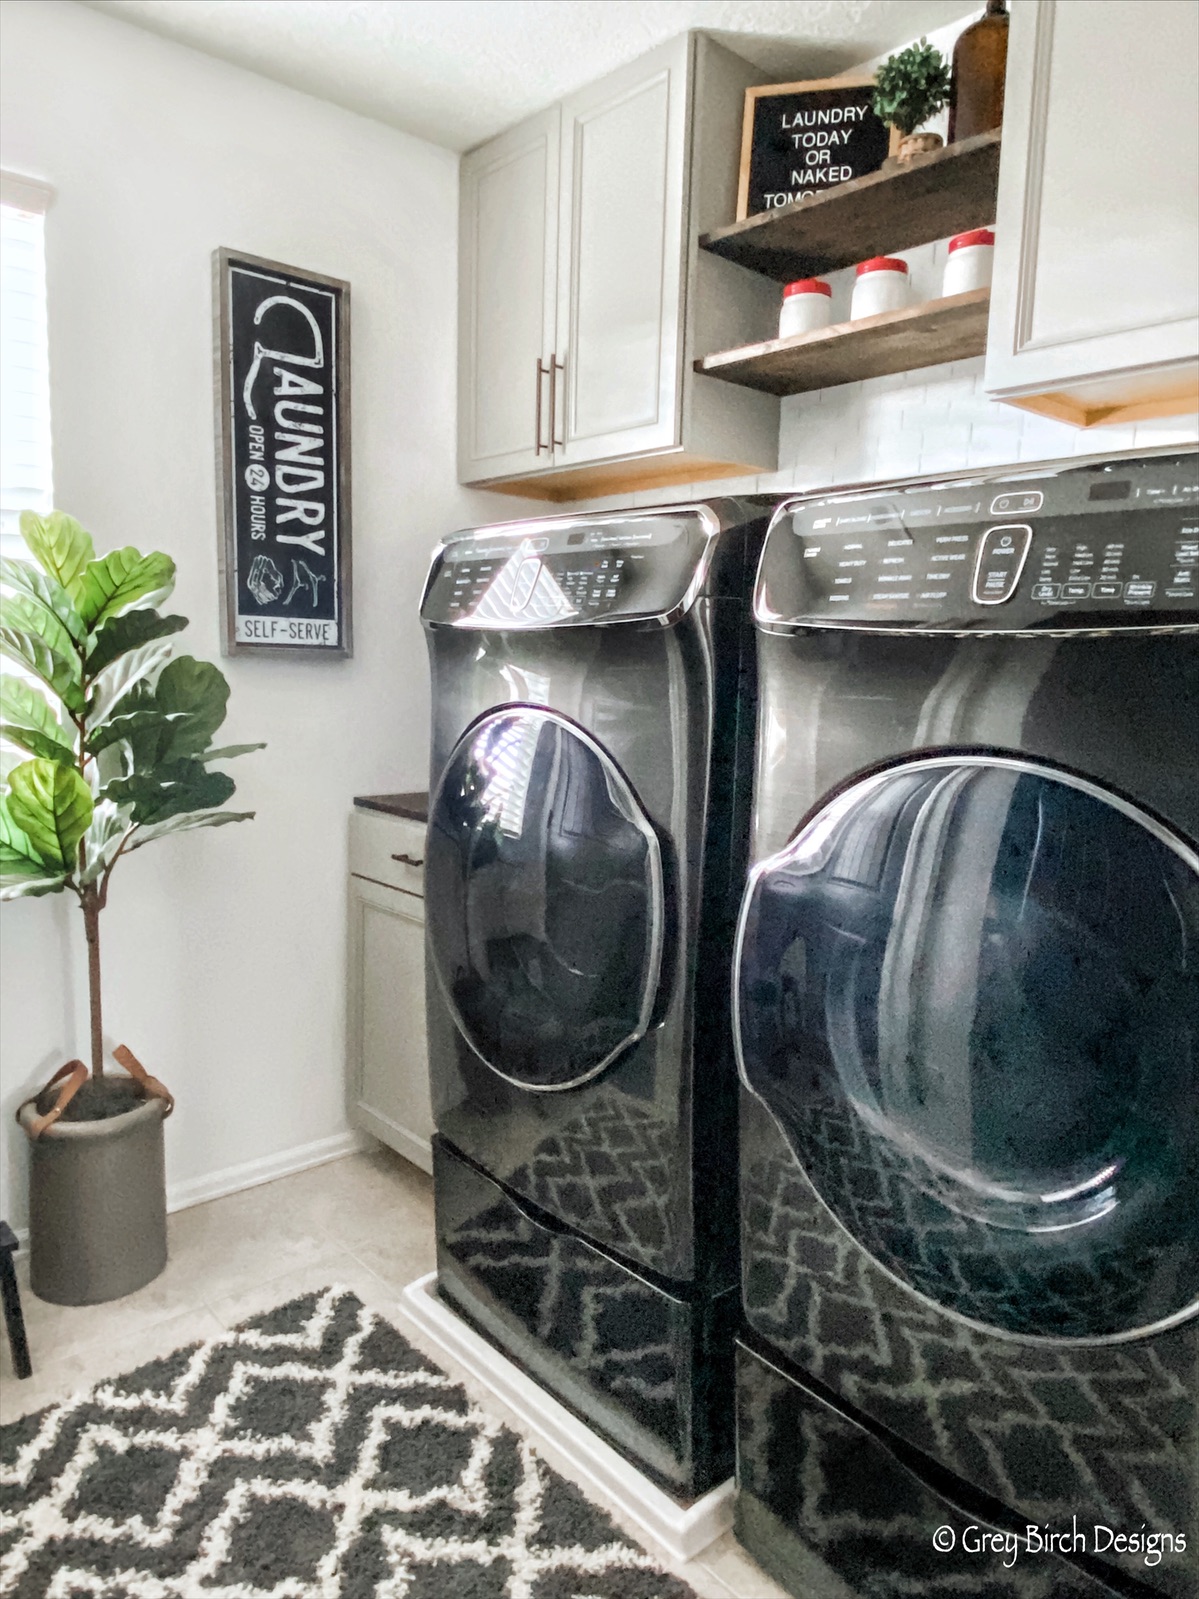
Electric FlexDry Dryer with Steam in Black Stainless
Finally, my favorite part, decorating the room! I kept it pretty simple with a fun wood laundry sign, a letter board, some jars, and a little greenery! This project has been one of my favorites and I’m so excited to finally have the pretty laundry room I have always wanted!!
-Grey Birch Designs-
read more
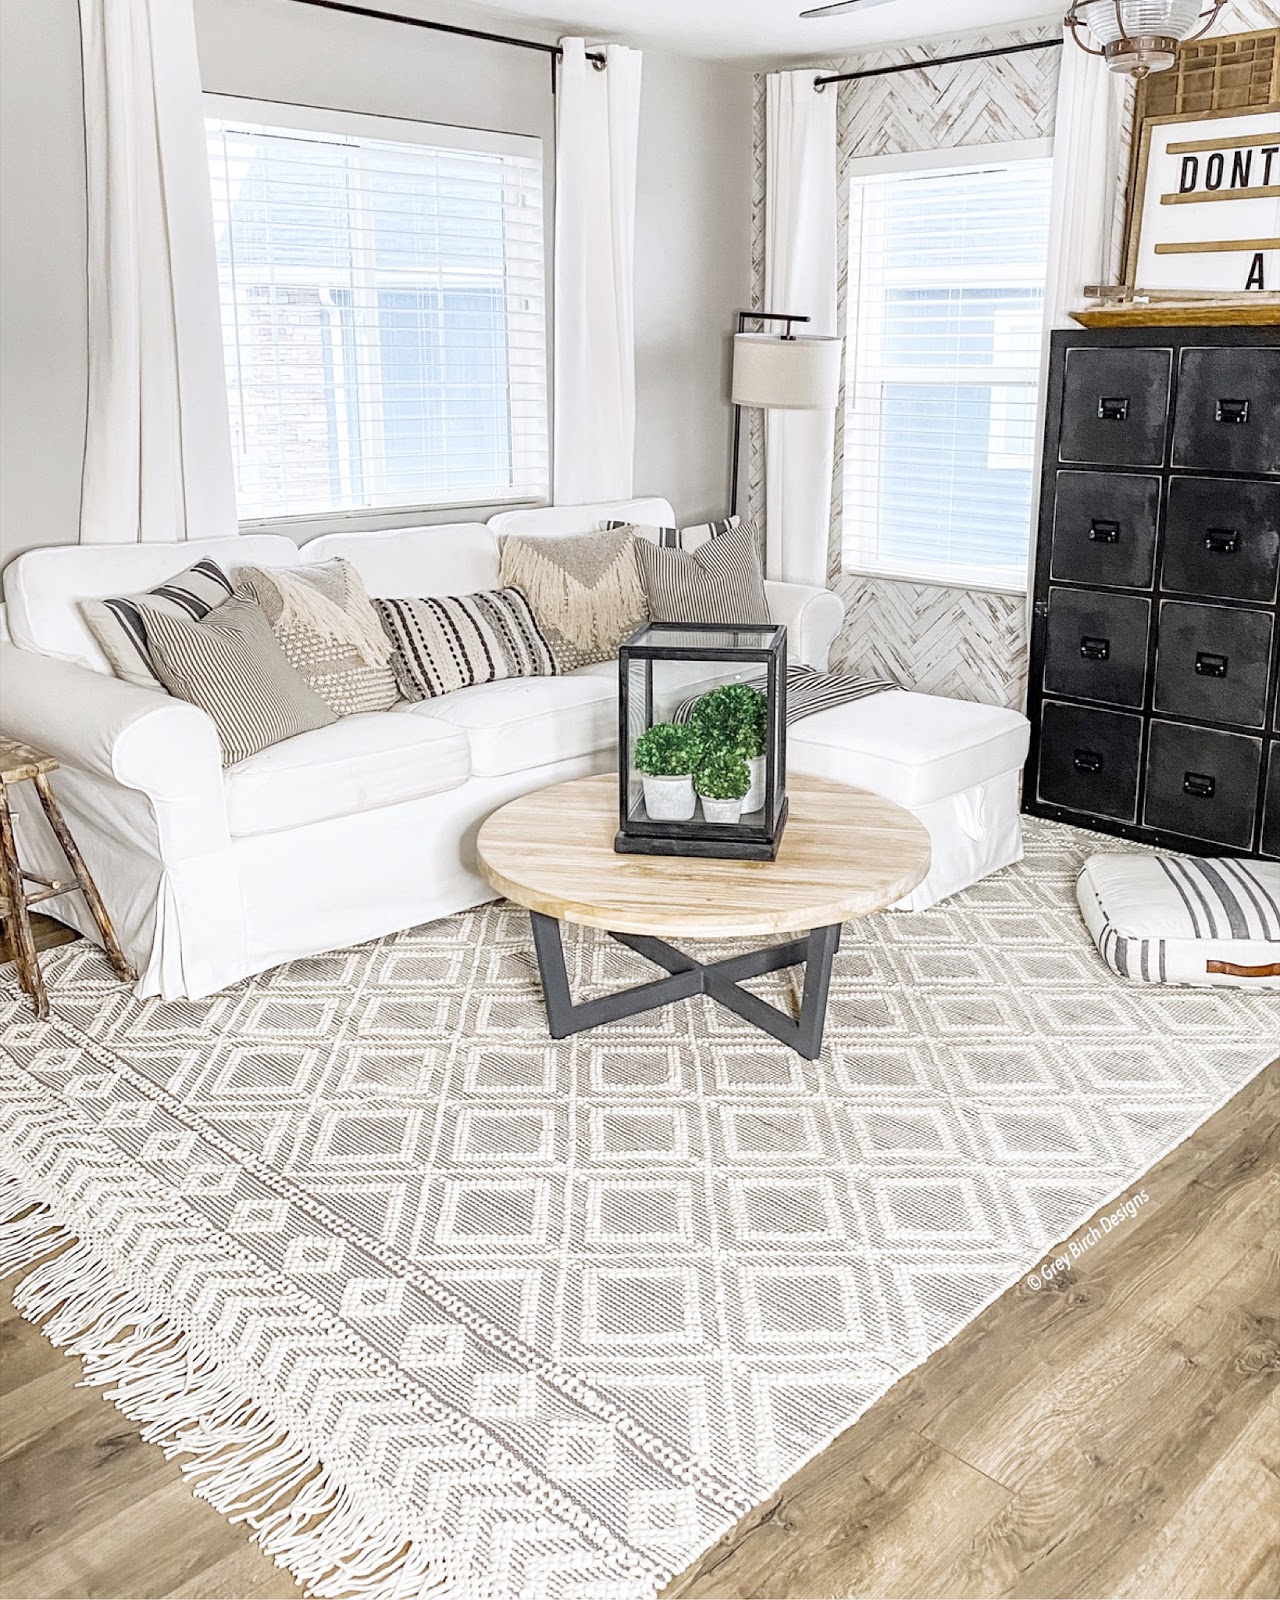
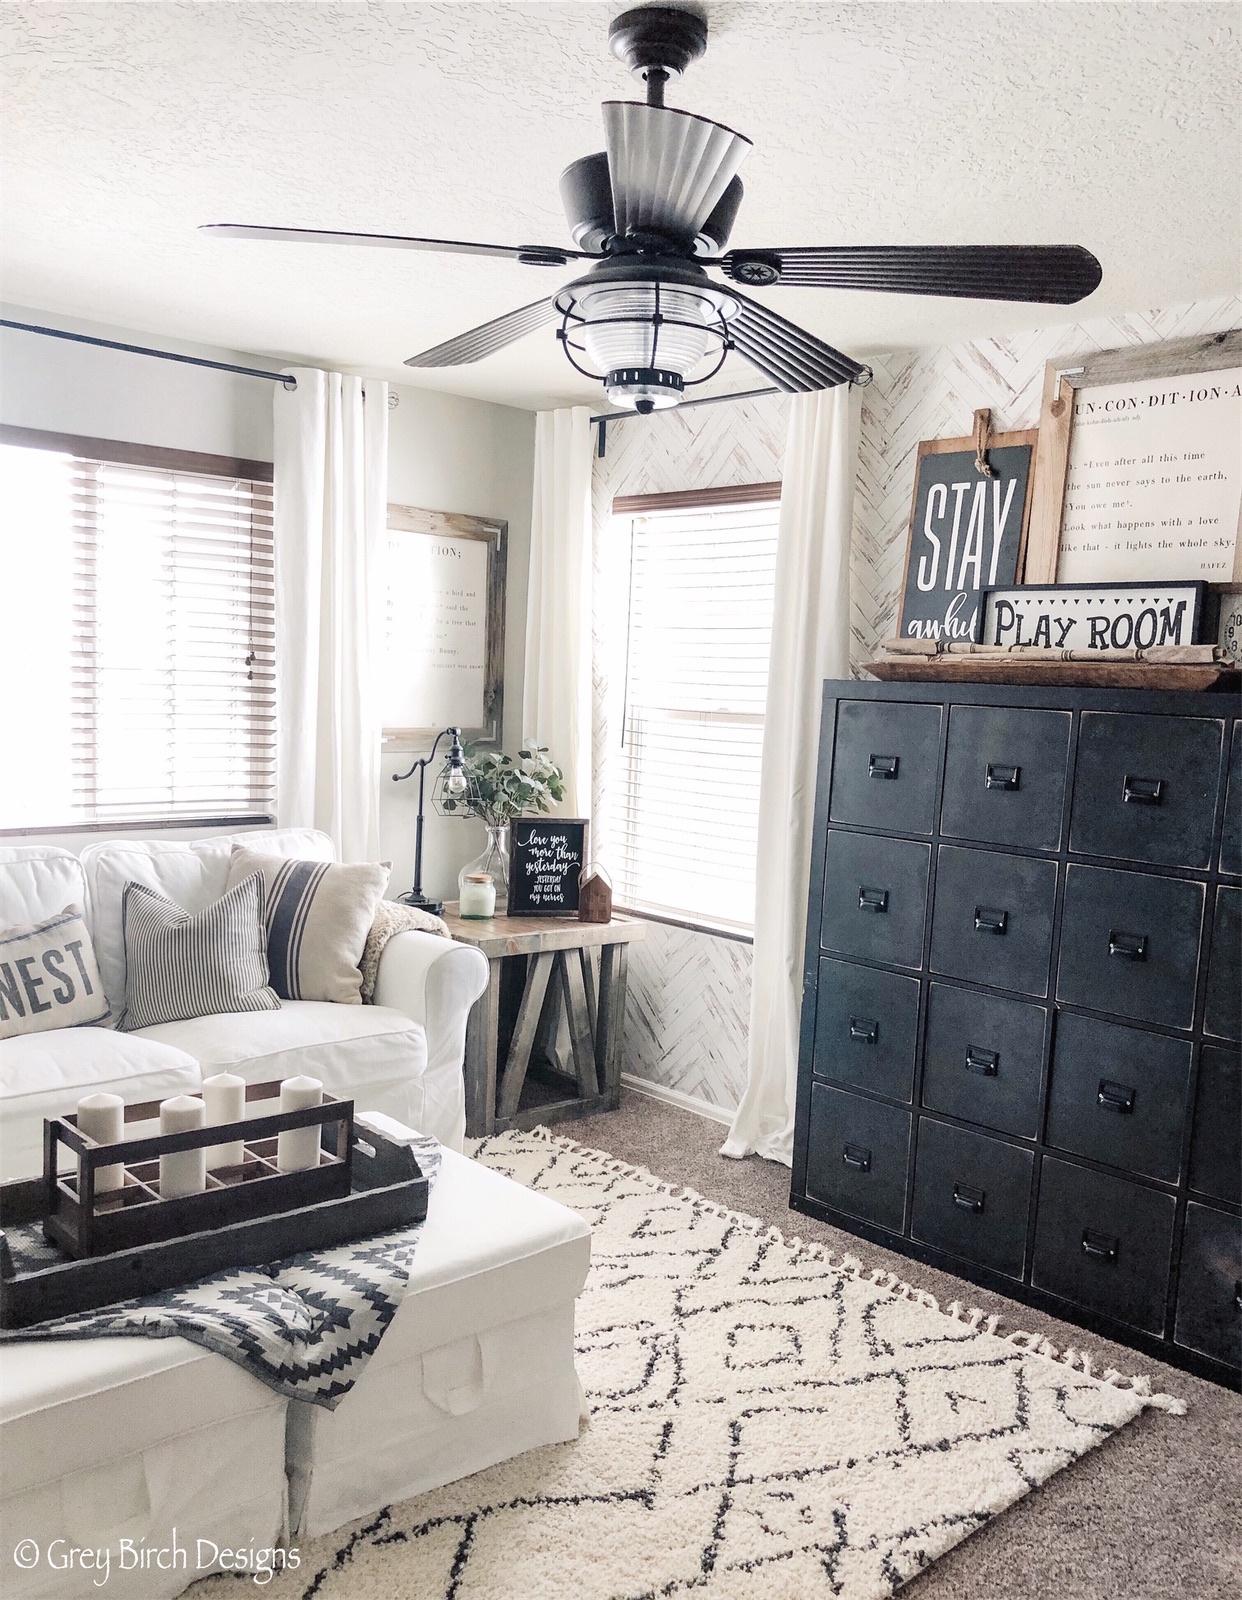
One of my new favorite ways to give a space a punch of interest is with a feature wall. You can do this many different ways, using materials such as paint, wall treatments, shiplap, etc. There are so many great options out there these days, but my new favorite is wallpaper, and not just any wallpaper, but this beautiful peel and stick wallpaper by Rocky Mountain Decals!!
I can’t get over how beautiful it is and the quality is amazing!! I’m so excited to partner with Rocky Mountain Decals on my loft/playroom update! It was so easy to do and took no time at all. With the help of my husband, I transformed this space from plain and boring to spectacular!
Check out the process of how we installed this peel and stick wallpaper in just a couple hours!
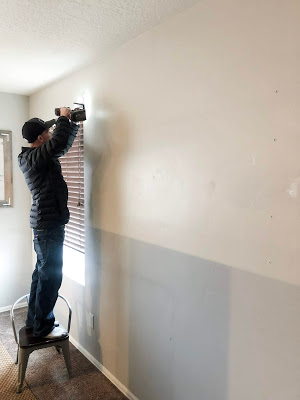
The first thing we did was prep our wall. Since this is removable wallpaper, they recommend that your walls be painted in with semi-gloss or gloss paint. Since our wall was already painted with semi-gloss, all we had to do was fill the nail holes and take down our blinds.
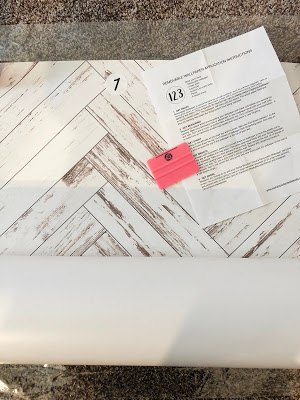
Next, we lay out the strips of wallpaper. They have made it so extremely easy by numbering each piece and rolling it up in order, so you know where to start and what comes next!!
Now it’s time to get your first piece up on the wall!! We started at the top and pulled off the backing just enough to stick it to the top. This was key to make sure we had it all lined up straight.
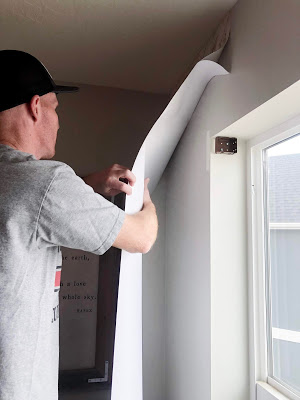
This next part is definitely a two person job. You will need one person at the top smoothing the wallpaper down while the other person is slowly pulling the backing off the wallpaper. To eliminate bubbles, start smoothing down the paper from the middle and then working your way out to the sides.
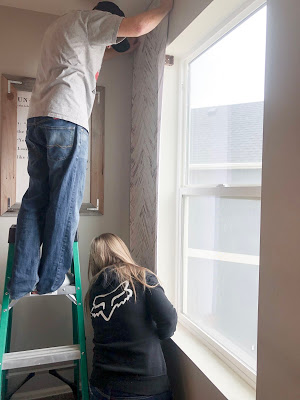
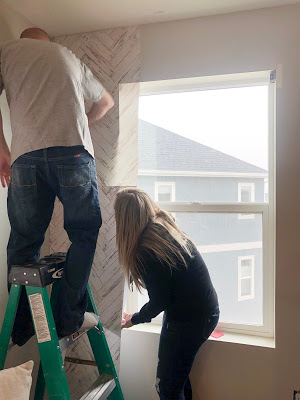
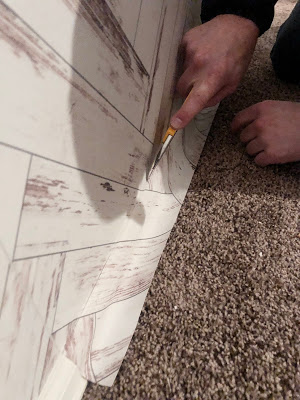
One thing that is important to remember if you are wallpapering a wall that has a window is to pretend it’s not there and wallpaper right over it. Once you are done you can come back with a razor blade and cut your window out. This will give you the cleanest and most seamless look. The same goes for the bottom of each strip of wallpaper. You will have a couple extra inches at the bottom. Just let that rest on your baseboard and when you’re done you can come back and cut it off!

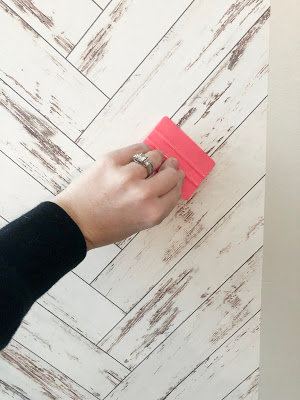
Another thing that I loved that made this install so easy was the fact that they have these handy little tools to help get any air bubbles out. If you find a bubble, all you do is take this tool and push the bubble to the sides, and just like that it’s gone!!
And that’s it! Pretty easy, right?!? I’m absolutely in love with my new wall, and thanks to Rocky Mountain Decals this room went from an unfinished room that drove me nuts to one of the coolest spots to hang out in the house!!
Check out Rocky Mountain Decals and see all their beautiful designs!!
-Grey Birch Designs-
read more
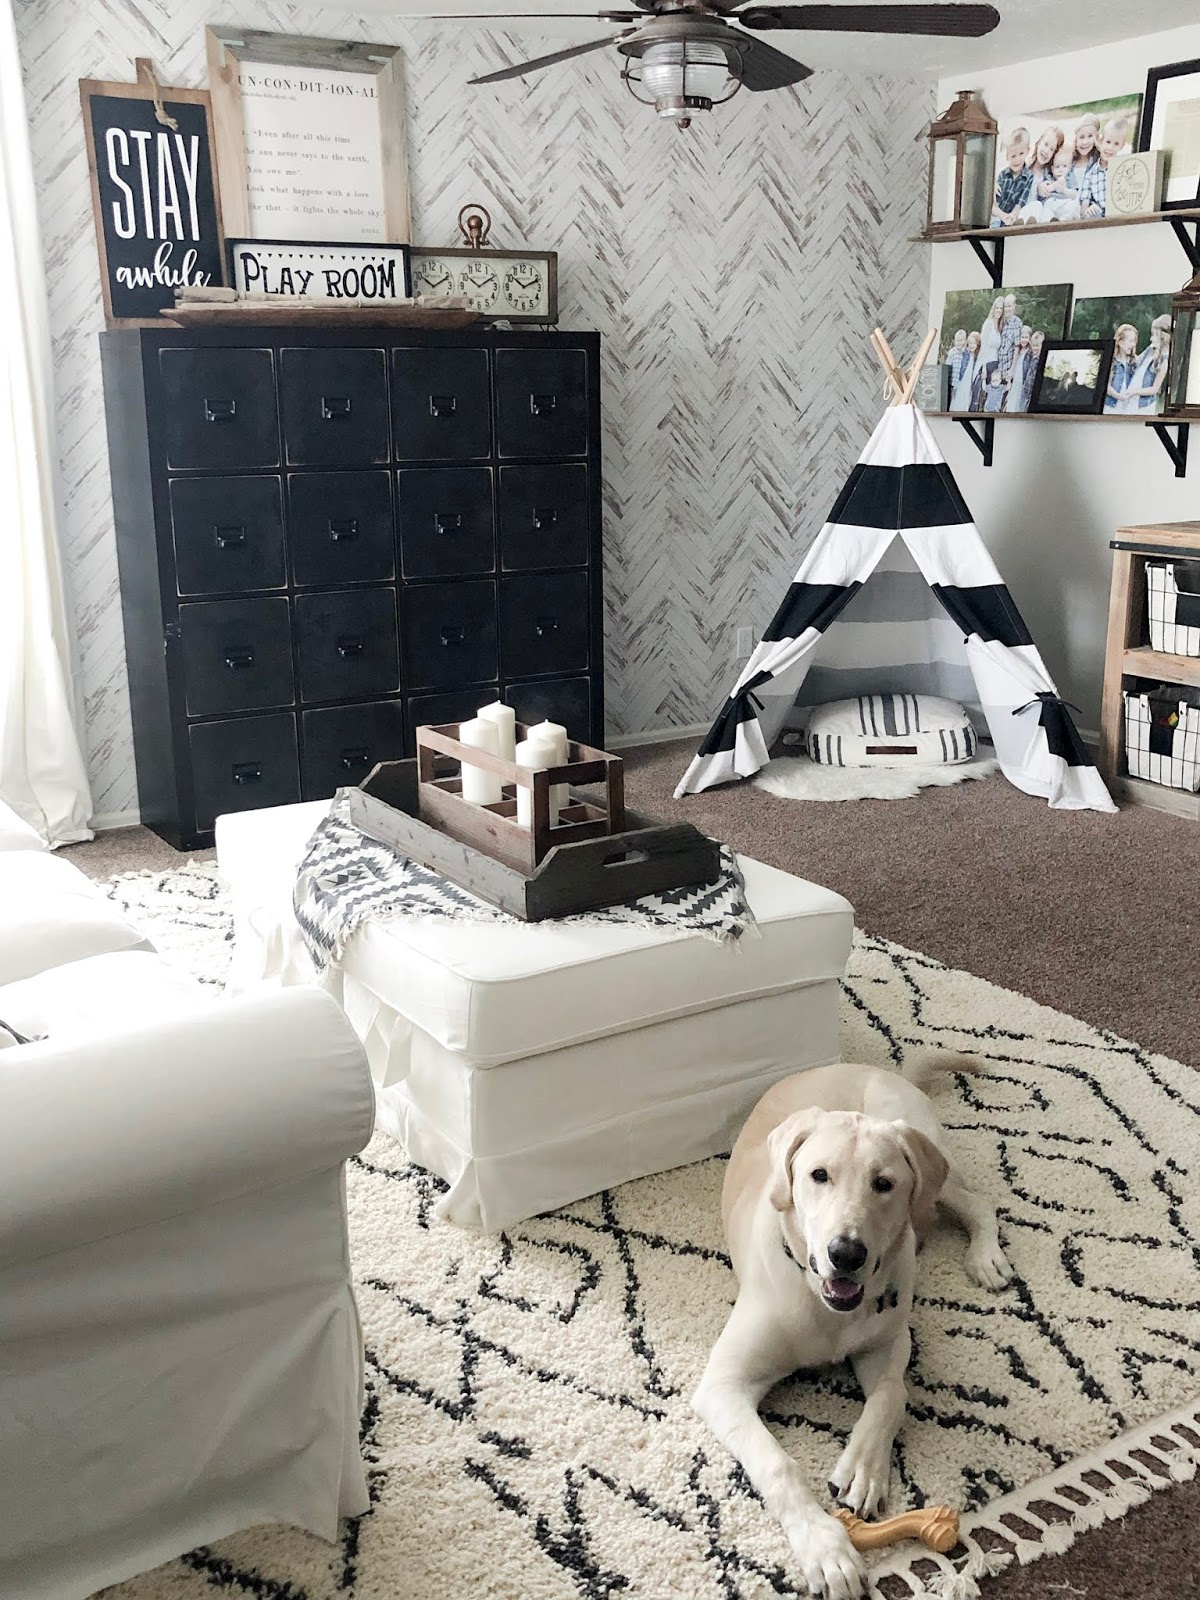
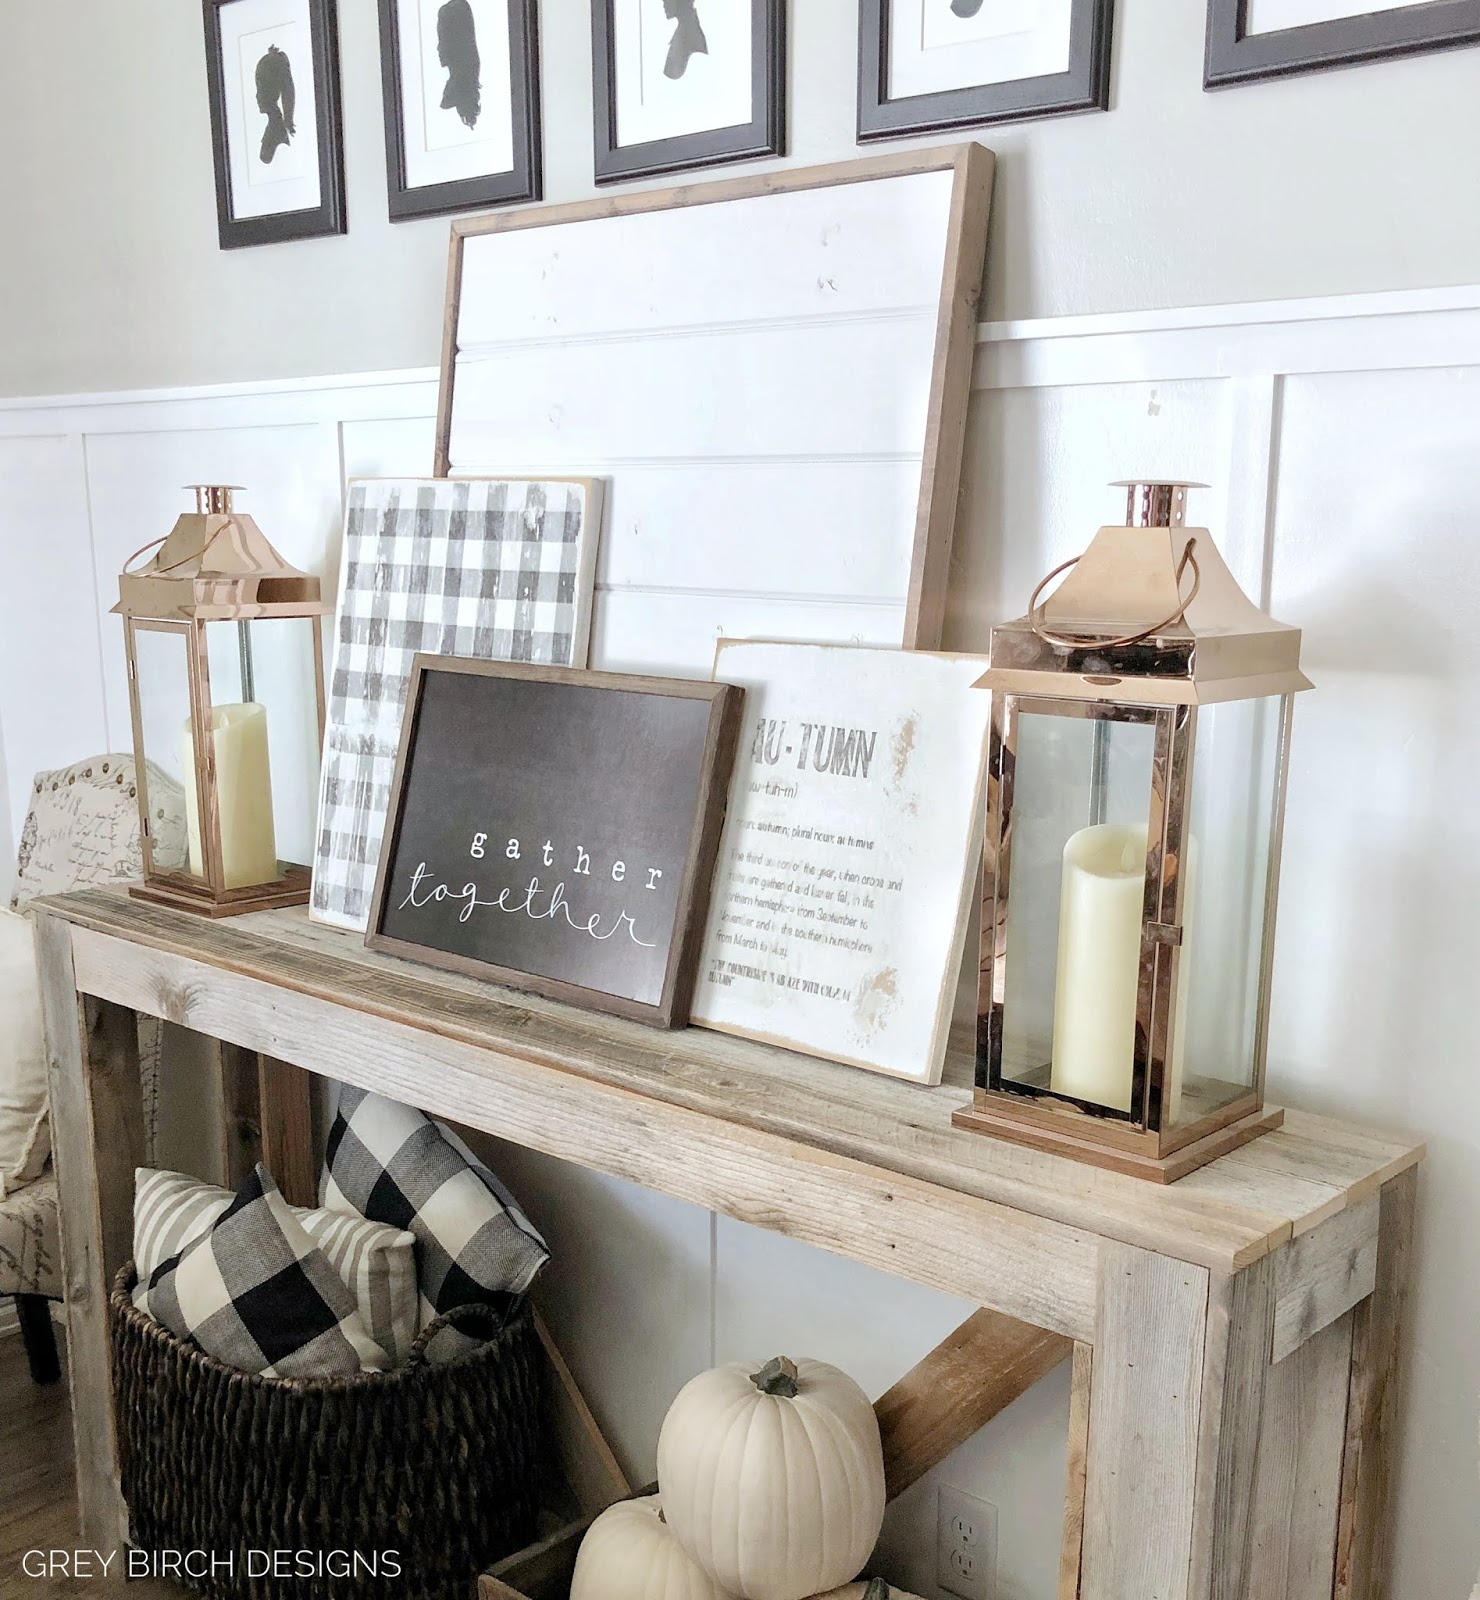
Fall is here and I don’t know about you but I’m so excited!! I love everything about fall, the cool crisp weather, sweaters and cute boots, and ofcourse anything pumpkin!! This has had me thinking about my plans for fall decor and one of my favorite things to add into my decor is cute seasonal signs. One of my favorite was is to layer different signs that compliment each other with out being to busy or overpowering one sign over the other. I find the best ways too do this is to use different patterns or textures that flow well with your main sign. Another thing thats important is to establish your anchor piece. This is usually the largest sign in the grouping but not nessusarly the boldest, it can be very plan with a simple pattern or texture, something that draws the eye in but is also not the focal point. Finally when doing a grouping of signs how do you know how many to do??? Well a good rule of thumb is to use odd numbers, things are always more visually appealing when in groups of 3 or 5, and making your own signs are the perfect way to get that hormones look of your grouping. That being said not everyone is artistic or able to make signs. which is why I’m so excited about this easy and budget friendly DIY sign project that I have put together for you today, what could be better right?!?
Supply list
- Wood cut to your desired size
- White paint (must be flat sheen paint)
- Printer
- Online printable Autumn Printable
- Sander or sanding block
- Mod Podge
- Foam brush
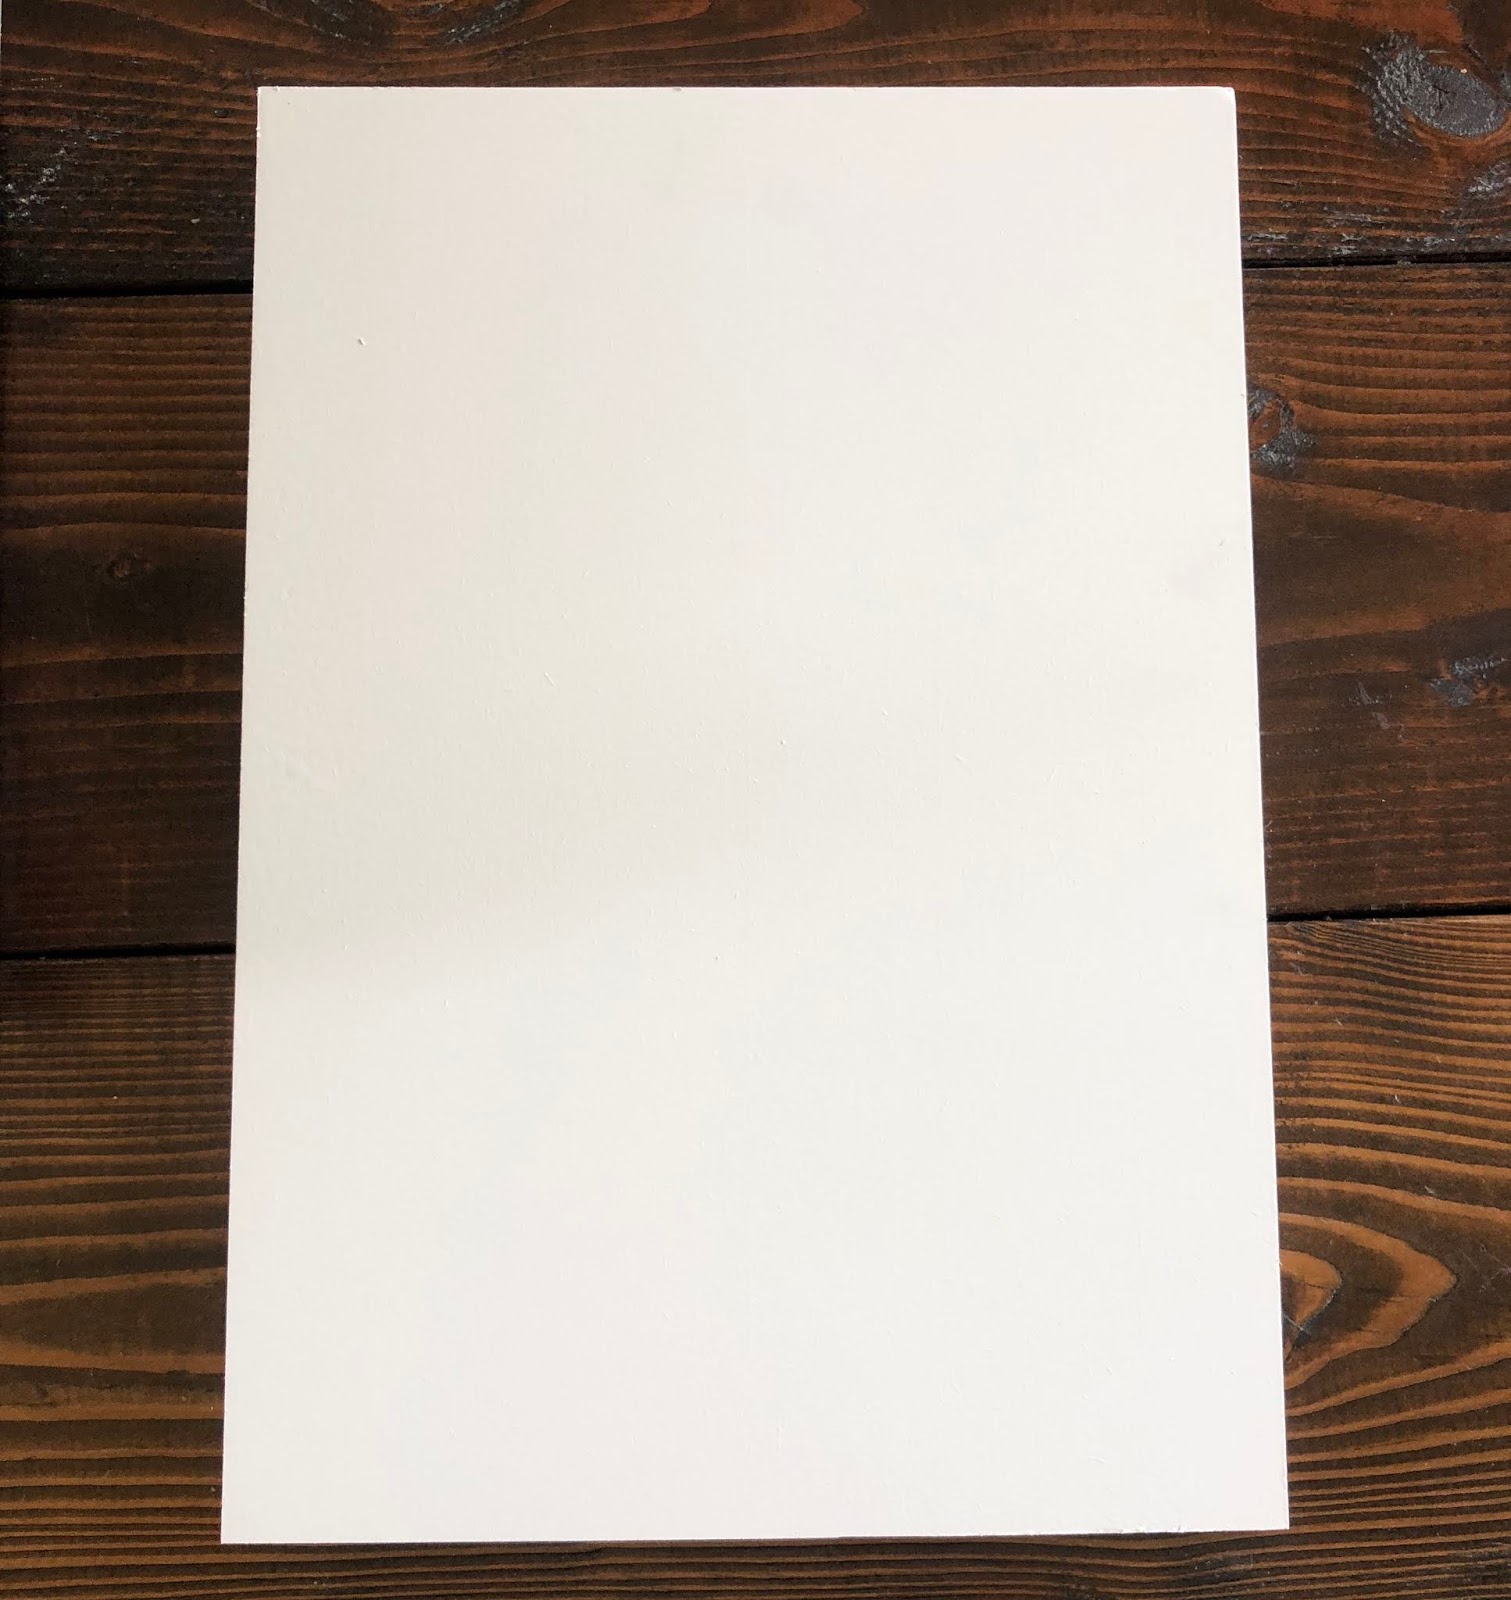
Step 1
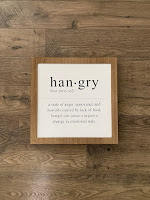
The first thing you will want to do is cut your wood board to the size you want. I used 1/2″ thick MDF board and cut it to 15″x13″. Home Depot will make the cuts for free or you can use a table saw if you have one. Keep in mind that your printable will be on a sheet of paper that is 8.5″x11″. Next, paint it with flat white paint and let it dry for a few hours. While it’s drying you can print out your printable.
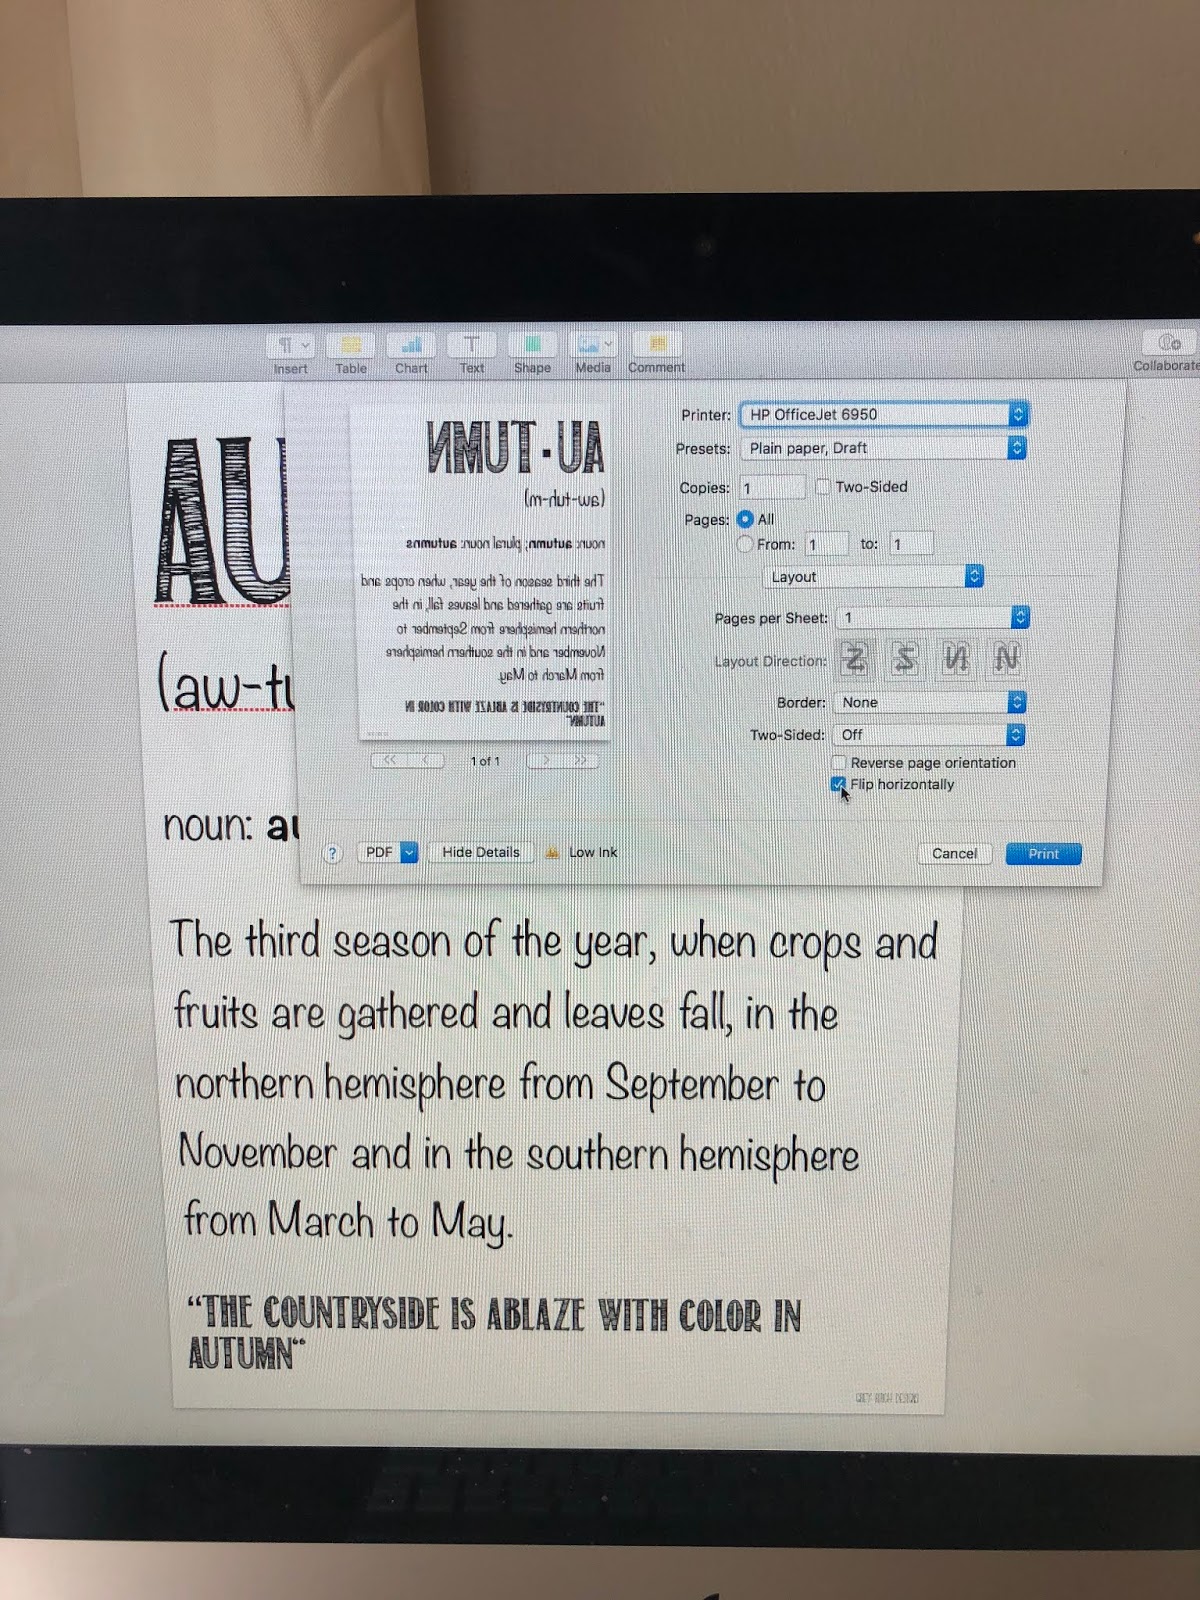
Step 2
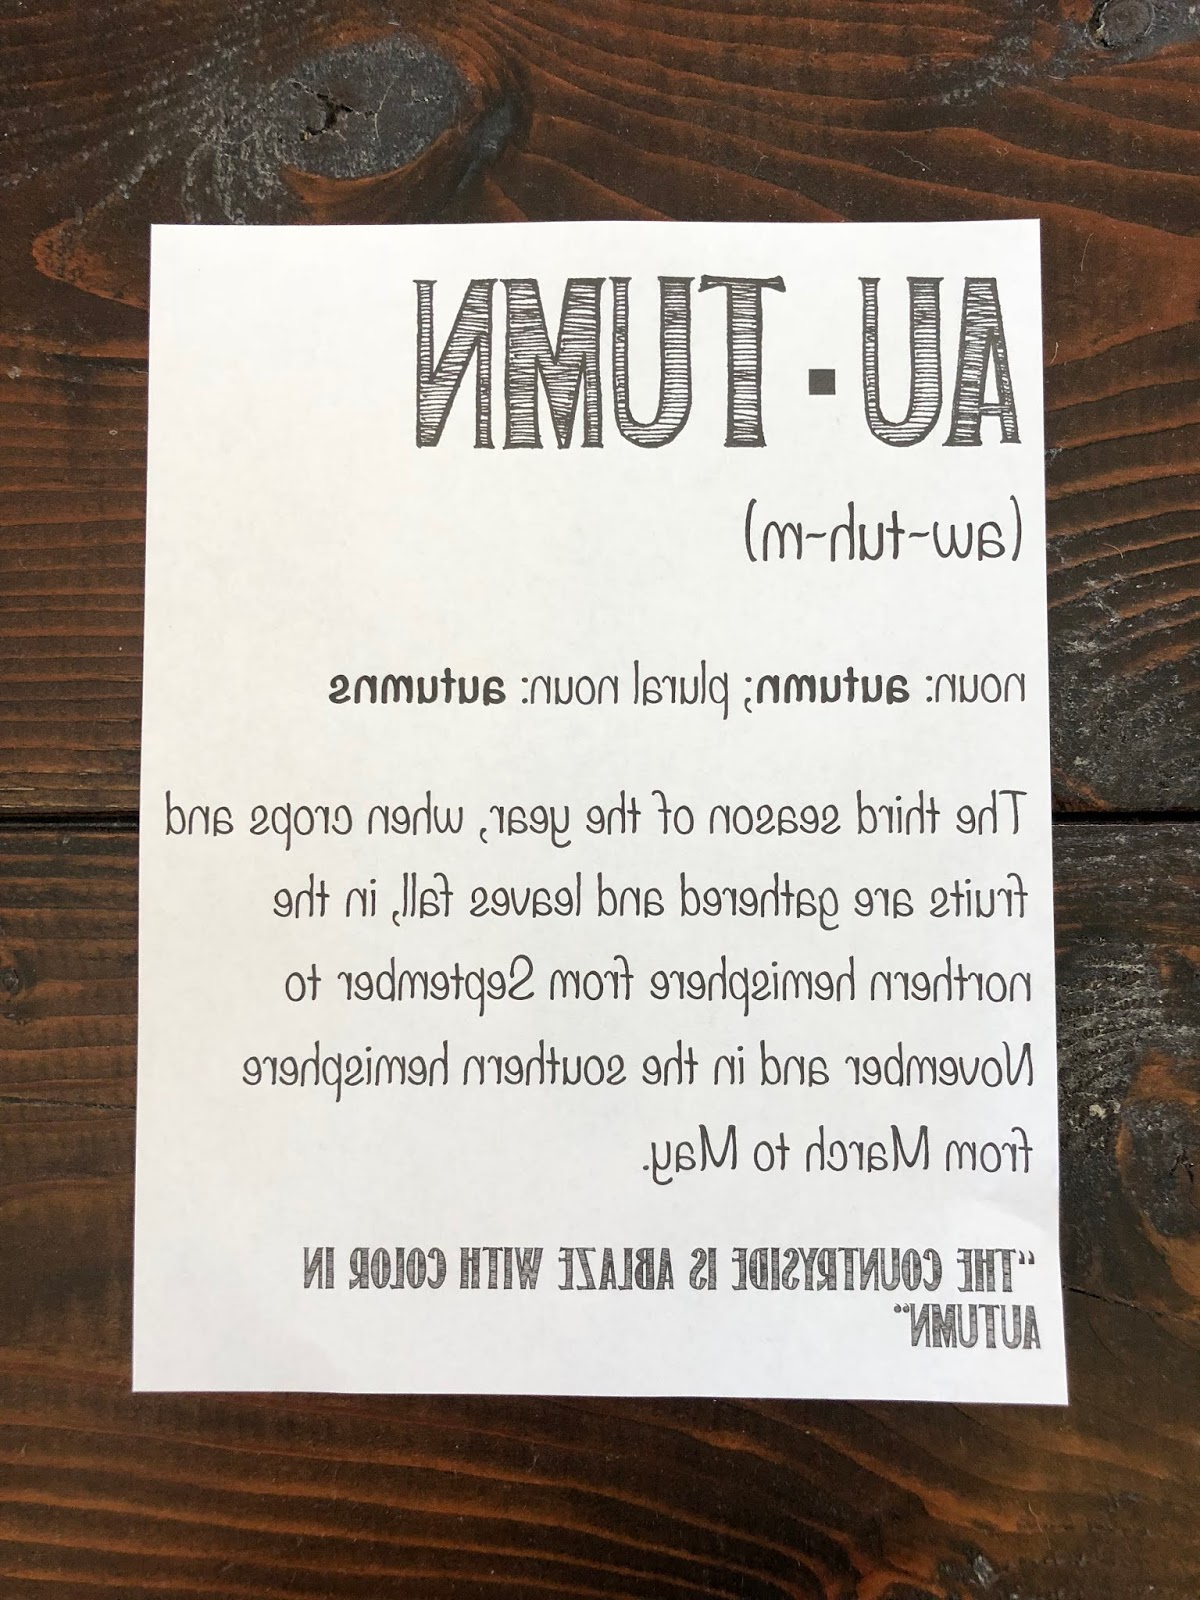
You can use my free printable here Autumn Printable or any other one you like. You will need to print a mirrored image of your printable. It should be easily done in the printing settings. You are doing this so that when you lay your image down on your board (printed side down) it will appear the correct way!
Step 3
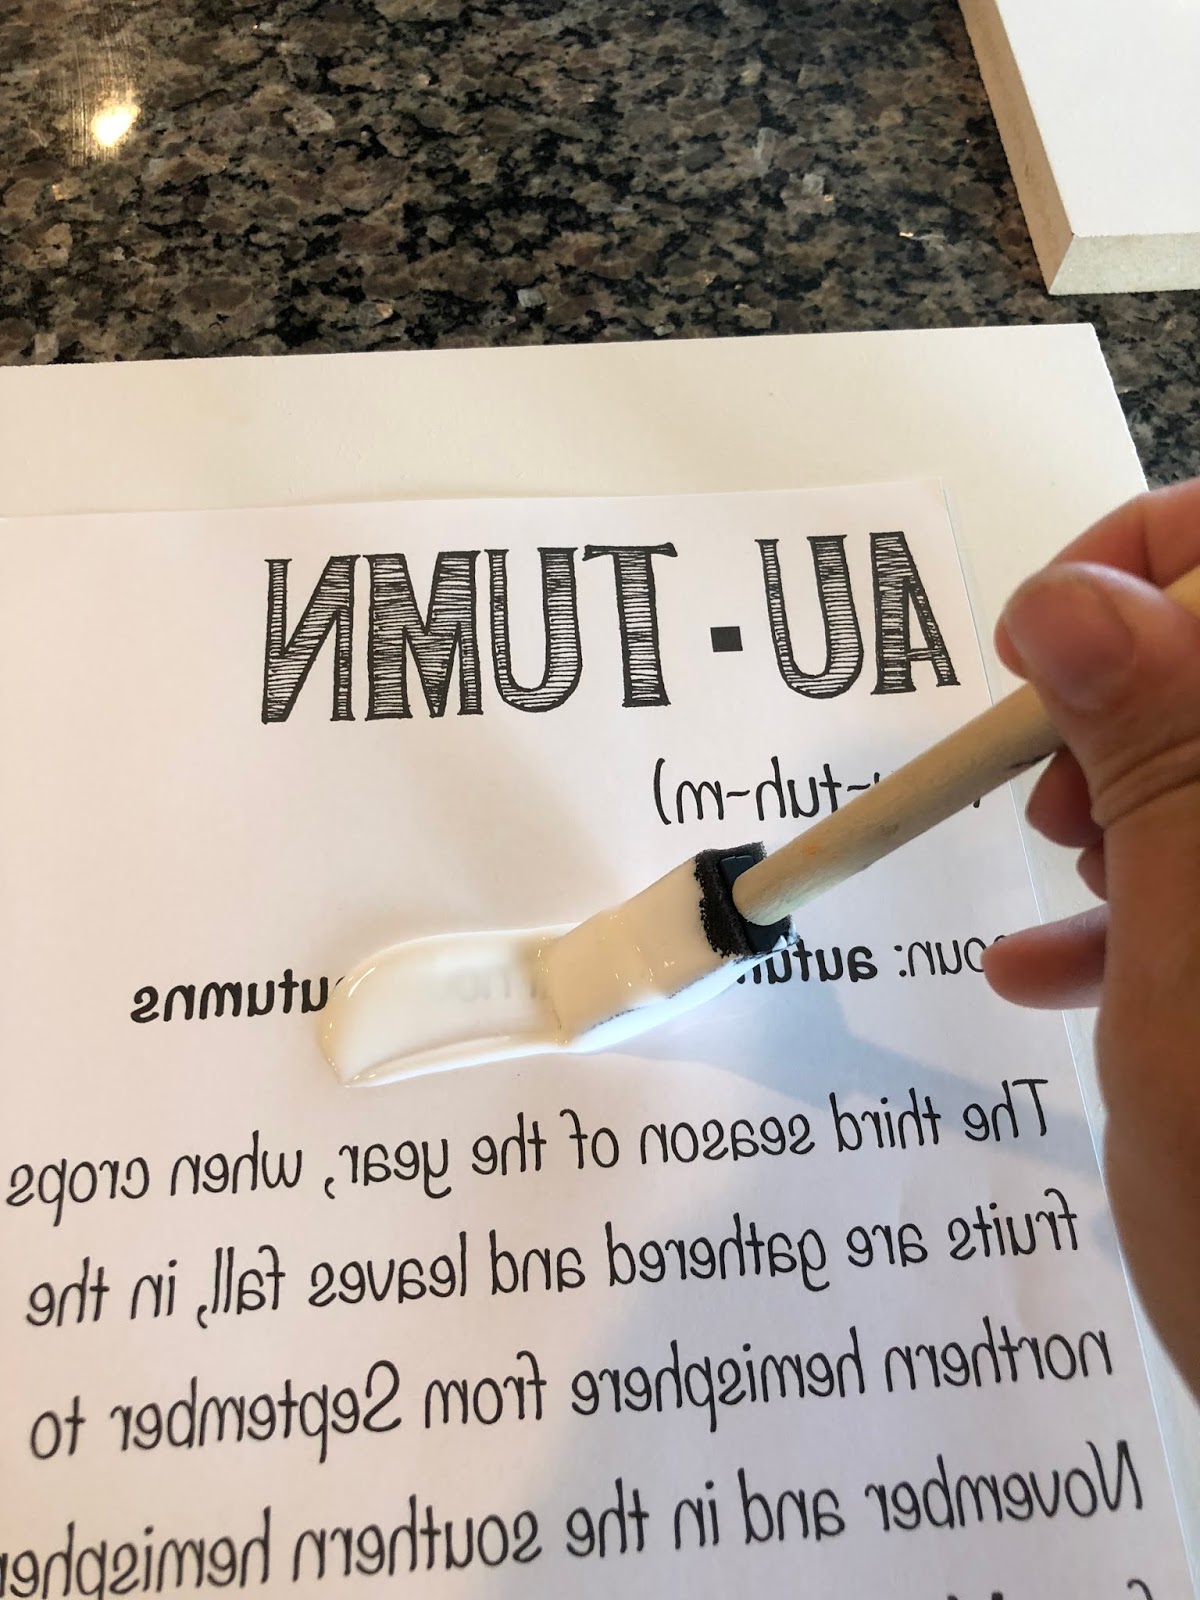
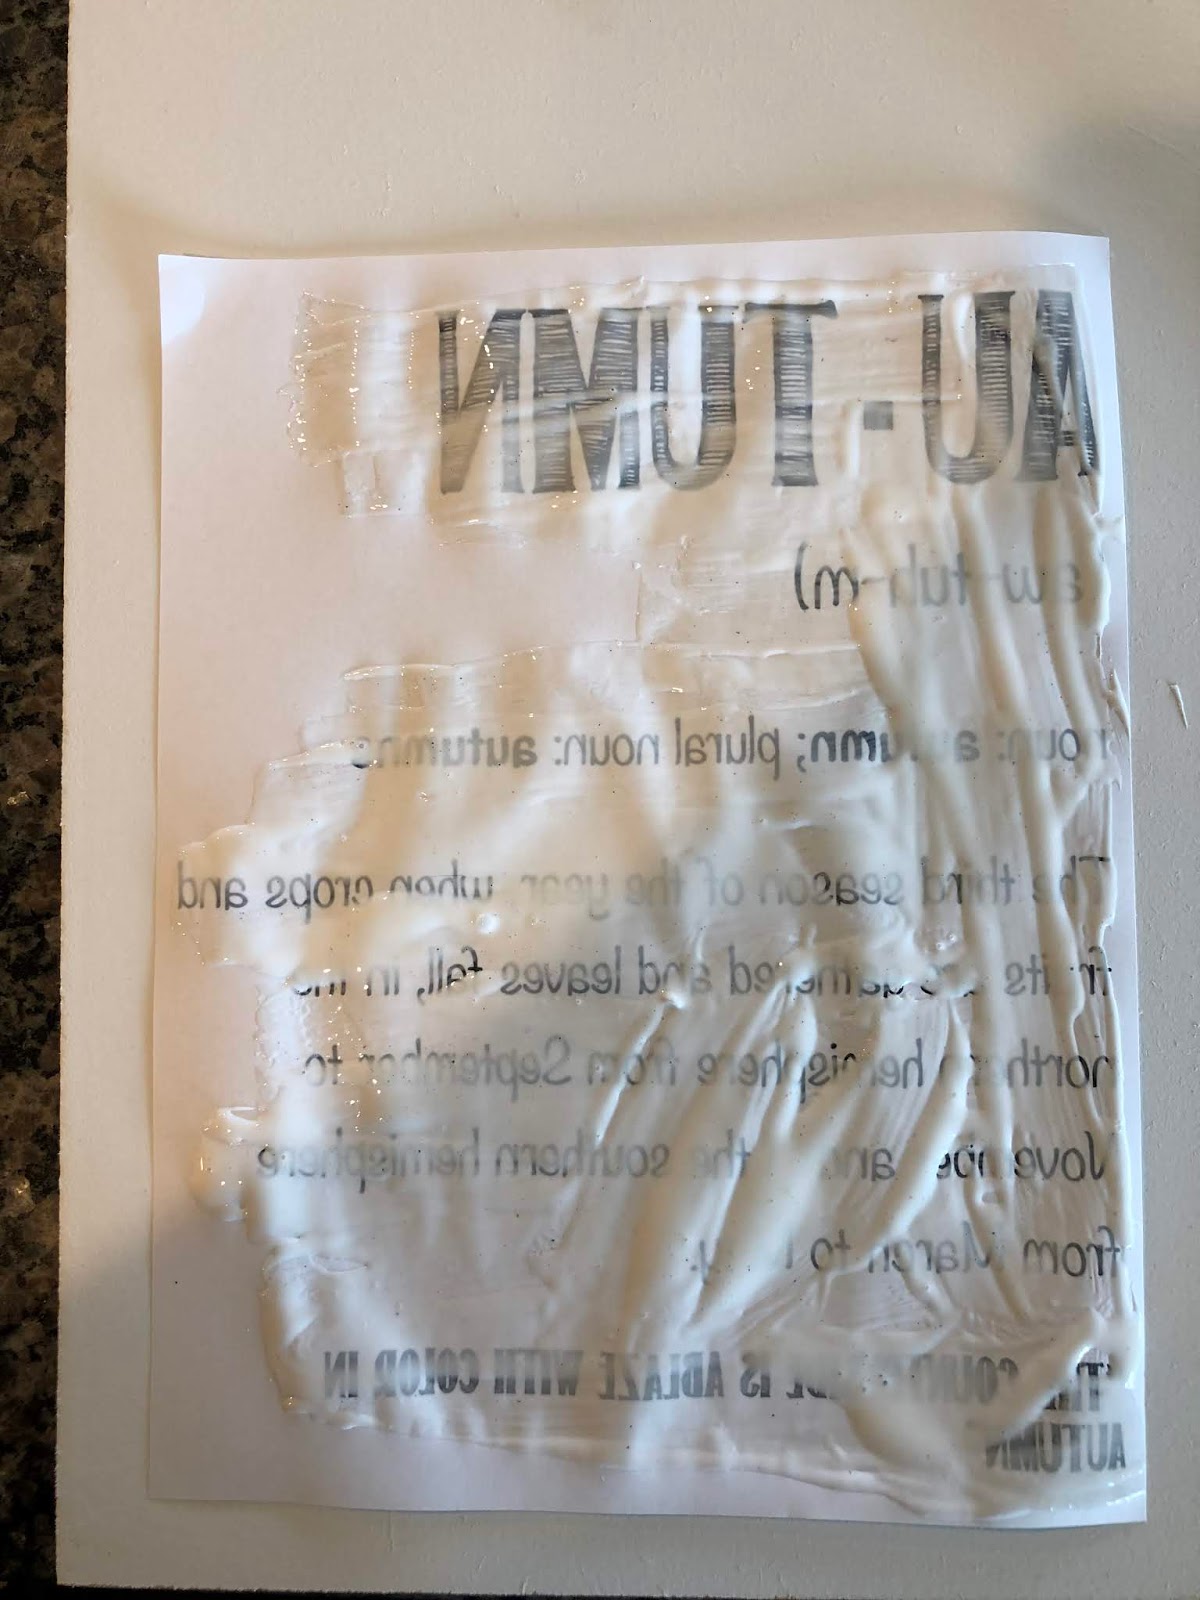
Once your paint is dry, you can attach your printable to your board. You will need a foam brush and some Mod Podge. Take your foam brush and put a generous layer of Mod Podge on the printed side of your printable. Then lay it down on your painted board (printed side down) and smooth out the bubbles and creases the best you can. There will still be some wrinkles in the paper, but don’t worry. Let that dry for a few hours – you need the Mod Podge to be completely dry.
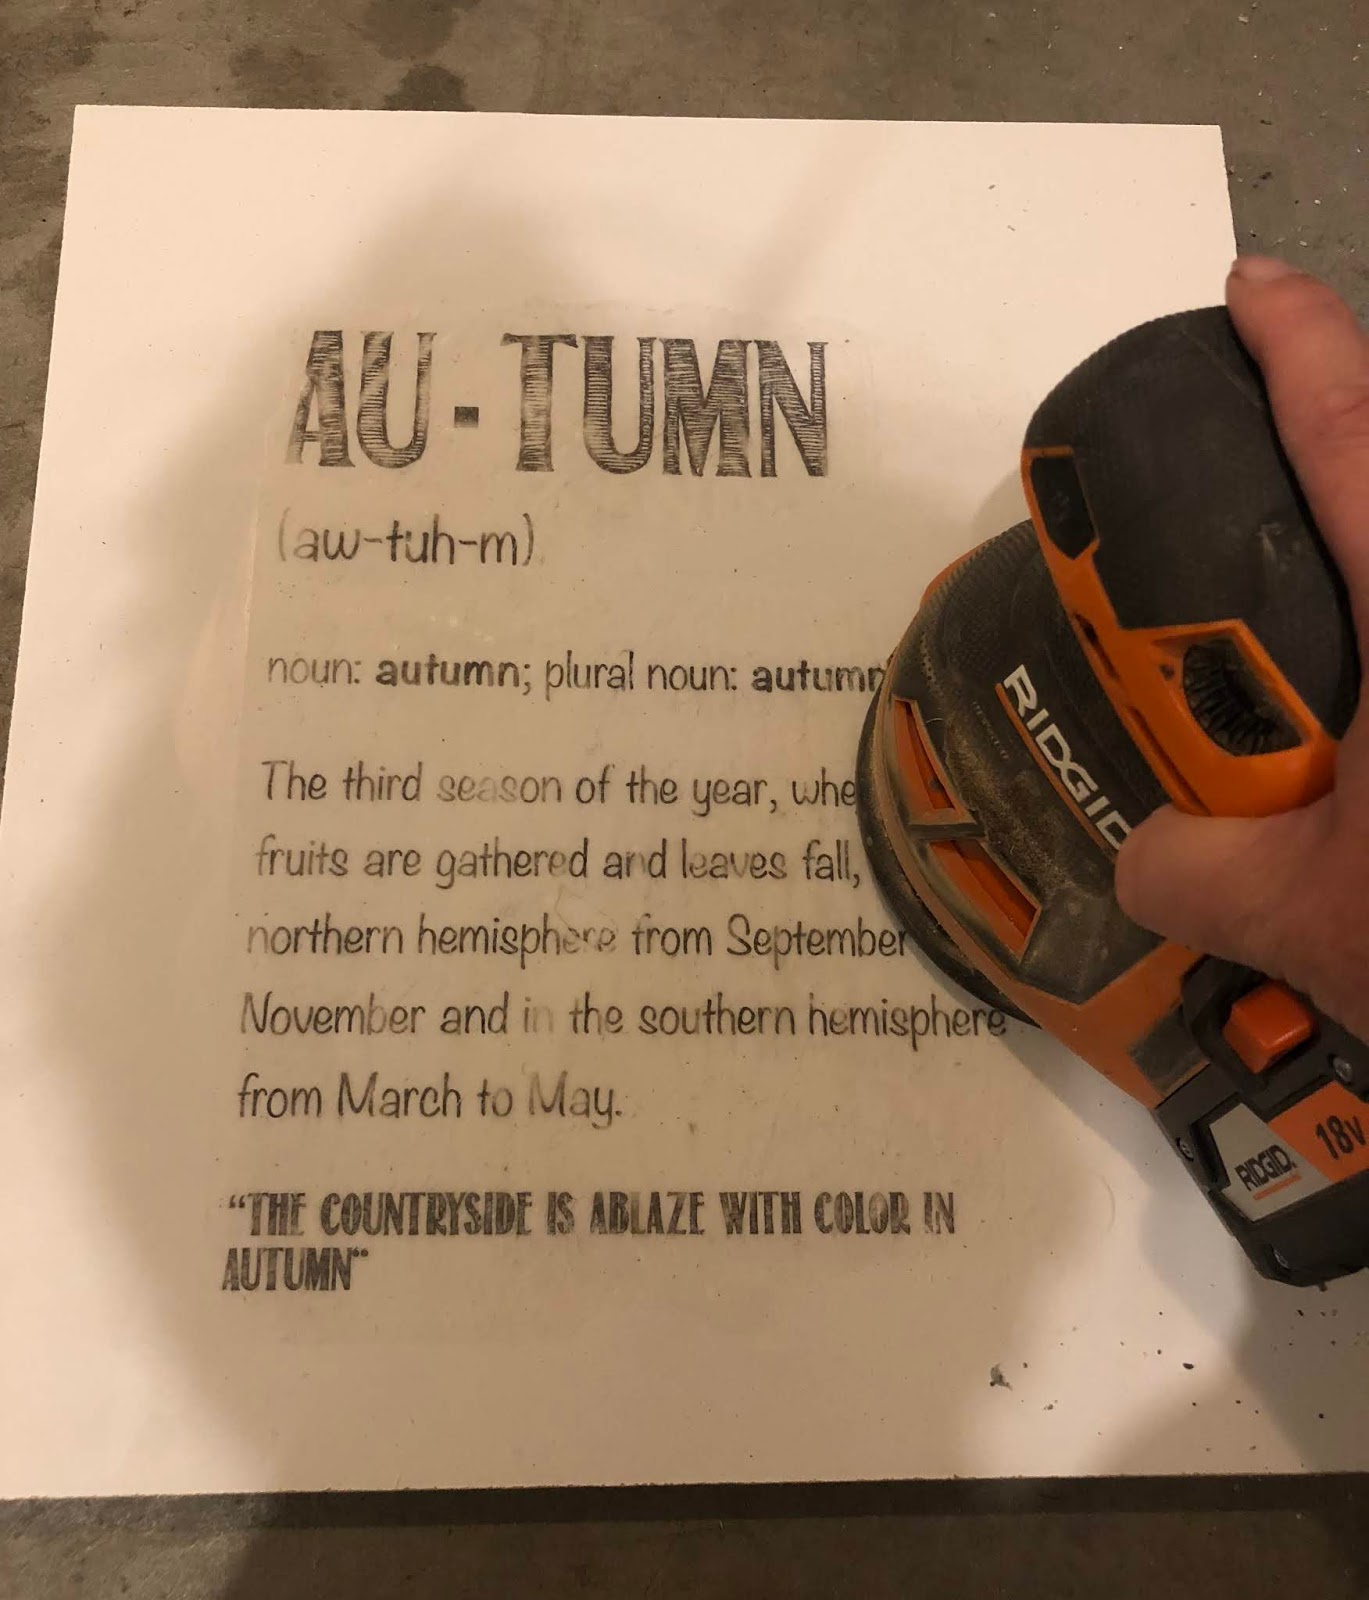
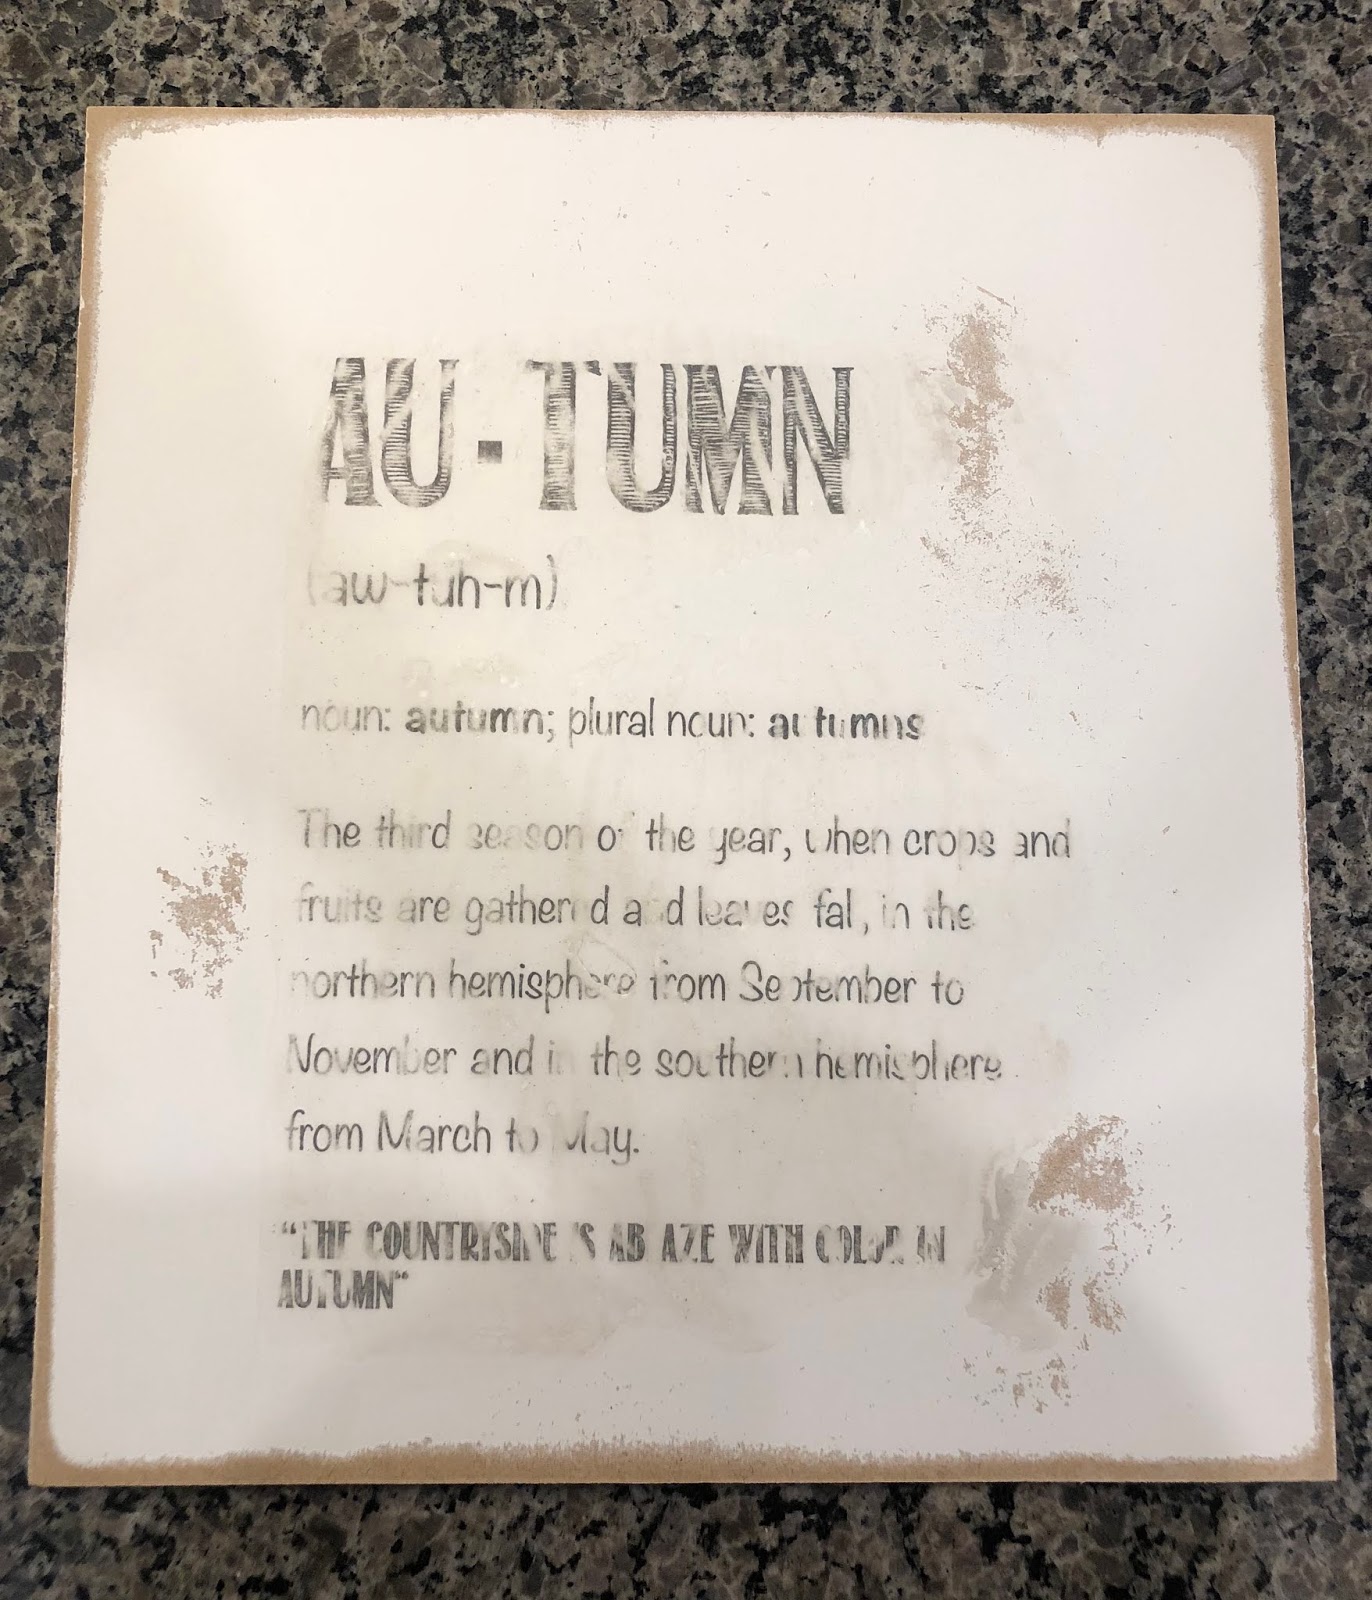
Step 4
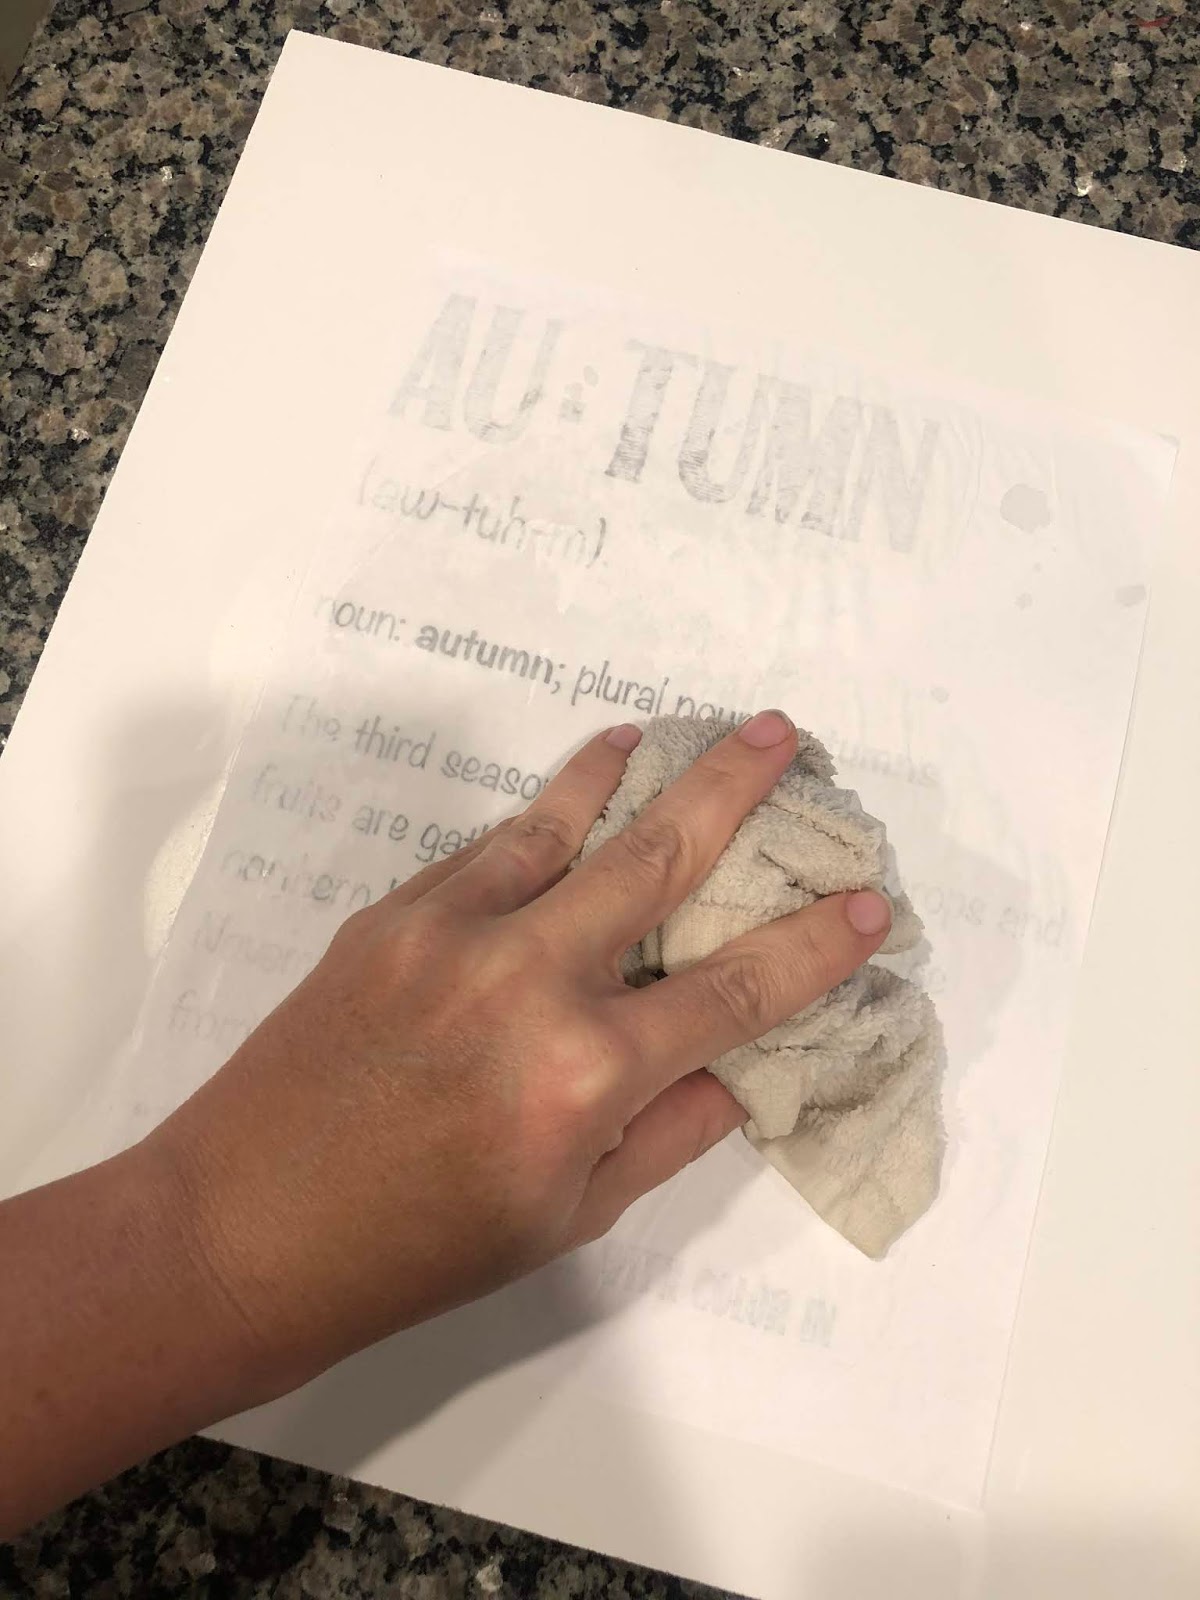
Once that is nice and dry, take a wet wash cloth and gently rub off the paper. The key is getting it wet enough that it starts to rub off, but the printed portion that was covered with Mod Podge stays put! Once you have most of the paper backing off it’s time to get out your sander or sanding block and rough it up! When I distress a sign I like to hit the areas where it would naturally wear. Start with the corners and move on to the face, giving it a good sanding, as well as a few random spots on the front. It’s ok if some parts of the words get sanded off – that just gives it a more distressed look. Once you’re happy with the sanding, just clean it off and you’re done! Now you have a cute seasonal sign for your home that cost next to nothing to make!
I hope you enjoyed this tutorial, and if you’re local to Utah, check out my segment on KSL Studio 5 with Brooke Walker today at 11am August 30th, 2018 where I will be demonstrating this DIY craft on their lifestyle television show!!
-Grey Birch Designs-