read more
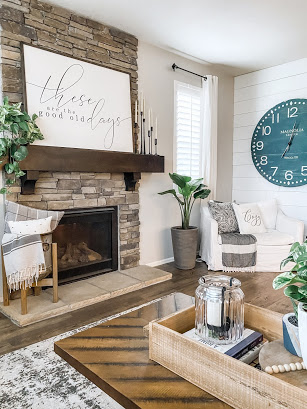
If there has ever been a DIY project that I have been obsessed with it’s this one! I have lost count of how many ugly containers I have turned into modern vintage looking faux pottery, and I still want to do more! It’s such a fun project that you really can’t mess up and will always turn out beautiful!
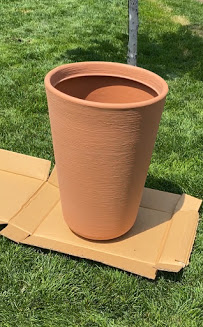
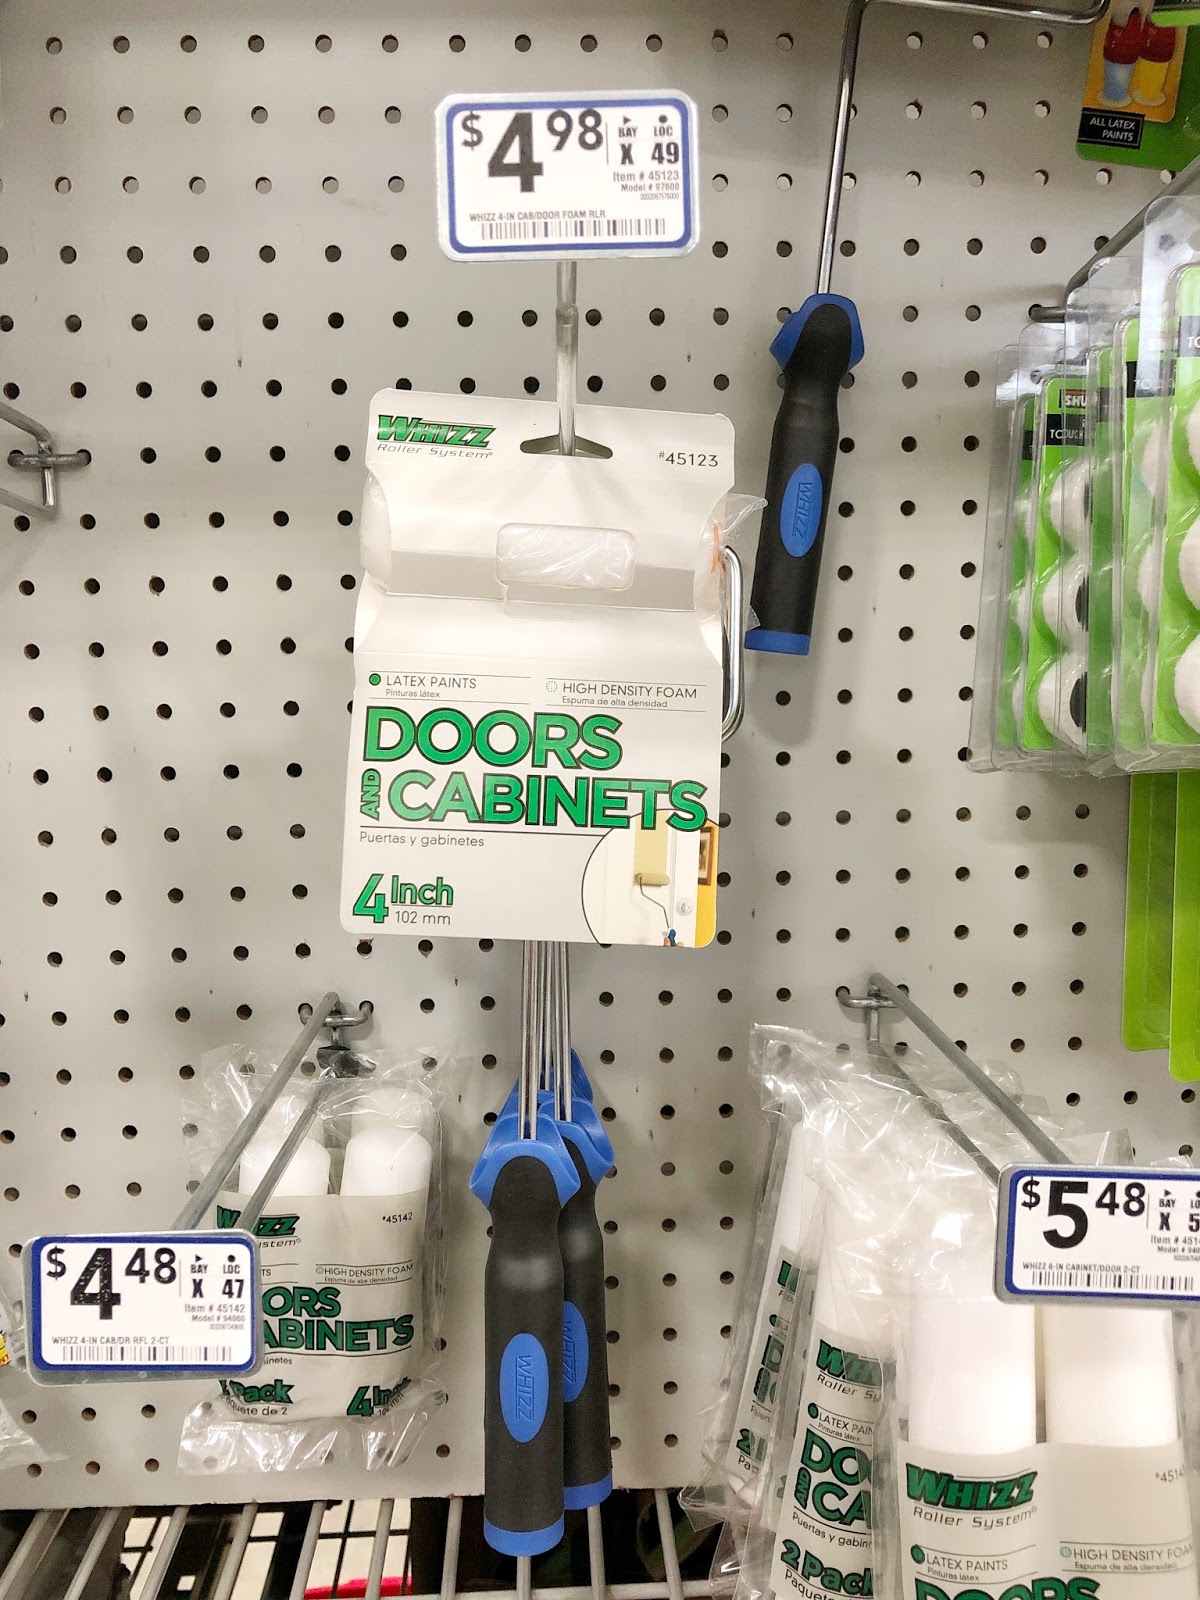
- Container you want to transform
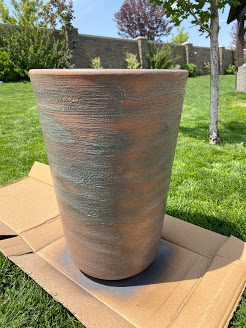
- Texture Spray
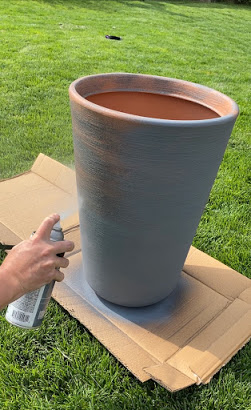
- Matte Finish Spray Paint
- Dirt from your backyard
- Matte Sealer Spray

You can use this technique on practically anything. I have used ugly pottery, glass vases, plastic pots, even a set of lamps!! Click here to see how my lamps turned out. I’m completely in love with them!
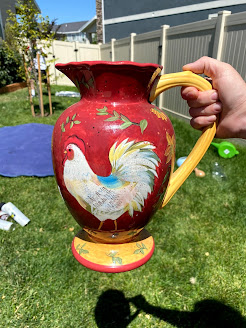
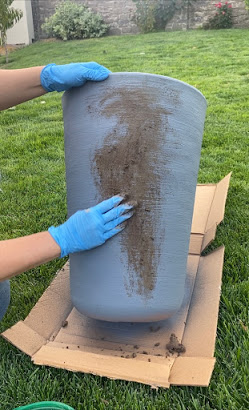
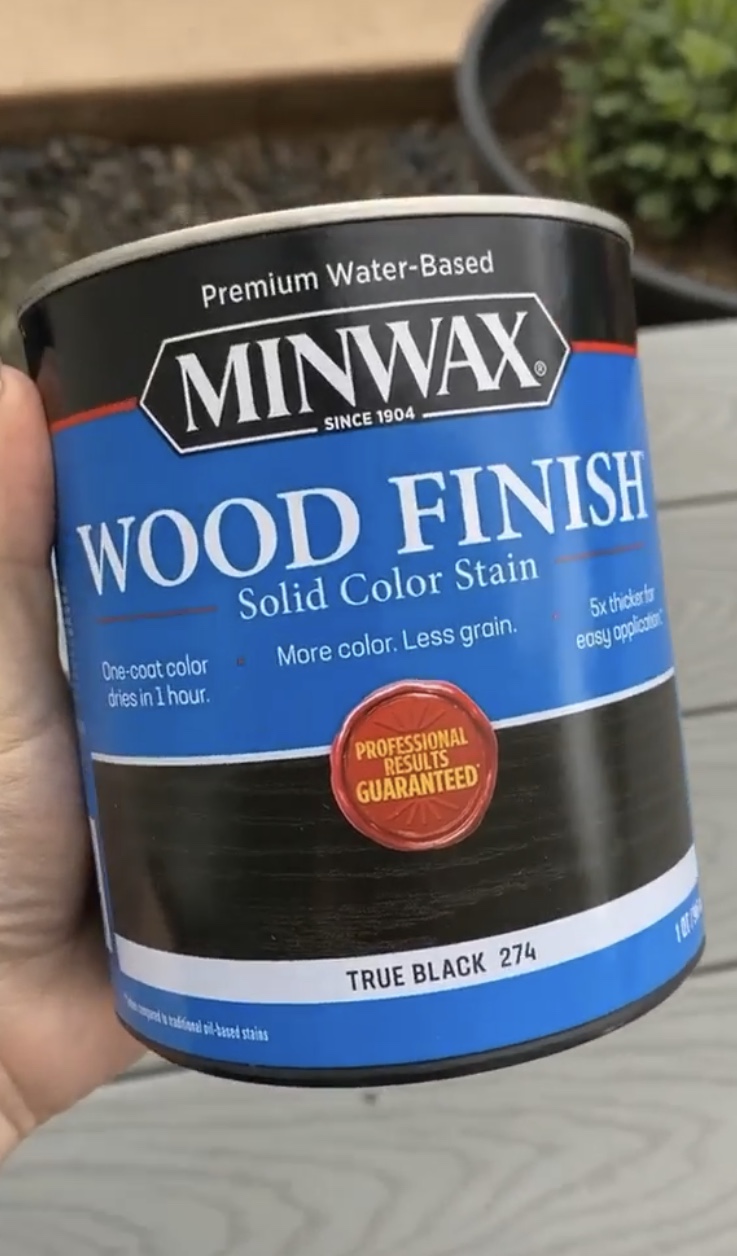
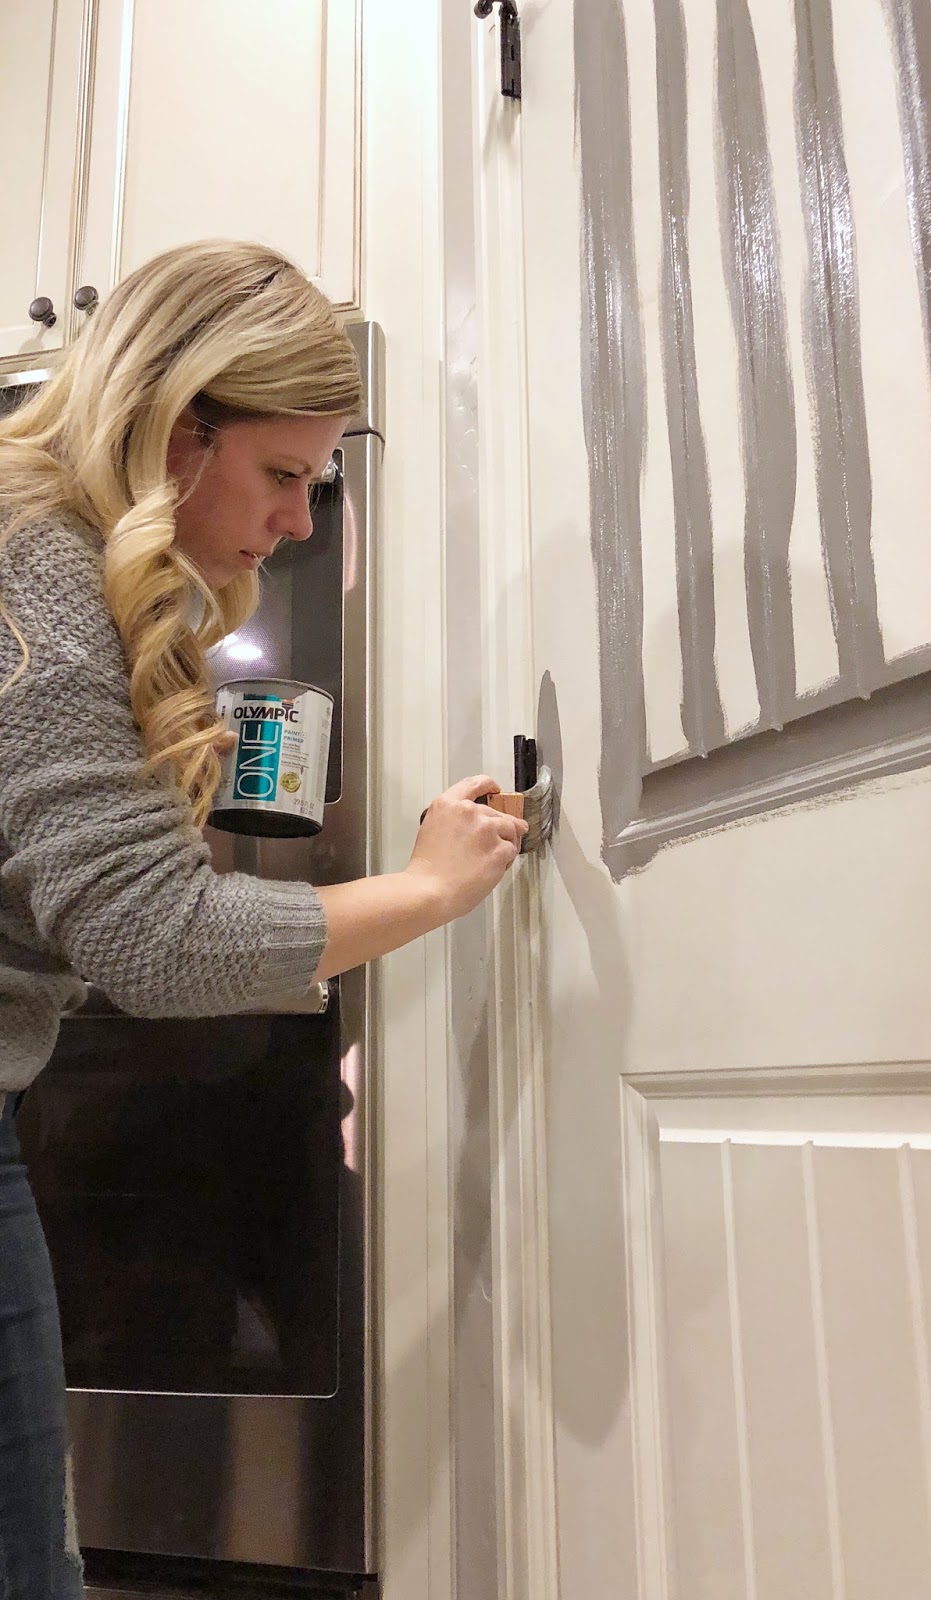
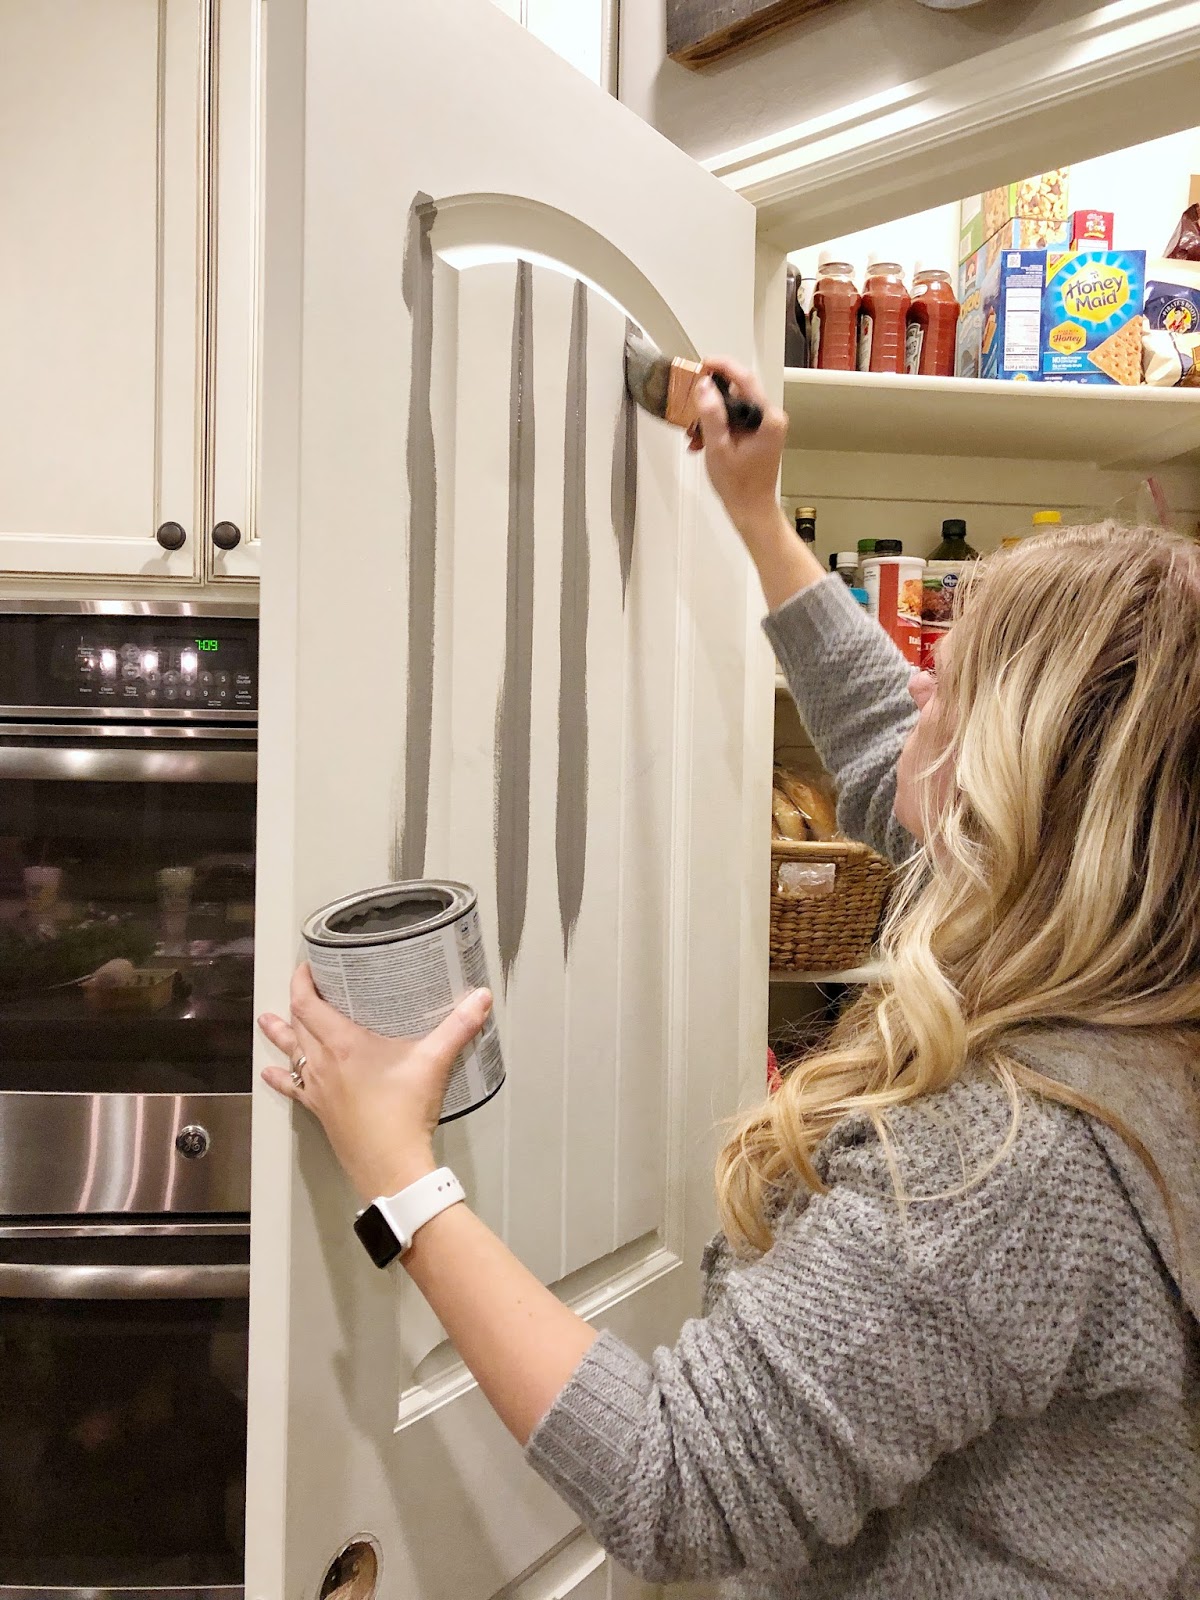
- The first step is to cover your piece with a texture spray, this one by Rust-Oleum is my favorite. There’s no wrong or right way to do this. You can see the texture overlaps when you spray it and that’s completely fine. This step gives your piece the truly authentic look of pottery so be generous with the texture spray!
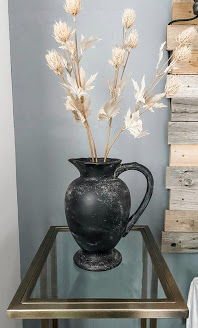
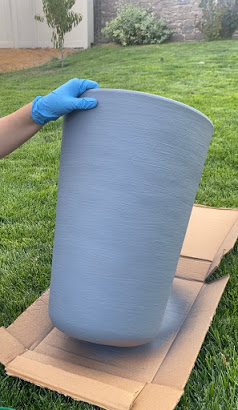
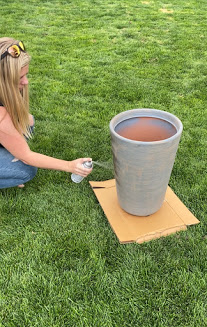
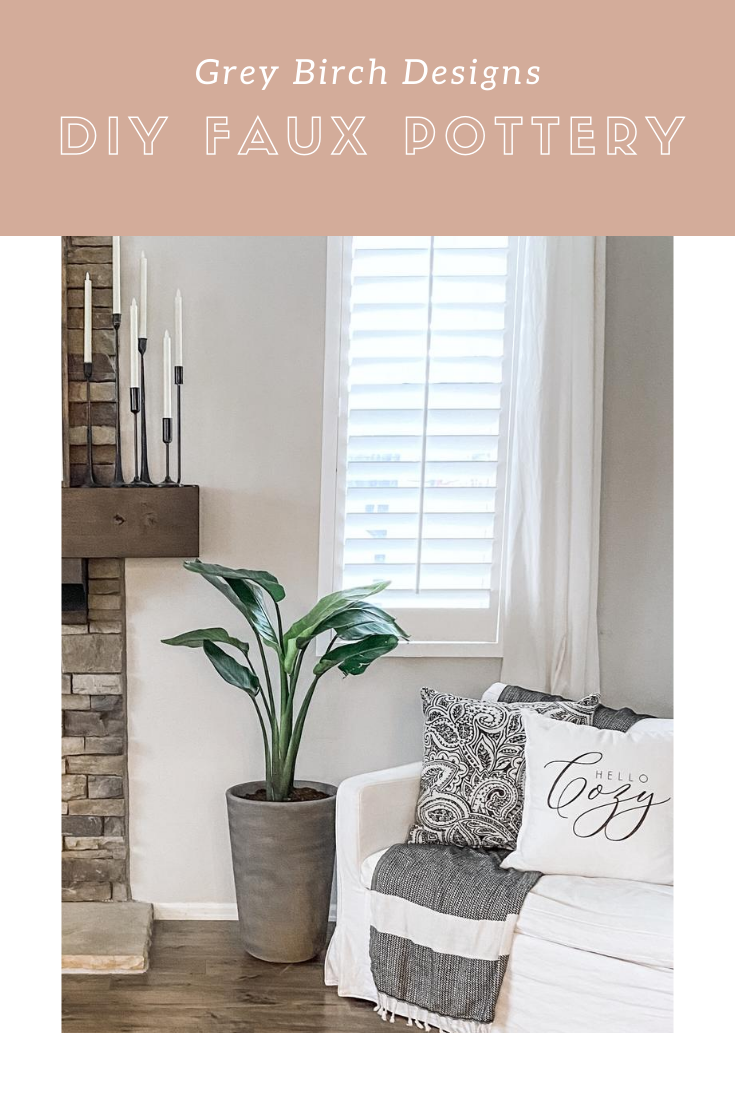
- Let the texture sit until it’s dry to the touch, about 10-15 minutes. Next, spray paint it any color you want. Make sure the paint is a Flat/Matte finish. If you use spray paint with any kind of a gloss finish it won’t give you the same look. For this project I used this medium grey color. I love it and it gives my planter a little bit of a concrete look!
- Now comes the fun part. Grab some dirt from your backyard and add just a little bit of water. You don’t want to add too much water to the dirt, think somewhere in-between dry dirt and mud! Now rub it all over your project and let it completely dry!
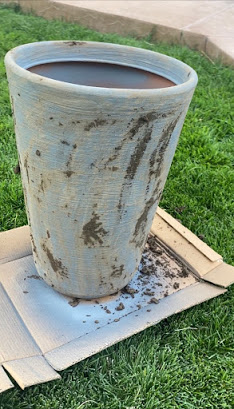
- After the dirt is dry take a clean cloth and rub some of it off. You can take off a little or a lot, it’s up to you! If you have trouble removing the dirt, it may be because your dirt was too wet. Get your cloth damp and carefully rub the dirt off that way. If your cloth is too wet and you completely remove all the dirt you will need to repeat the last step to get some of that dirt back on your project.
- The last step is spraying the project with a matte sealer. This is optional but I do find that it preserves your project better, and because the finish is also matte it won’t change the look or feel of your project!!

read more
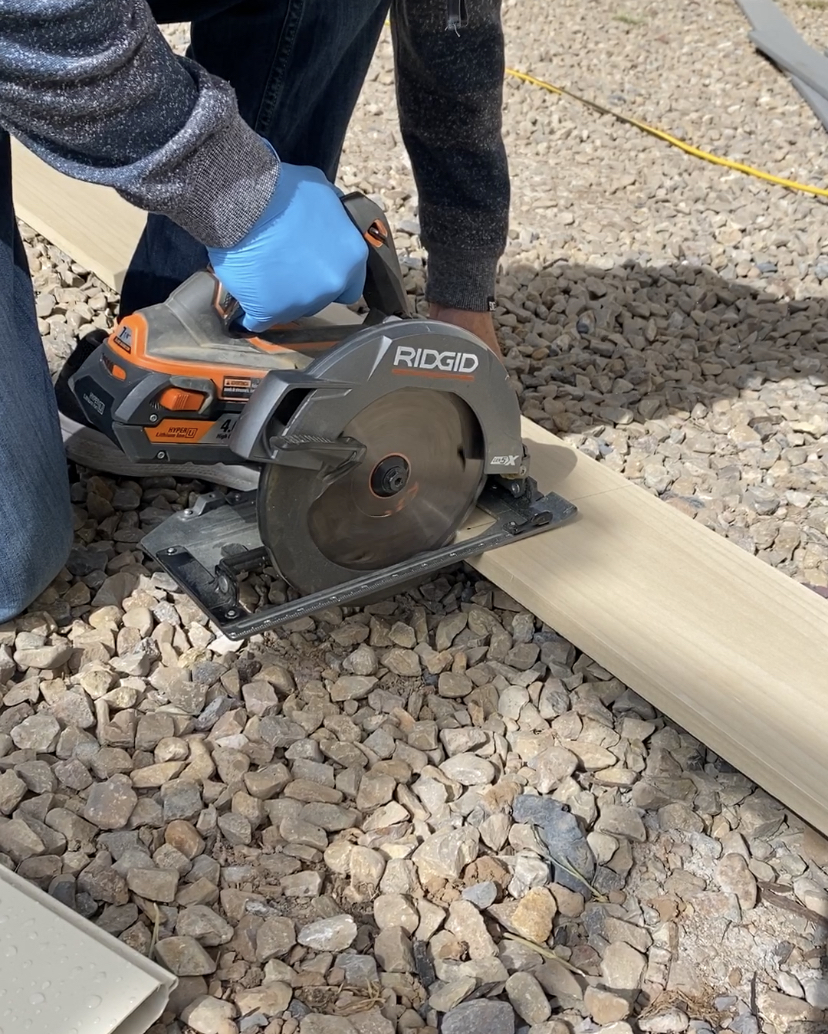
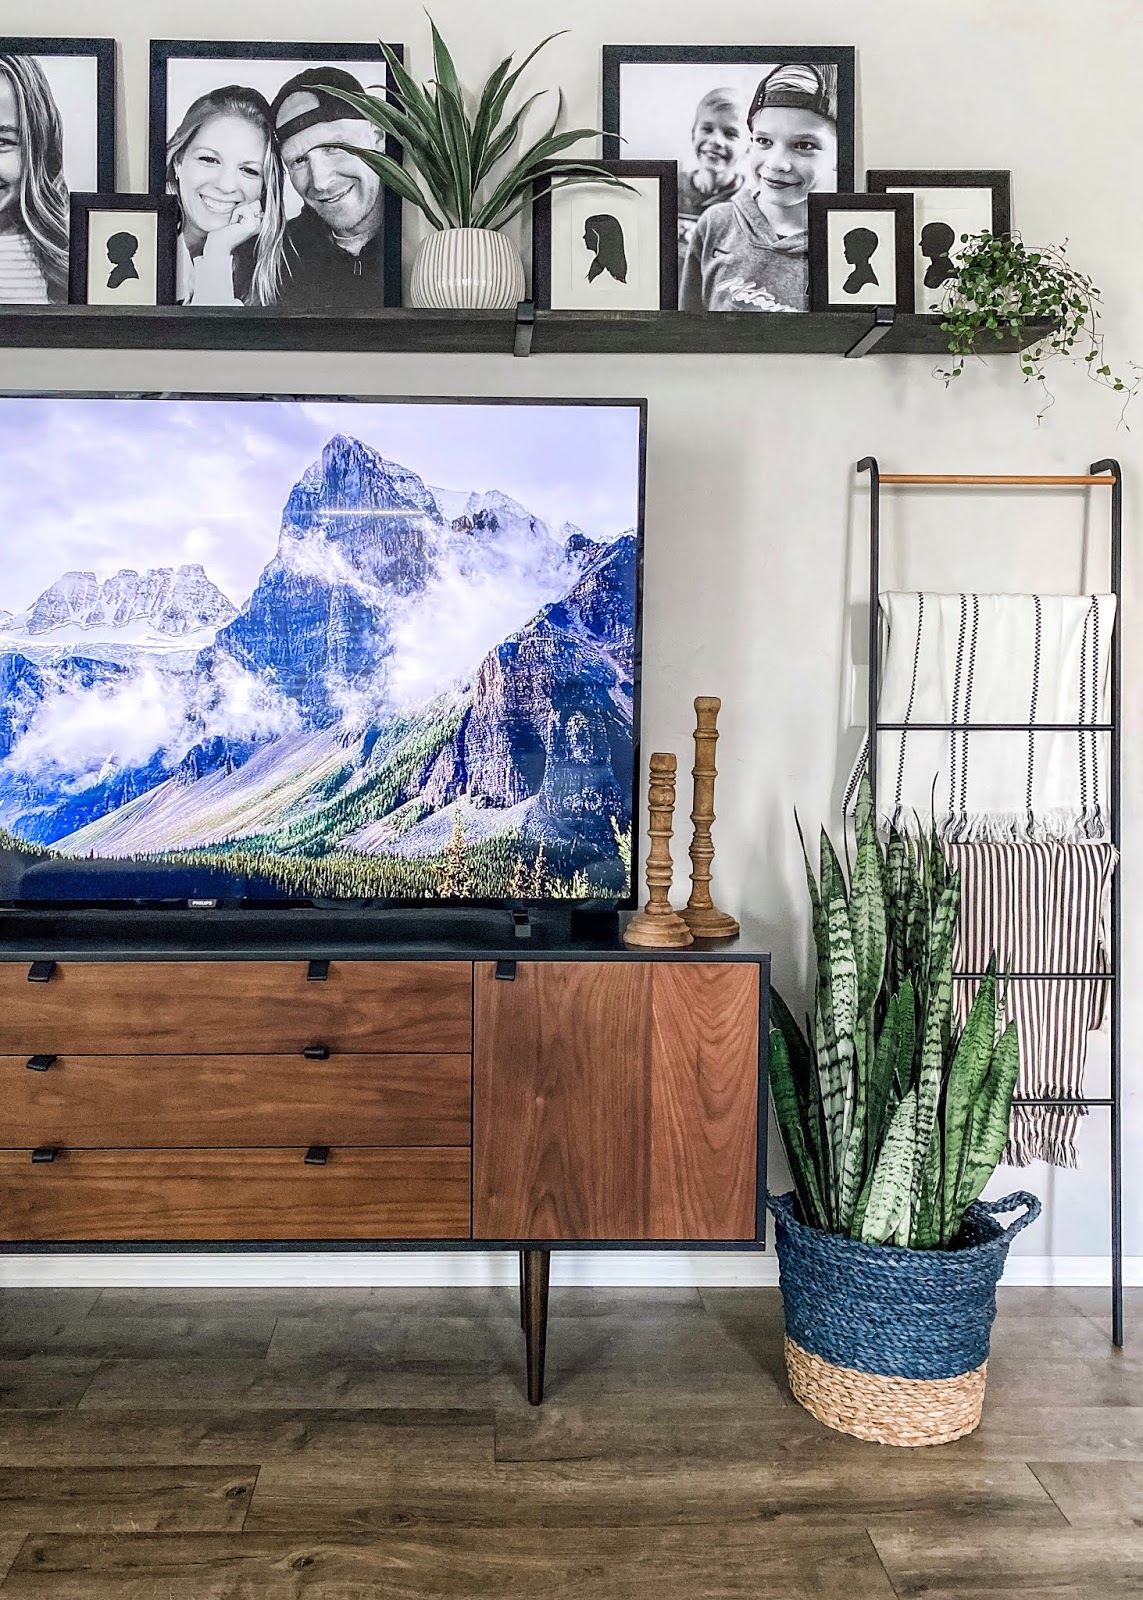
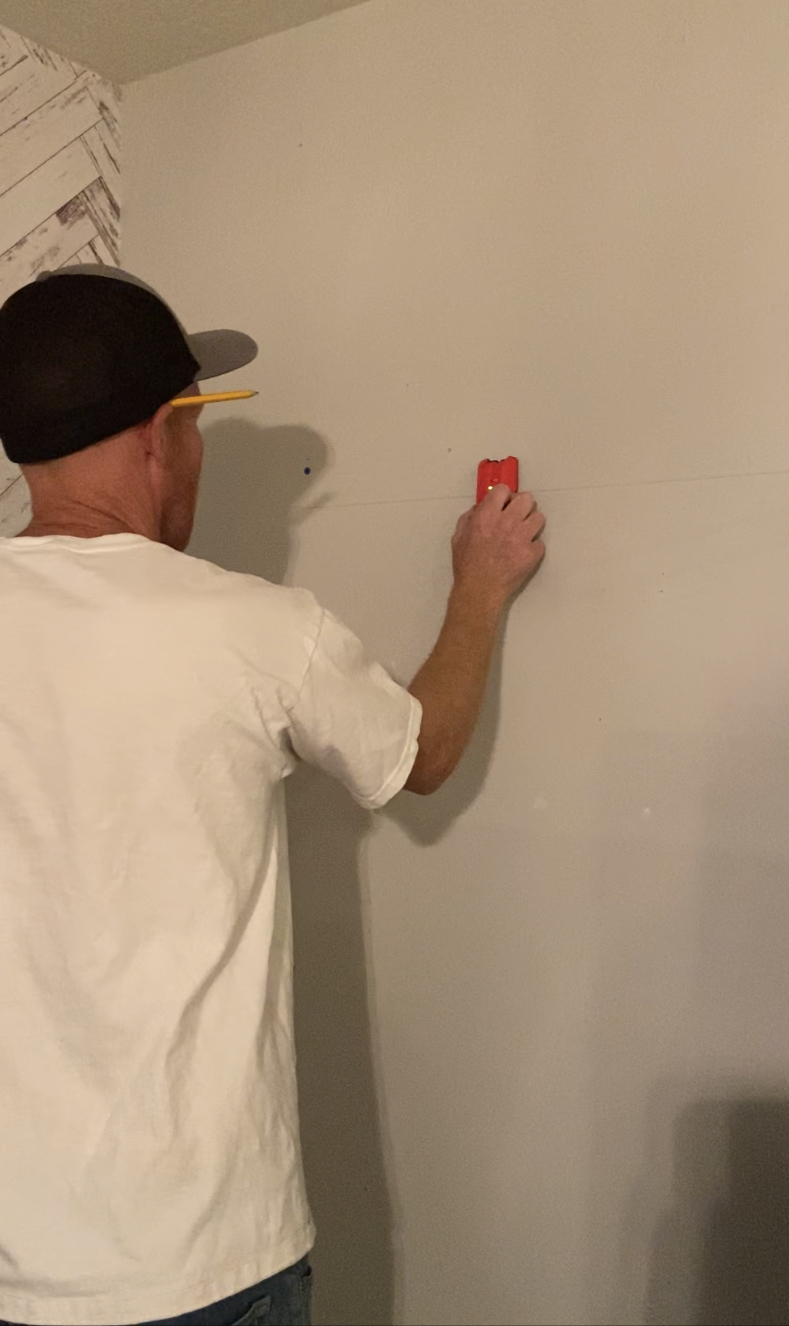
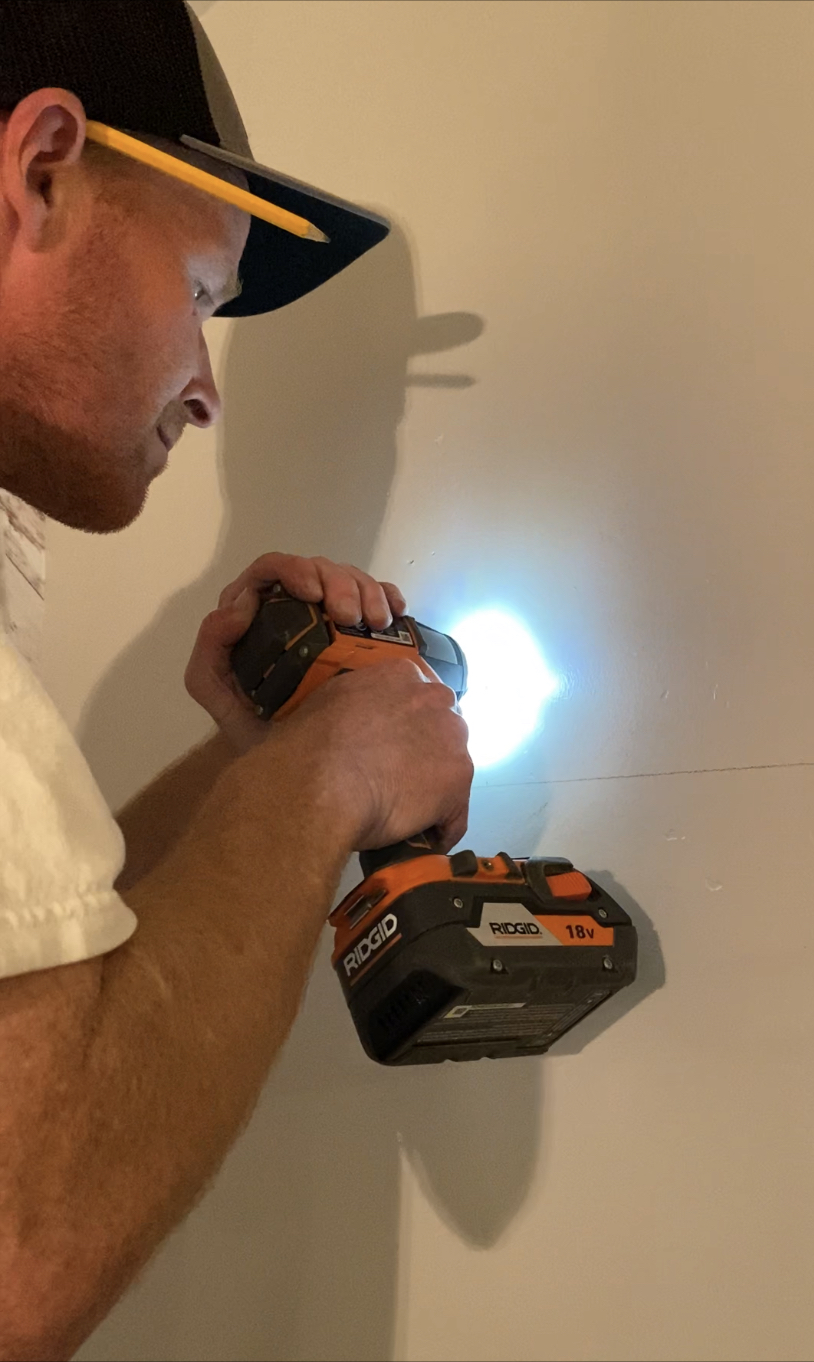
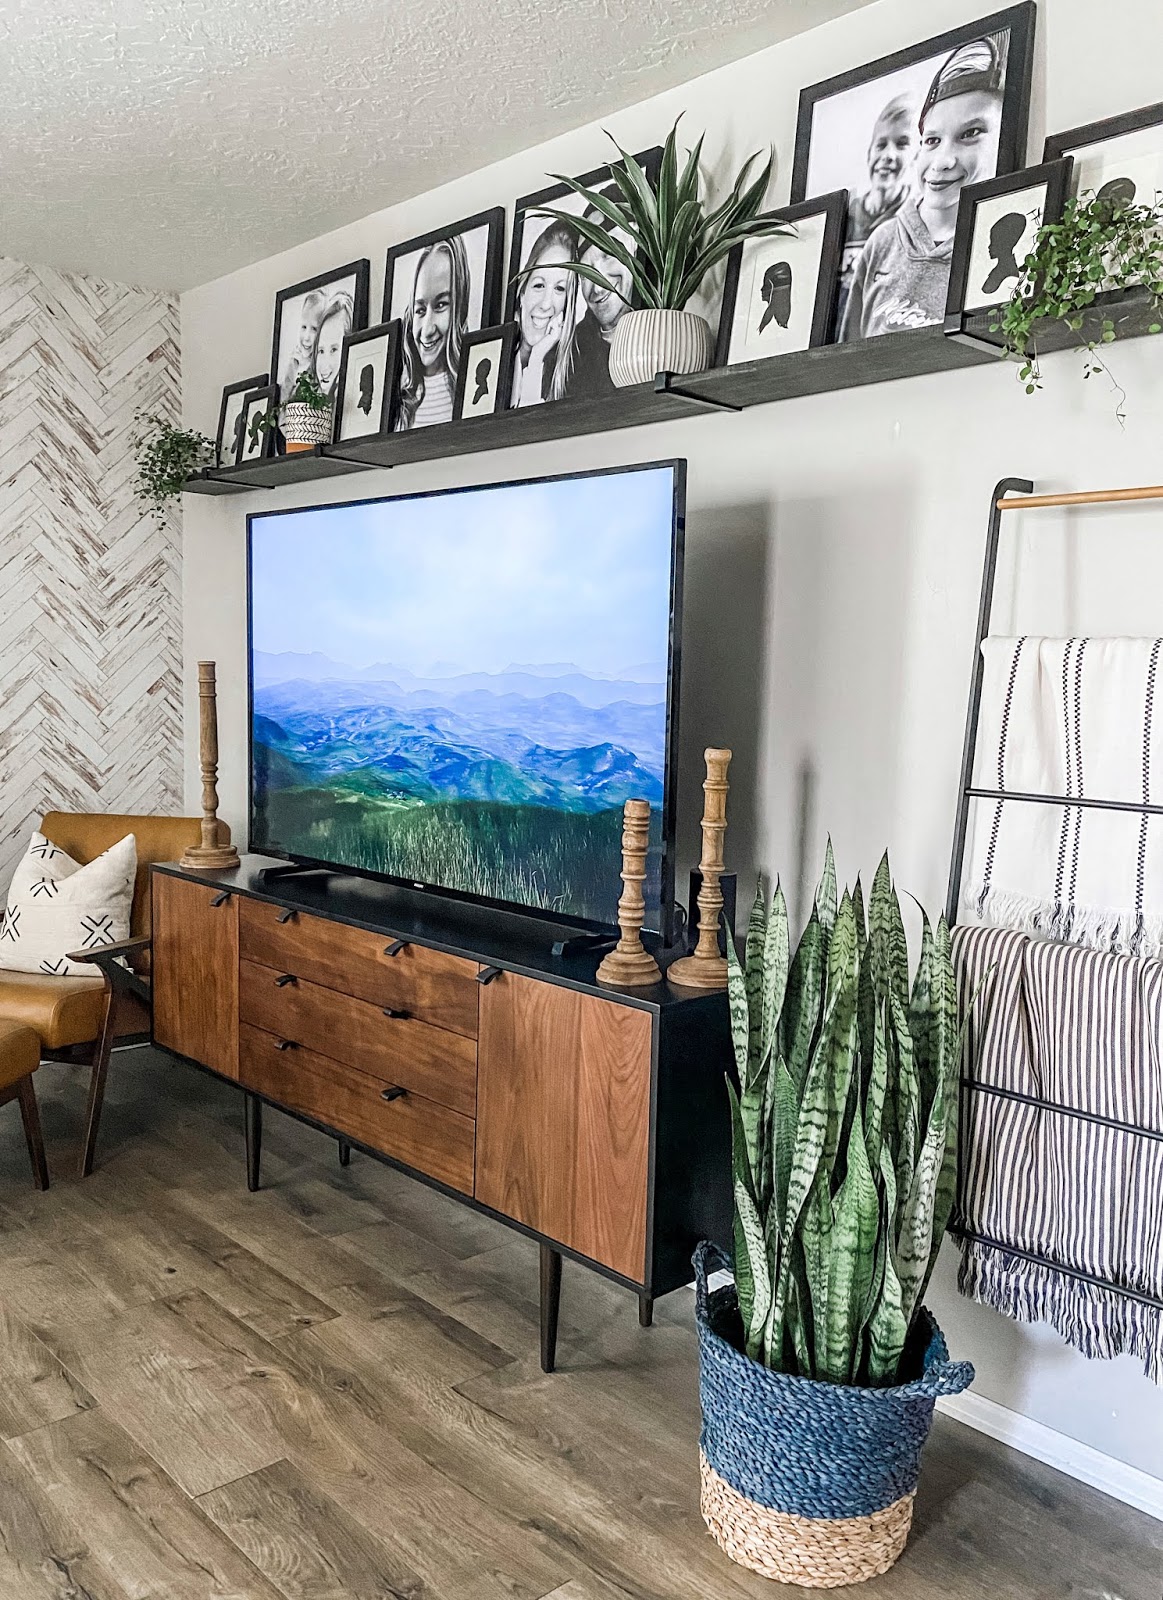
inch screws. Once that was done we simply slid the wood into the brackets and then it was time to decorate!
read more
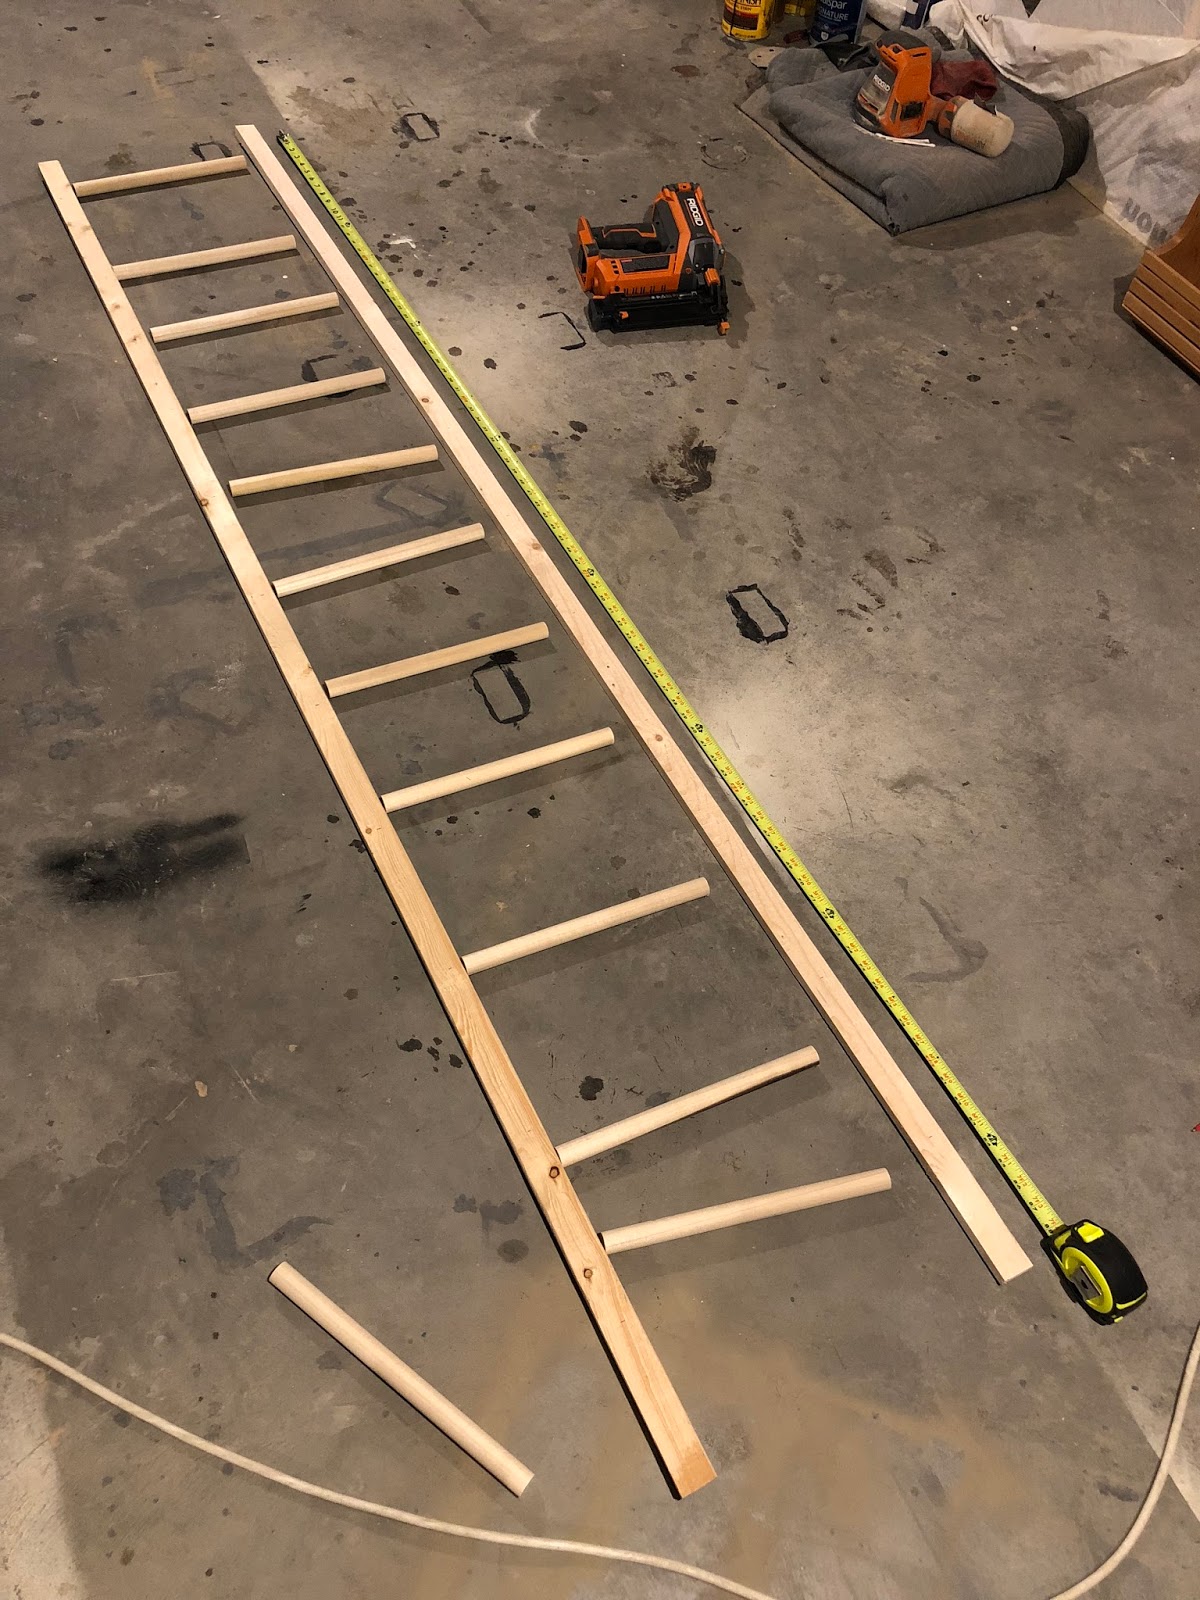
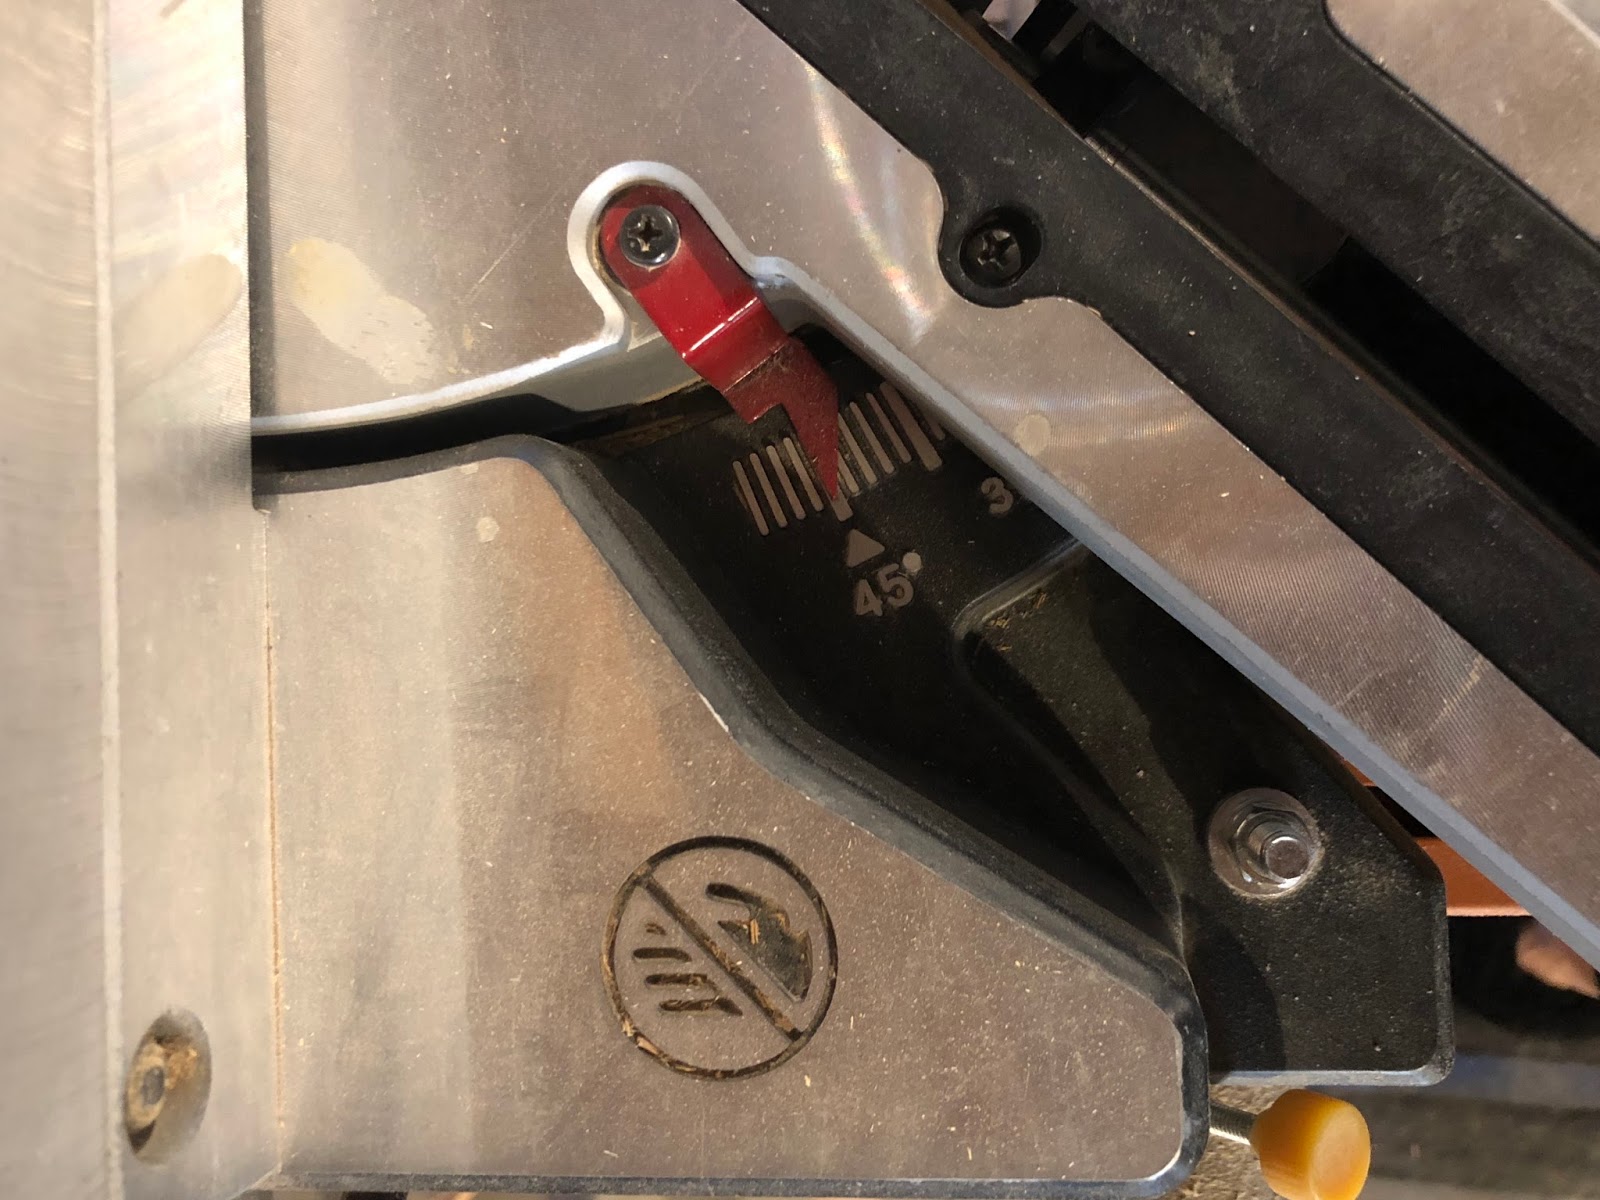
- Miter Saw
- Finish Nail gun
- Nails
- Wood dowels (you will need 2 or 3 depending on how many slats you want)
- 1″x 2″ pine board (these are for the sides so you will need 2 of these)
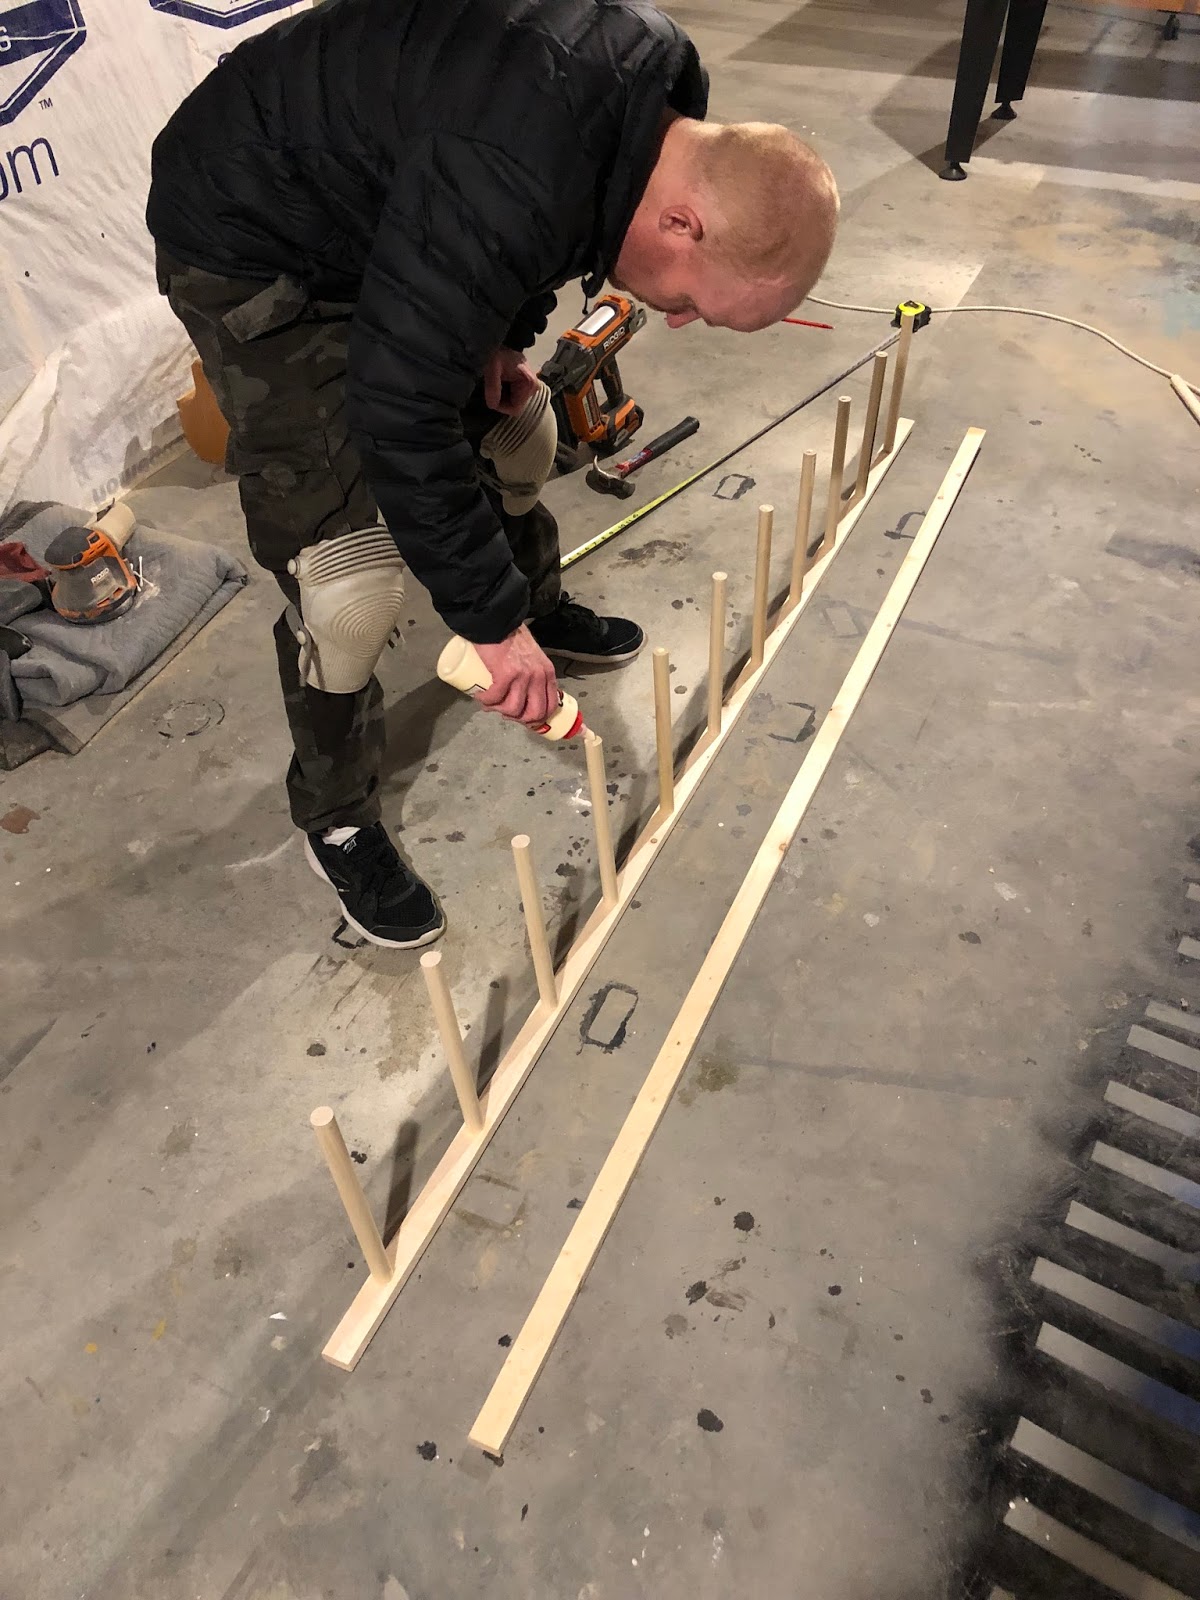
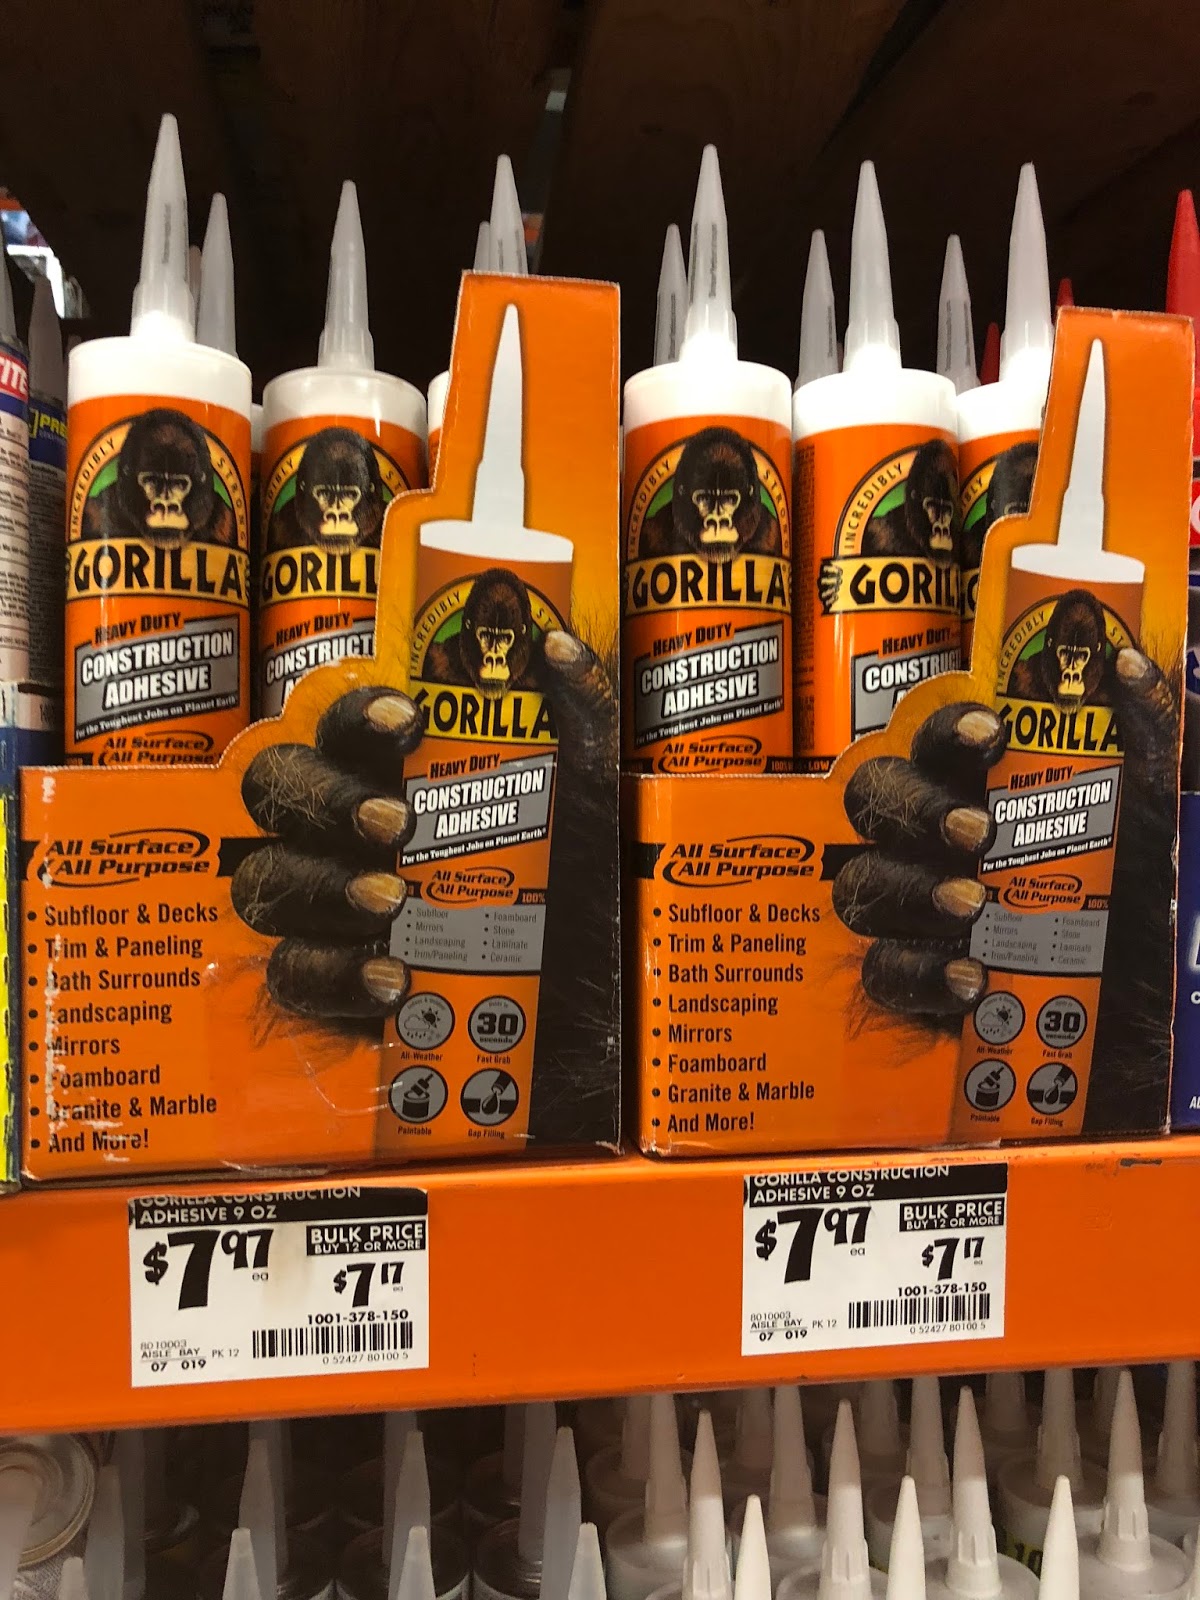
- Wood Glue
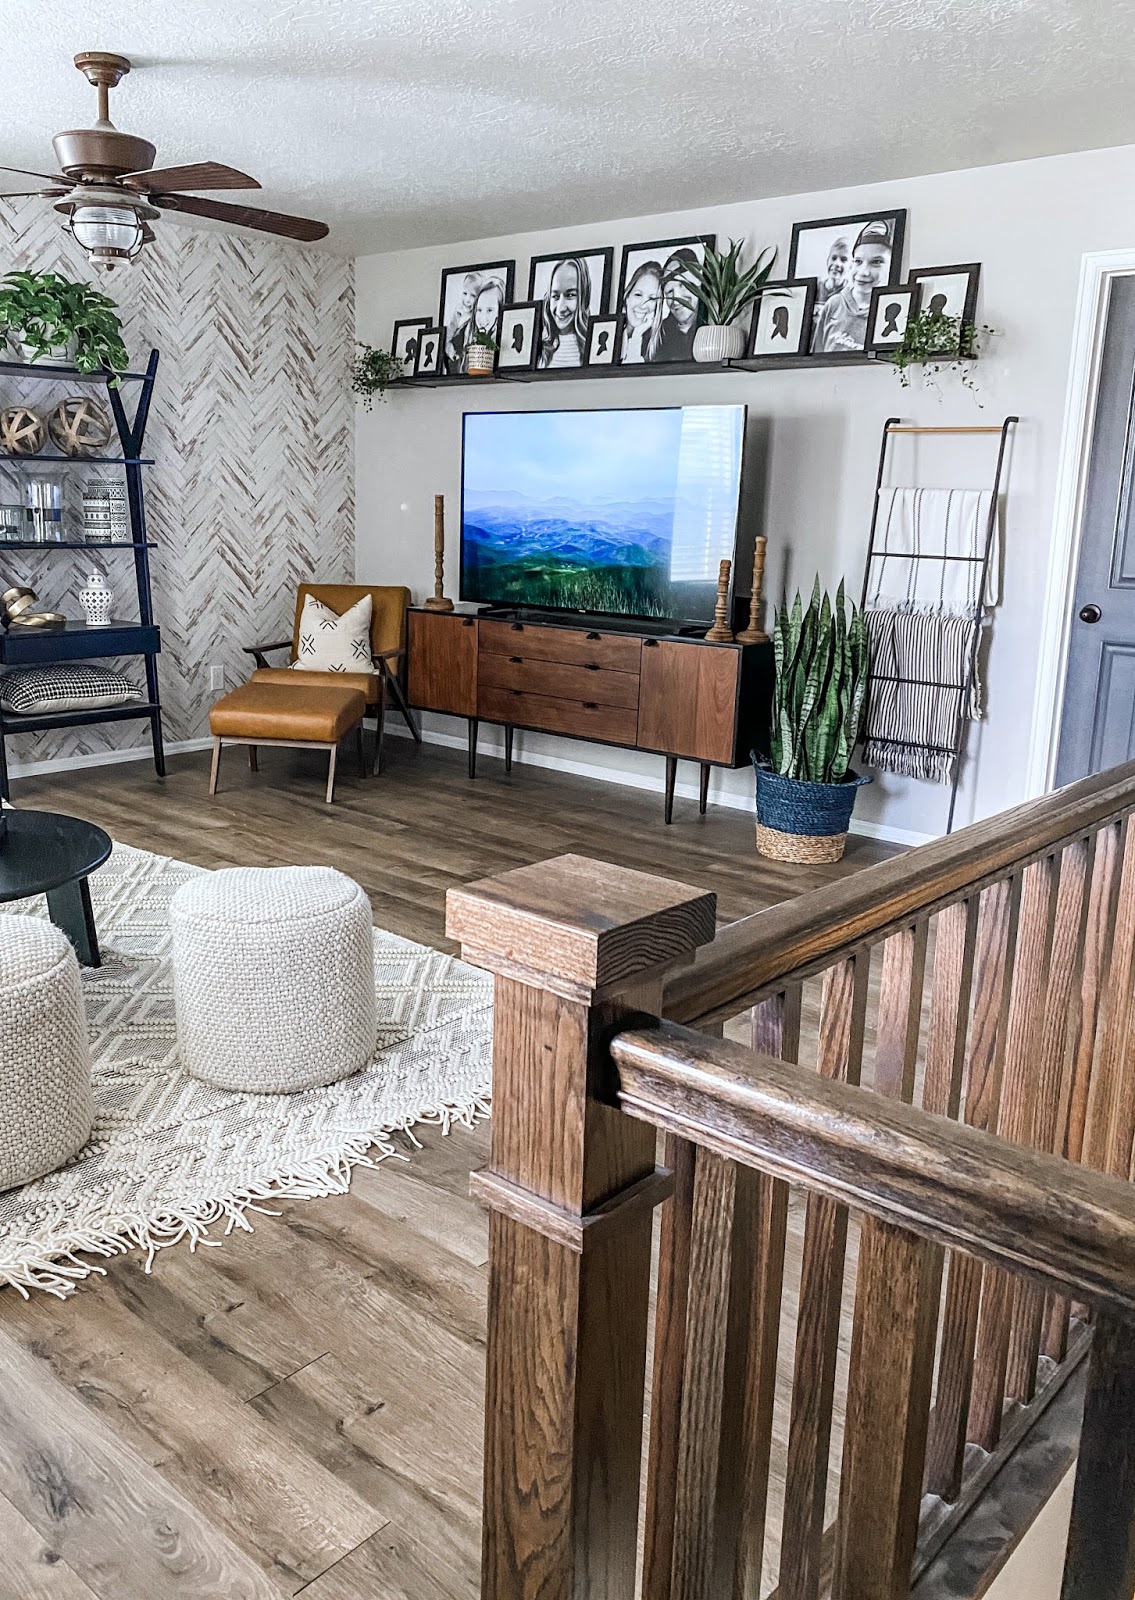
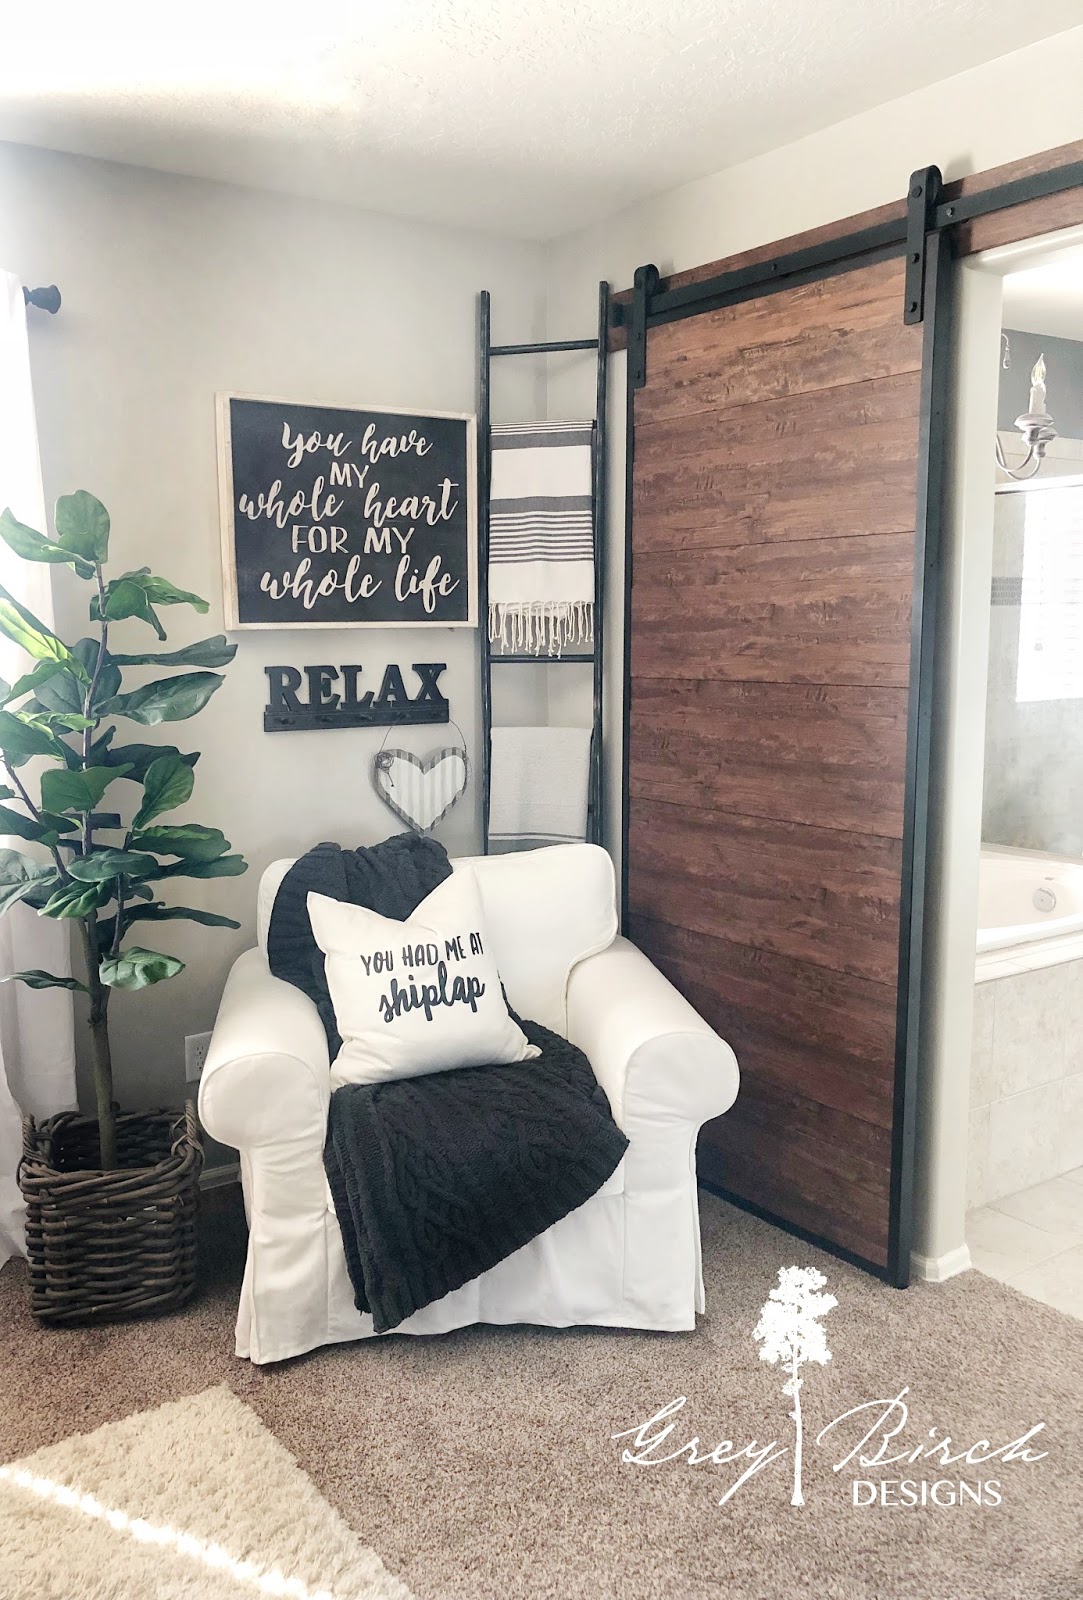
Hope you enjoyed this super easy and quick DIY Ladder!
-Grey Birch Designs-
read more

read more
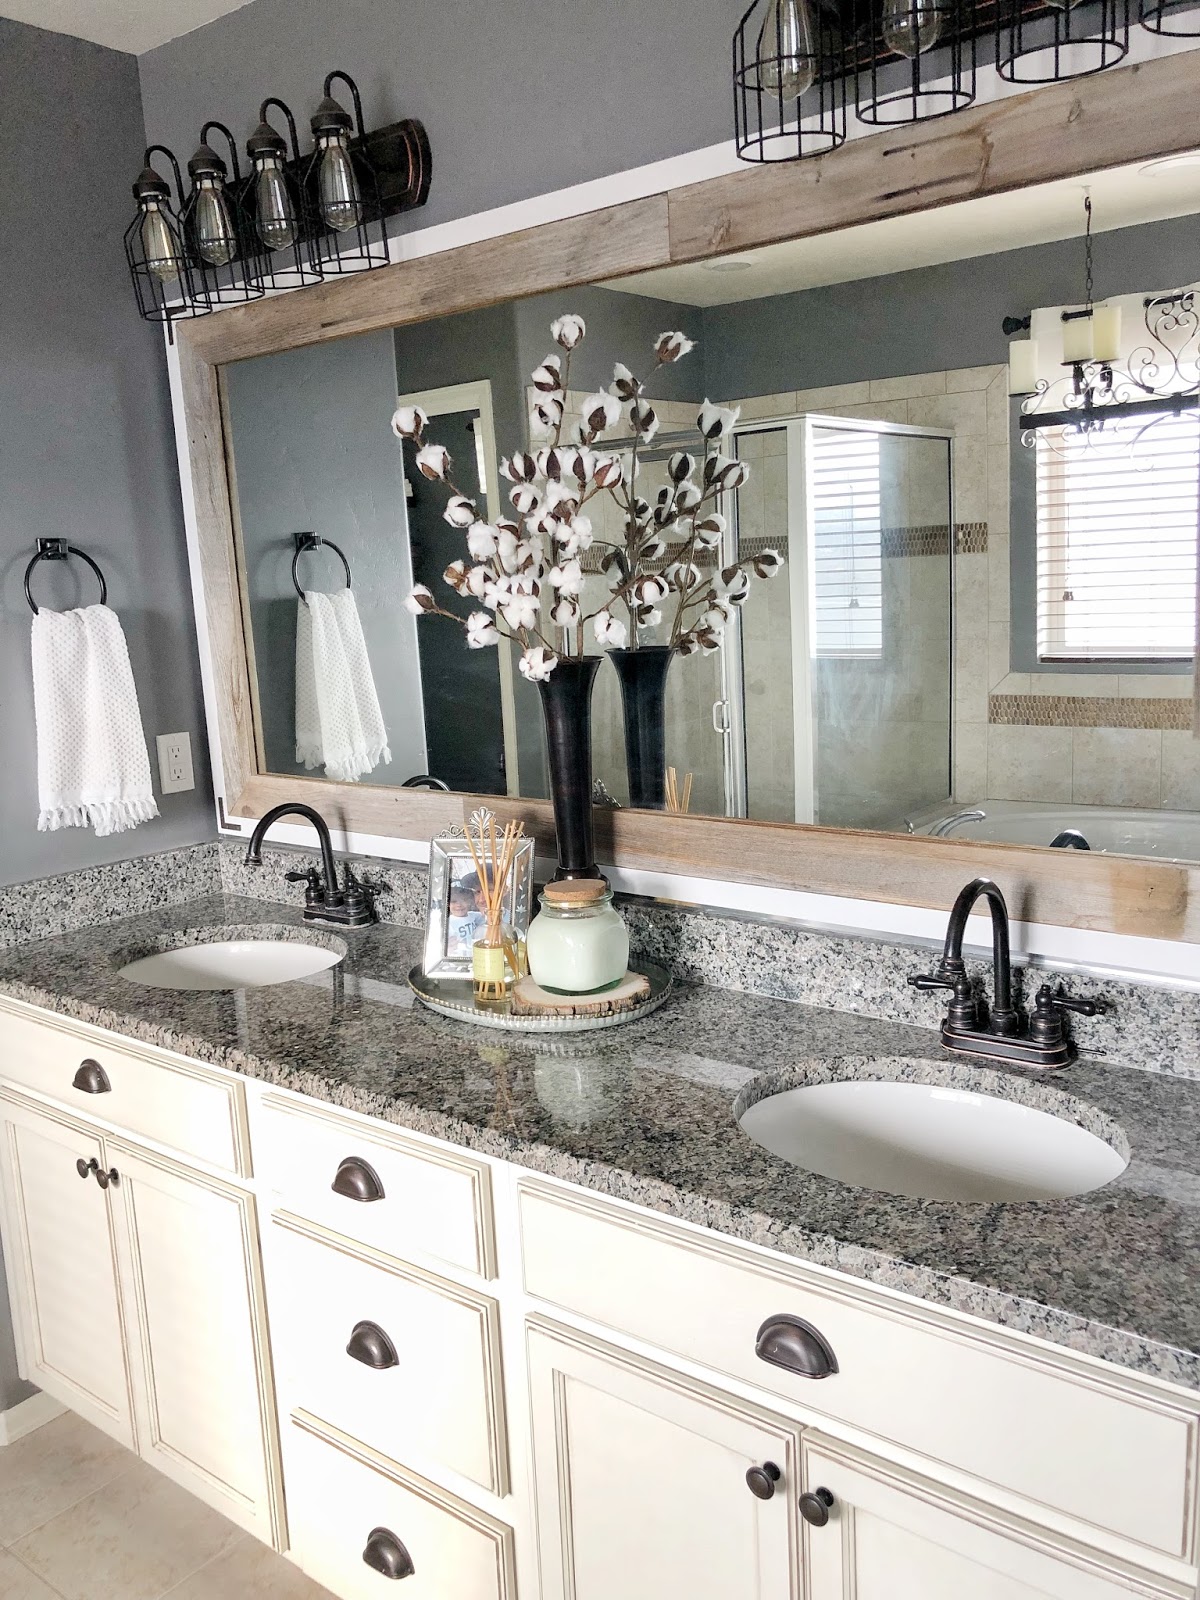
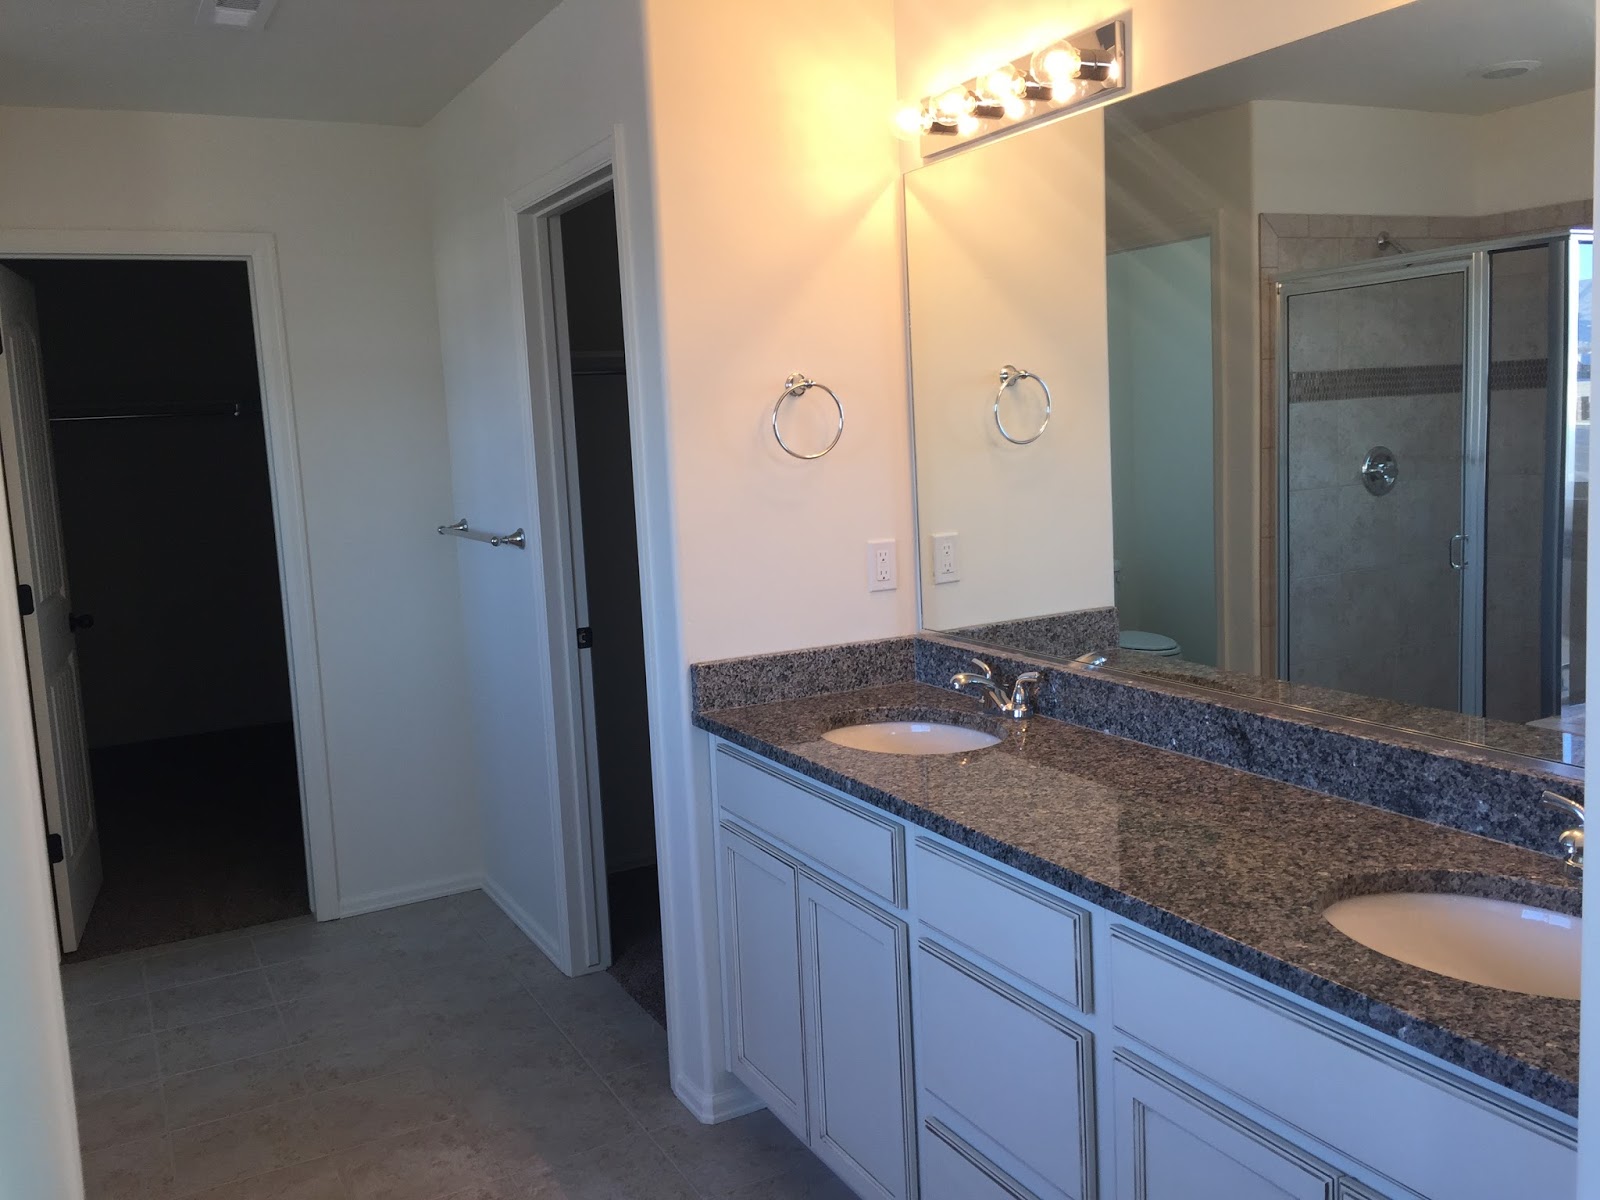
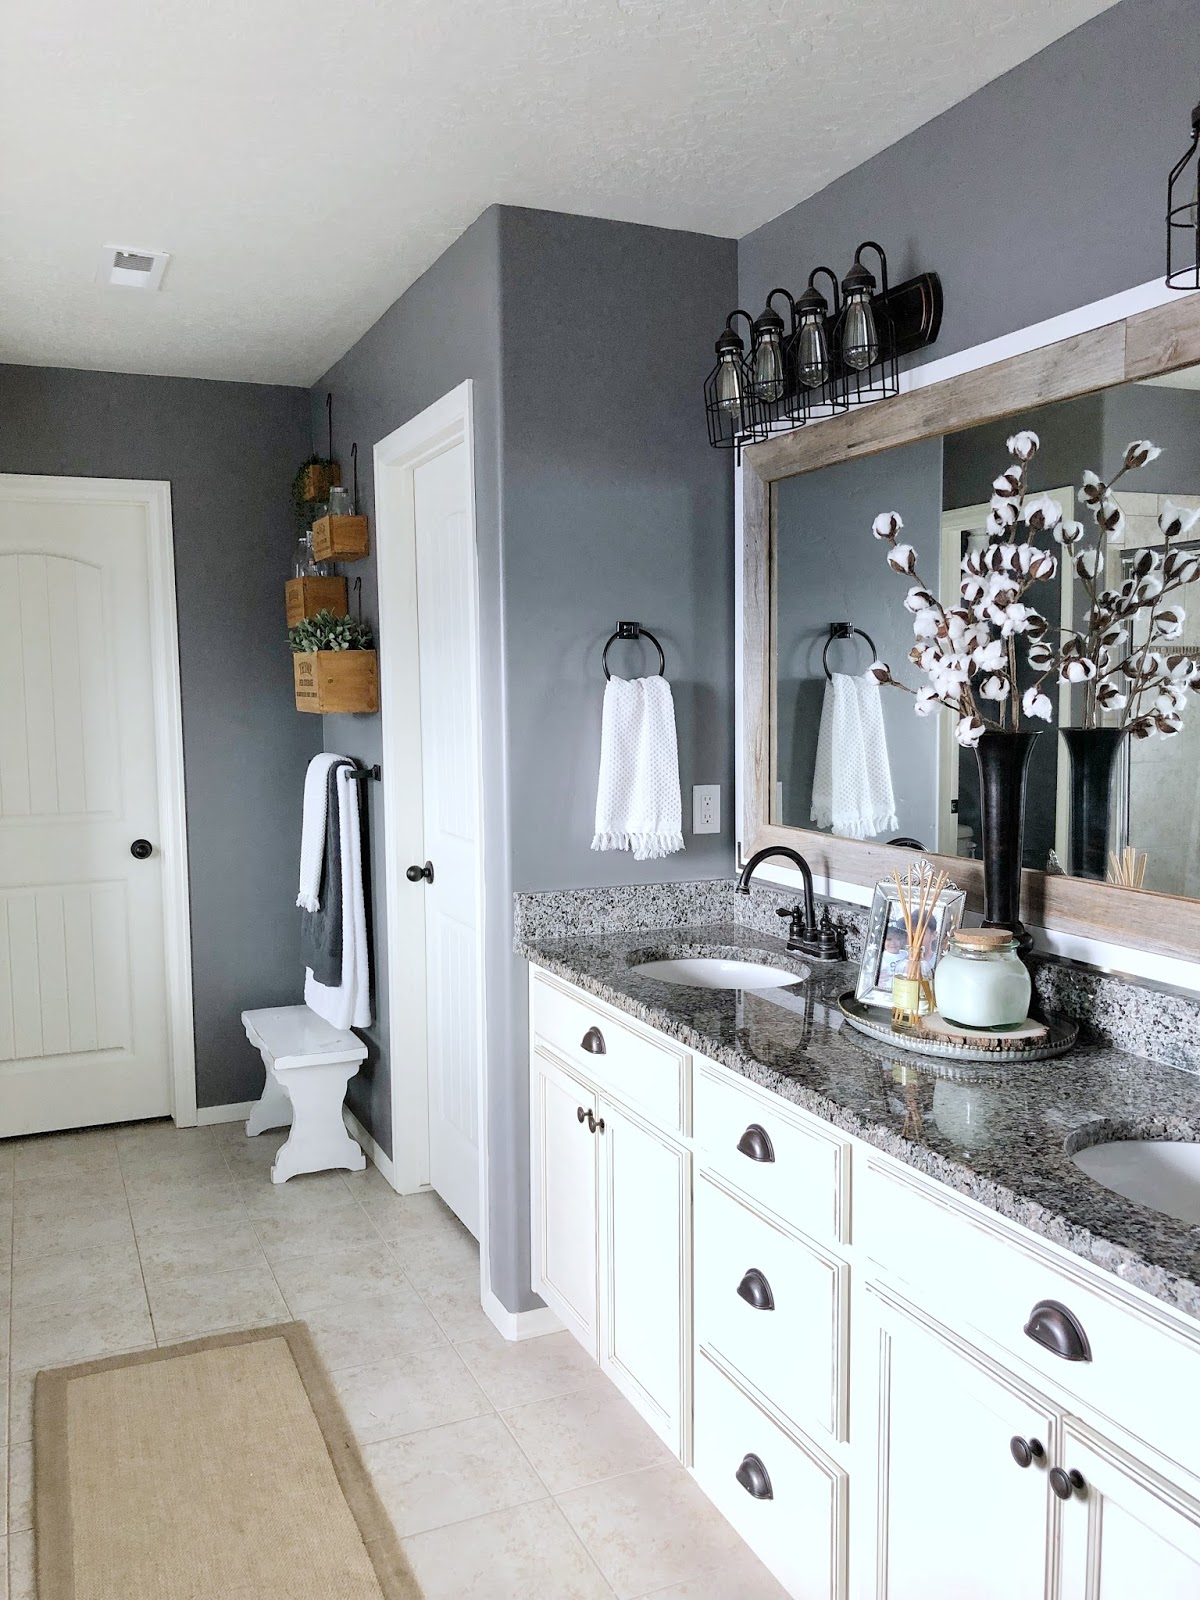
I frame it!! So easy, right?? I decided to do the ones in our new house with reclaimed wood and some white trim. I then added a metal bracket on the corners just to give it a little more interest. This project is so quick, maybe an hour start to finish, and what a difference it makes in your bathroom!

read more