


read more
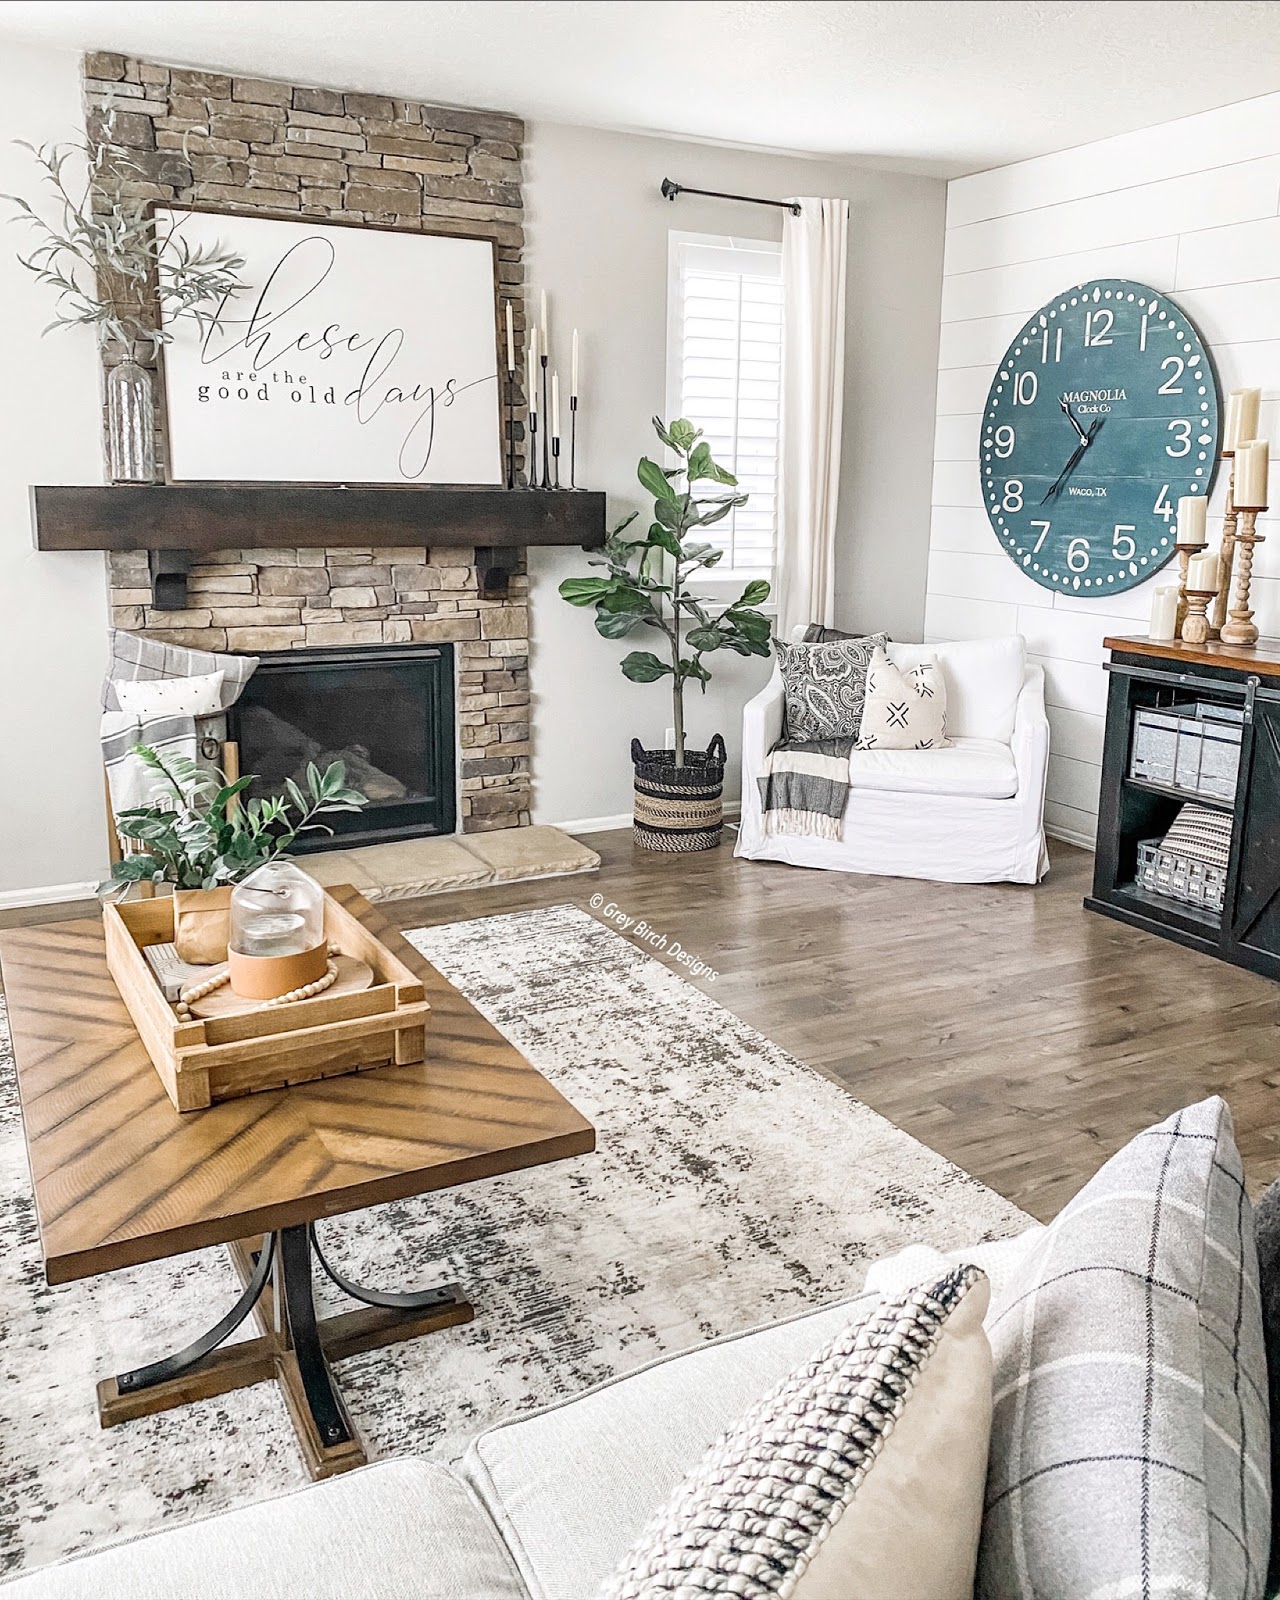
When designing our living room I always envisioned creating a cozy, relaxing sitting area; a place I could see myself curling up next to the fireplace reading a book or watching a movie with my kiddos. Can you visualize it?? Now fast forward to my reality……
I tried a few different chairs but they either lacked the cozy factor or were comfortable but not stylish. This was a lot harder then I thought it would be, maybe because I had been creating this little corner in my head for so long and I had some serious wish list items! This was when I decided I needed to go custom. This way I could pick the comfort level and style so it would match my other living room furniture.
That’s when I found this gorgeous Amelia Chair from Sixpenny! It’s an oversized chair big enough for cuddling with my kids and bringing my vision of the perfect sitting area to a reality- exactly what I was looking for! The first step was picking the fabric. I ordered a bunch of their samples so I could get a good look at how they would work with the other furniture in my living room. I decided to go with the Cotton Linen in the Pacific Pearl and it’s simply beautiful. For the chair fill I wanted something ultra cozy so I picked the feather down fill and it didn’t disappoint!
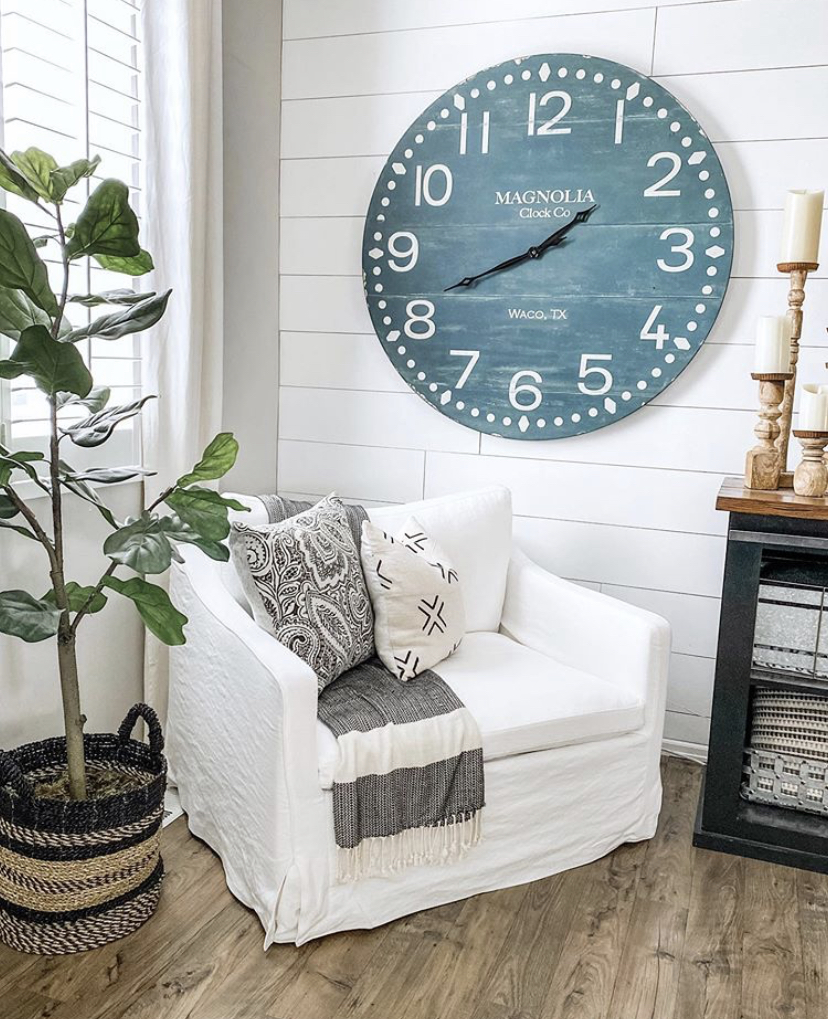
Next I added a throw blanket and a few pillows with some fun patterns and great texture to give it that cozy welcoming feel. Then I completed the look with some faux greenery and a few of my favorite pieces of decor!
This little corner has become the best seat in the house, literally!! I thought I would spend a lot of time here but truth be told, I have to fight my kids for a turn in our new sitting area….haha!! Needless to say we are thoroughly enjoying it and because this chair has a slipcover I don’t have to worry about spills and sticky fingers.
-Grey Birch Designs-
read more
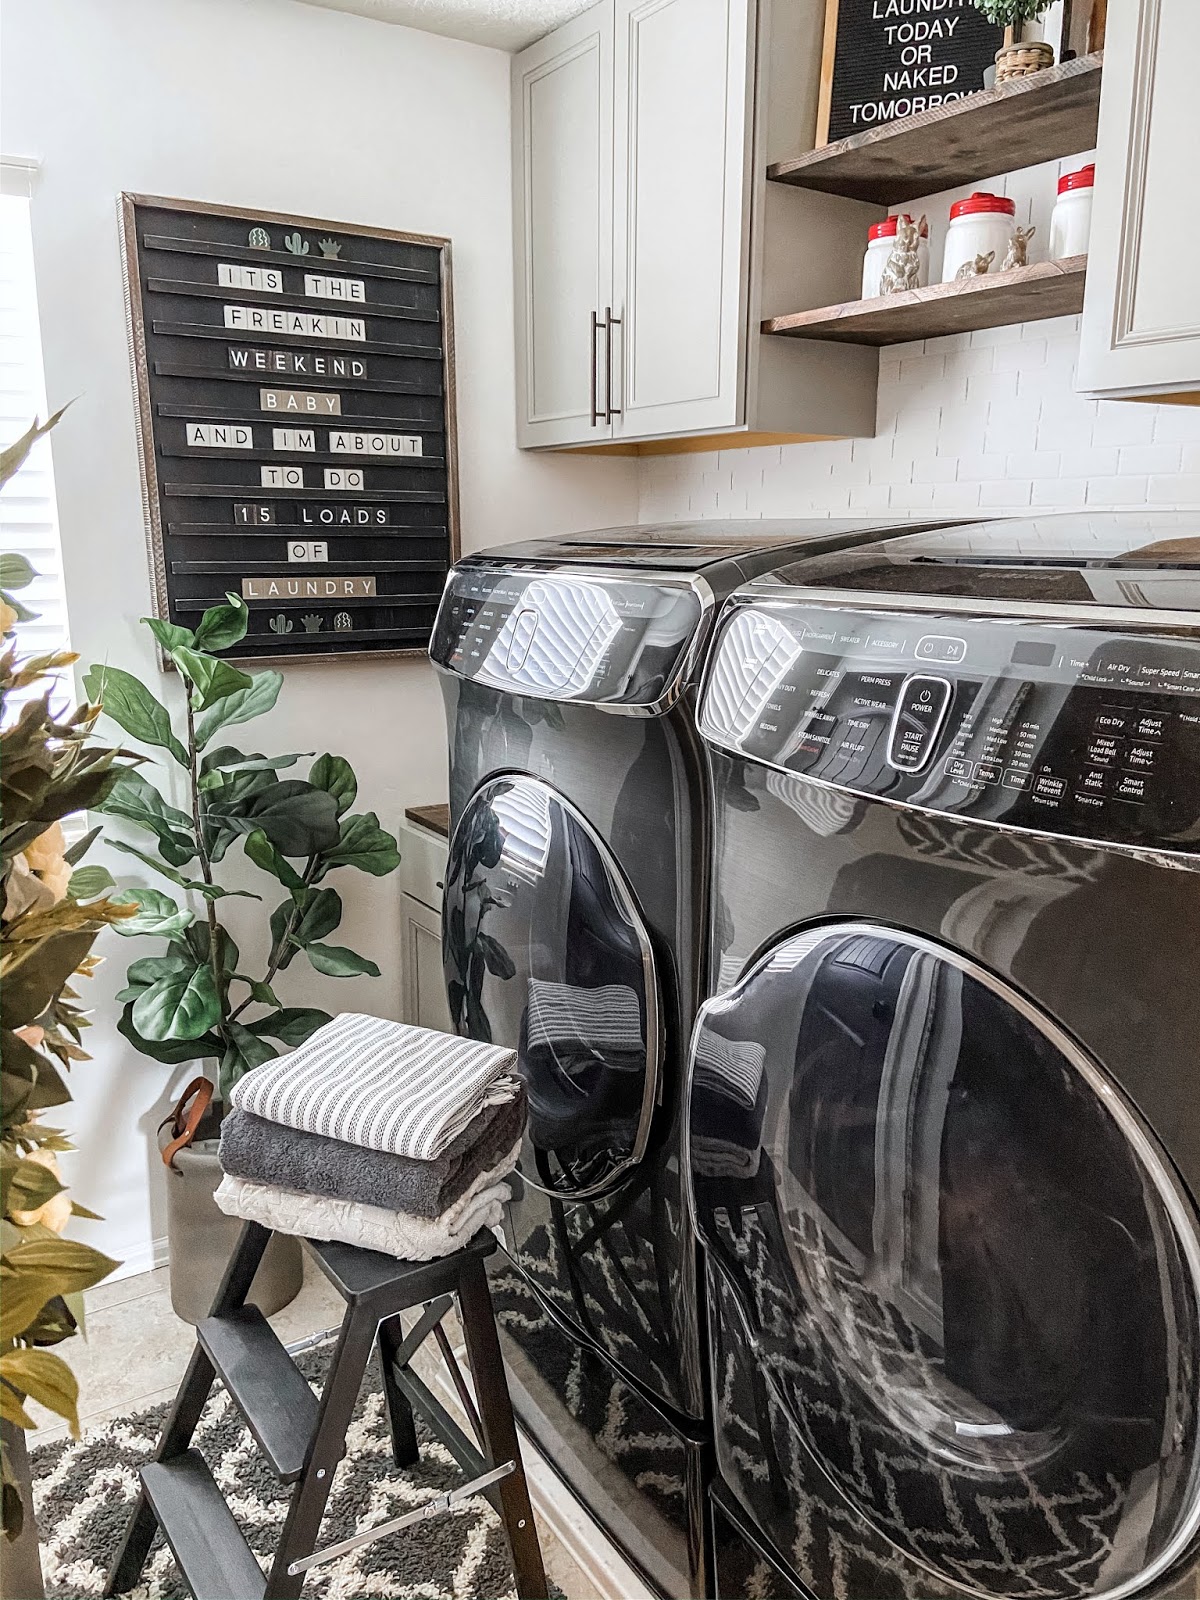
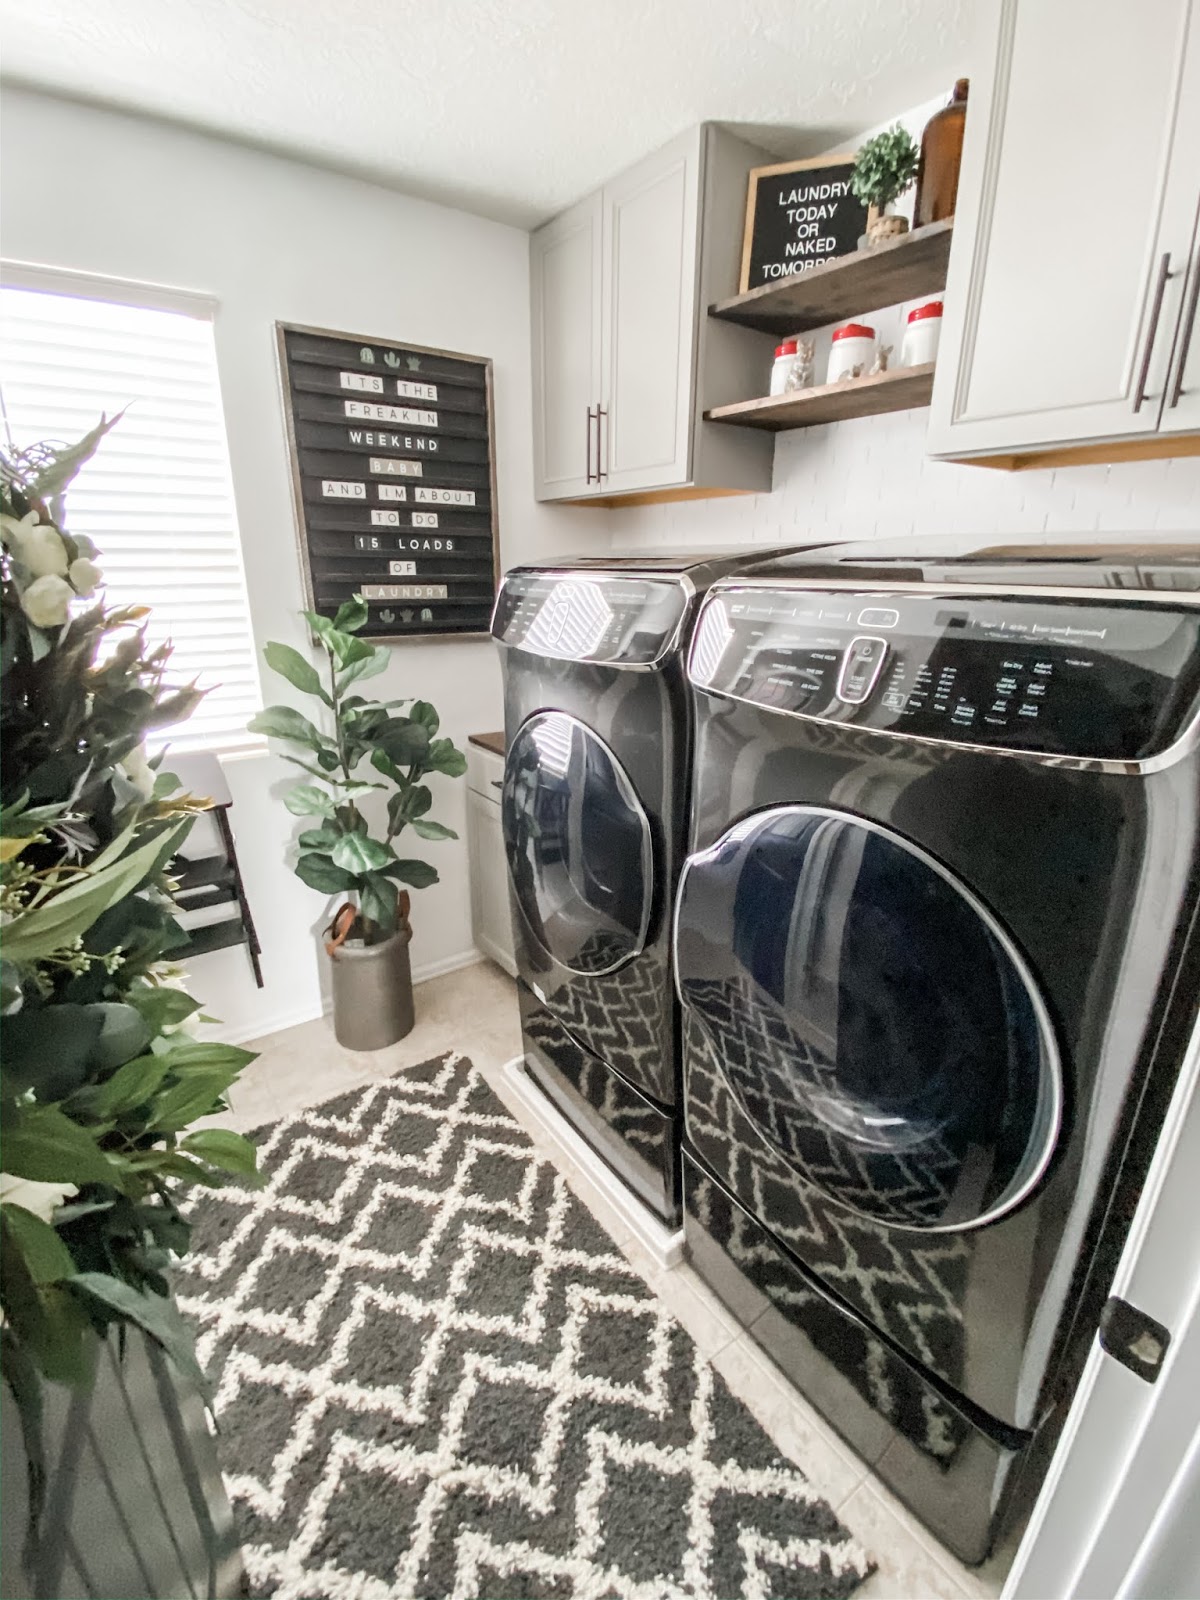
How many hours a week do you think you spend in your laundry room? When I sat down and really thought about it I was shocked!! With this being such a highly used room I decided to give it a little Spring/Easter update like the rest of my home. I’m convinced it makes doing the laundry that much more enjoyable!!
I added a Spring wreath on the door, a set of cute ceramic bunnies on the floating shelves above my washer and dryer, and a fun letter board on the wall to change out the quotes during the year! It was fun to dress up this space with some seasonal decor but the stars of the room are my Samsung FlexWash Washer and Samsung FlexDry Dryer #sponsored I can honestly say after updating my washer and dryer to these beauties from Samsung I actually enjoy doing the laundry. Say what?! I know I’m as shocked as you!! Although there are so many things I love about these machines I have to say by far my favorite is being able to was 2 loads at once – one regular load and one delicate or small load in the top. Talk about a game changer!
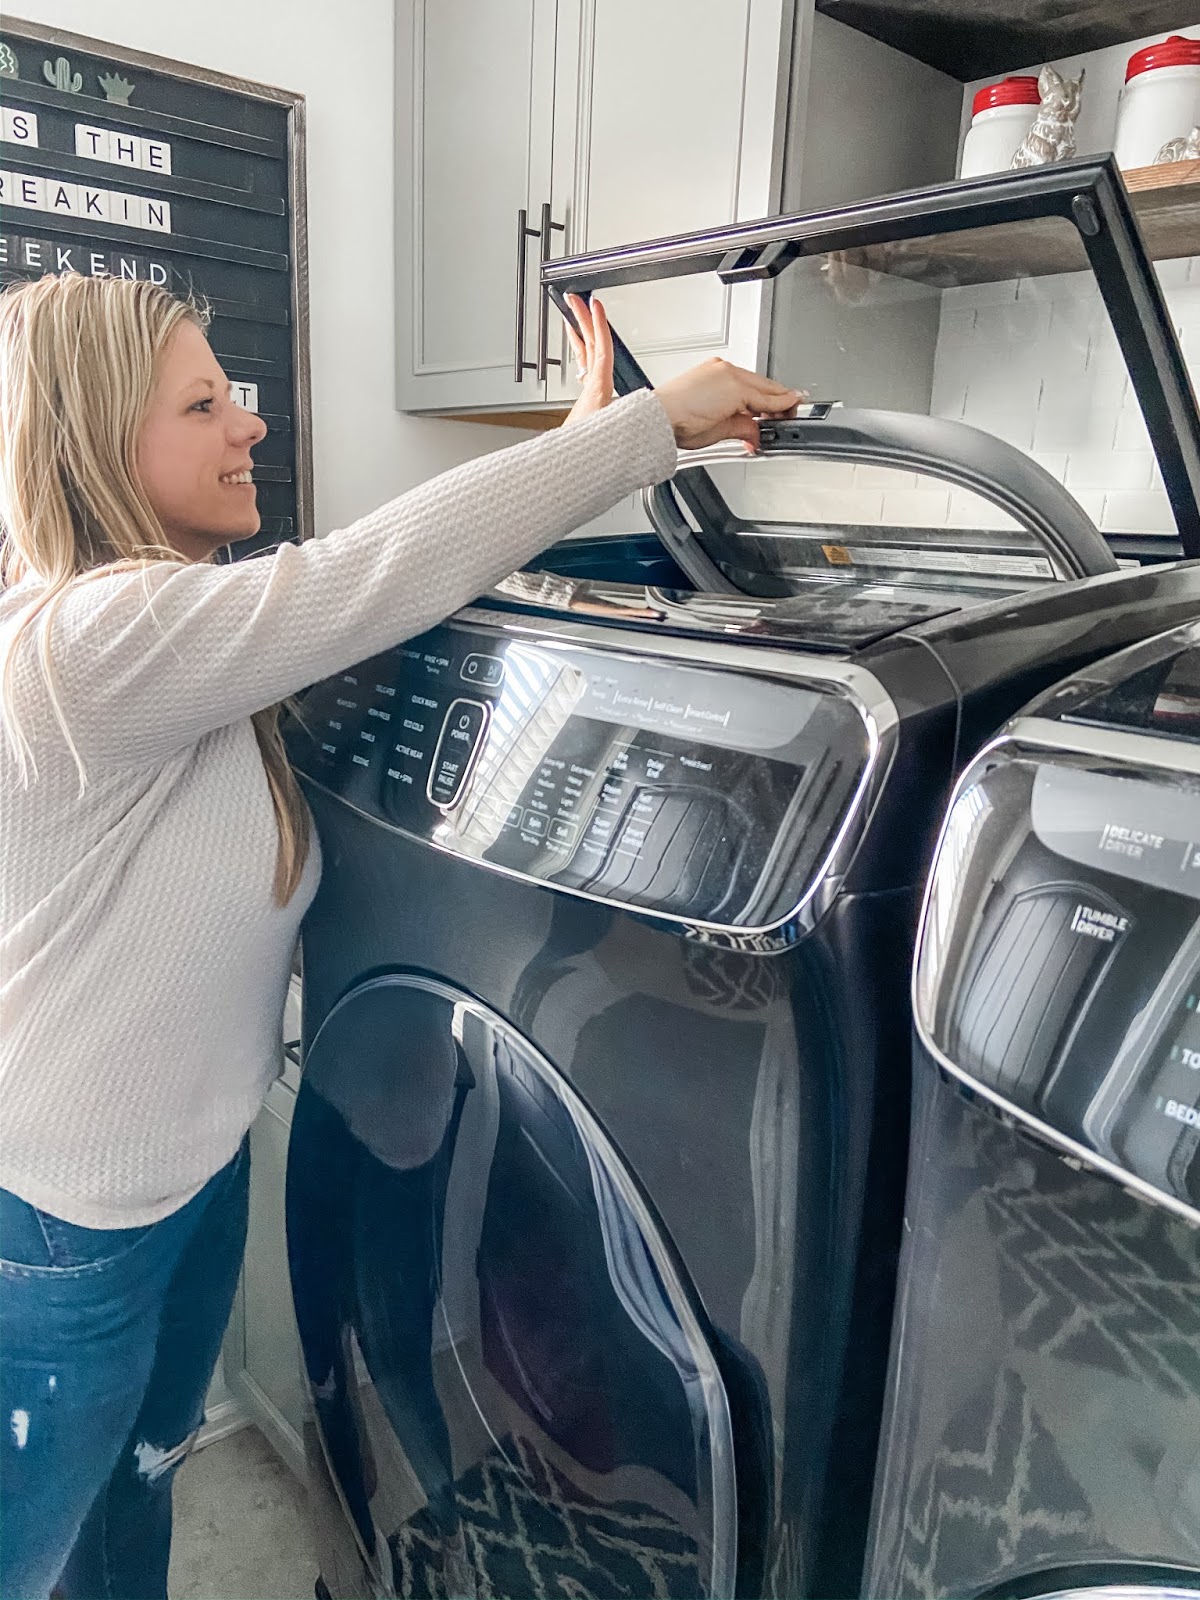
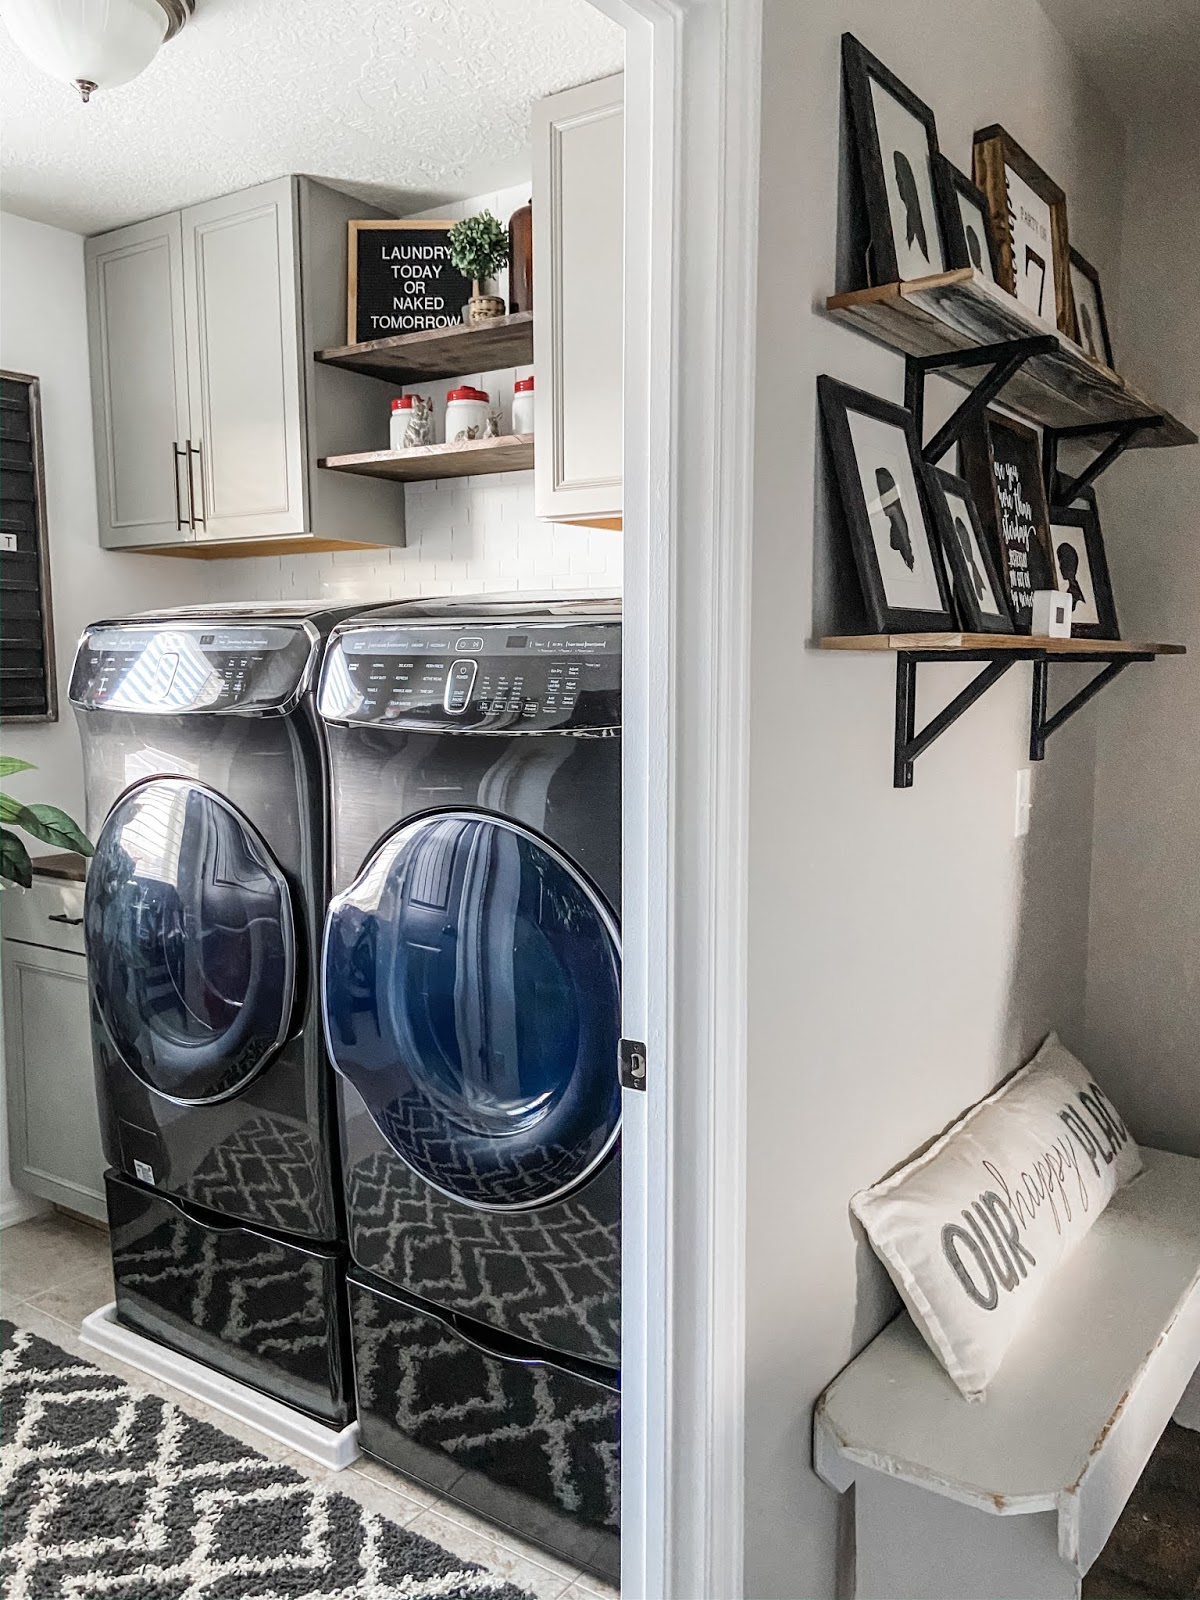
Now if that doesn’t make you feel like a super mom or super dad I don’t know what does! You can find out more about these awesome machines here: FlexWash Washer and Electric FlexDry Dryer Now I’m off to do about 100 more loads of laundry in my newly decorated Spring laundry room!!
-Grey Birch Designs-
read more
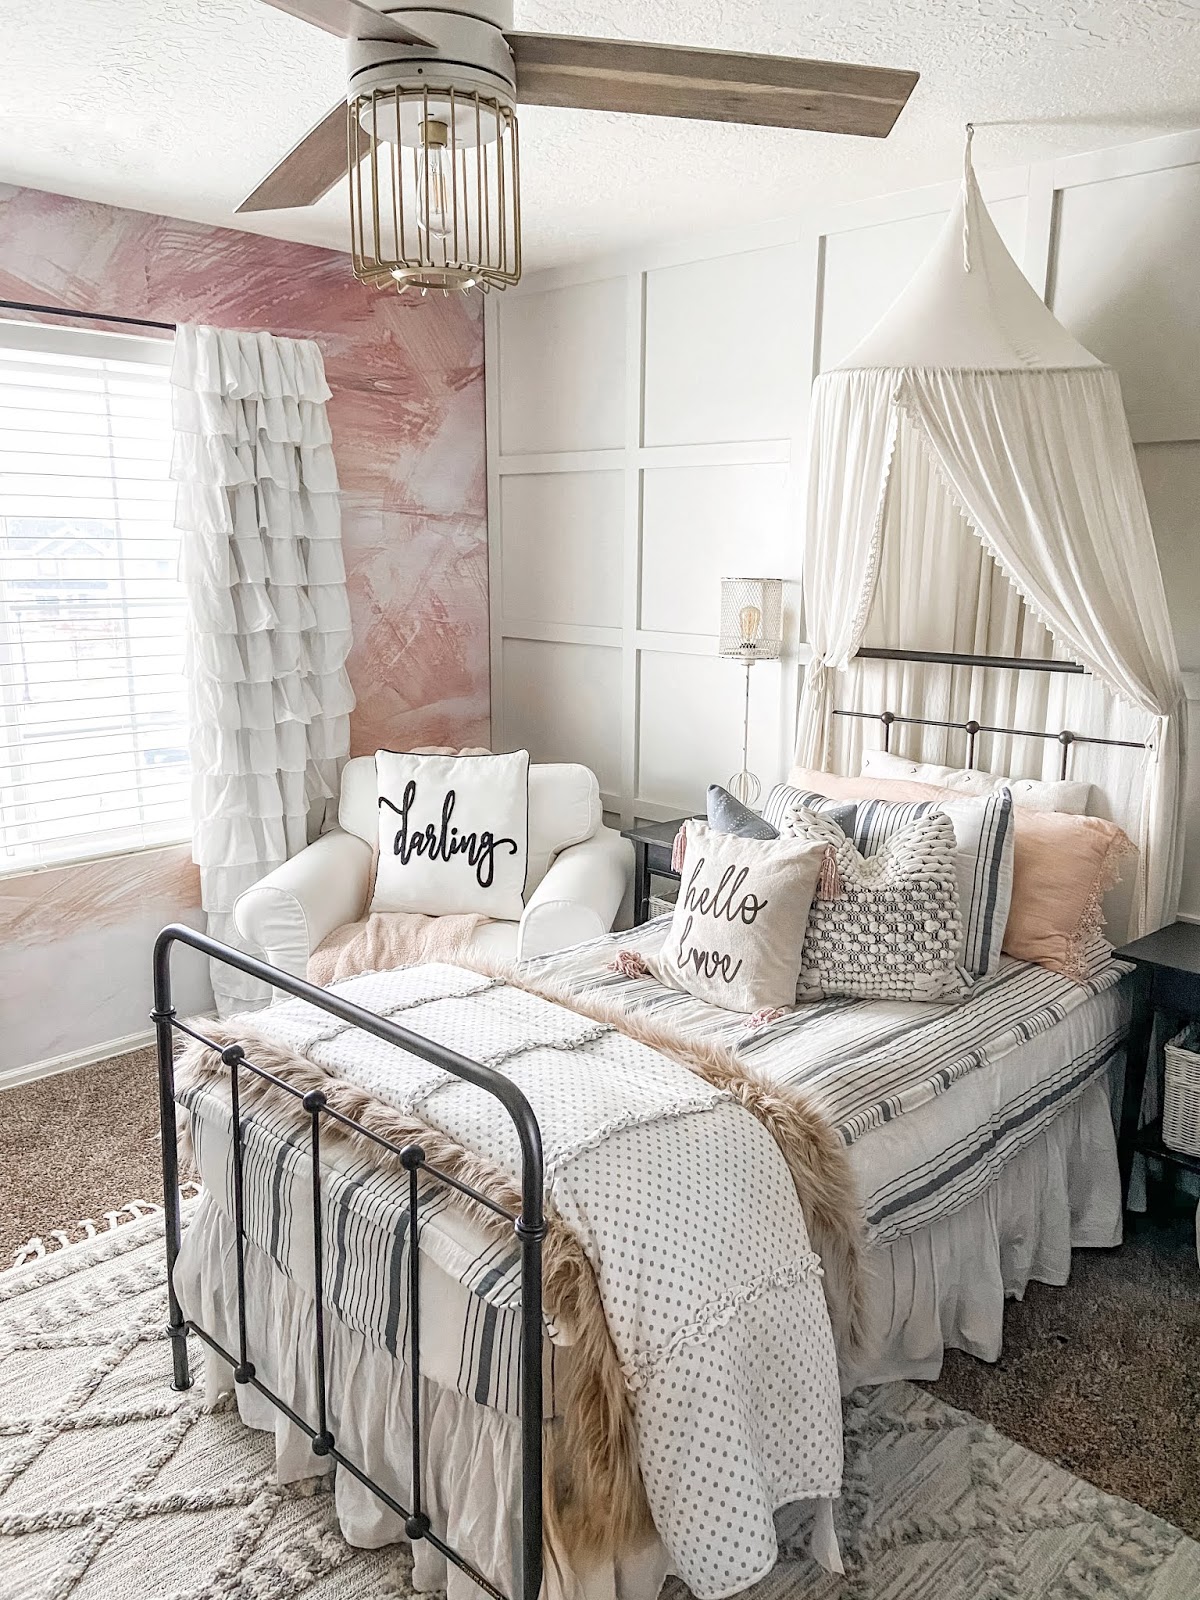
Last year when I updated my daughter’s room the one thing I didn’t change was her bed. I knew what I wanted but just couldn’t find the perfect bed, that is until I came across Charles P. Rogers They have an amazing selection of metal frame beds, exactly what I was looking for!
I’ve always loved metal beds but it’s hard to find a high quality one that doesn’t wiggle and squeak. Charles P. Rogers is known for their high quality beds so I felt confident going with a trusted name! When I came across this Cottage Bed it was love at first sight! The style and lines of this bed are perfect. It’s soft with round corners, perfect for a girl’s room but can be easily dressed to fit a boy’s room!
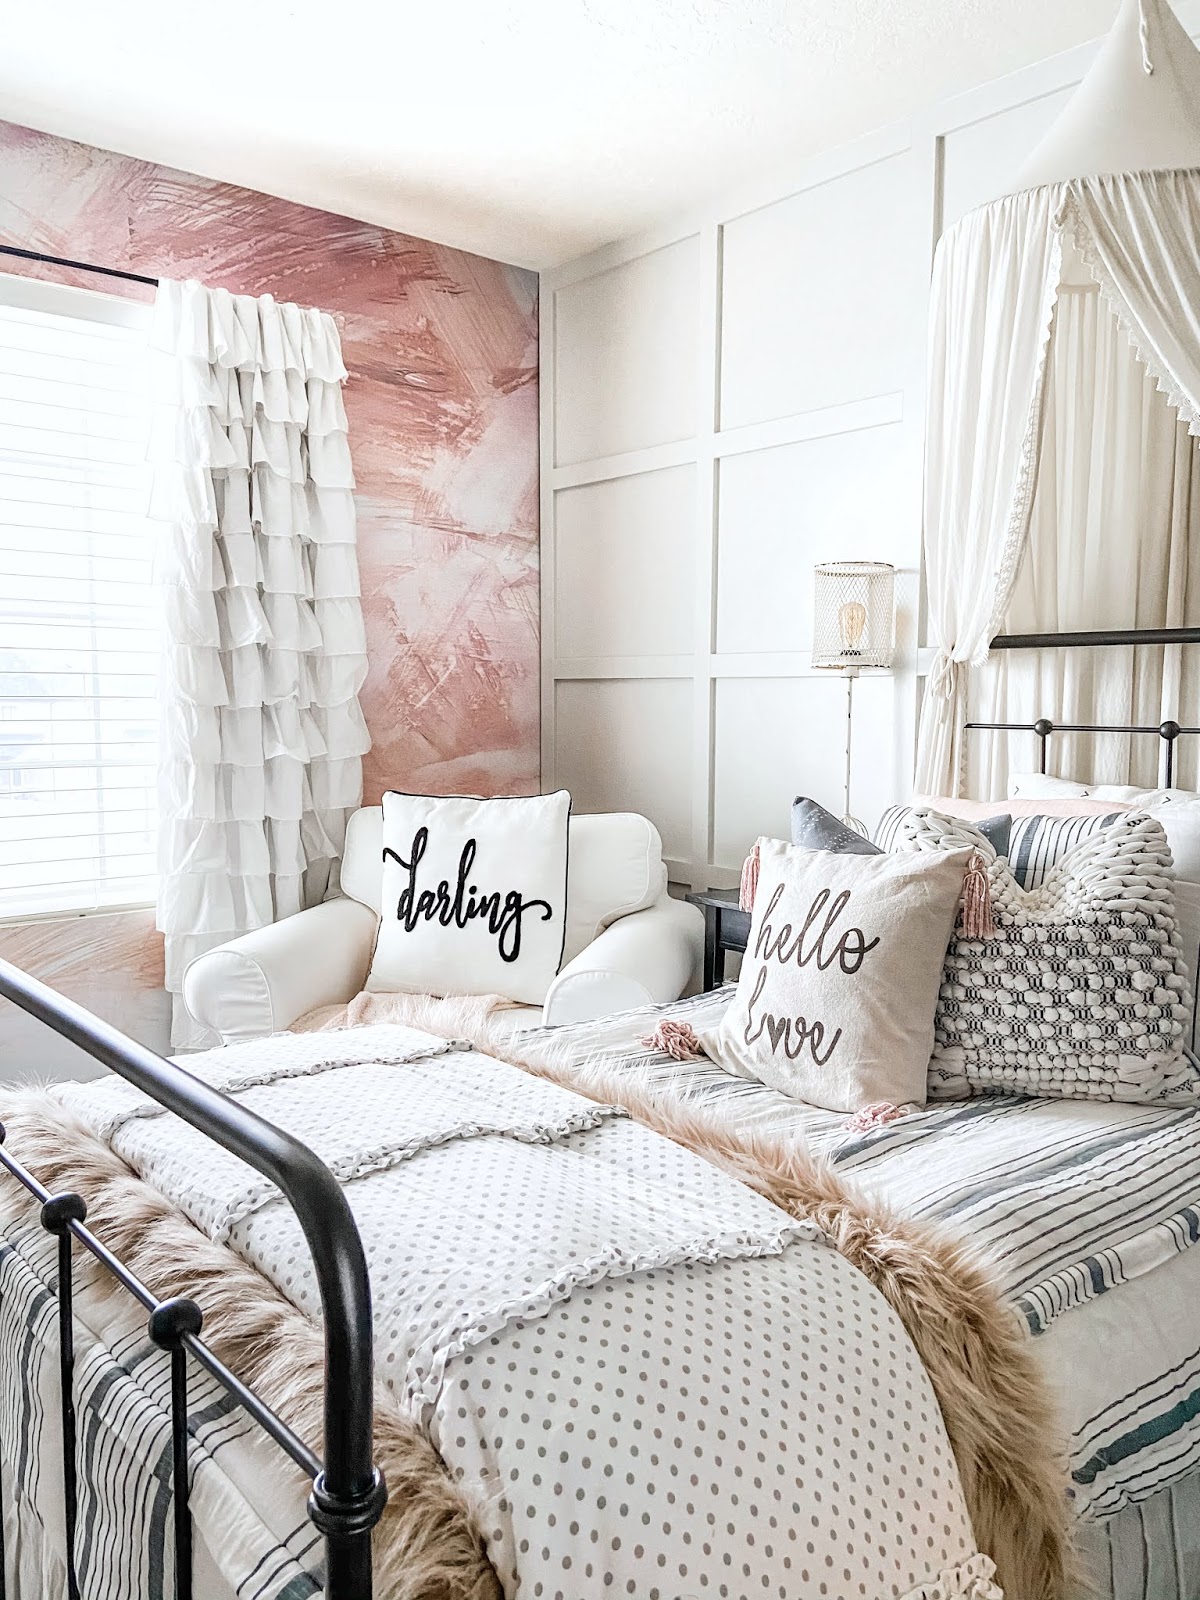

I have been extremely impressed with the quality of this bed and how well it fits the style of my daughter’s room! Right now they are running a special sale for all of you so you can save between $50-$500 off your entire purchase of $299 or more with code: WSB2020 from Charles P. Rogers Check out all their beautiful beds and take advantage of the sale while it lasts!!
-Grey Birch Designs-
read more
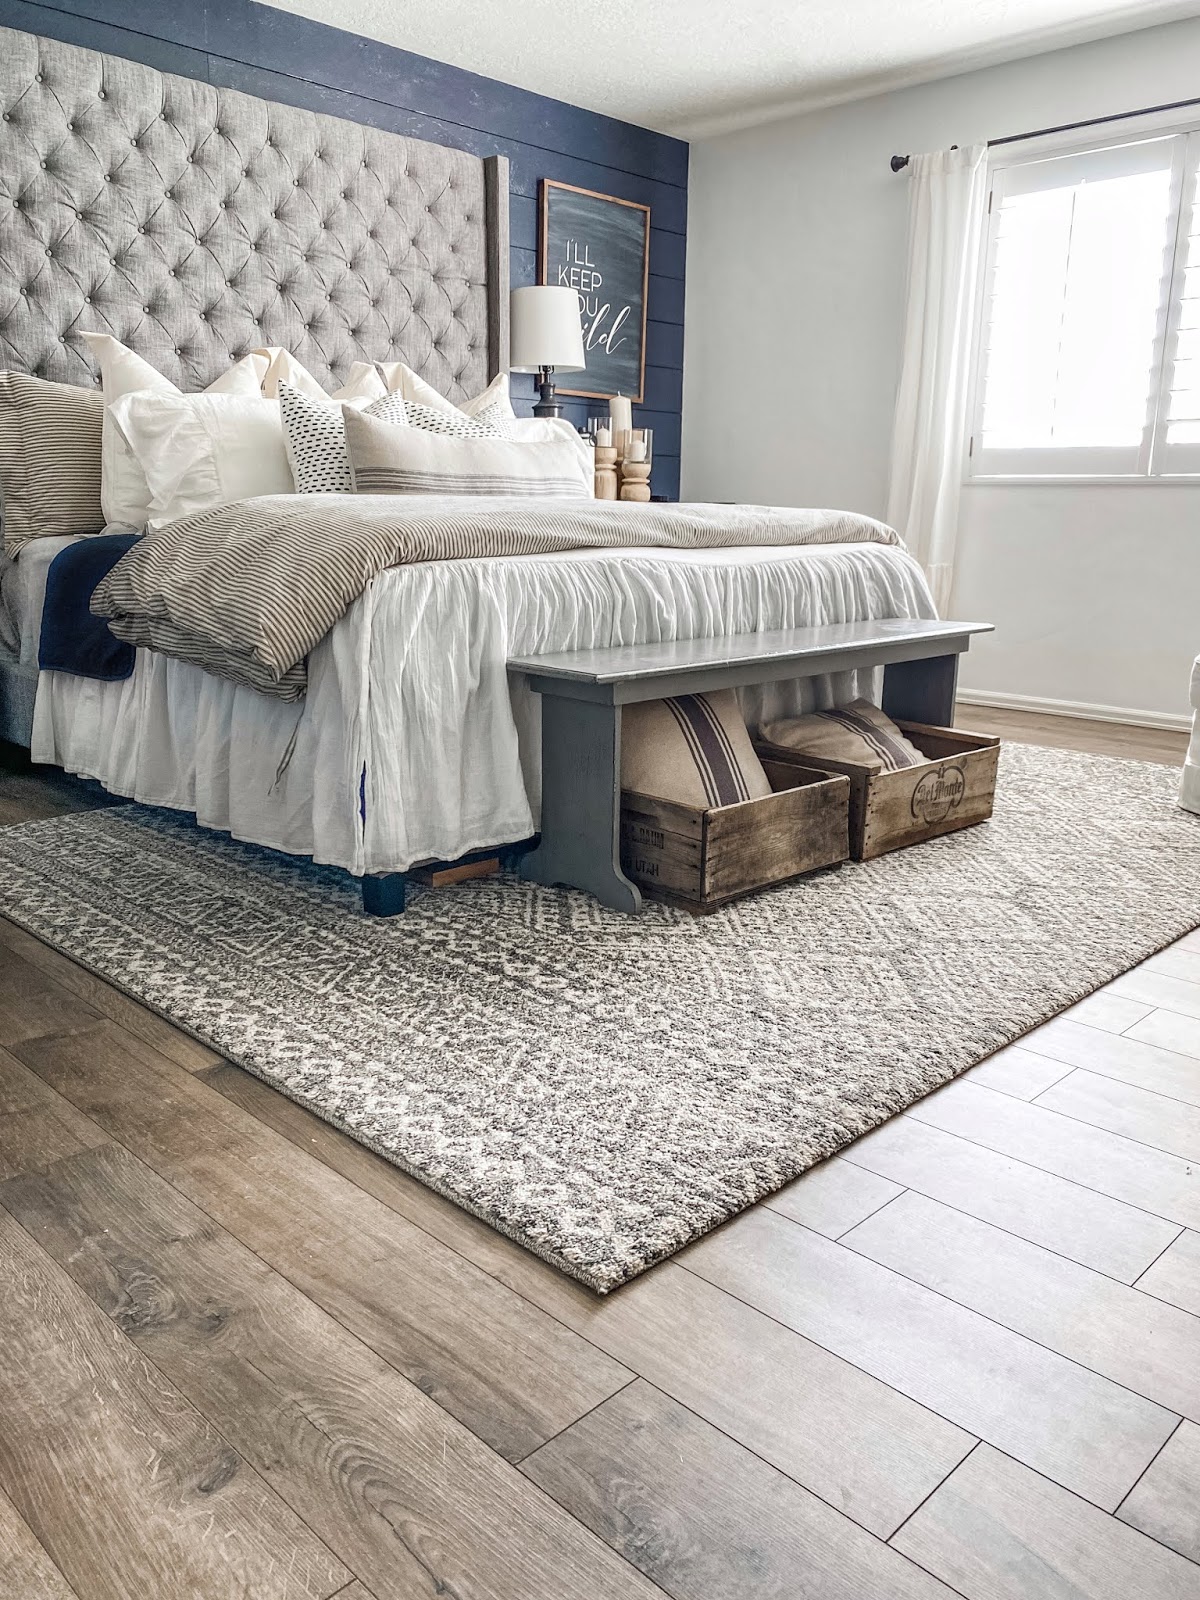
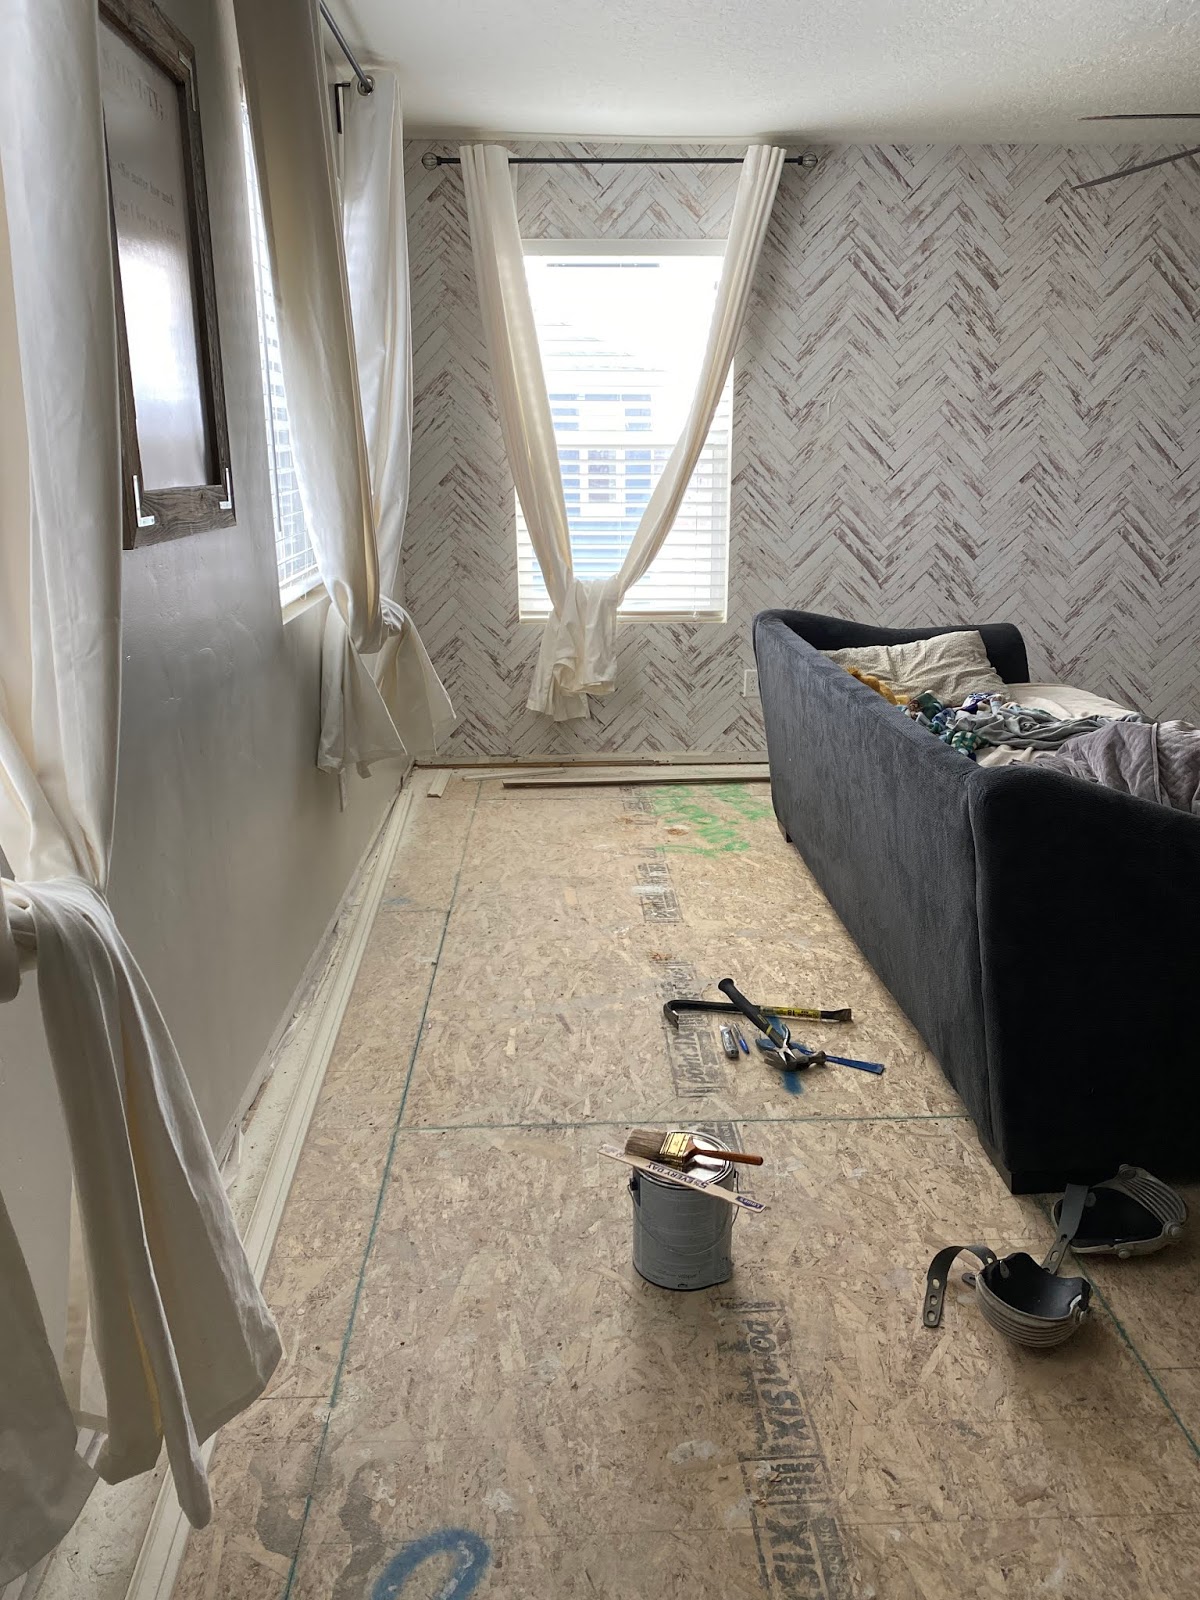
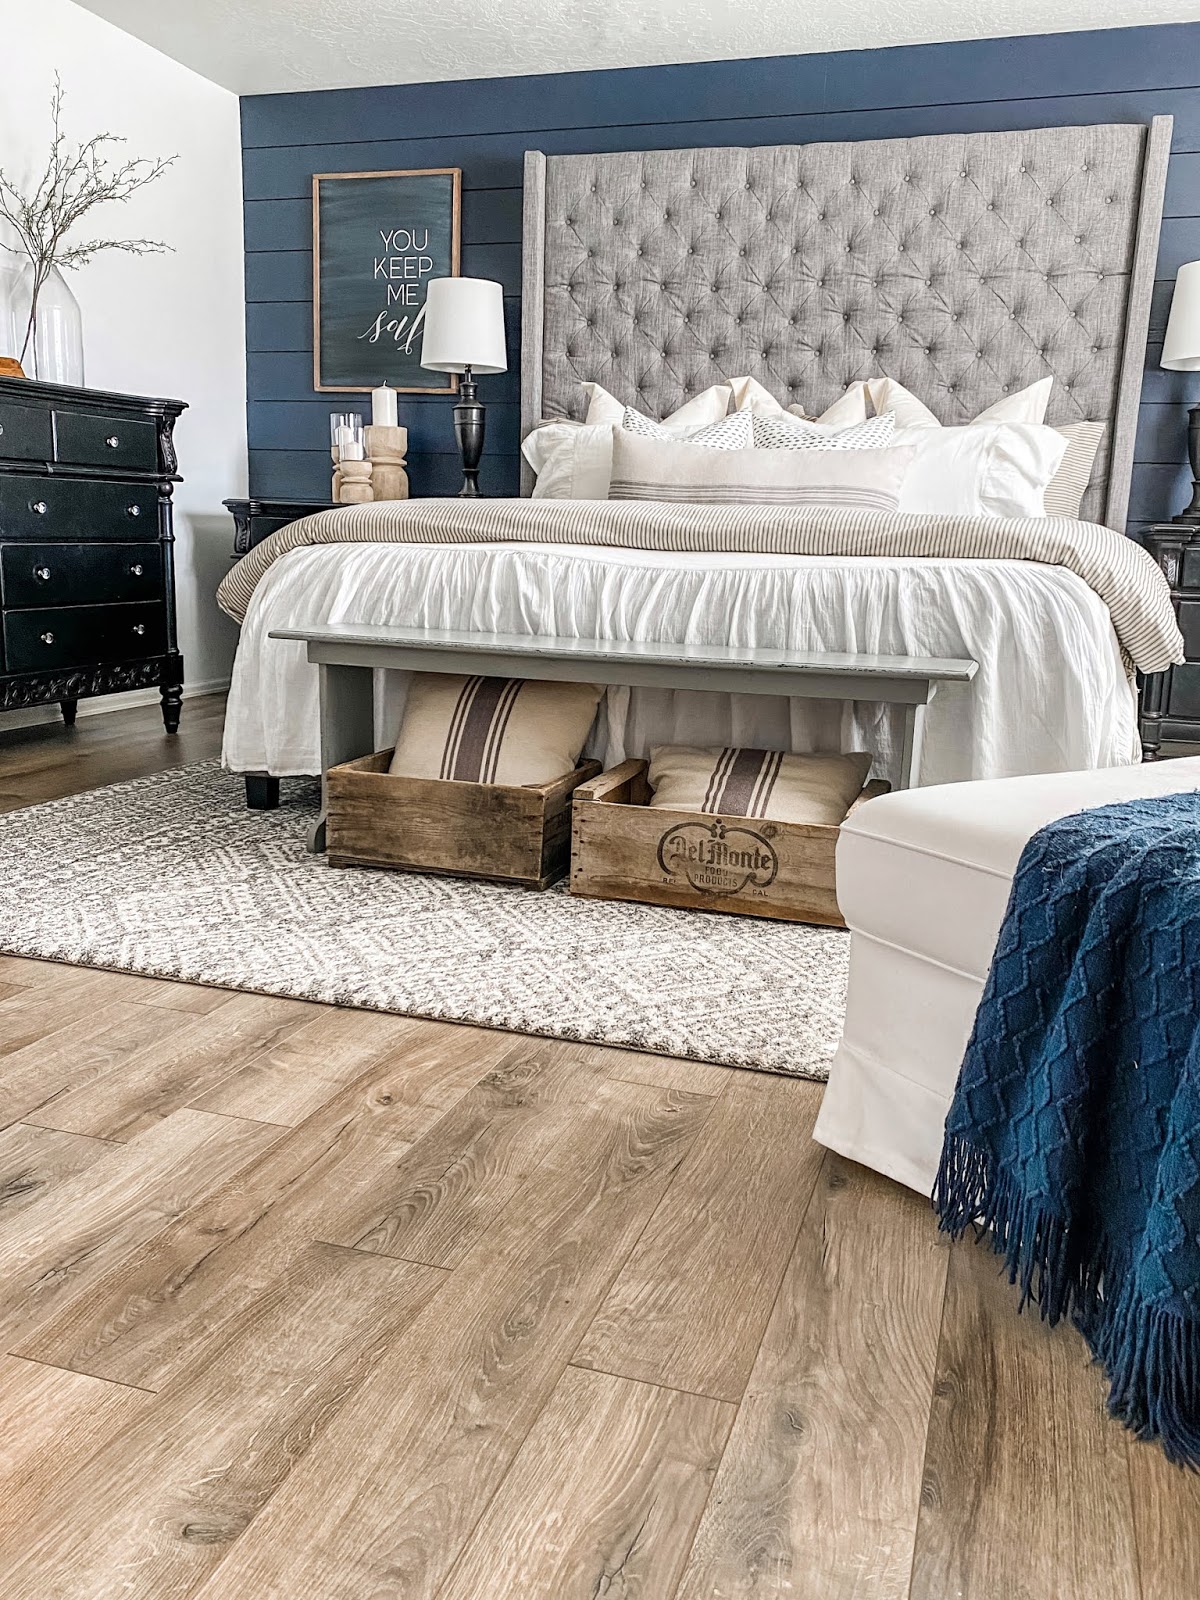
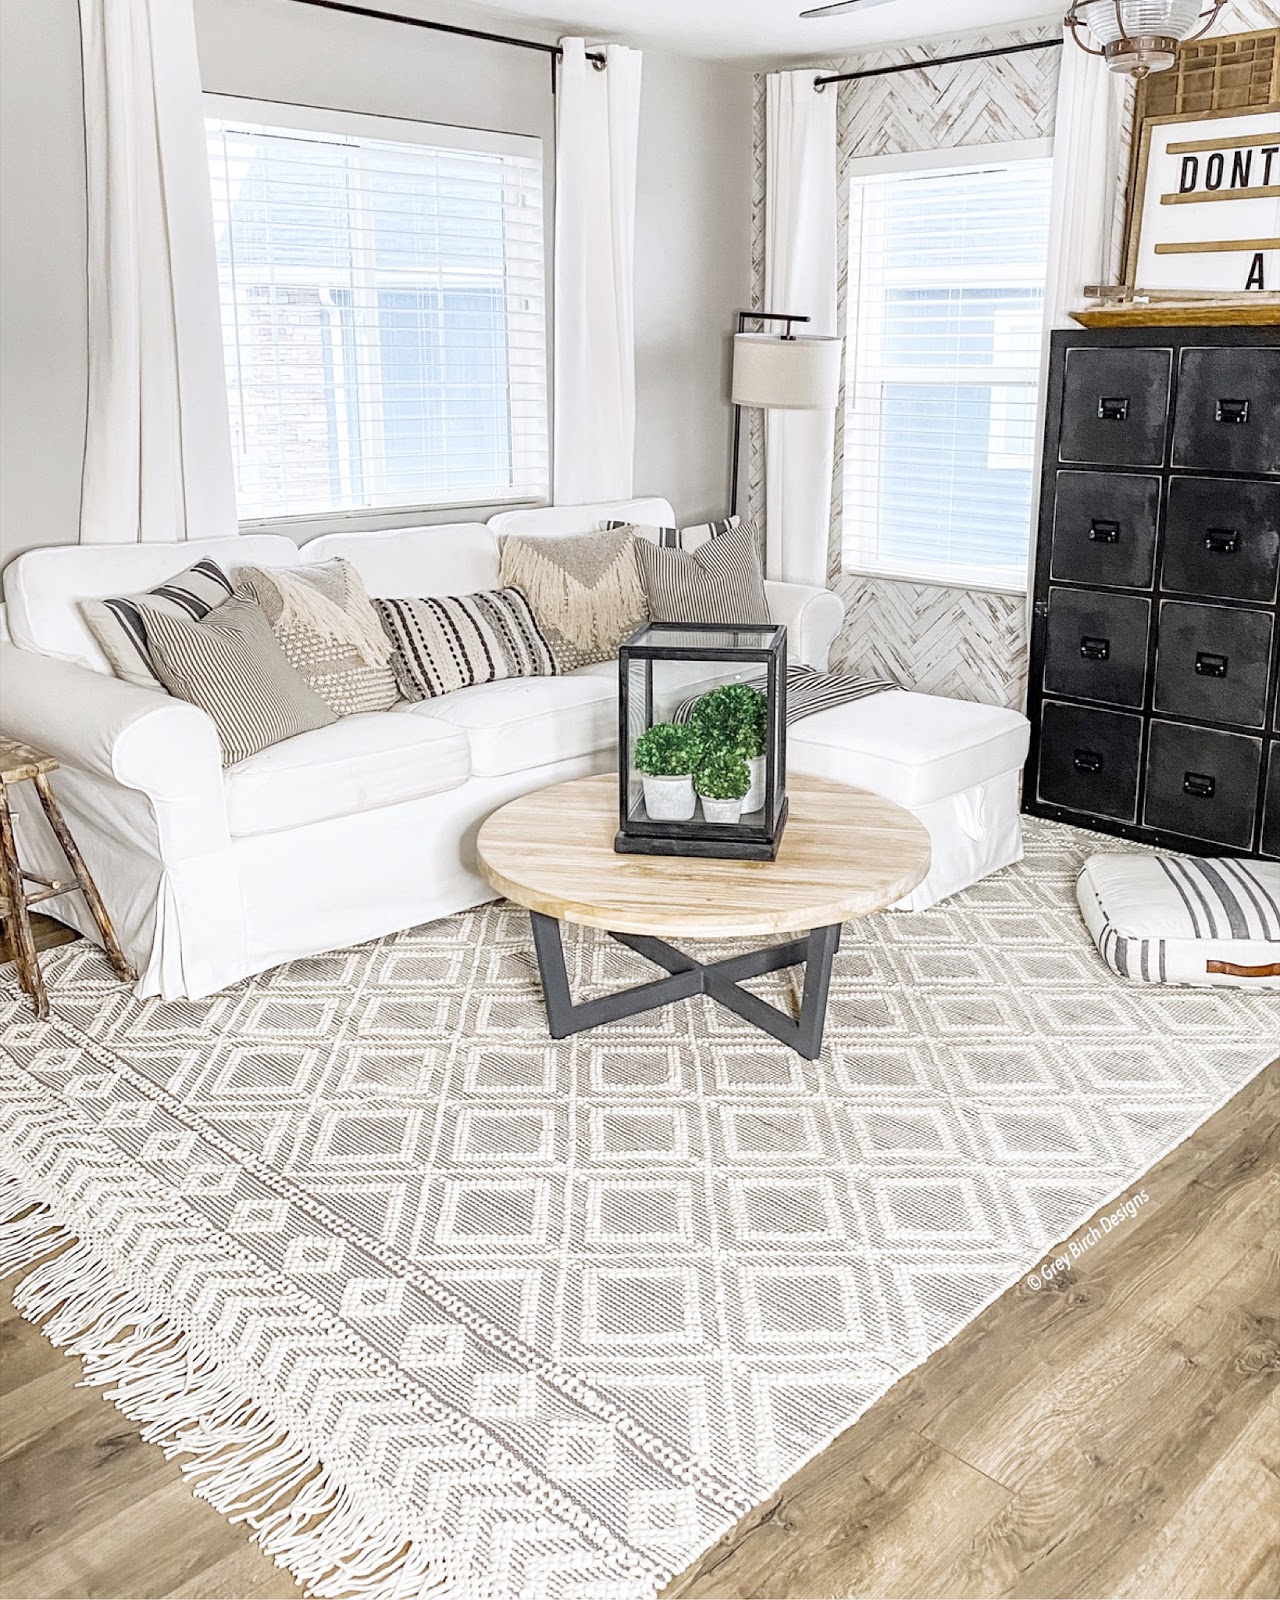
This month we tackled a big home project, one that I have wanted to do for some time now. We ripped out the carpet upstairs and installed new laminate flooring! I was a little nervous this was going to be more than we could handle, but this product from Creative Surfaces made the installation super easy!
We chose the Riverside Oak Laminate Plank and the color is perfect! It’s a beautiful medium brown with a subtle grey undertone. There are beautiful variations in the planks, giving them the look and feel of real wood but with the benefit of being extremely durable.
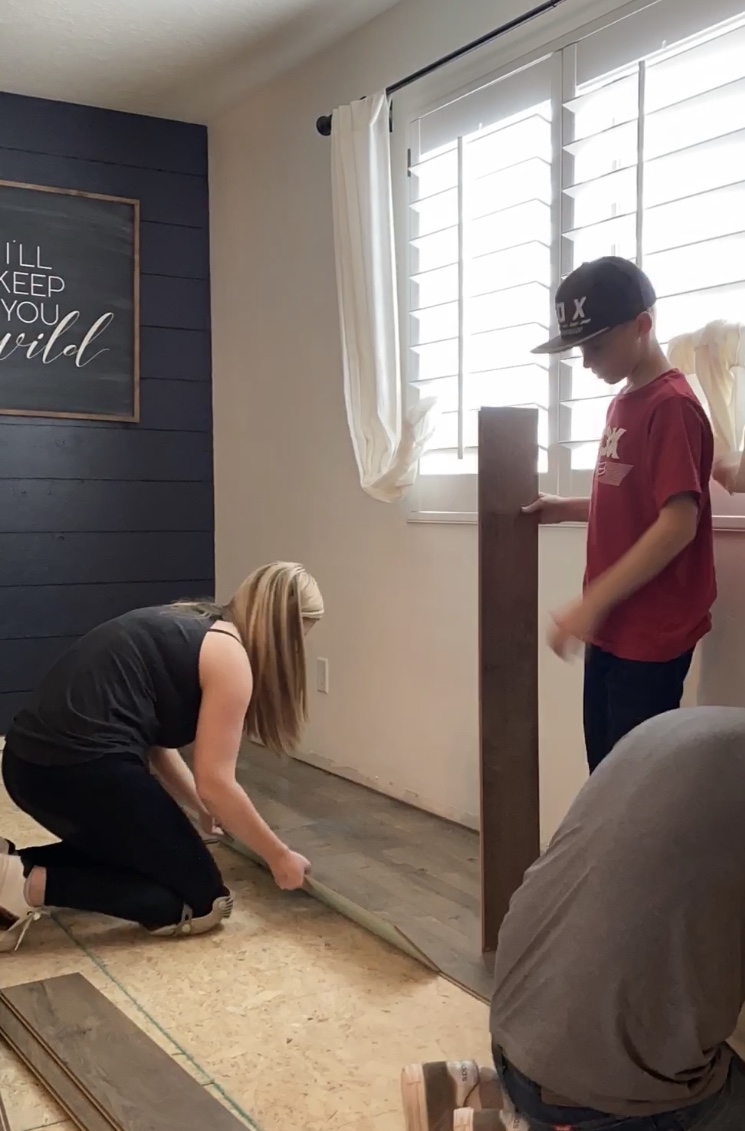
One thing that makes this flooring so easy to install is the underlayment is already attached to the planks. If you have ever installed laminate flooring before and fought with a big roll of underlayment then you know what a huge time saver this is. The planks also have SurfaceLoc system making it easy to snap and lock the boards together to form a solid surface floor.

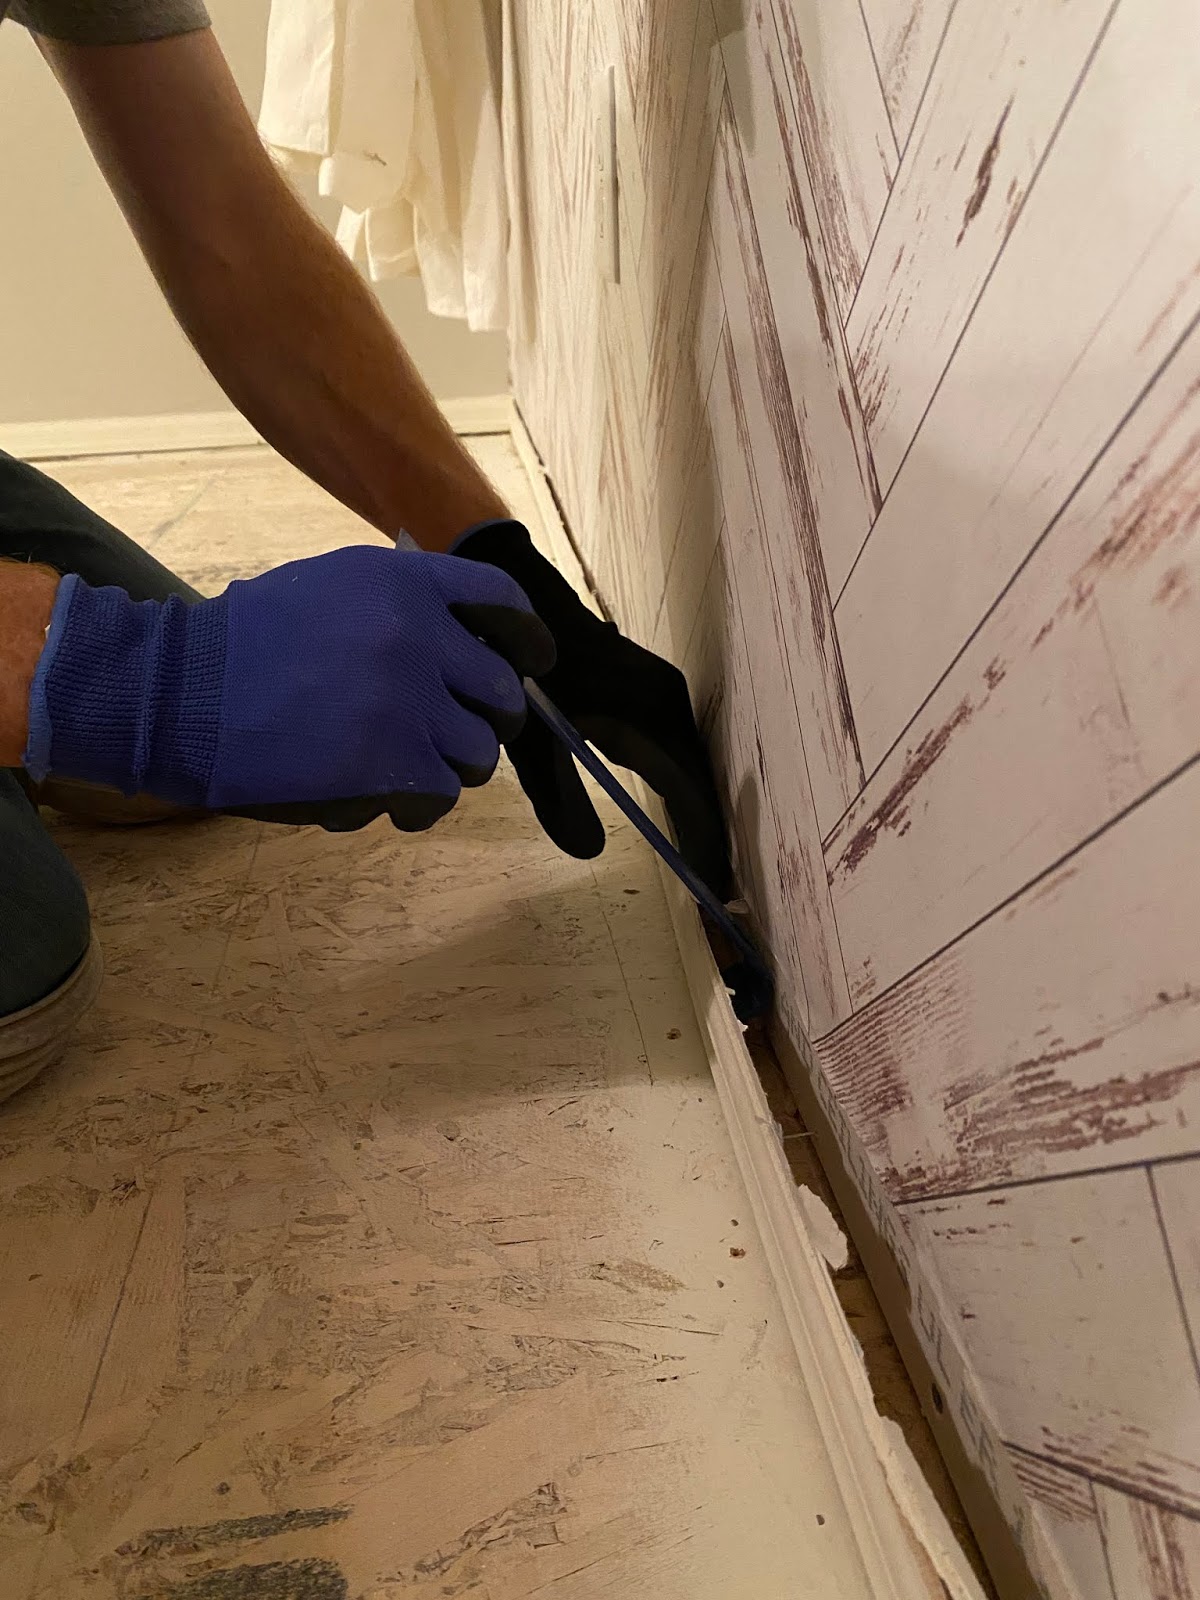
There are a few things that are important to remember when switching out your flooring from carpet to laminate. First you will need to remove your baseboards. This is important because the thickness of carpet is much less than laminate, so you will not be able to slide your laminate under the baseboards. A tip to save a little money is to reuse your old baseboards instead of replacing them. If you use a hammer and a pry bar you can carefully pull the baseboards off the wall without damaging them. If you choose not to remove your baseboards you have the option of using quarter round moulding to hide the gaps for a clean finished look.
When you lay the floor you want to make sure you stagger the boards. If any of your seams meet up then your joints won’t be as strong and could shift over time. Install your floor like a typewriter by starting at one end and working your way left to right. When you get to the end, cut your board to length and use the left over pieces as the start of the next row.
I wish I had done this project sooner because it completely transformed our upstairs! Now my flooring is not only beautiful but is also super easy to clean, which is awesome with 5 kids and 2 dogs!!
You can find this laminate flooring at your local Walmart or check their website Creative Surfaces to see when it will be available in your area!
-Grey Birch Designs-
read more
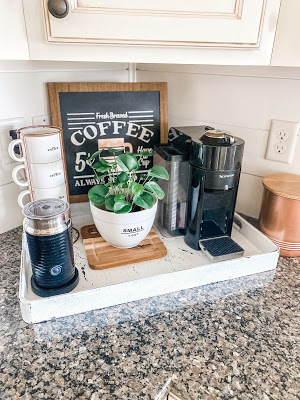
Most people keep their coffee maker out on their countertop, but it’s not the prettiest thing to look at! I wanted to create a countertop coffee station that was compact, functional, and appealing to the eye. I challenged myself to come up with a different kind of DIY. I didn’t want to have to build anything, buy a bunch of stuff, or spend a lot of money, so upscaling items was the perfect solution!!
I made a list of the must have items in my coffee station:
-A cup holder
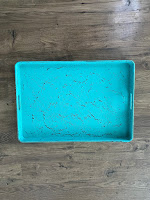
-A tray big enough to hold everything
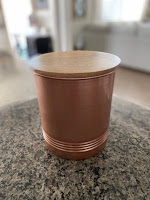
-A place to hold my coffee pods
-Some decor to make it cute
I went out hunting for things that would meet these needs but were as budget friendly as possible. I knew the colors of the items didn’t really matter because I could change them. The main focus was the right size and functionality.


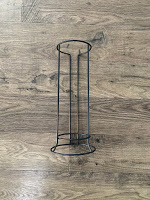
I found the perfect size canister for my coffee pods, a large enough tray to hold everything, a mug holder, and the perfect size sign to make it cute and also hide those ugly power cords! I got all this for under $40. The only problem was none of the items were the ideal color or matched my style. My next step was to figure out my color scheme with the help of all the amazing paint colors available from ColorShot
For this project I used:
I wanted a distressed look for my tray so I first painted it with Blackout Once it dried I painted it with Marshmallow and sanded it to get some of that black paint to show through, giving it a great distressed look! For my mug holder and coffee pod canister I wanted to bring in a copper color so I used Lucky Penny on both of these!


The last thing I did was create a cute coffee sign. I popped the wood board out of the frame, painted the background with Blackout and laid down my stencil. I sprayed the stencil with Marshmallow and then I pulled more of that pretty copper color into my sign by using the Lucky Penny-Paint Pen to color in the coffee cup. I wanted it to have a vintage look, so before the paint dried I blotted it with a paper towel. I repeated this step 3 times to get the look and depth of color I wanted. Check out this video for more details on how I made this fun sign!
This project made such a difference in our kitchen!! I set out to make something functional, compact, and beautiful all on a budget and I think I hit all those points!
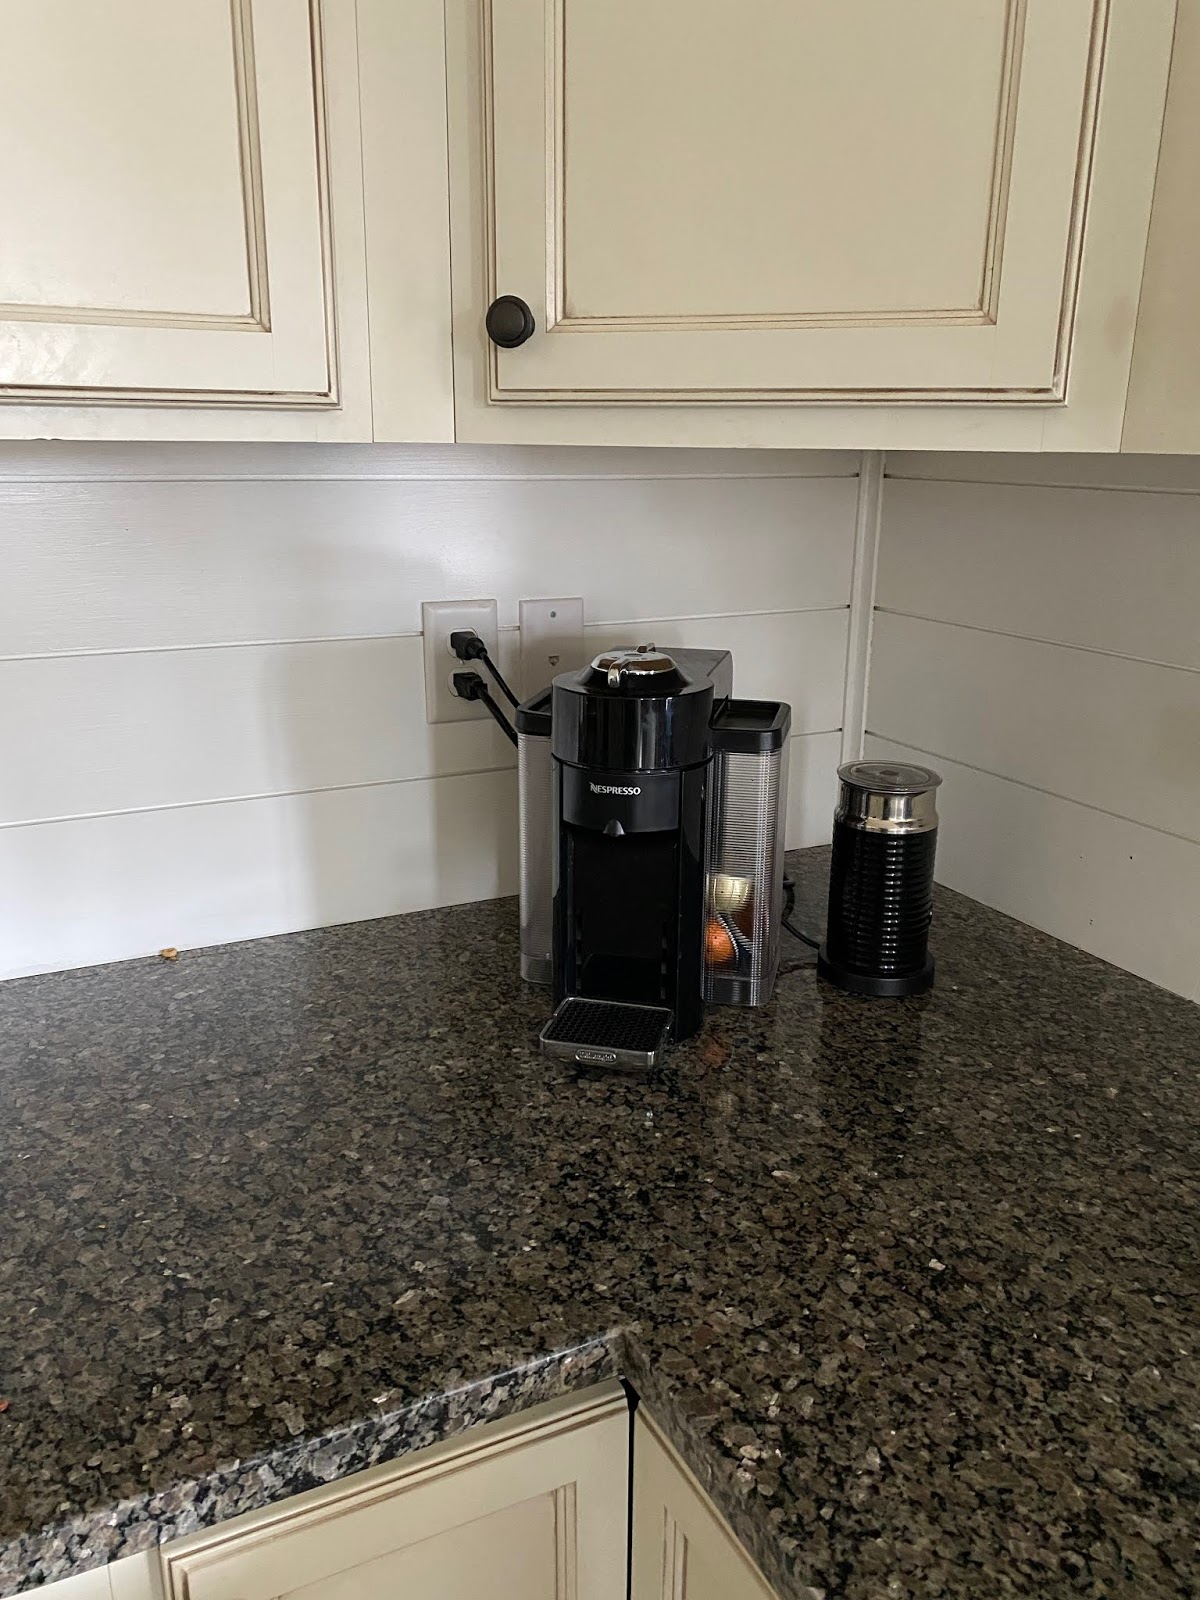
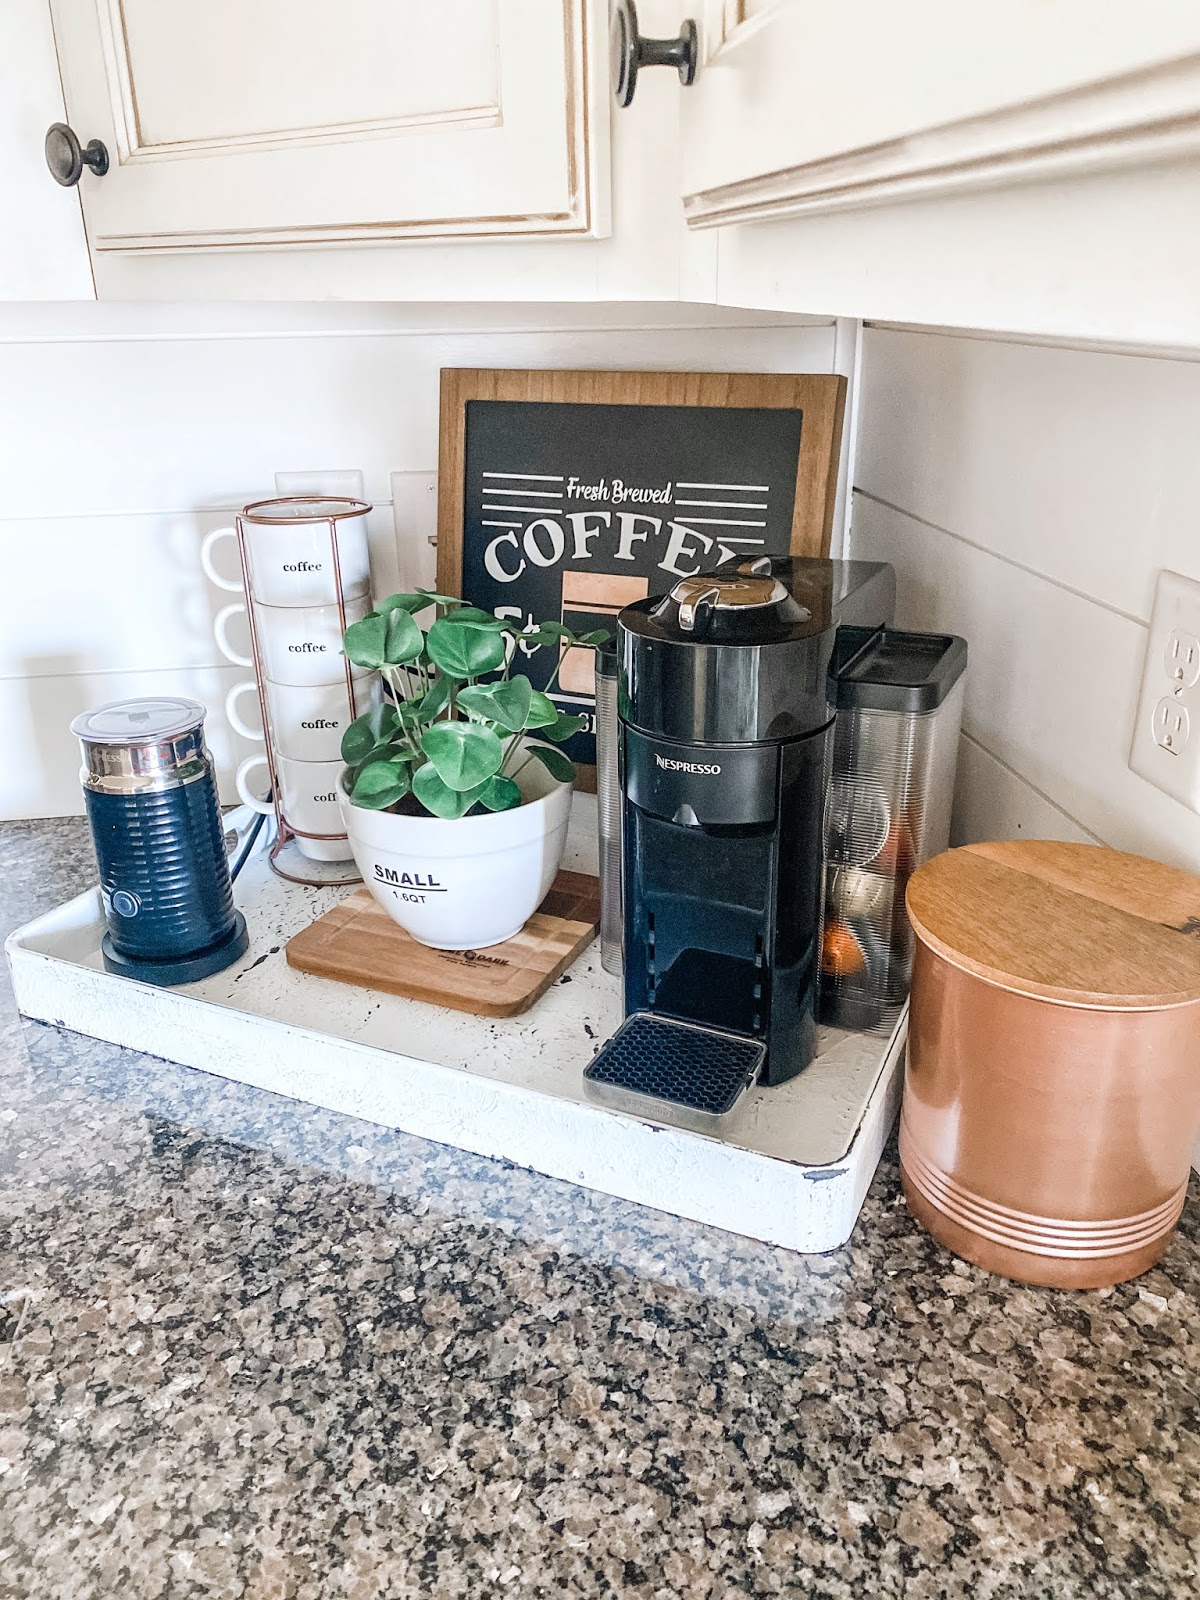
Before After
All ColorShot paint products are available at Home Depot
To watch this whole project from start to finish check out this link to my DIY video!!
-Grey Birch Designs-
read more
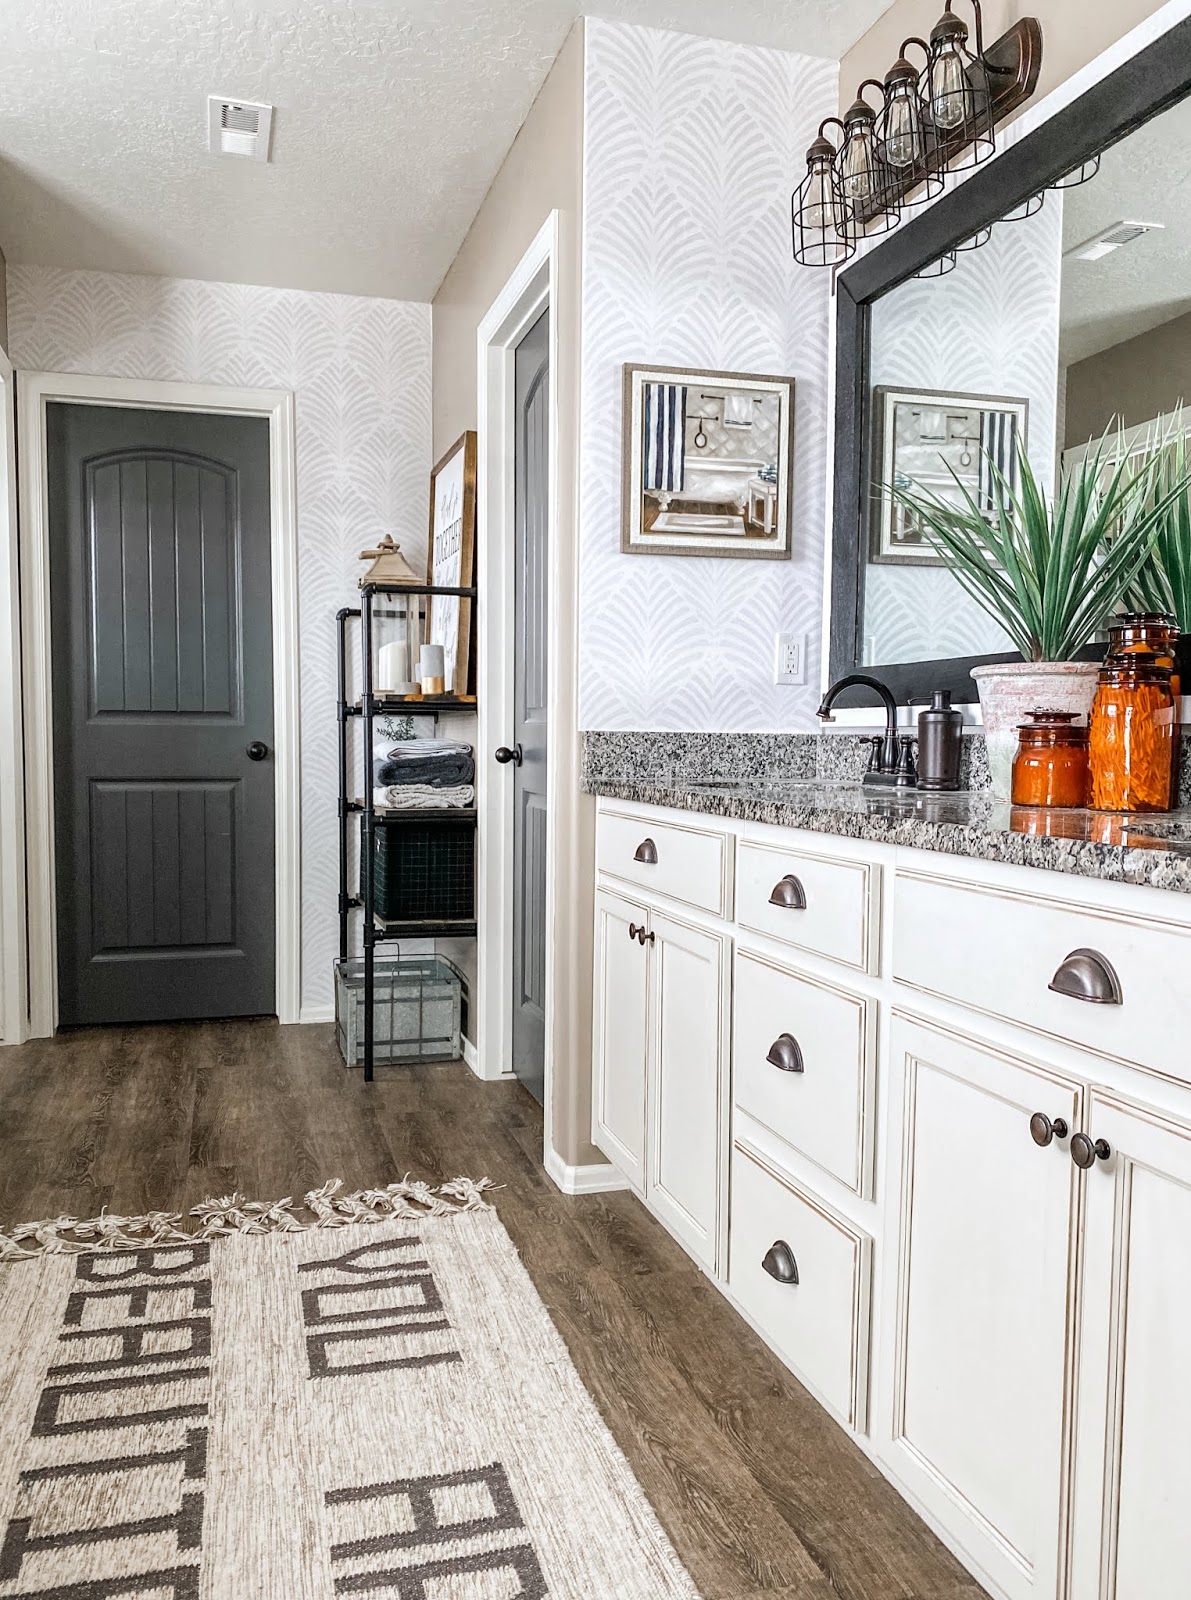
Wallpaper is one of my favorite things to use to bring a pop of color or pattern to a space. After recently painting my bathroom I knew it needed a splash of pattern to bring the space alive! I also knew I didn’t want to introduce a new color. I found the most gorgeous wallpaper from Milton & King and I knew if would be the perfect fit!
There are a few different types of wallpaper on the market, This kind is called paste-the-wall wallpaper, meaning the wallpaper itself is un-pasted and not sticky. To apply this kind of wallpaper all you need is some wallpaper paste. I picked this kind up from Home Depot and it worked great!
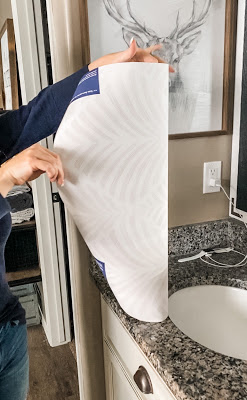
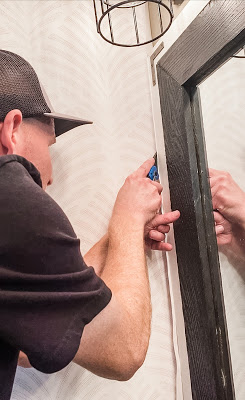
You simply apply the paste on the wall with a roller, just like you would if you were painting, and then apply the wallpaper. After you smooth it out, trim the excess and continue!
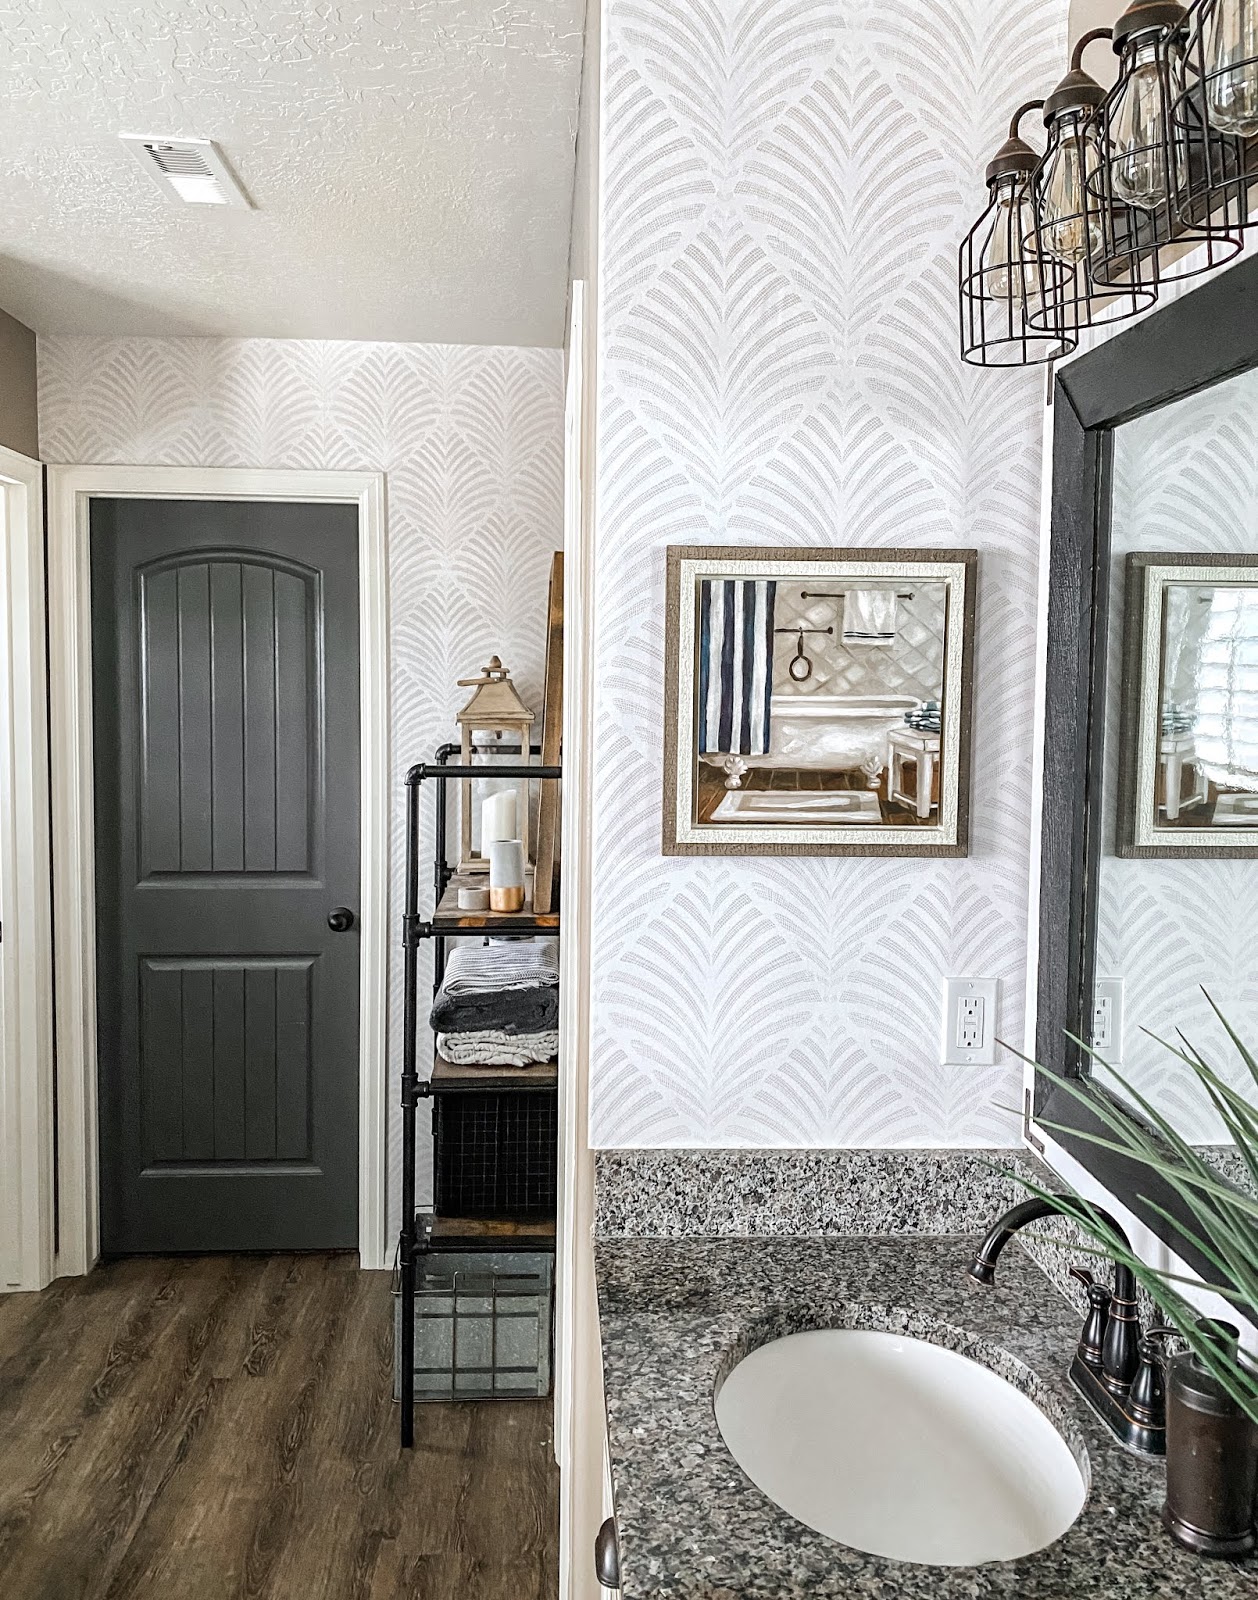
I have been super pleased with the quality of Milton & King wallpaper. One of my favorite features of this wallpaper is it’s cleanable!! It’s protected with two coats of a specially formulated glaze, making the non-woven base and paper top layer very durable and easy to clean. Dirt, dust, and other marks can be simply cleaned using a damp cloth with soapy water.
This was a fun project with a big statement!! It only took a couple hours to do and I couldn’t be happier with how it turned out. It’s the perfect pop of pattern I was looking for in my master bathroom refresh!
Check out my YouTube video below of this project!!
-Grey Birch Designs-
read more
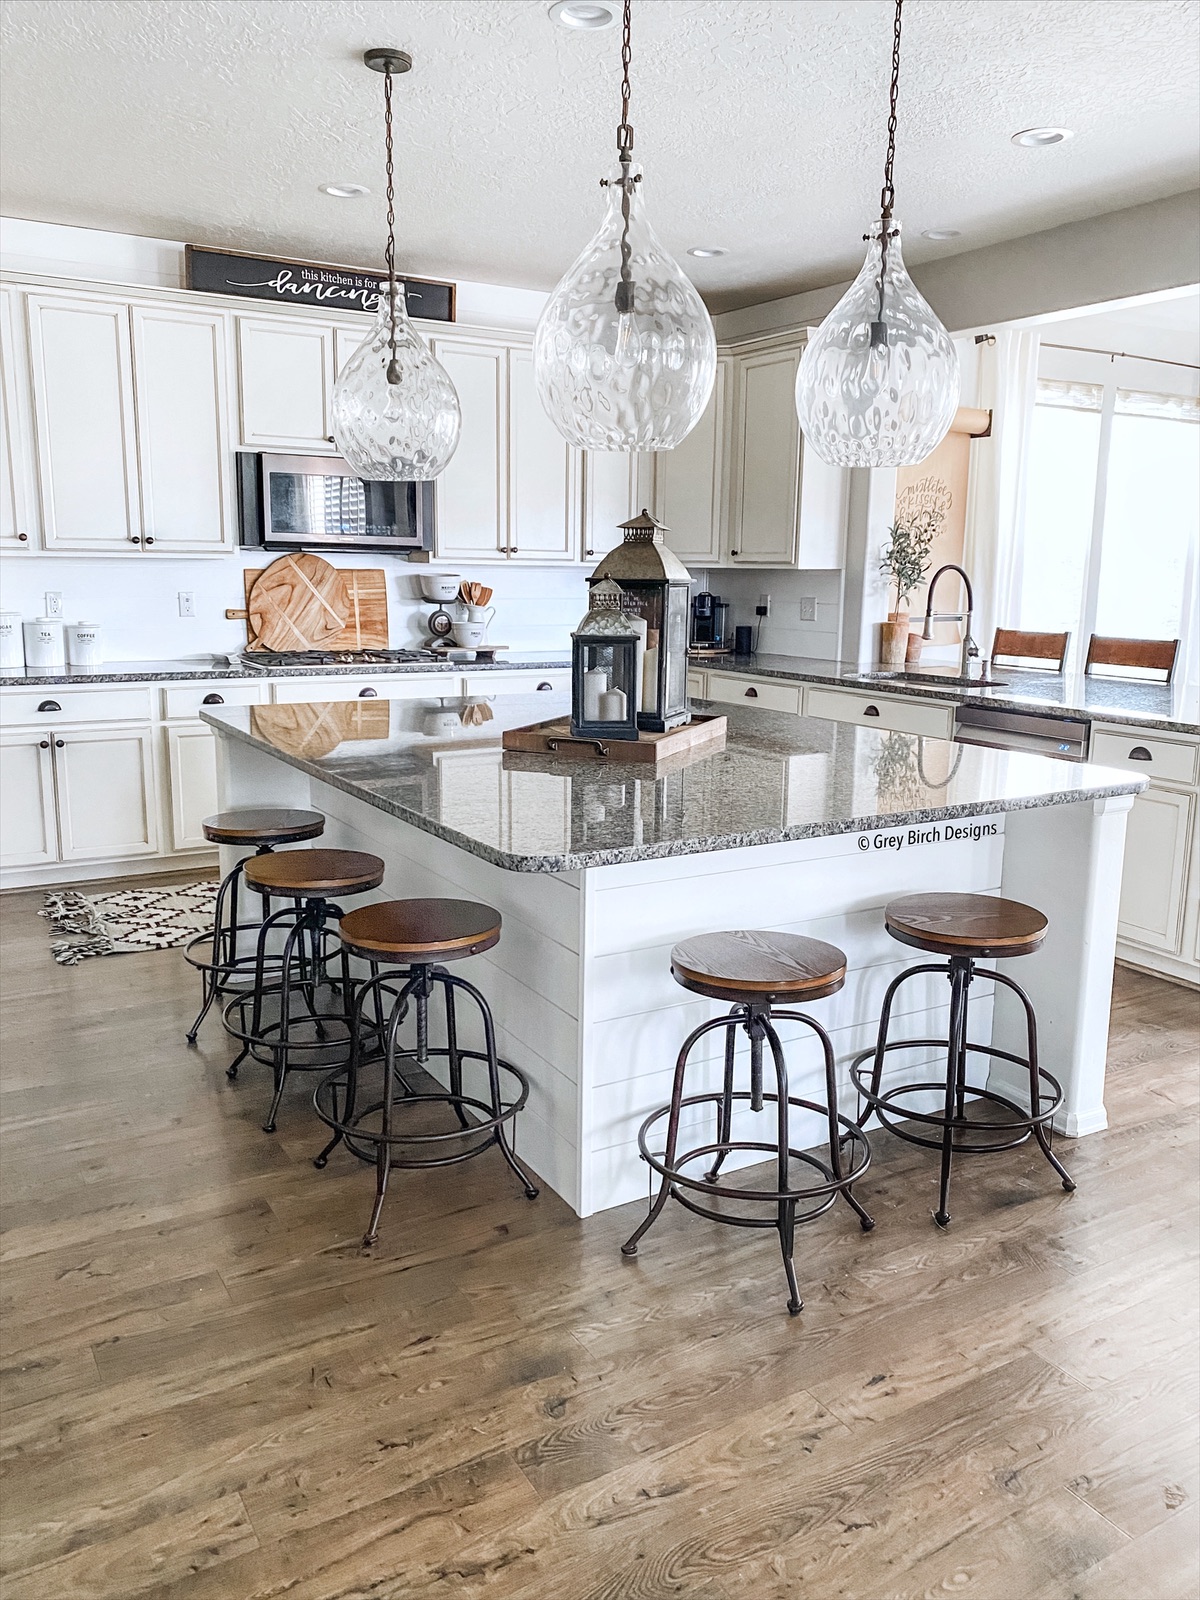
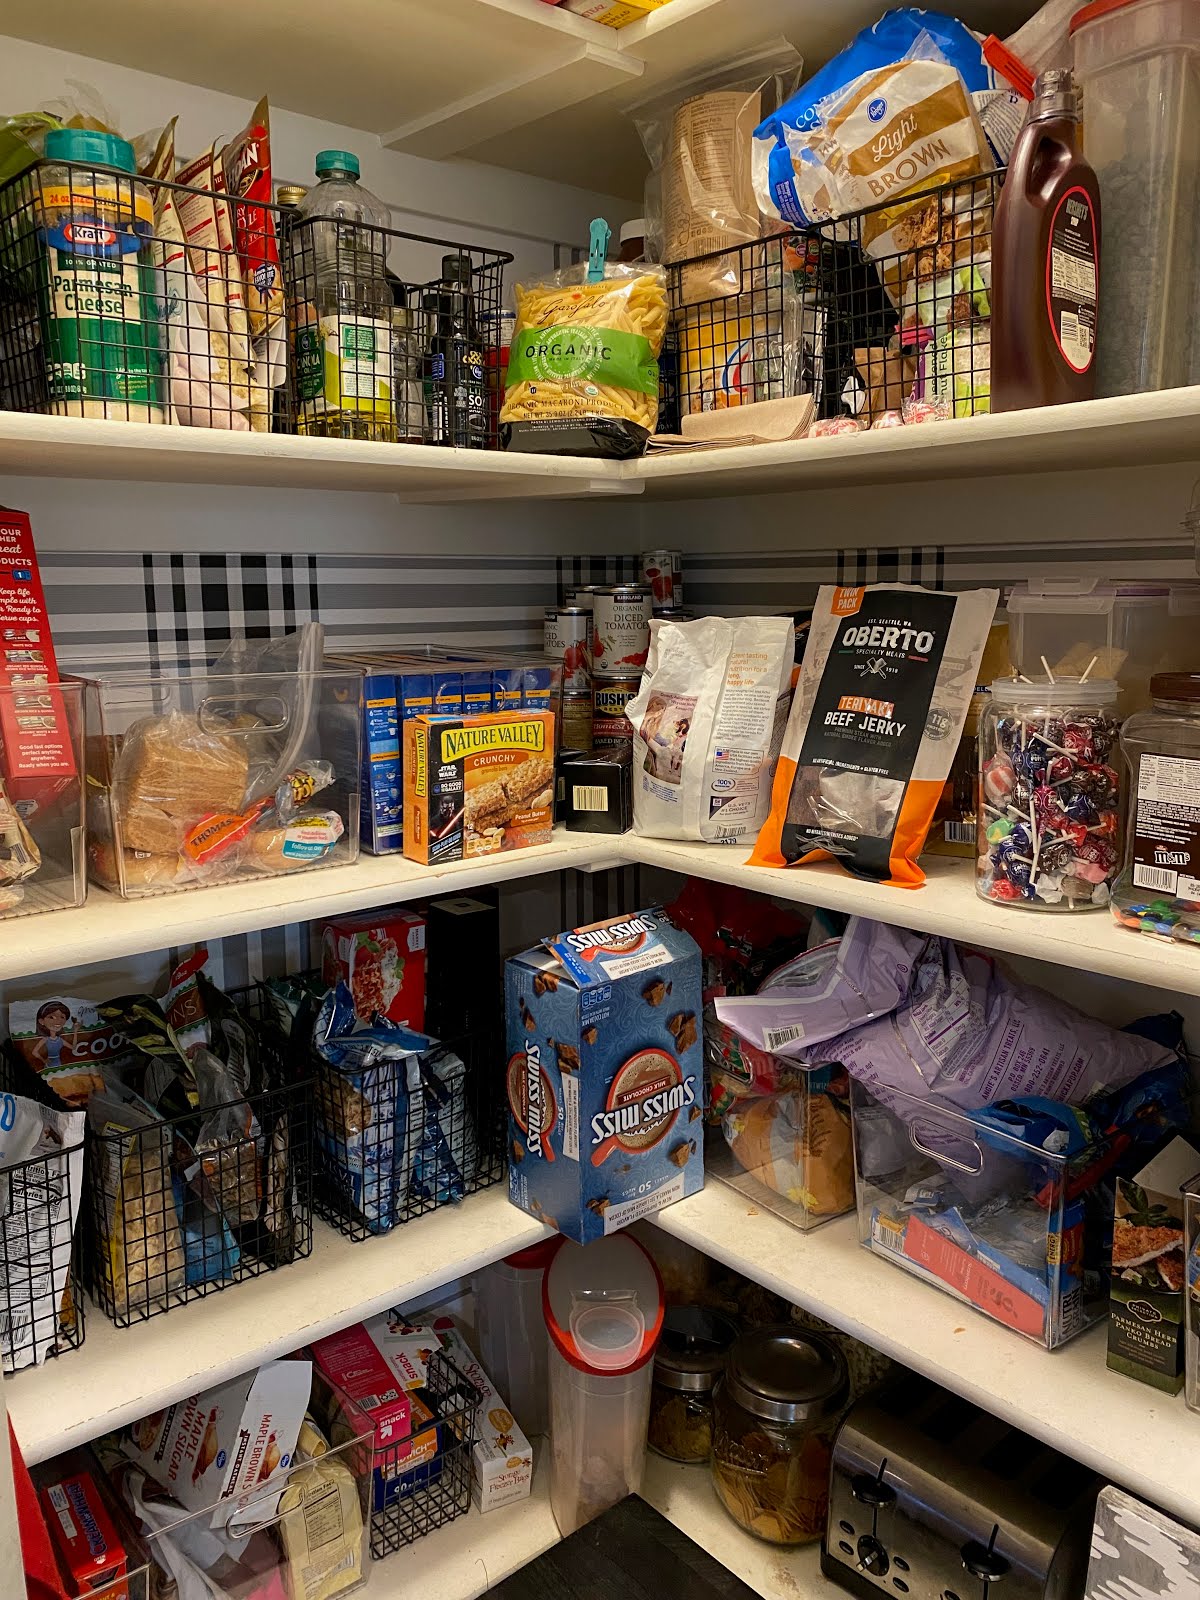
One of the big projects on my list this year was fully organizing my pantry and refrigerator. I’m happy to say that with the help of Bed Bath and Beyond I have completed this project one month into the new year!!
I was eager to find some large clear food storage bins that were easy for my kids to use. Bed Bath & Beyond had a great selection of these. After browsing through their website I chose these containers!!
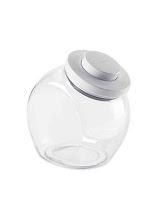
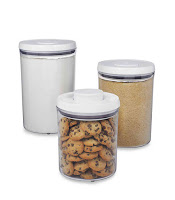

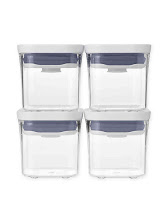
The next thing in my pantry that always felt unorganized was my baking ingredients. The bags always seemed to rip and make a mess, so I wanted some way to store them easily and keep them fresh. I found this set of 4 containers with fresh seal lids and a compact design with the ability to stack on top of each other!! They worked out perfectly to hold my powdered sugar, brown sugar, wheat flour, and coarse sugar. The old storage bags that would rip and not keep things fresh are now gone and replaced with this ideal storage set!!

I couldn’t be happier with how everything turned out in my pantry. I love having everything in its place! It’s amazing how much space these containers save, and it’s so easy for my kids to see their snacks so they don’t need to dig through the pantry!!

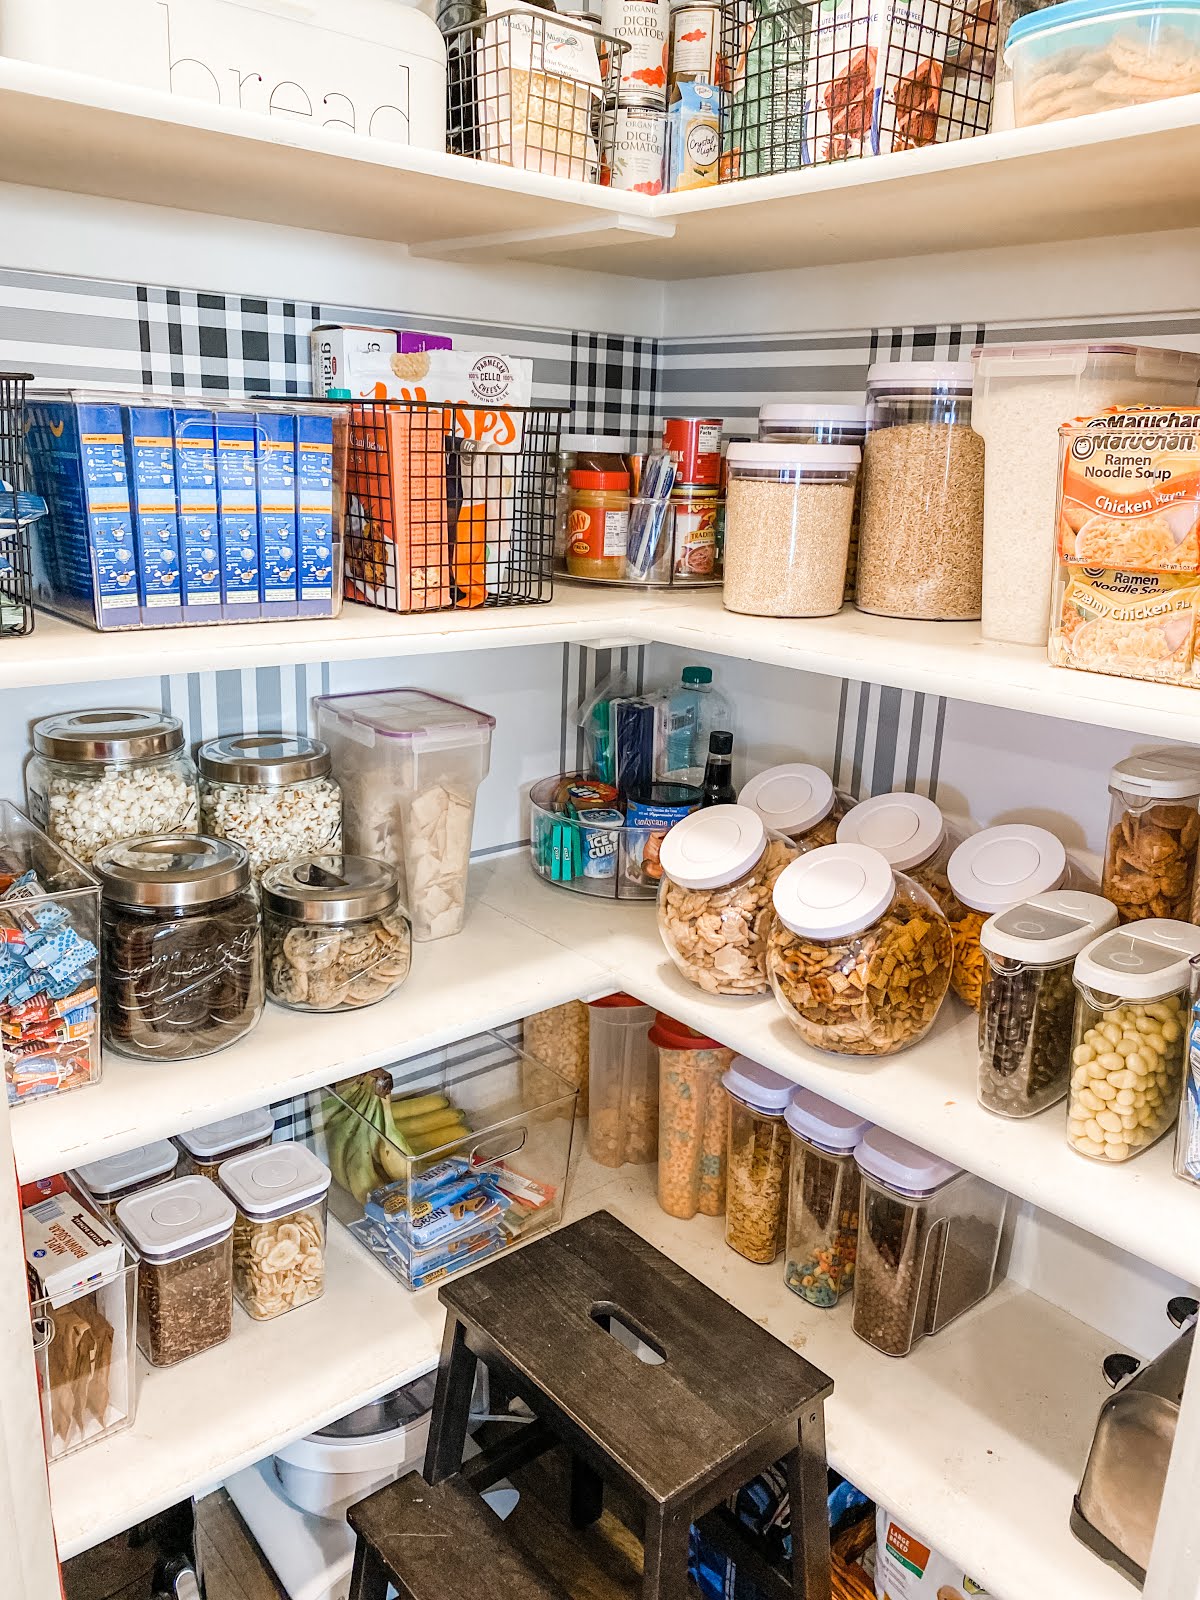
Before After
Up next was my refrigerator. I have never organized my refrigerator so this was desperately needed!! I had a few things that were must haves: a place for drinks because they always take up so much room, and an egg container that holds more than a dozen eggs. These items were the perfect fit!!
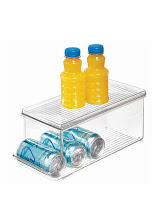
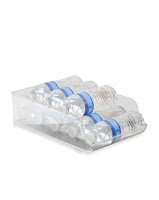
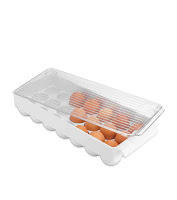
Never in my life have I been able to open my refrigerator and have it so well organized. It’s truly life changing and I don’t know why it took me so long to complete this organization project!!


Before After
I feel so accomplished having this long awaited project finished and I couldn’t be happier with how my new organized pantry and refrigerator look now! Check out my fun video I put together on this project to see how it all came to life and make sure to checkout all the amazing storage solutions available from Bed Bath & Beyond!
-Grey Birch Designs-
read more
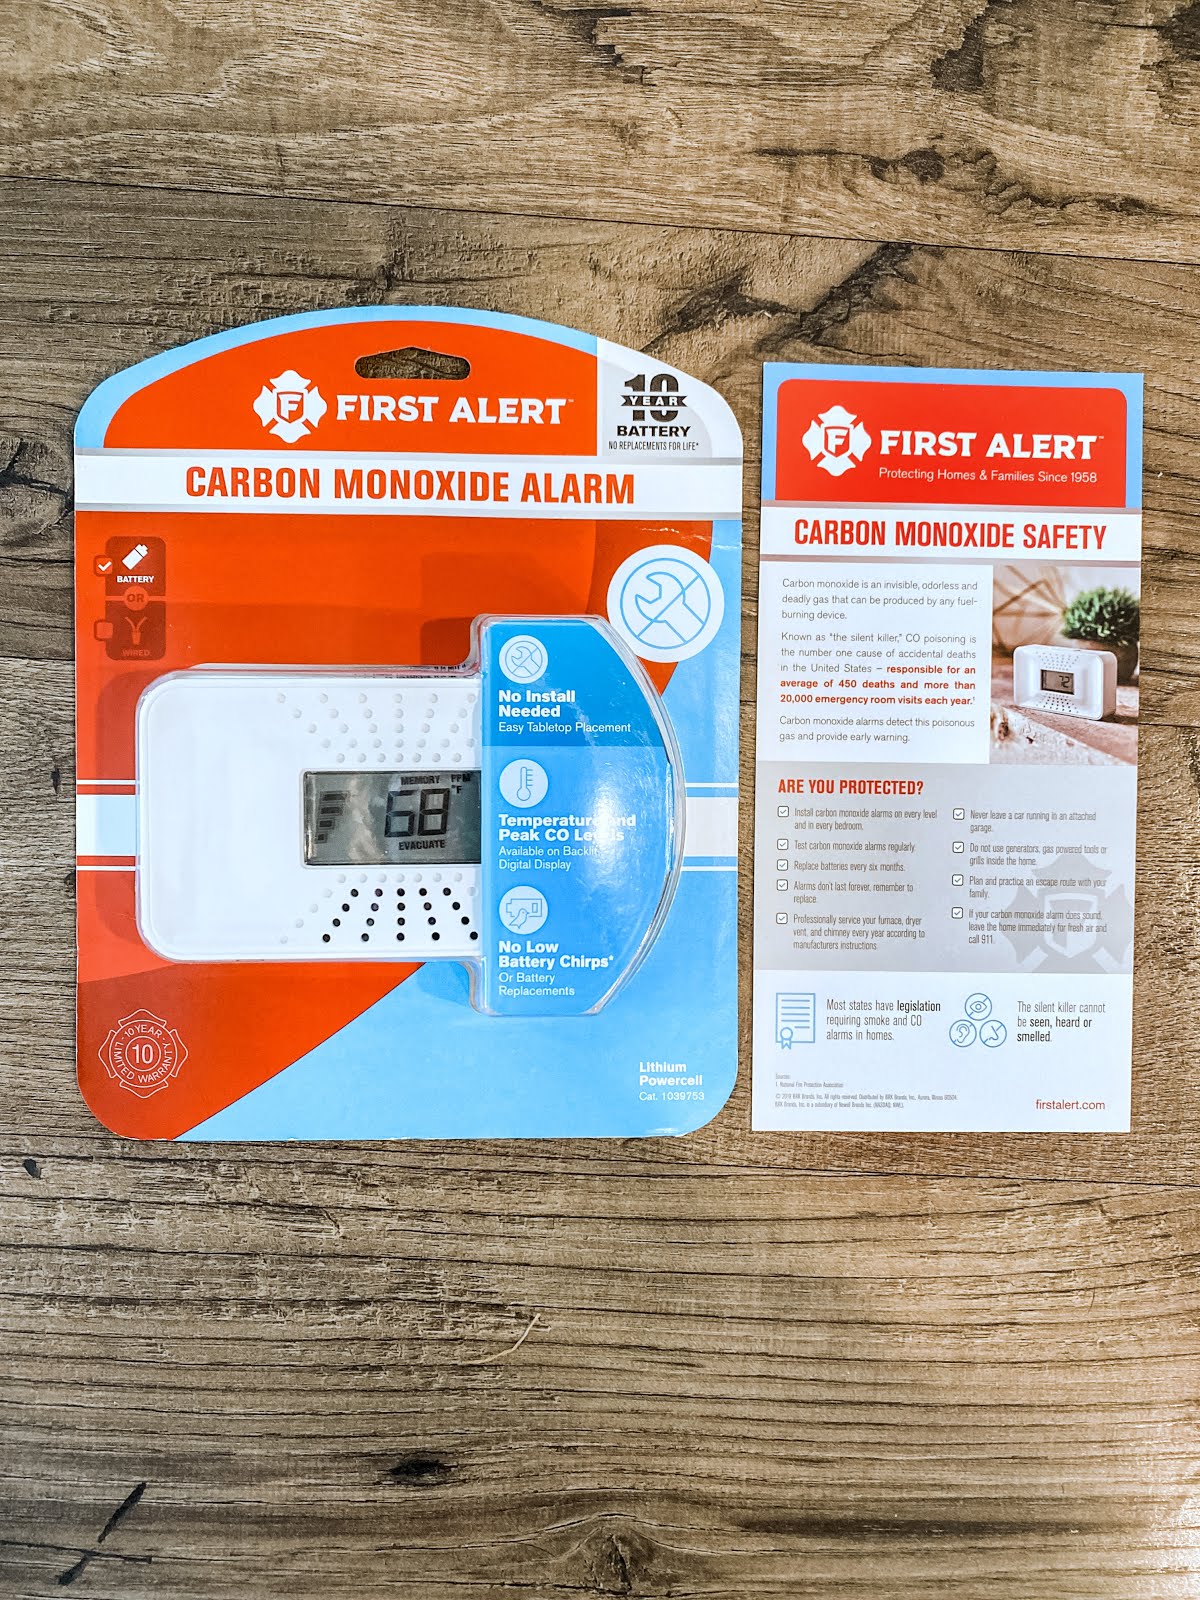
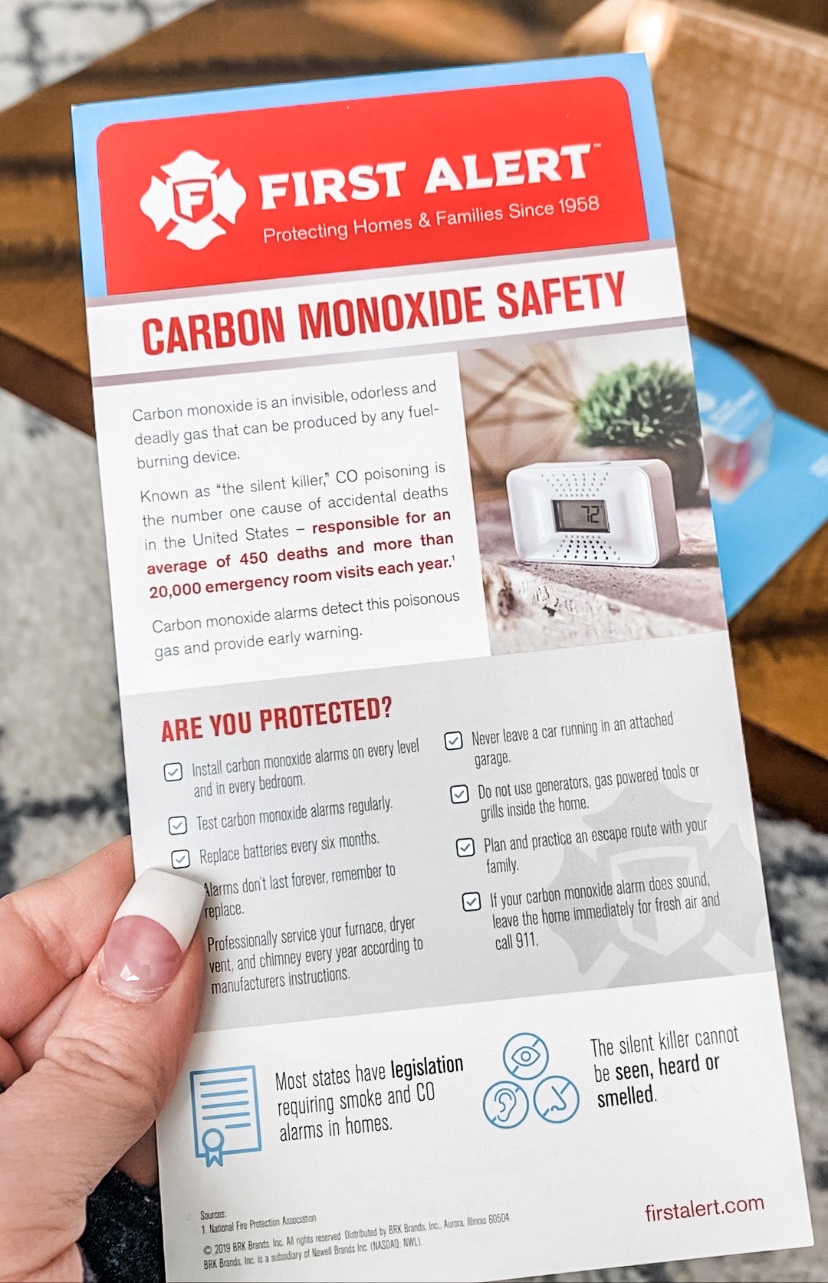
Thank you First Alert for sponsoring this post. Help ensure your home and family is protected with CO alarms!
The first time I heard about carbon monoxide poisoning was shortly after I had my first baby. Ever since then it’s been something that has scared me and been in the back of my mind. Throughout the years I’ve heard many heartbreaking stories about families that were affected by CO in their homes, and others that are grateful they saw the early signs and got safely out of their homes in time. I knew it was something I needed to think about more seriously to help keep me and my growing family safe from this deadly gas.
Carbon monoxide is nicknamed “the silent killer” https://clvr.li/FA_knowco because you can’t see it, hear it, or smell it. It’s responsible for an average of 430 deaths and more than 50,000 ER visits a year, ranking it the #1 cause of accidental deaths in the US. Thankfully there are easy ways to safeguard your family. Along with a CO alarm, First Alert has a few suggestions to help keep you protected.
-Have your furnace, dryer vent, and chimney professionally serviced every year according to the manufacturer’s instructions
-Never leave a car running in an attached garage
-Do not use generators, gas-powered tools, or grills inside your home
-Replace your CO alarm batteries every six months
-Test your CO alarms regularly
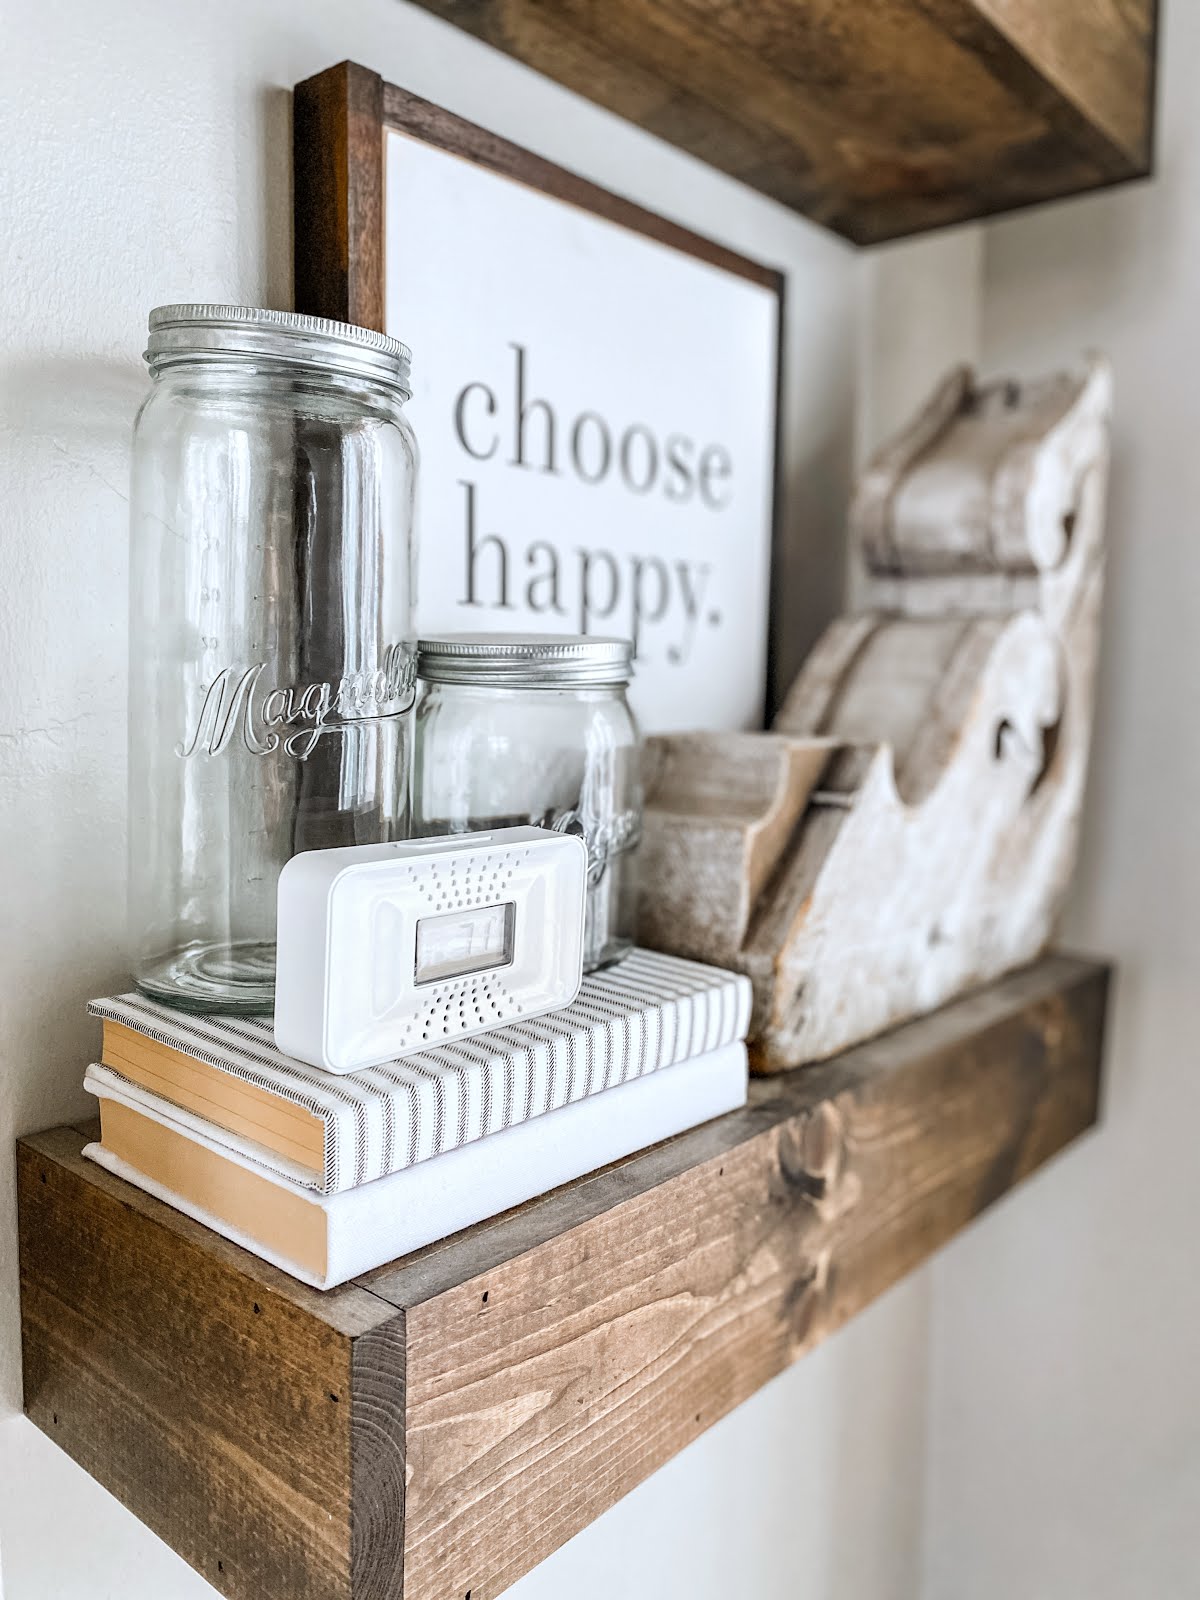
Like a smoke detector, this CO alarm will sound if it detects dangerous levels of of CO in your home. That’s why I love this portable CO detector that doesn’t require hard wiring or installation. It can easily be placed anywhere in your home and has a battery that lasts for 10 years!!! That’s the best piece of mind.
Did you know that it is recommended to have one of these on each level of your home as well as inside every bredroom? This is something I just learned. I assumed if you just had one in your home that it was more than enough, but it’s not. I think it is also important to know the signs of CO poisoning so you can take quick life-saving action if needed.
-Mild Exposure: Slight headache, nausea, vomiting, fatigue (Flu-like symptoms)
-Medium Exposure: Throbbing headache, drowsiness, confusion, fast heart rate
-Extreme Exposure: Convulsions, unconsciousness, heart and lung failure

I am happy to be teaming up with First Alert to help spread awareness about carbon monoxide safety. It’s something that is always in the back of my mind, especially during the winter season when we use our gas powered appliances more than any other time of the year. If you want to learn more please click on this link for information for CO alarms and how to help keep your family safe from this “silent killer” https://clvr.li/FA_knowco I’m so glad I educated myself about CO. Now I can sleep better knowing I have done everything I can to keep my family safe!
-Grey Birch Designs-