


read more
I am often asked about the paint colors in my home. I will be showing off each color, starting with the main level.
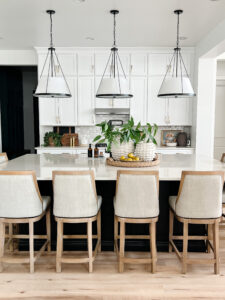
Pure White by Sherwin-Williams
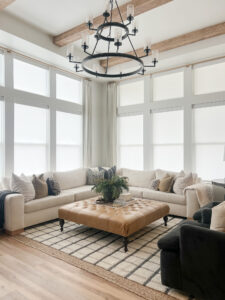
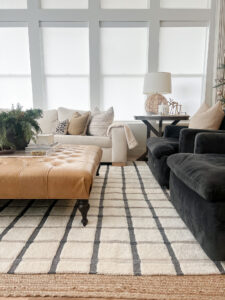
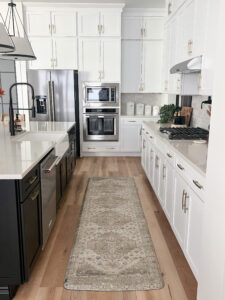
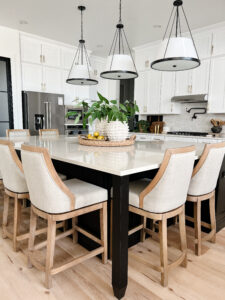
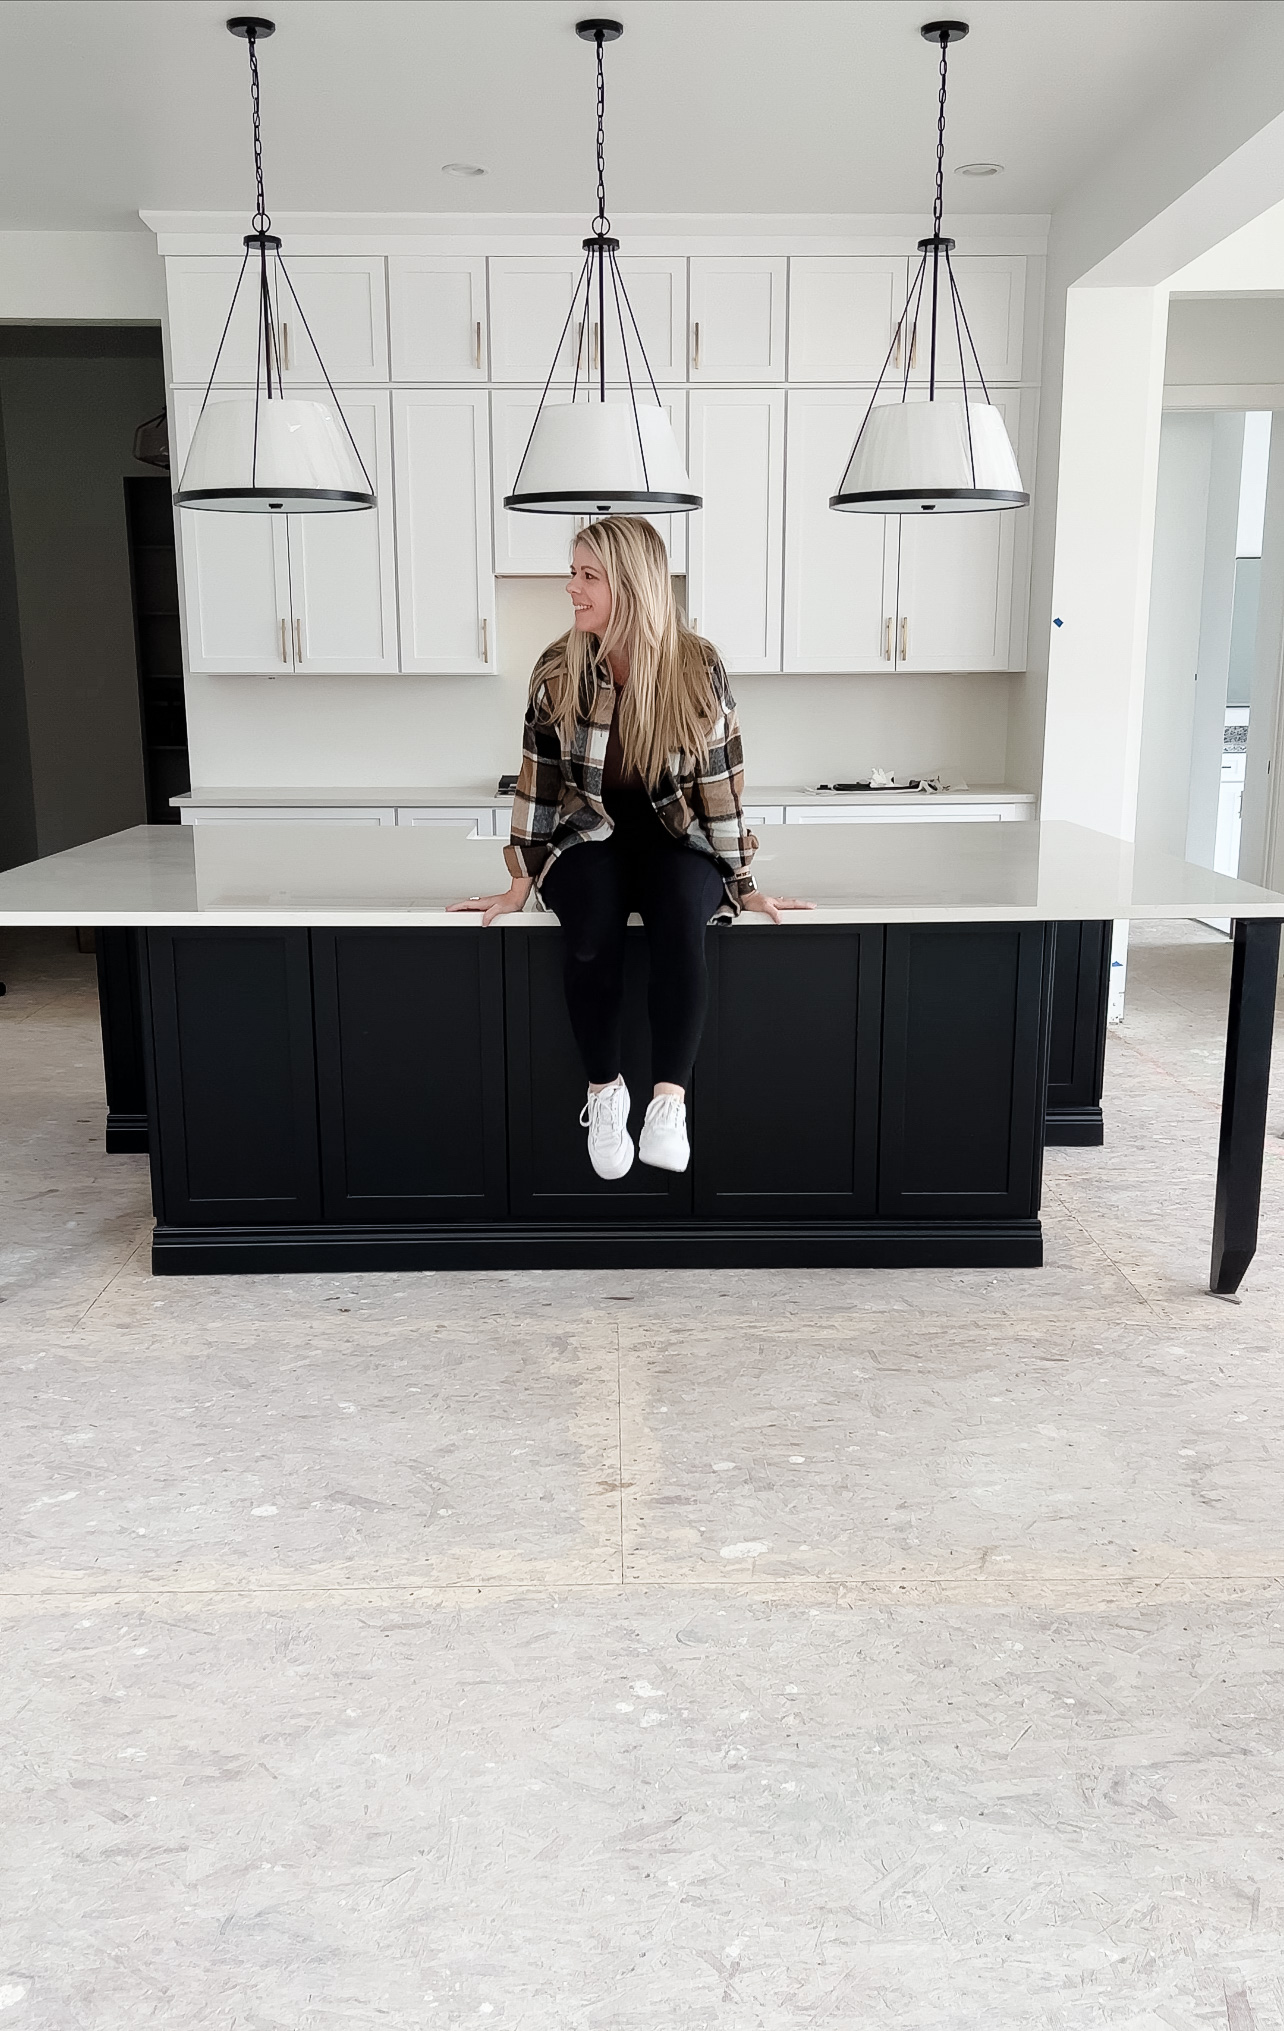
One color that is consistent throughout my home is white. I have it everywhere and it’s the main base paint color. If your looking for a true bright white color that doesn’t have any undertones this is the one to pick! This color is prominent in my living room and kitchen. The cabinets came painted white from the manufacturer but perfectly match the Pure White on the walls. The walls and ceiling are an eggshell finish and the trim is semi-gloss.
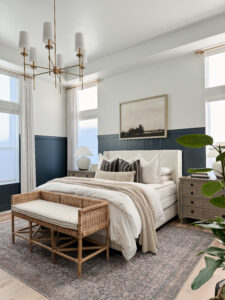
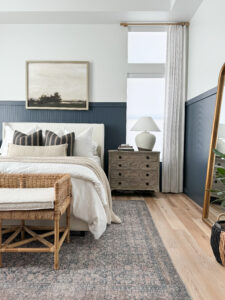
Hale Navy by Benjamin Moore
In my bedroom I did a painted bead board treatment and used the color Hale Navy by Benjamin Moore in a satin finish. This is one of my favorite colors and I will be using it again in other areas of my home. It’s a beautiful navy blue color with a touch of warmth. The top part of the walls and ceiling are Pure White by Sherwin-Williams in an eggshell finish.
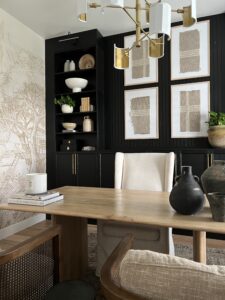
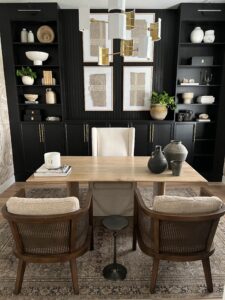
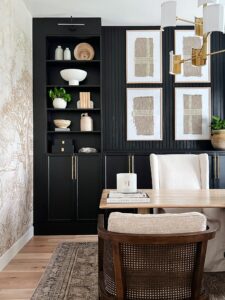
Black by Behr and Huck & Fin Wallpaper by WallBlush
In my office I created custom built-ins with two Ikea Billy Bookcases and a slat wall in between. I didn’t paint the bookcases but I did paint the slat wall with the color Black by Behr in a satin finish. It’s an identical match to the black Ikea bookcases and brought the whole unit together as one! On the other walls I hung this gorgeous mural called Huck and Fin by Wall Blush. It’s the perfect backdrop I was looking for and one of my very favorite wallpaper prints in my home. It comes in peel and stick or un-pasted. I went with the un-pasted as I think it’s easer to install. My code GREYBIRCHDESIGNS gives you 30% off any purchase on their website!
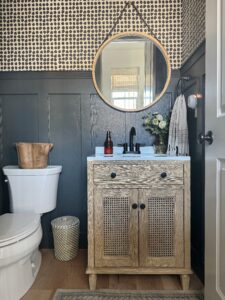
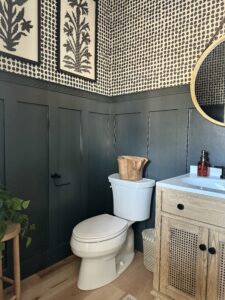
Rock Bottom by Sherwin-Williams with Organic Dots by Ayara Home
In my half bathroom on the main floor I installed a board and batten wall treatment and painted it Rock Bottom by Sherwin-Williams in a satin finish. This is a very dark, moody green color. In areas where there isn’t a lot of light it can look almost black, but in natural light you can see the beautiful green color pulling through! On the top of the board and batten I hung the Organic Dots wallpaper by Ayara Home. This is a peel and stick wallpaper and the texture of the fabric is very high quality and well made! My code GREYBIRCHDESIGNS will save you 10% off any purchase on their website!
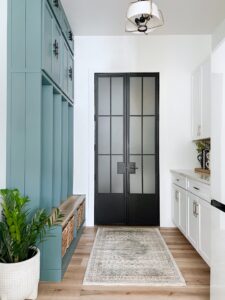
Riverway by Sherwin-Williams
In my morning kitchen I built mudroom lockers for our kids and painted them the color Riverway by Sherwin-Williams in a satin finish. It’s a gorgeous blue color with undertones of green and gray. The rest of the room is painted Pure White by Sherwin-Williams in an eggshell finish.
-Grey Birch Designs-
read more
It’s a great gift idea and it’s easy to make! I hope you give this recipe a try!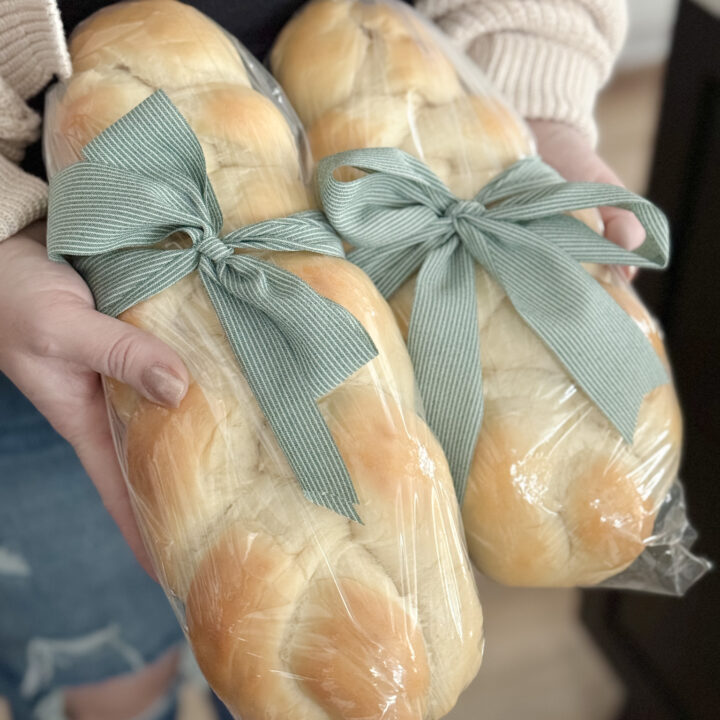
My Family's Homemade Bread Recipe
Ingredients
Instructions
Knead in mixer for 5 minutes then check to see if elastic enough, it shouldn’t be very sticky.
Bake at 350 for 22 minutes if doing 2 loafs of braided bread. If doing in a loaf pan bake 25-30 minutesNotes
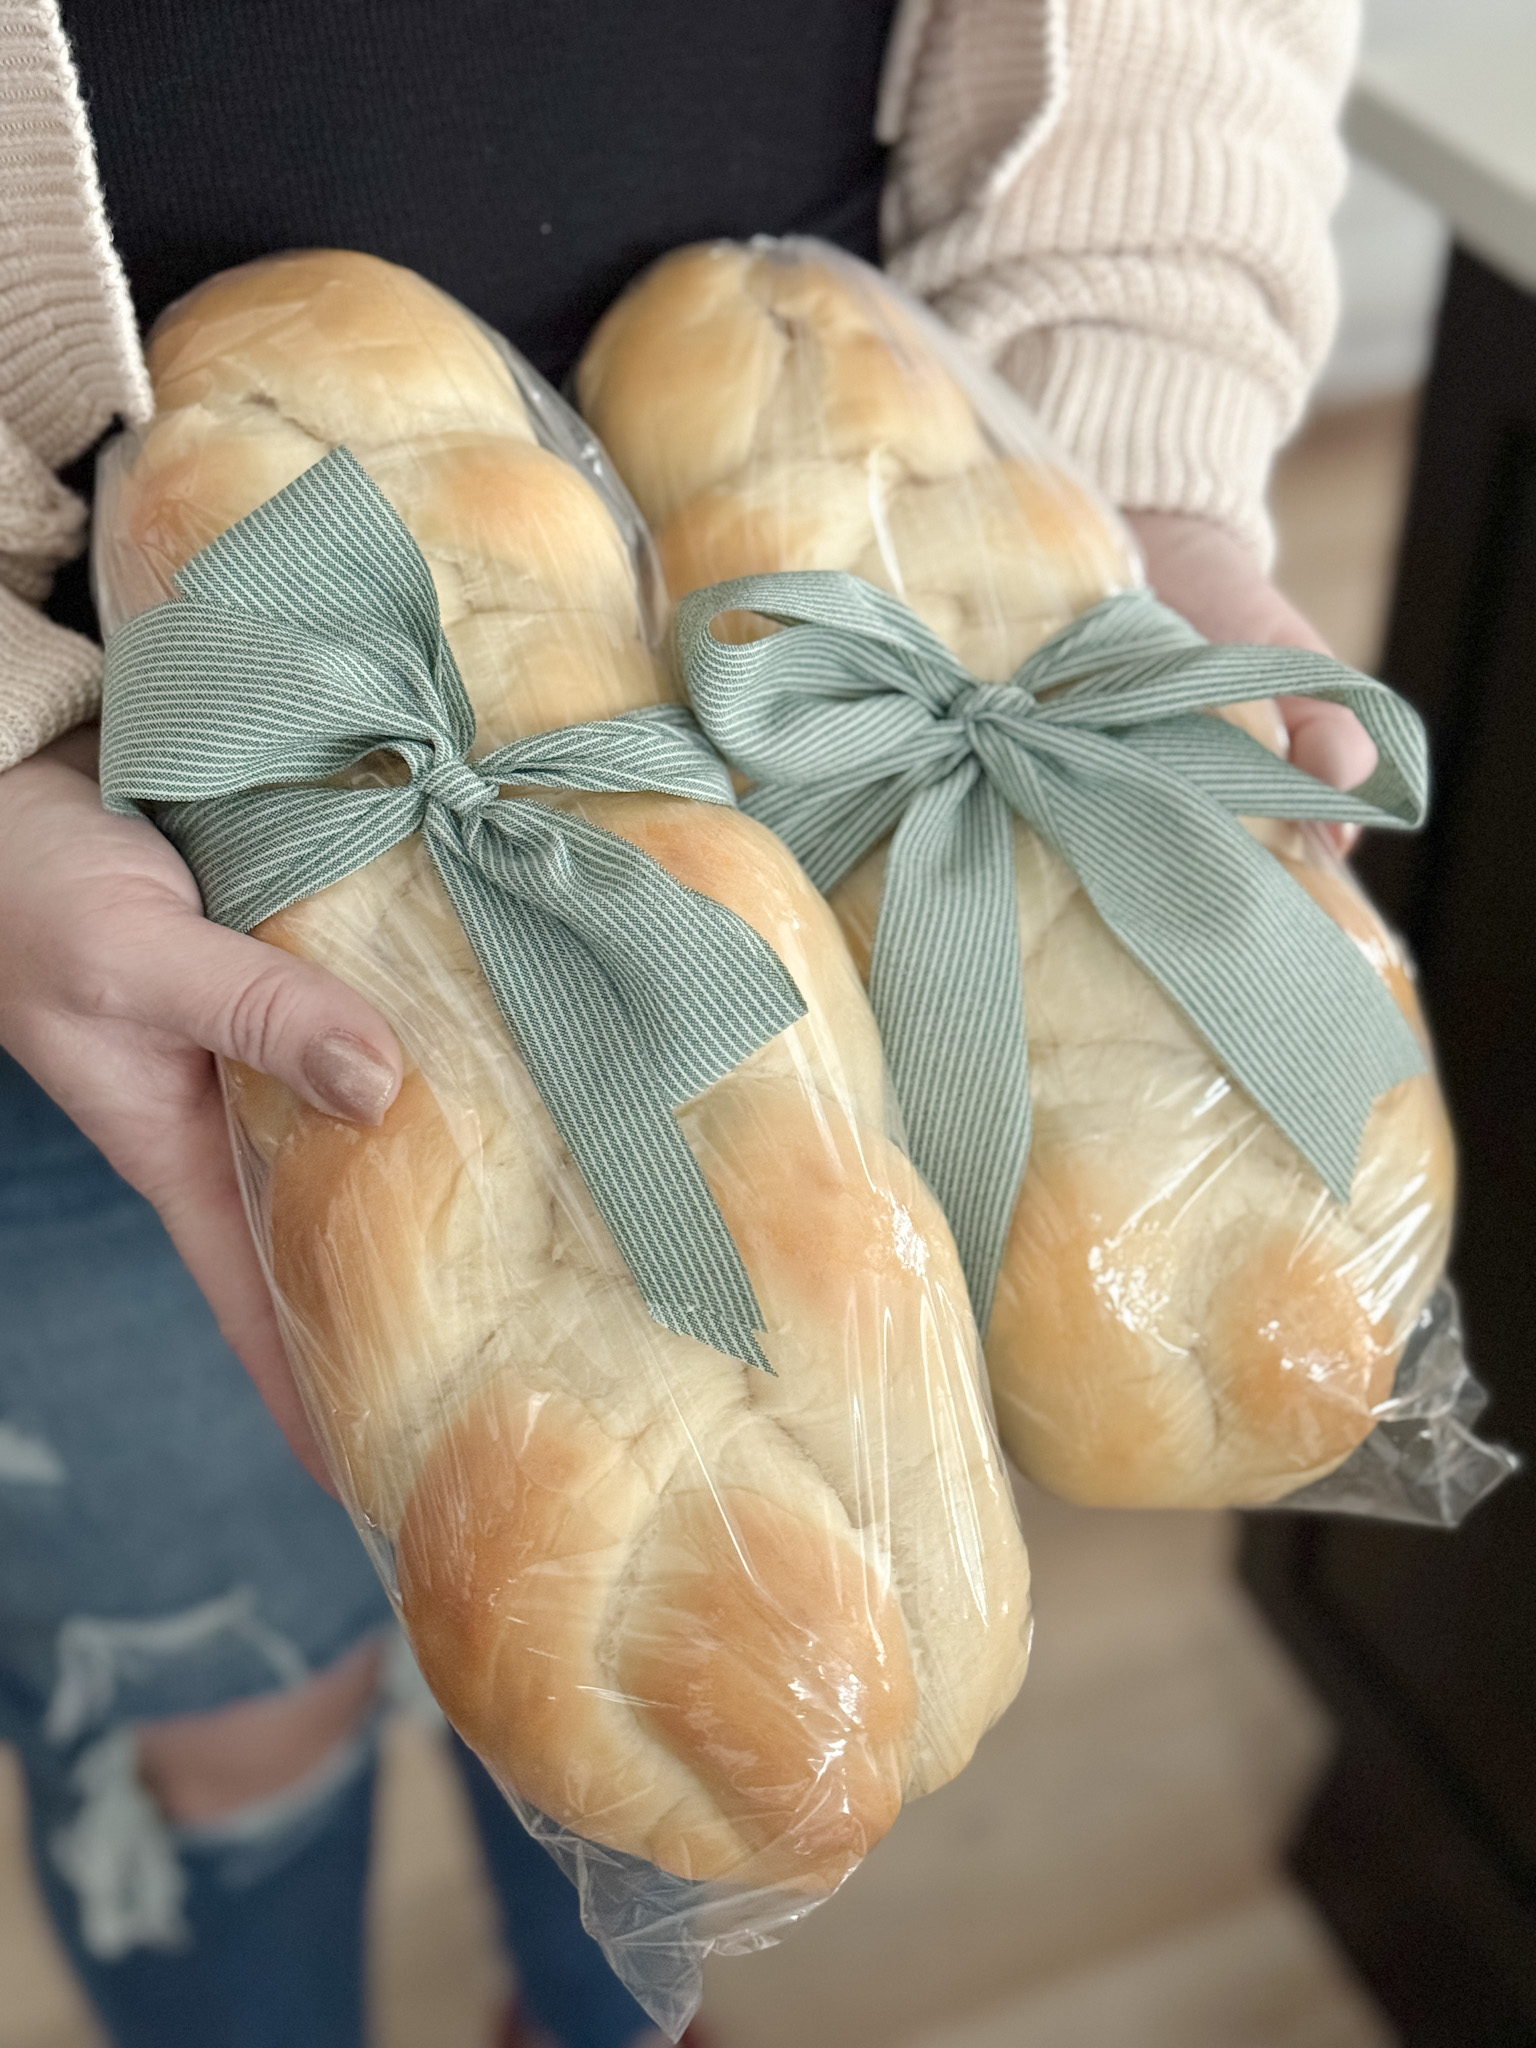
I have always loved making bread and have been doing it since my kids were little. From the amount of different bread recipes in our family cookbook I can see now it must run in my blood! My favorite one is a recipe from my relative Dorisa. Her bread recipe is made with simple ingredients that we all have in our home, and it’s easy to make and absolutely delicious!
This recipe will yield 2 loaves of bread or 24 rolls. My favorite way to make this is to turn my loaves into braided bread, like I have done here!

-Grey Birch Designs-
read more
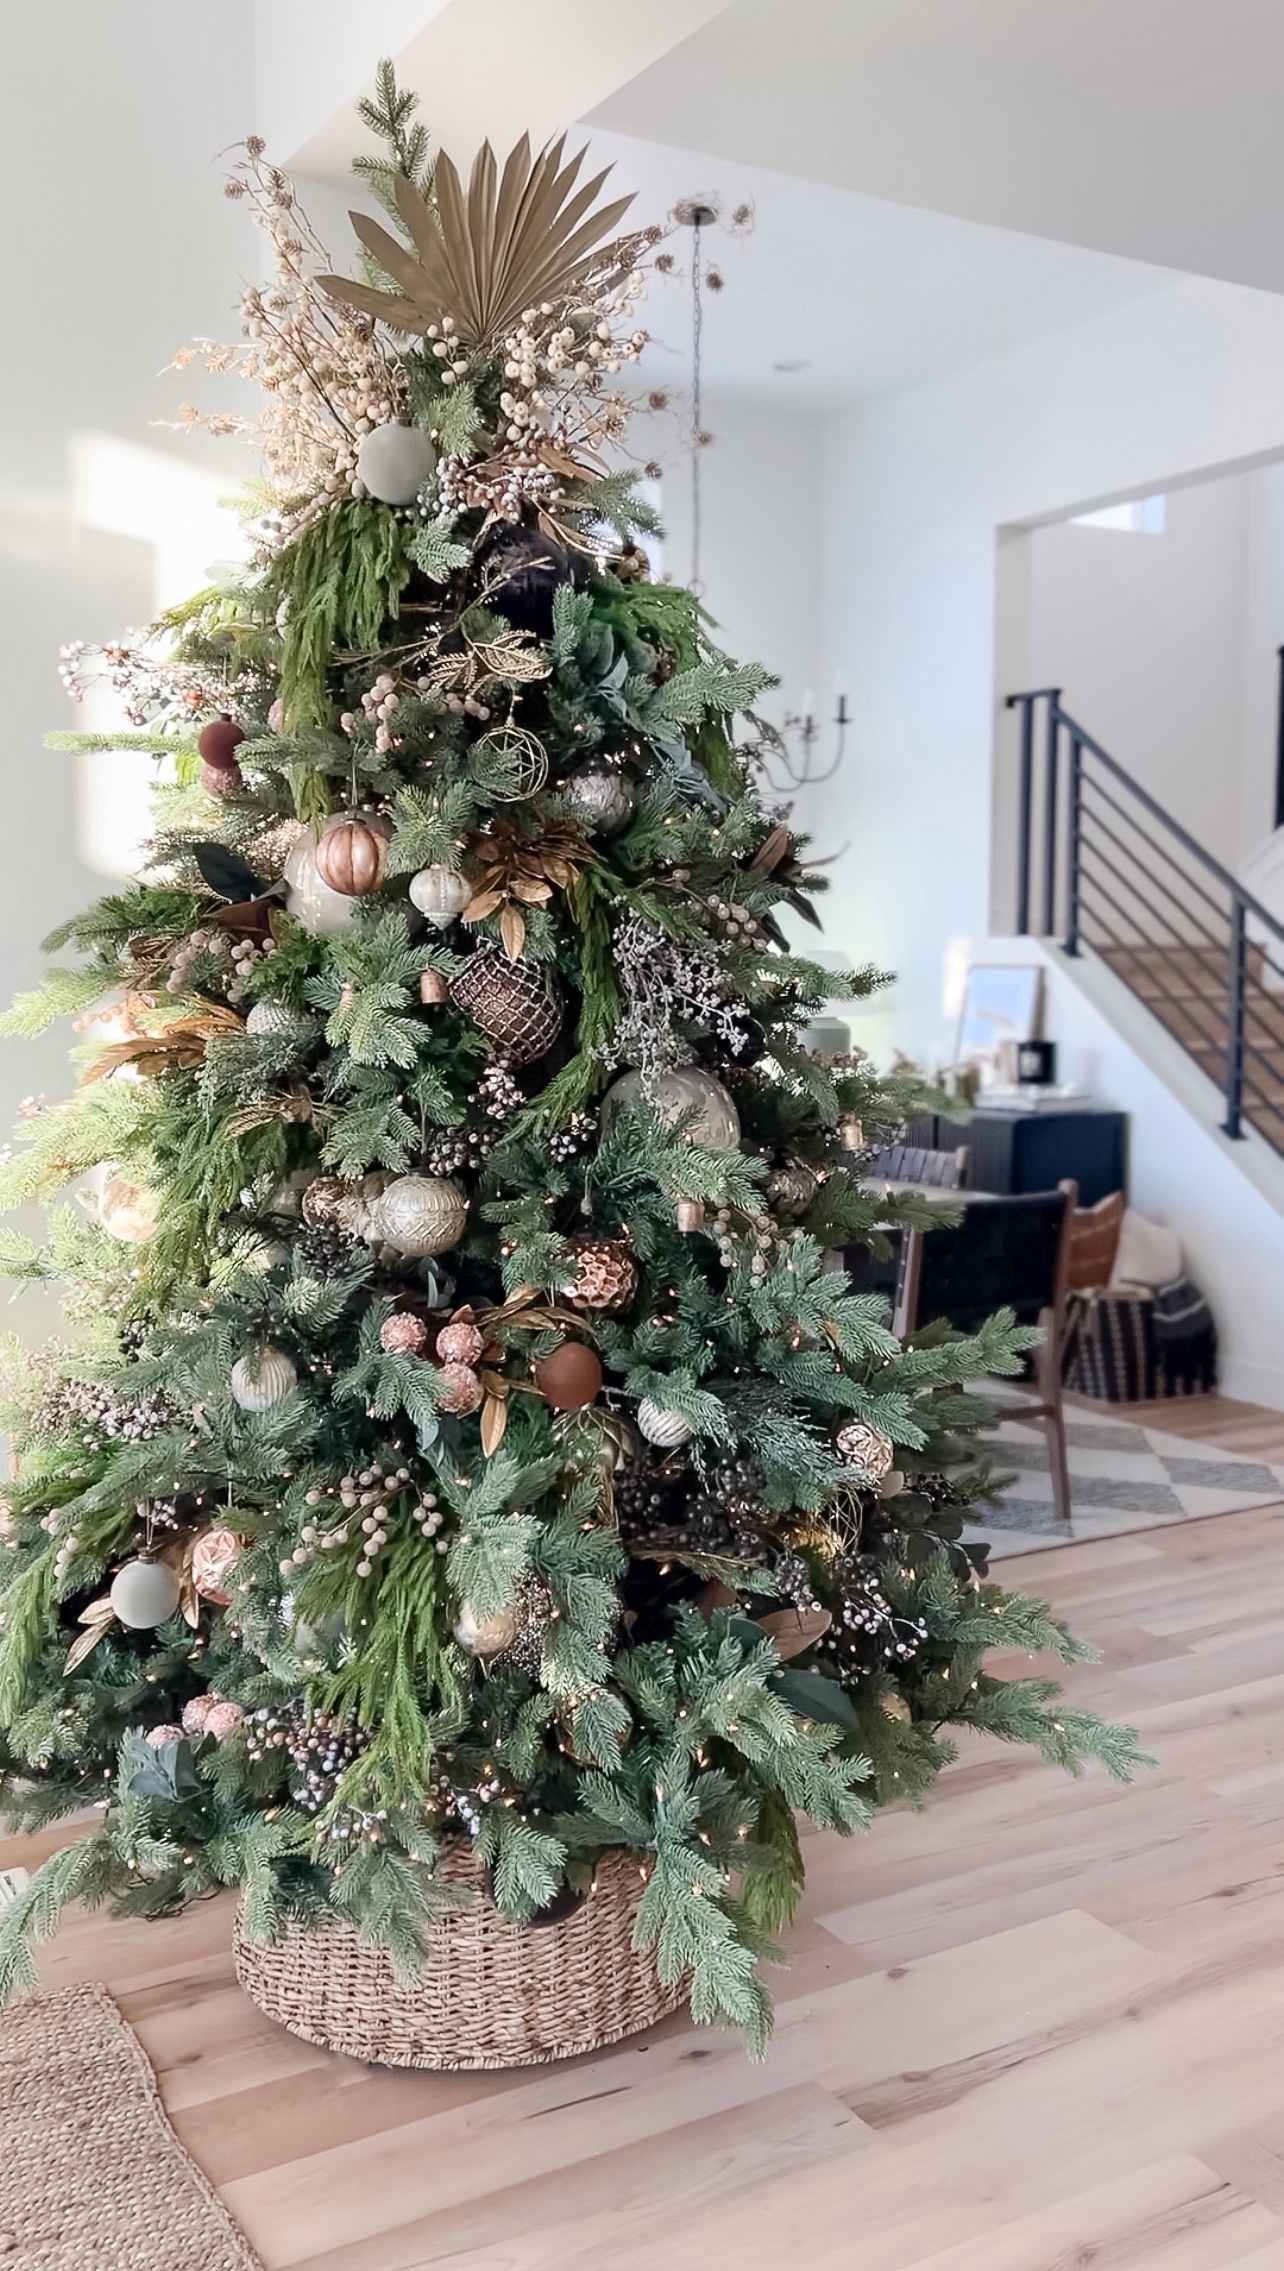
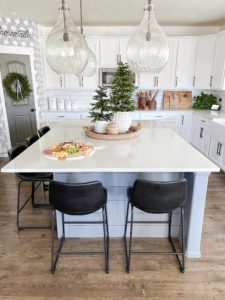
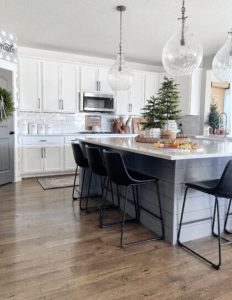
For my Christmas tree this year I went with a natural organic design and color pallet. I used green, gold, bronze, brown, black, and white. It turned out beautiful, classic, and neutral just how I hoped it would!

One of my favorite ways to add fullness and texture to a Christmas tree is with floral and greenery picks. I used a few different greenery stems and some berry sprays on my tree. My #1 tip when doing this is to make sure your stems are always facing down your tree.
Tip #2 is to use varying size, shape and texture ornaments. You can make a beautiful tree with only round ball ornaments simply by following this tip! This will help the stems flow with the natural direction of the tree which looks more realistic. Below I linked all the pieces I used on my tree this year!
Marbled Matte Cream and Brown Ornament
Most of the things I used on my tree were new this year. However, some are from years past and therefore not available, so I can’t link them.
-Grey Birch Designs-
read more
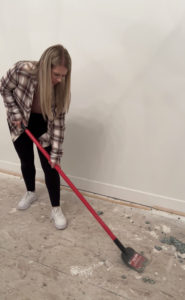
Building this home has been fun and stressful, but also so rewarding! There is so much that goes into the process and with this being our second build I feel like I have learned a thing or two that helped us this time around. One of the biggest things is knowing where to spend your money with your builder. Flooring is definitely an area where you can save a ton by doing it yourself after your home is completed. Even if you’re not a DIYer or the job feels intimidating it’s still worth it to skip this upgrade with the builder. Typically a project like this would be 3 or more times expensive through your builder then if you DIY it or hire a company to install it after your home is finished.
Planning for the project
I knew from the very beginning I wanted my whole home to have LVP (luxury vinyl plank) flooring, not just the main living areas but the bedrooms and closets. The biggest reasons being that LVP is stain and scratch resistant, 100% waterproof, and has the look of real wood! These are super important factors for our family. We have 5 kids and 3 dogs so we need something that is going to stand up to our day to day life. Also, the ability to get a completely clean surface is crucial in our home since me and 3 of my kids have dust allergies and asthma, making life with carpet pretty horrible!
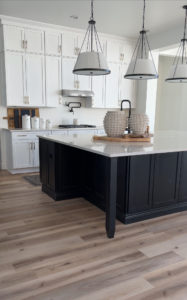
When picking out the LVP for our home I had a few things I was looking for. I wanted a wide plank and a flooring that didn’t “look” like vinyl, but rather looked like real wood. The color I fell in love with was Style Selection (formerly Pro Core Flooring) English Grove Oak. The flooring has good movement in the pattern, giving it a truly realistic light oak look. This is very important to think about when selecting your flooring, since too much movement can be overpowering and too busy for your home. Also, not enough movement can make your flooring fall flat and not enhance your space.
- Tip: order samples of flooring you’re thinking about, then order a box of the couple you narrow it down to so you can see the flooring on a bigger scale. This will help you visualize how it will look in your home much better than a small sample piece.
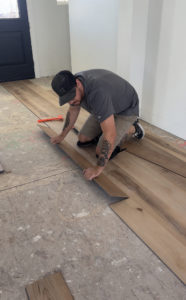
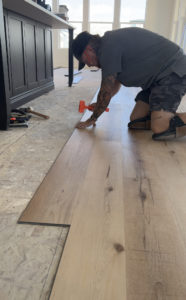
Installing the LVP flooring
The first step is to prep your sub floor. If the space previously had carpet it’s important to remove all staples, tack strips, and debris before laying your new flooring. This type of LVP has the underlayment attached to the back of each board, so you can eliminate the job of laying down underlayment under your planks. If you have ever installed a flooring that requires a separate underlayment you know what a big deal this is!! The Style Selection flooring is a drop and lock system, meaning you interlock the planks together and drop them down to lock them in place. You want to make sure you have a good seal without any gaps so your flooring doesn’t have problems down the line. You can use a rubber mallet to help lock the planks into place.
Caring for your flooring
LVP is definitely the easiest type of flooring to care for, which is one of the main reasons we chose it. With real wood flooring you have to be extremely careful with the types of cleaners you use on them. Too much water can make wood floor boards warp, and they scratch easily from furniture or pets . Laminate is slightly easier than really wood since it’s less likely to scratch or stain, but you still have to be careful with water. Laminate is still made of wood and too much water can make the boards swell and seperate. LVP on the other hand is the most durable. You don’t have to worry about water on the floor since it’s 100% waterproof and doesn’t contain any wood. Daily vacuuming won’t scratch or wear it out and there’s no risk of cleaners staining the planks. My favorite way to care for my LVP flooring is with a wet/dry vacuum or a spin mop with water and a little bit of dish soap!

Choosing to put LVP flooring in our home was the best choice for our family. I’m excited to enjoy this beautifully flooring in our new home for years to come with little to no maintenance required. That’s a win in my book!
-Grey Birch Designs-
read more
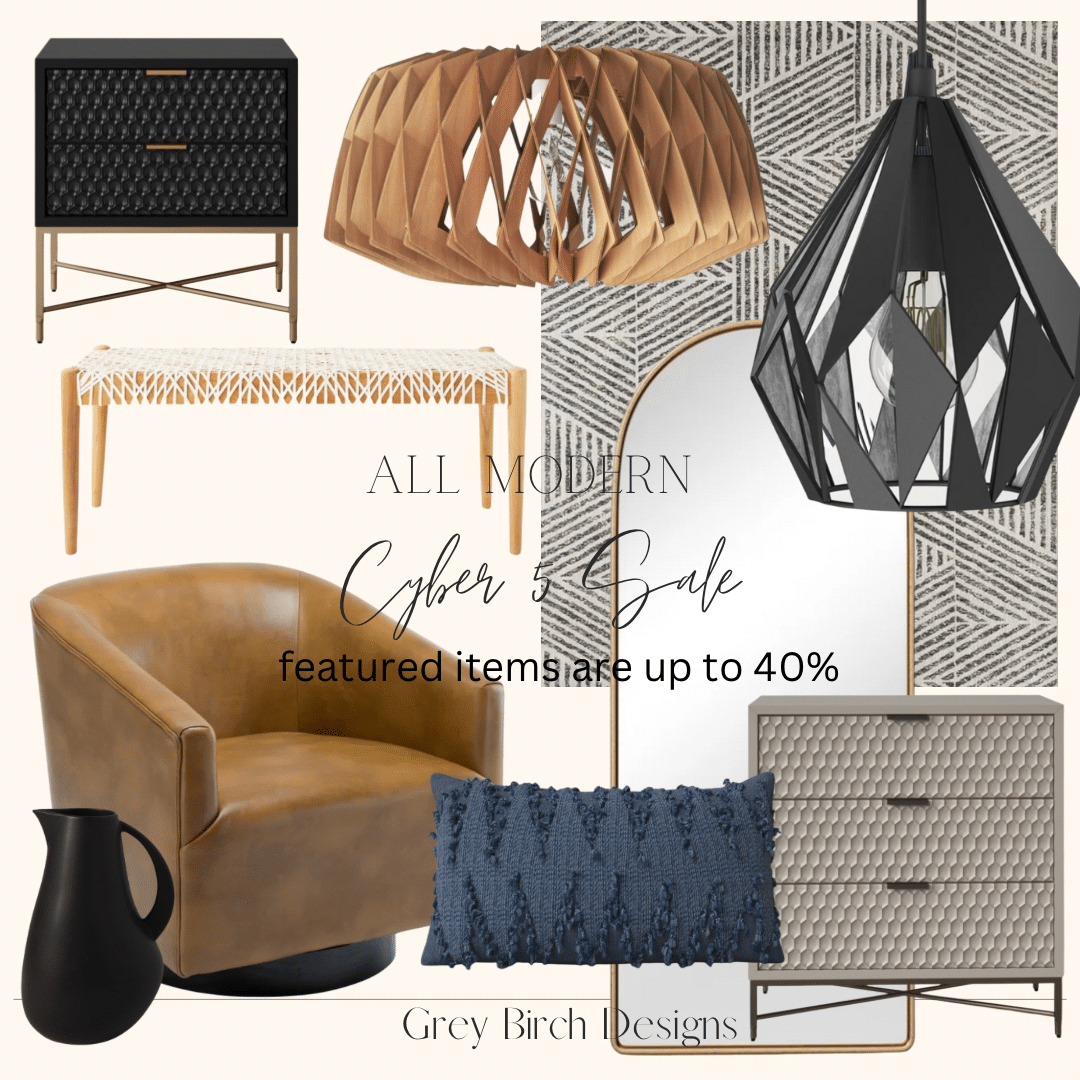
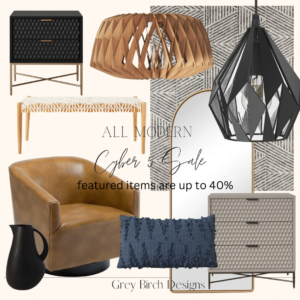
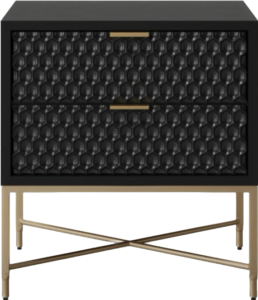
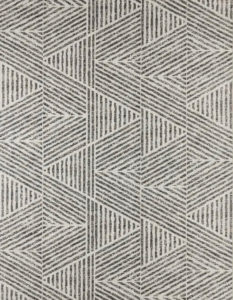
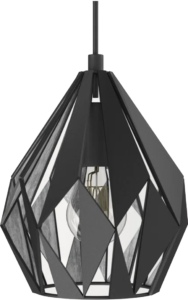
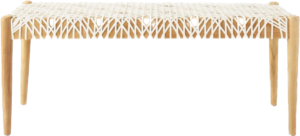
When it comes to interior design styles, mine is a mix of transitional and modern farmhouse. Because of this there are a few retailers I tend to gravitate toward. One of these is All Modern. I used a few of their pieces in my last home and plan to do the same in my new one. While shopping online I spotted a few pieces I love that are part of All Modern’s coming up cyber sale!
These items are beautiful, will work with many different home styles, and are on a great sale. Check out my All Modern cyber sale round up below!


-Grey Birch Designs-
read more
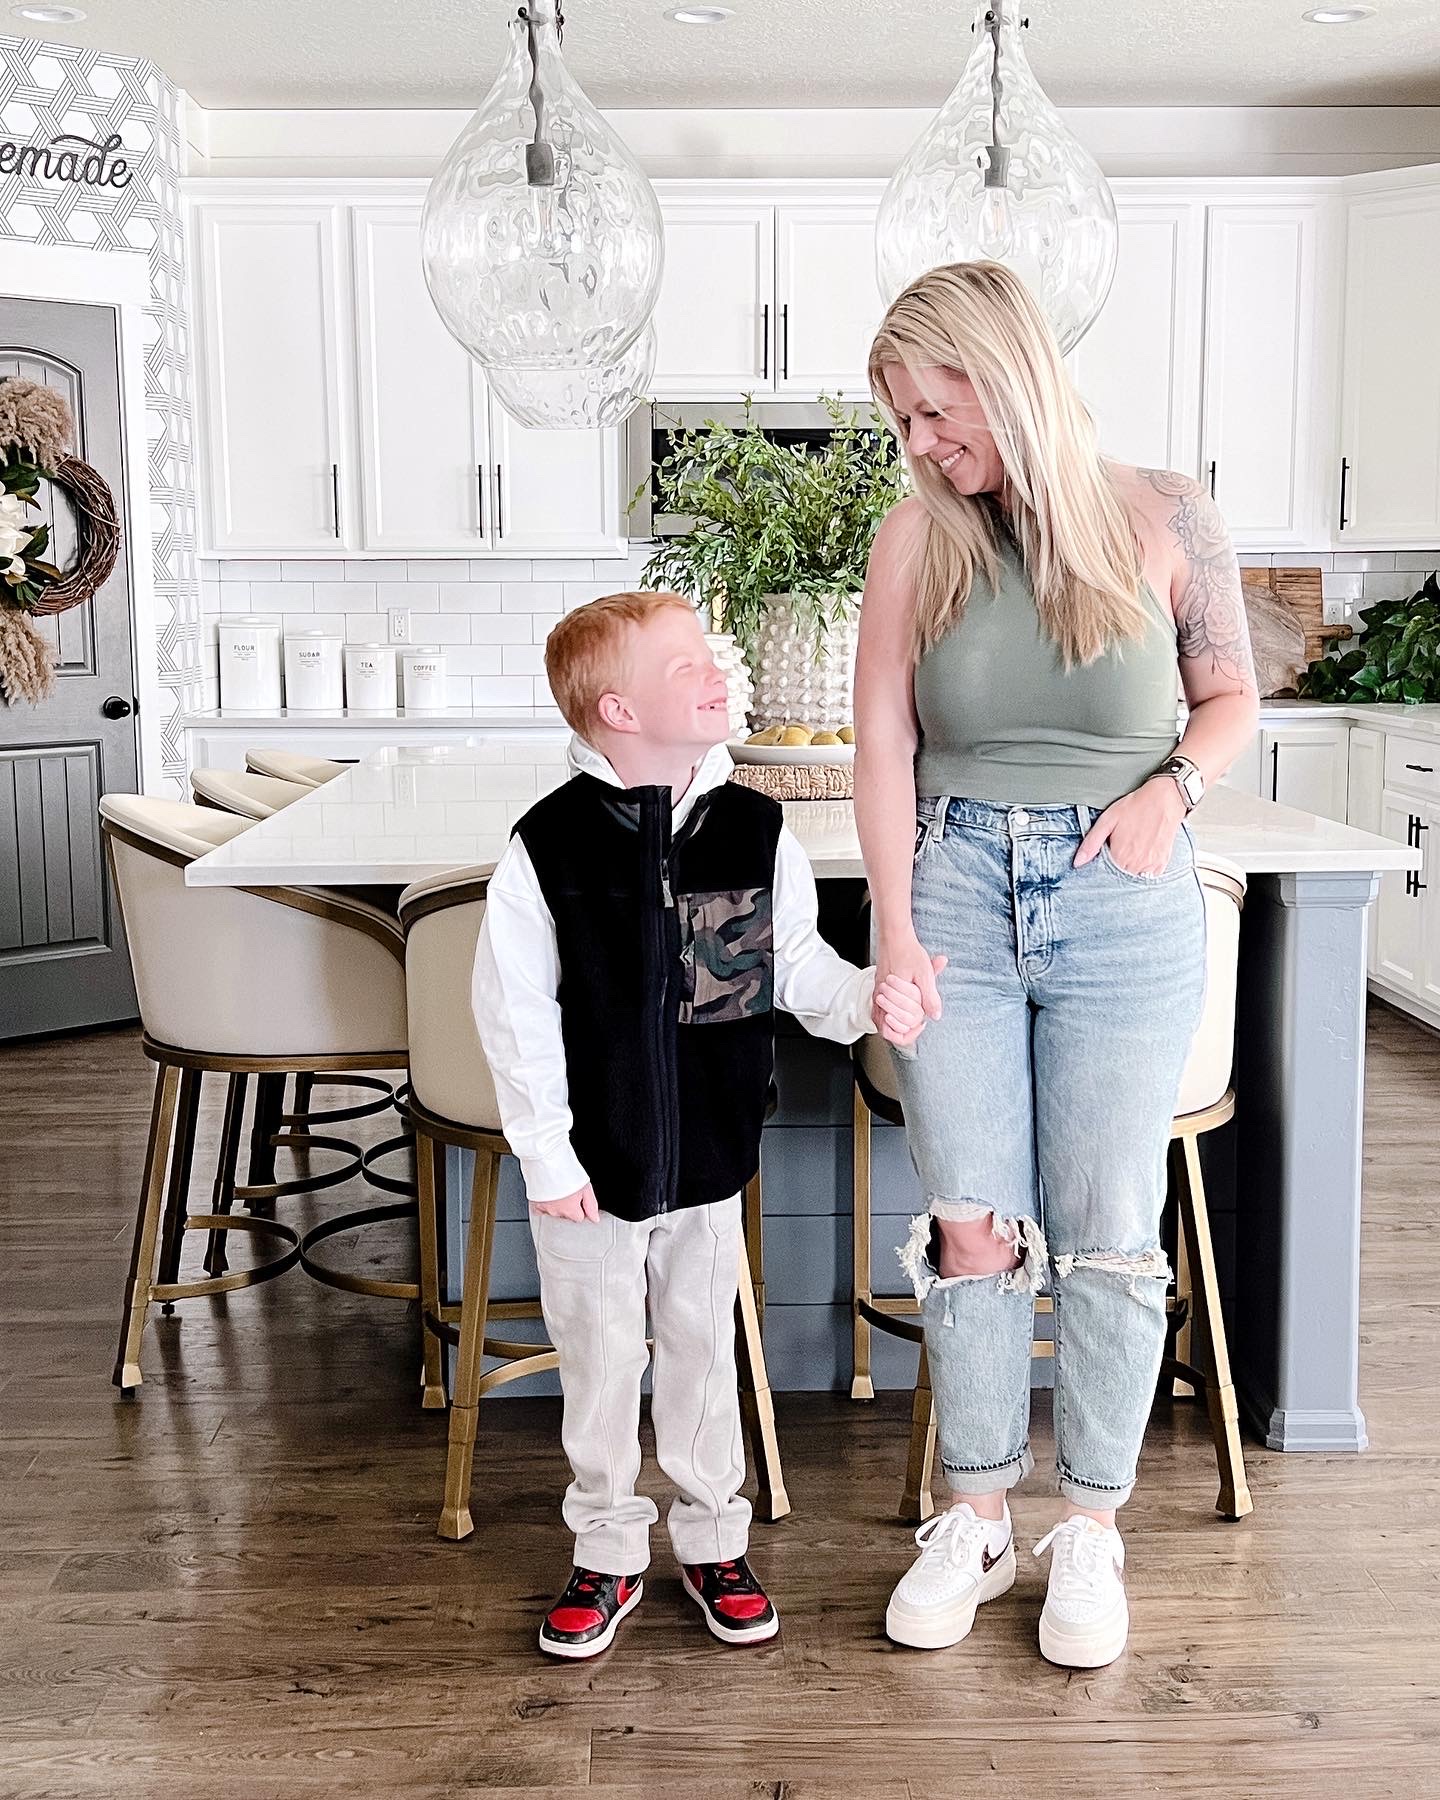
This year I did all my back to school shopping at Walmart. I found some awesome clothes at incredible prices and I want to share my back to school round up with you all!
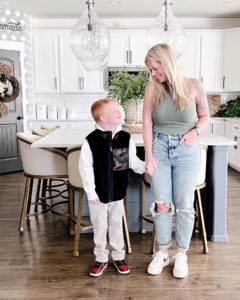
My favorite line at Walmart this year is the Free Assembly brand. The styles are super cute and the quality is really impressive. I bought a bunch of clothes for my youngest son Travis but my favorites are these sweatpants, hoodie, and fleece vest. You can shop this look here.

I found some super cute Free Assembly dresses for my teenage daughter. I also found these awesome $9 jeans that come in a bunch of colors, and some shoes that are similar to ones I love from high end designers. You can shop these Walmart finds here.

In the past I’ve only shopped Walmart for back to school supplies but now I’m so impressed with their clothes and fashion. I’ll definitely be doing all our kids’ back to school clothes shopping for years to come!
-Grey Birch Designs-
*This blog post is sponsored by Walmart and contains affiliate links*

read more
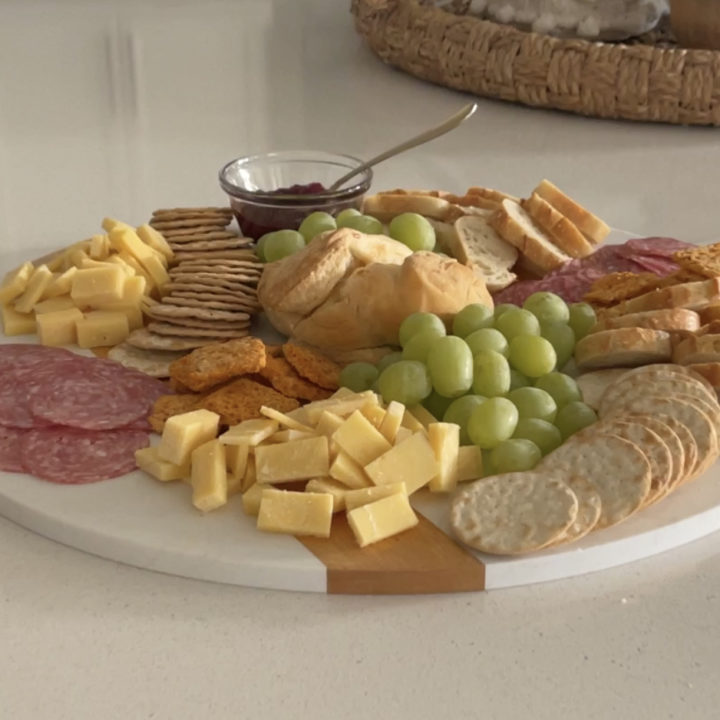
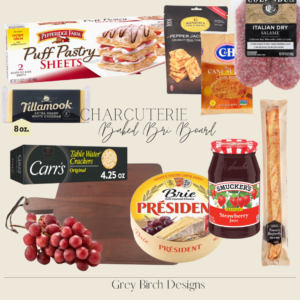
One of my favorite things to make for a special occasion is a charcuterie board, and the star of the board is definitely the baked brie cheese! There are a few things I like to include in my charcuterie boards, including a few different kinds of crackers, a sliced baguette, meats like salmi or prosciutto, fruit, jams, and a variety of cheeses. I was able to find everything I needed to create this board from Walmart.
Walmart also has a great selection of affordable wood and cheese boards to create a charcuterie board!
The second part of creating a great charcuterie board is making it visually pleasing! By balancing out the different foods around a board in groupings you can create a delicious and beautiful appetizer! I start my boards with the baked brie in the center and built around it with the other ingredients.
Baked Brie Cheese
Ingredients
- Brie Cheese
- Puff Pastry
- Brown Sugar
- Strawberry Jam
- Maple Syrup
Instructions
- Pre-heat the over to 350 F
- Slice the top off the brie (optional but it will help the puff pastry stick to the cheese)
- Place the brie on top of the puff pastry. Spread the jam on top of the brie and fold the dough over it
- Sprinkle the top of the dough with brown sugar and maple syrup
- Bake at 35oF for 30 minutes.
Notes
Let cool for 5-10 minuites before serving. Place in the center of your charcuterie board and add fruit, crackers, meats, jams and other cheeses to finish builded your board!
Click the link below to see everything I used from Walmart to make our family’s favorite Charcuterie board and baked brie!
-Grey Birch Designs-
read more
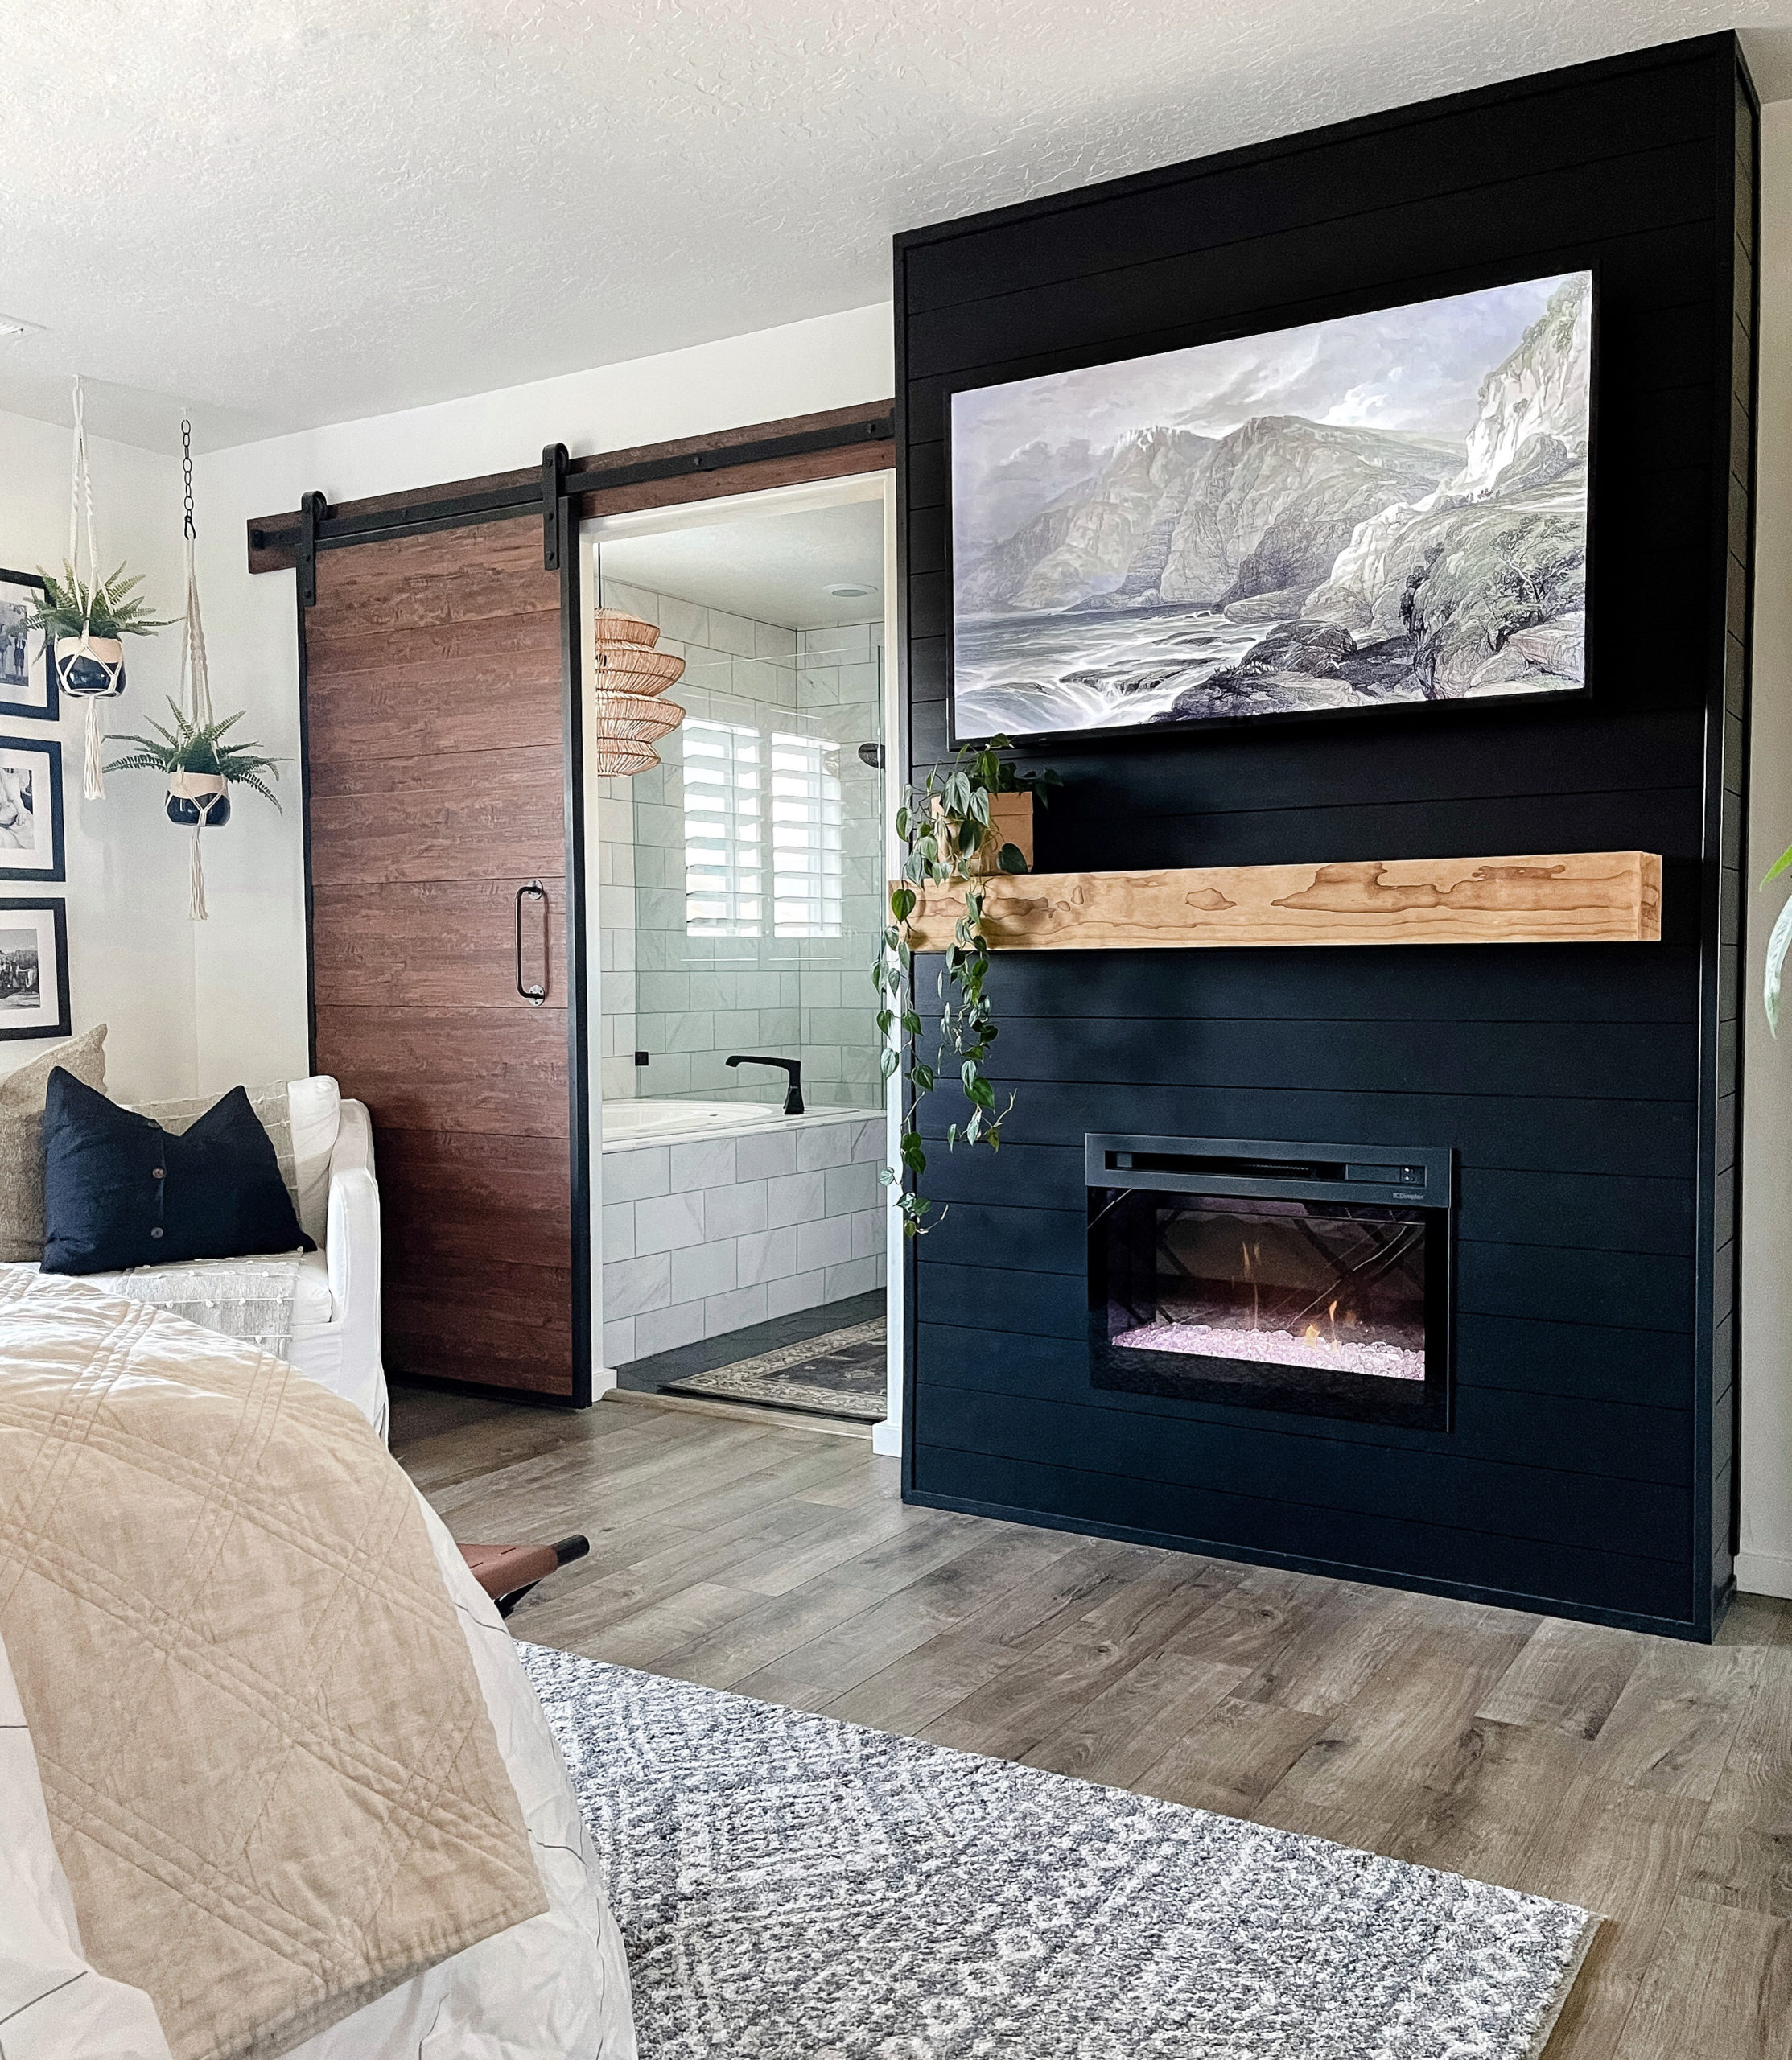
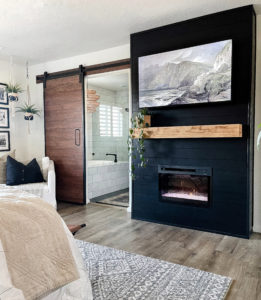
For as long as I can remember I have thought about how cool it would be to have a fireplace in my bedroom, but for whatever reason the thought of building one never crossed my mind. Even as a little girl my grandmother had a fireplace in her bedroom and I loved sitting in front of it after taking a bath!
I think the biggest hurdle for me was thinking it had to be a gas fireplace in order to look real and put out heat, but that’s not the case! Electric fireplaces have come a long way. They look real, have a beautiful sleek design, and are amazing at heating up a room! This meant I could easily DIY a fireplace in my bedroom, and I have to say this is at the top of my list of favorite DIY projects! I decided to go with Dimplex 25″ Multi-Fire XD™ Firebox w/ Acrylic Ember Media Bed
One of the reasons this firebox was at the top of my list is it’s plug and play. You literally just plug it into an outlet and you’re good to go! It also only pushes heat out in the front so you don’t need to worry about the wall behind getting hot!
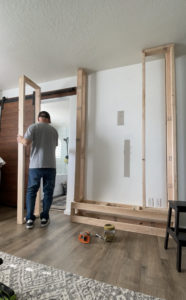
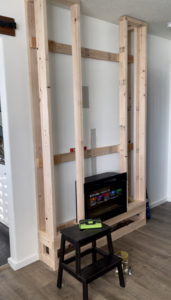
For this project I decided to build a floor to ceiling shiplapped fireplace for a big impact! The first step was to build the frame. My husband and I built a simple box frame out of 2×4’s and wood screws. We made sure to include a vertical 2×4 in the center to mount the TV to. We also added a small shelf inside the frame to hold the TV cable box.
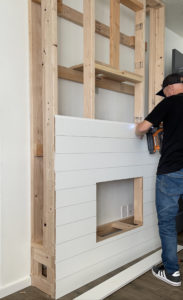
After the frame was finished it was time to cover everything with shiplap. In our experience the pre-made MDF shiplap boards are the easiest to use and have the cleanest look, so that’s what we used! We simply cut the shiplap boards to size and secured them to the frame with 2″ brad nails. We finished off the corners with some simple corner trim for a nice clean look.
When it came time to paint, I knew I wanted to go bold and have a color that really popped against my white walls. I picked my favorite Tricorn Black by Sherwin-Williams. It was the perfect choice and gave me the sleek modern look I was hoping for!
After building this fireplace and realizing how much I use it I wish I would have tacked this project sooner!
-Grey Birch Designs-